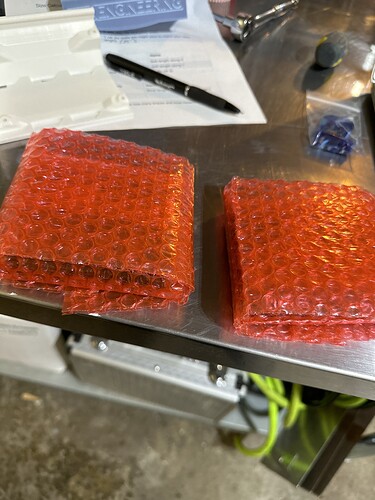
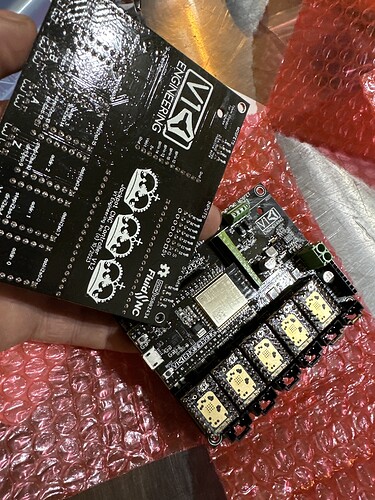
Remember I had to brush it on so it is not super invisible.
It’s some thick red stuff. Looks a lot like bubble wrap?? I assume I just cut away the coating where the terminals are so I can connect the wiring?
You can barely tell to be honest. Maybe he’s tricking us and didn’t coat them at all just so he could see if it was actually required or not afterall? Hahaha
I can say this much - if he brushed it on he must have used a super soft brush and has a very steady hand! I’ll try to catch the visiting in the lights.
That actually makes it look worse. You can hardly tell. I swear.
I can see it. It looks pretty good and will help in your cold operations.
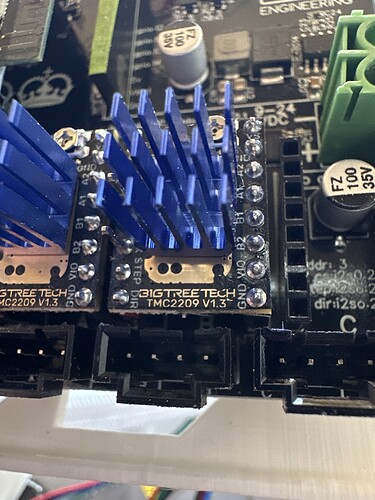
One thing to keep an eye on is the pins/headers for the TMC2209s. If you ever start getting intermittent operation on an axis, pulling the associated stepper, checking the contacts for corrosion, and then reinstalling the stepper driver should be a first step.
Would it be worth it to give them a little dialectic grease before plugging things in?
Good Call
Watching as you move along. Cool stuff. Love the color scheme.
Man….I KNOW I’ve seen it but can’t find it again. Where is the connection diagram for the jackpot and LR3?
[ Found it ]
Just reprinting the x tensioner block. Made a big mess of the first one after the nut started spinning. Glue ensued which leaked out past the screw and then broke free again anyway.
I’ve now been reminded after searching the forum that it’s good practice in certain situations to pre-work the nylocks before assembly. So I’ll do that this time and then be a bit less squirty with the glue.
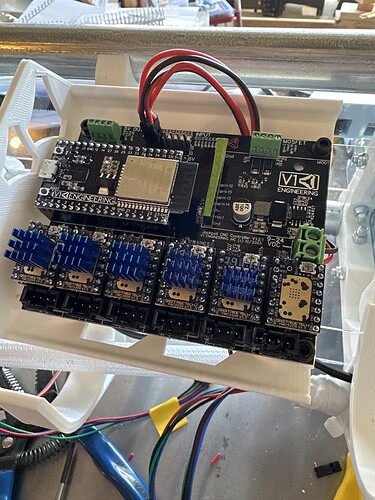
On the positive side I’ve got the z screws in place now, power connected and am running the wires. I’m keeping the controller on the far home side - hopefully ‘out of the way’ enough for what will be the dual X harness and the y-adapted vac hose. A friend of mine (MPCNCer) is pretty sure the snow is gonna clog up the dust collection system. He could be right but we’ll have to wait and see.
I MAY have forgotten to make up the Y limit switch wires…
Well, that didn’t work either. The x tensioner reprint. I worked the heck out of the nylock first and then was very careful (but not sparse) with the glue. Just to be sure I switched to a brand new machine screw and carefully worked the nylock again (in case any glue had contaminated the nylon) and after maybe the fourth careful working, the nut spun free from the glue. I’m going to check our nut supplier and see if they have square ones. Barring that I think I’ll be best if I drill through the struts in such a way that I can get some long nose needle nose in behind there in case I need to tension/release
I don’t have any glue in any of mine.
Maybe try reprinting it a 2% smaller.
JUST sat down at the computer while the printer was warming up and popped in here. I’ll do that - thanks for the suggestion. I didn’t have any luck finding a 5mm square nut (they had 3,4,6,8,10…skipped 5 for some reason). I did pick up some epoxy too while I was out… @SupraGuy - I’ll let you know how well I get along with it (I’ve never had good success with epoxy in all of my life).
![]()
I want to believe I’m not the only one that’s run into this…but I have a sneaking suspicion I’m the proud “first”.
I printed X tensioner #3 at 98% of original and had a wondrous moment of discovery. You see, the X tensioner has a slot where you drop the nut in. What you may miss though is that the actual task here has only just begun. You’ll see upon further investigation that inside this slot there are two little features one should note. I saw the first of these features. The round hole, perfectly sized for a 5mm machine screw to penetrate once it’s threaded it’s way so far through the nut. But what you may not know (well, I certainly didn’t know because somehow I just didn’t see it) is that opposite this cleverly placed round hole there is a lovely hexagonally shaped void that looks an awful lot like a person could thread the screw just a little bit into the nut sitting in the slot and then, lined up appropriately, one could pull that machine screw and sink the nut into the lovely hexagonal void where, once nestled, this nut would not spin free. Ever. Never. And no glue required.
So let’s look to the bonus learning here then. The X tensioner, when printed at 98% of original as suggested by Ryan DOES still fit the screw, the nut AND the belt. So, in a long windy roundabout way this has become a classic case of “third time’s a charm”.
I use those when ever possible. I am working on a machine now that has a couple.
One thing to note is usually it is best to push the nut into place with a screwdriver or other pointy implement.
Sorry to hide it from you… ![]()
Can someone educate me on wiring the x motors in series? Is it just a “Y” connector (not to be confused by the Y Stepper connectors ![]()
You should not wire them in series, that means half the power to each. You should use a driver for each motor, you will be cloning one.
Ah! Glad I asked - you saved me from what…12 DuPont crimps (I have never got along super well with DuPont crimps)!
So I’m going to need another one of these guys? (Pic). I can borrow one from the other jackpot for now.
Don’t do that (As Ryan notes)
All well and good, but… how are you going to configure FluidNC to run your additional core / 2nd independent X? That’s your real problem.
It won’t be independent. It will do exactly what the primary core does. I assume this is the cloning Ryan referred to.


