I’ve just left the nut and bolt supply with my whopping $73 in fasteners and am headed to pick up the conduit now. I spilled my isopropyl a couple weeks ago so will grab some on the way back home and get the already sliced files printing.
I’ll keep this thread to the actual build and ask my questions in the advice threads if I can’t find the answers.
The goal is a portable rig for 20" wide material (only 16-17" X working width required). I’ll either be building two work bases for the machine or one work base with extensions I can add when required. The aim is to have two different Y lengths.
The core use for the machine just needs to be able to cut 9-10" of Y, the second needs to have 40" of travel. If I can fashion together some sort of 30" removable extensions that’s the route I’ll go. I’ll be building a boxed U Shape so that the material to be processed can sit inside the U. I’m going to explore using extrusion I think. That will make it very lightweight as long as it’s rigid enough. I think it should be.
Expansion/contraction is a consideration for both the printed components as well as the metal parts. I know that PLA contracts in the cold - enough that the wooden sides of my MPCNC controller enclosure (the V1 enclosure) both fell off when the machine was in the cold because the PLA shrunk that much.
The Amazon boxes are starting to roll in and the printer has been going non stop for 48 hours so far. I started the core around 11pm tonight, should finish after lunch on Thursday (it’s Tuesday night now). In true “we get to pick our own colour scheme” manner I’ve opted for a mix of simple white and silky, icy blue for the build. Should look good together - it’ll look like it’s meant to be in the freezer. Once the core is done I’ll have a look through the build instructions and start printing things in order of needing them so I can start with the assembly even as prints are still rolling.
, am hopeful Ryan’s been thinking about this for a while, maybe his mostly plated MP3DP v5 (that’s 2x faster than v4…) was a trial/experimental preview of what’s to come for his v.next CNC…
Just down to the little bits to print now. And the X Drive but I’m burning up the spool before switching and will then print that piece.
Question as I start considering the operation of the machine.
What insight can anyone provide me on the screen interfaces. My current machines all use the old style ‘blue’ lcd screen with the rotary encoder. Can’t remember what that screen was called. I see all these new colour touch screens out in the wild now. The LCD really struggled with the cold. Very laggy response. very.
Do you know if the colour ones might fare better? I don’t think touch screen makes any sense at all since I’ll have to take gloves off to use it but if it can be used via the encoder as well and isn’t as laggy… What options do you think I should be thinking about?
All LCDs are temperature sensitive. They all get laggy in the cold, because they rely on the liquid crystal flowing and fluids move slower as they get cold. The colour ones may fare better, but they could only do so at an expense of more power.
If you want to see what one works like, the TFT35 has the 2 connectors that let it work as a 12864 RepRap discount full graphic controller in place of the ones you have, and I have one of those you coild borrow, too.
Maybe I should just load up a bunch of stuff and go see what you’ve got out there, lol.
since a Jackpot board can be controlled remotely, either by a Wi-Fi-tethered smart device, or a wired pendant, then maybe you could set it up so the control device is not normally in the freezer with the machine, and only gets perhaps temporarily brought in there for brief periods, and therefore it never really gets as cold as the machine.
Feels like I might be best to add an incandescent light bulb to the electronics enclosure. Is there enough room in the currently modeled ones or will I need to do some remixing you think? I’m talking about the little chandelier type bulbs. Like they use in salt crystal lamps.
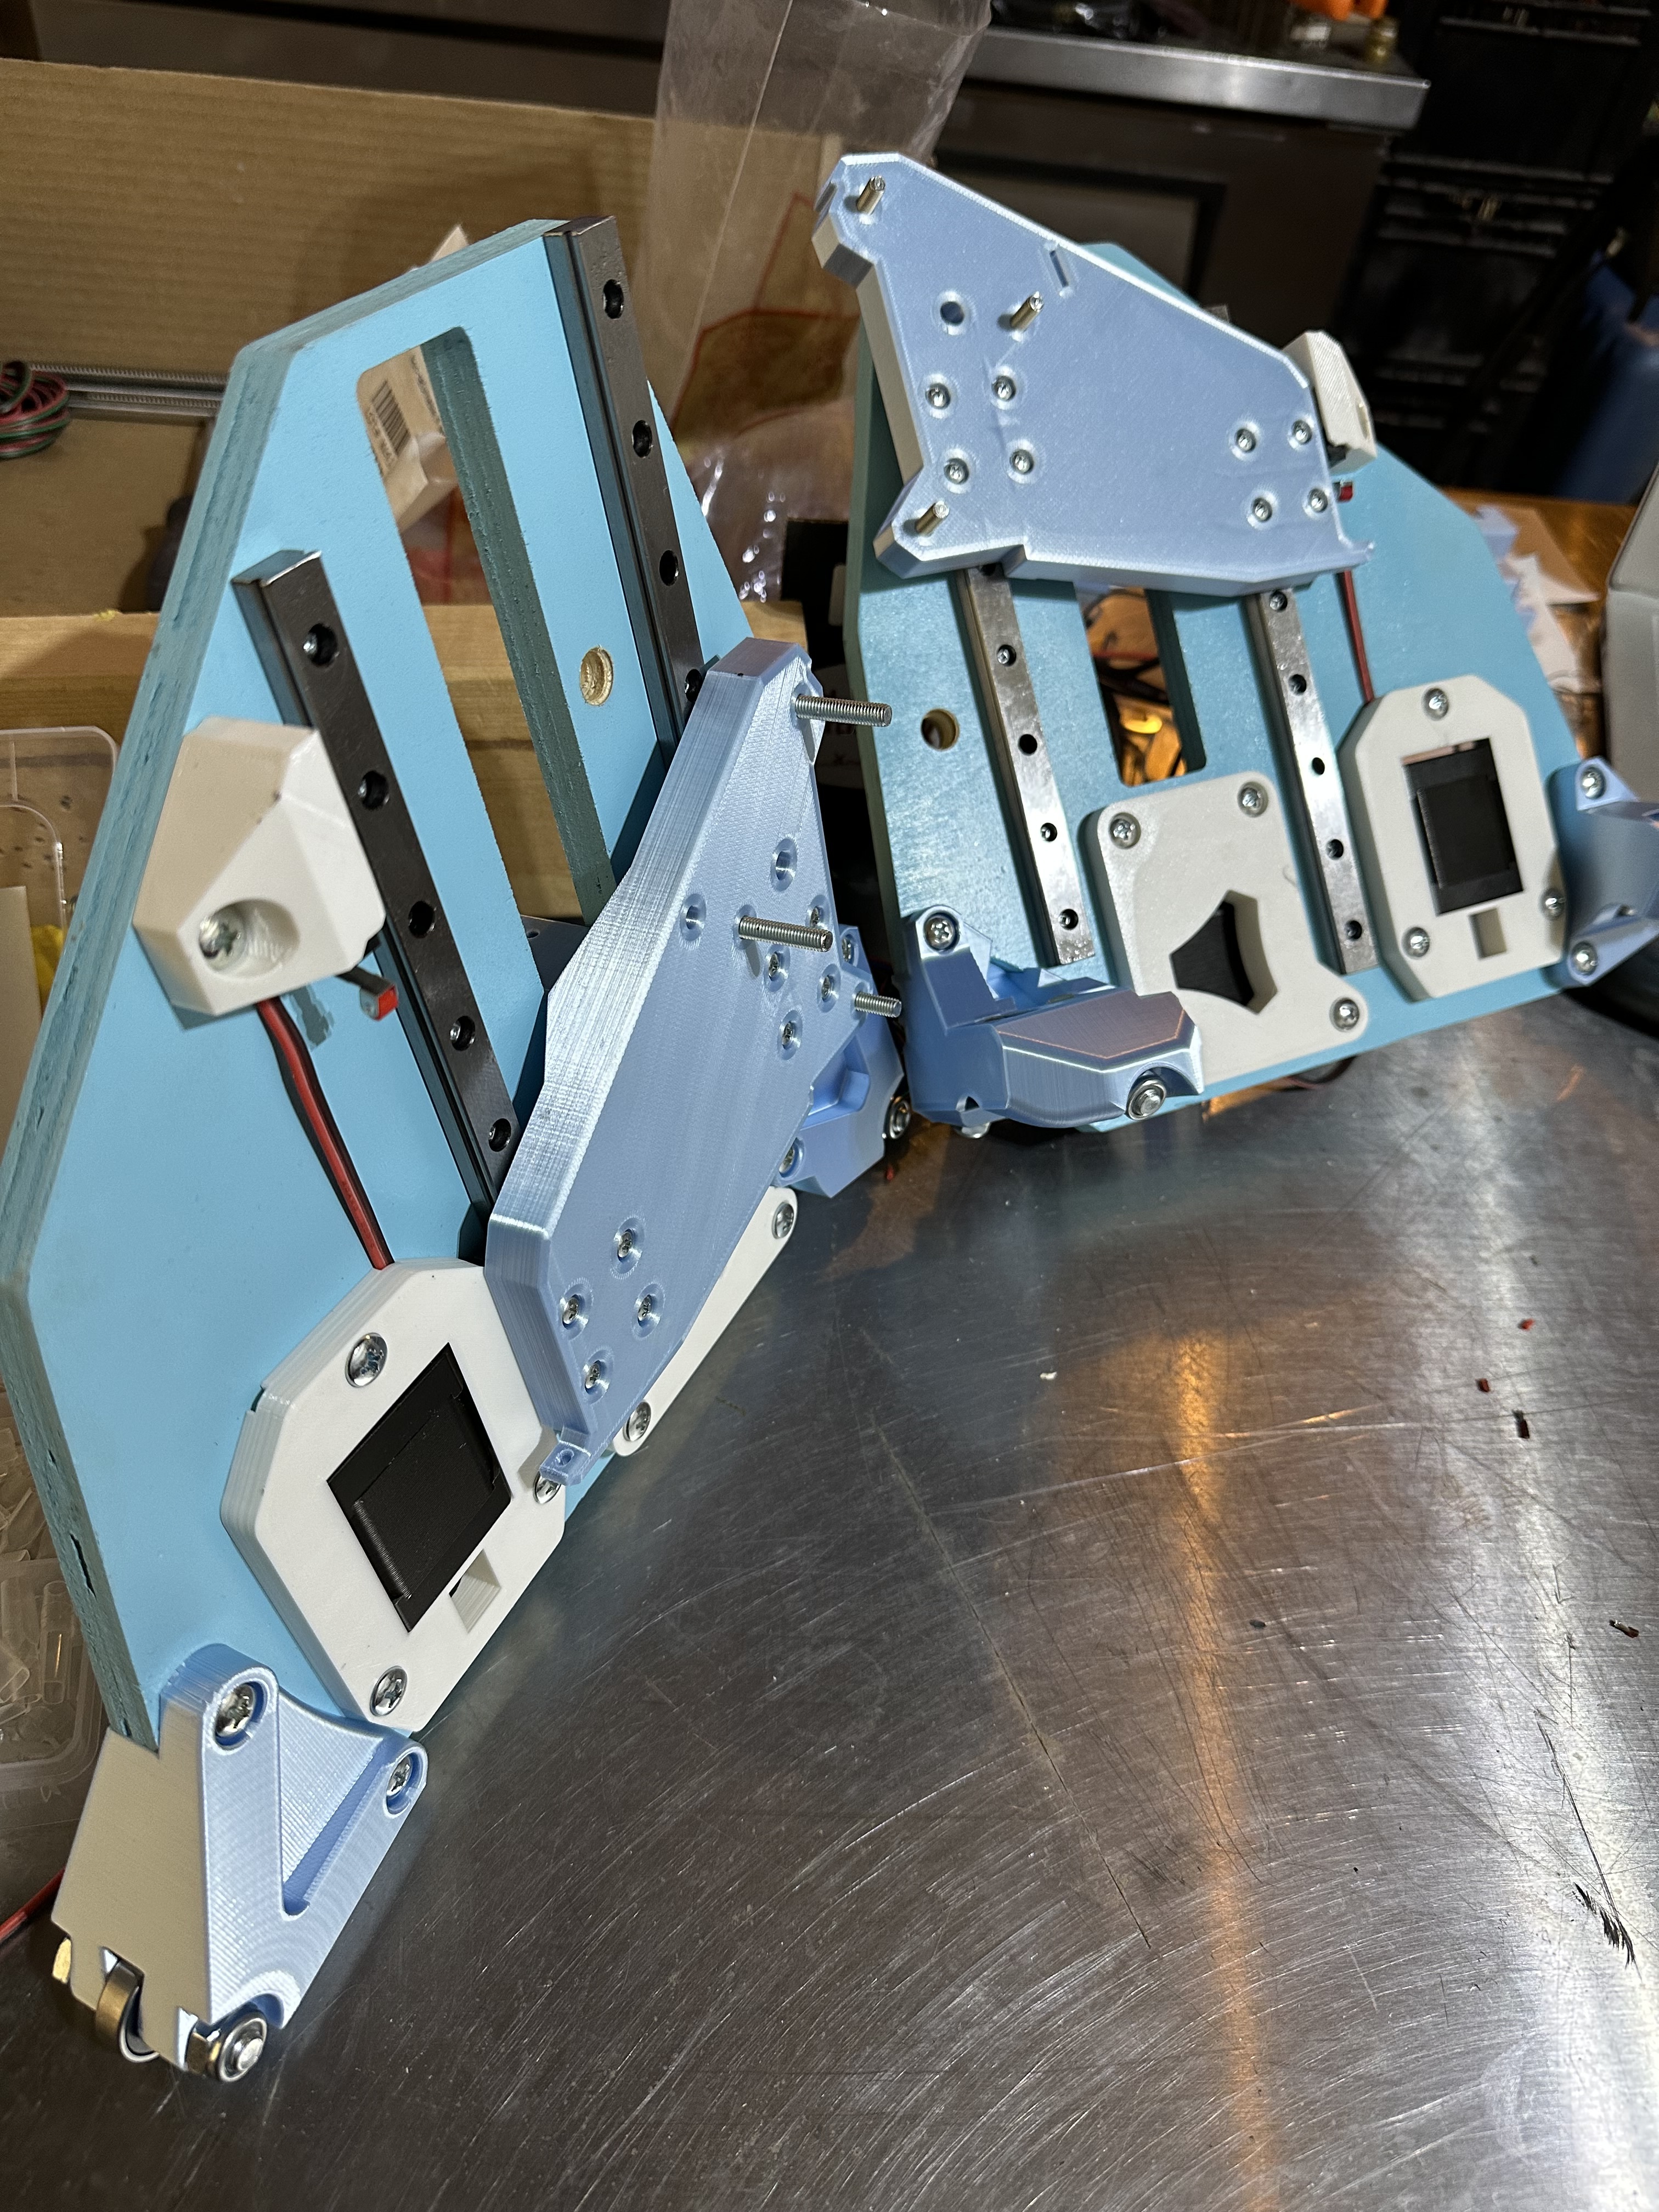
Had a great visit here from Dan today. My second time meeting him and most certainly not the last! I’m lucky to have such a great resource so close to me. I’m at the literal end of that filament roll an other than the braces will have all the pieces printed before bed today. Assembly will be held a day or two so I can let the paint on the tall plates dry and cure but I’ll do everything I can that doesn’t involve those parts so I’m ready.
Had great brainstorm with Dan about table options and portability. It looks like I’ll be building two lowriders and will keep this one dedicated to the craft ice. It’s important that I keep this one as food safe as I can. LR3 #2 will still be intended for ice use but it will be onsite ice use and then I’ll also be able to play with other materials should the desire arise. LR3 #2 won’t be ‘needed’ until November/December.
That better do it for today. I have a couple of carvings that REALLY need their first coat of sealer applied and it’s getting late. The requisite motor noises were made as I drove these around the table to make sure they worked.
I was just catching up more on all that’s gone on since my last full catch up with the forums and ran across this statement from @Ryan
“The only restriction is the Y axis needs to be longer than the X.”
Have I missed a critical bit of prebuild think-through on my LR3? I’m building it with 20" of X travel but only 10" of Y travel. There isn’t some bit in the config that requires Y to be greater than X is there?
No prob, software can be configured with Y < X. However…
If Y > X, then, can CNC permanent Strut plates if usable Y is at least usable X plus 180mm. IF Y is too short, then cutting Strut diagonally might be an option, otherwise ‘tiling’ or just hand cut printed template might be needed.
At that short of a gantry, you would have almost no difference in rigidity no matter which of the two distances were the X.
Since LowRiders often / usually have long X gantry run (which is “unsupported” except for the strut webbing aiding the EMT tube strength) and even longer Y table run (which is “supported” by the table itself), a great length on the X could become a liability with regard to the gantry’s rigidity, so Ryan’s engineering training leads him to remind people that a long run is better situated on Y.
In cases where the X length is not overly long, and people wanted to built shorter Y for now with hopes to later extend the table and lengthen the Y, quite a few LowRider’s have been built with X > Y. But if the longer side is beyond the strength of the gantry’s reach, then that becomes problematic.
Yours will be fine. With tons of LR3’s with X gantry lengths of 50 inches or more, your 20 inches will be a walk in the park — er, or should I say, a walk in the freezer.
Agreed, except making the actual strut plate itself. The machine will be too small to cut it itself in one pass so you will need to tile it an dcut in sections or use another machine to cut it.
In order to keep snow out of bits and places my intention is to use solid strut plates.
That said, I was contemplating the replies this morning and have to say - this little detail you’ve built into the build process whereby you partially complete the machine and then use it to finish building itself is so awesome! It reminded me of by beginnings with V1…build the MPCNC, mill the parts for he MP3DP, build up the MP3DP and then print a second MPCNC. I’d feel less a ‘purist’ over my lowrider build using Dan’s YZ plates except they are apparently part of V1 history. He figures they are the first 200mm YZ plates in existence and if that’s the case I’m honoured to have those pieces part of this build!