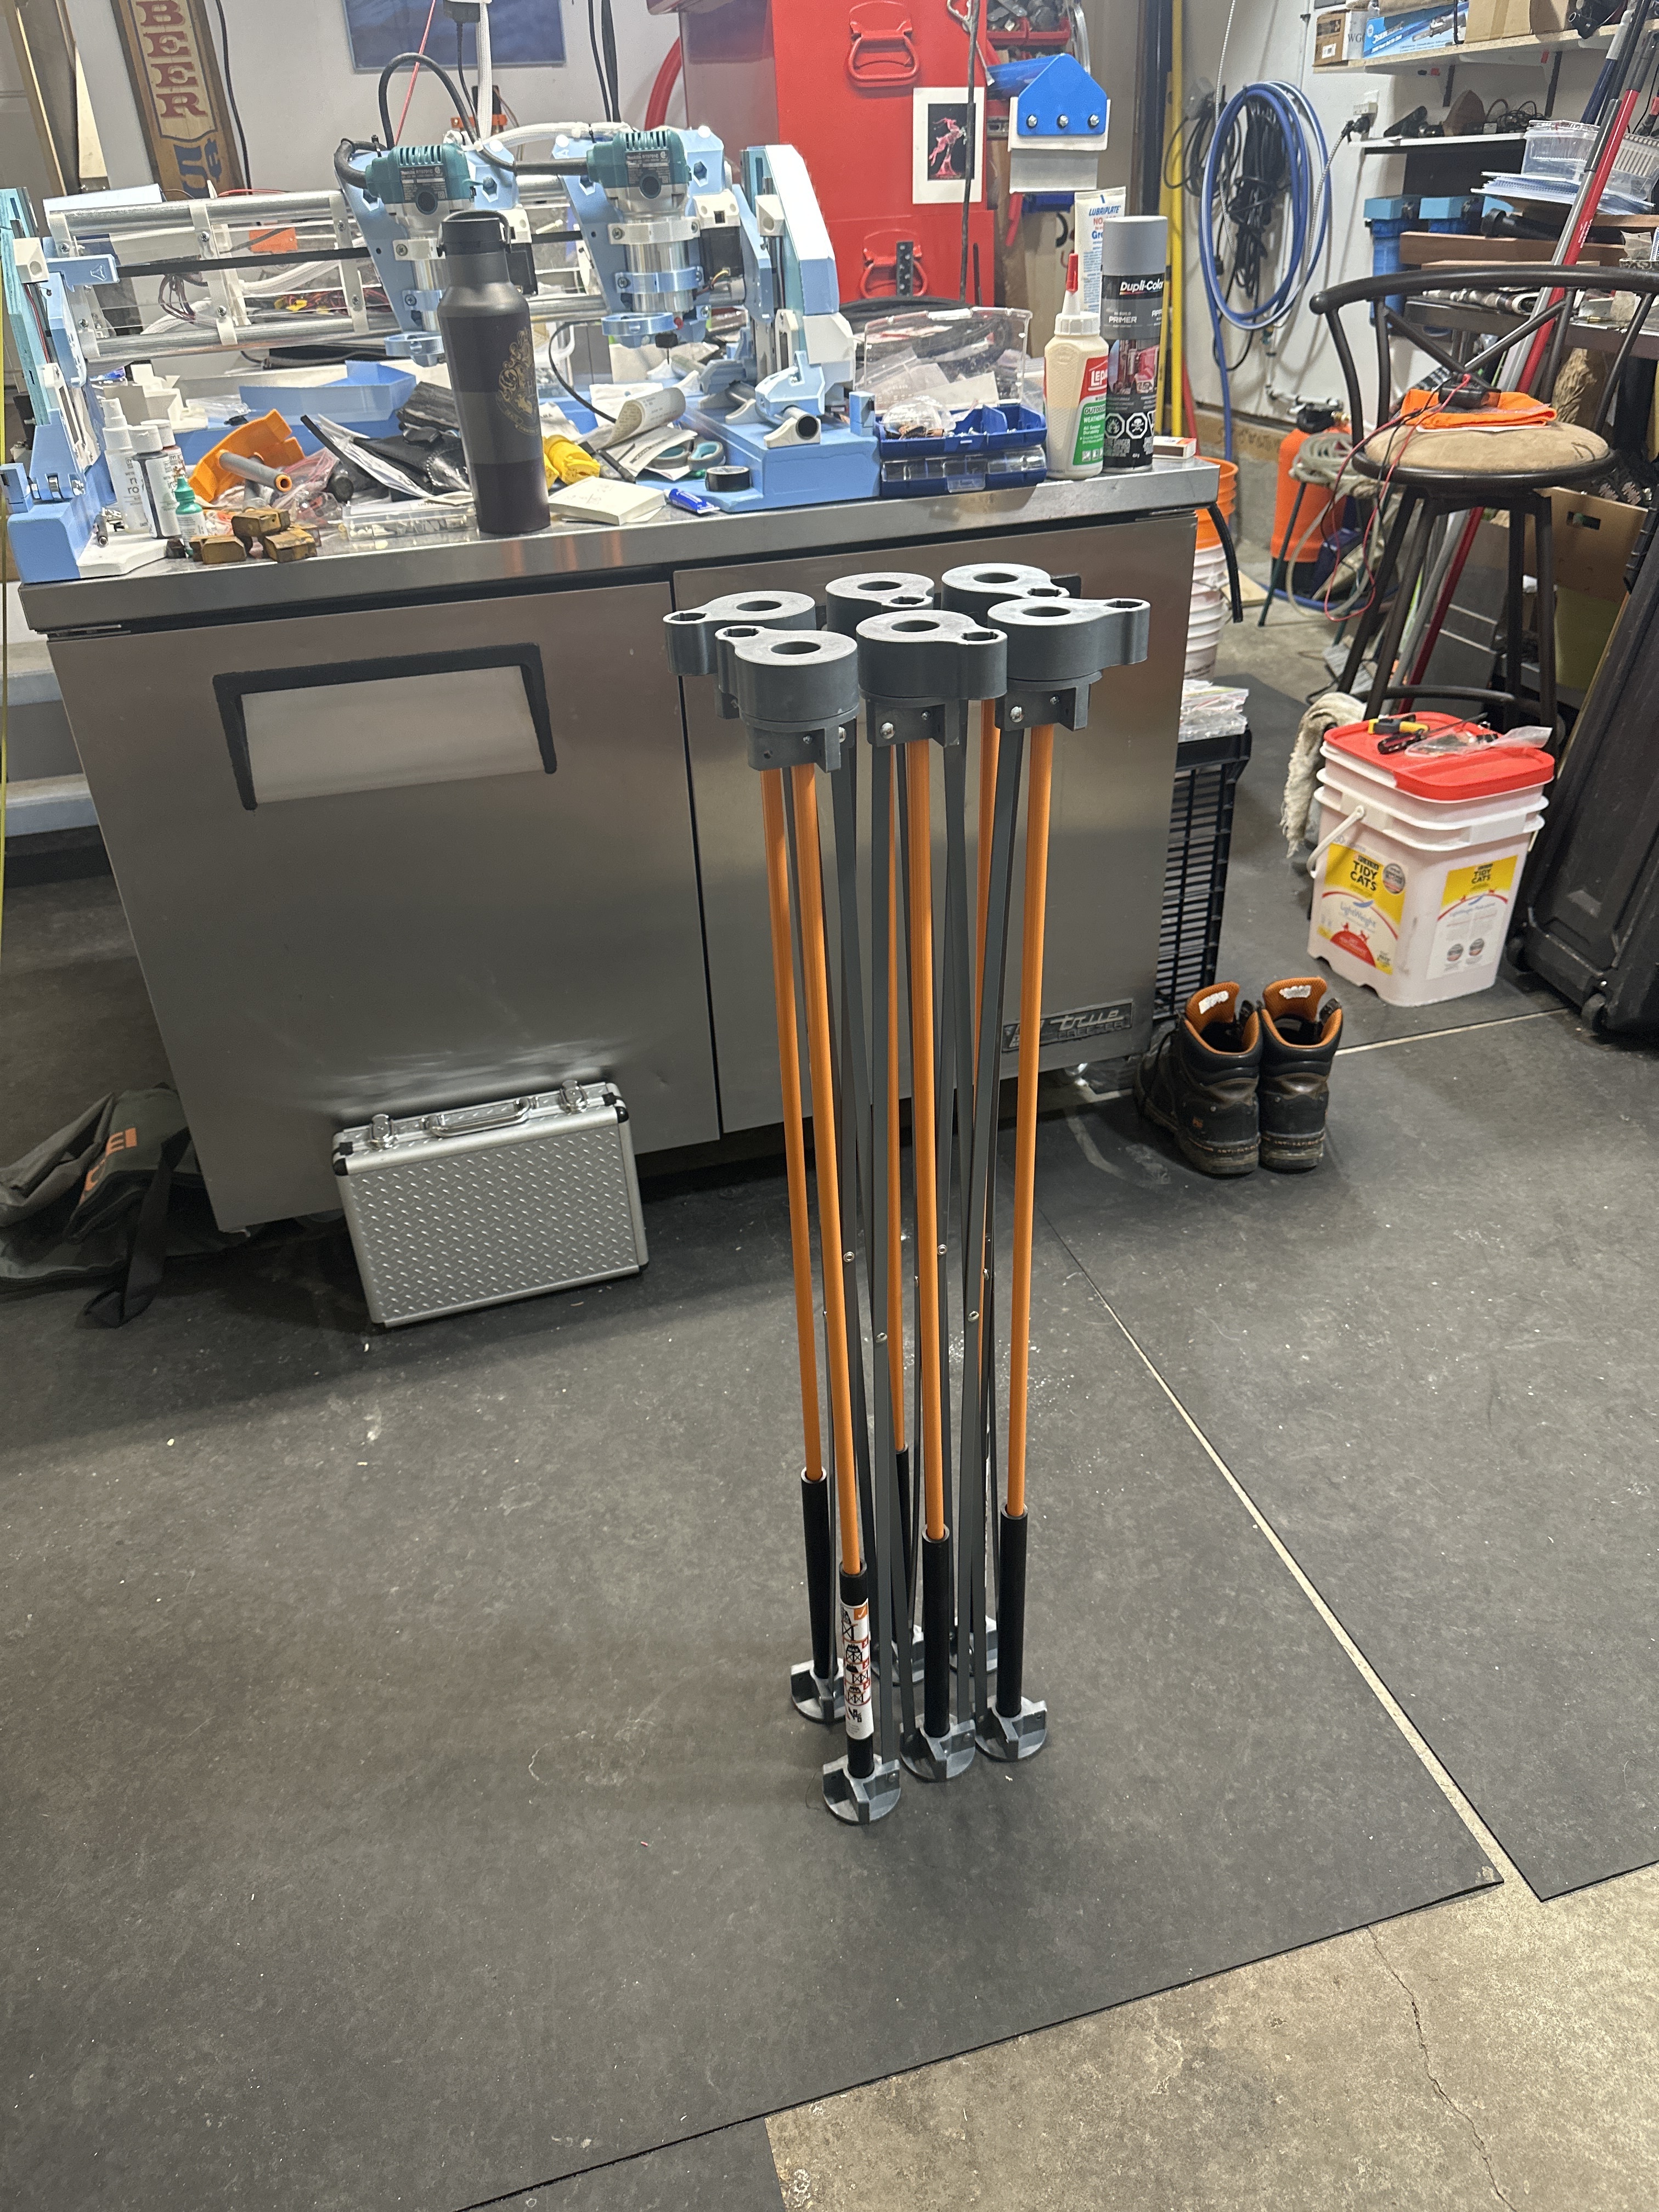
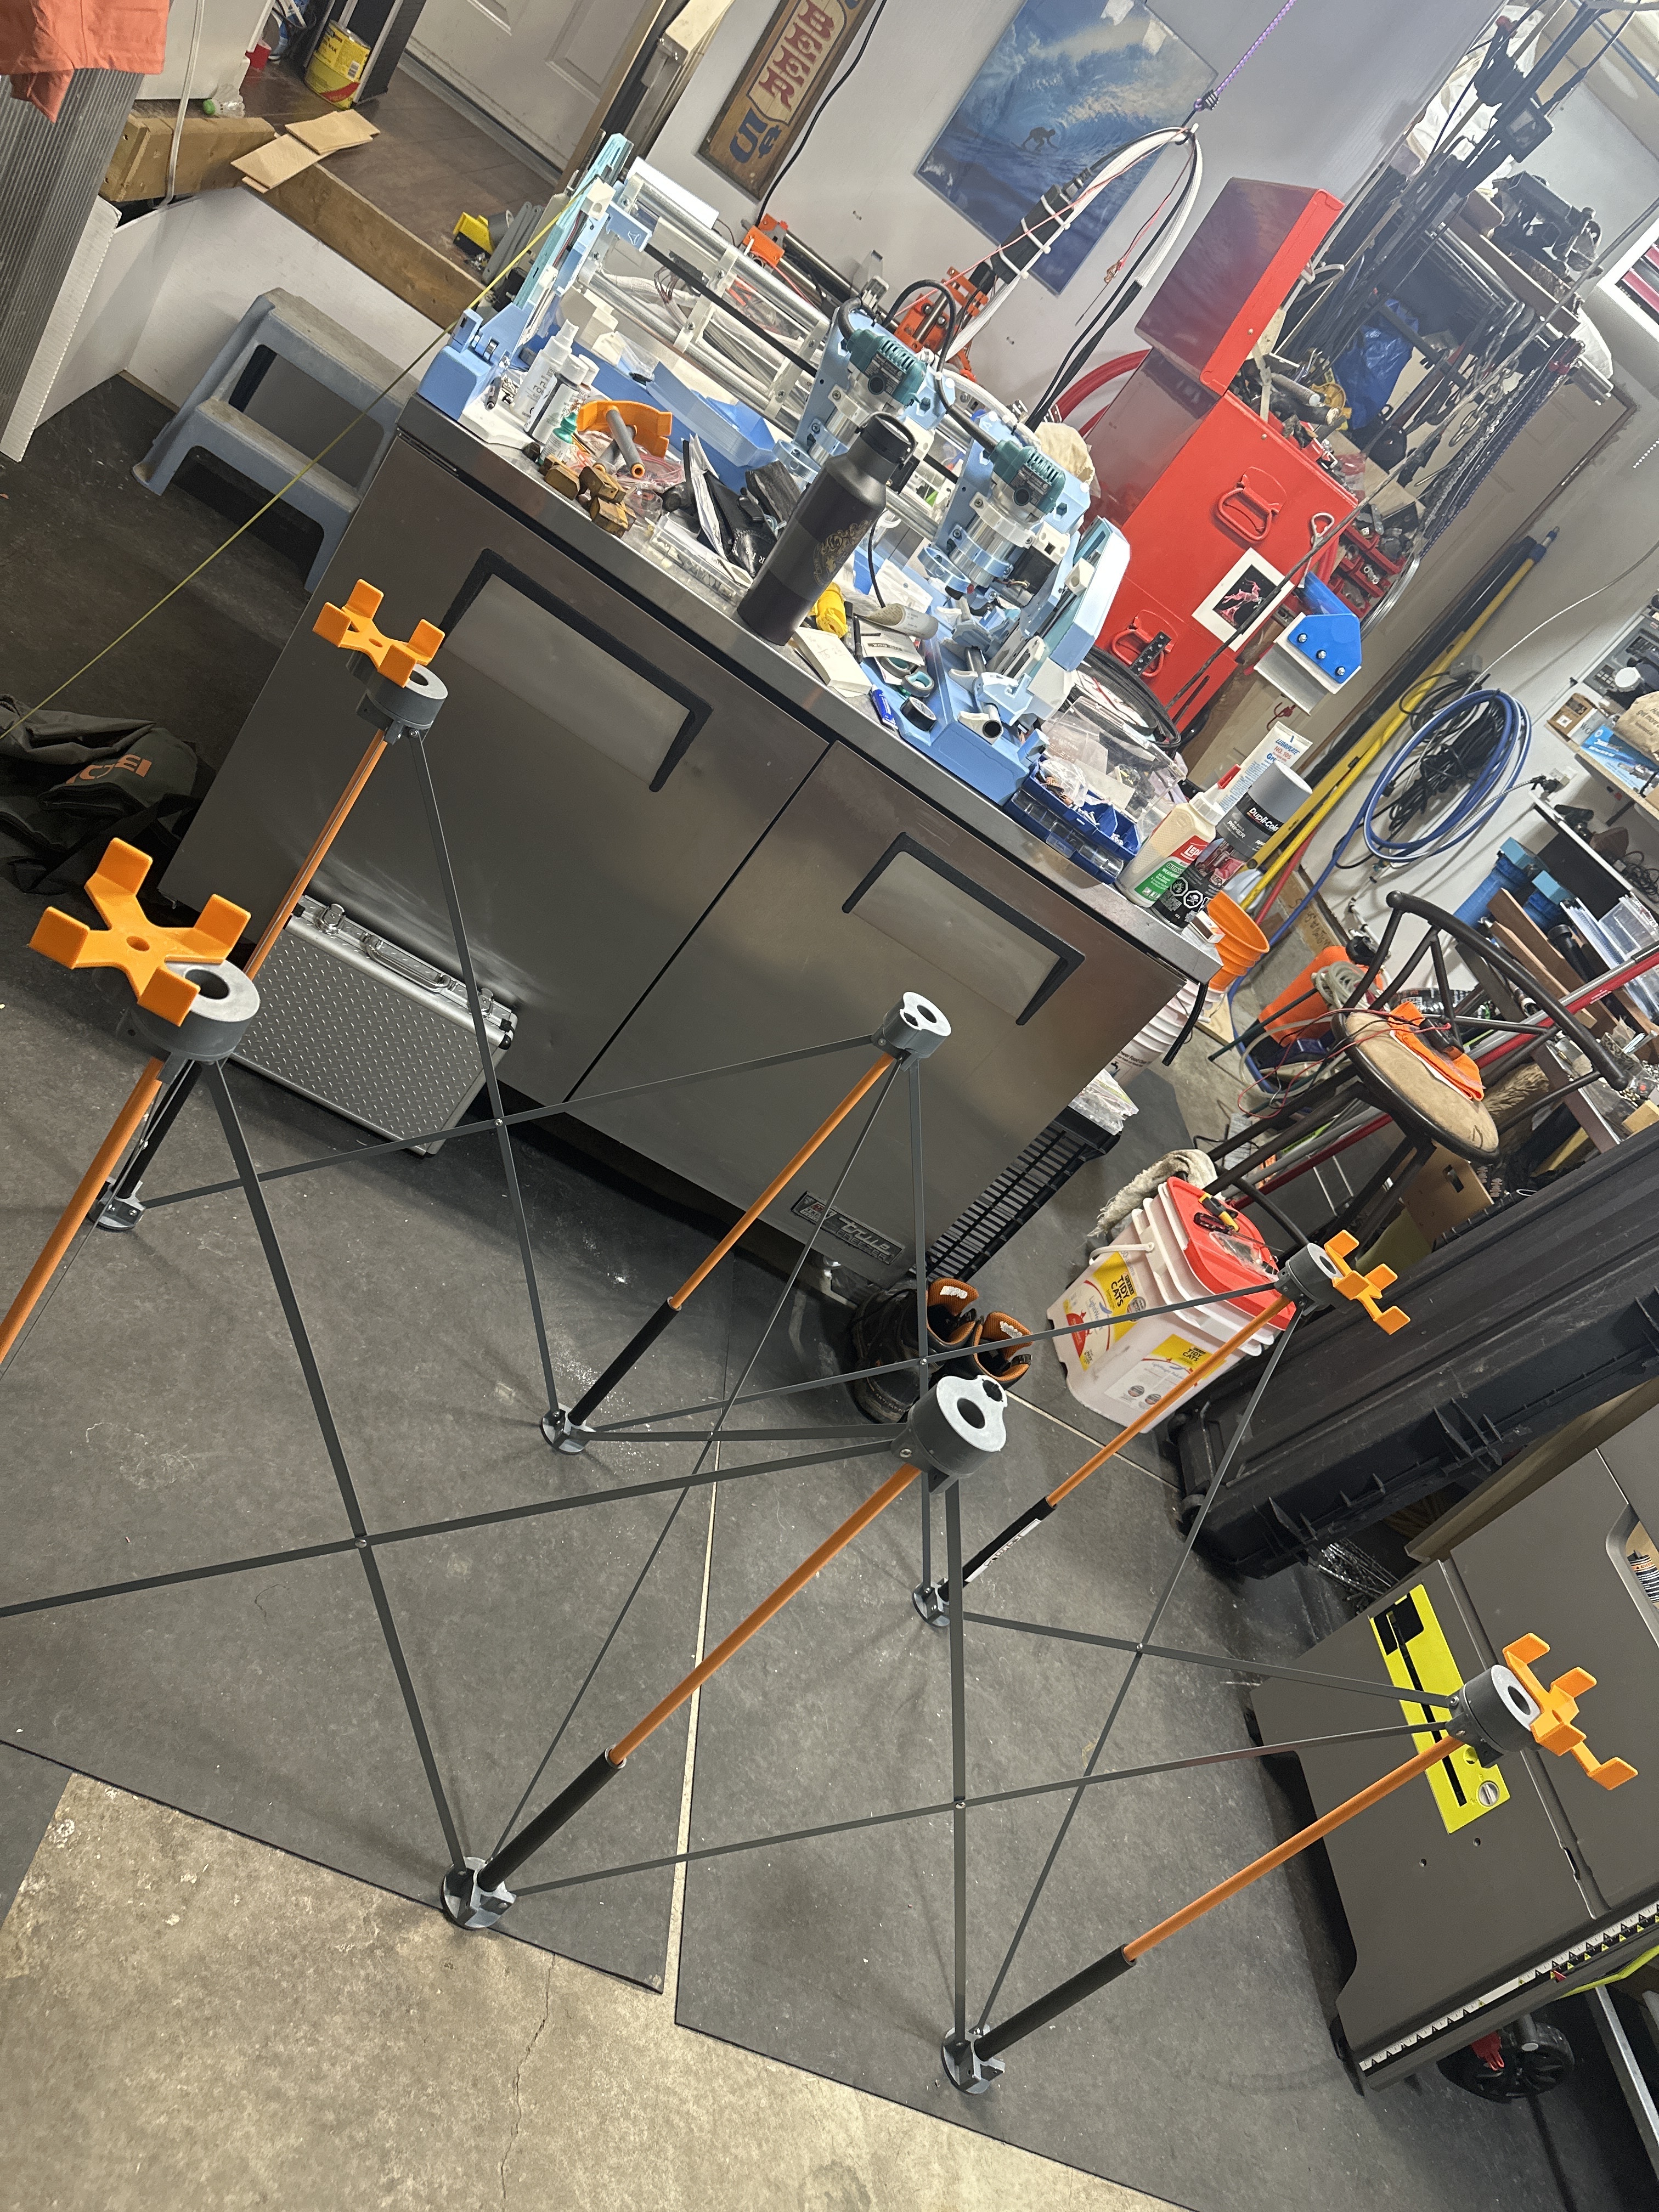
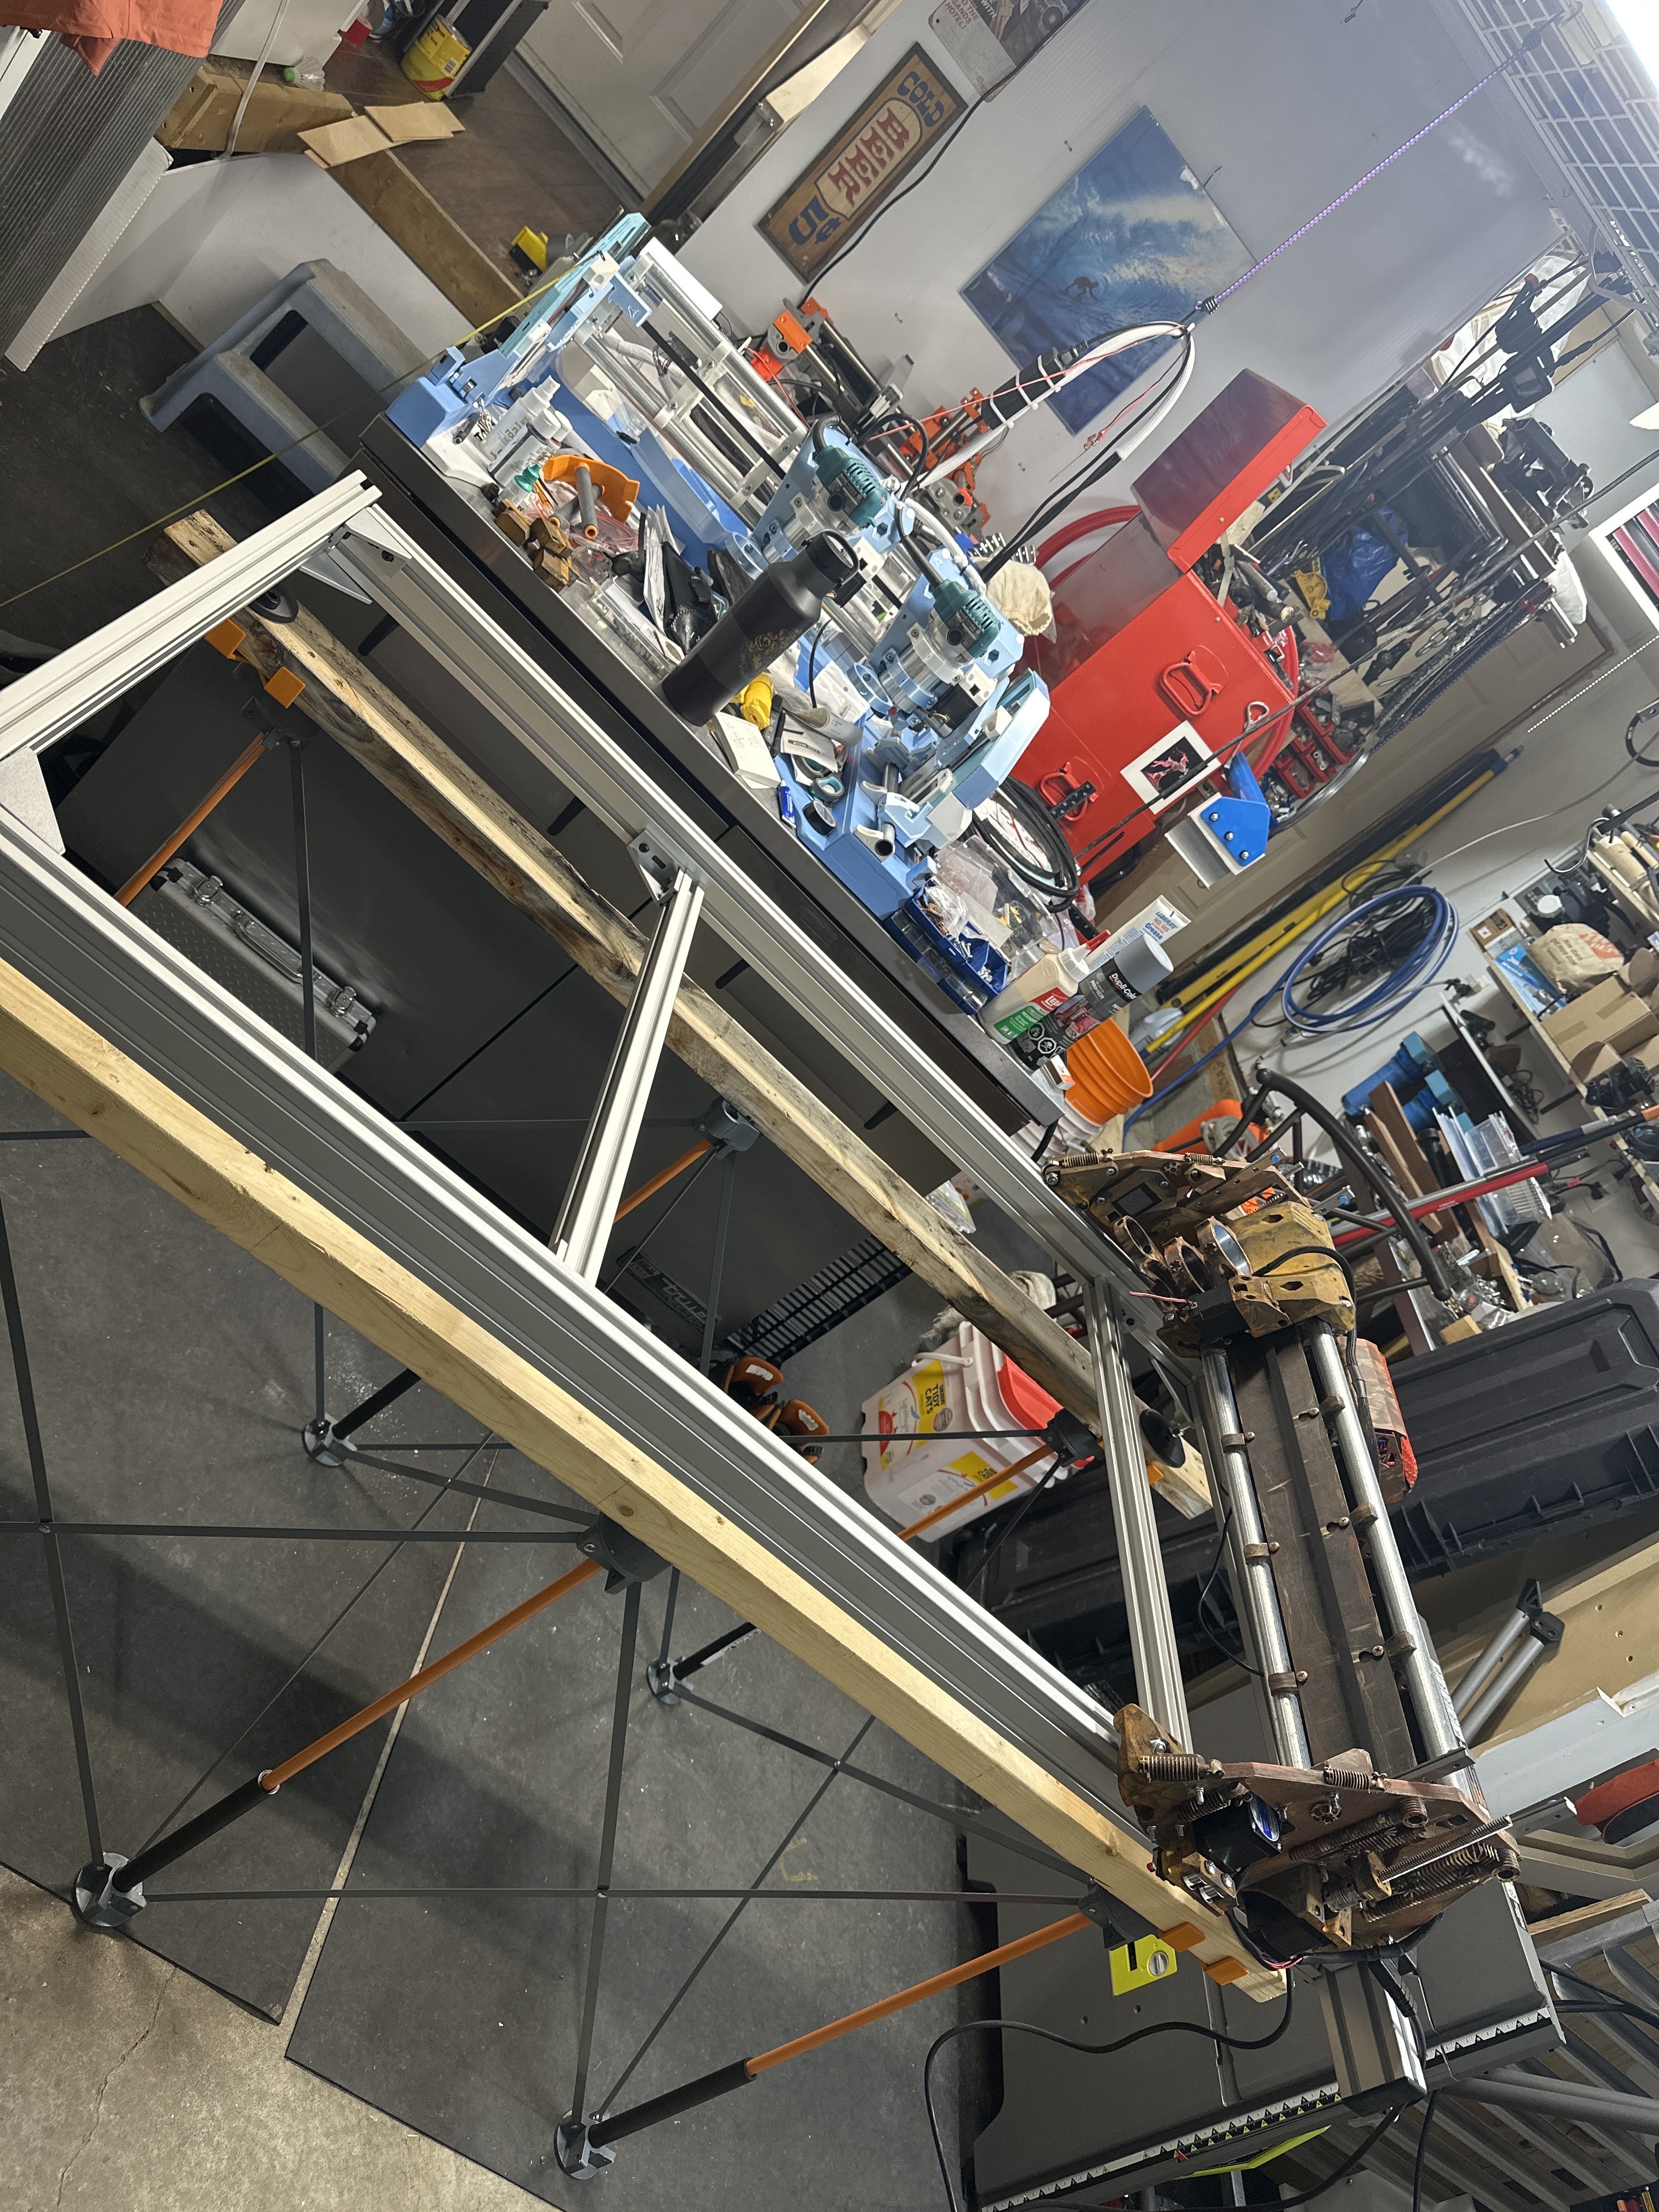
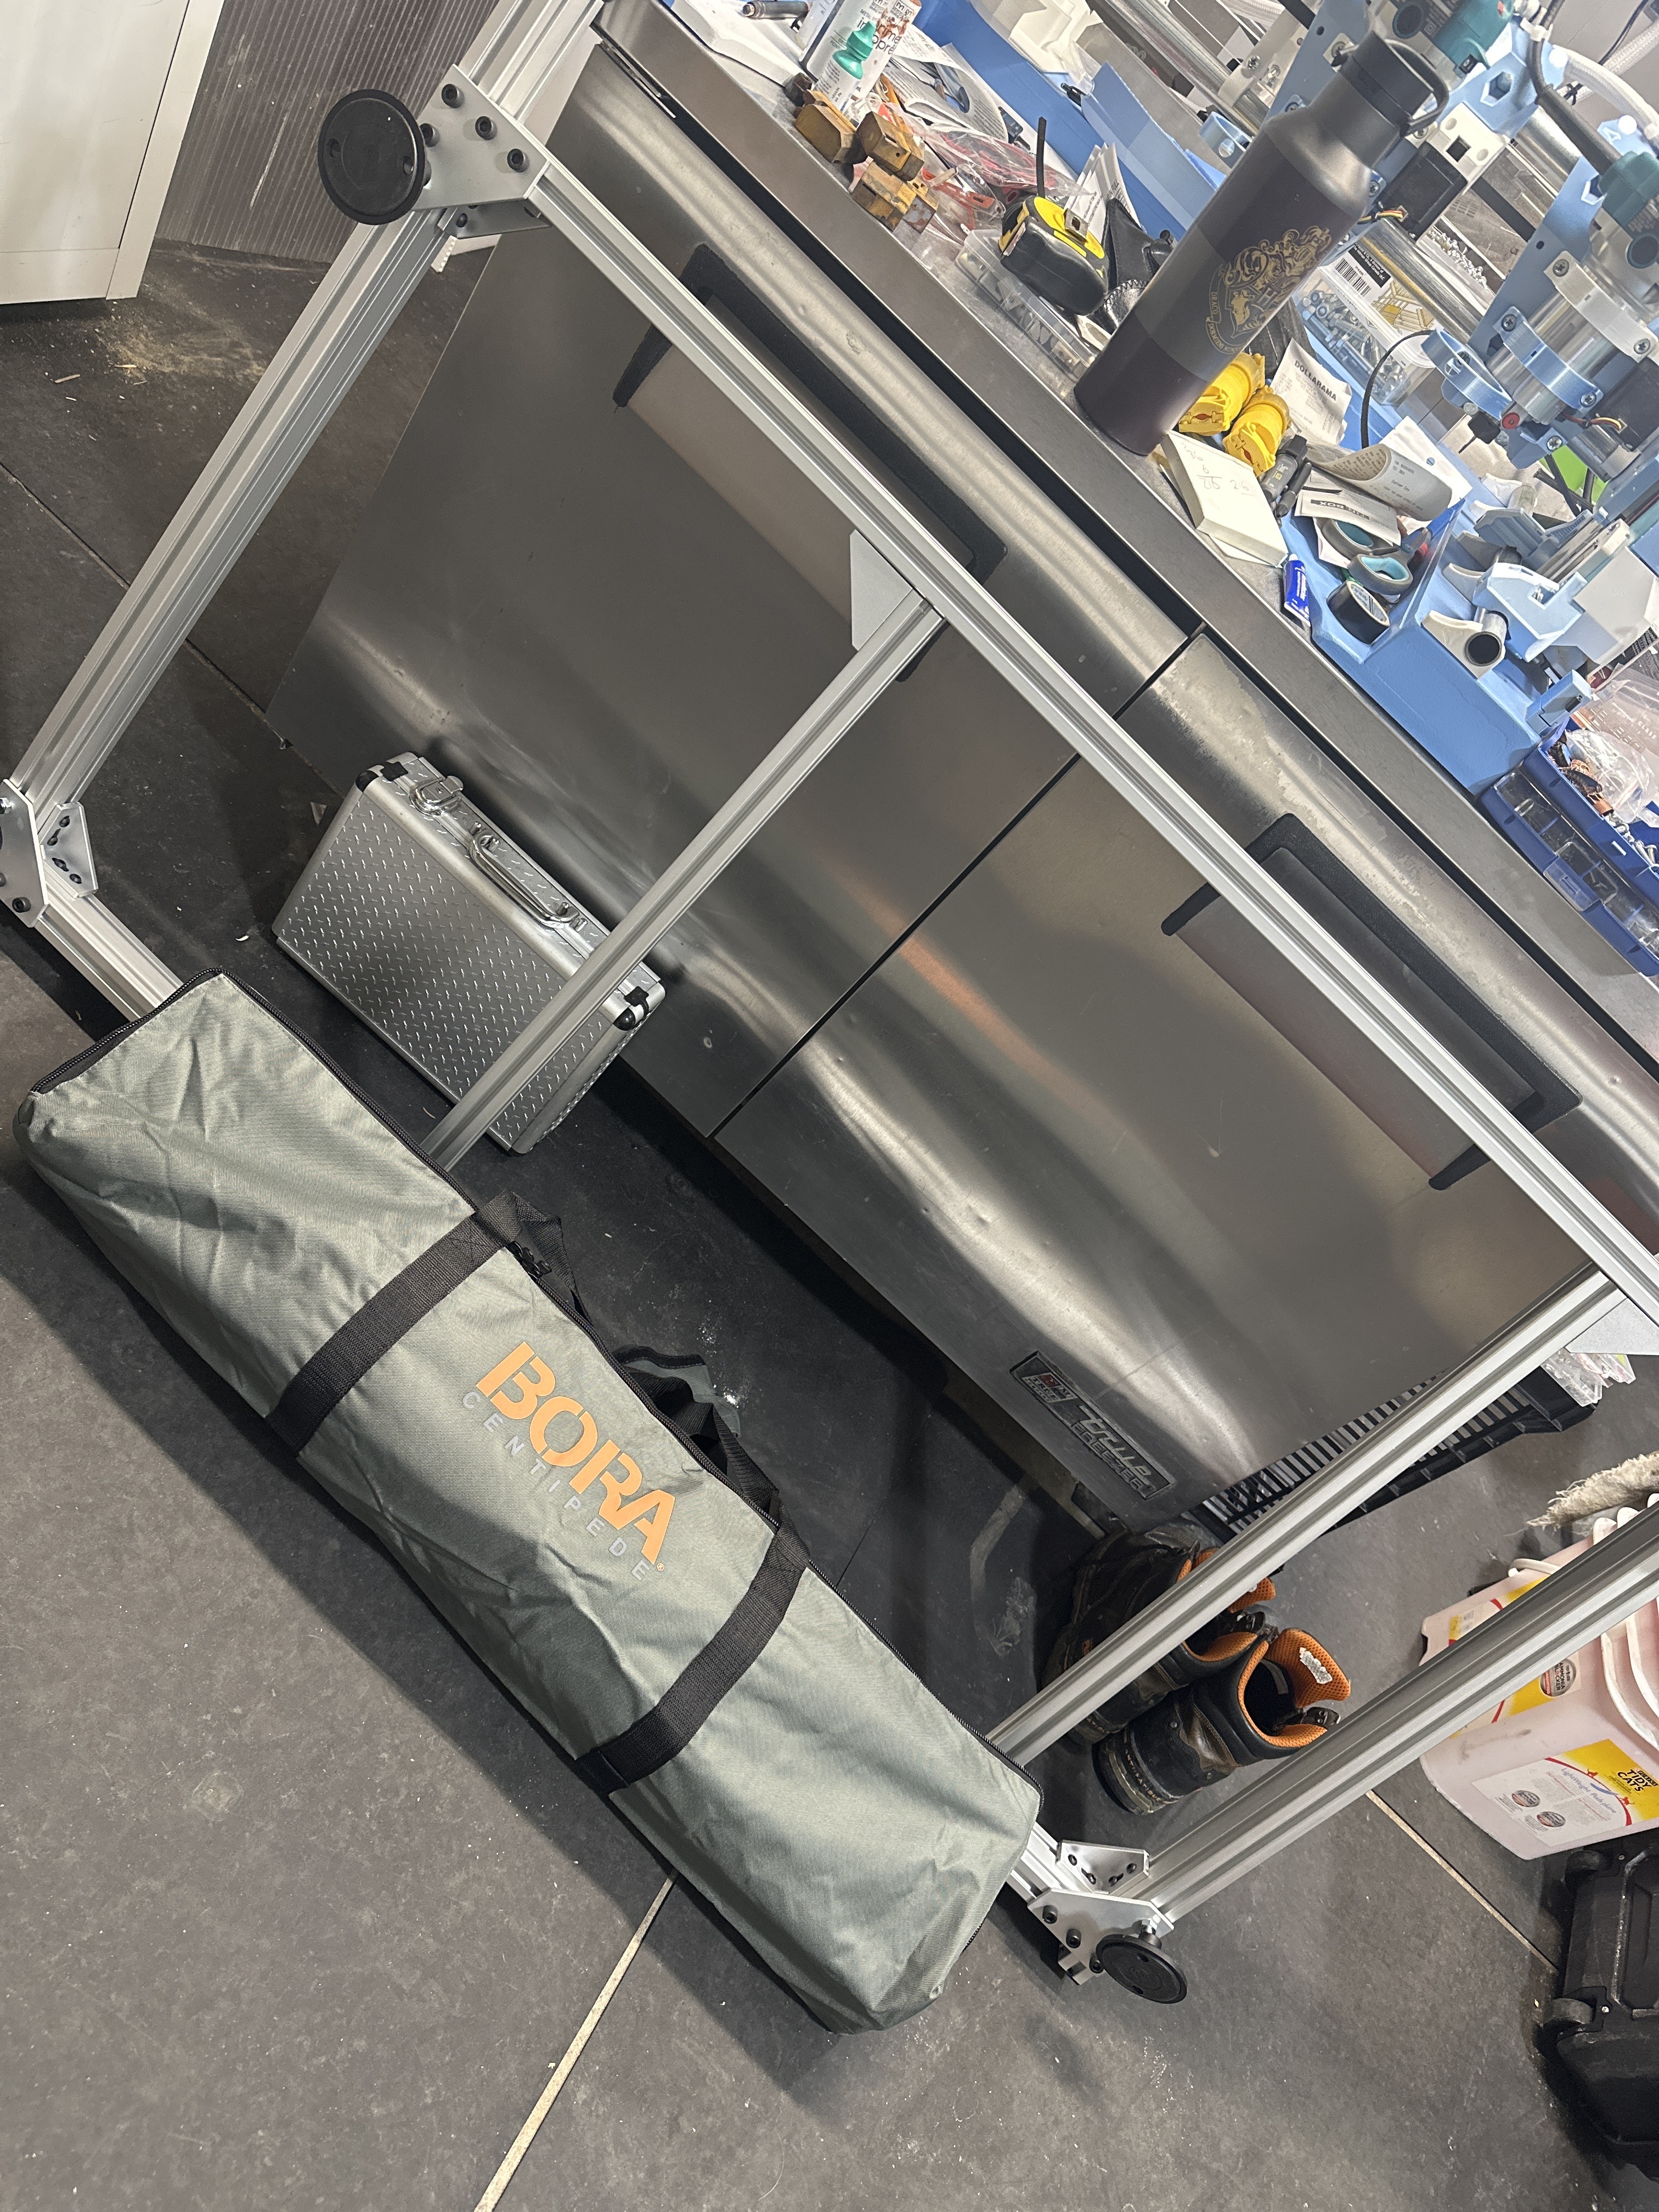
A month or two ago I stumbled onto this work platform gizmo on an Amazon auction and it caught my eye. I ordered one up and I think it’s the perfect fit for my portable (and storable) wishes for this machine. They’re called Bora Centipede Work Supports and they claim to be able to hold 2500lbs. Here’s how it goes together (and a leaked look at the LR32):
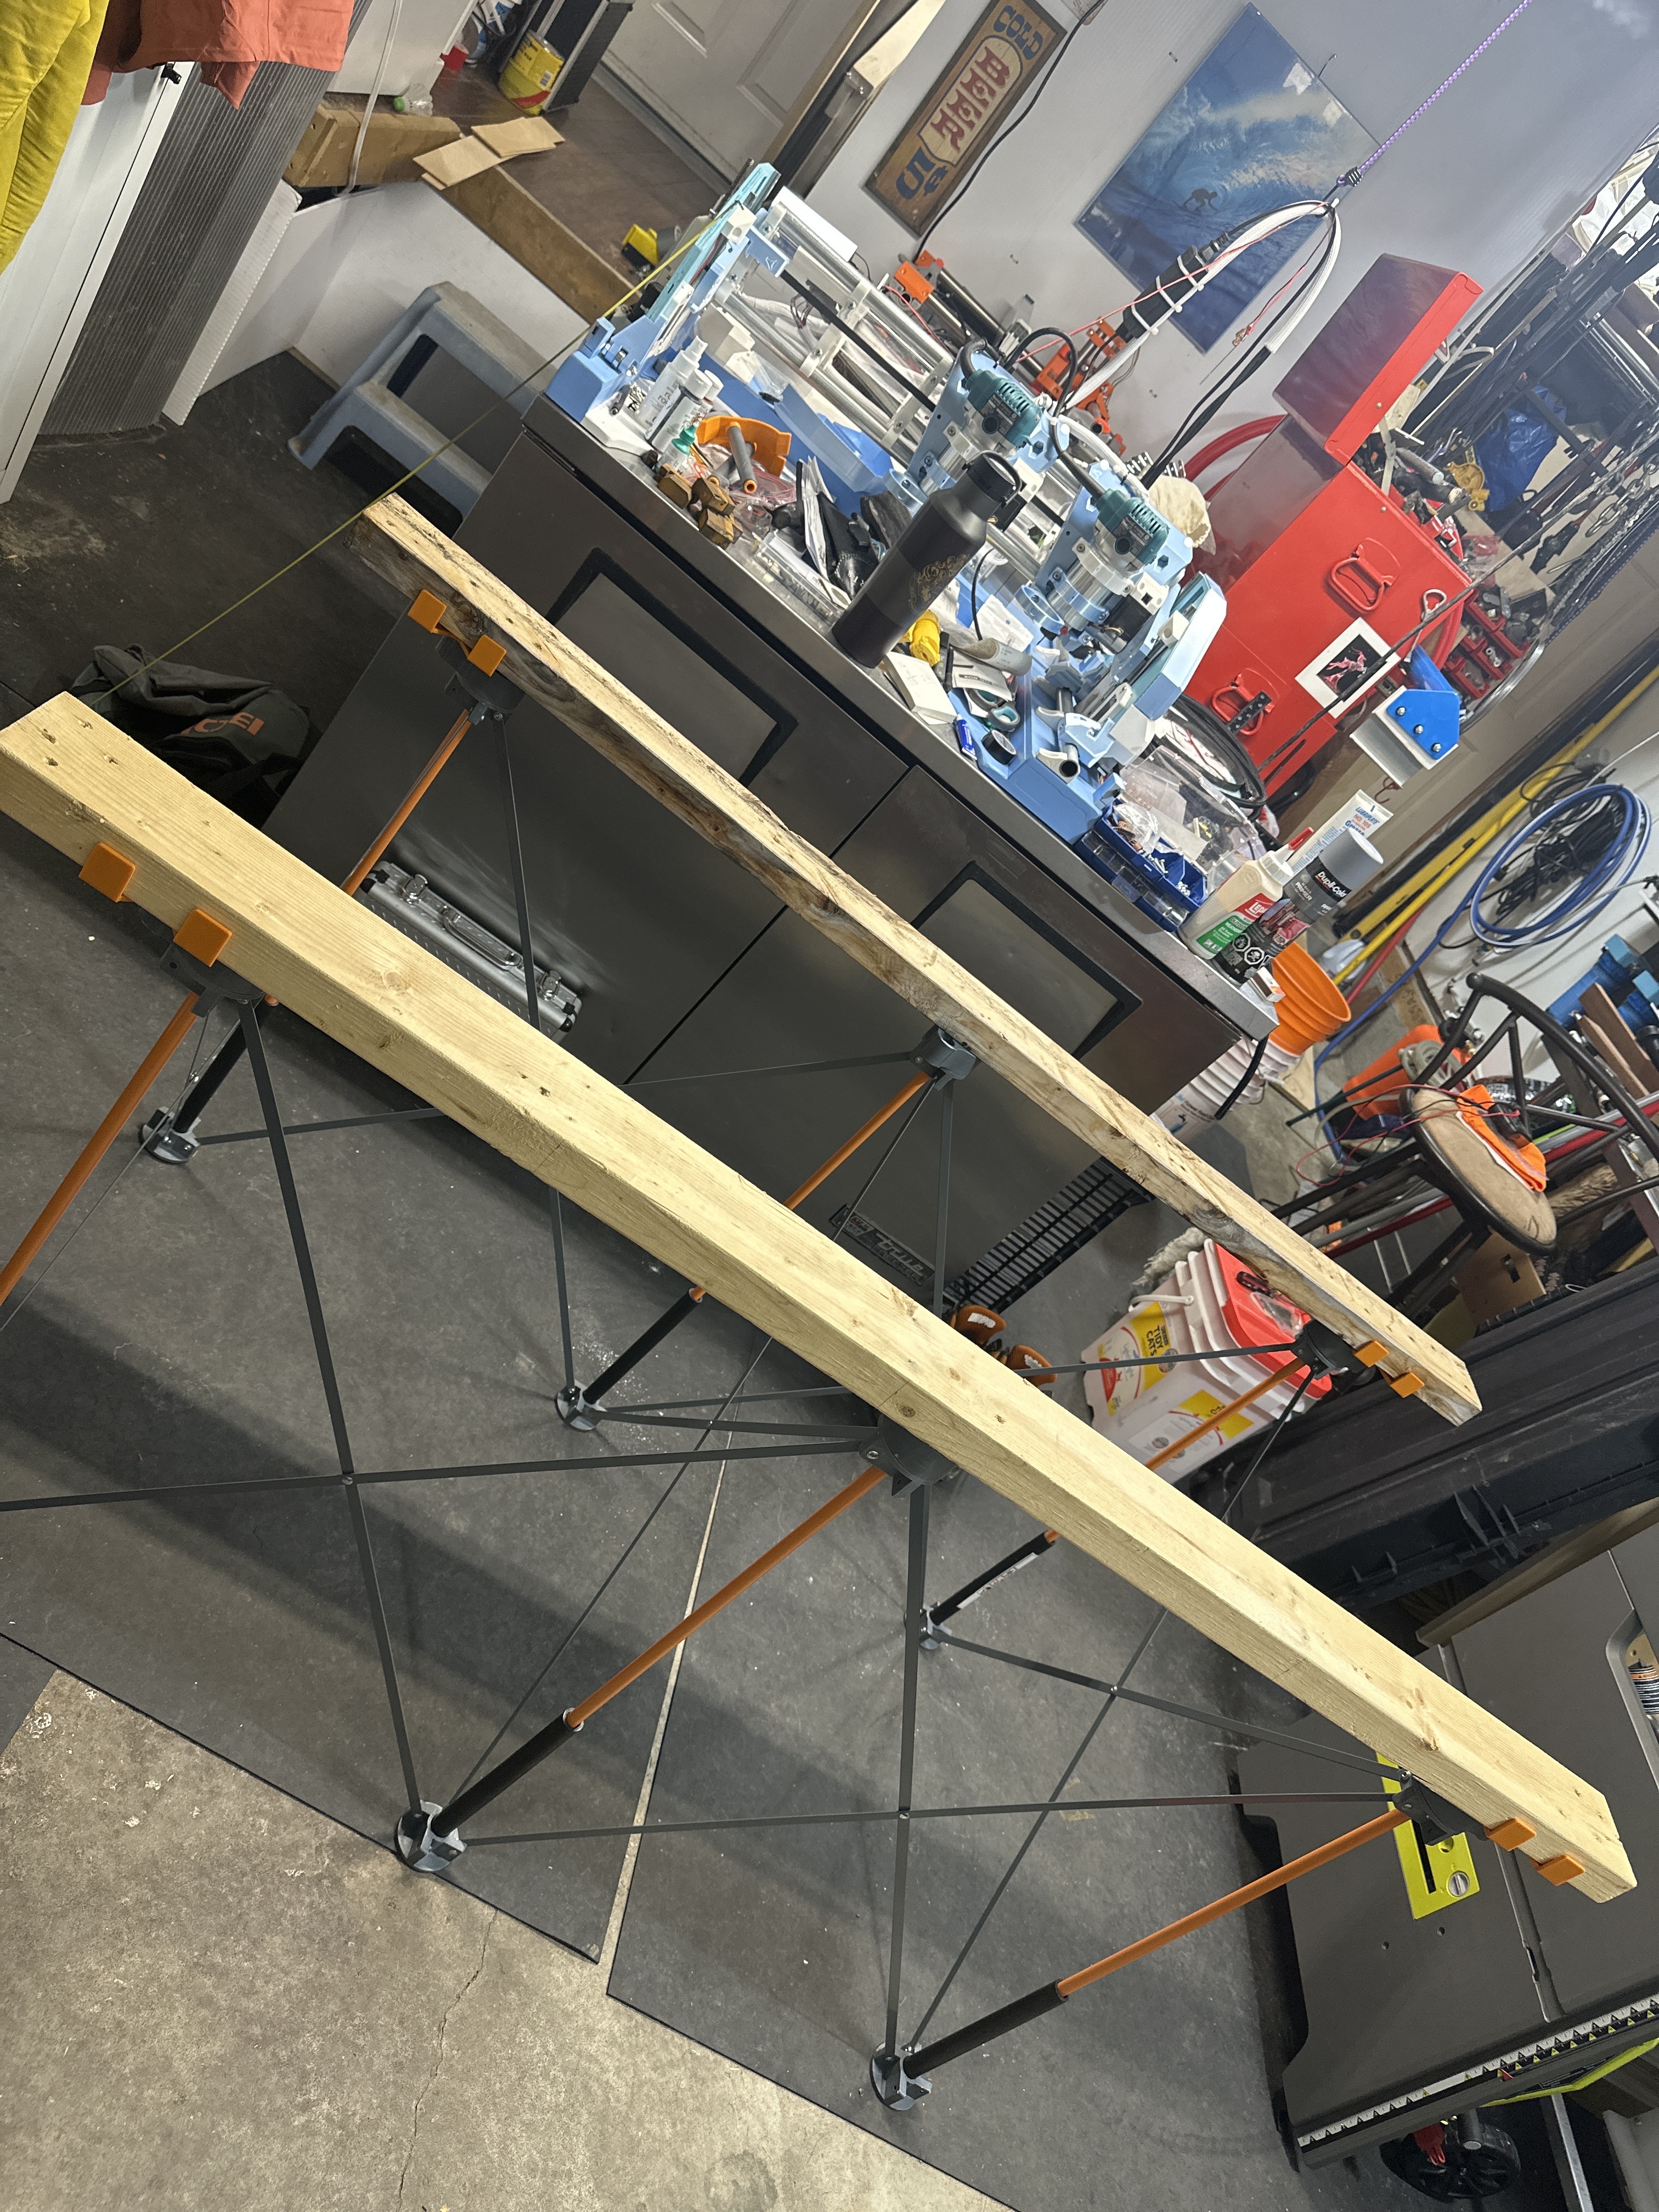
The Centipede itself weighs about 8-10lbs I’d guess. The only thing I need to add is a couple of cross boards to rest the slab of ice on. I don’t need a full sheet of plywood there but I certainly could. It would just be a teeny bit less “storable/portable” if I had to carry a 2’ x 4’ piece of plywood around with me. A few 27" boards are noting to carry around.
Keep the ideas coming! You guys might be surprised when you see what’s been in the works for this one all along here. There’s 3 more kgs of PLA parts already printed, waiting to eventually become part of this machine. And no, those additional elements didn’t come from a V1 download.
I’ve said too much…
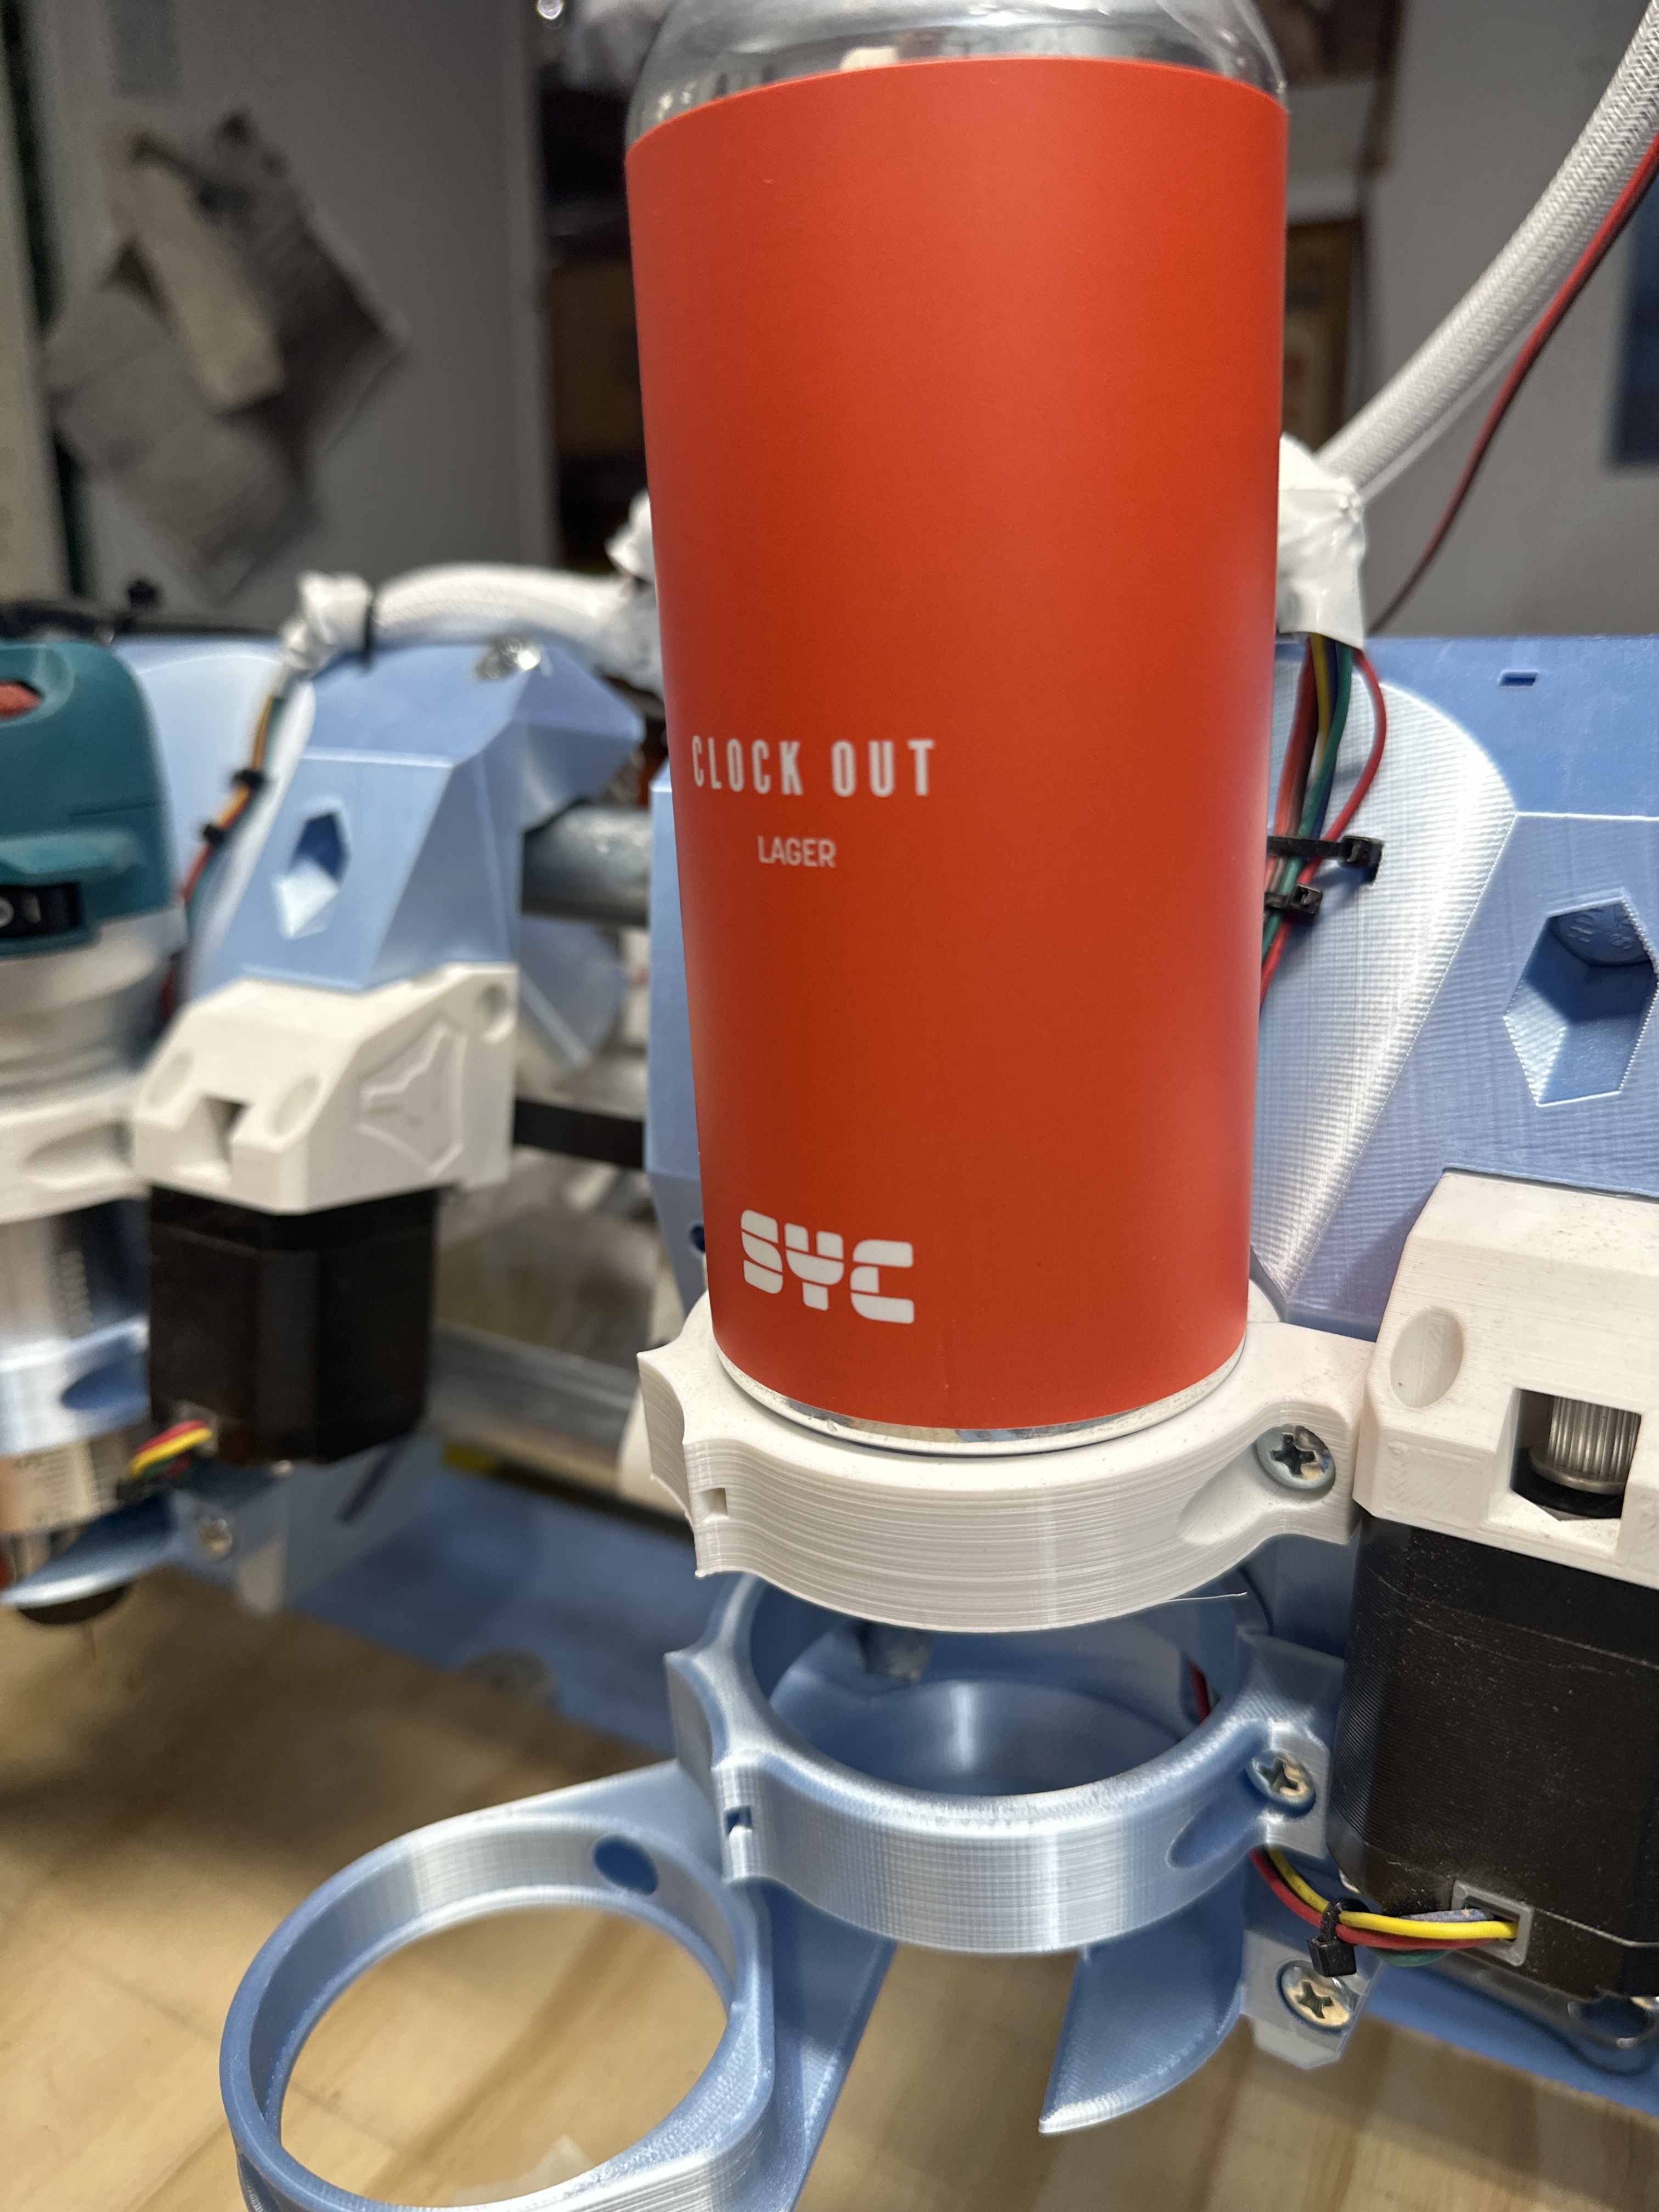
Sadly, Makitas are a touch more slender than a tall boy.
We’re close. We need a problem to solve. I think we could get on hackaday if we get this right. There must be a fridge that can drop a can out like a vending machine.
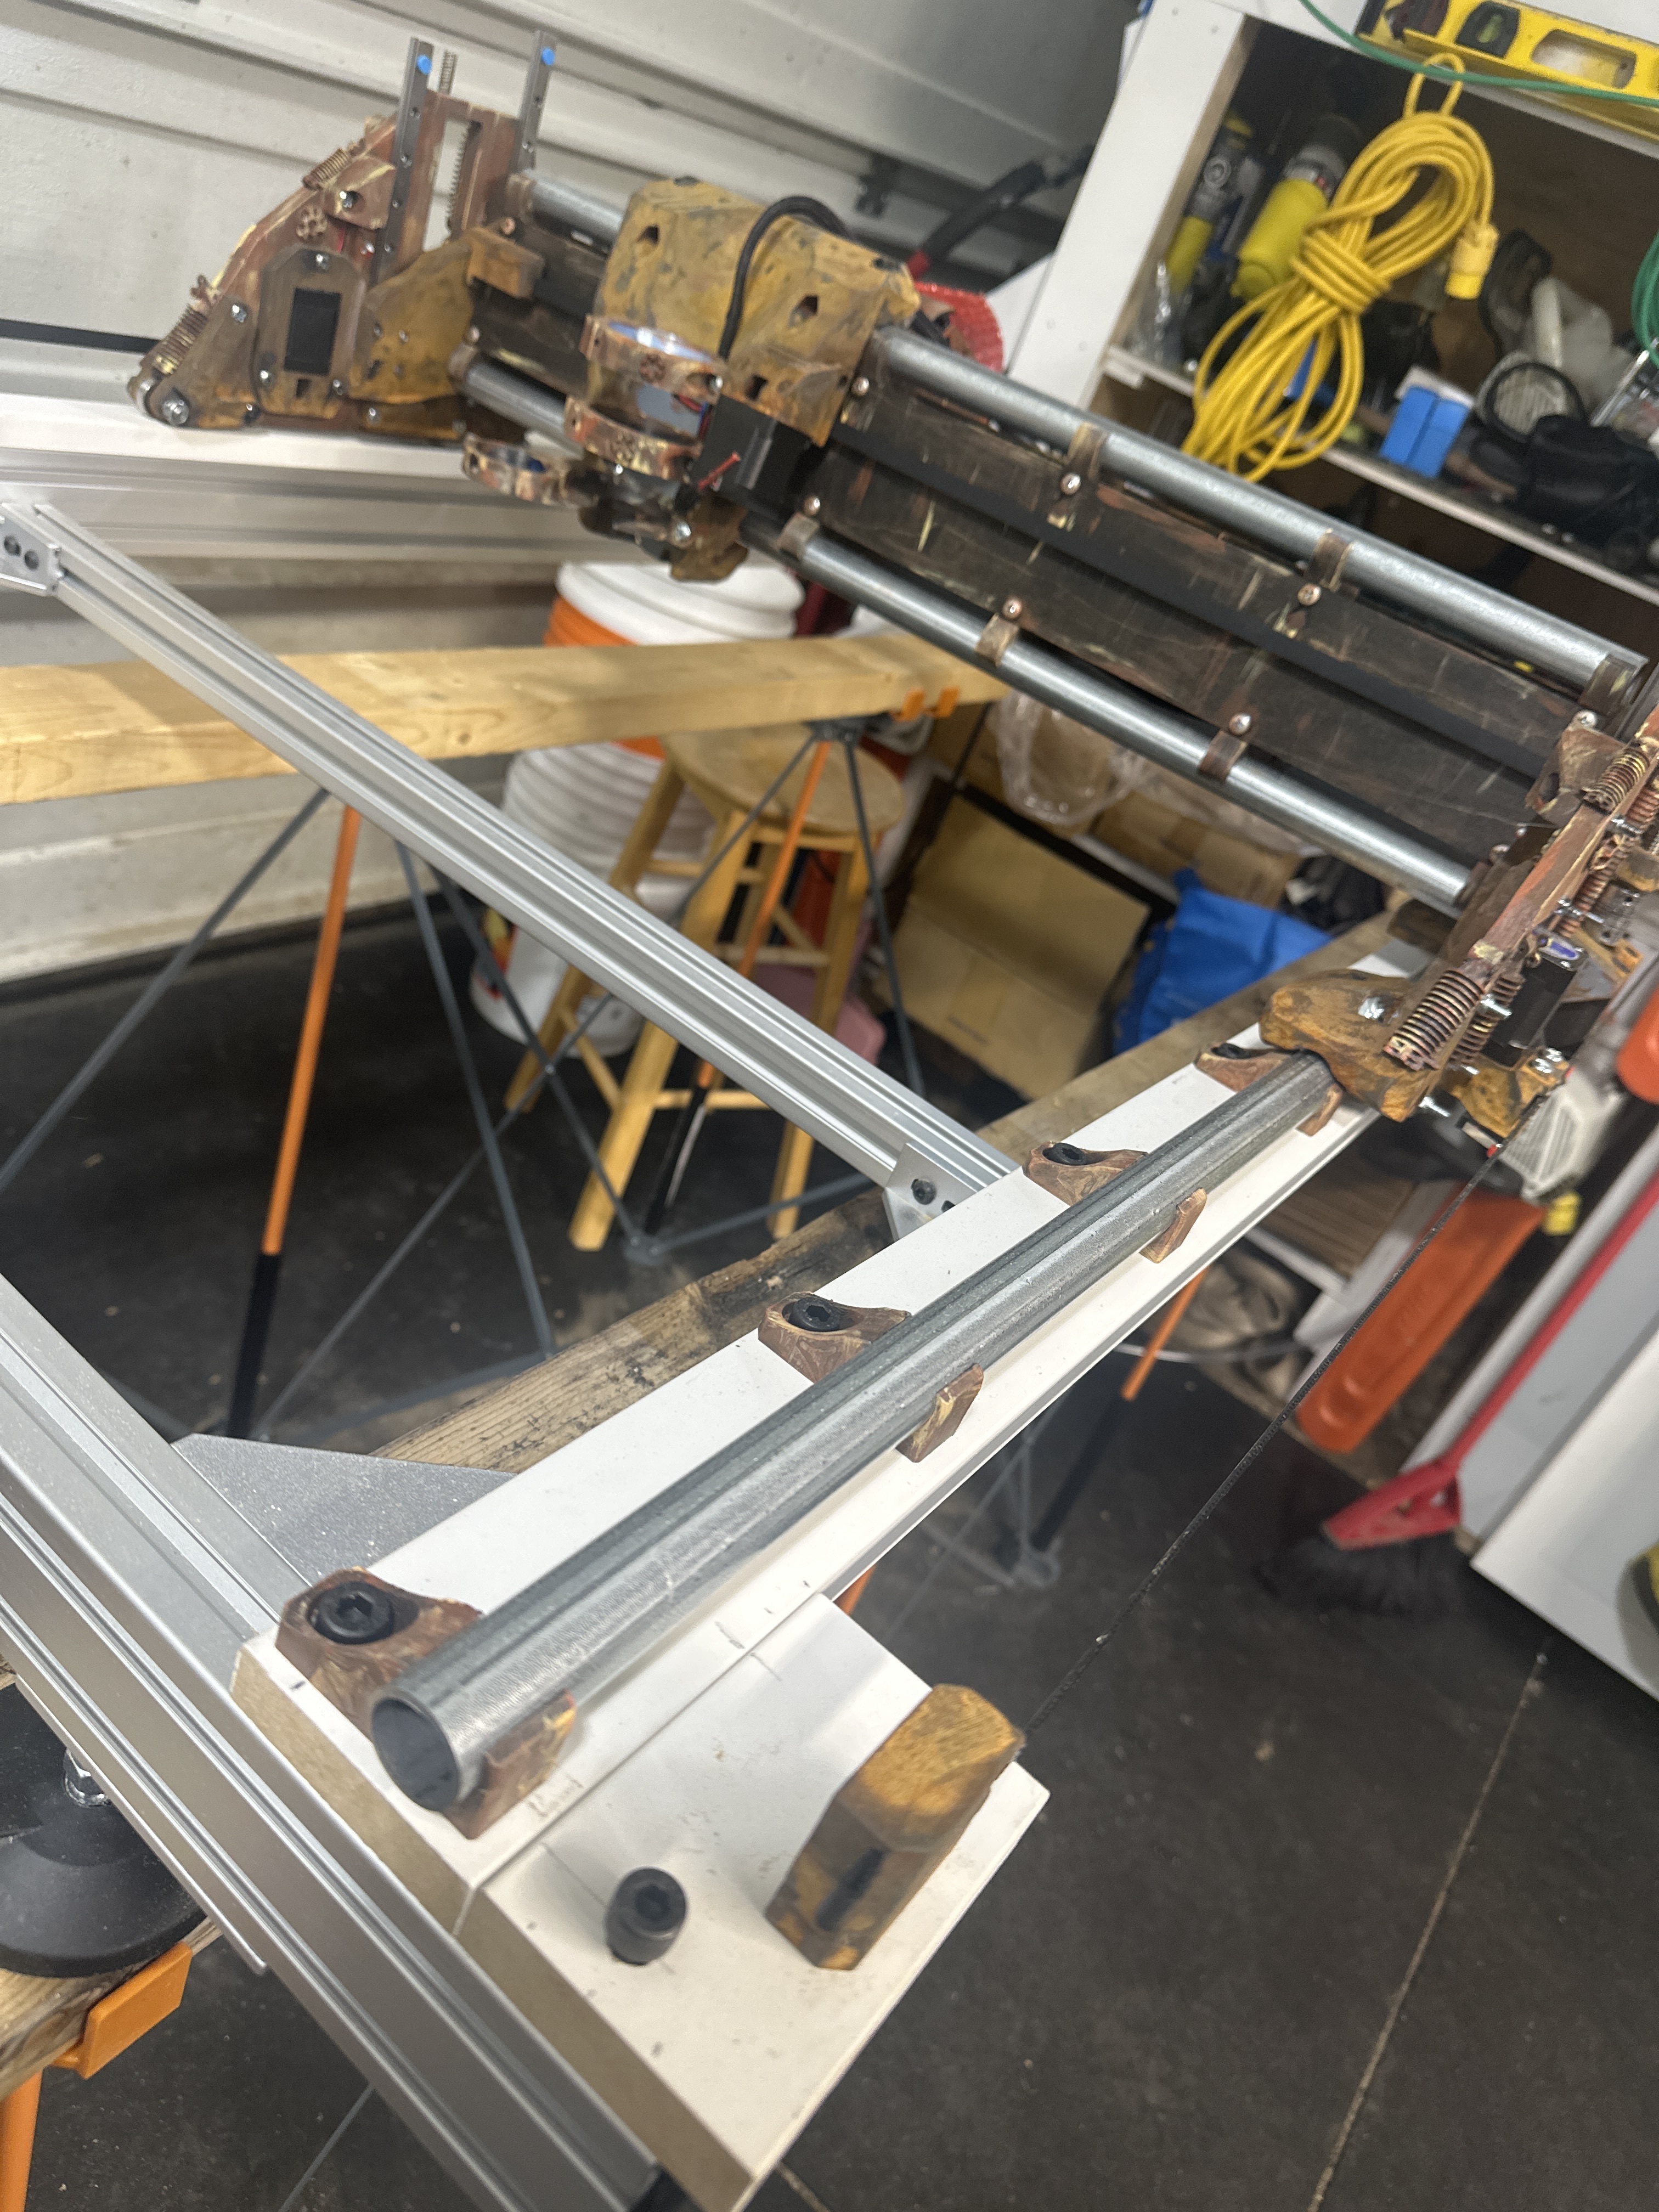
It’s a combination of Modern Masters Rust Patina and dollar store acrylics. It’s a combination because the 2oz kit of Modern Masters is hella expensive and was just enough to do the ‘key’ elements. I still have quite a bit of the primer and iron paint left - it goes surprisingly far actually. But the activator doesn’t go very far and another bottle is only attainable in large volume and quite, quite expensive. I tried every chemical combination suggested online in effort to make my own but nothing gave anything close to the effect the actual activator gives (which is stunning) so I abandoned the meth lab route and just went with faux painting.
The super cool thing is that the iron paint coated parts will continue to patina with exposure to the snow spray and then melt from the ice work it’ll be doing. This may bite me in the ass if any of the rust drips onto the ice in which case I can “lock in” the patina with a clearcoat to stop that from happening.
It was a bit of a pain though to be honest. The prep work (sanding of the PLA) and then the subsequent layers of primer and paint actually made a lot of the parts not fit and I had to selectively decide if it was the part or the receiving installation point that had to be sanded back down again to fit. This was especially true with the Z and Y stepper brackets that had to insert through the plates. In these cases I sanded and filed both the openings in the plates as well as the parts themselves. It also required careful redrilling of some of the bolt channels. And let’s not even talk about what it did to all of the belt passthrough points. Just getting the belt slots opened back up again took about 2 hours of extra work combined. Probably an extra 45 minutes of effort required to get the belt block assemblies to slide into each other again too. Sure, I could have masked some of these spots prior to painting but that also would have taken time and brain cells to predetermine.
Why did I do it? Well, partly because of what’s yet to come - the 3kg of PLA prints I have yet to reveal which are “part” of this build. But also because I figure if I’m going to be playing around with a machine like this as a regular part of my day-to-day I might as well put some extra fun into it so I can enjoy it that much more…much like the Bumble dual core machine. Also, this machine will be going on-site with me at festivals and events so when people see it they’ll be entertained by the build too. I’ll tell you this much though - I’m glad this was my second lowrider build and not my first. Having built the Bumble already I know how PERFECT the parts are designed. If I had been trying to sand and grind and drill things into place on my first build I’d have been quite frustrated.
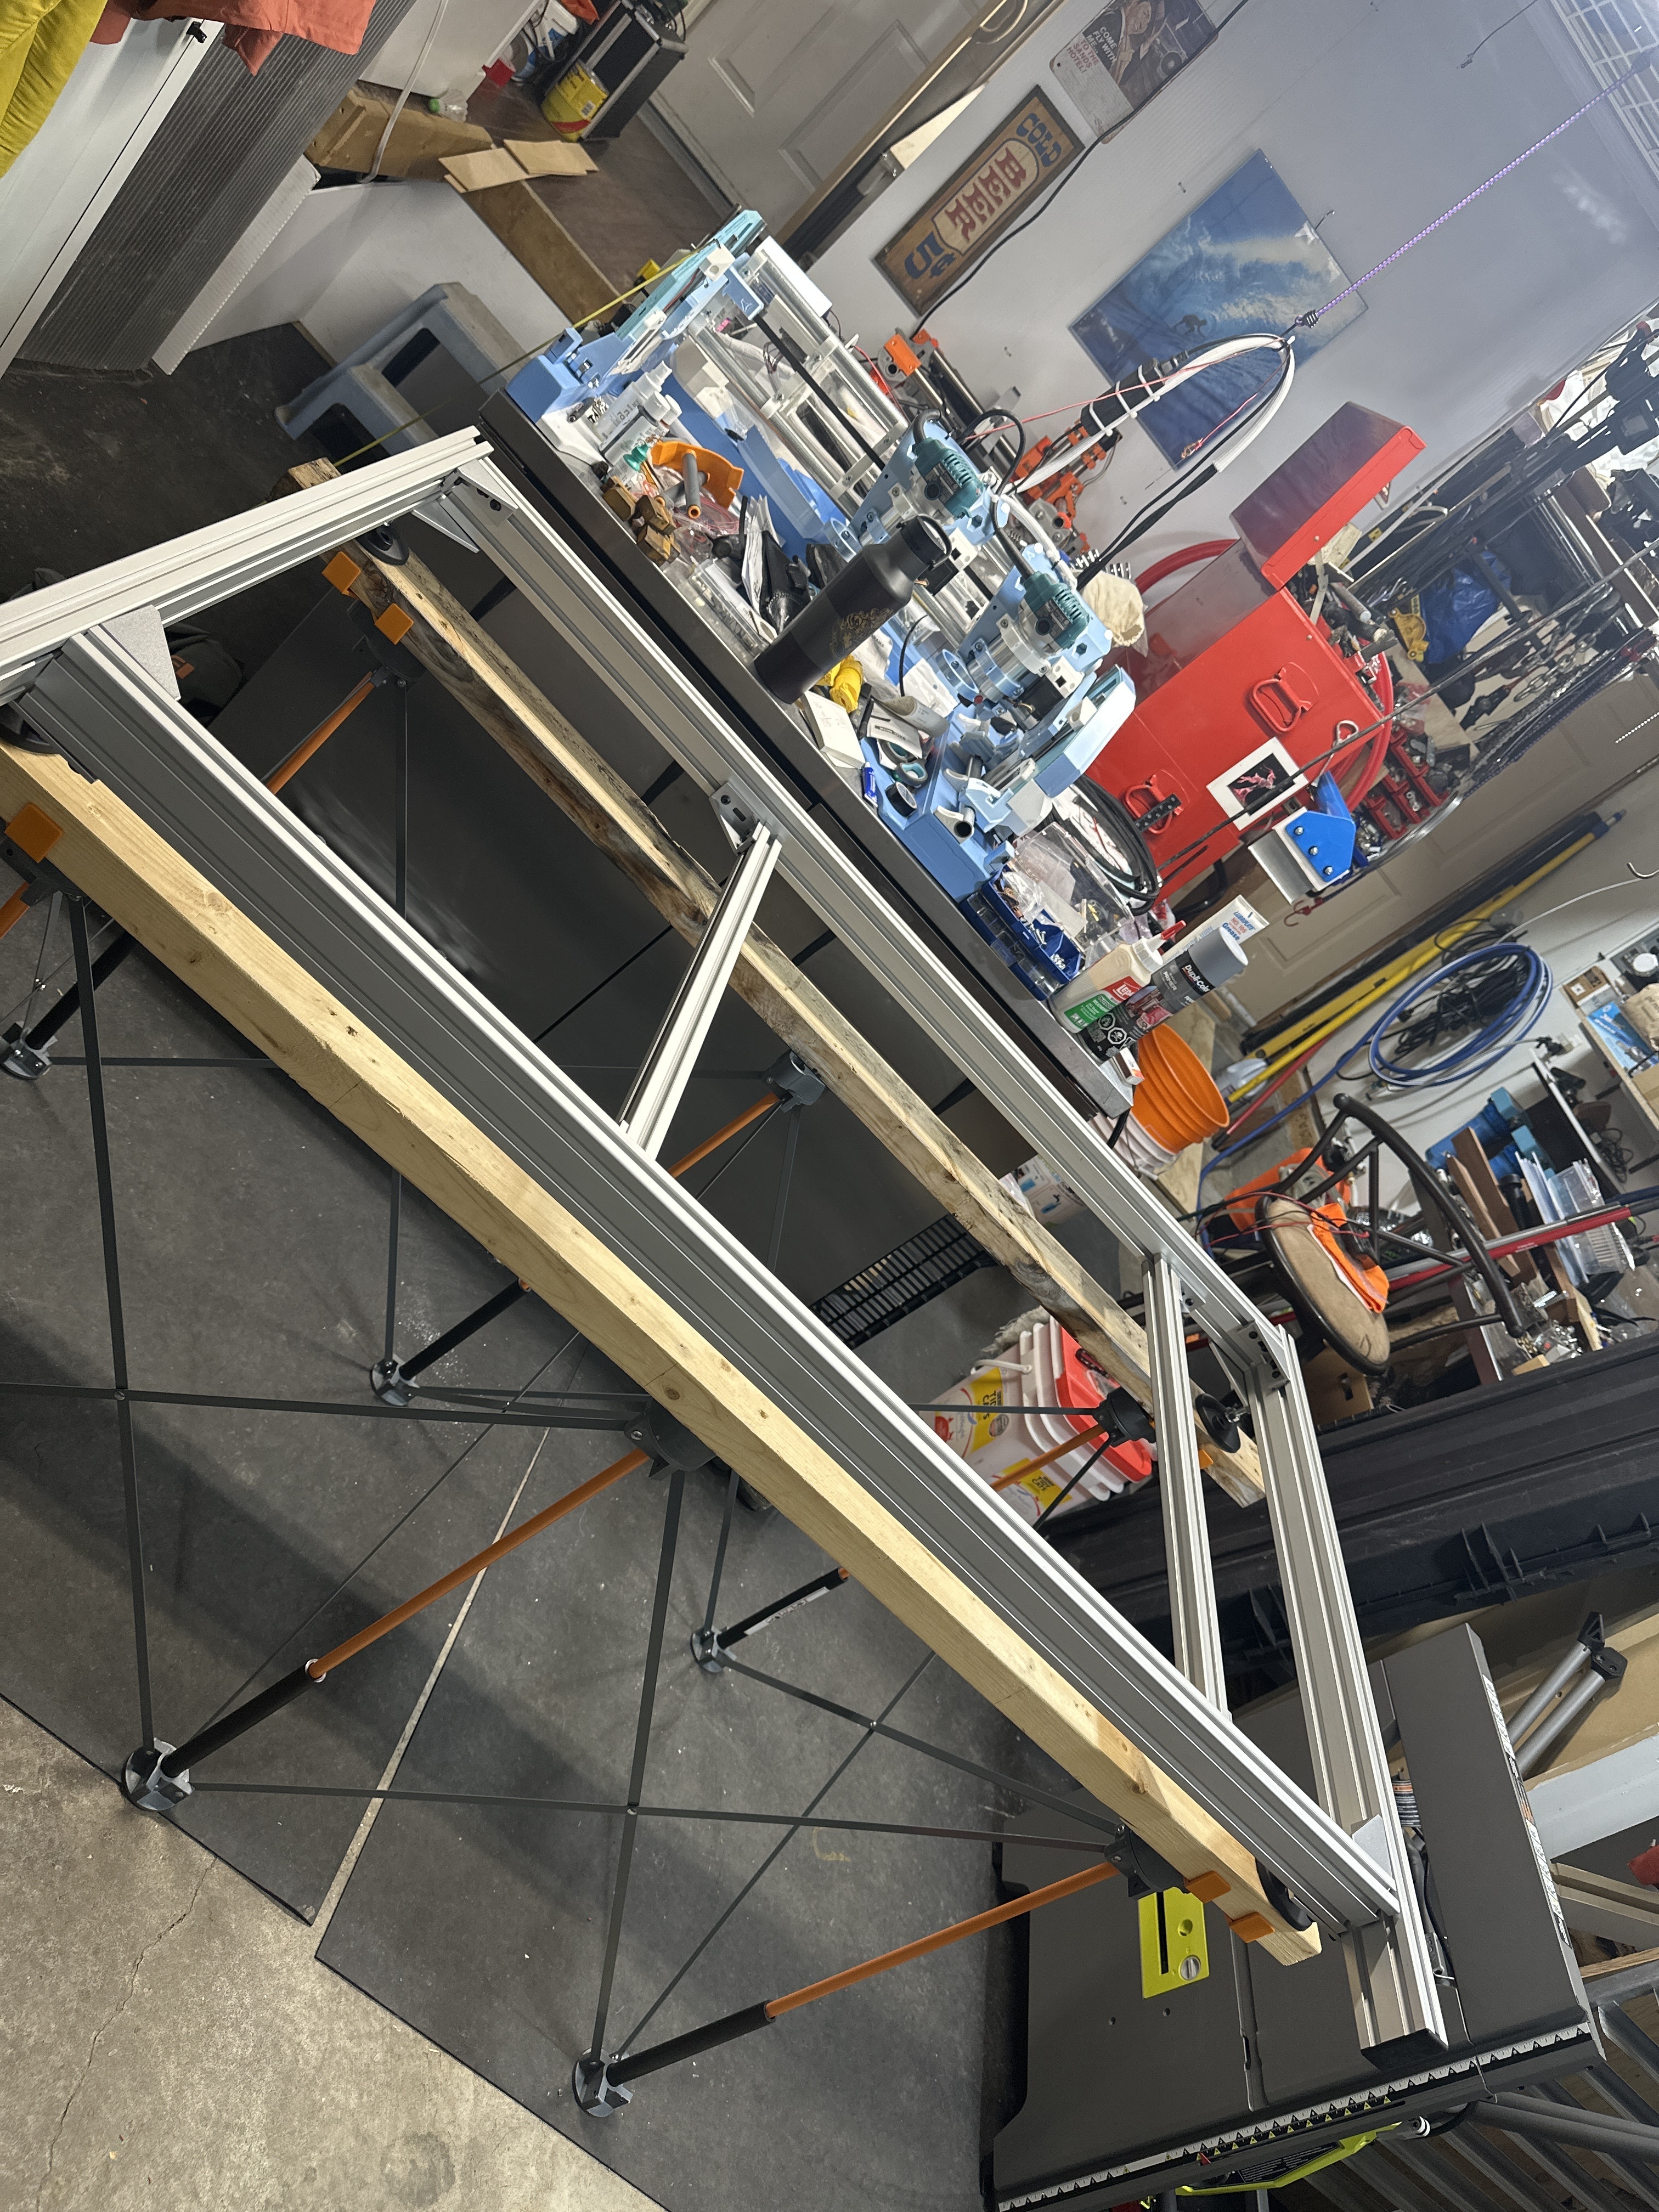
Once the extrusion frame is “completed” and things are running I’ll get some good close pics of the build. I’ve definitely been having fun building this one.
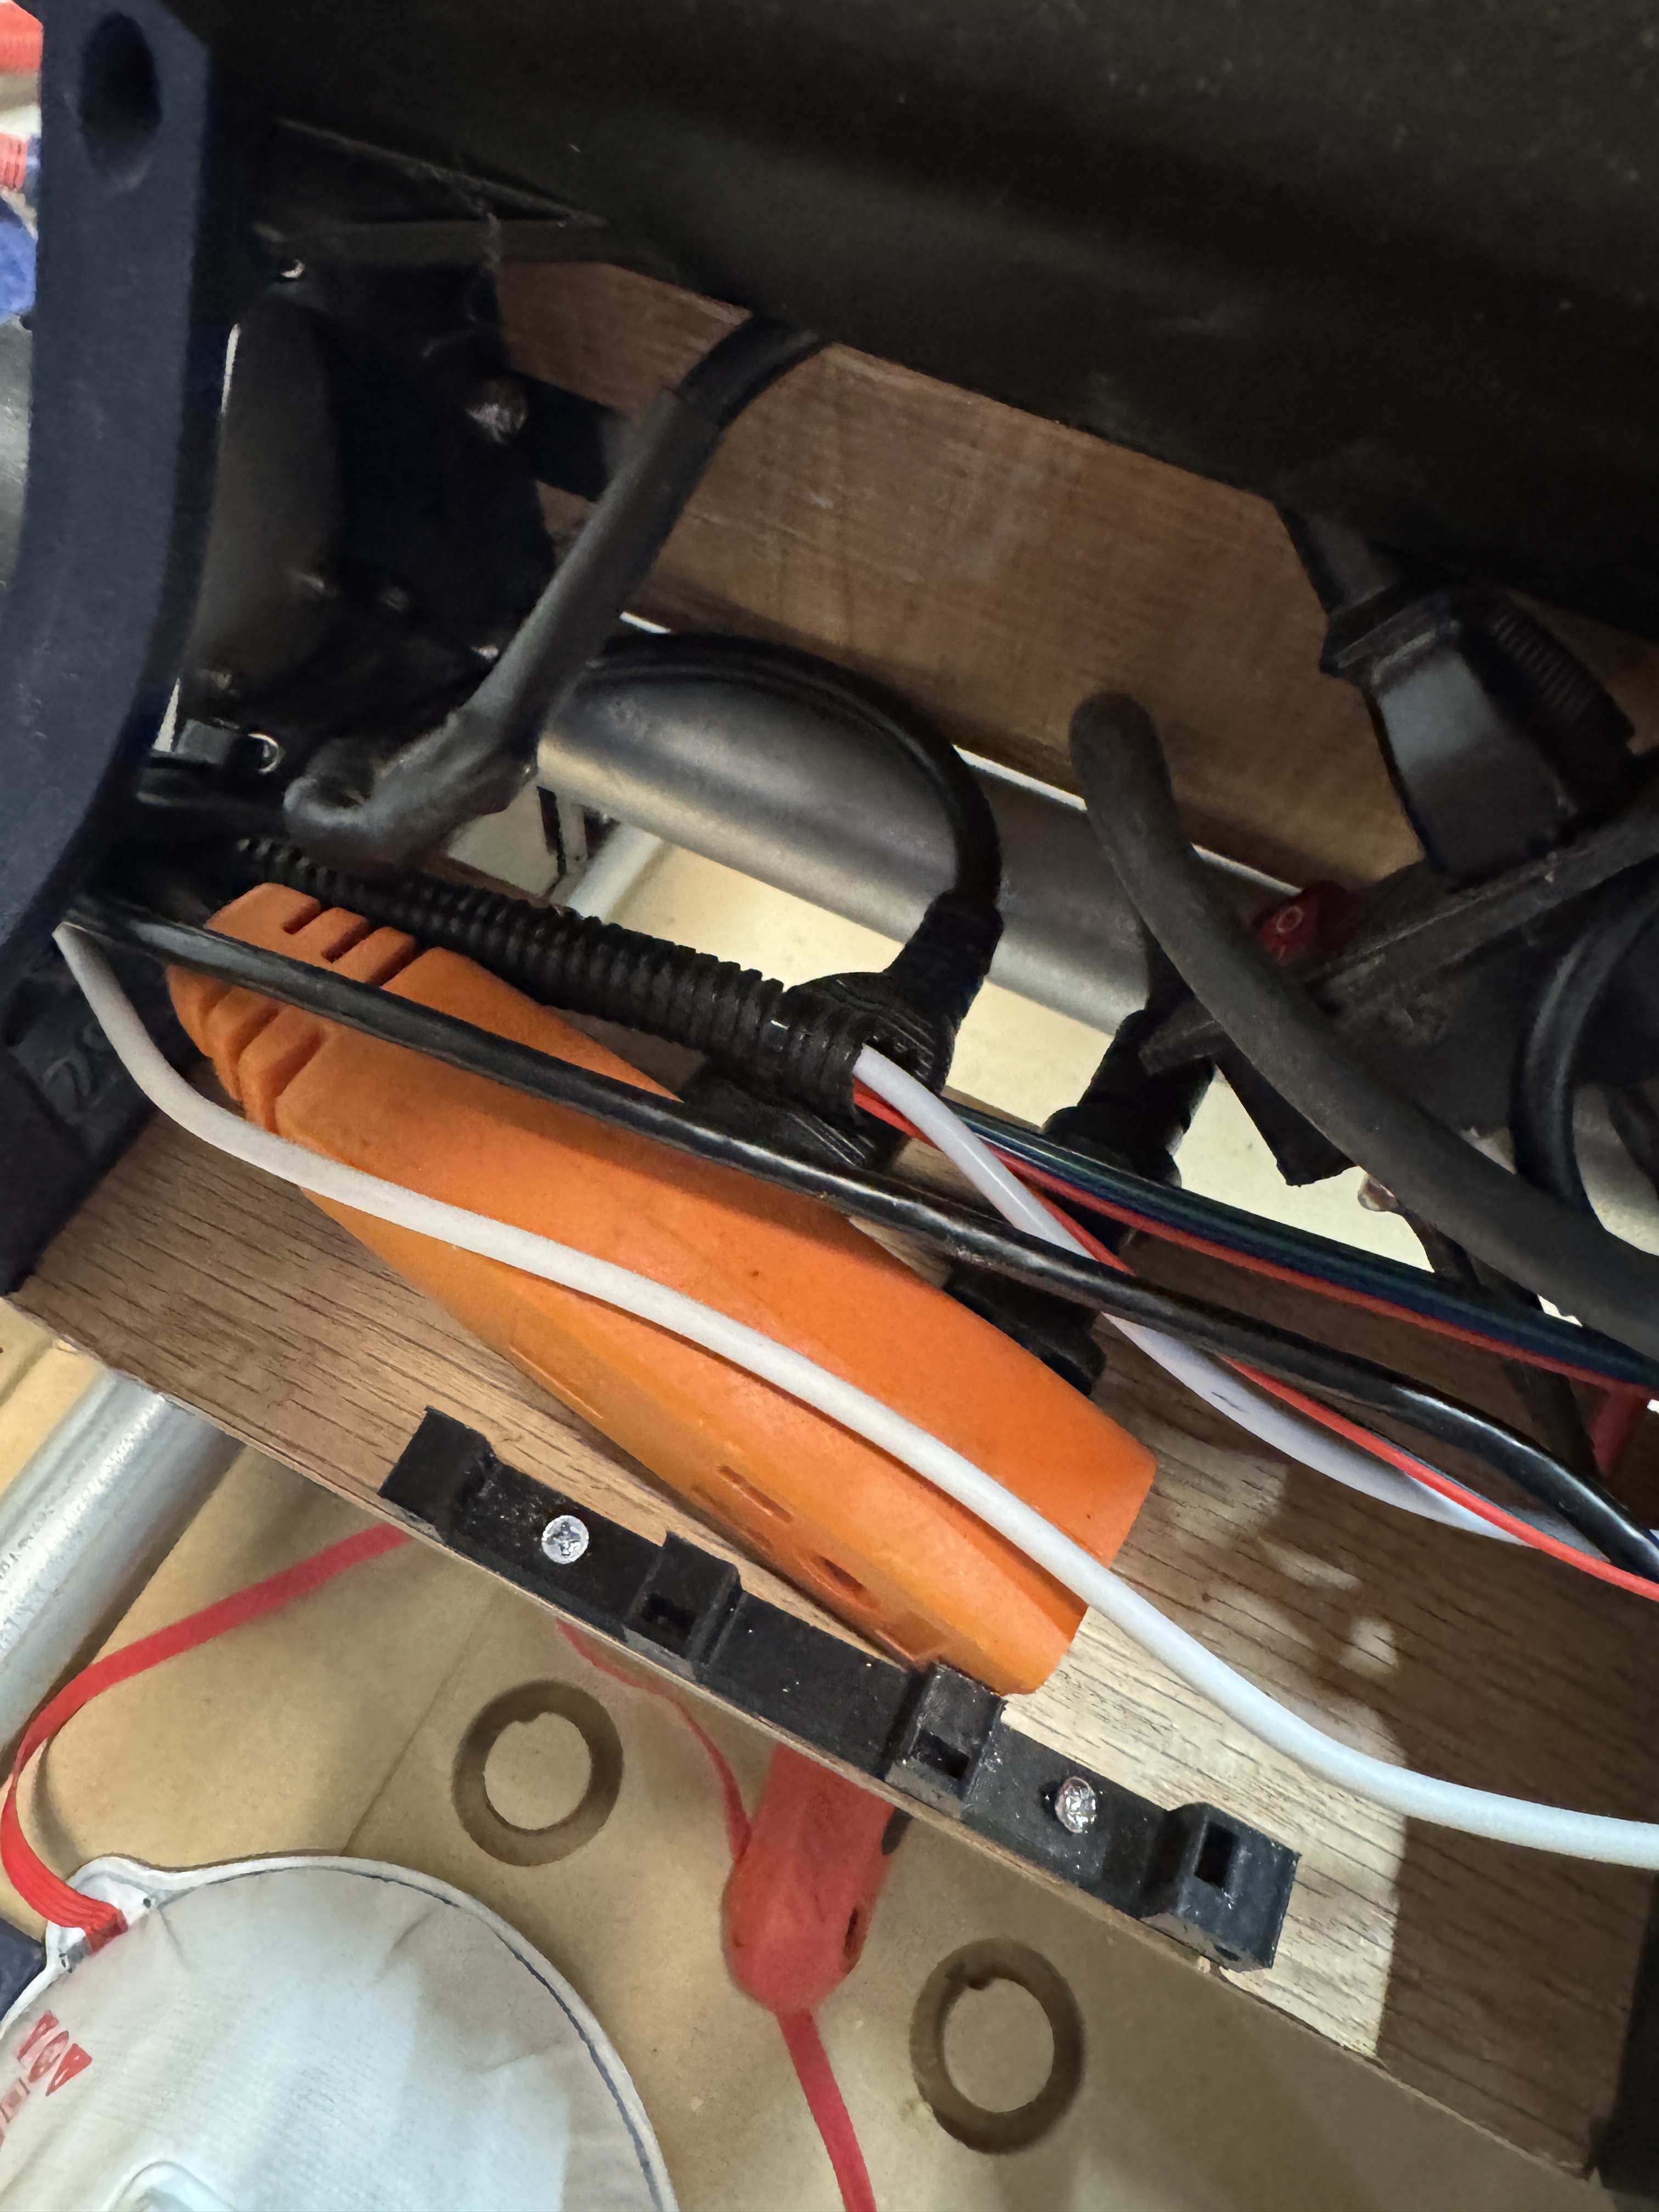
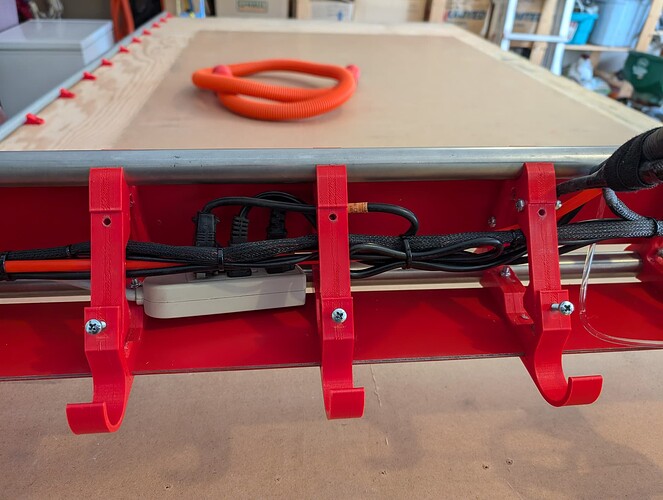
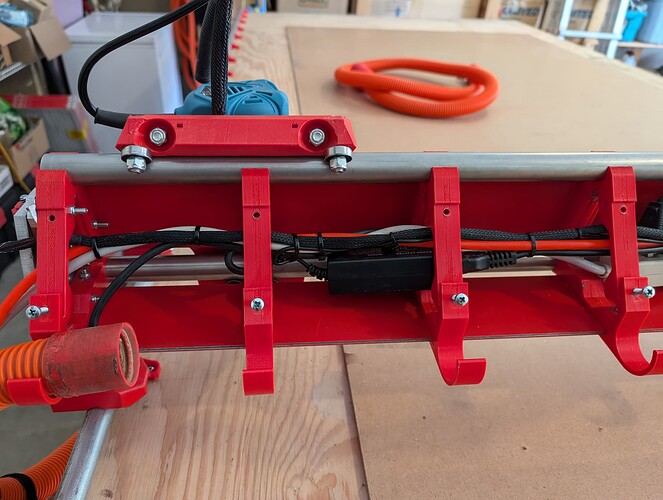
In my perusing of the forums I saw a Lowrider with the cords all gathered in the gantry, plugged into a multi outlet extension cord and just that one cord exiting the machine. Is this an acceptable practice? The 24v power brick would then ride in the gantry along with the router power cord. I might even think to go so far as to chop the excess wire off and maybe put a “proper” junction box in there and just hard wire the AC side together.
Yep, I have a 3 outlet extension cord that has the power to my router and power to my power supply plugged into it. Makes it so only one wire has to come out. I made sure to zip tie the wire in two different spots so if I do accidentally pull on it, it won’t rip something I don’t want it to.