Sure ypu did keeping the teasing going ![]() man i wish i could keep my attention focused as long as you. If it takes morre than 2 days im lost
man i wish i could keep my attention focused as long as you. If it takes morre than 2 days im lost ![]() That is a thing of beauty how long till it get dirty?
That is a thing of beauty how long till it get dirty?
In the words of my immortal grandfather… “Eventually”
Maybe end of May??? lots of things going on between now and then that can push me back more and more. And a lot of this depends on how long it takes me to finish sanding the interior. I have a new sanding pad coming in today for an air sander that should be small enough to work inside the boat. We’ll see if it helps speed things up.
1 Like
I have read that you can use a round metal “sickle” on the inside instead of sanding.
I picked up a curved rasp that is working well. And the 3" soft sanding disc on the air grinder is working well too. I only had a few minutes to sand this evening, but I should make some good progress tomorrow.
I’m debating picking this up too. One thing I’ve learned about sanding is you can never have enough options. I tend to switch sanding methods to use different arm muscles.
Dura-Gold Luthier Acoustic Guitar Master Woodworker Hand Sanding Block Set with 40 Sheet Hook & Loop Sandpaper Kit - Music Radius Repair Tools, Convex & Concave Profile Shapes, File Sticks - Sand Wood https://a.co/d/7I66vfK
1 Like
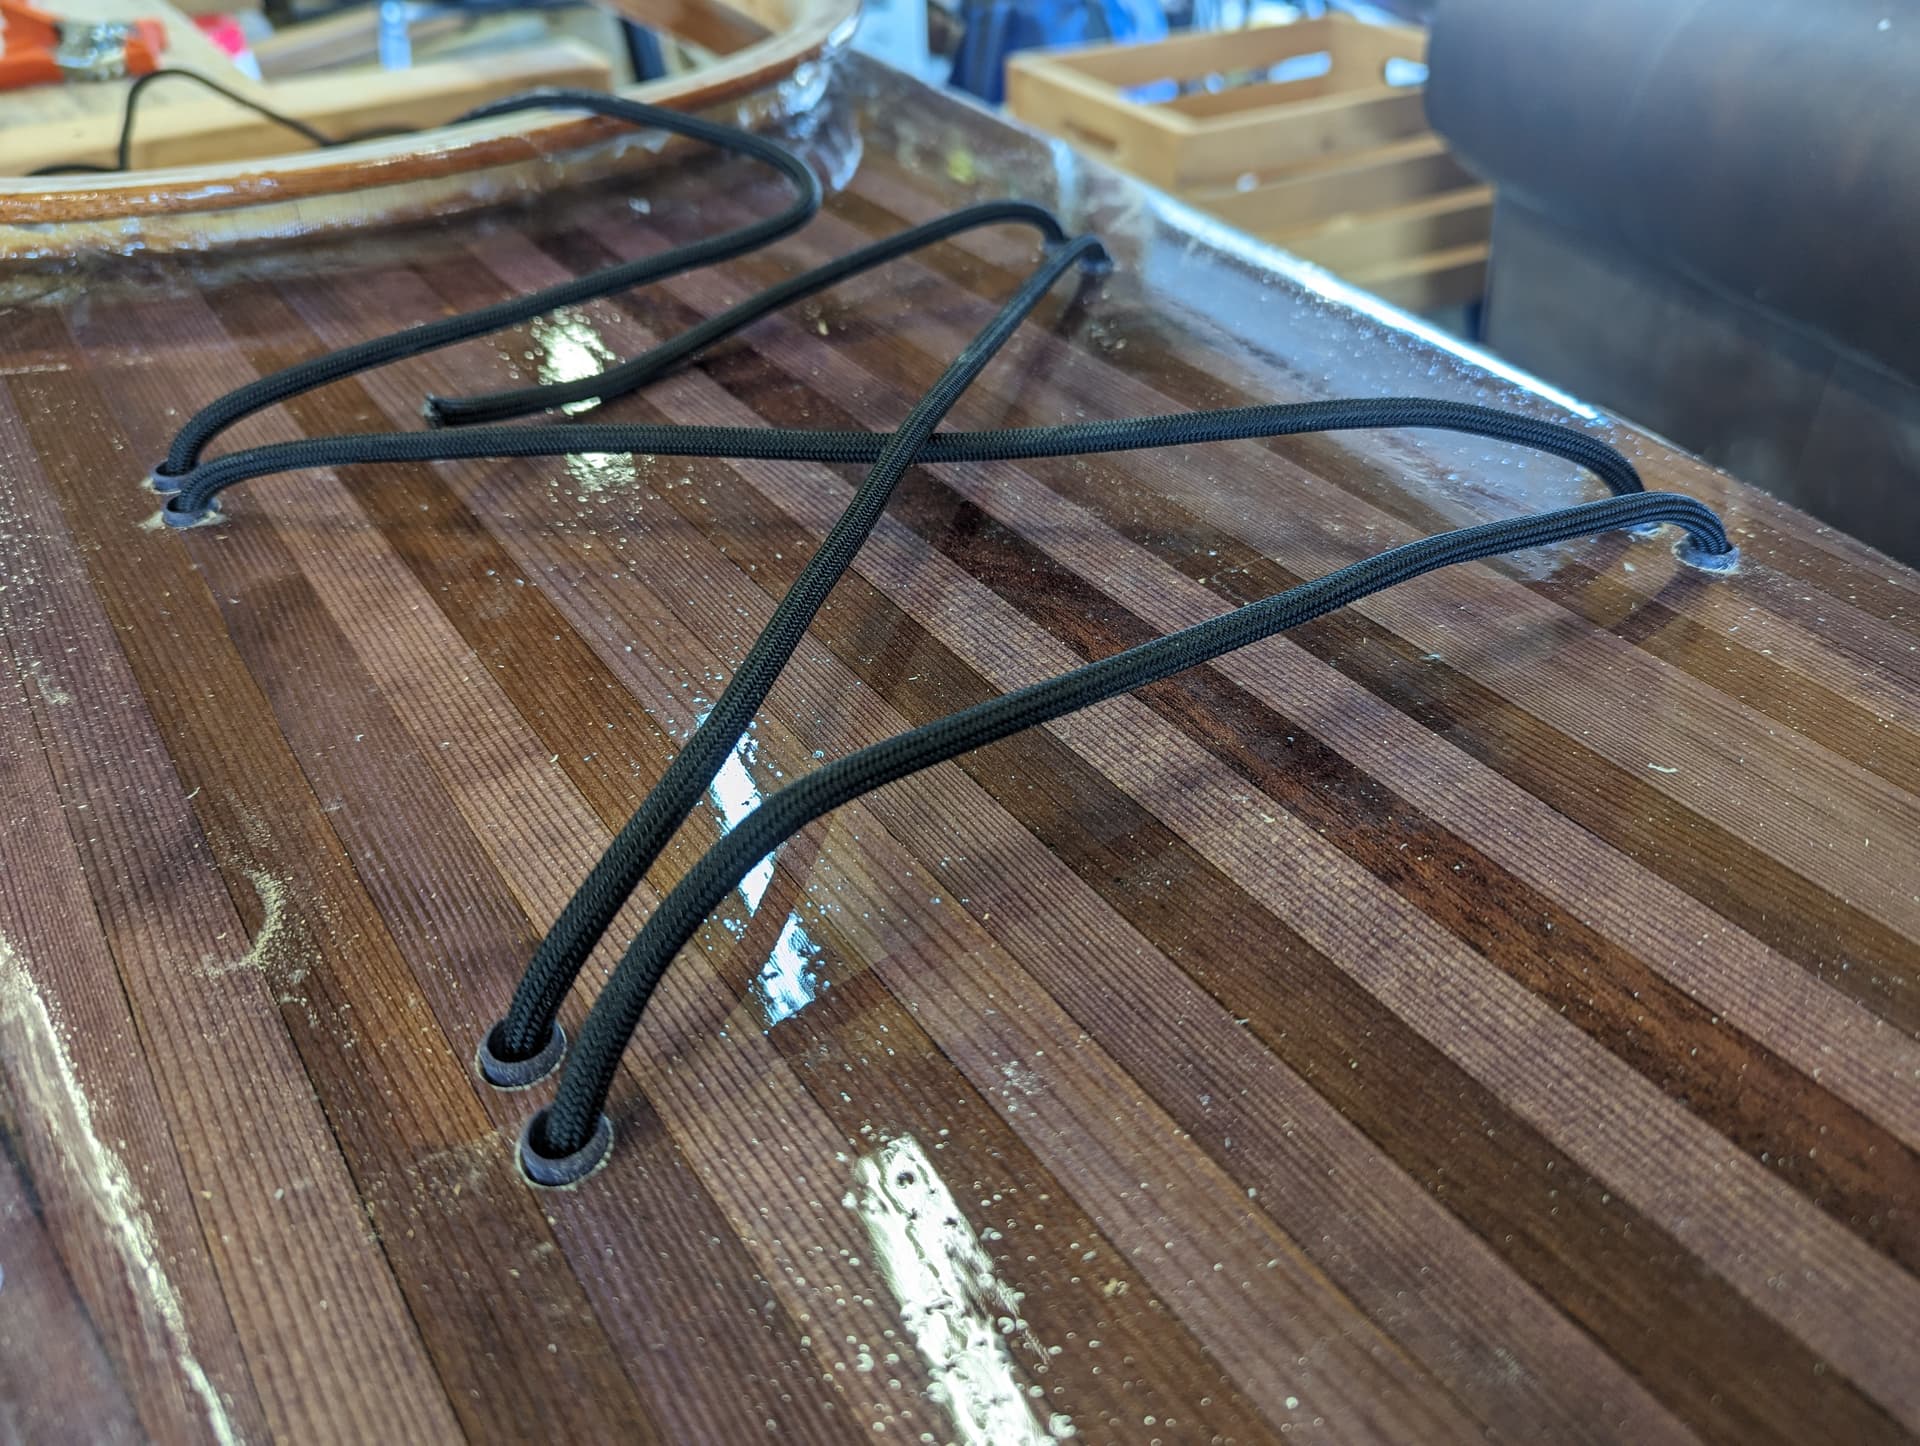
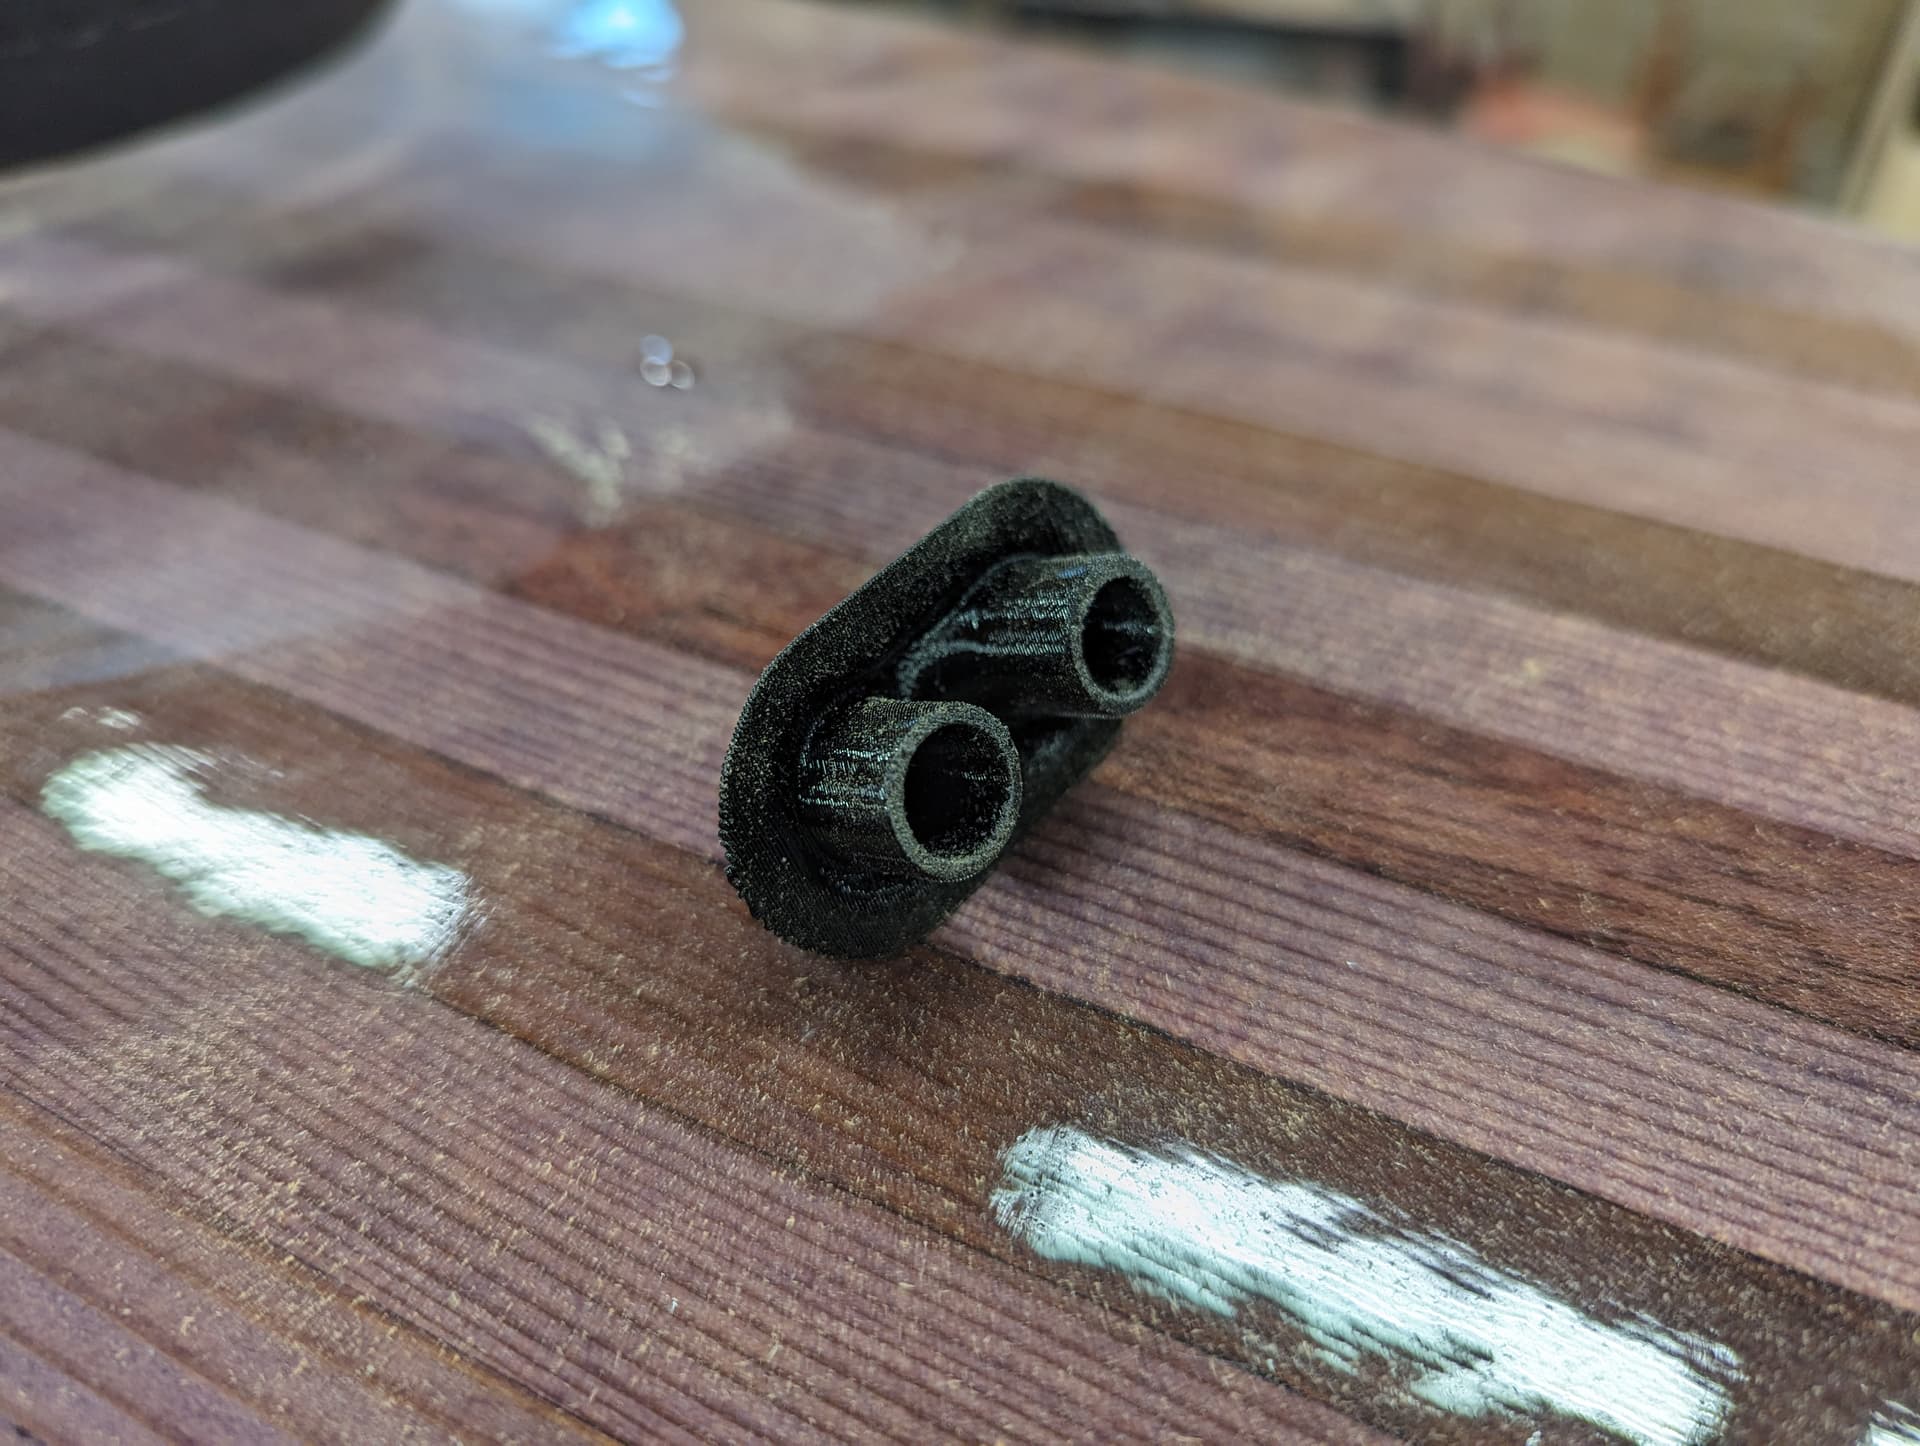
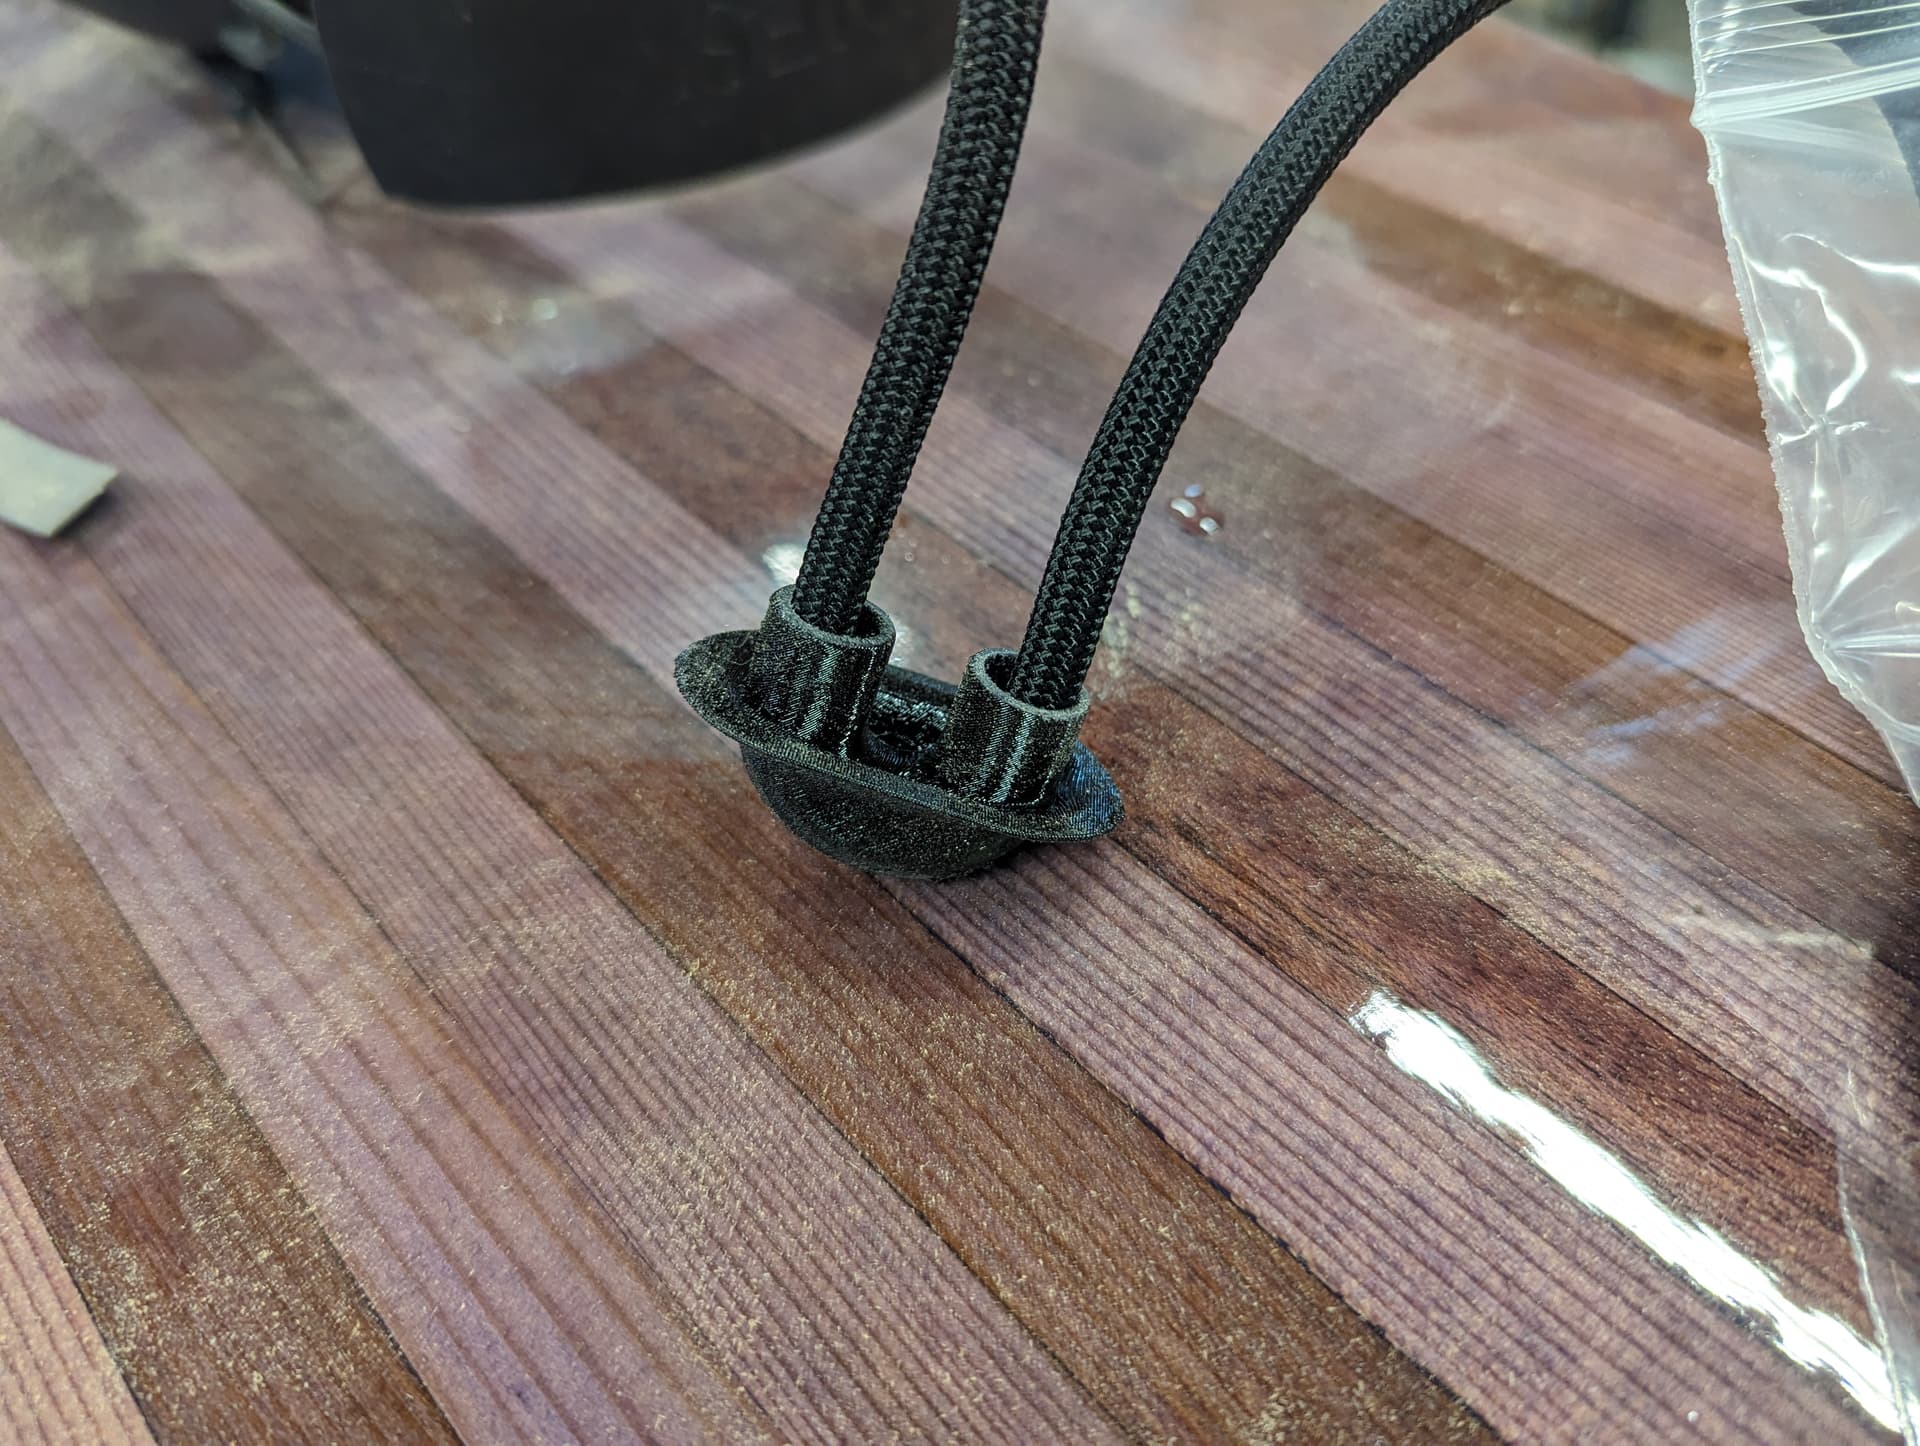
3d printed paracord fittings for the deck tiedowns. This one is petg+… Asa ones will be tested later.
7 Likes
I also found those. Very cool.
I am looking at your 8:1 scarfing jig. Are the measurements of it 114 x 190 mm?
From what I’ve read ASA seems superior for UV light?
Which slicer are you using that the parts are being scaled?
It should be 115x190
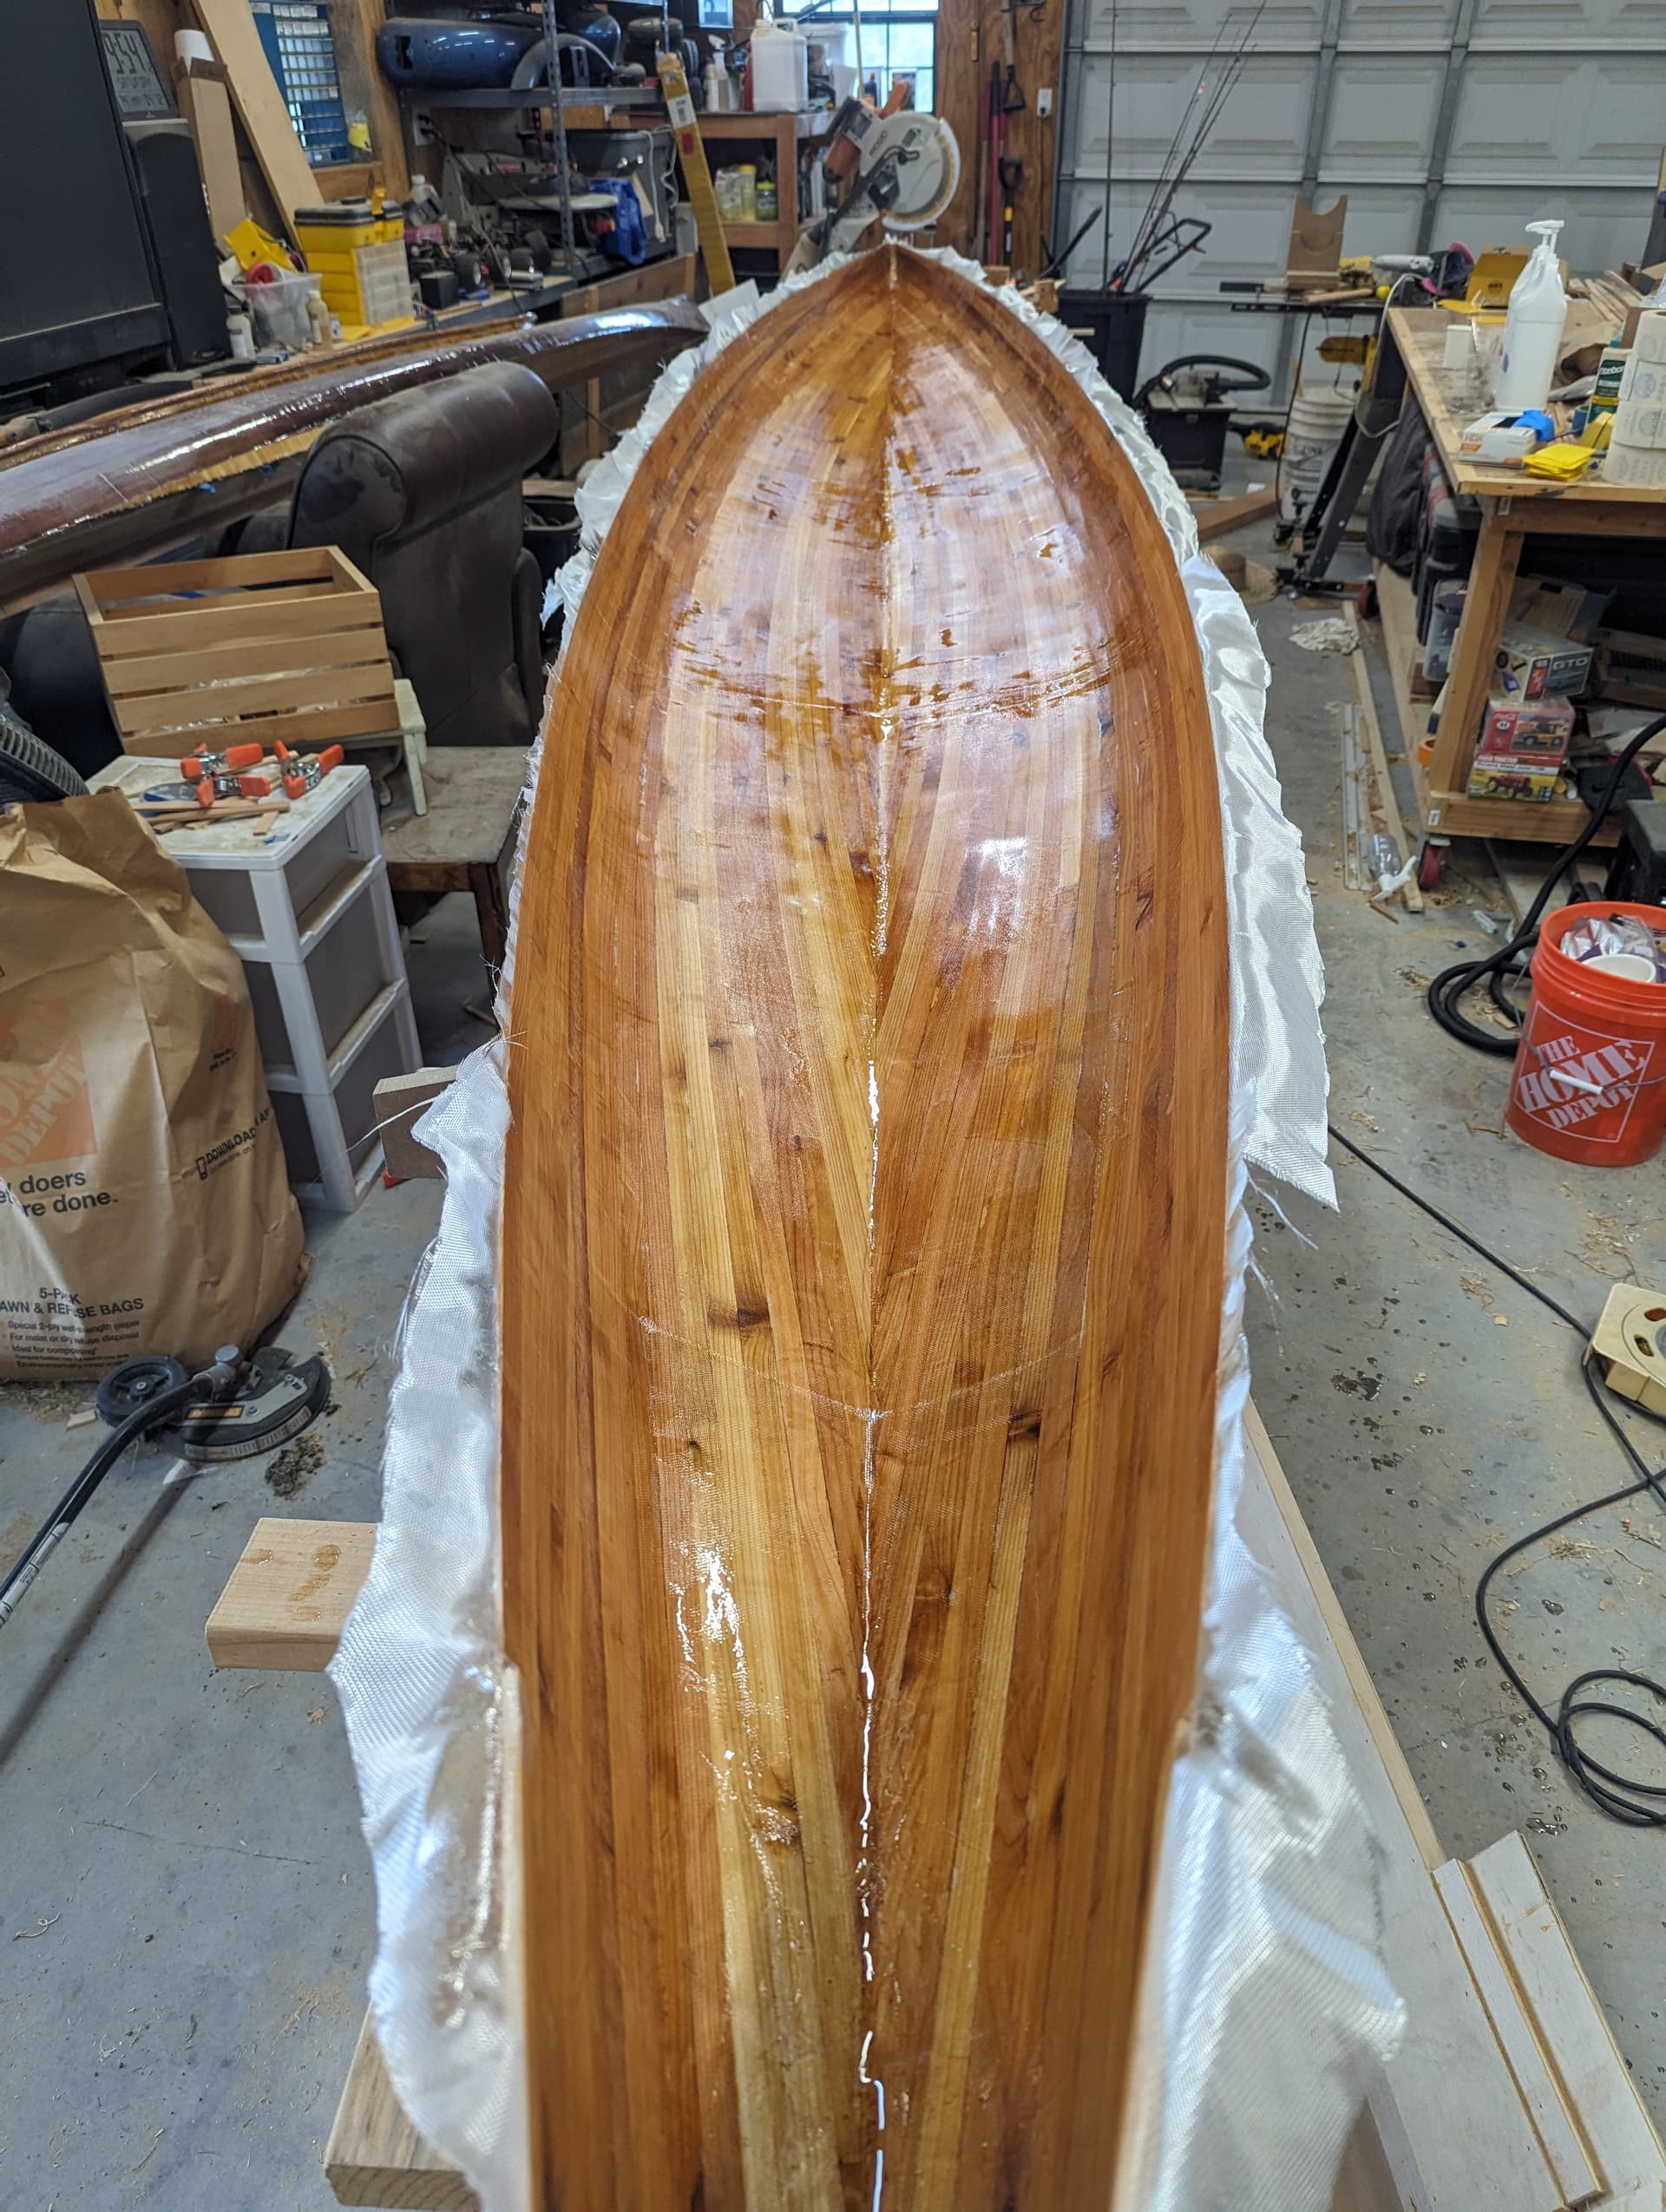
That is a lot of epoxy, I bet you were nervous on that one. Hard to manage that much before it goes off.
I had the ac in the shop set at 72f. I bought slow cure hardener. Plus, once you get the epoxy out of the cup, it takes a while to go off. I only mixed 5 ‘pumps’ at a time. That was enough to do about 2’ of kayak at a time. I had to replace cup, gloves, and spreader twice as the ones I was using would start to get sticky.
5 Likes
The pump system that West have is really good, I used that when I was epoxying.
That was nothing like this level of craftsmanship though, amazing.
Is the orientation of this file correct? Did you try other orientations?
I love the pump metering system by west systems.
And great progress man !!!
The epoxy system I’m using has a pump setup too. One pump of each is a perfect 2:1
1 Like
Yes. It prints at a 45 to the bed. I used a raft to keep it stuck to the bed, but otherwise it print perfect.
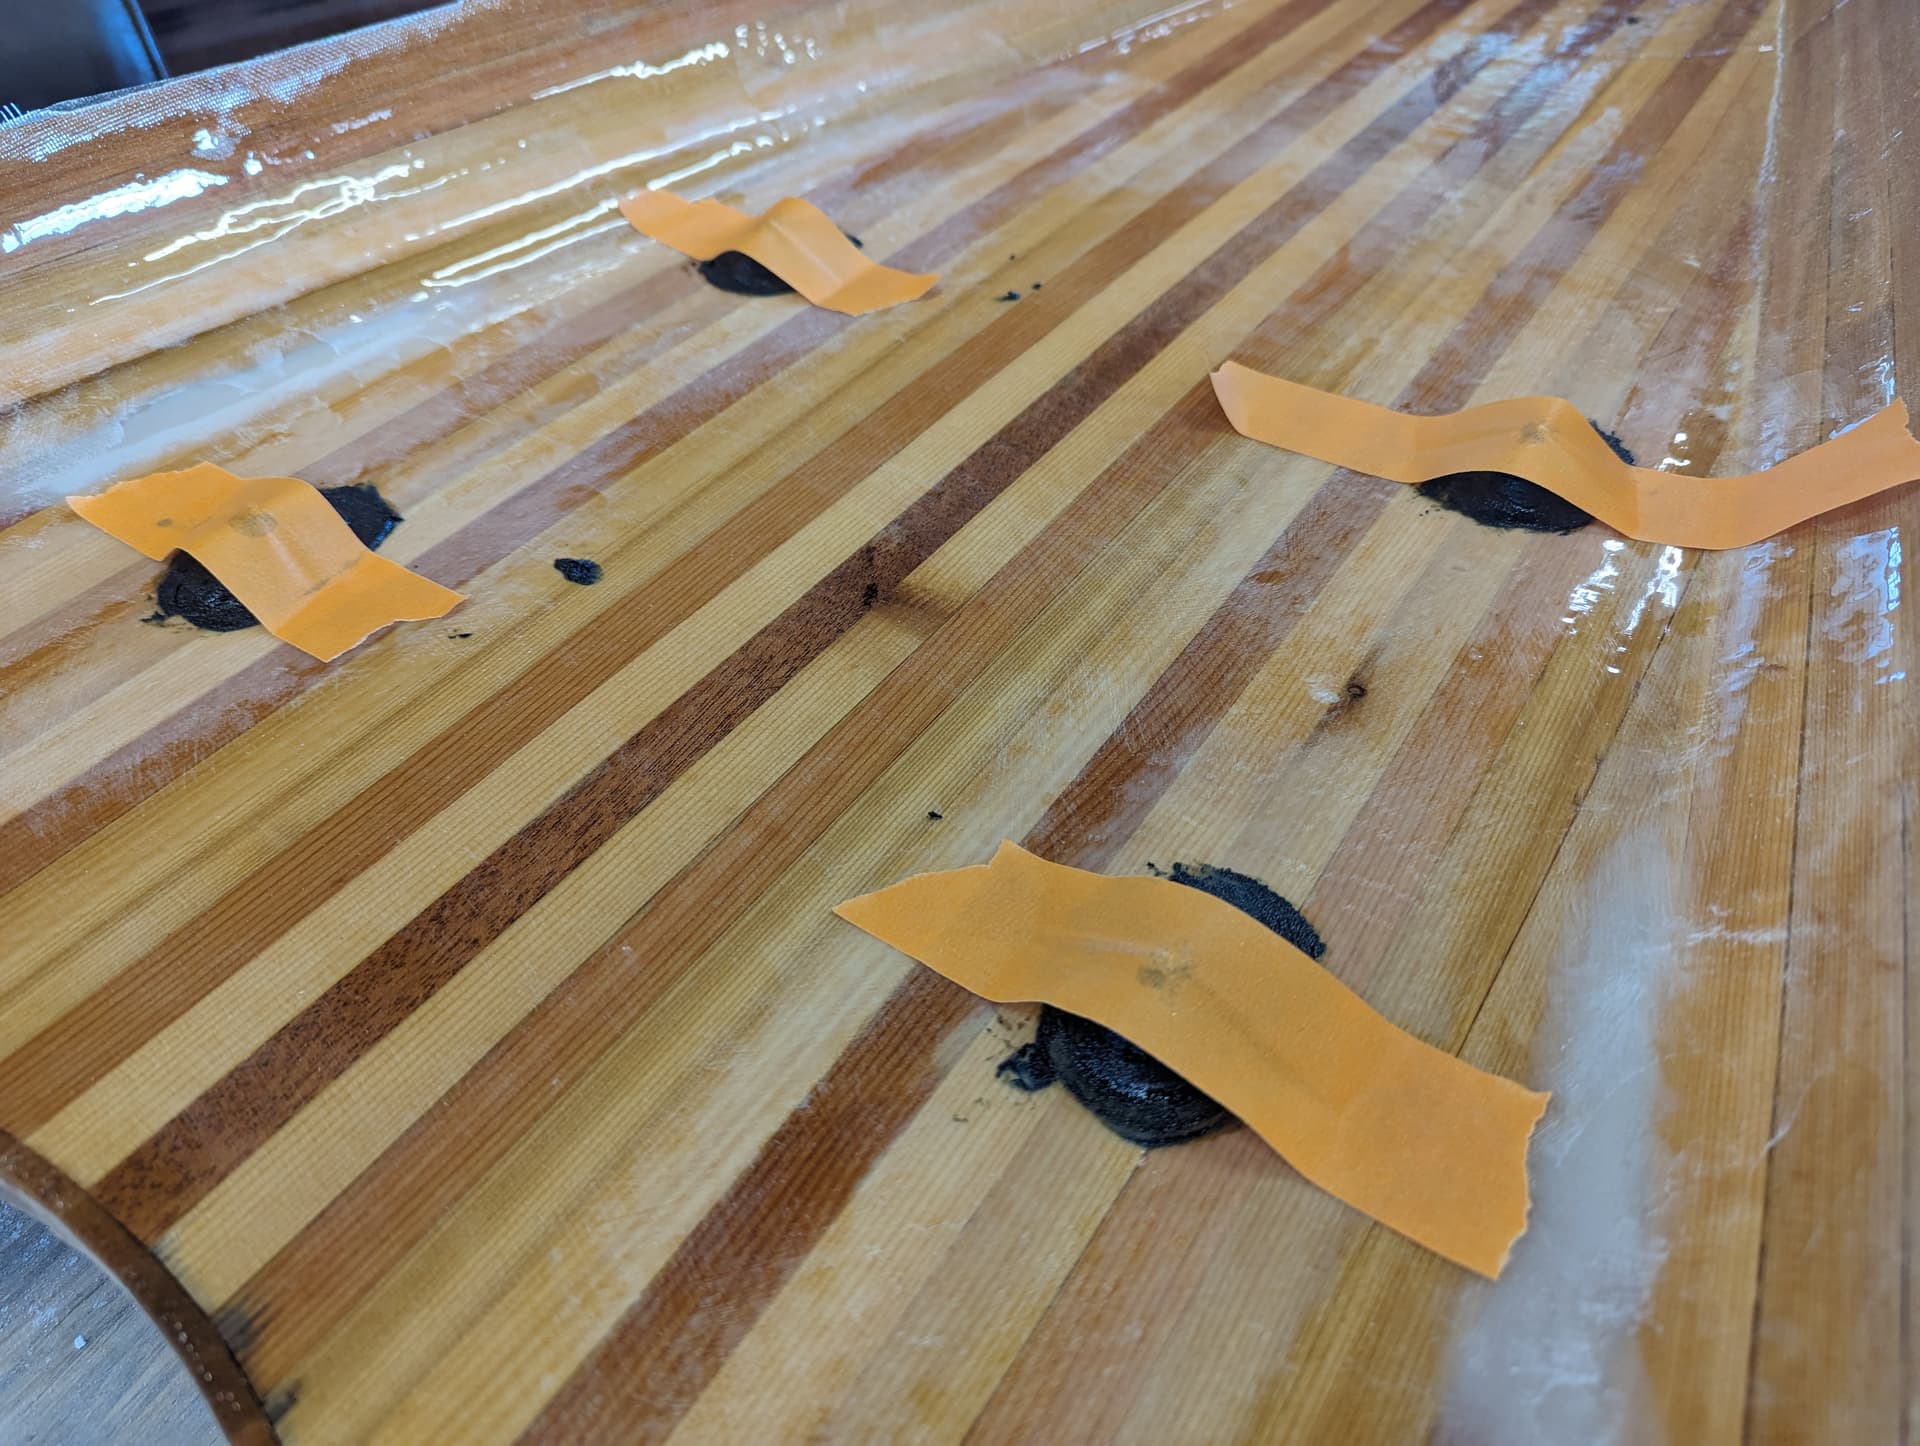
I think I finally figured out a way to use the cnc on this build. I have some fittings coming that I will need to cut some captured pockets for. We’ll see what happens.
4 Likes
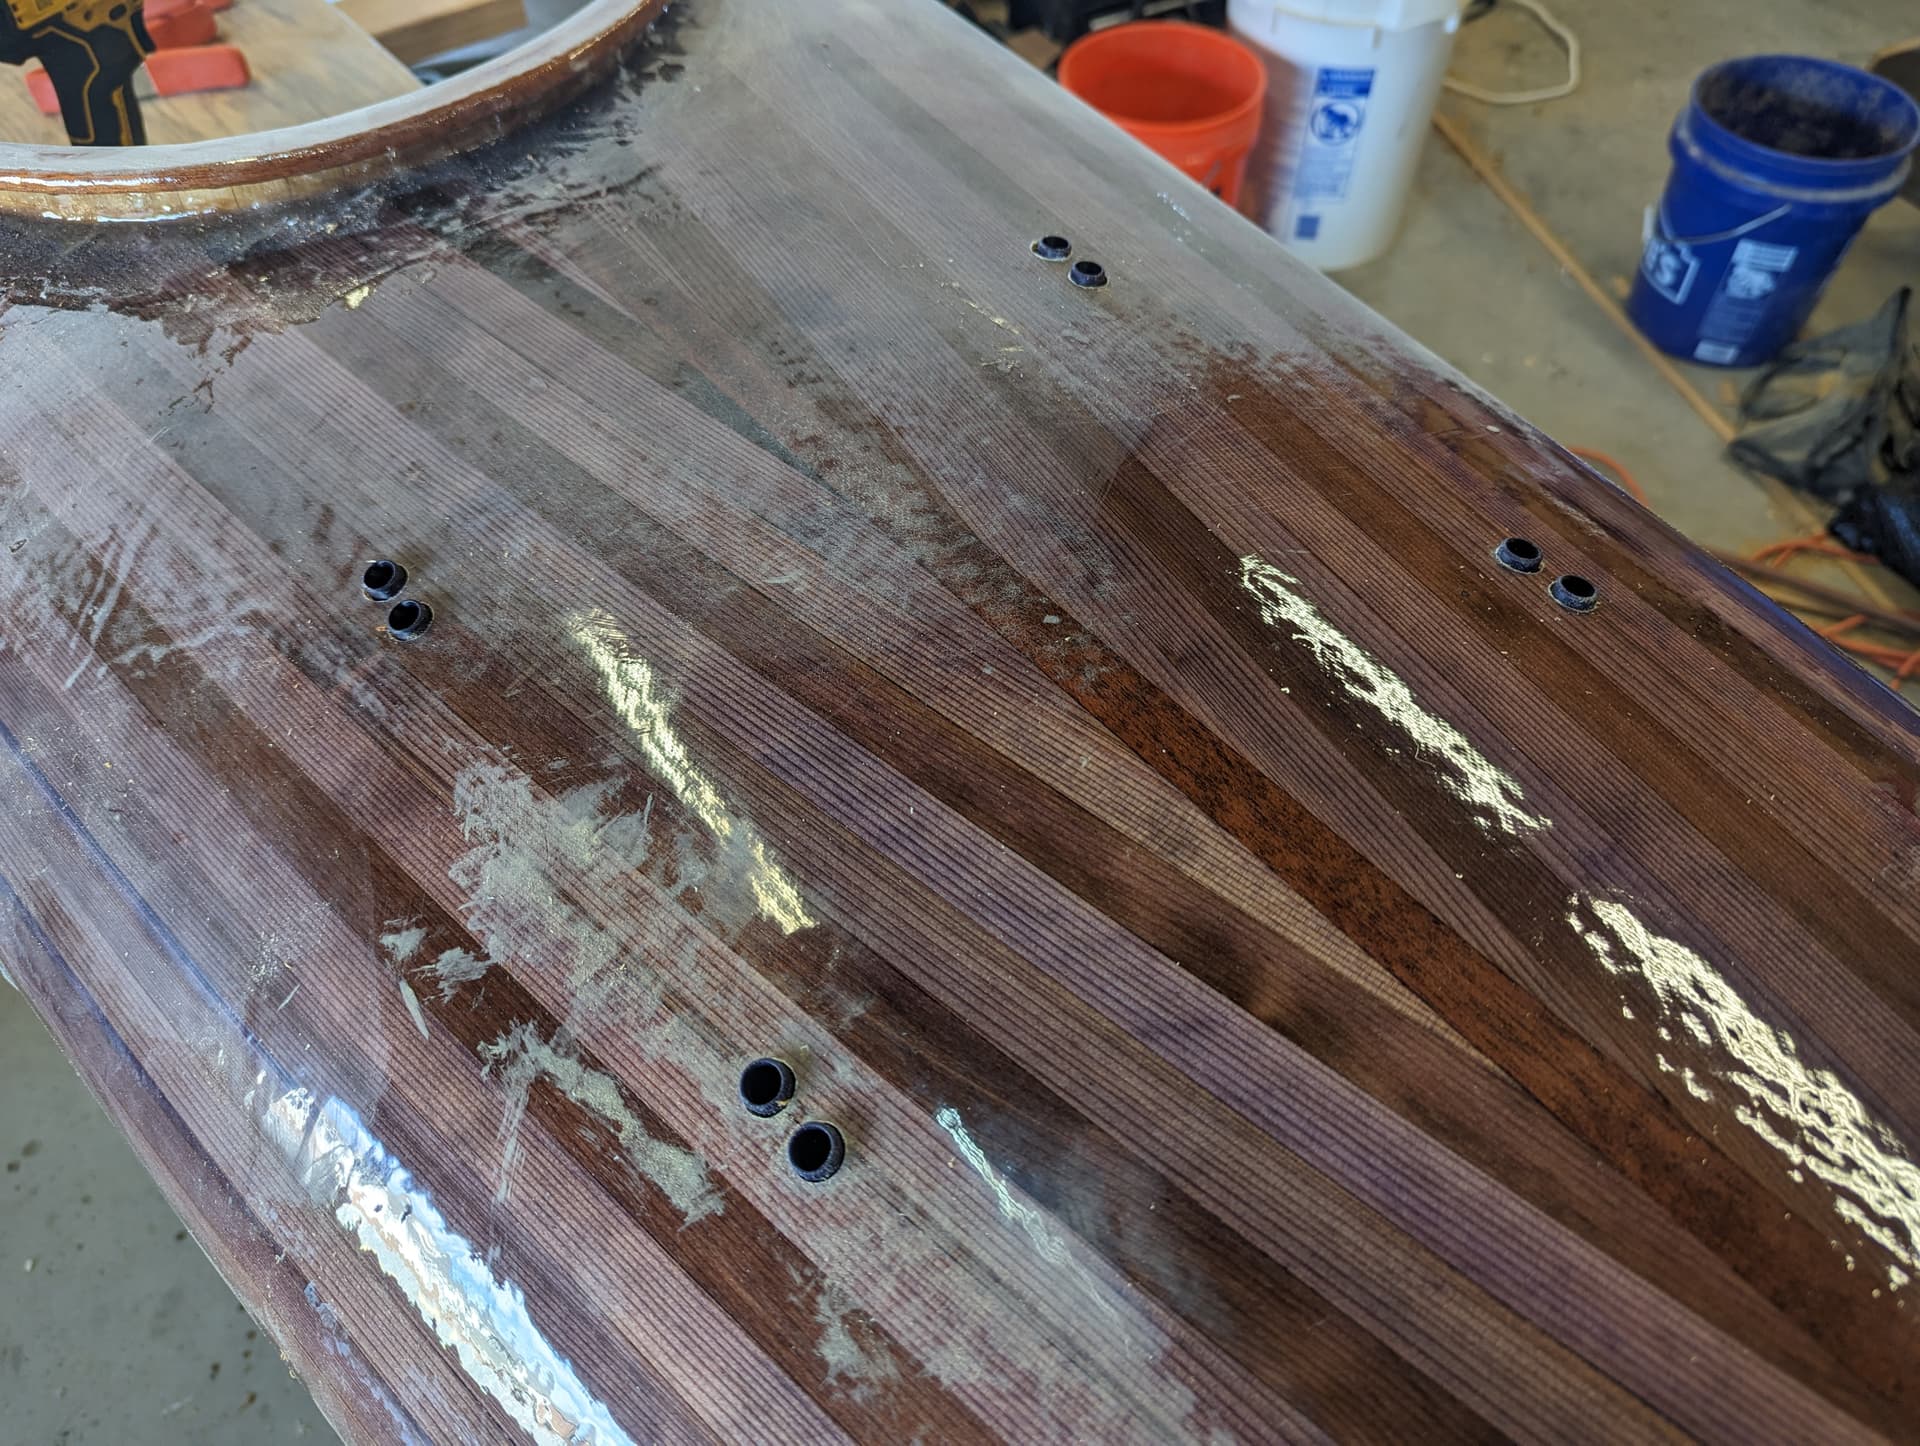
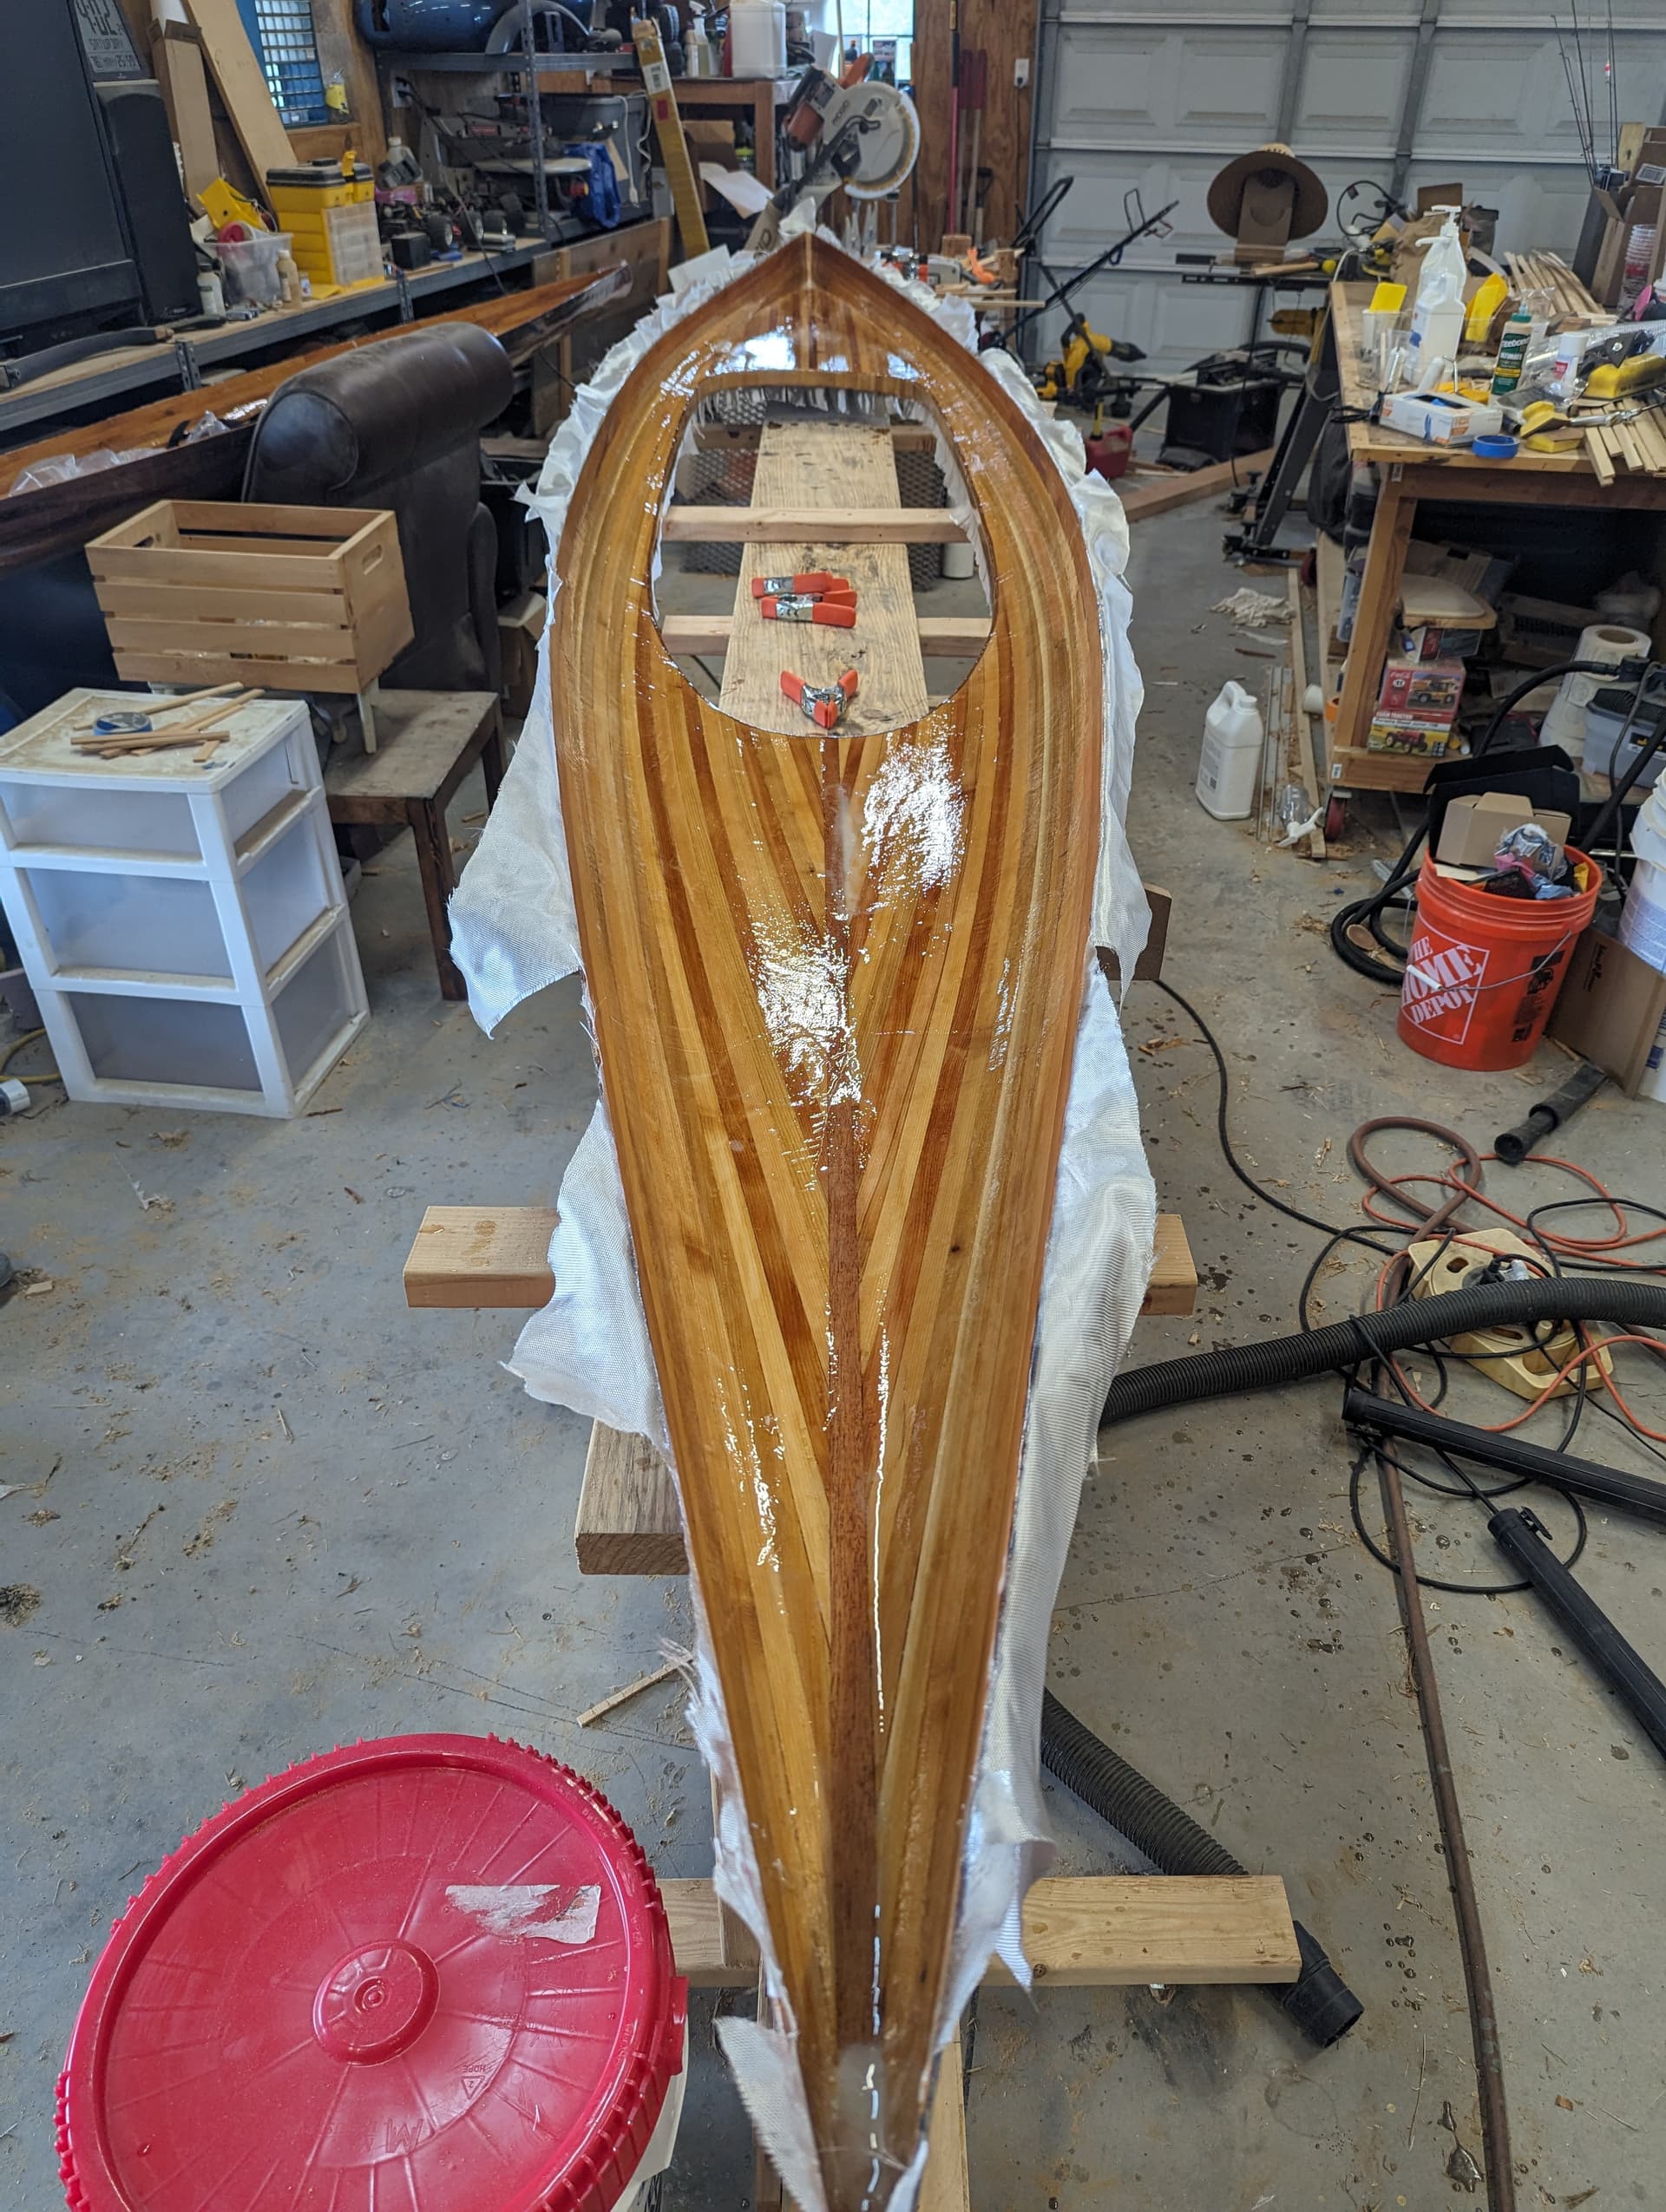
And now that the time consuming parts are done, I can get back to making quicker progress. Today I got the excess fiberglass trimmed off the deck. I sanded down the coaming lip. Then I just seemed to keep on sanding until the rear deck was smooth. Then I was curious, so I thinned out some epoxy with acetone and brushed it onto the rear deck to see what it’ll look like when it’s smooth.
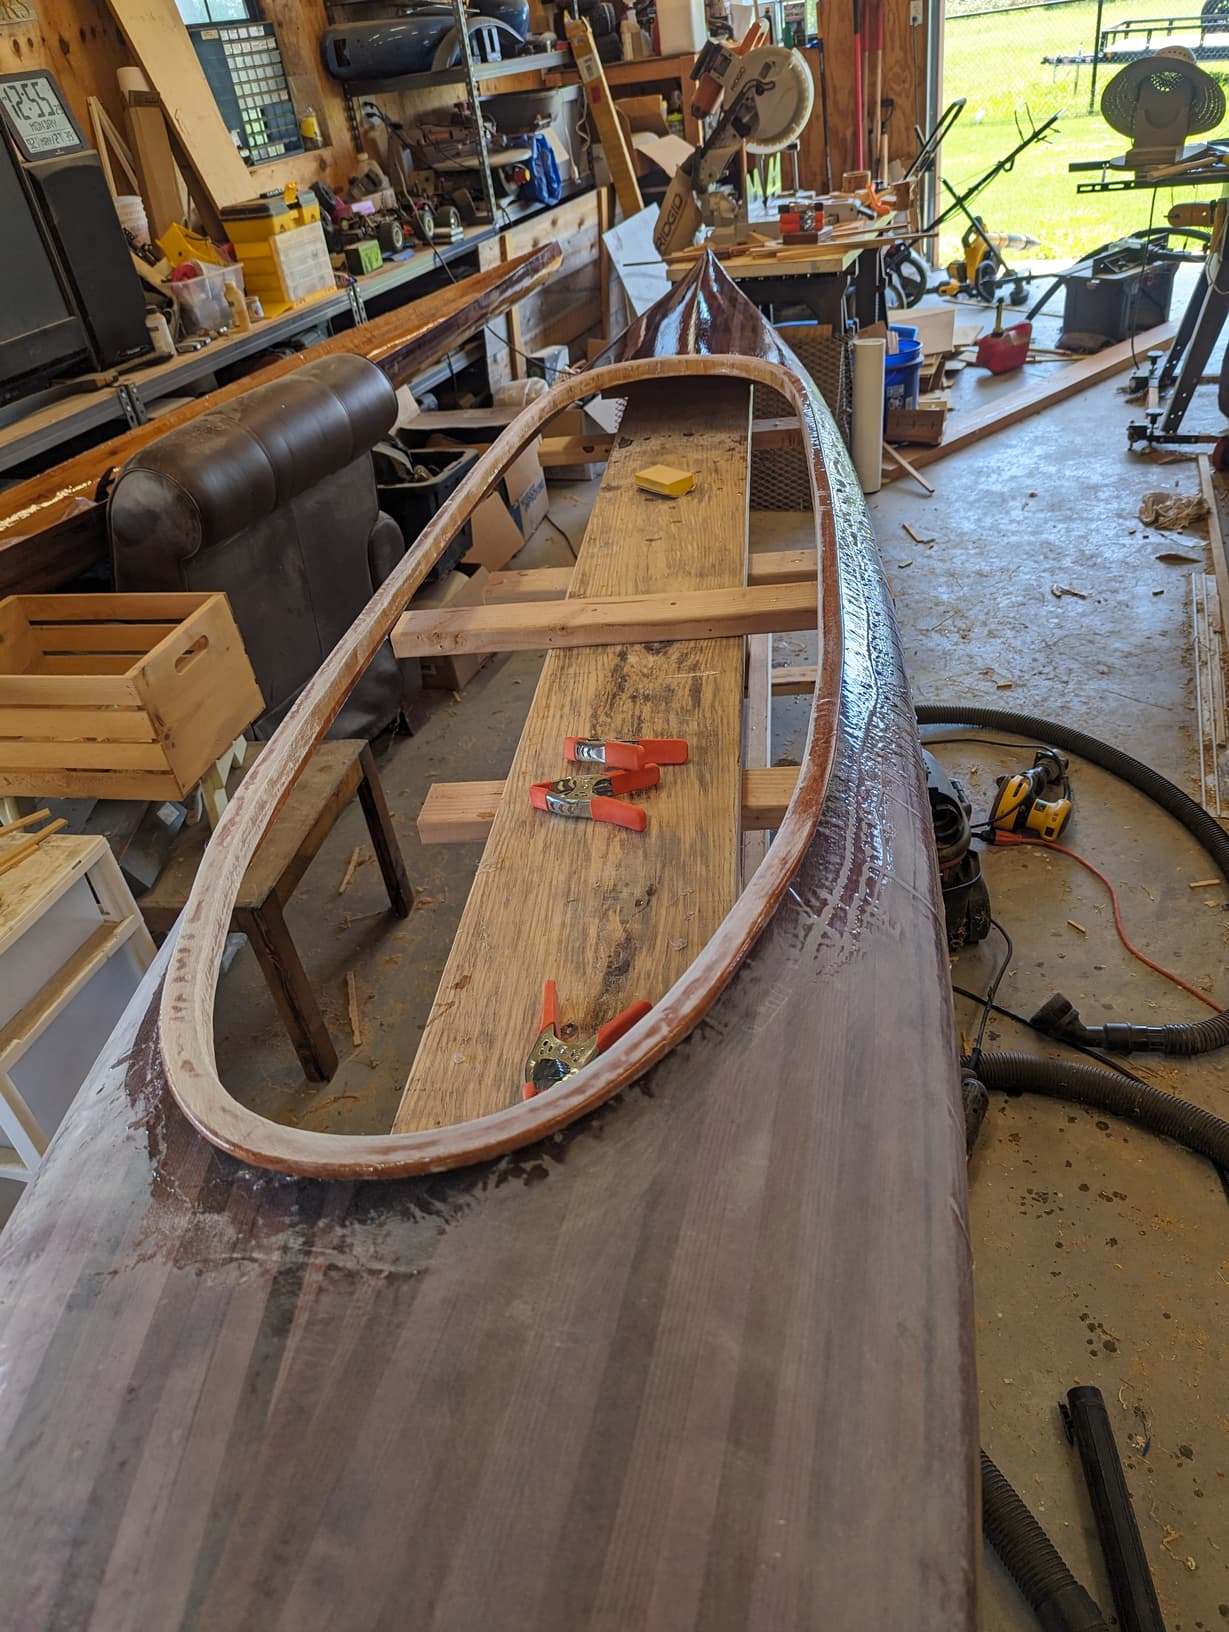
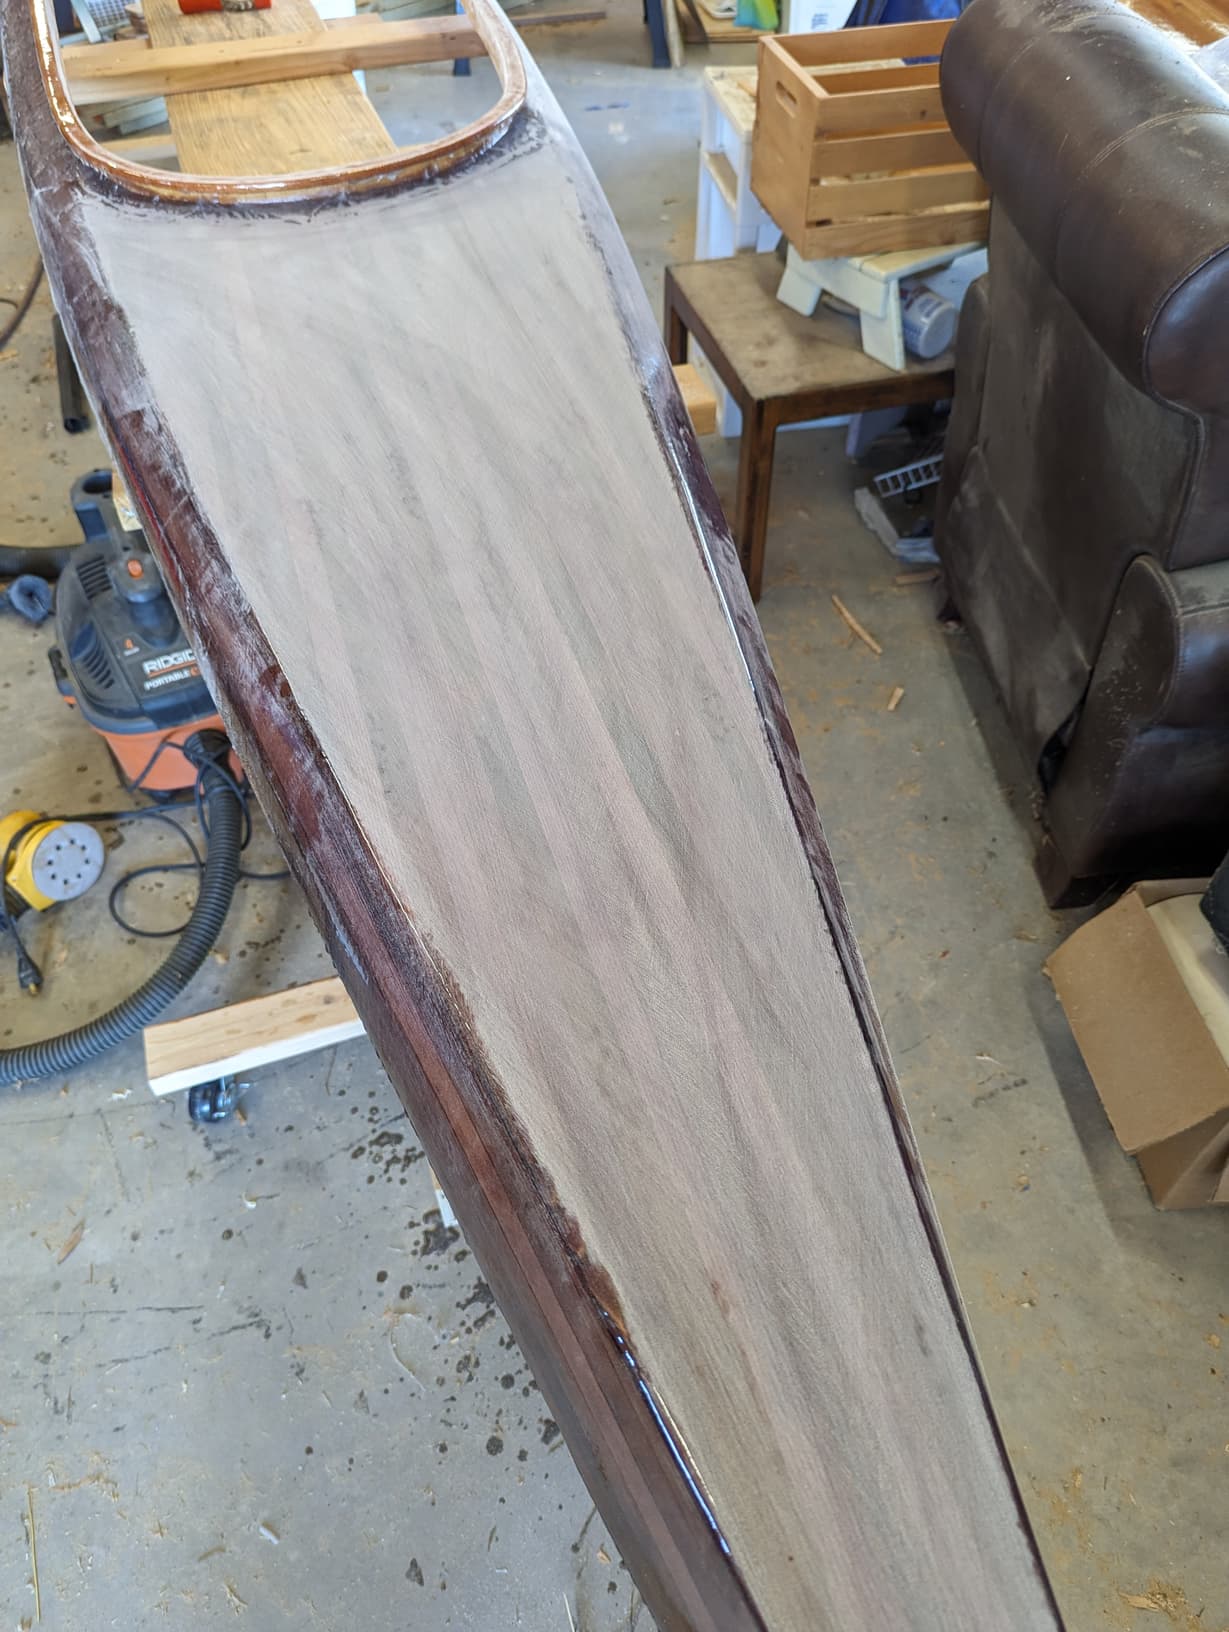
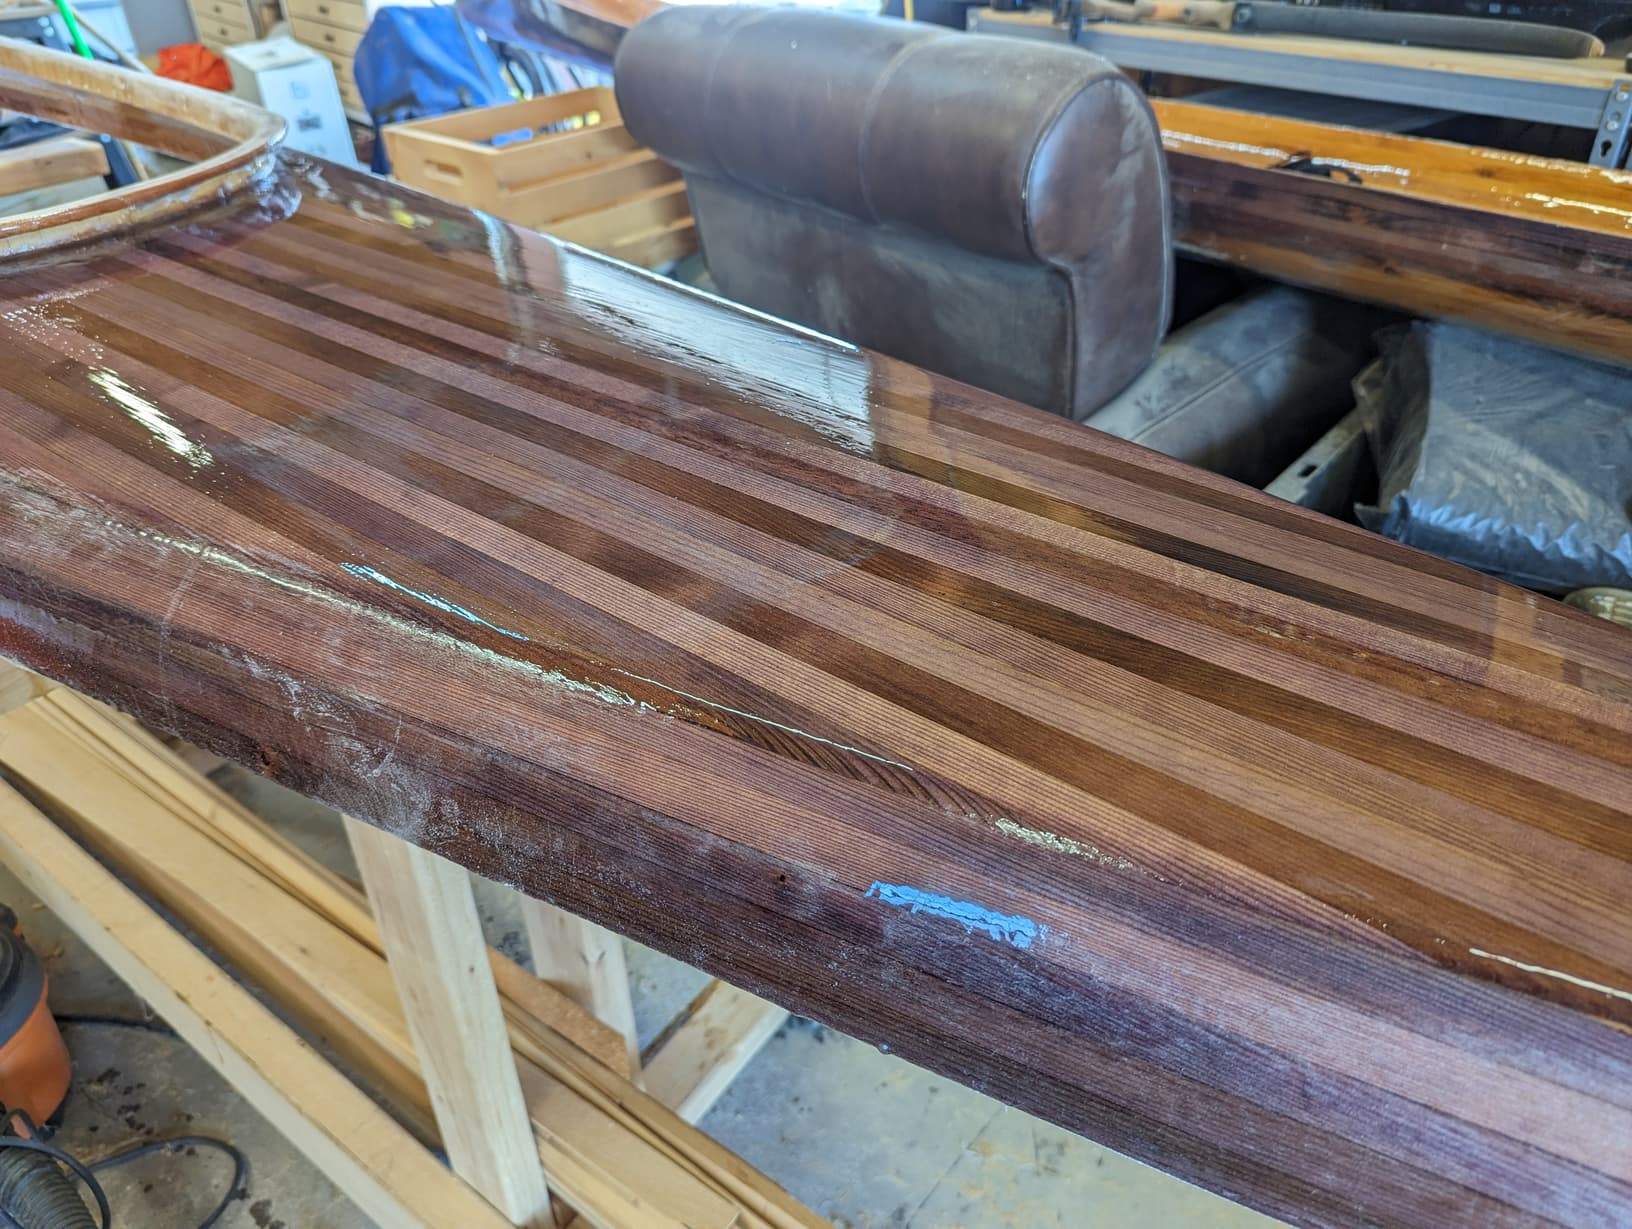
10 Likes
Oh, dang, that looks so good.