I did this design just to learn new tricks in Fusion 360 and to sharpen my skills. This is based loosely on the $179 “Super Dust Deputy 4/5 Cyclone” that’s made for adding a second stage to existing single stage dust collectors that range from 1/2" HP to 3 HP (i.e. think Harbor Freight dust collector).
Access the design files:
I’ve done two versions.
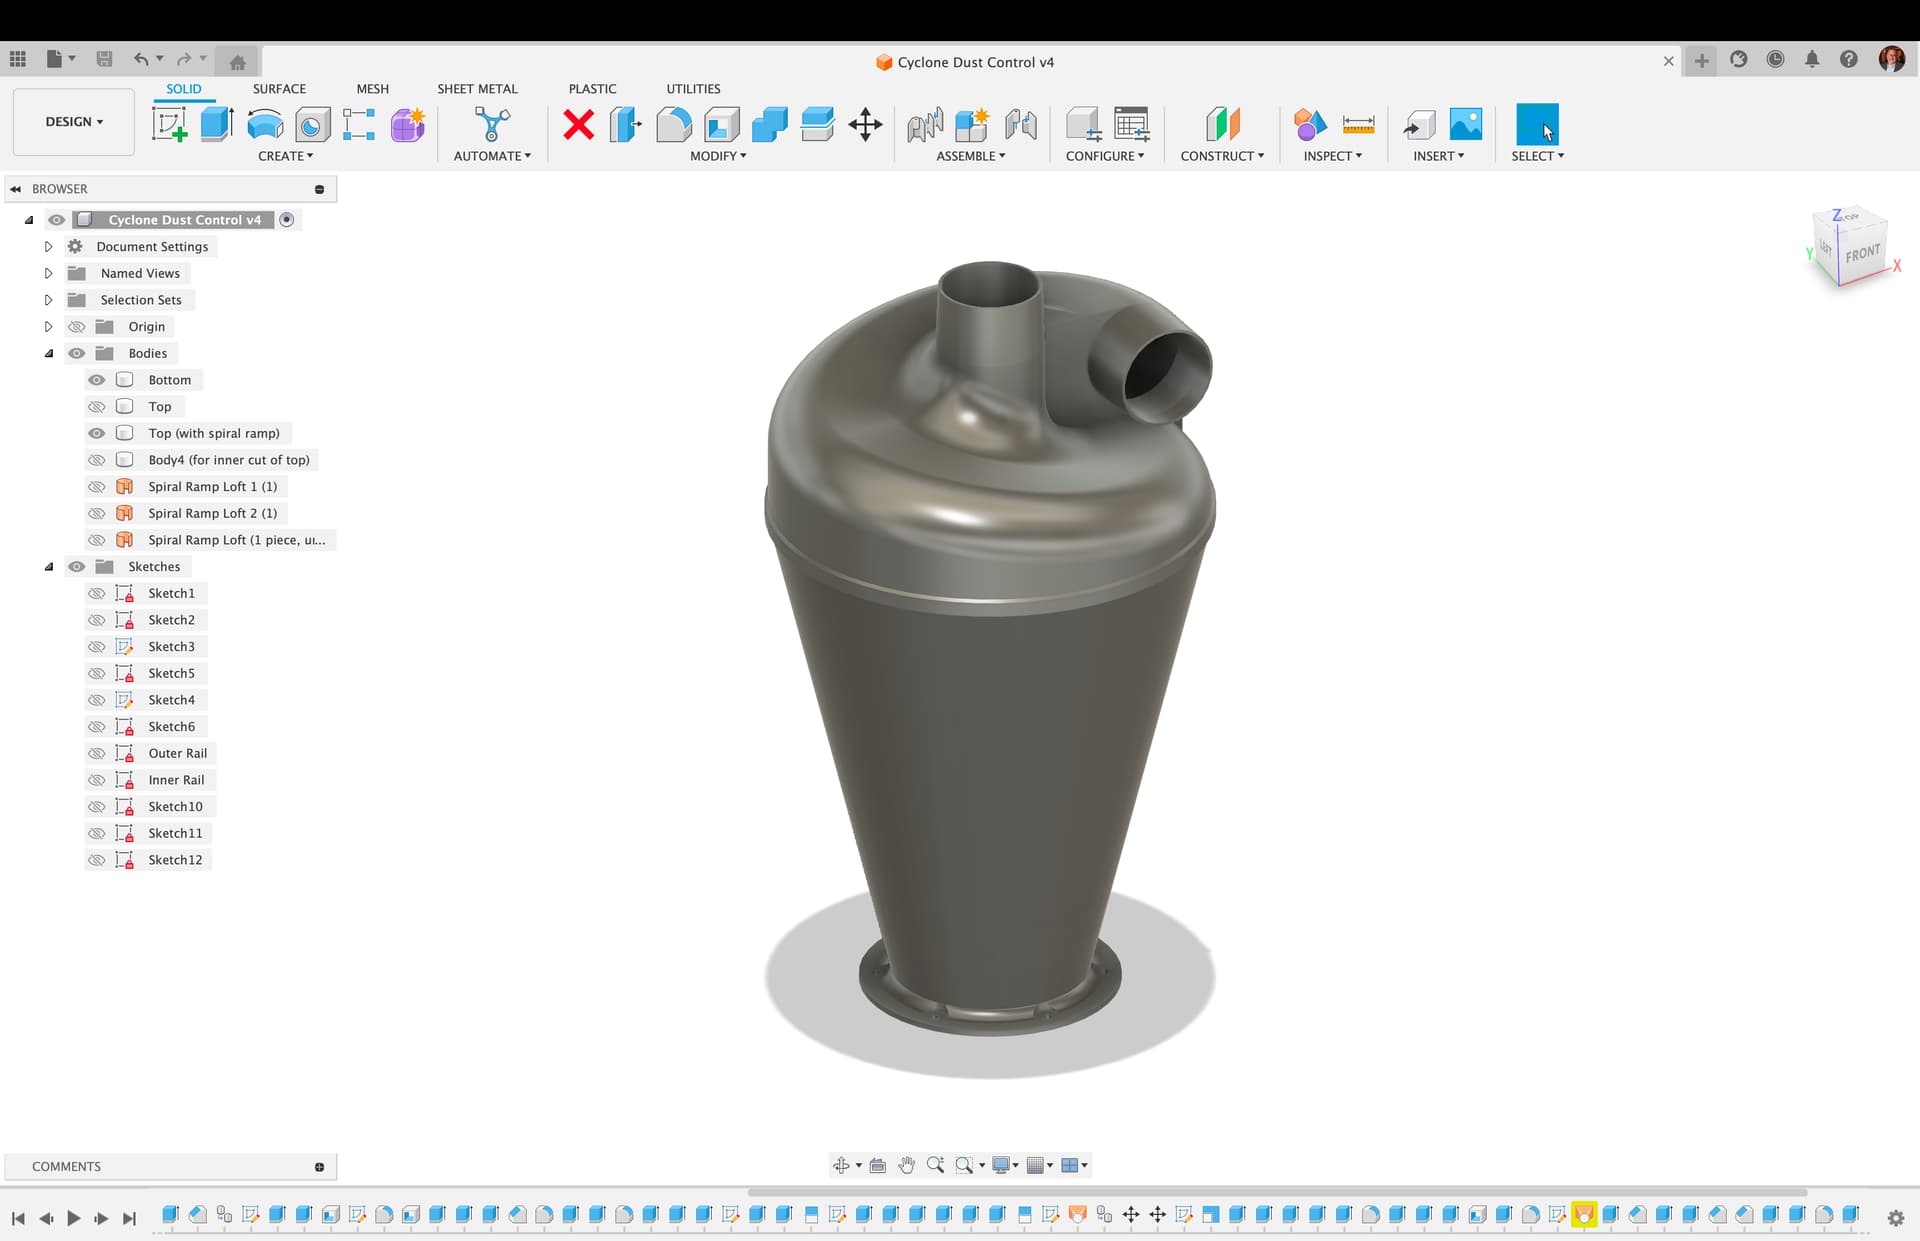
The first has 4" inlet and 4" outlet, designed for 4" flex hose on both. - Fusion
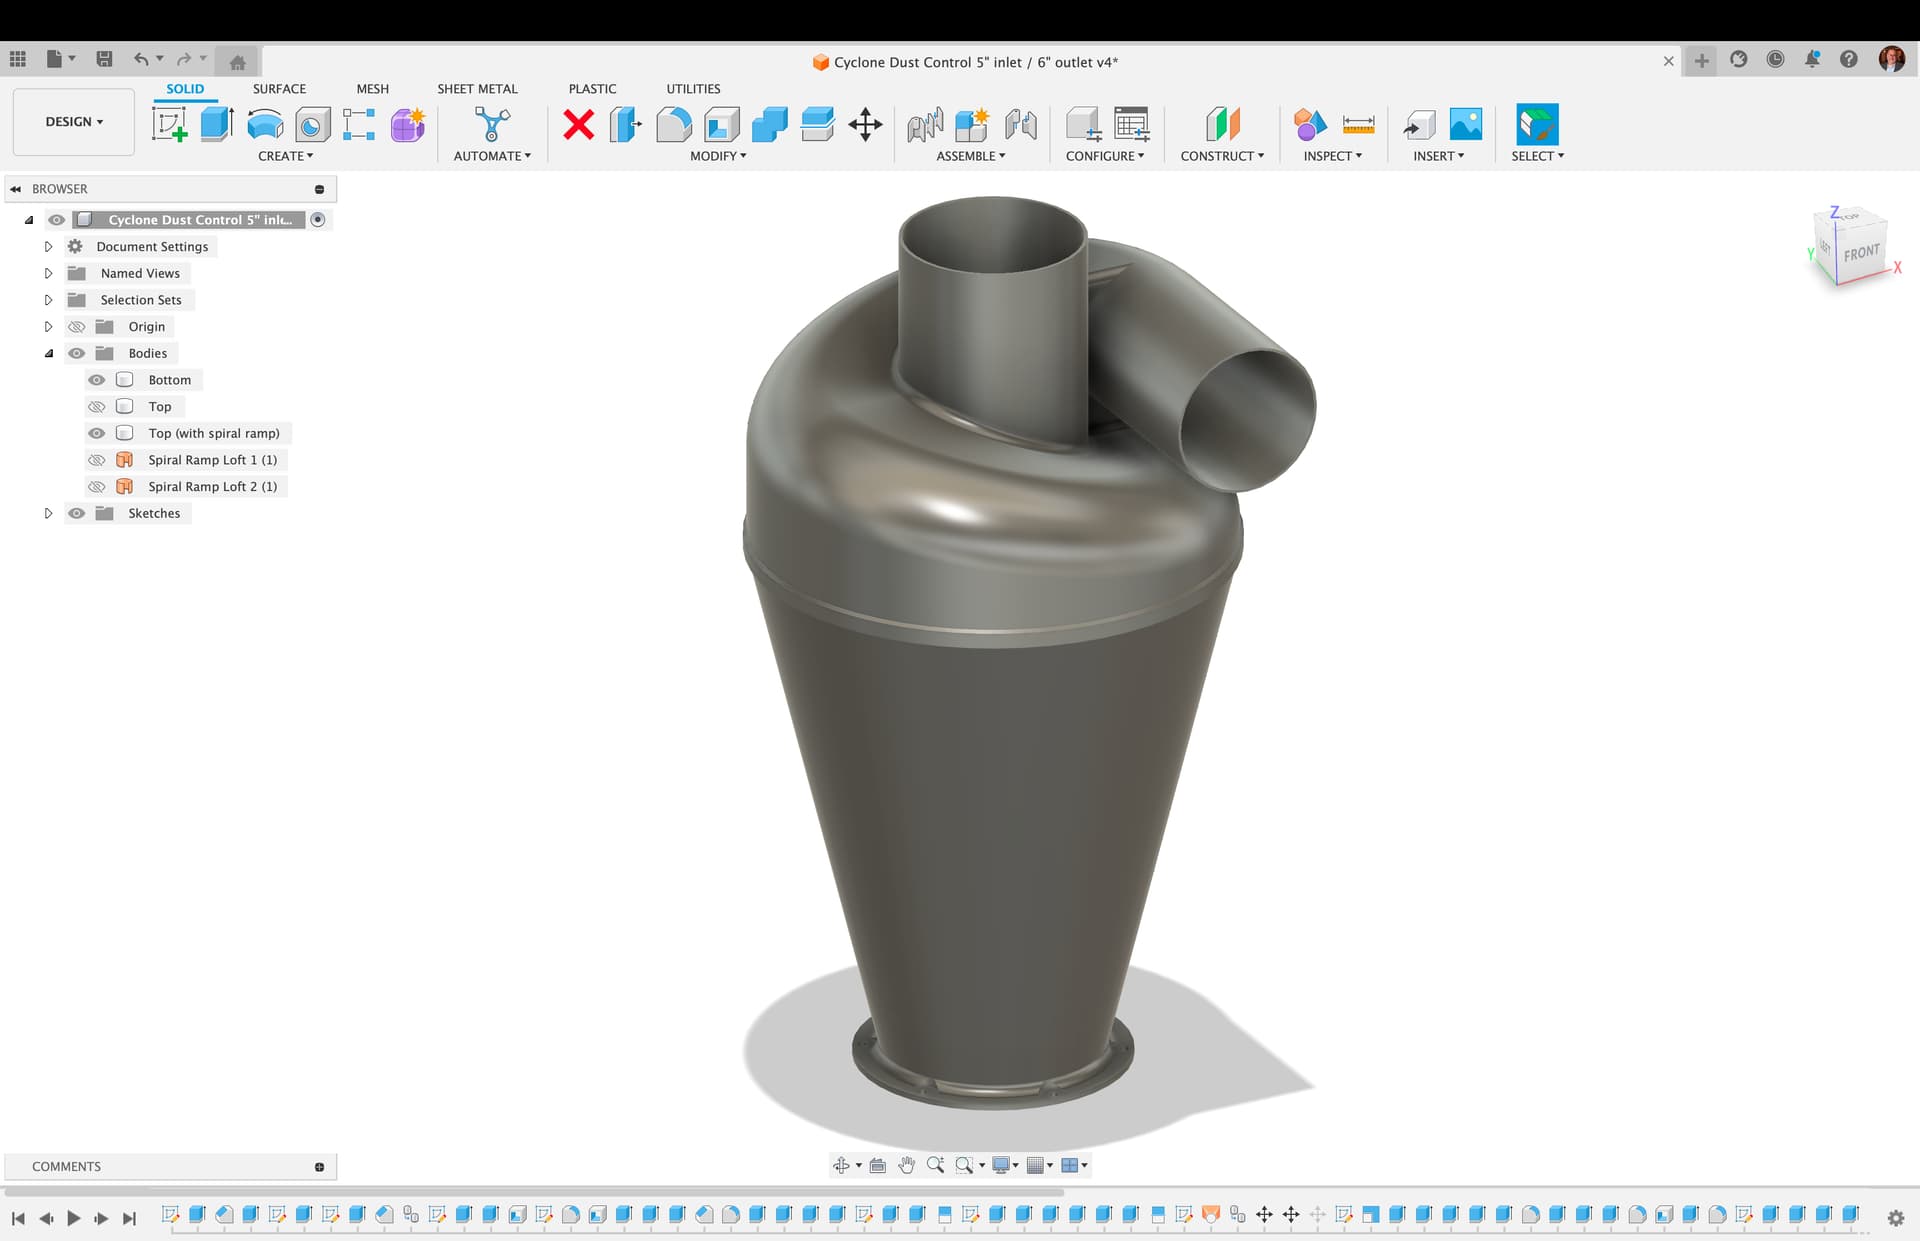
The second is like the store-bought version, having 5" inlet and 6" outlet. - Fusion
(The store-bought one comes with two adapters to get the inlet and outlet both down to 4".)
NOTE: this is probably not printable (certainly not easily) due to its large size and its design being made with no thought for 3D printability. I offer it for no reason other than sharing a creation file.
Well, I was not going to even try to print this huge thing, but I just now got a great deal on the larger impeller useful for increasing the performance of my Harbor Freight Dust Collector, and so I decided to go ahead see if I could pull this off. It’s going to be two marathon print jobs.
I was going to print one, but I bought a knock off for less than $20.00 (for the vac) - before you go too far making a random copy - you probably need to read as much of Bill Penz’ stuff as you can - he’s the guy whose stuff Oneida builds under license,
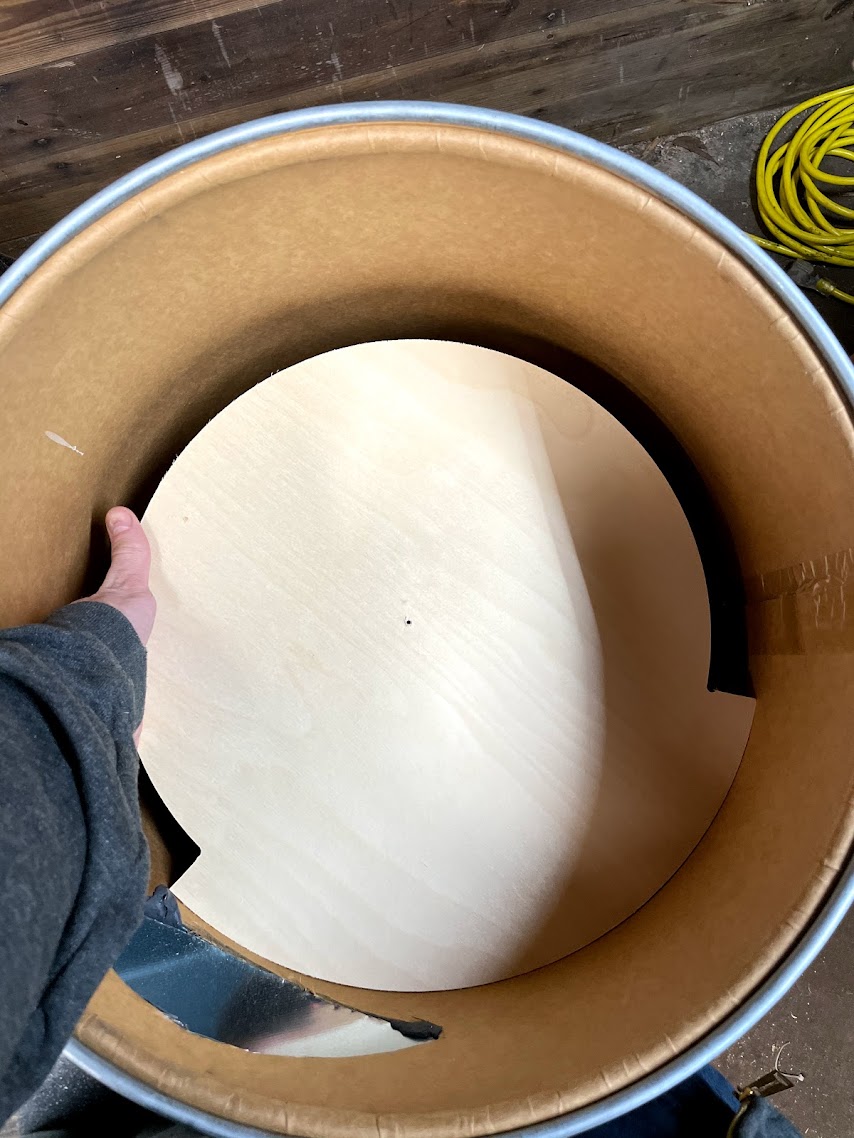
I got a fiber barrel off facebook marketplace years ago, and added a thien baffle. It would be super easy to cut out on your CNC. I had to do mine by hand.
edit: Powered by a Harbor Freight dust collector without the propeller upgrade
You’re spot on here. I should change tack, and go for a Thien Baffle instead of attempting to print this big thing. Part of me does want to push the boundaries of how “impossible” a print I could pull off. LOL
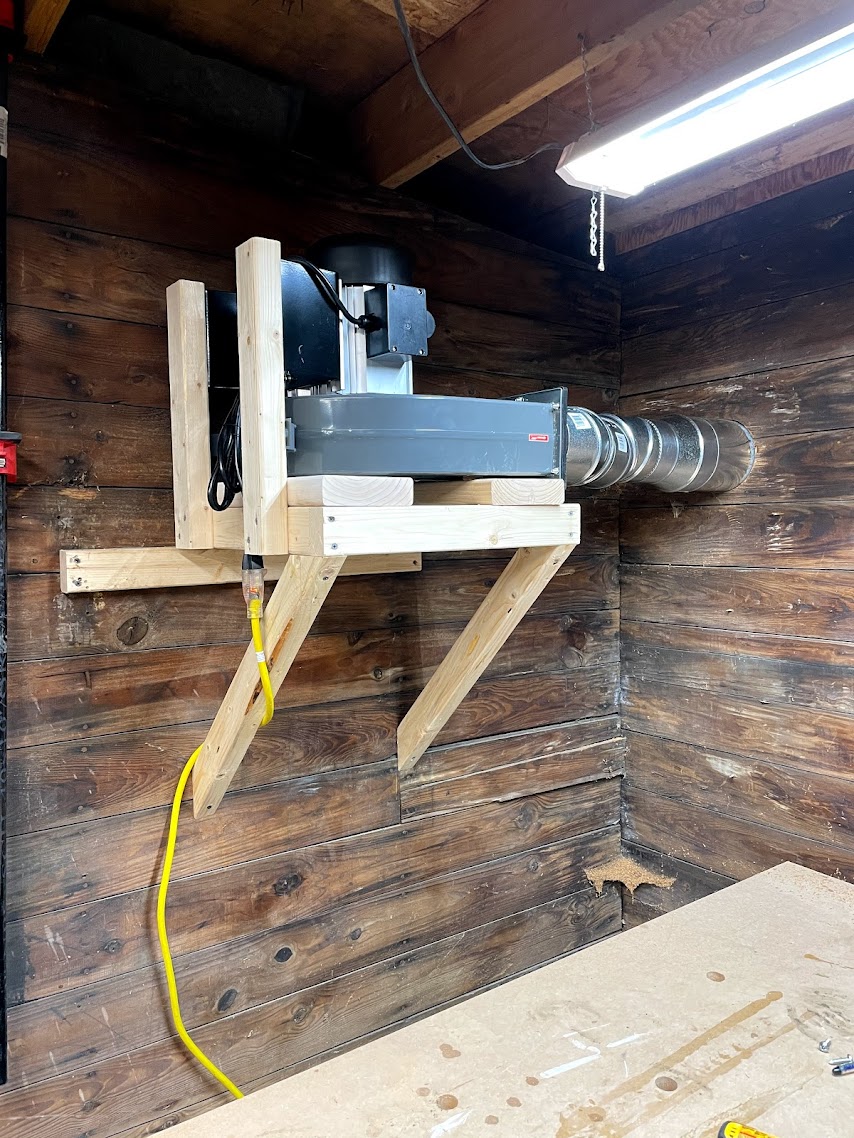
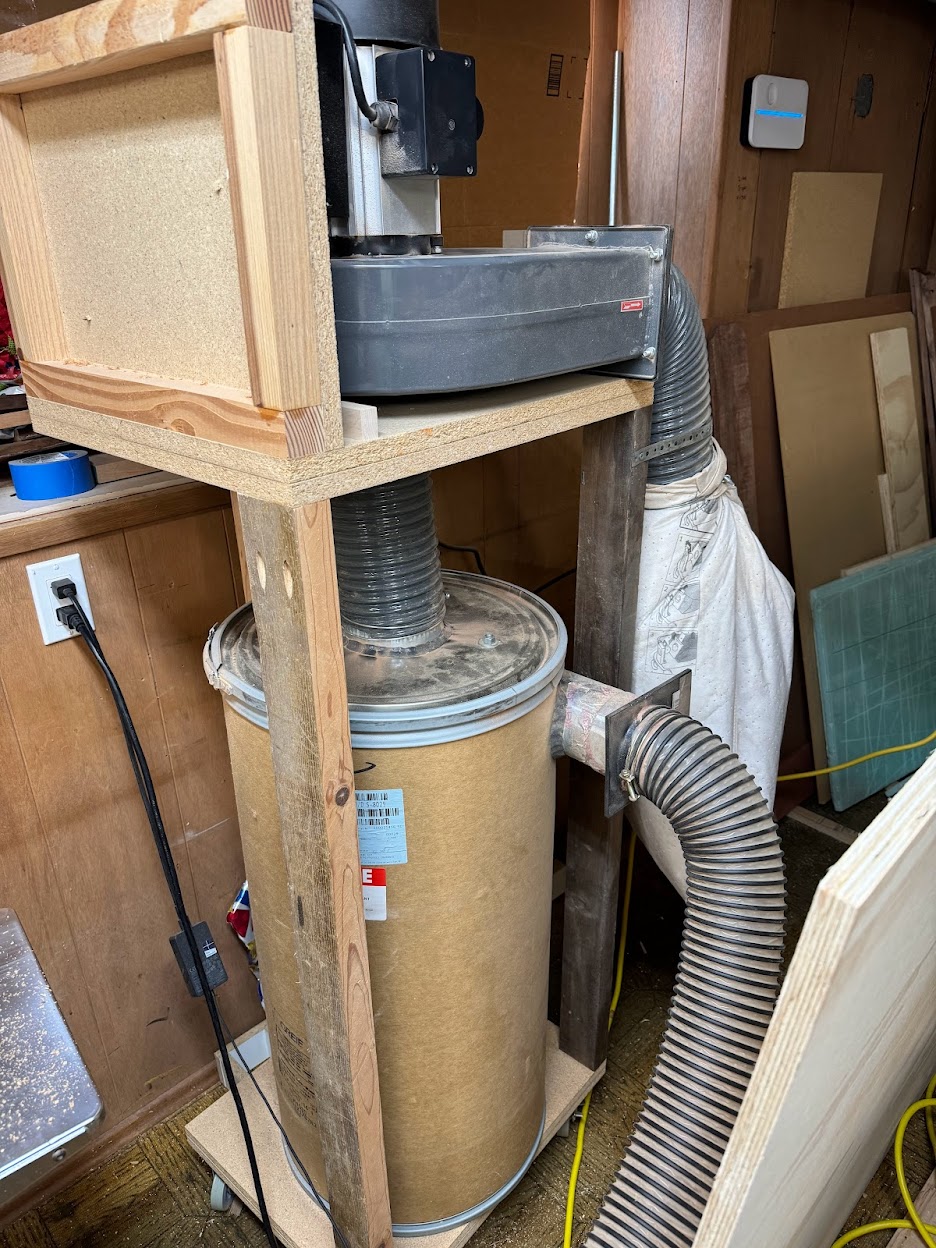
Here is some more pictures that might help. This is well documented out there, but figured I would show you how I converted the HF model.
I basically threw everything away except the motor. This is from my old house where I didn’t even use a filter. I just exhausted outside. The barrel collected everything and I never saw any dust outside. I’m sure there were micro particles and such, but never noticed. Today, I have it exhausting into a used HEPA filter bag from my Festool dust extractor.
You can download templates that tell you how to cut the hole / pipe based on the diameter of the tubes. I don’t remember which one I used, but something like this. Tube Joint Pattern Generator. Then I JB putty welded it on to cover any micro gaps.
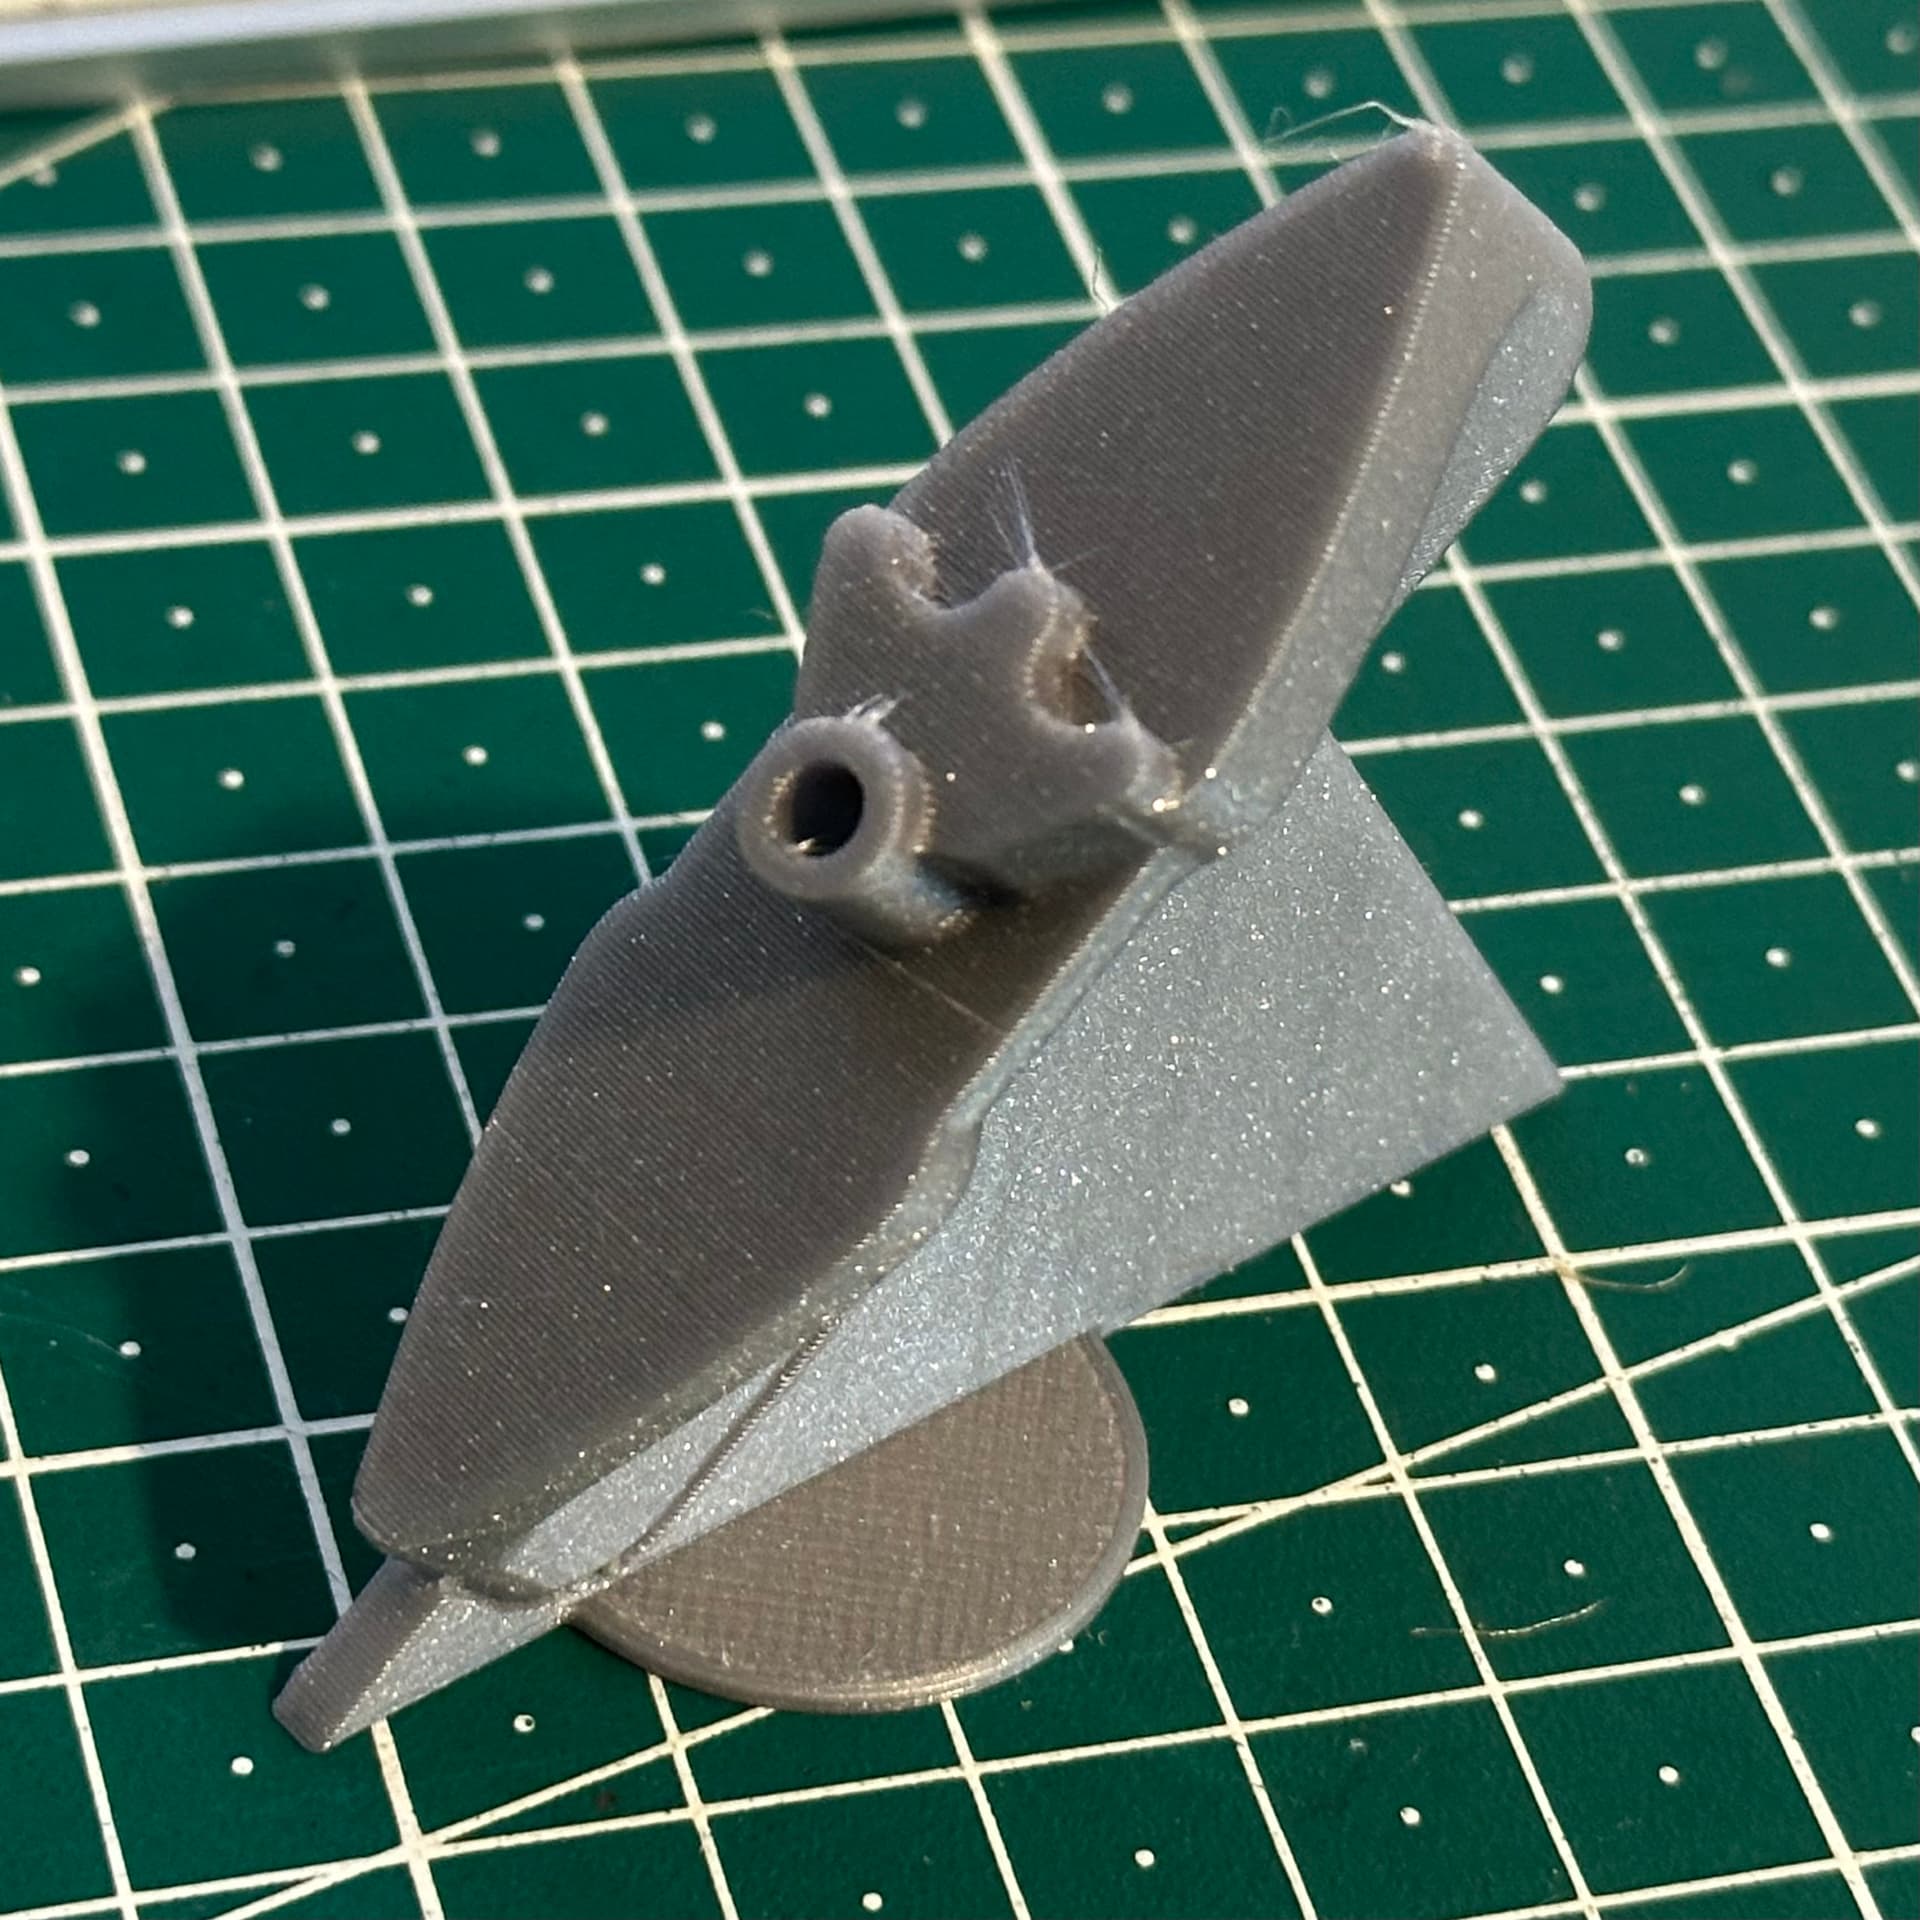
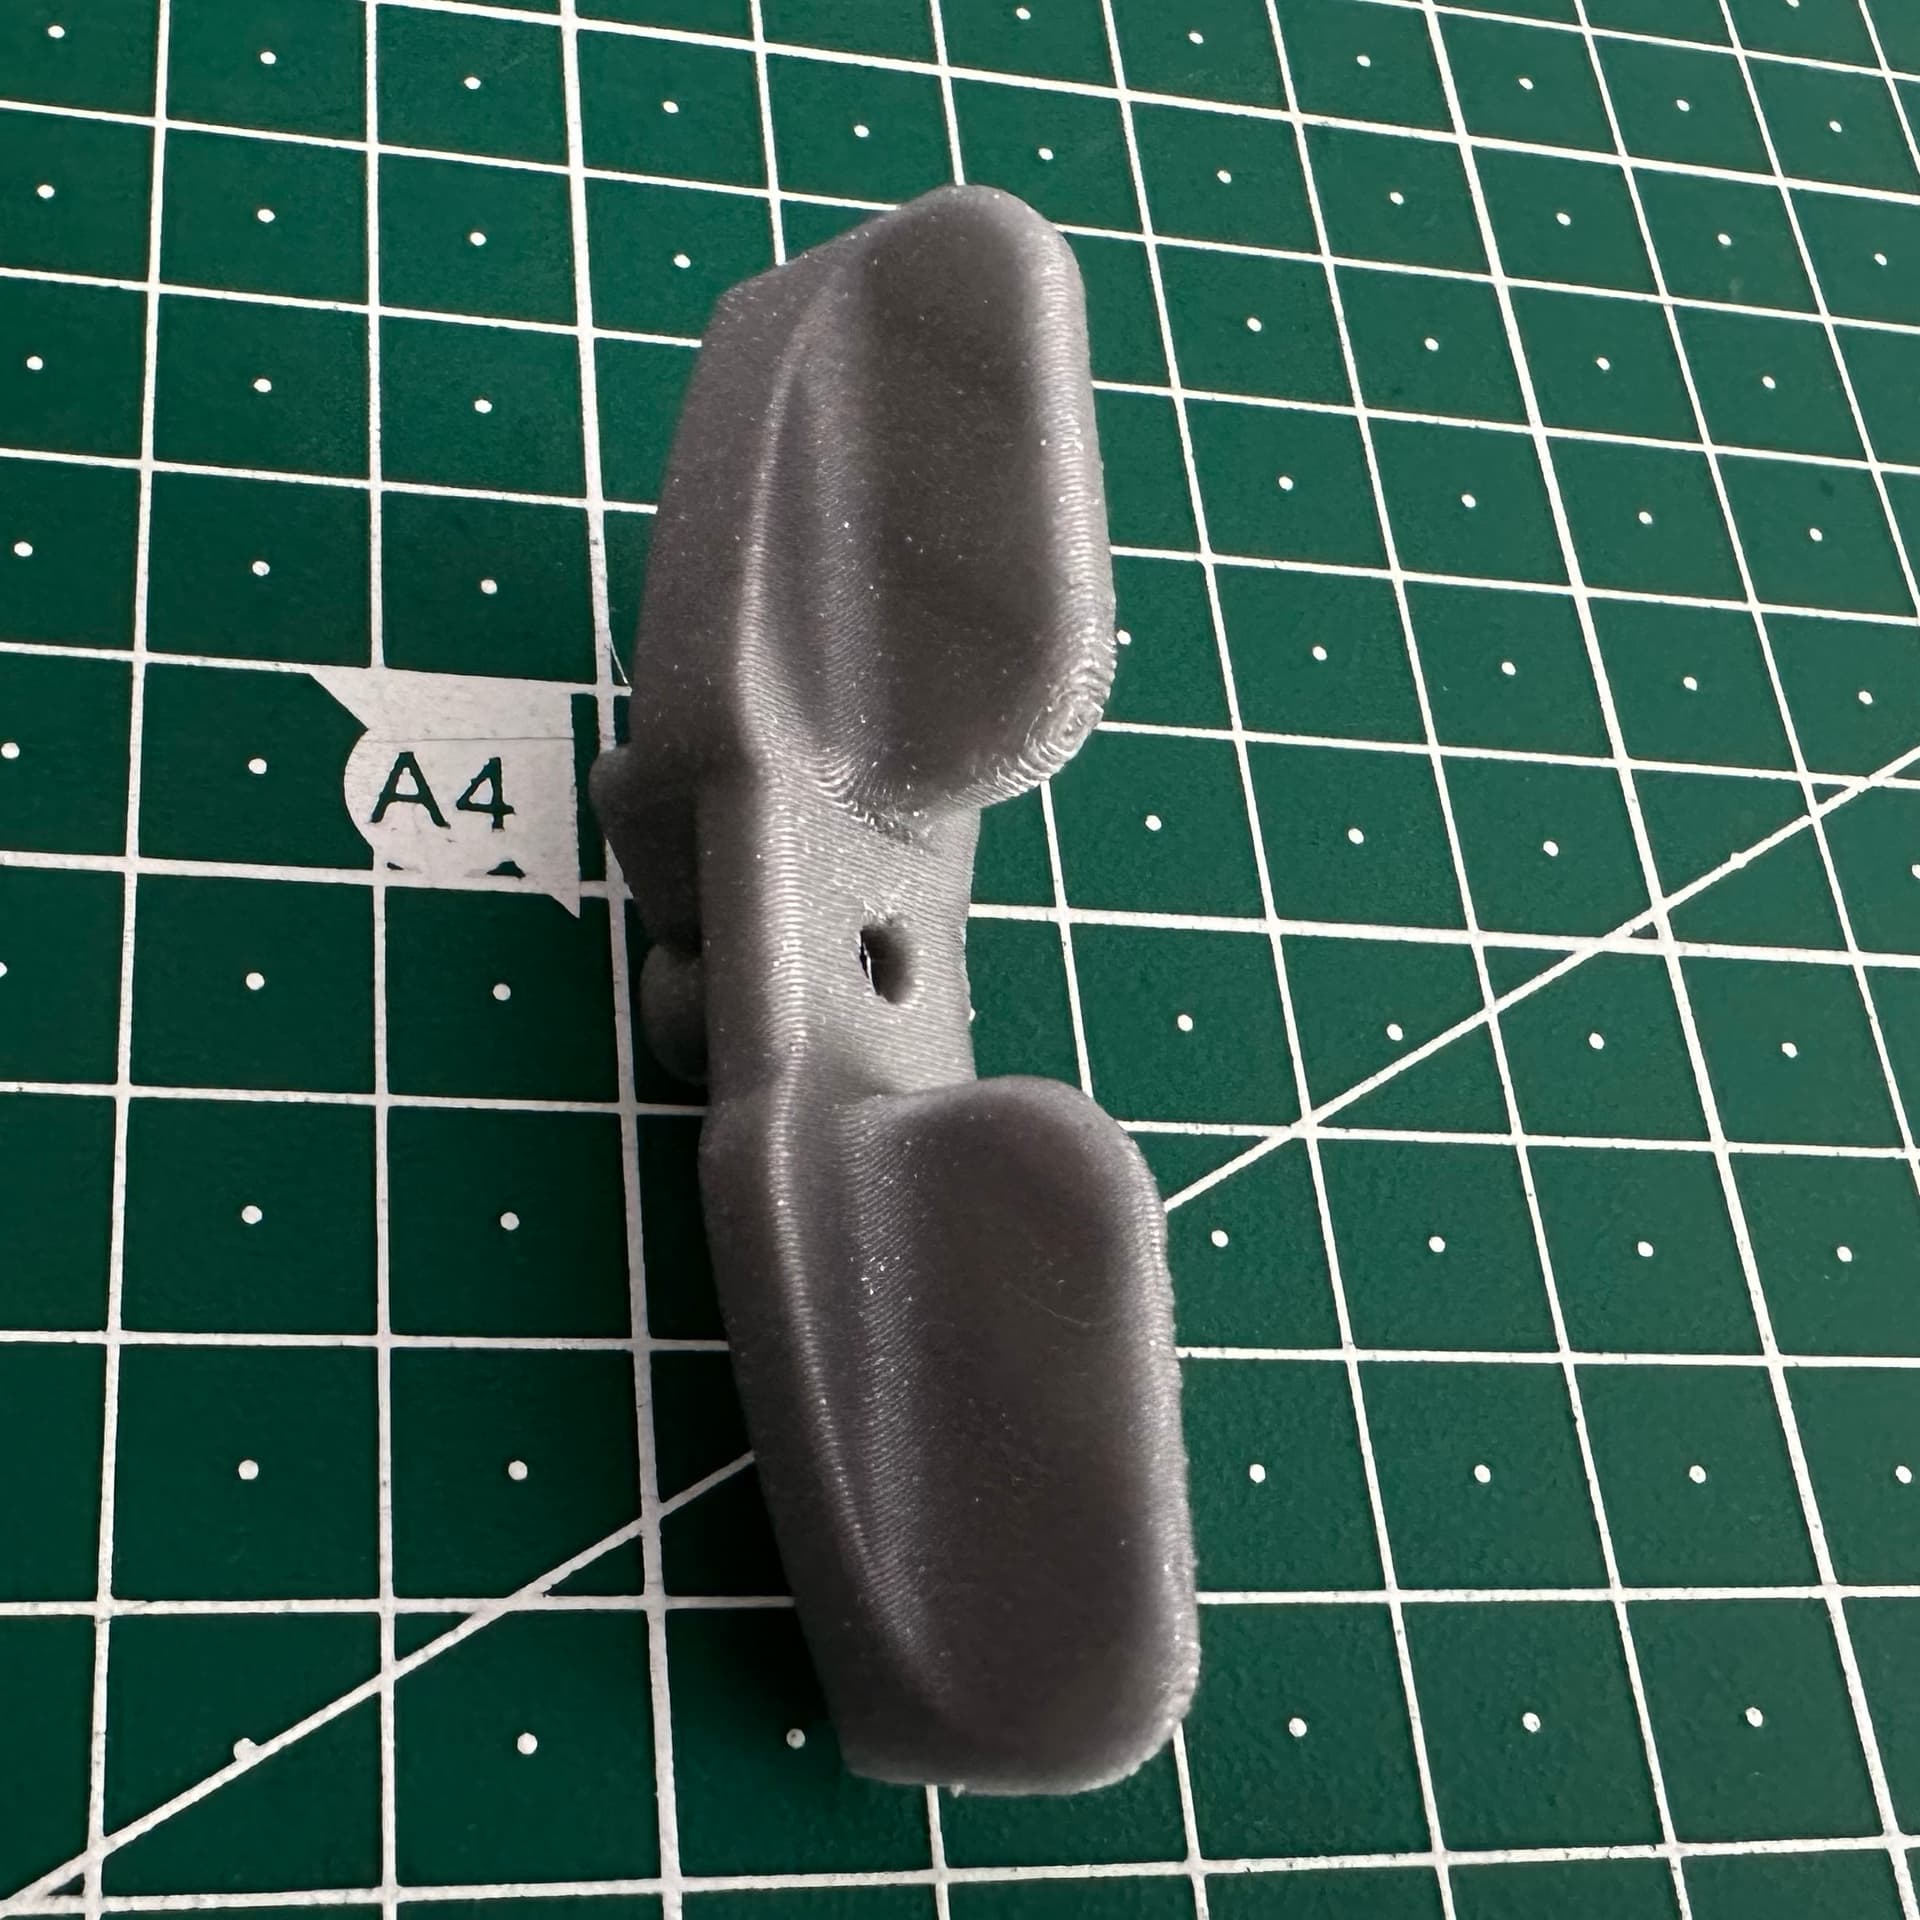
I’m more surprised that the bottom part, before the smaller organic support, didn’t somehow get attached to that support. From the photos with my bad eyes, and the angle of the photo, it almost looks like the lower portion of the part, is deformed but attached where it was supposed to be. I understand why everything above that support worked. Looks like the raft was fine, and didn’t detach from the plate. Almost like the part at the lowest end, somehow detached from the supports after the raft. Assuming the first layer of the part, wasn’t on the plate itself.
IDK if we read the same guide or what. There is a guy in Denver that buys and sells these barrels for cheap. Mine used to contain dried milk or something.
It works great. I don’t notice anything outside.
I do stagger the starting of the DC and the table saw. This is a big motor. But it is quieter than the saw when cutting.
I had decided not to try to print this, and was moving in favor of a Thein baffle, but then I remembered that I had been given some gift cards to Lowe’s, and I was able to buy the larger Super Dust Deputy 4/5, without being out any money. So I have pulled the trigger on that.
I didn’t take enough pictures. The center part is the same part that comes with the dust collector that would have the dust bag on the bottom, and the filter on top. I added the thein baffle to the bottom of the center part. That kept the full volume of the barrel for chips, and in my case, bat poop.