This thing is both extremely fun to work with and extremely frustrating!!! I was up LATE last night trying to get all the initial calibrations done in hopes to actually print with it today. But not sure that is going to happen yet. Feed on it is extremely unreliable. And I don’t think its a design problem but more of an “I cant 3d print near as good as I thought I could” problem. Right now I am having an issue with the main servo arm. I was just printed last night and has already stripped its self out. About to try and print some more while I look at the possibility of alternatives. None of my frustration is at ERCF. Its mostly me and not being patient enough to get things right from the beginning. And not being able to find all the info I needed before I truly needed it lol.
I will say the Happy Hare software is amazing and very well thought out. Tons of test are automated. Just run the command and it does it all its self. Only once have I had to manually measure anything and that was for rotation distance on the feed. And I didn’t have to do any calculations. I just had to tell it how much I measured and it figured out the rest. Klipper could learn a lot from the guy that made Happy Hare lol.
You want success though. You’re trying and if it isn’t working, then it is valuable feedback to the project. These things are a collaboration and if users are making mistakes and missing the goal, then it is partly on the design and implementation too.
Yeah I get what you are saying. And I have been on discord about 90% of it, those guys are a lot of help so far. The issue for me is there are SO many different variations, its knowing what to use and what not to use lol. I had 90% of the parts printed before I knew there was an R2 repo that had a lot of better parts in it. Things like the coupler blocks (Pre-Gate Sensors) that can be used without the cotton tail.
But I think the largest frustration with all of it has just been print issues. And that’s not the printer not doing right, or the model not being right, that’s Jonathan isn’t near as good at tuning in a printer as he thought he was LOL. These prints are set up VERY differently than what I normally print. V1 parts I can print beautifully all day long lol. These ECRF parts with a .4mm nozzle and .2 layer height with forced .4mm walls is something very different lol. And then throw in the fact this is the first time I have ever printed ABS. Its been a learning curve for sure. I am not upset about it and I am glad I know what I know now. This project has pushed me to learn a lot more than I knew before I started. And that’s why I enjoy doing these things vs buying a Bambu and AMS.
Even with all the frustrations and such, and the fact that I still don’t have it working yet, I can still tell this will not be my 1 and only ECRF. I will end up building at least 1 more, but smaller. I should have only done 4 gates on this one and saved the parts for another build lol. But I know enough now that I will just self source what I need, or at least price it all compared to a kit to build the next one.
Sorry just have to poke in here and reinforce why I am picky with people recommending mods and stuff. The instructions in the docs are the path to follow. I am finding with klipper the same sort of thing is happening. lots of other things to get in the way, too many options. The way they will not recommend certain things does make it harder. For example I recommend two control board options currently, obviously everything else will work but giving a new user a path to follow is a good thing and not necessarily playing favorites.
Well the next one will surely be at least two colors!
LOL I am thinking 4. That gives me plenty of room for endless spool. I always print shop shit in whatever left over stuff I have laying around to use it up. So being able to just load in and let it go will be so nice!
Probably so. Hadn’t really thought about that yet. The build guide was real nice. But then it just kind of stops. For setting up happy hare you have to do things in a certain order. But finding out that order takes a good bit of digging until you finally happen across the correct document.
Everything I’ve researched on this unit repeats the same initial must. Tune, Tune, Tune. That’s what I’m doing now as I await my filament to arrive.
Please elaborate on this
Are you going to try reprinting? When I built my Voron, I used a Sovol in a box to print the parts. Since then I have re printed most of the parts on a Semi Tuned Voron, and things just align and fit together better. Just food for thought.
Then there is the fact that if it wasn’t for this damn Rabbit hole, I would be starting the assembly and ordering of my Lowrider. DAMN upgrades shakes fist
Yeah and I “thought” I did that. I spent 3 days tuning with nothing but the filament I printed everything with. This was my first time ever printing ABS before. But what I didn’t know is I was paying attention to the wrong details. I worried so much about the filament passages that I had to reprint over half the parts from the holes being too large and heat sets just falling out. Other cracked because I printed them too cold trying to make the overhangs look better. Just a bunch of Rookie mistakes. Me thinking I knew how to tune a printer and finding out I truly don’t lol.
This again is mostly me and my ADHD. It was harder to find things because I didn’t know what exactly I needed. And some things like different branches on github that I knew nothing about, but I do now so that’s awesome! The HH stuff is a little frustrating still, its not laid out near as nicely as the ERCF build guide. And the EREC build guide was ok but also seemed lacking some details that now that I have done it aren’t important at all, but coming from it my first time were lol. A lot of me reading too fast and missing things, or just flat out getting confused on what I needed. I printed 3 different sets of parts for the Encoder and EREC before I figured out exactly what I should be using.
Understand that my “rant” this morning was meant as purely frustration with my self, not anyone else. I was up till 2am messing with it last night and back in here messing with it before 7am lol. I feel like I’ve spent a month trying to build this thing, and I leave back offshore for a month next week so I’m itching to get it going and get to use it some before I leave.
There are a few parts that I do plan to reprint once its up and running. Like the gate labels and the LED covers. That way I can print them in multi color and have them look a lot better. The next one Ill be able to start out that way since ill have this one working lol.
I hope your build goes smoother than mine. I think it will since you seem a lot more versed in it than I was going into it. Make sure to start you a build thread so we can follow along, and others get a much better guide to follow than mine LOL
This is just the best advice. Even on the Prusa groups despite the factory having a thousand or so machines running full time, one of the most common posts is “I’ve just ordered my new xx machine, what mods should I do?”
The follow-up question predictably starts with “No matter what I do I can’t get this stupid machine to work”
I have nought but admiration for you. I don’t even understand half the words in some of the posts above, let alone getting my head around the acronyms.
I am setting up my new MacBook Air - it’s all automated and smooth as butter and I leave for four months next week, and I’m still quite stressed about it!
OMG That is the PERFECT first print LMAO! I actually have that flag somewhere to hang in the garage, just need to actually hang it LOL. Someone (it may have even been you) posted it a while back and Carmen went and found it on amazon and ordered it LOL
In my defense I only did 2 mods, which are both supported by ERCF. #1 is the EREC filament cutter. I am not running the right tool head for the Filamatrix cutter. The other one is the Lite coupler blocks for the pre-gate sensors so I get to keep the sensors without running the Cotton Tail buffer, that is because FL humidity and filament don’t get along lol
A few months ago I didn’t know any of it either. But through reading and learning Im slowly getting there lol
You are the one who posted so yes, yes you are the one that cost me money LMAO. I showed her your printables link, she was very much on board with printing that LOL
I get all this. Building the voron with mods from the start, I also fell into the “what part do I print *shrug print them all.” And ADHD… same, one of the reasons I love this type of stuff. I do appreciate you taking these steps first though, anything I can learn from you helps my build.
I’m not new to the challenges, this is the way
And 10-4, I want to try to document this build better than the ones in the past, and do plan on a build thread.
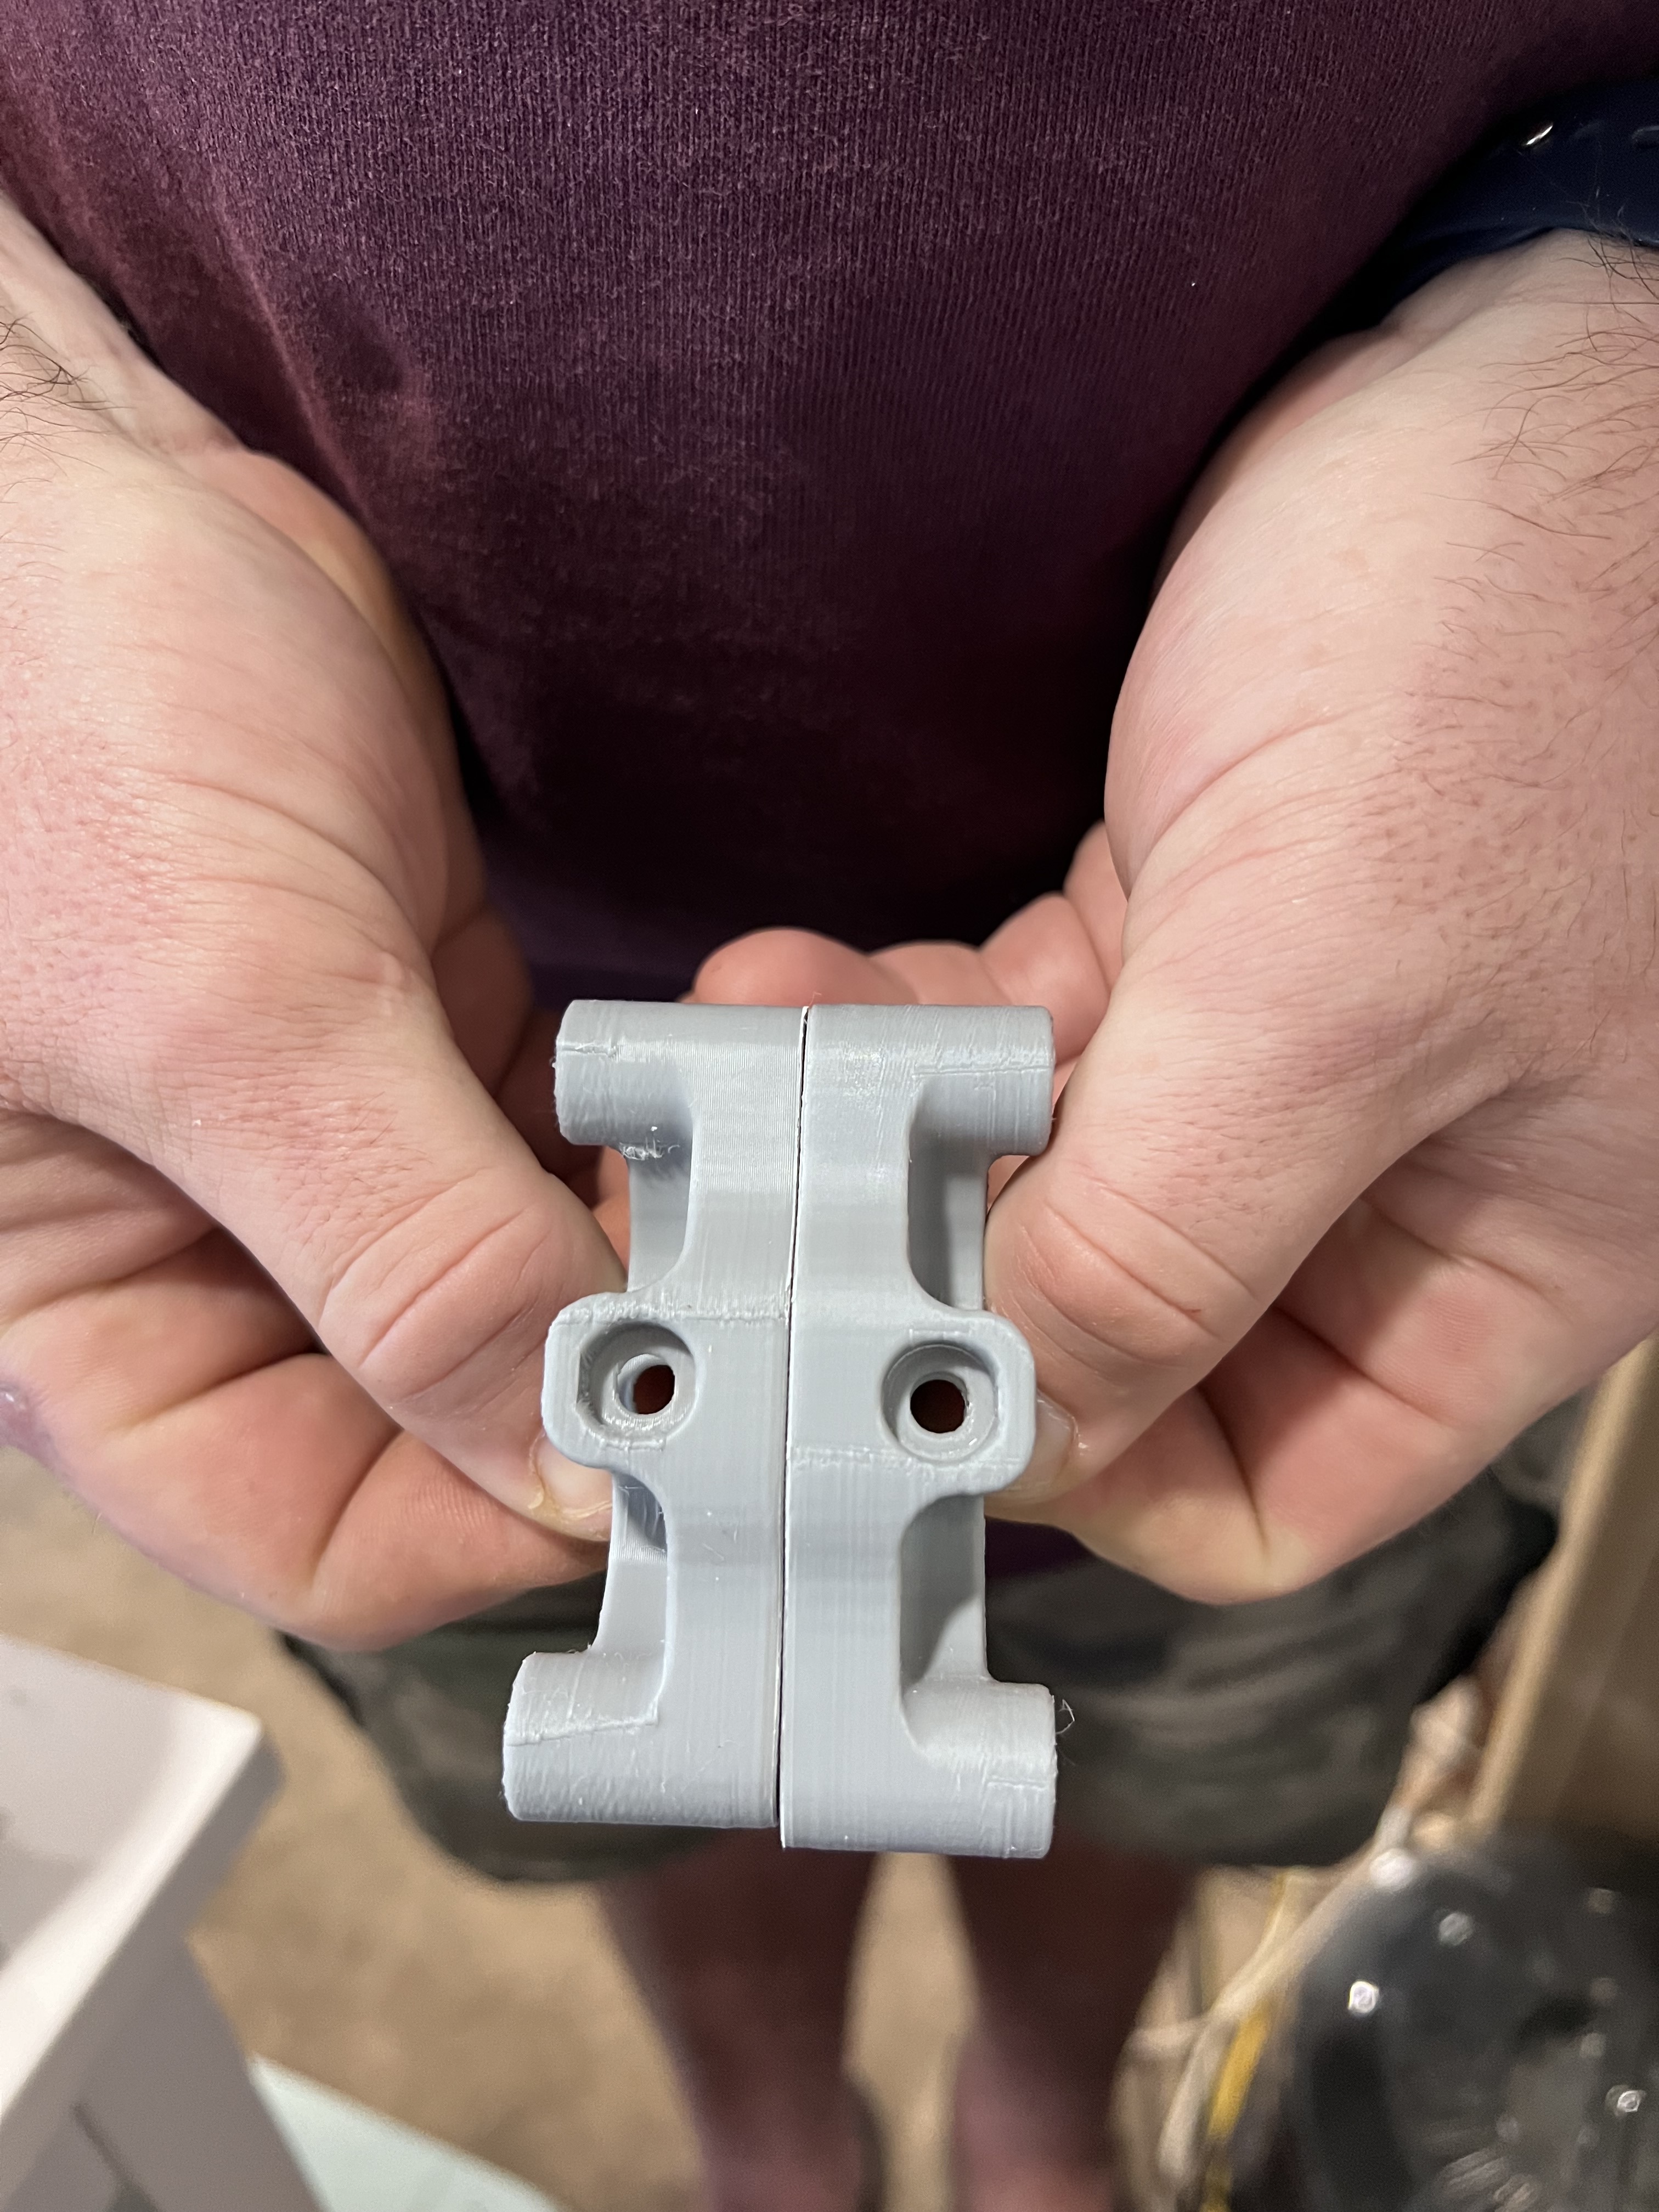
Well I decided to reprint 2 parts last night and see if that helped me any with the issues I am currently having. Printed the Linear Axis Idler and Motor supports out. My servo is not pushing on the top hat quite hard enough. But the linear rods are loose in those 2 parts so I am thinking they are flexing too much and allowing the servo to rise up more than it should. About to throw them on and see how it goes.