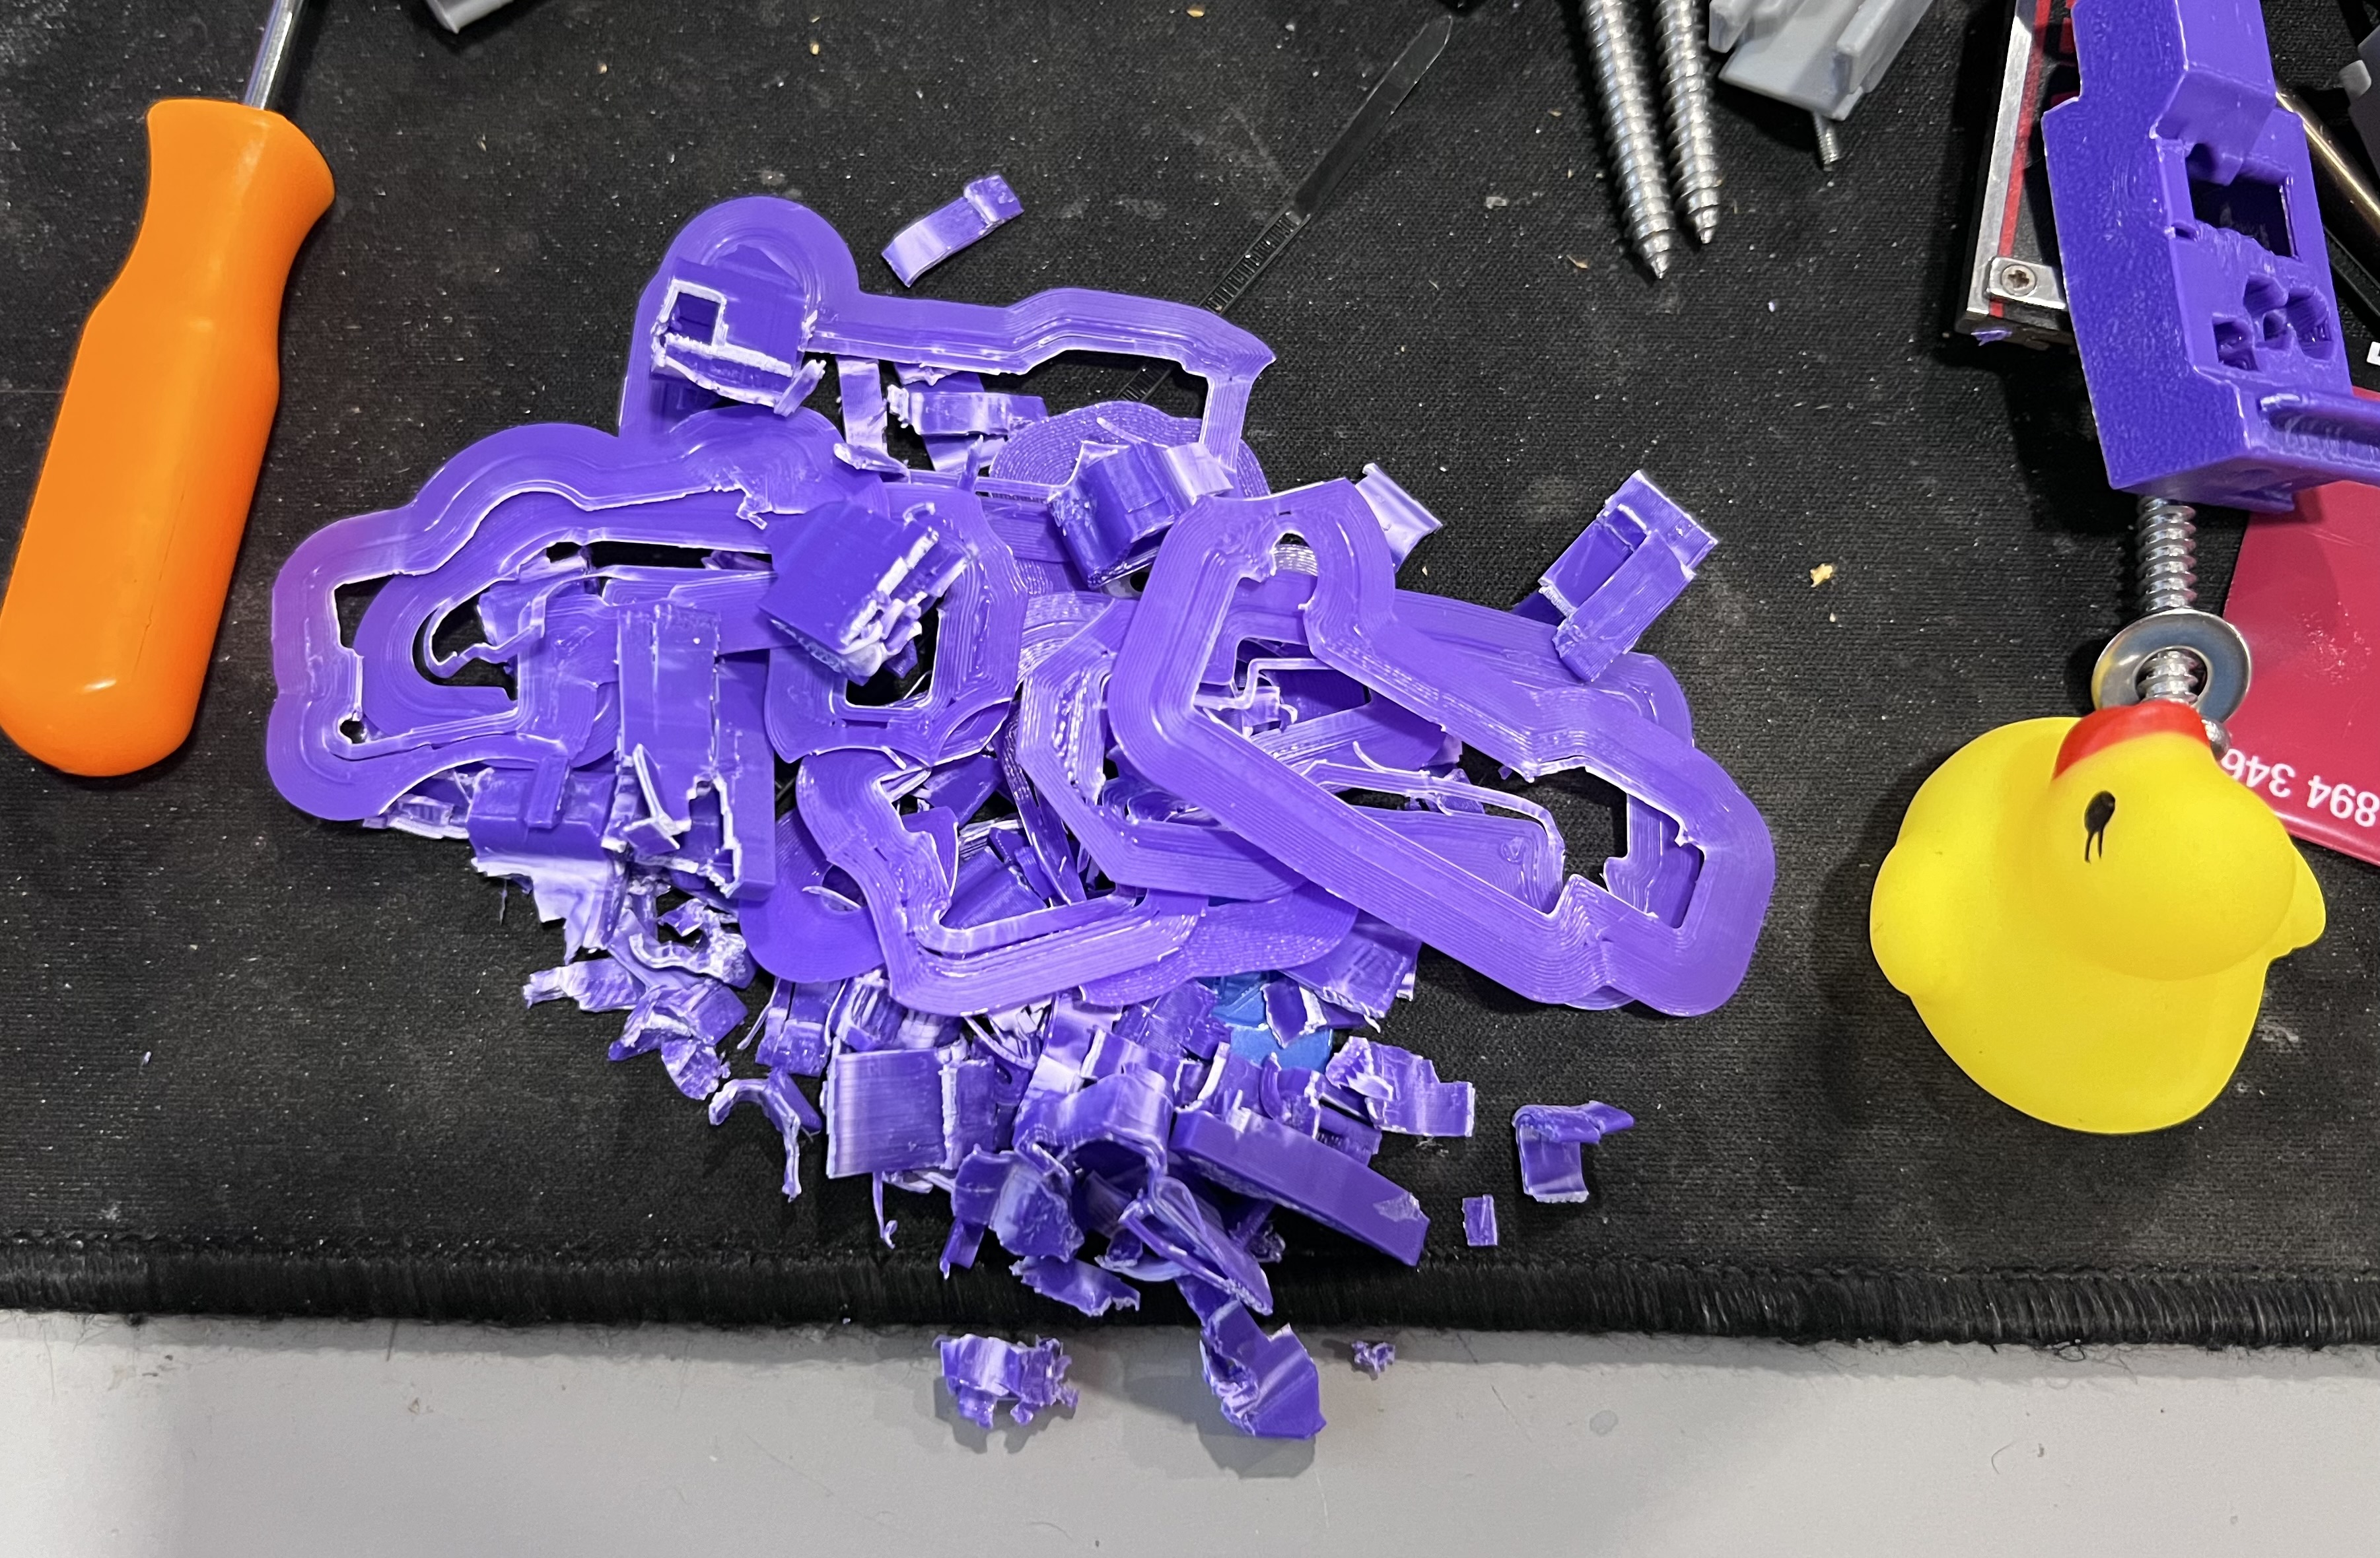
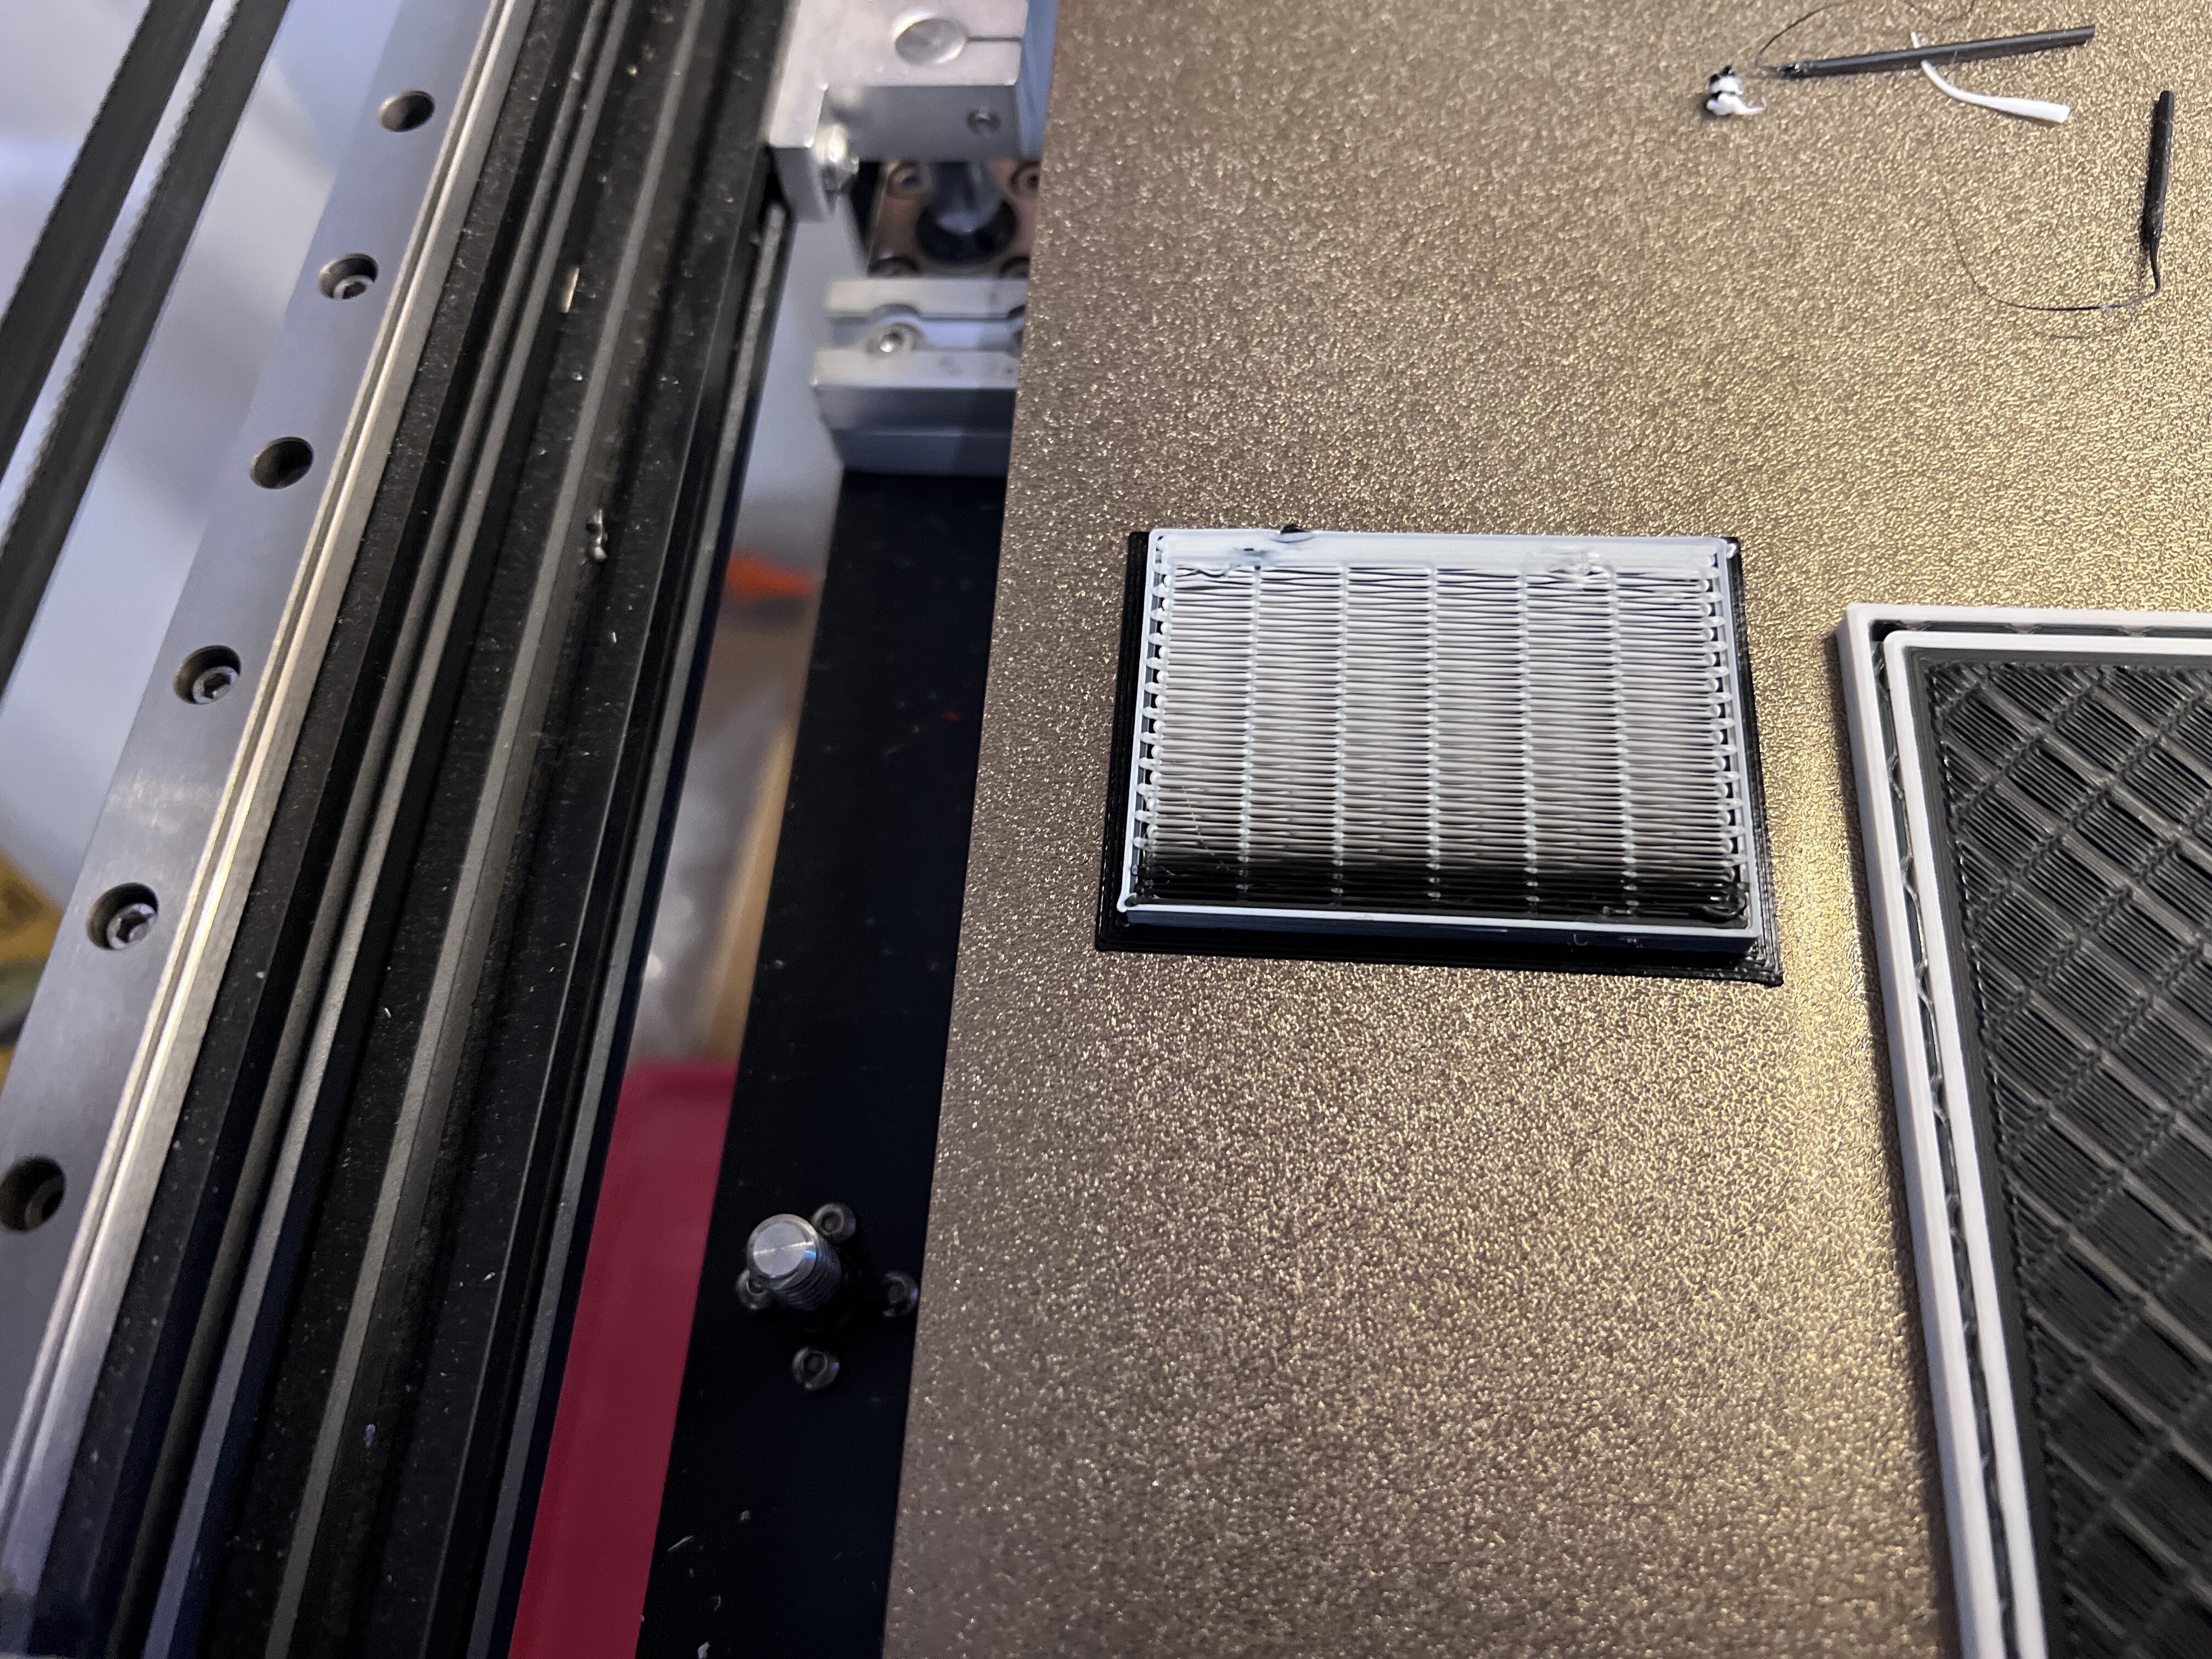
They are the exact same distance. The one on the right was printed at a .1 layer height because I forgot I changed it for something else. The one on the left is the correct size. My DA had set 97% as the shrinkage in orca for the ABS. It should have not been changed. So my parts were oversized. Which is probably a big reason for the problems I am having
3 Likes
And now I get to wait another hour and a half to see if it fixes anything. Just broke one of the parts trying to get the M5 nut in it. ![]()
1 Like
So, the design files already take shrinkage into account?
1 Like
That’s correct. That’s why they stress printing in ABS
1 Like
Frankly, that’s messed up.
2 Likes
Its not just them. Voron is that way, Even the Zero G kit I put on both of my Enders was that way, but they also say ASA works
Well, changing the earlier parts helped but didn’t fix all the problems. I know that with how much larger those parts were, that means everything else is also larger than it should have been. Well what didn’t get larger were the bondtech gears inside lol. So what I am doing now is reprinting all of the filament path stuff. Hopefully that will get it running much smoother! One step closer and learning more each step, unfortunately I always seem to learn the hard way LOL
2 Likes
Ugh. So glad that part is done. Well on this round of parts anyways. Top hats are printing now.
Still a little cleanup work to do with a needle file where the supports were but so far these parts are fitting together nicely. Giving me hope that this will be the correct fix.
Don’t worry. Gray shows up weird in this lighting. That’s definitely not purple. Lmao. Ran out of gray. Purple was the only other ABS I had. Somehow I thought I needed a second accent color so I got this when I ordered the other lol. I’m too close to going back to work and want to see it work too bad to care about color scheme right now. I can fix that later. Hopefully after it’s working and I can print a few of the parts multicolor lol
2 Likes
Bummer, purple is my favorite color. ![]()
Aren’t brims a chore to deal with?
Not too bad. I only use them on ABS and ASA. It really helps the parts stay down on the bed. I might be able to get away with not having them now that I am in a better “chamber” with the V5 but I haven’t risked it lol. The built in supports are the chore. I’ve found if you print the ABS a little too warm they stick a little too well. But if you print it a little too cool then your layer split. So I rather deal with the supports being a little more of a pain and know I have a good part. The new extruder/hotend on the V5 is printing MUCH cleaner than the H2 V2S Lite I had before. They still aren’t perfect like @vicious1 prints but are a great improvement lol. Still working my way to his level.
1 Like
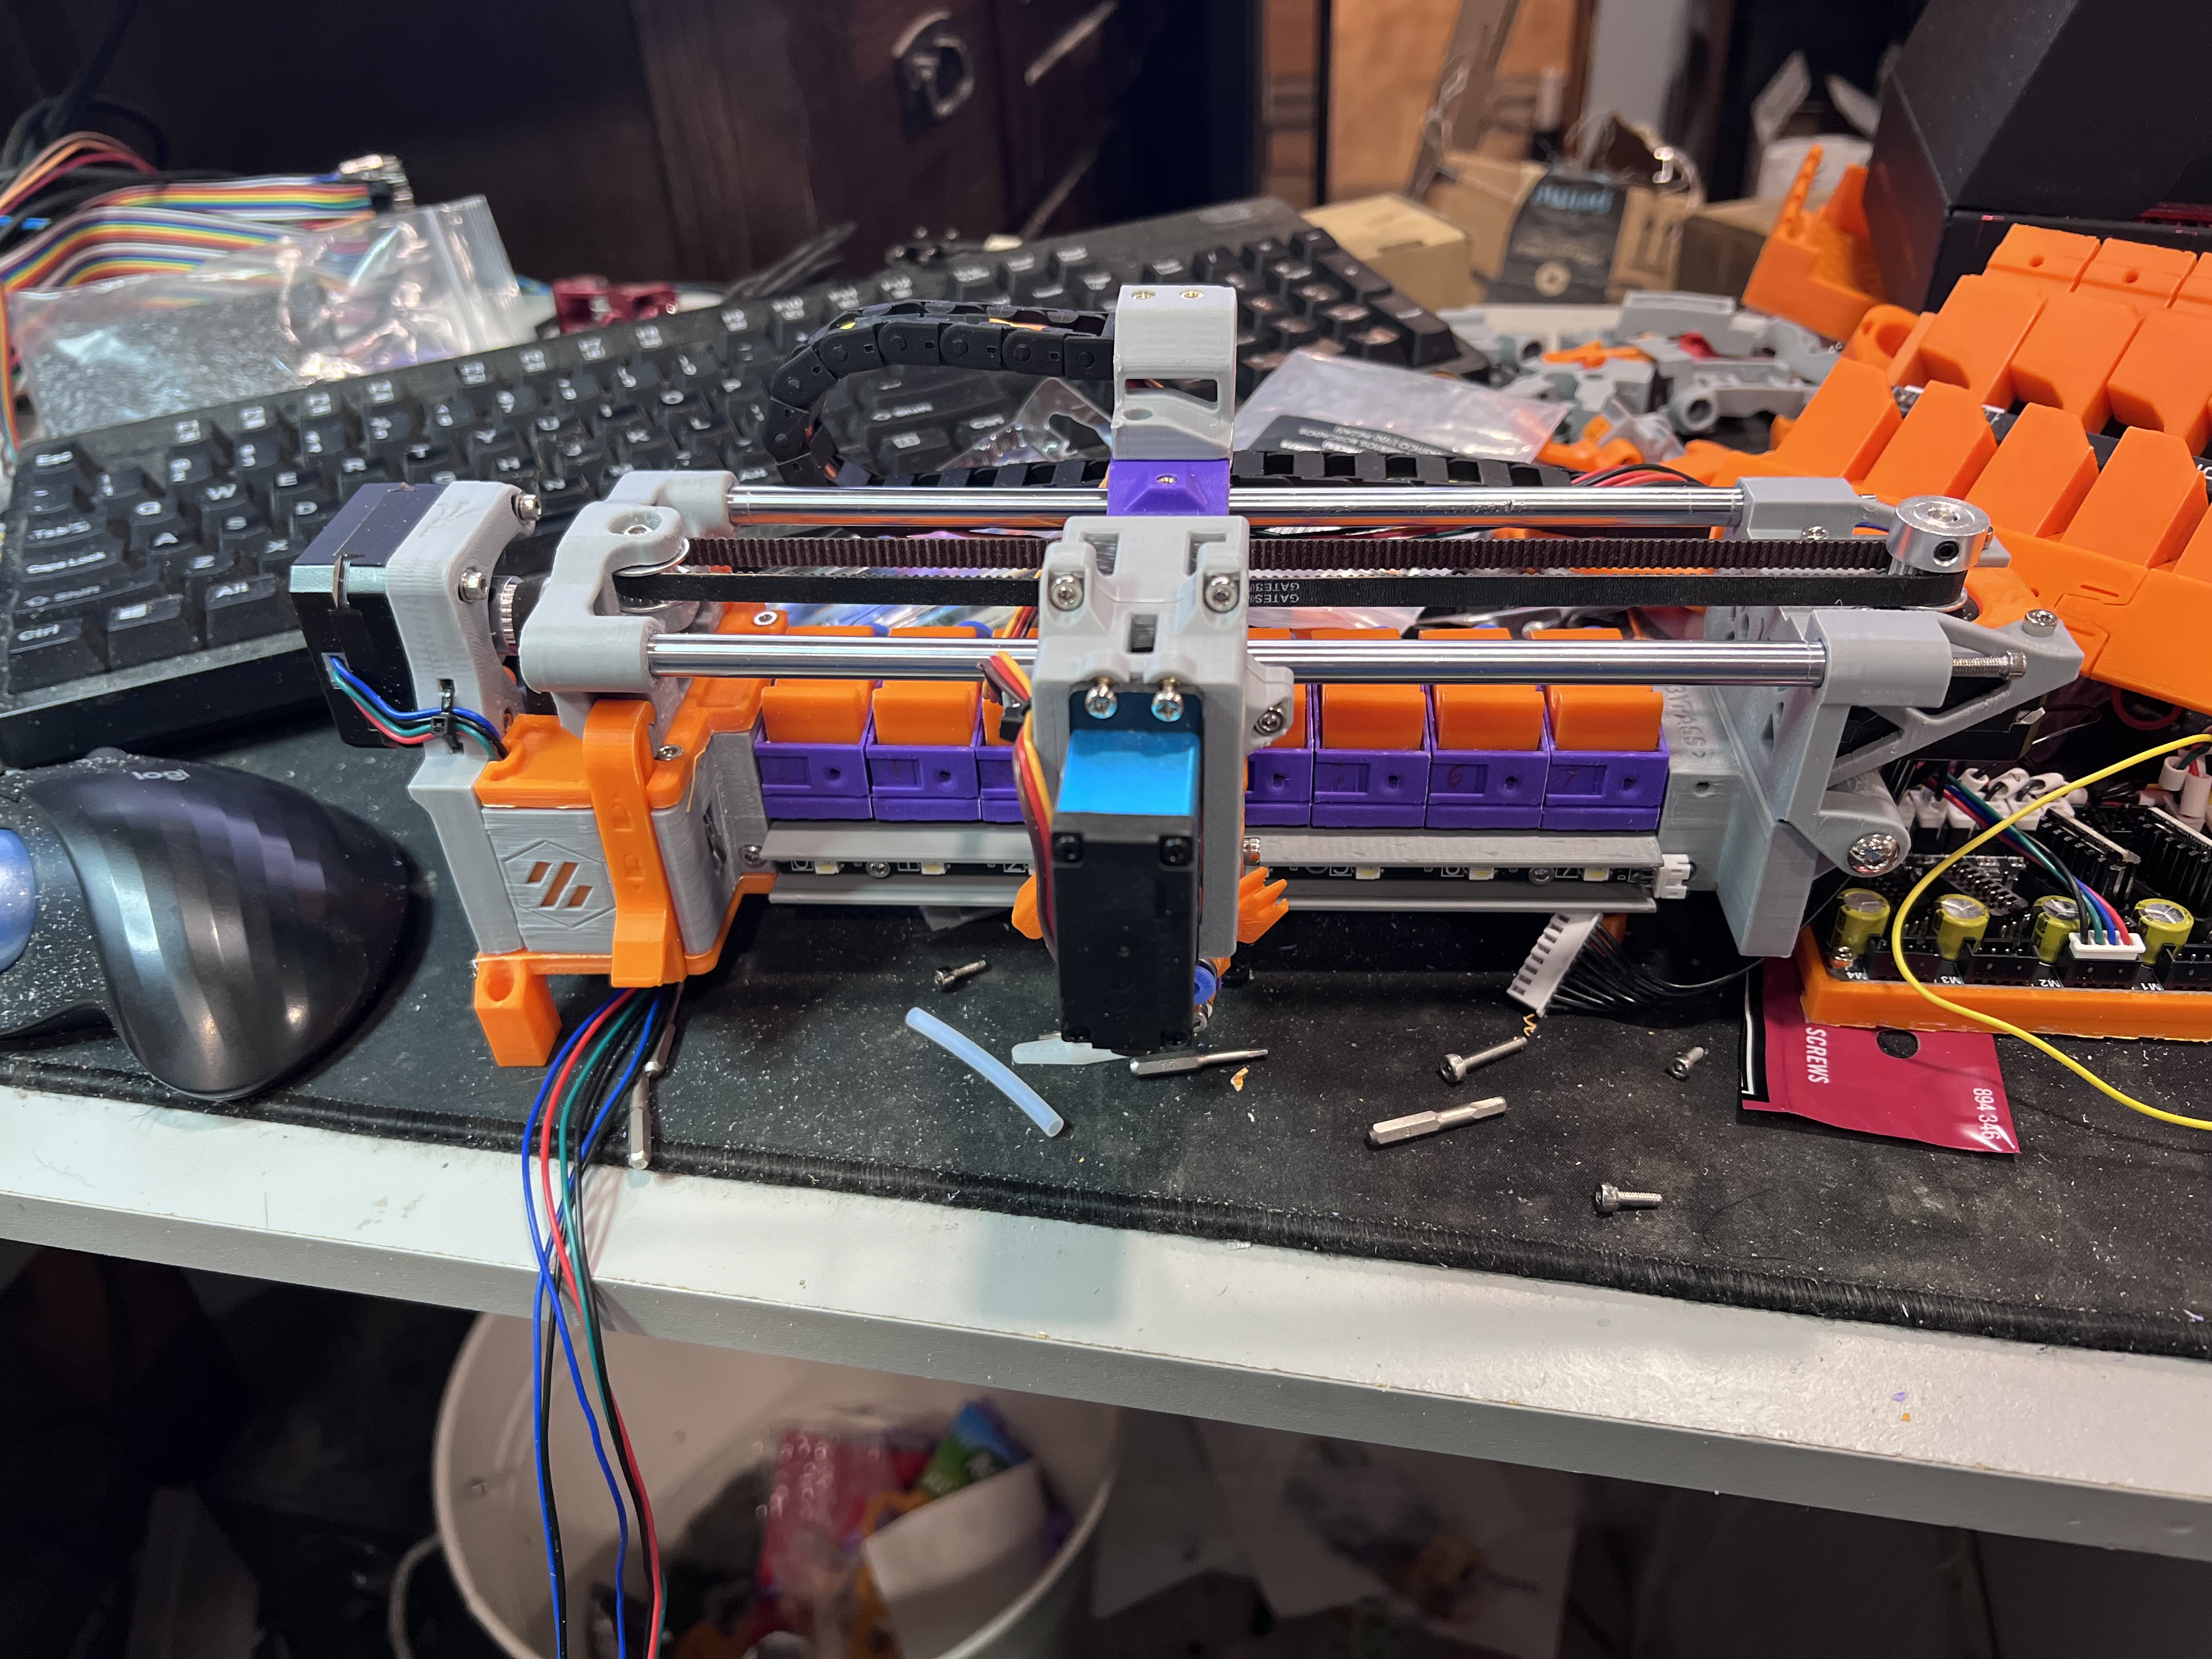
Well I guess its time for an update. After what felt like a complete day tearing down the old filament blocks and replacing with the new one I got it all back together and started doing some testing and calibrations.
I actually like it with the purple.
While I had it apart I wanted to figure out what was going on with the pre-gate switches, turns out that fancy PCB that Siboor includes in the kit is a big pile of garbage. After some crappy soldering by yours truly its completely rewired and they all work as they should. #4 was shorted somewhere in the PCB so It is completely separate now but still works though the wiring. I didn’t want to have to make all new wires all the way to the MMB so I made it work with the plug still there. In the end it was a lot easier then crimping 8 JST connections for all of them LOL.
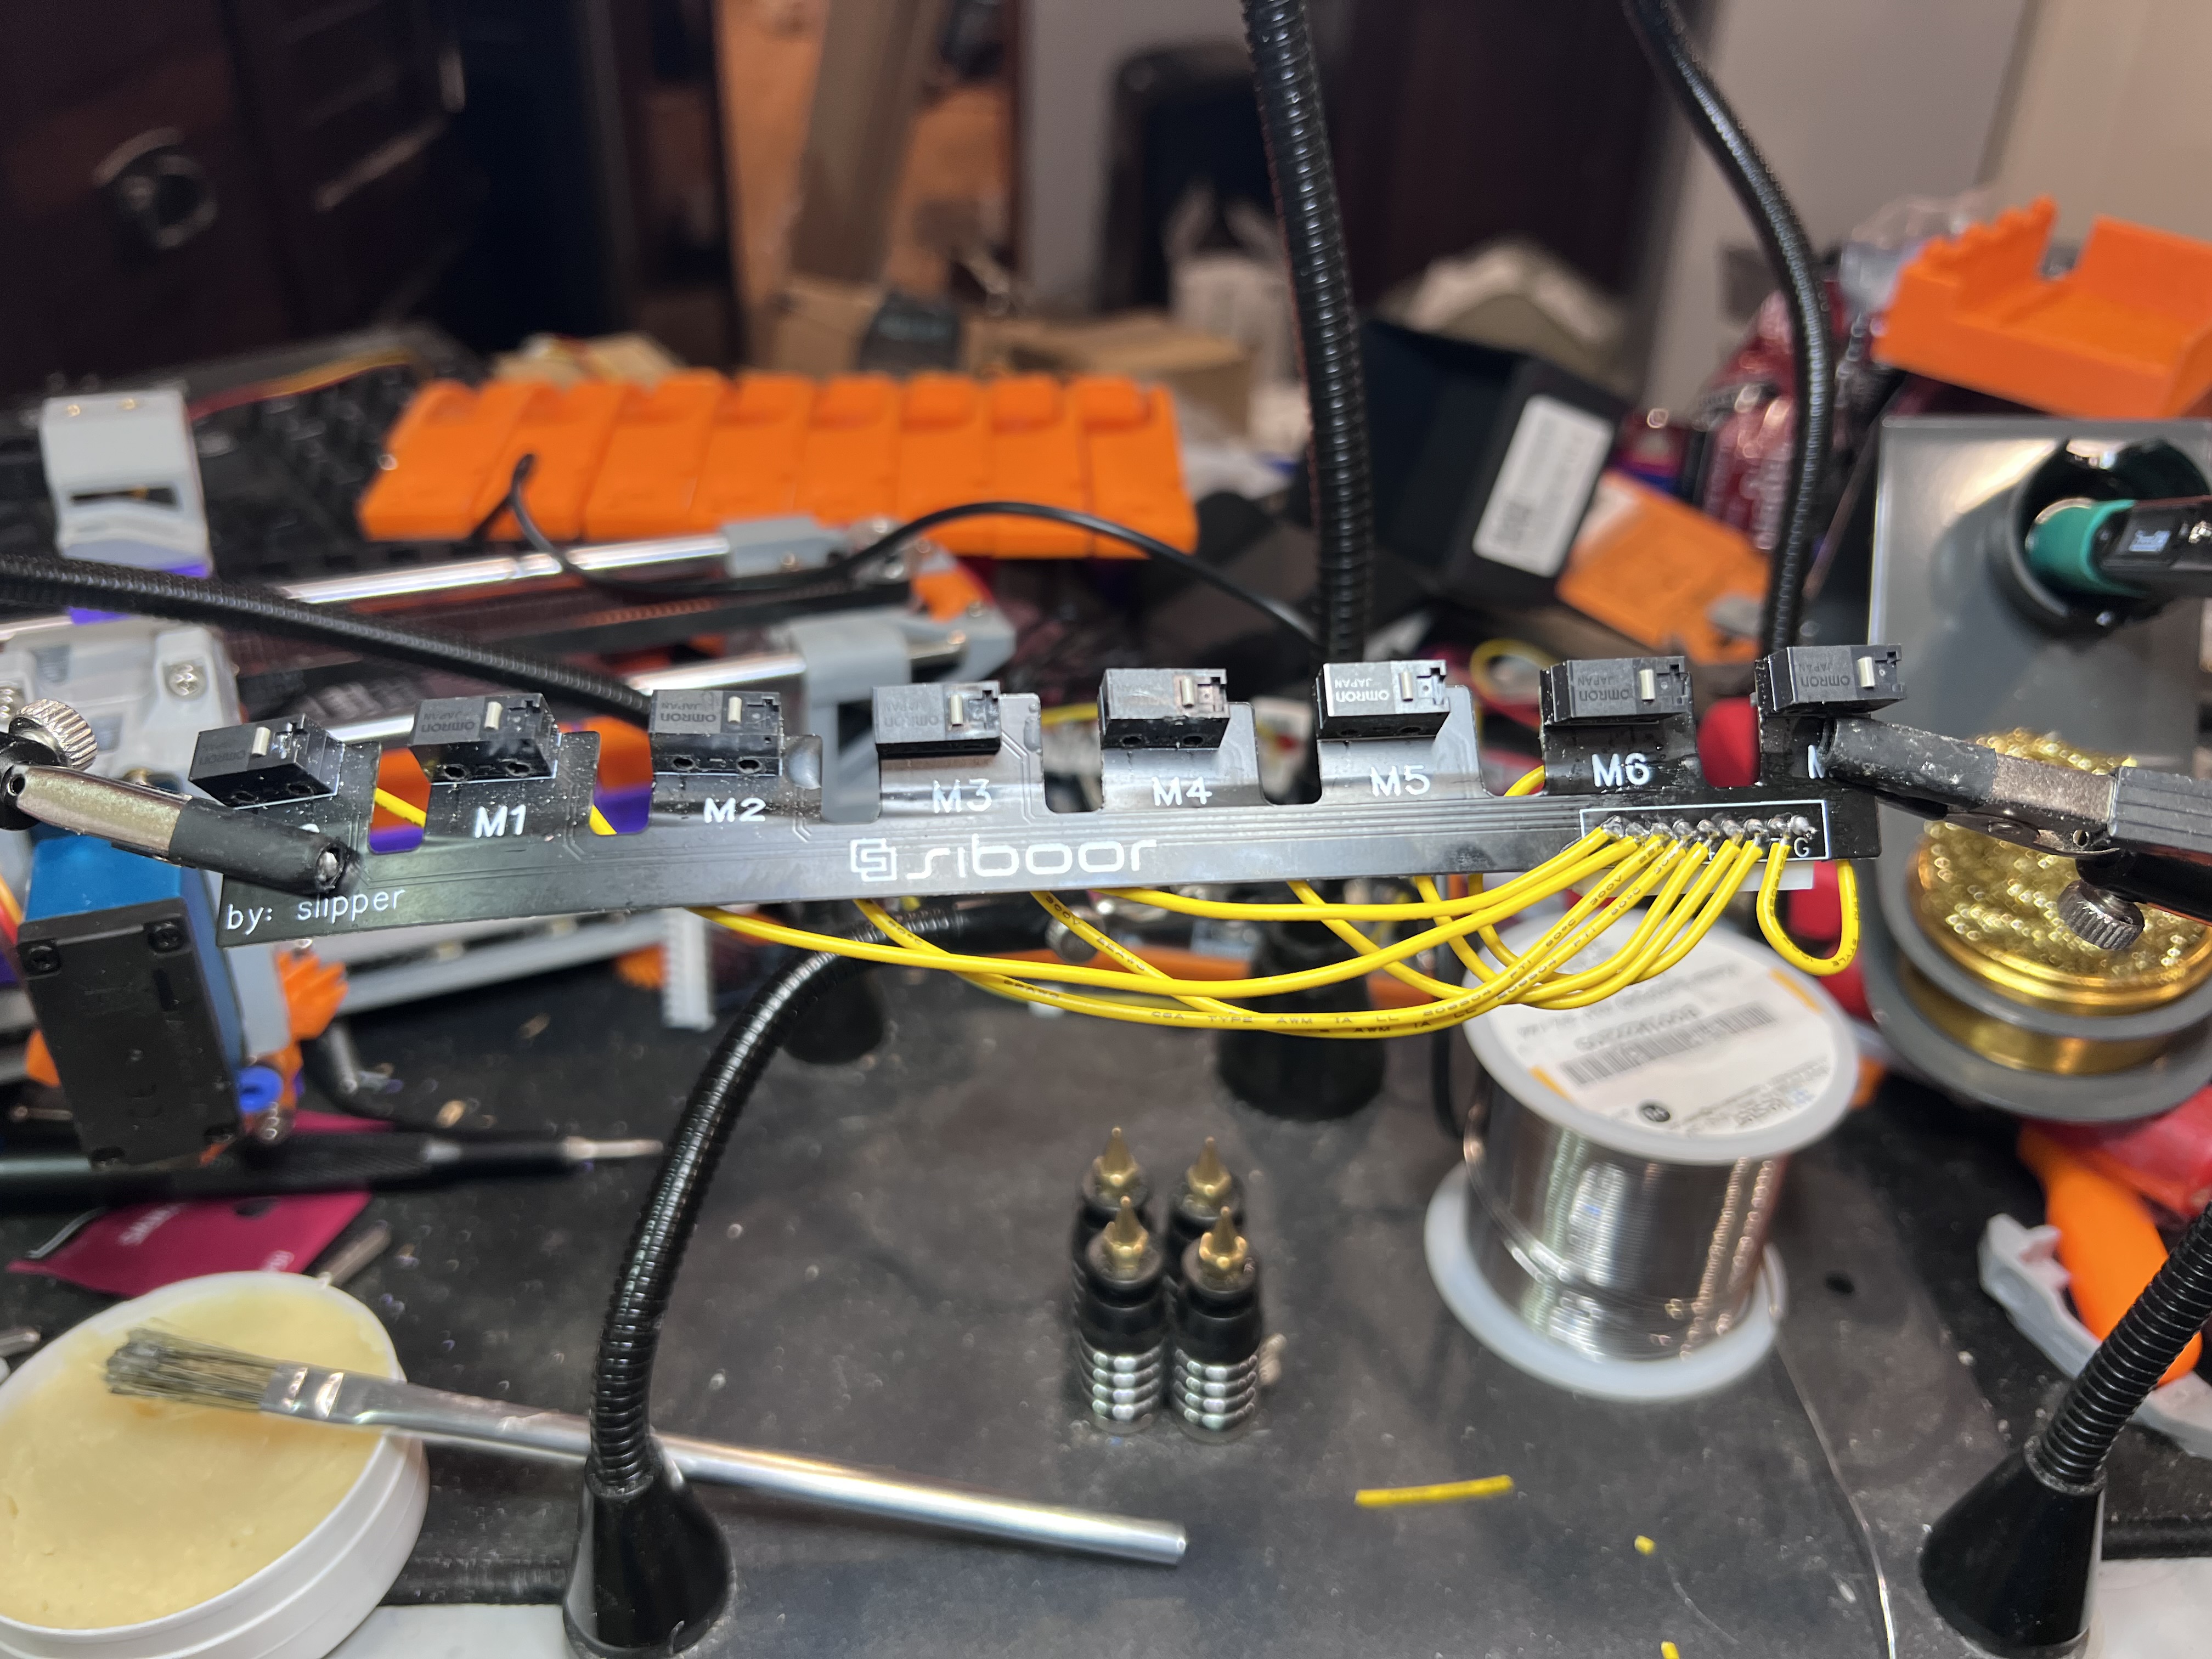
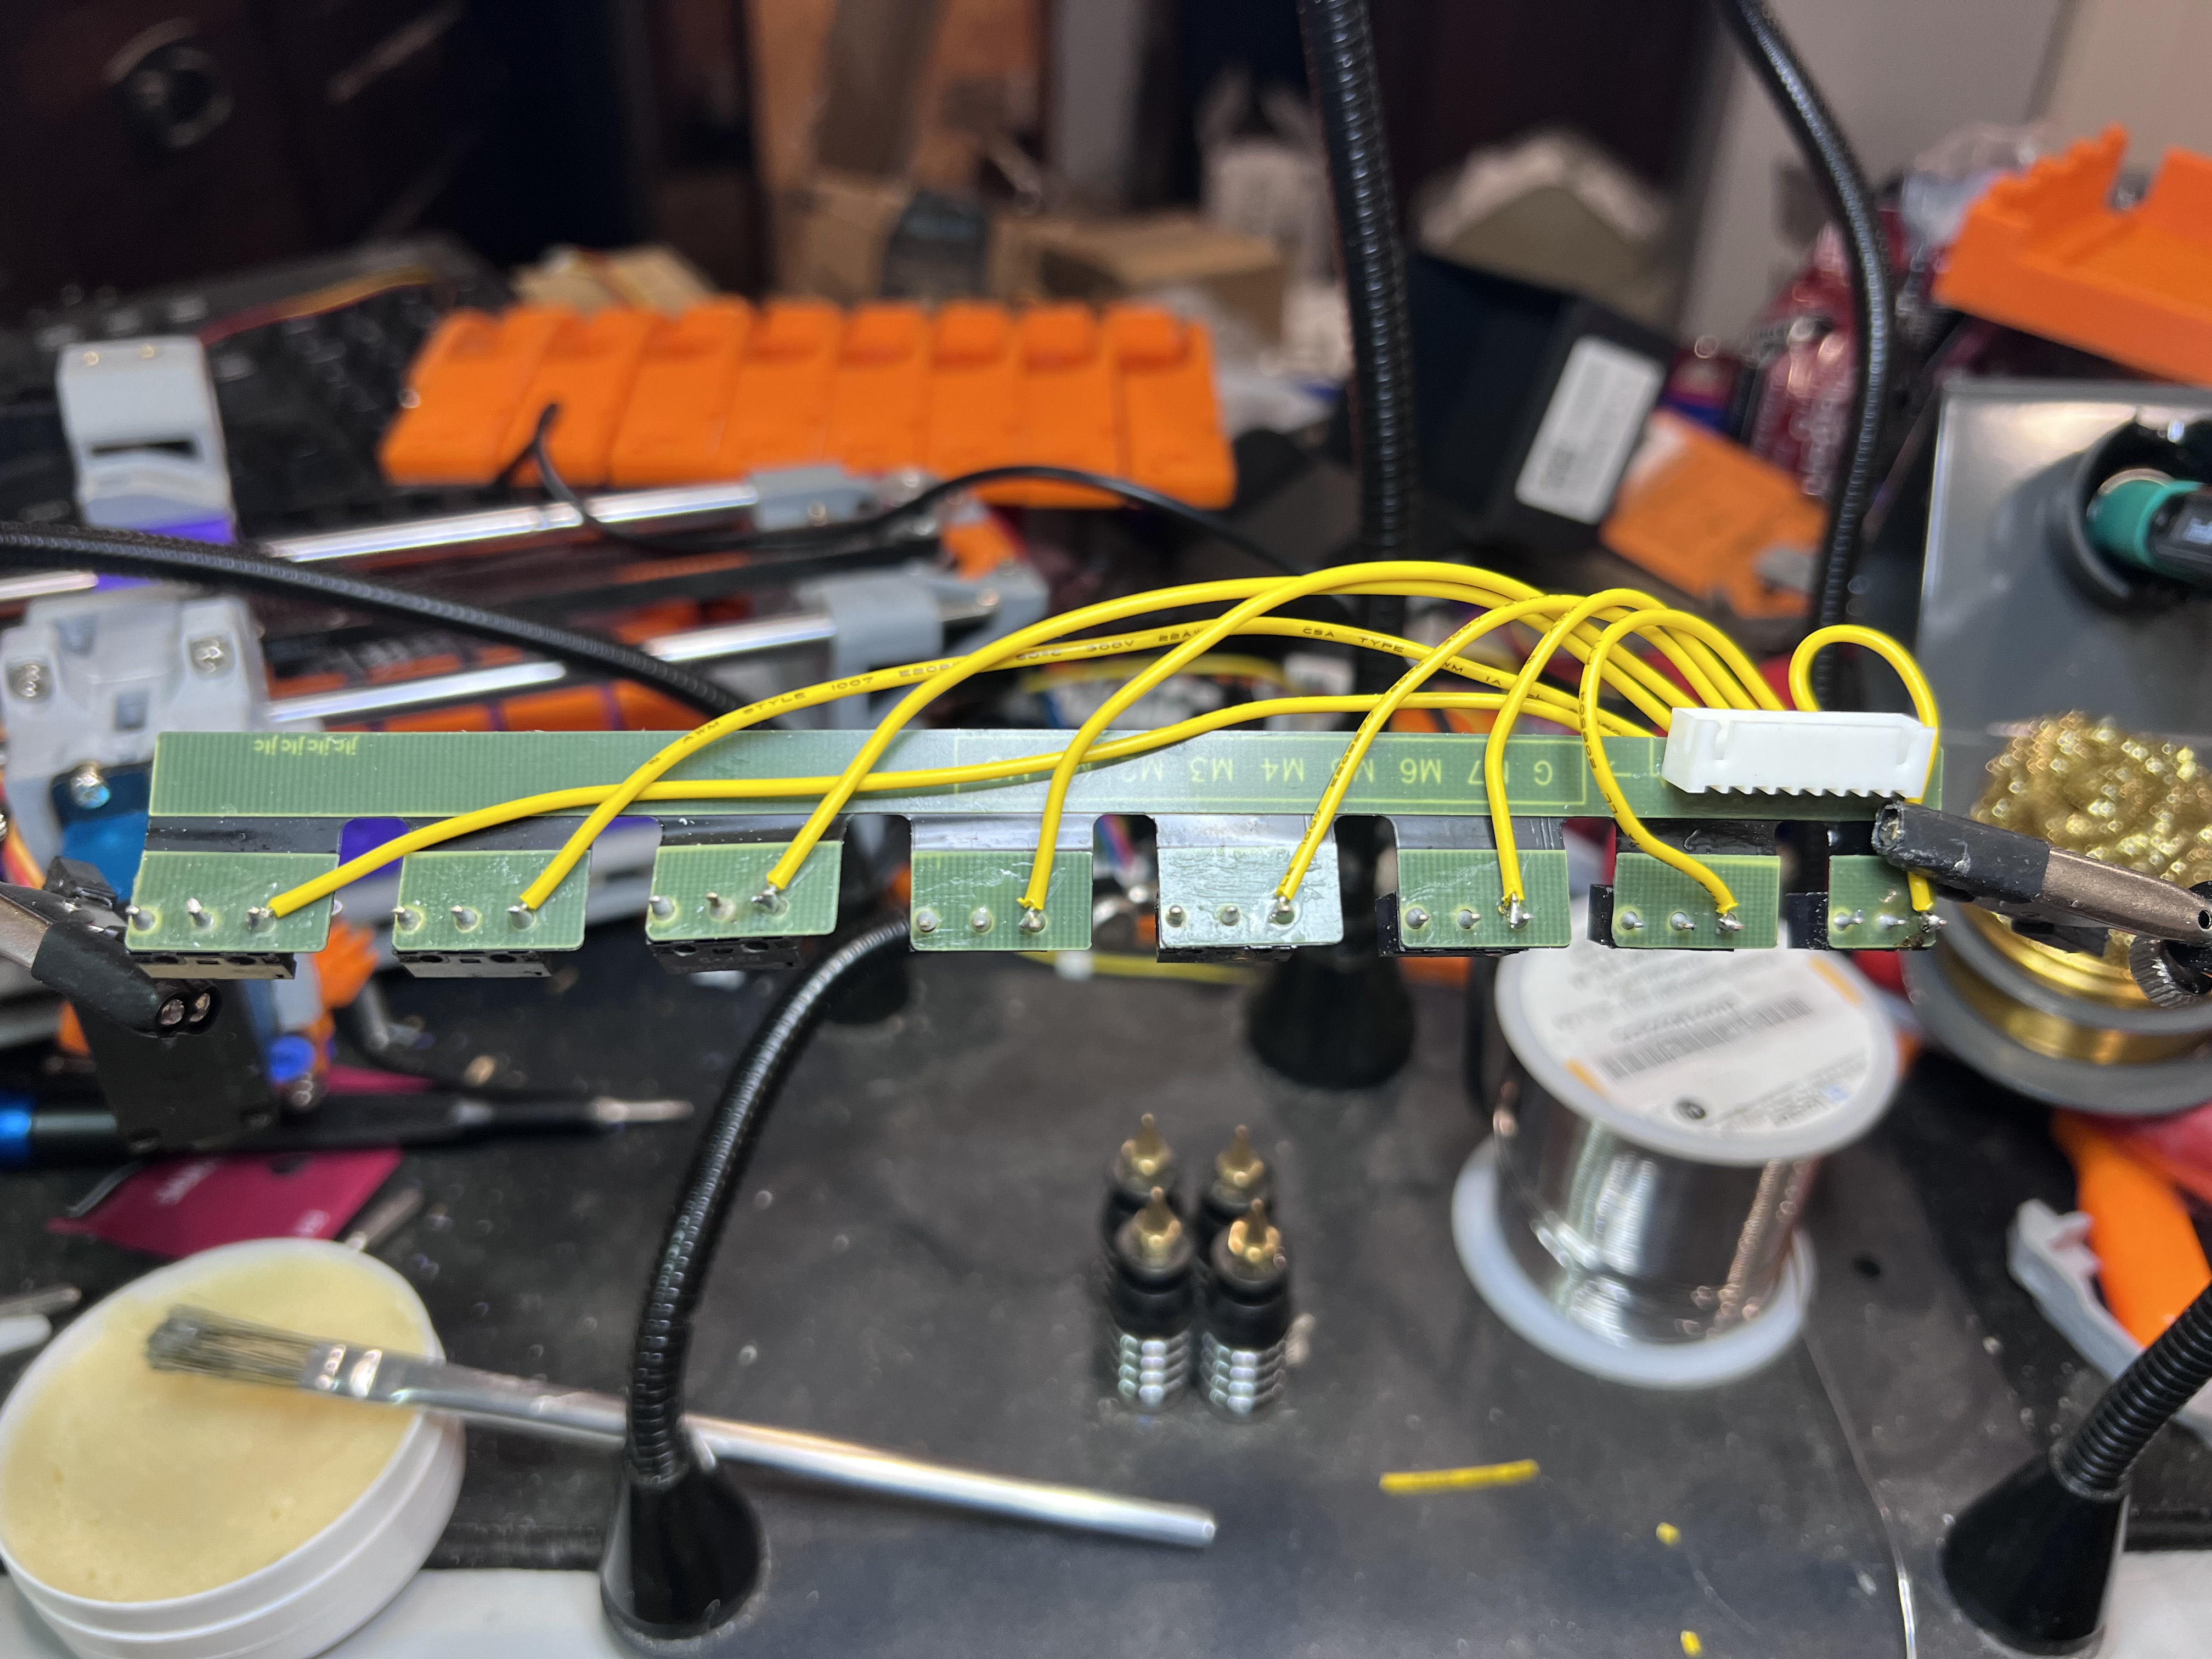
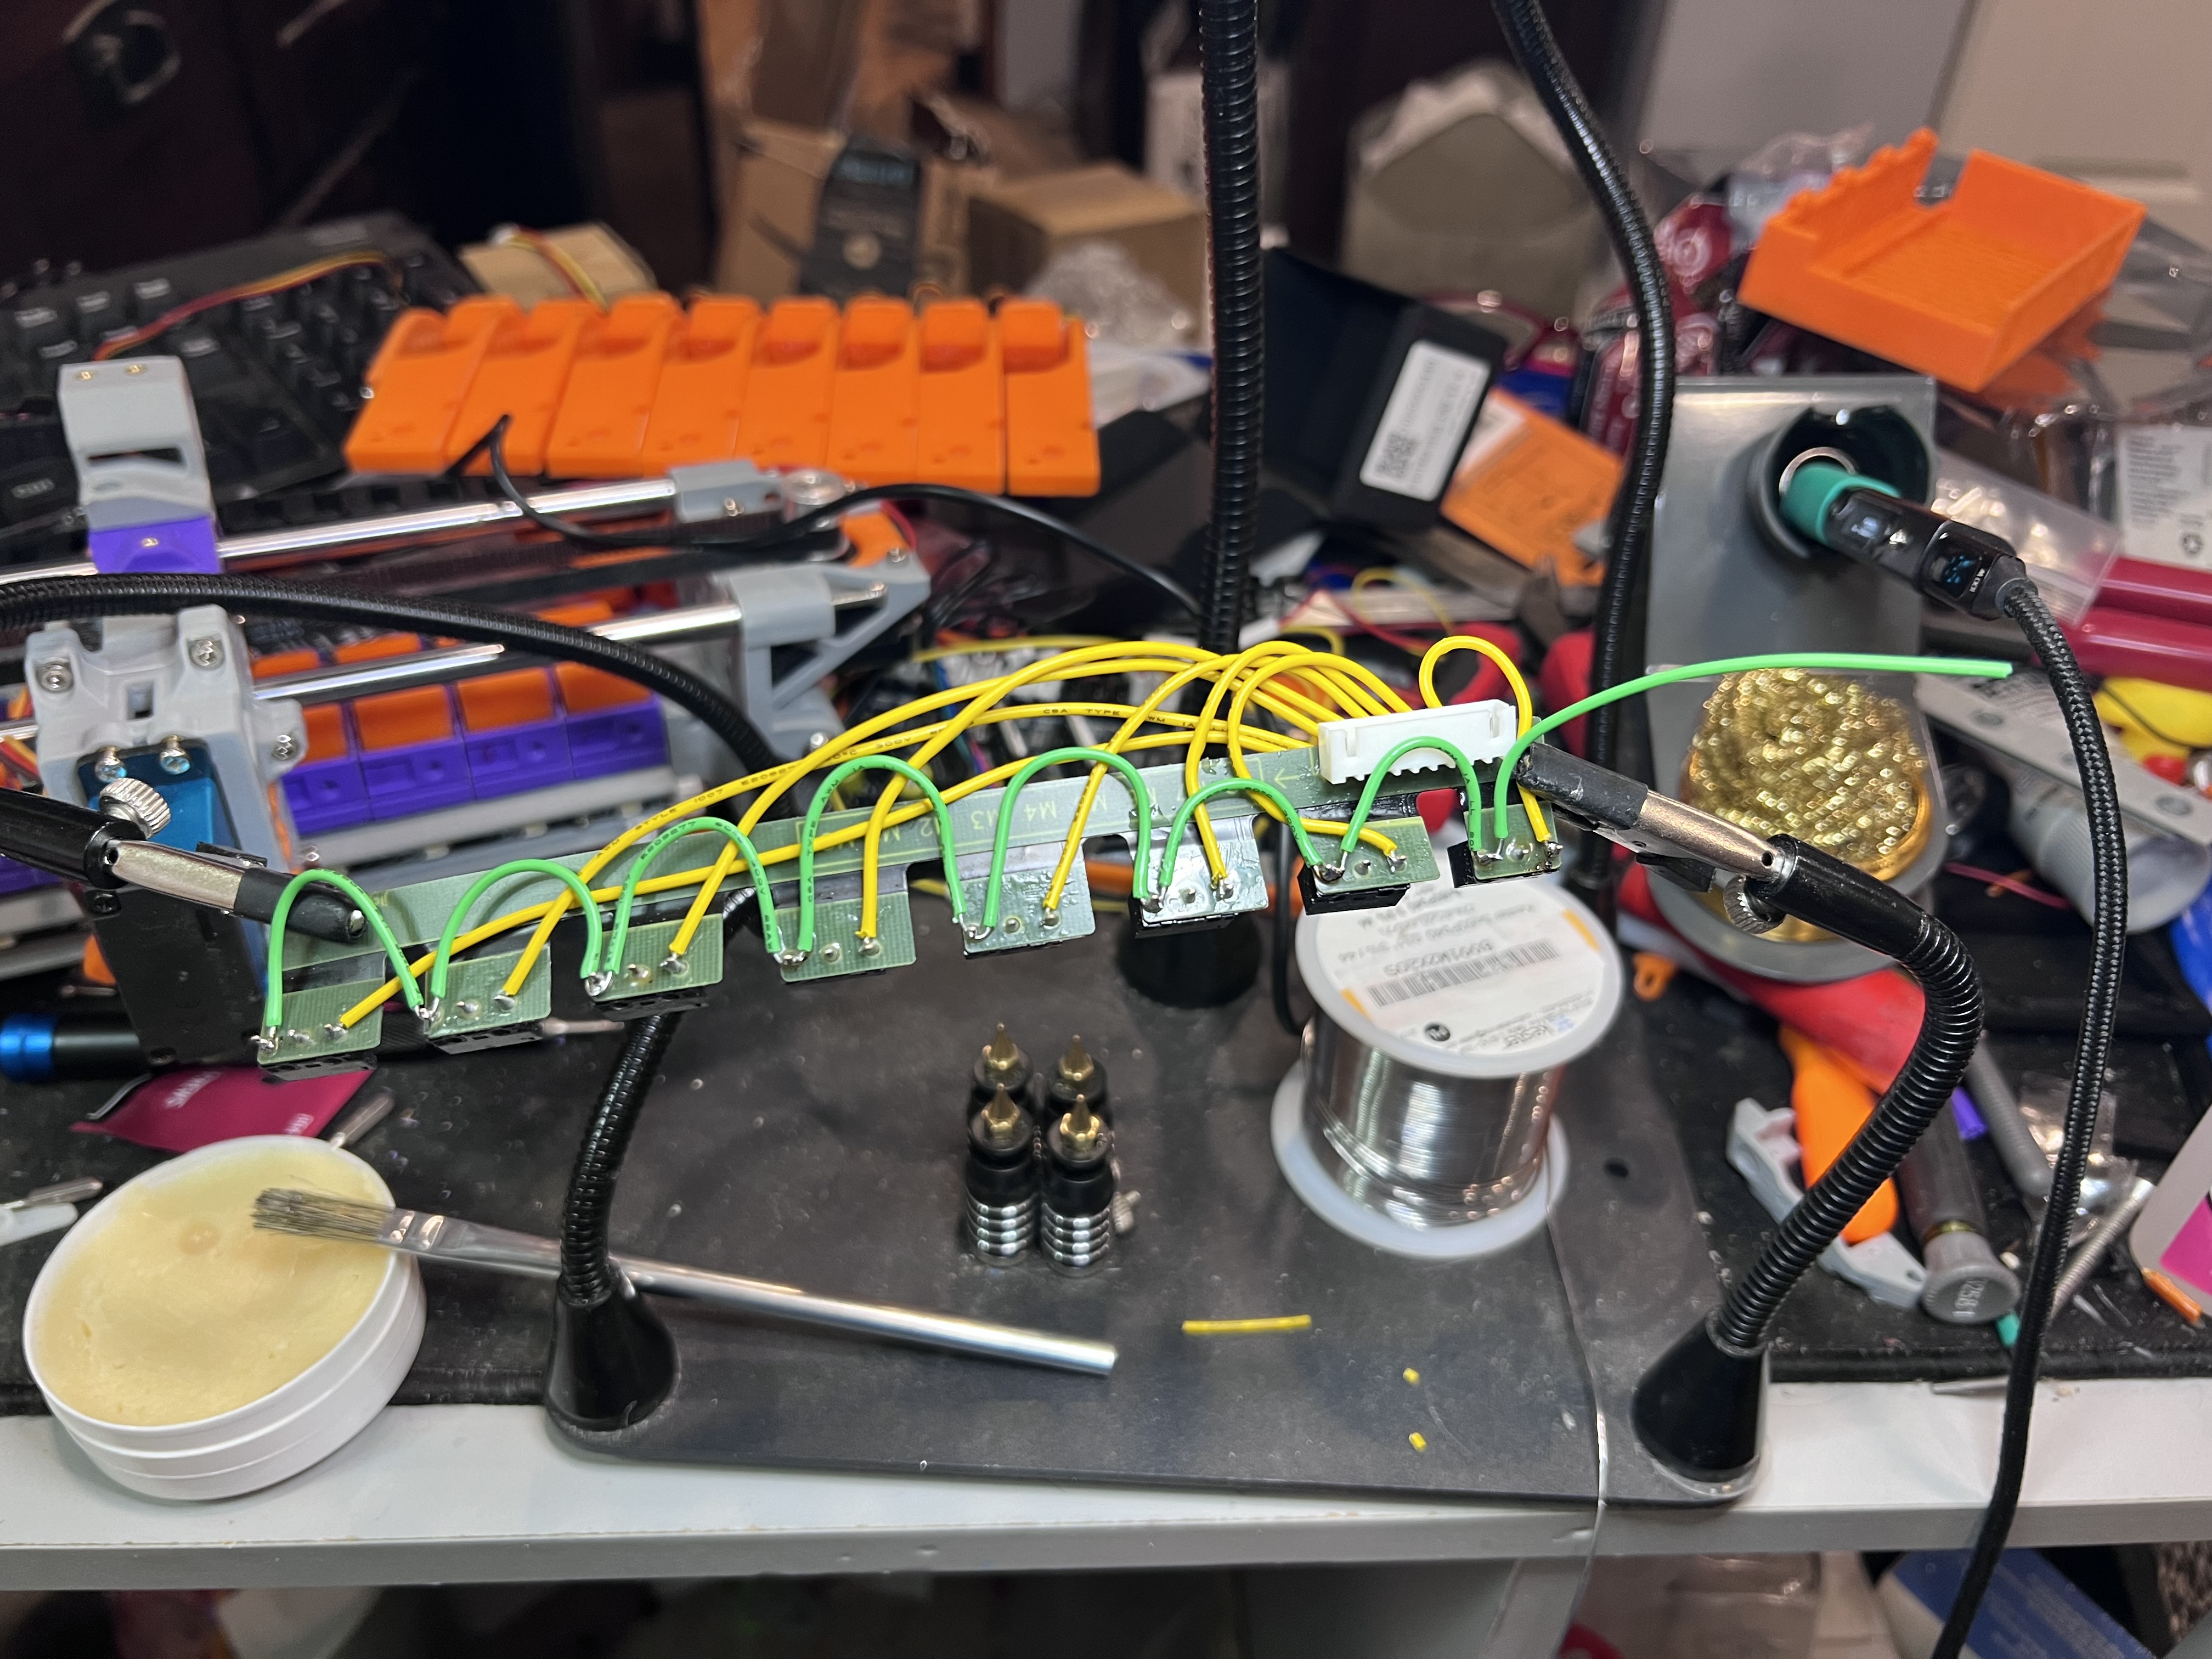
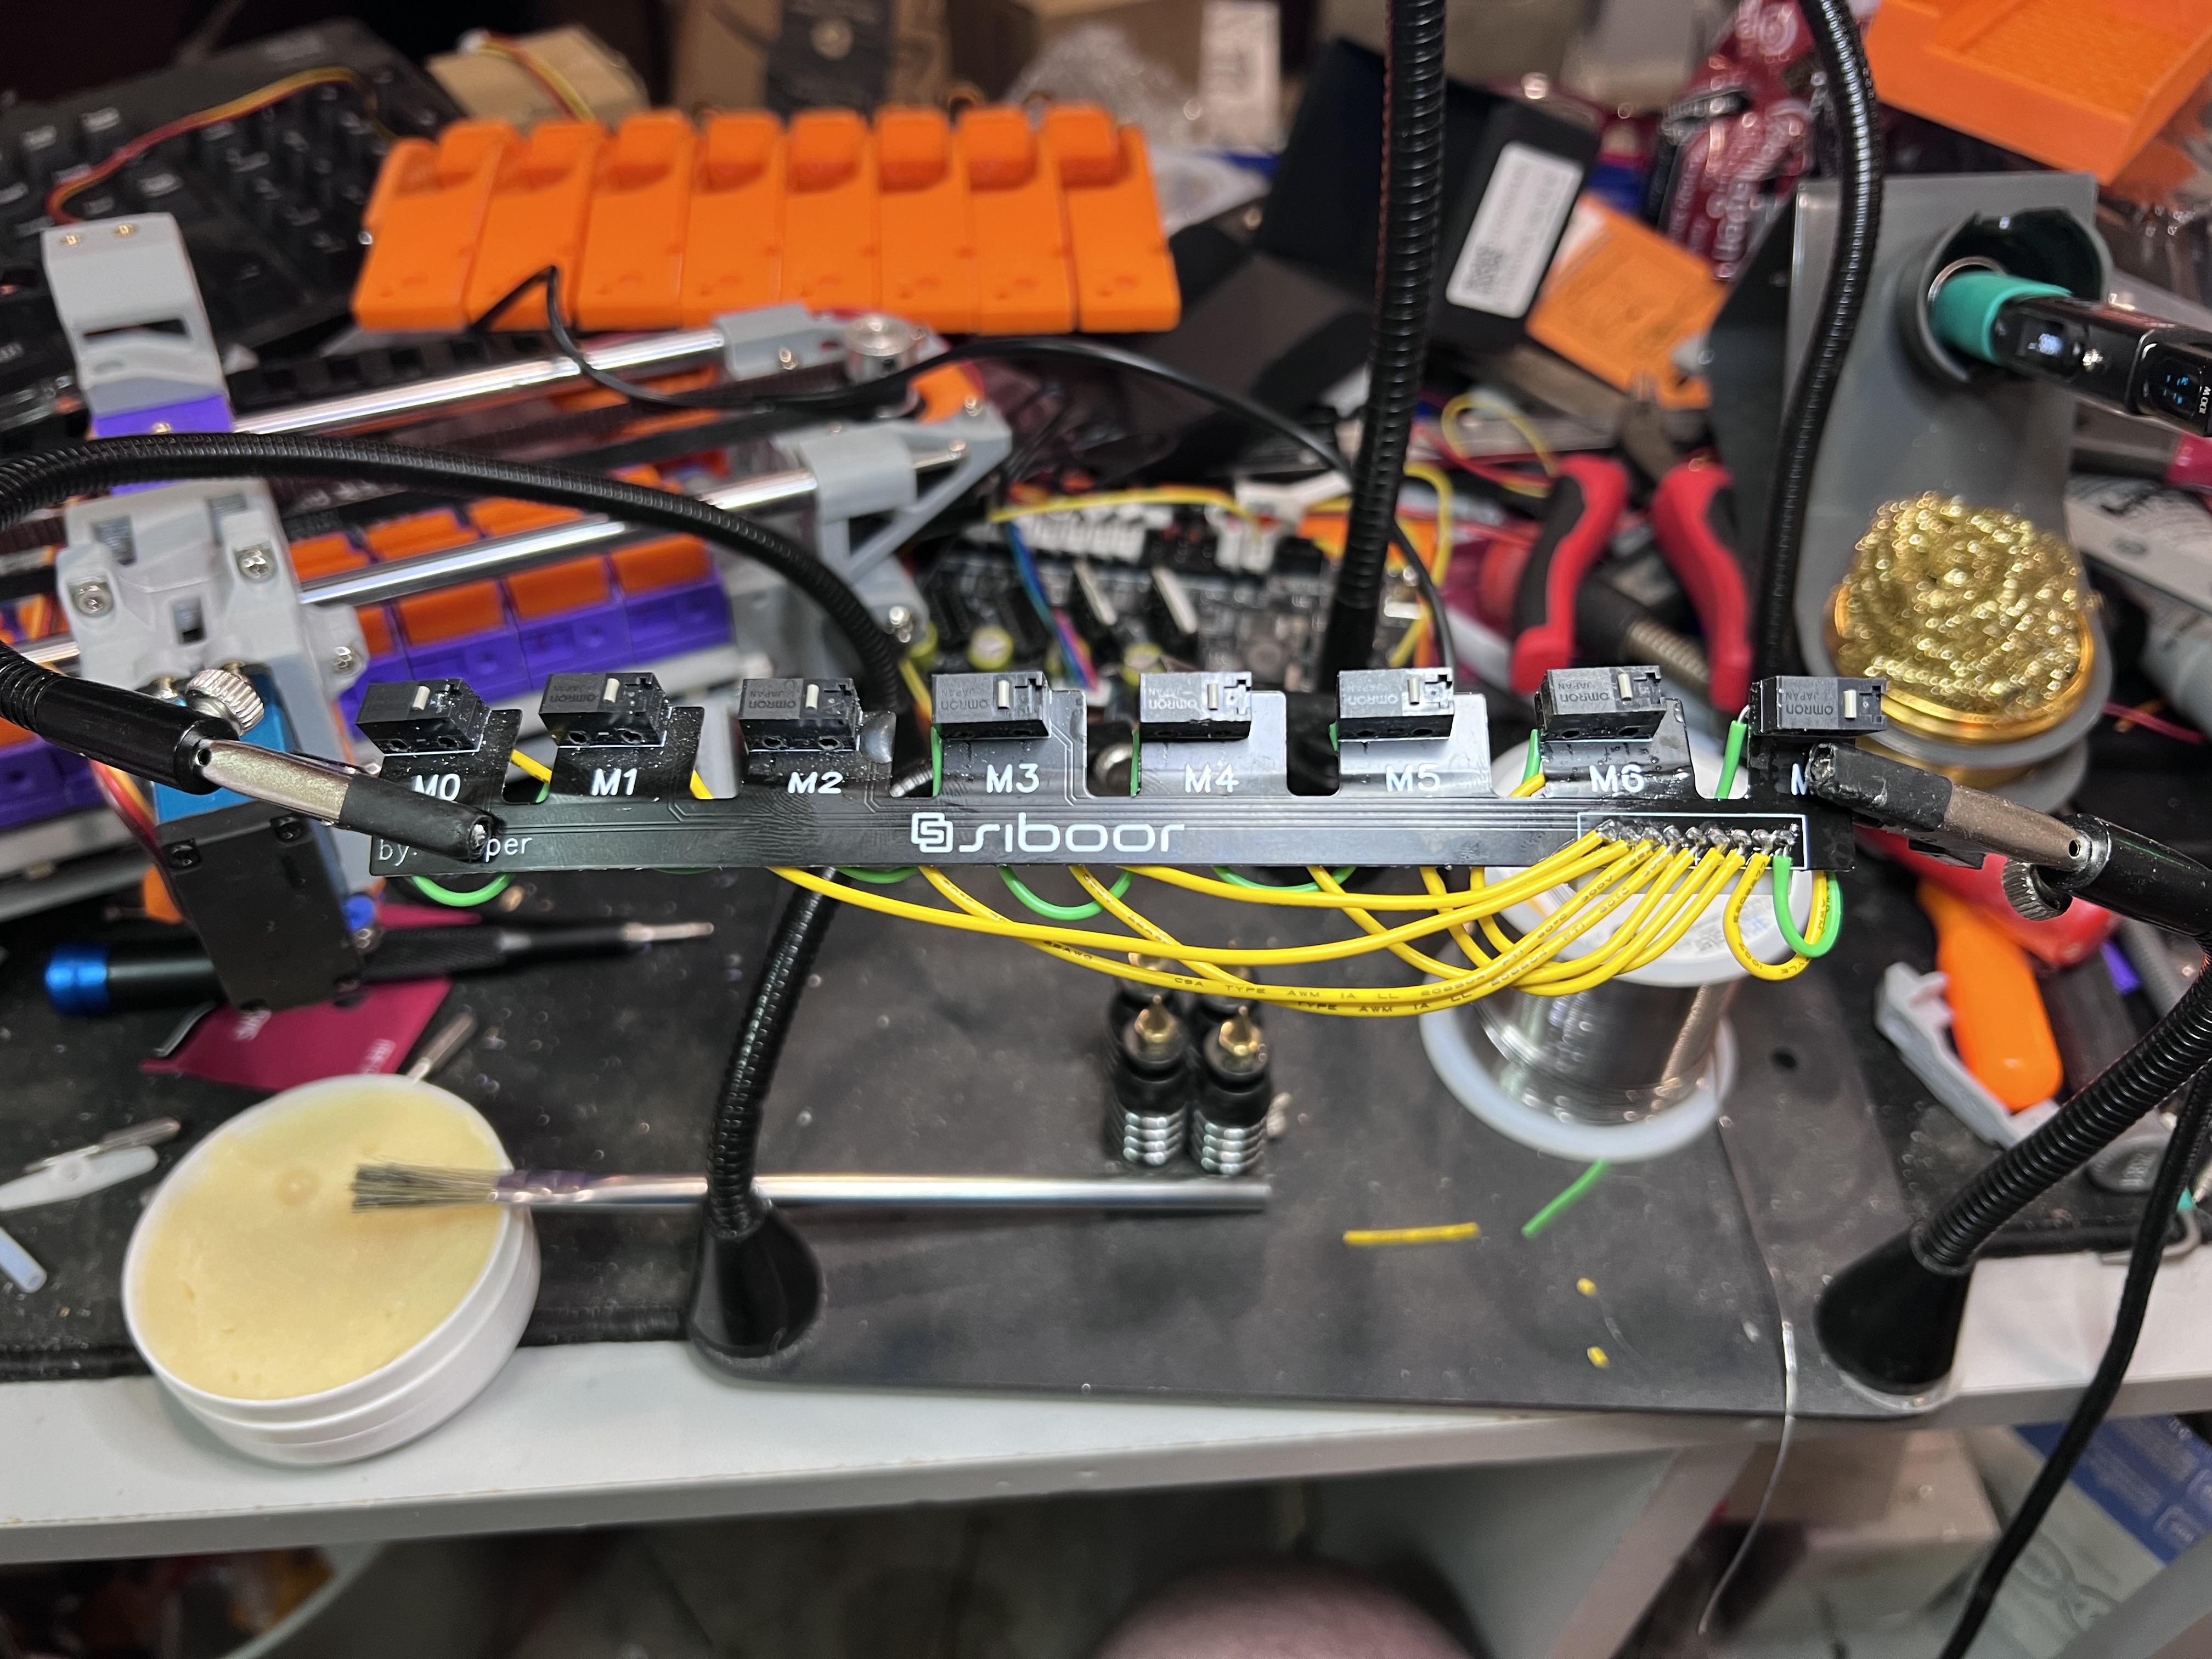
Guess I didn’t take any pics of the hack job on #4. Glad I tested everything with my meter before sticking it back in. I will say its quite the job getting all the ball bearings and switches working just right where they switch when filament is there and release when its not. But some determination to have crap working right goes a long way LOL
I didn’t take any pics but I printed out new pre-gate blocks from clear PLA (didn’t have any clear ABS) and had to take a drill to them to make things line up right and all fit together. But those will be getting replaced again soon (I’ll explain that in a bit). I got the LEDS all installed in them and Siboor strikes again. the damn things don’t work. Going to just make my own when I replace them. I have several of the chips they used and will print out the solder guide for them.
I got it all wired back up and hooked back to the printer. I tried to set up a spool on one of the Filamentalist I have set up. But that is just not working. They are too tight. It takes a TON of force for them to work either direction. I’m sure its something in my prints causing it since I have seen them work but they ain’t working for me at all lol. I fly back to work Wednesday morning, but I will order the needed filament while I’m gone and print the parts for the Cotton Tail buffer when I get back home. Hopefully the little bit of filament inside that in the open air wont cause me too many issues. If it does then I will figure out some way to put that in a dry box too.
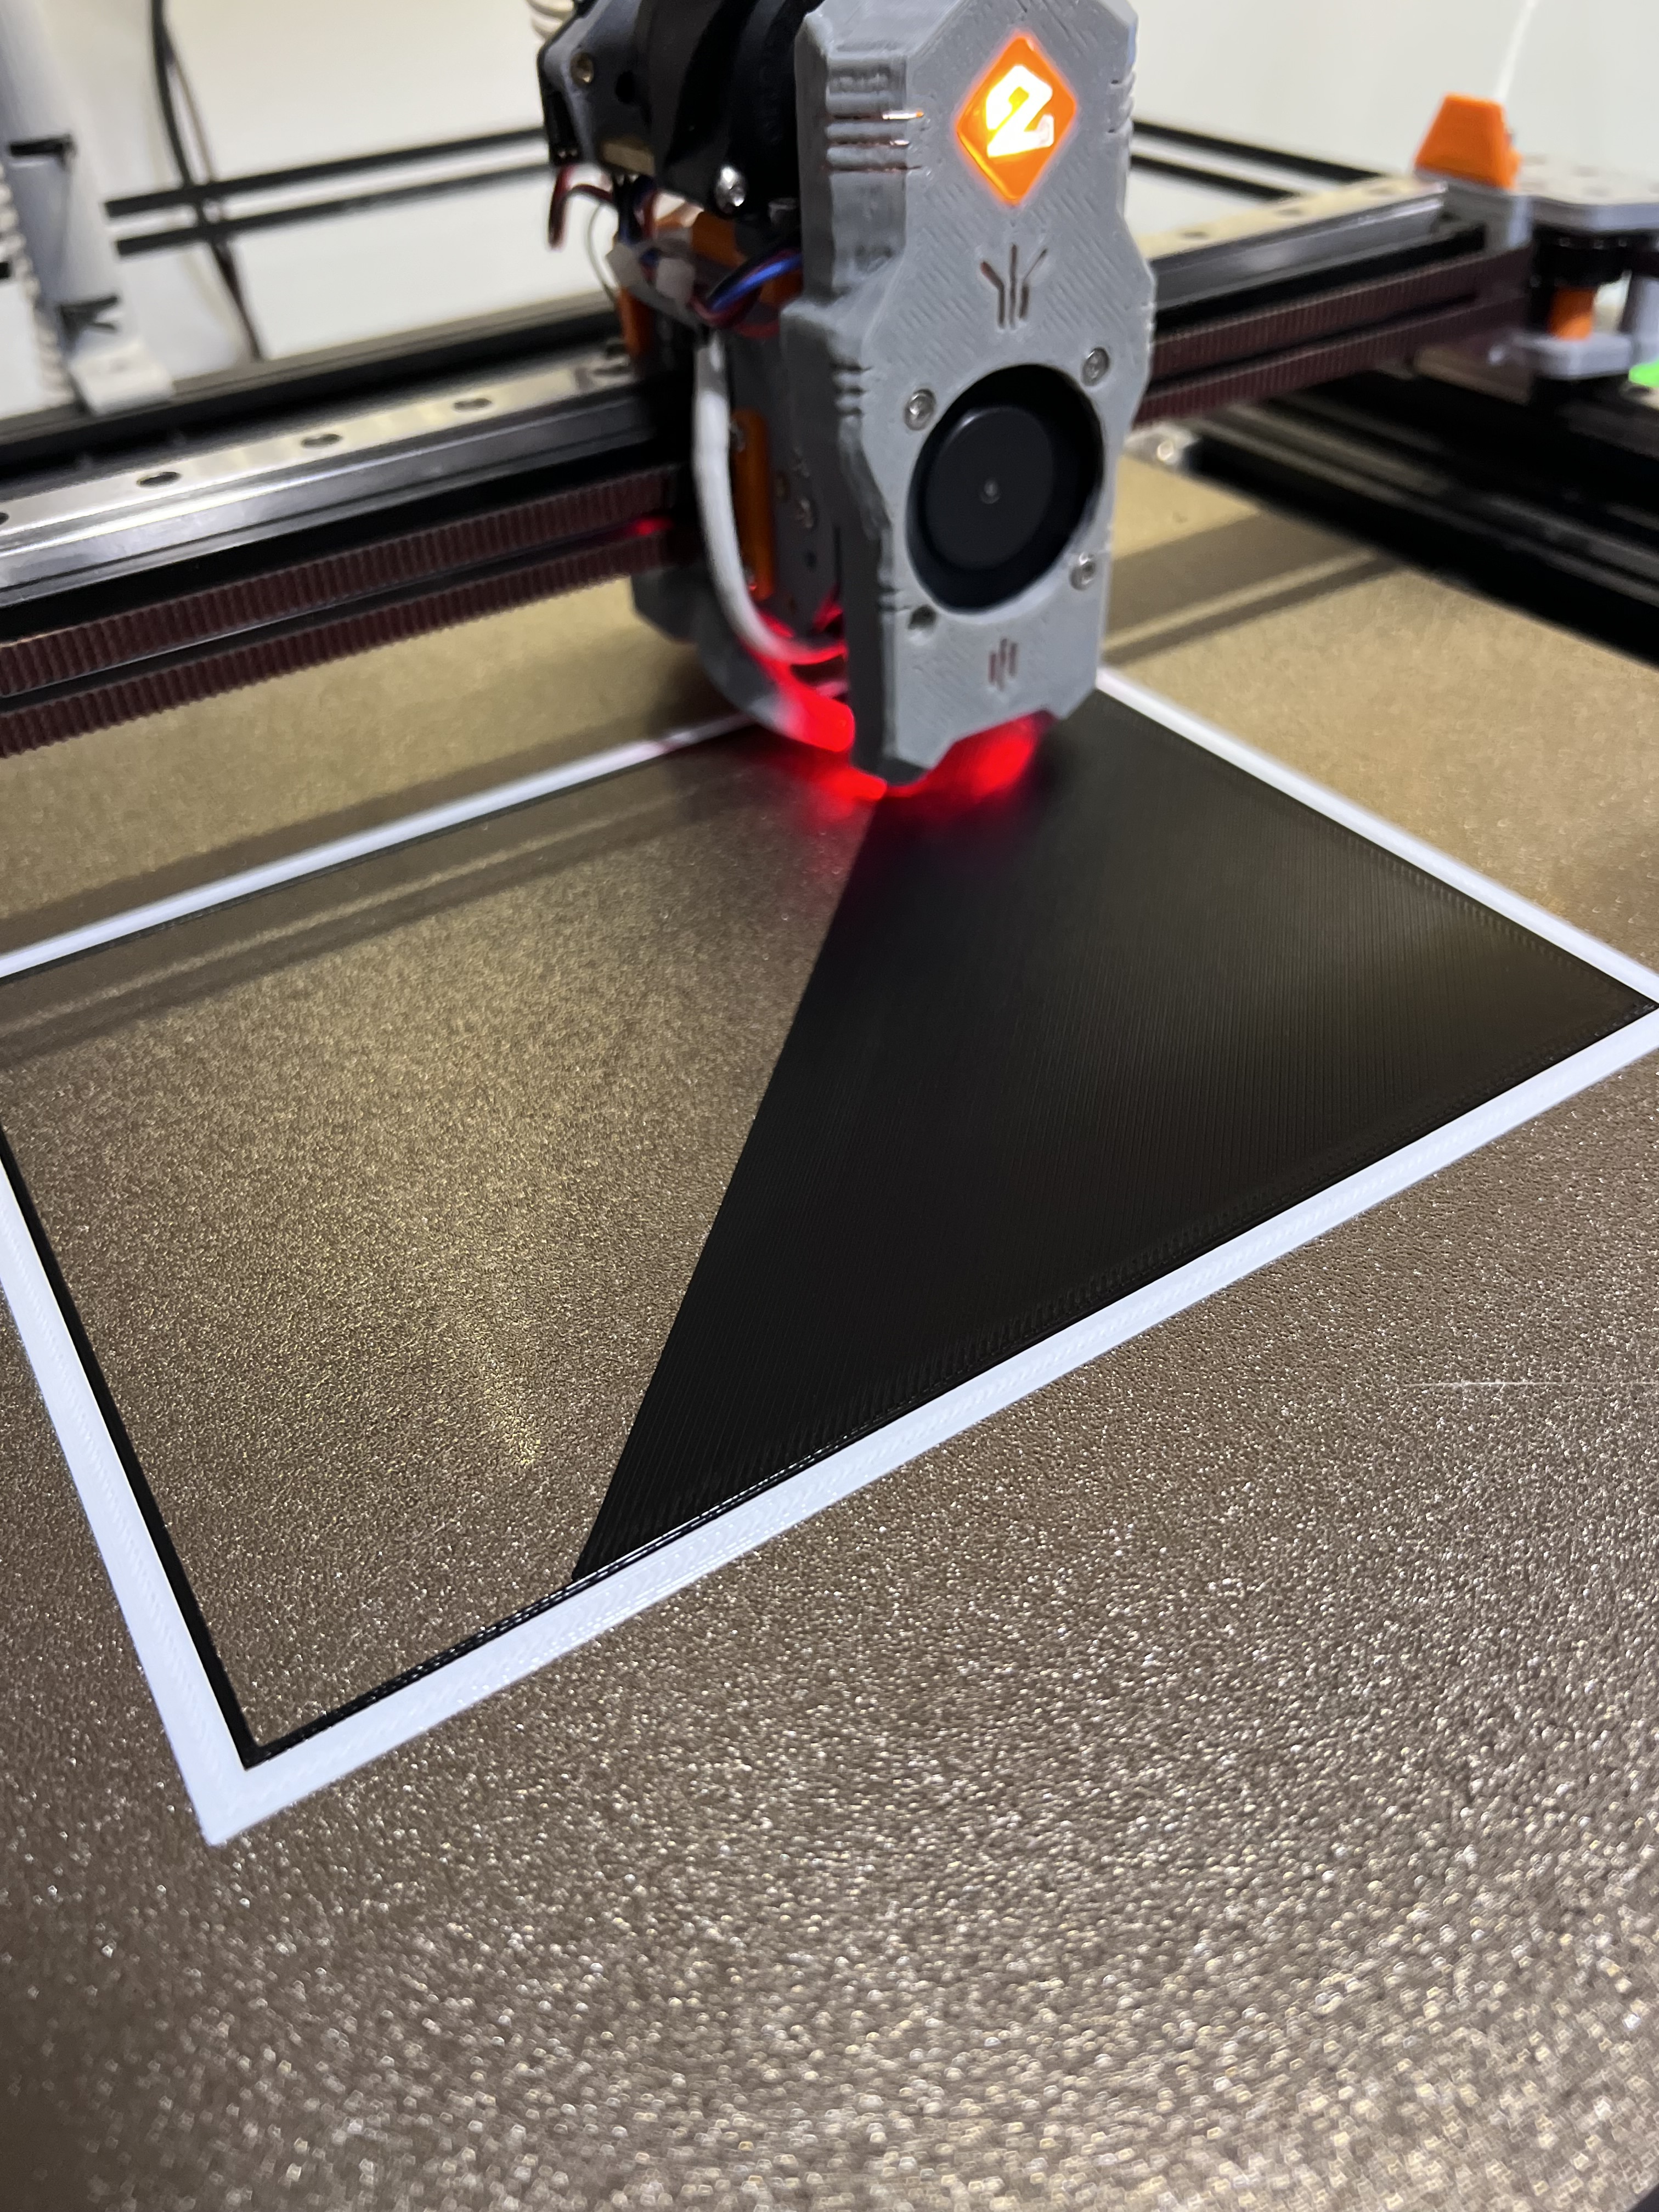
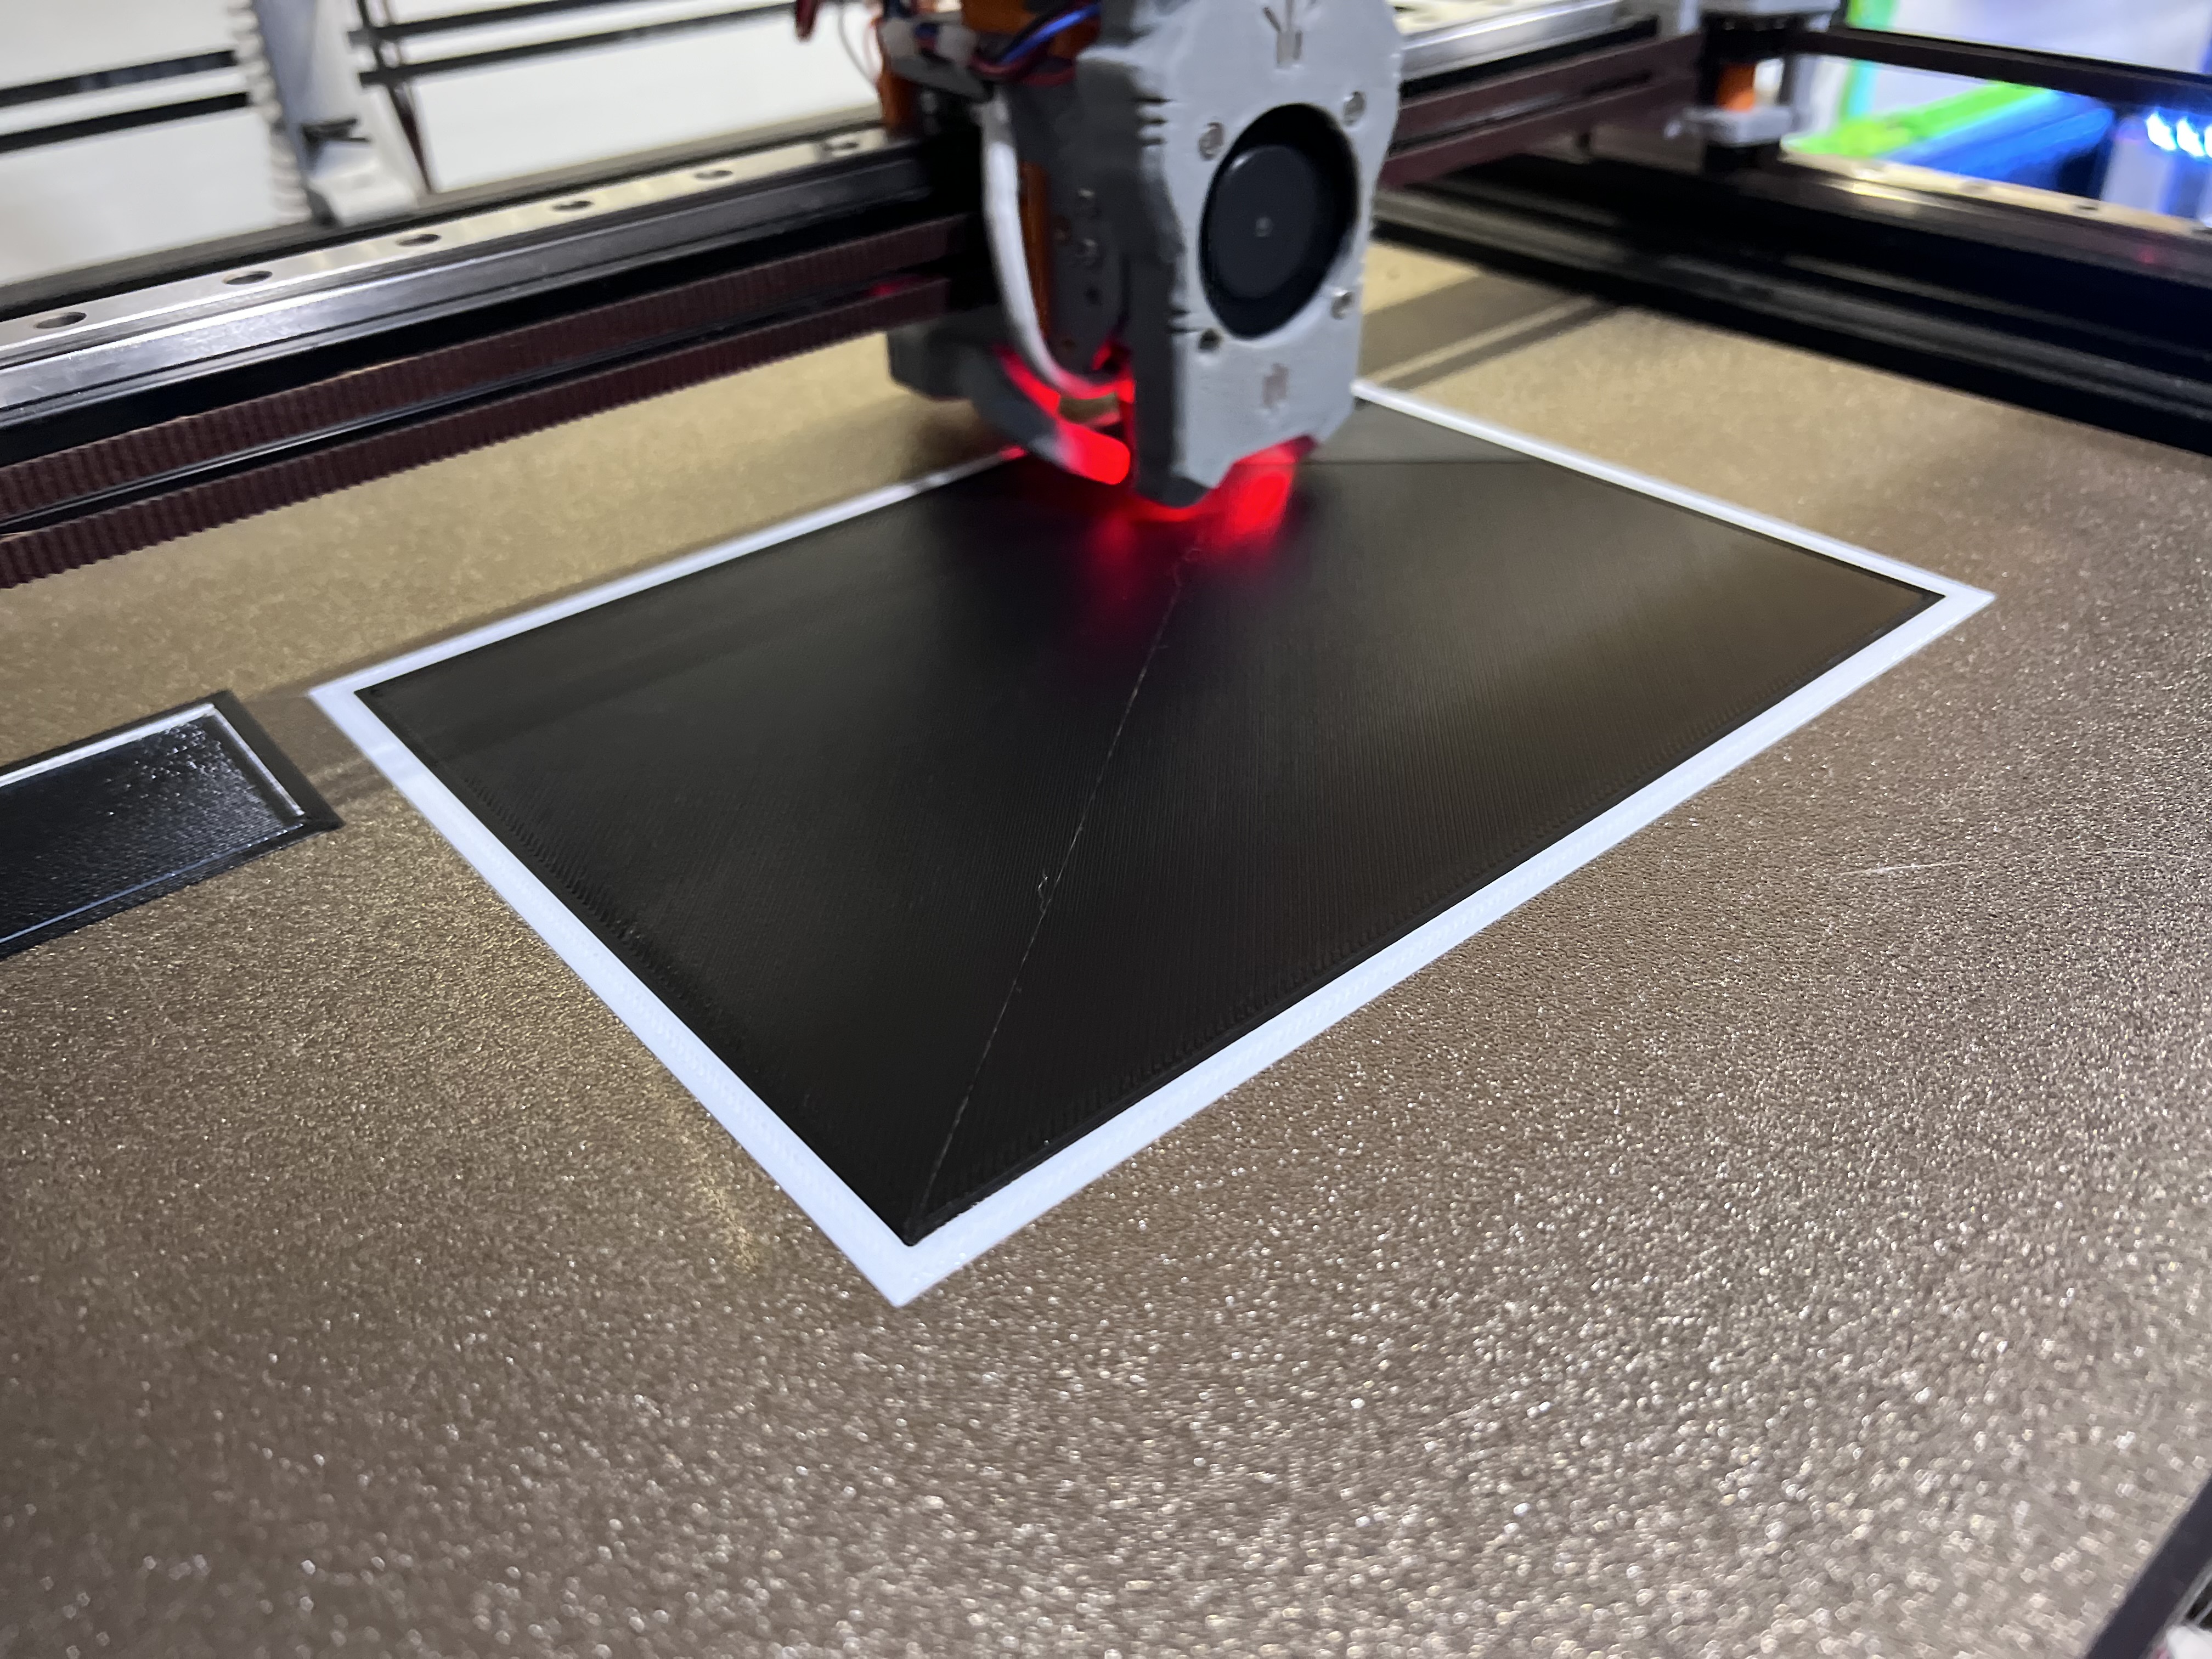
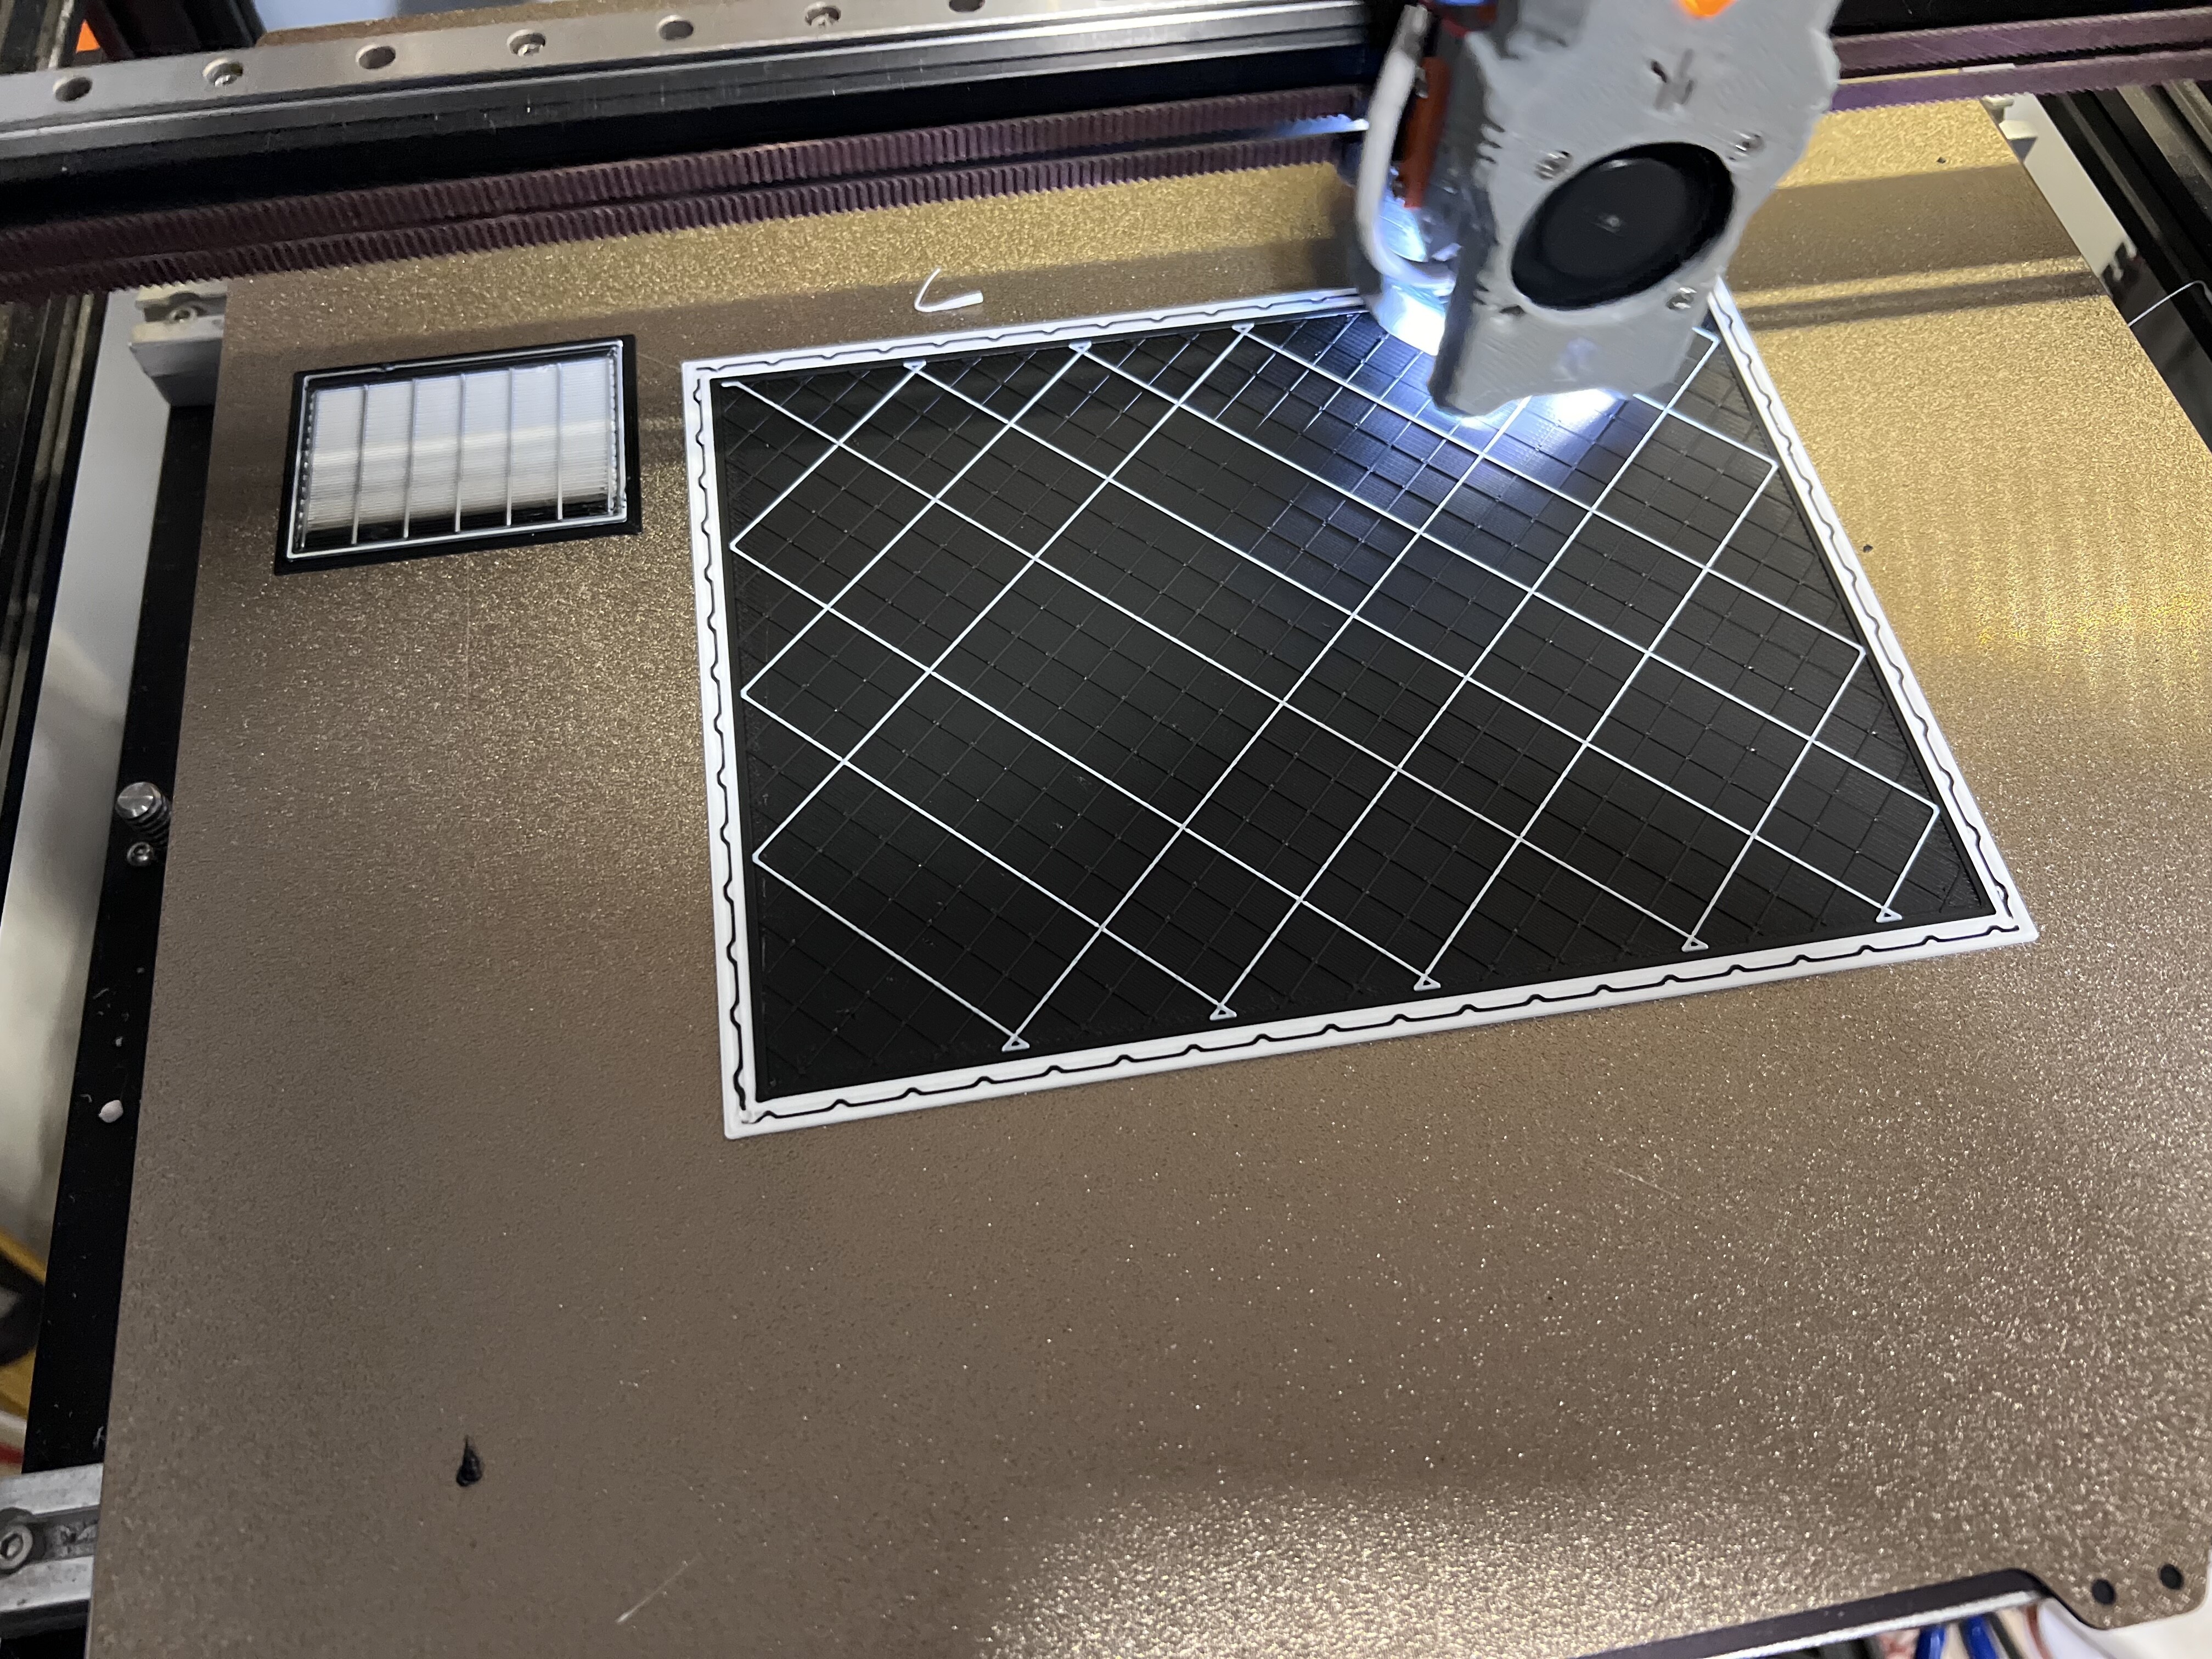
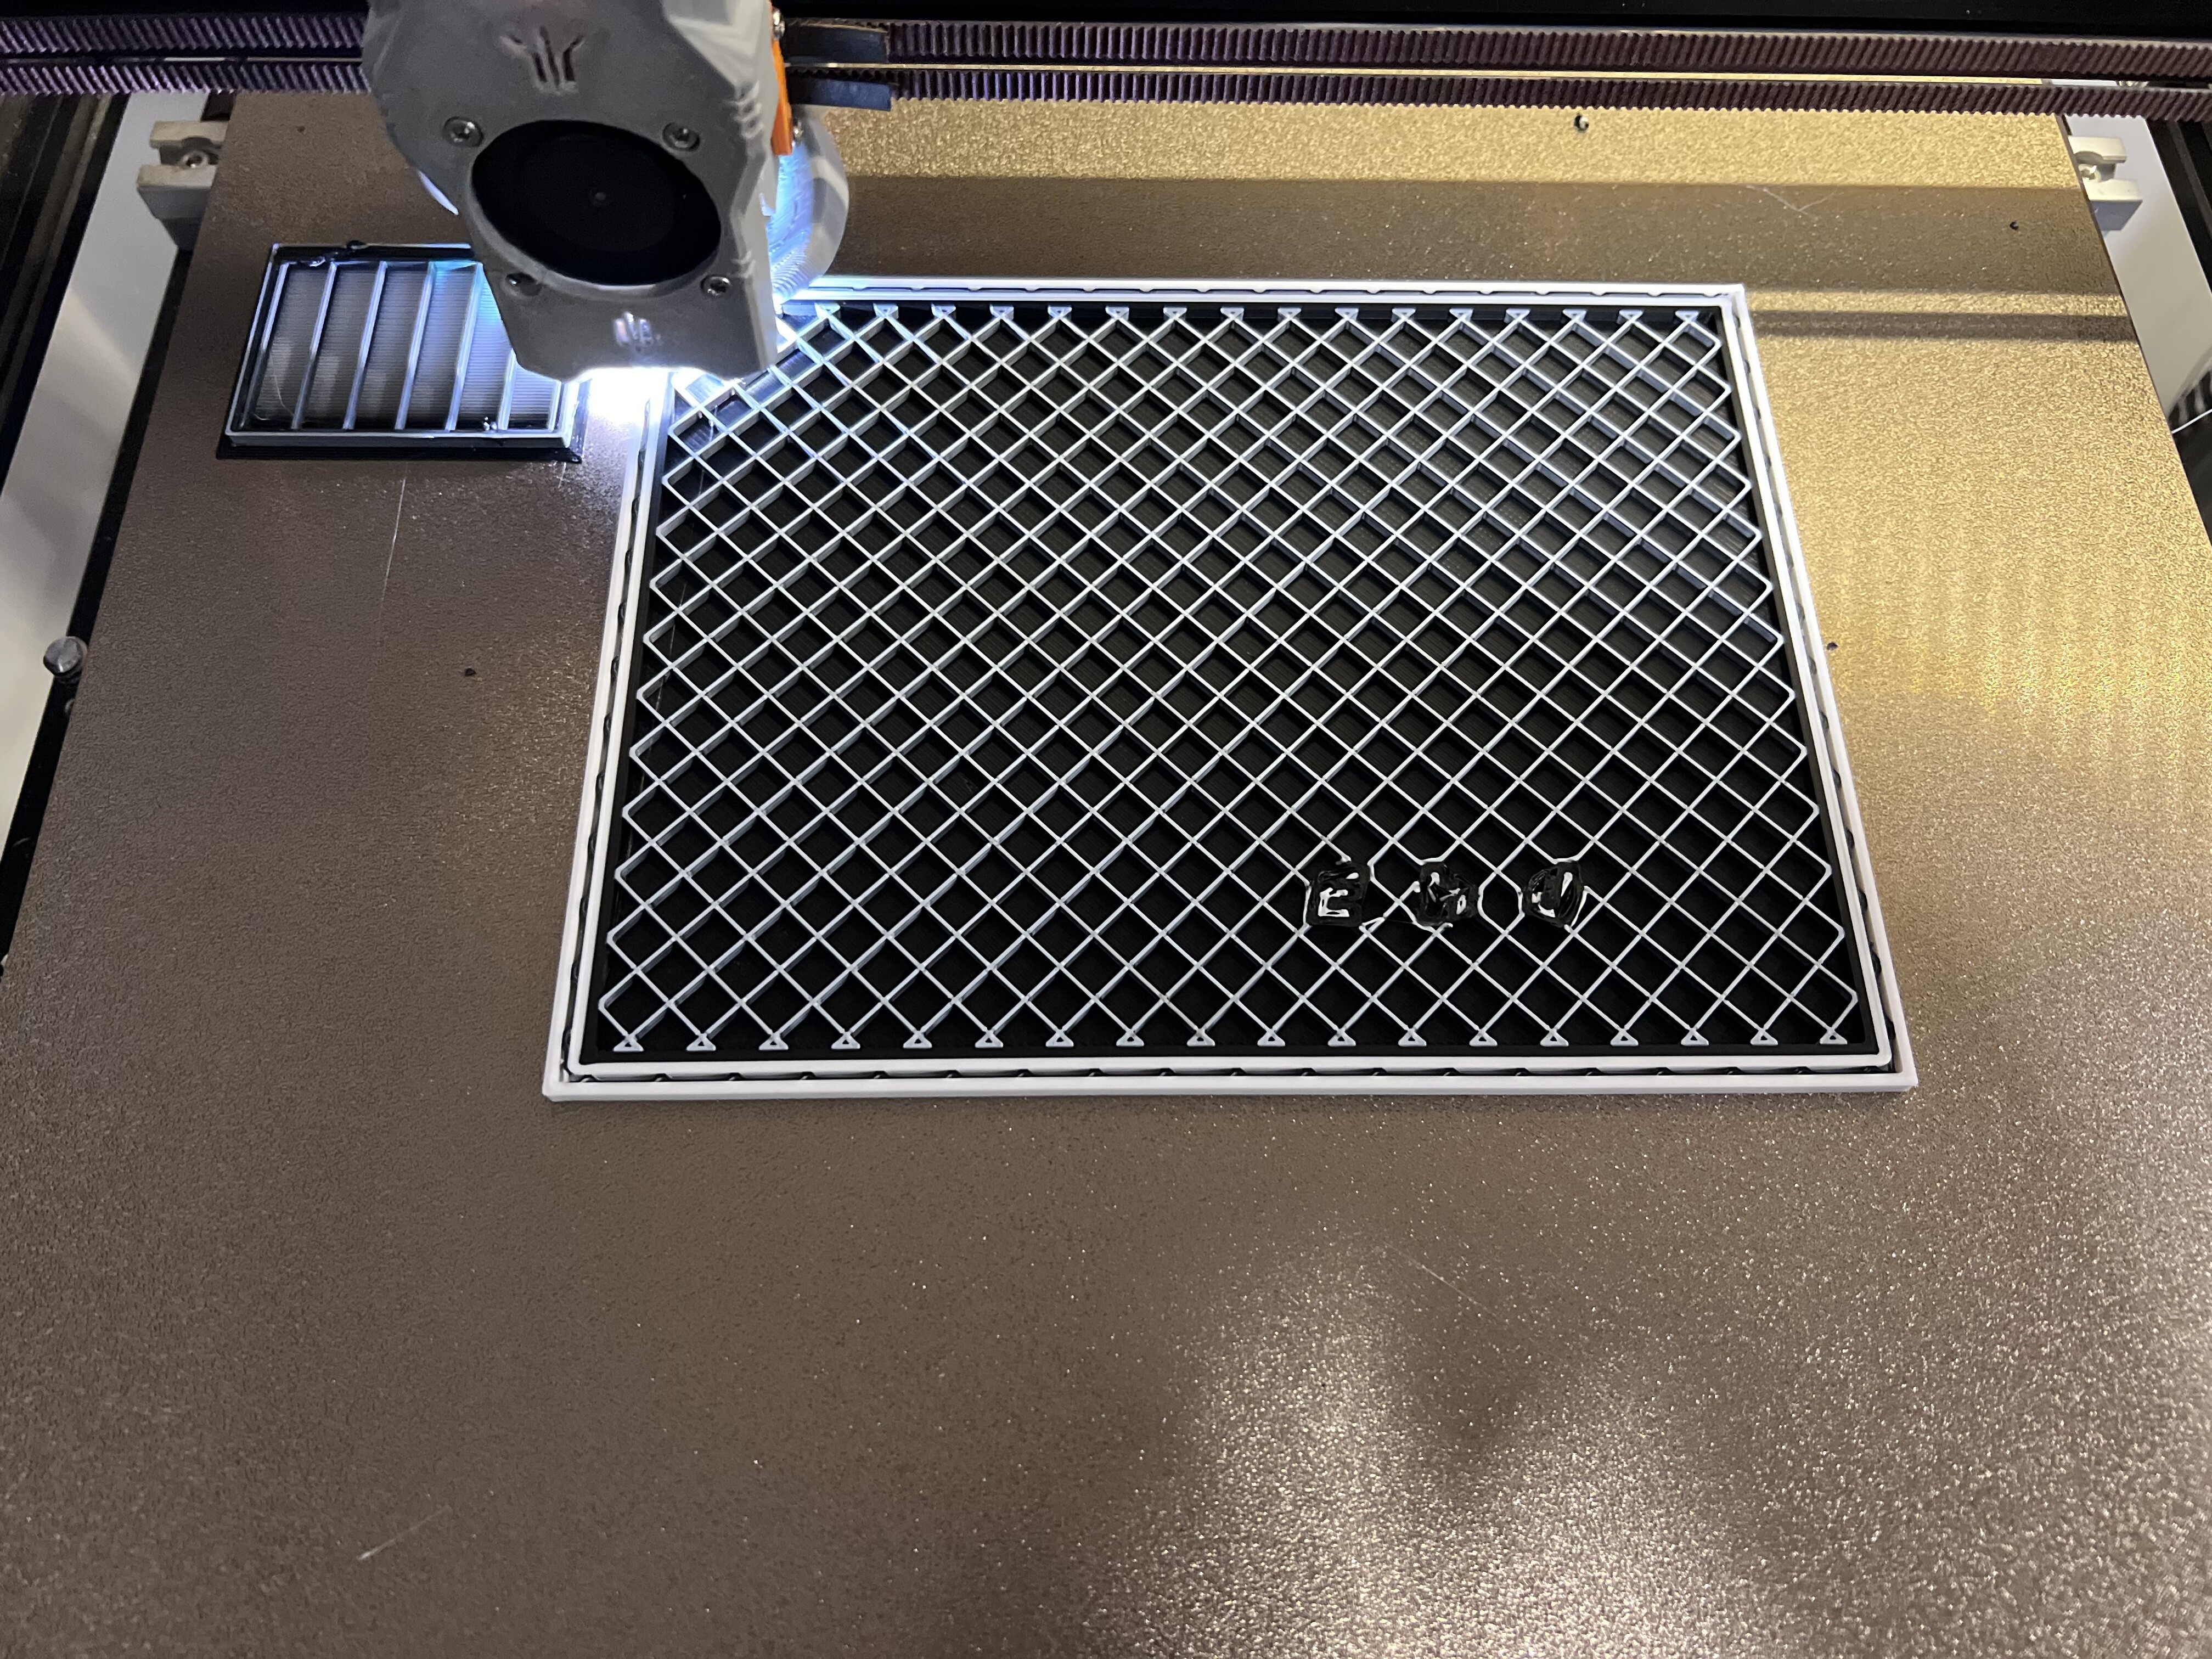
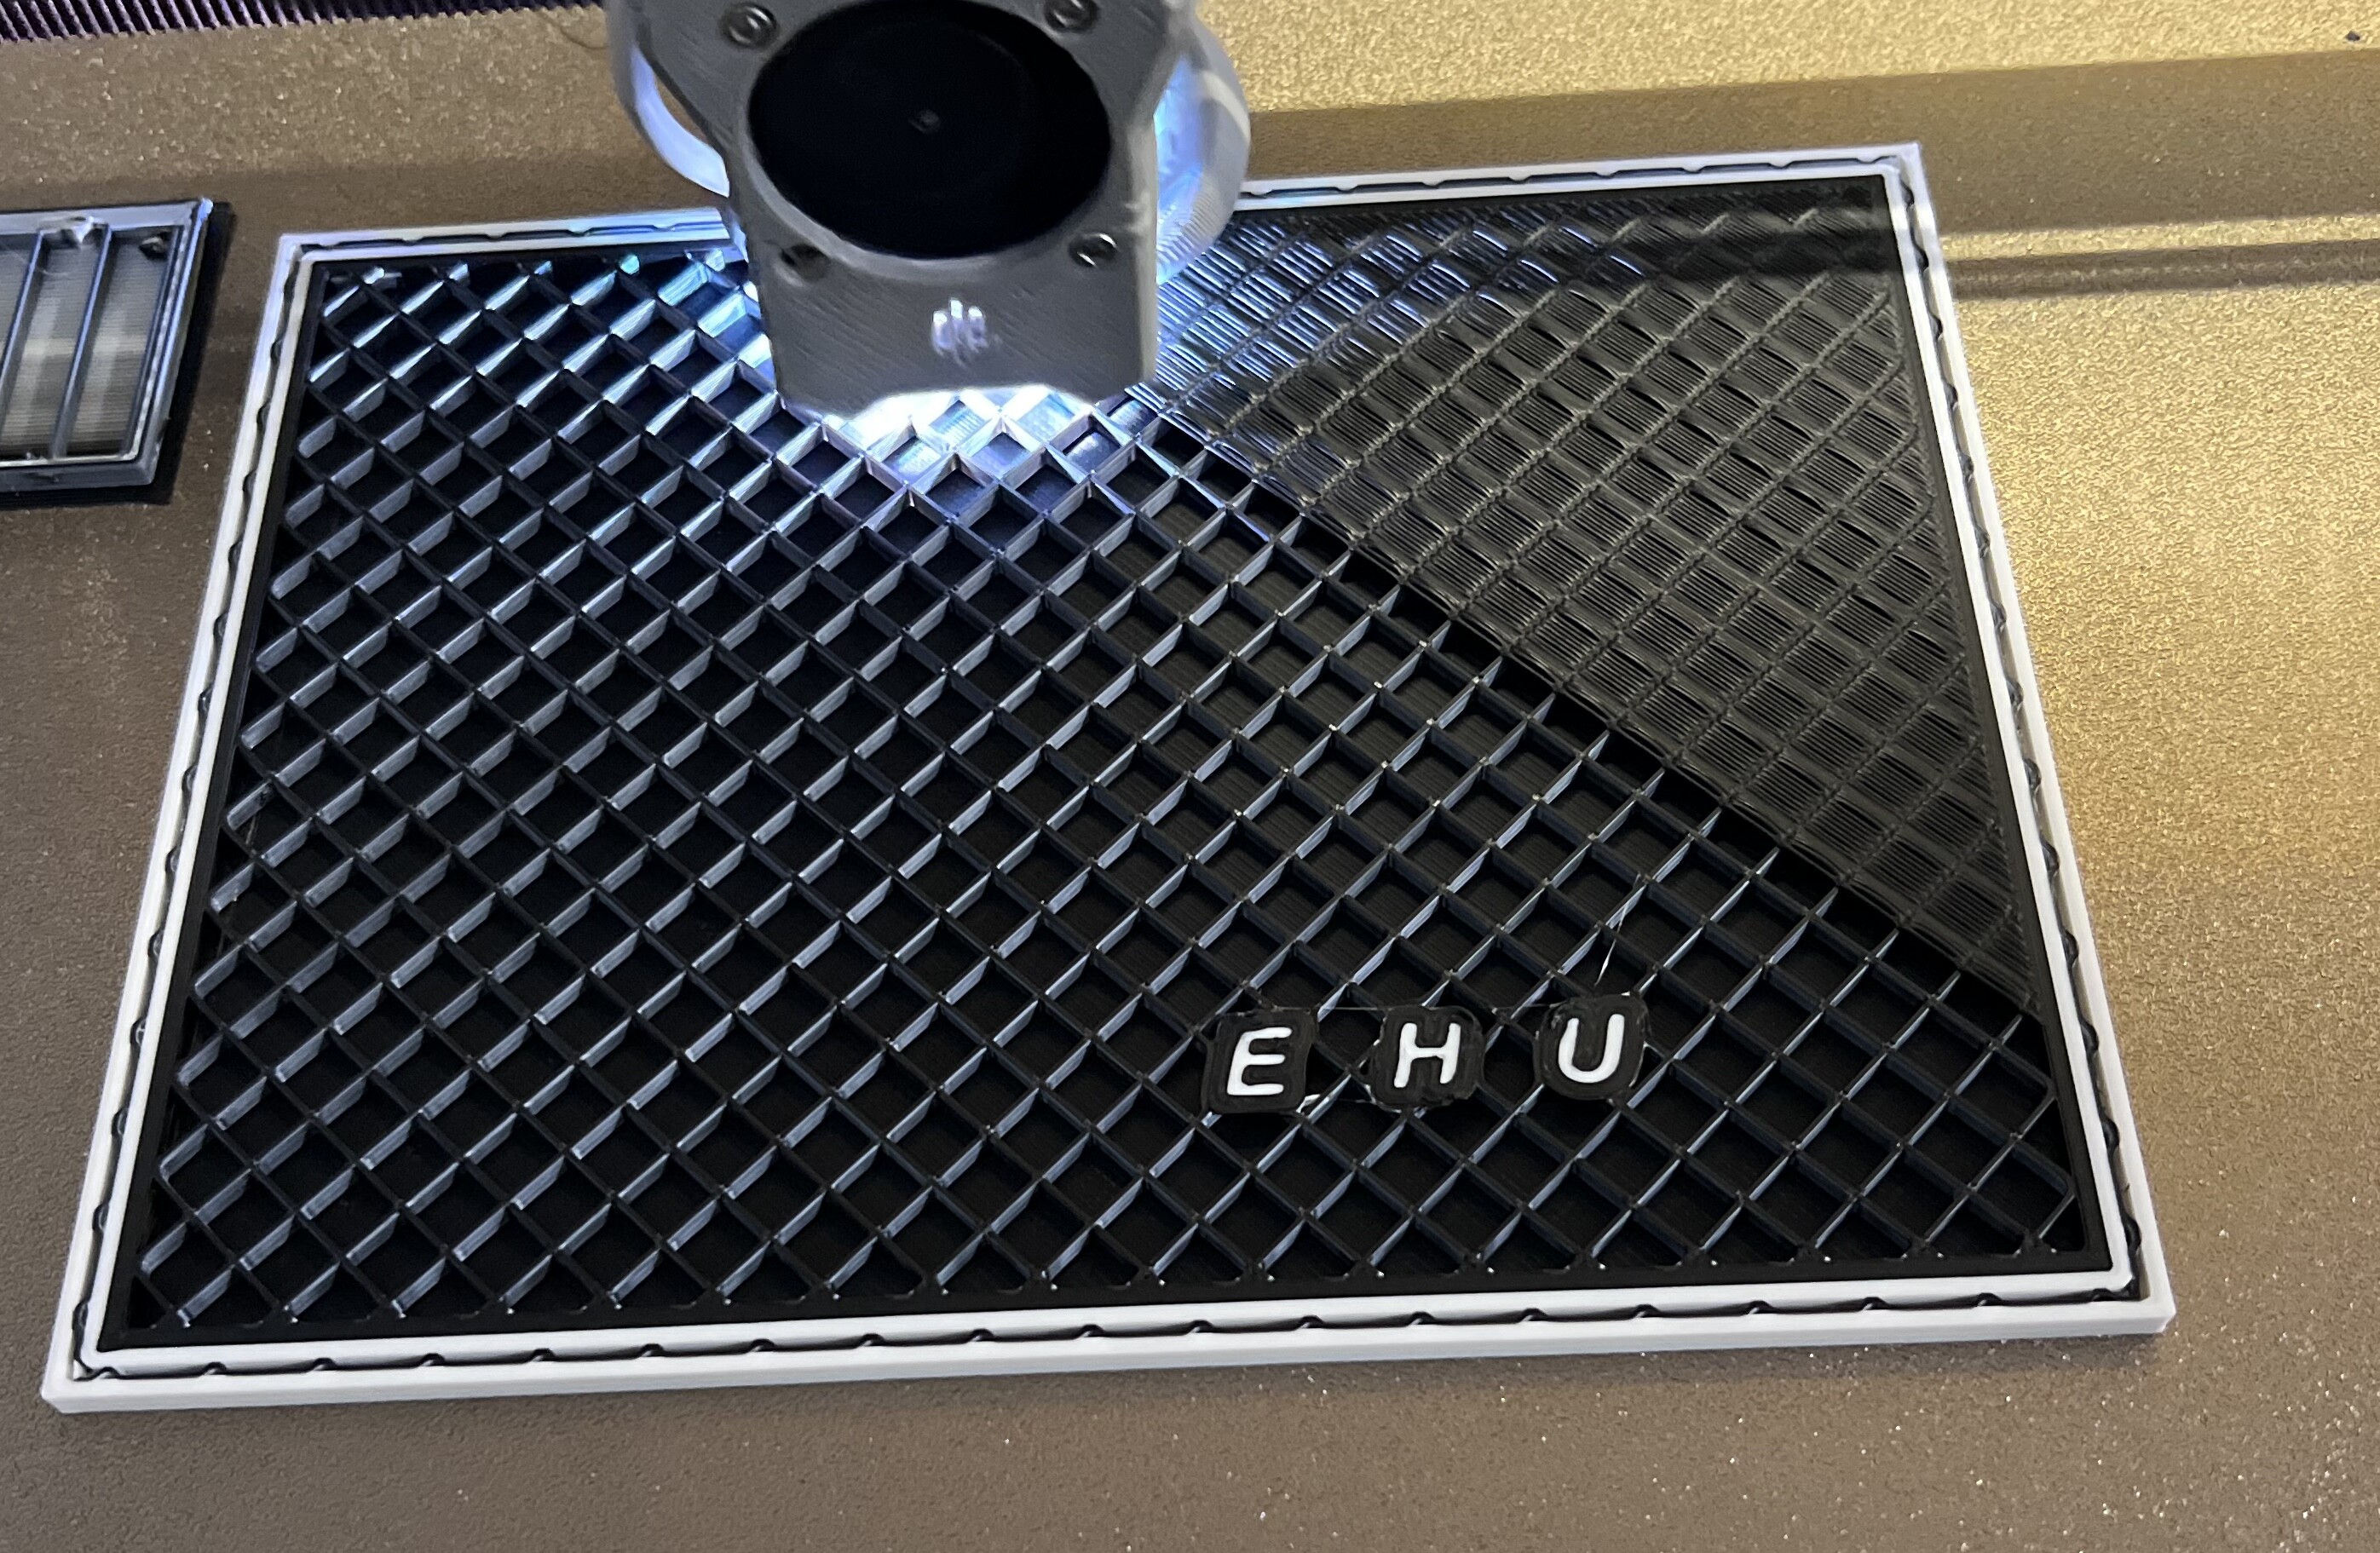
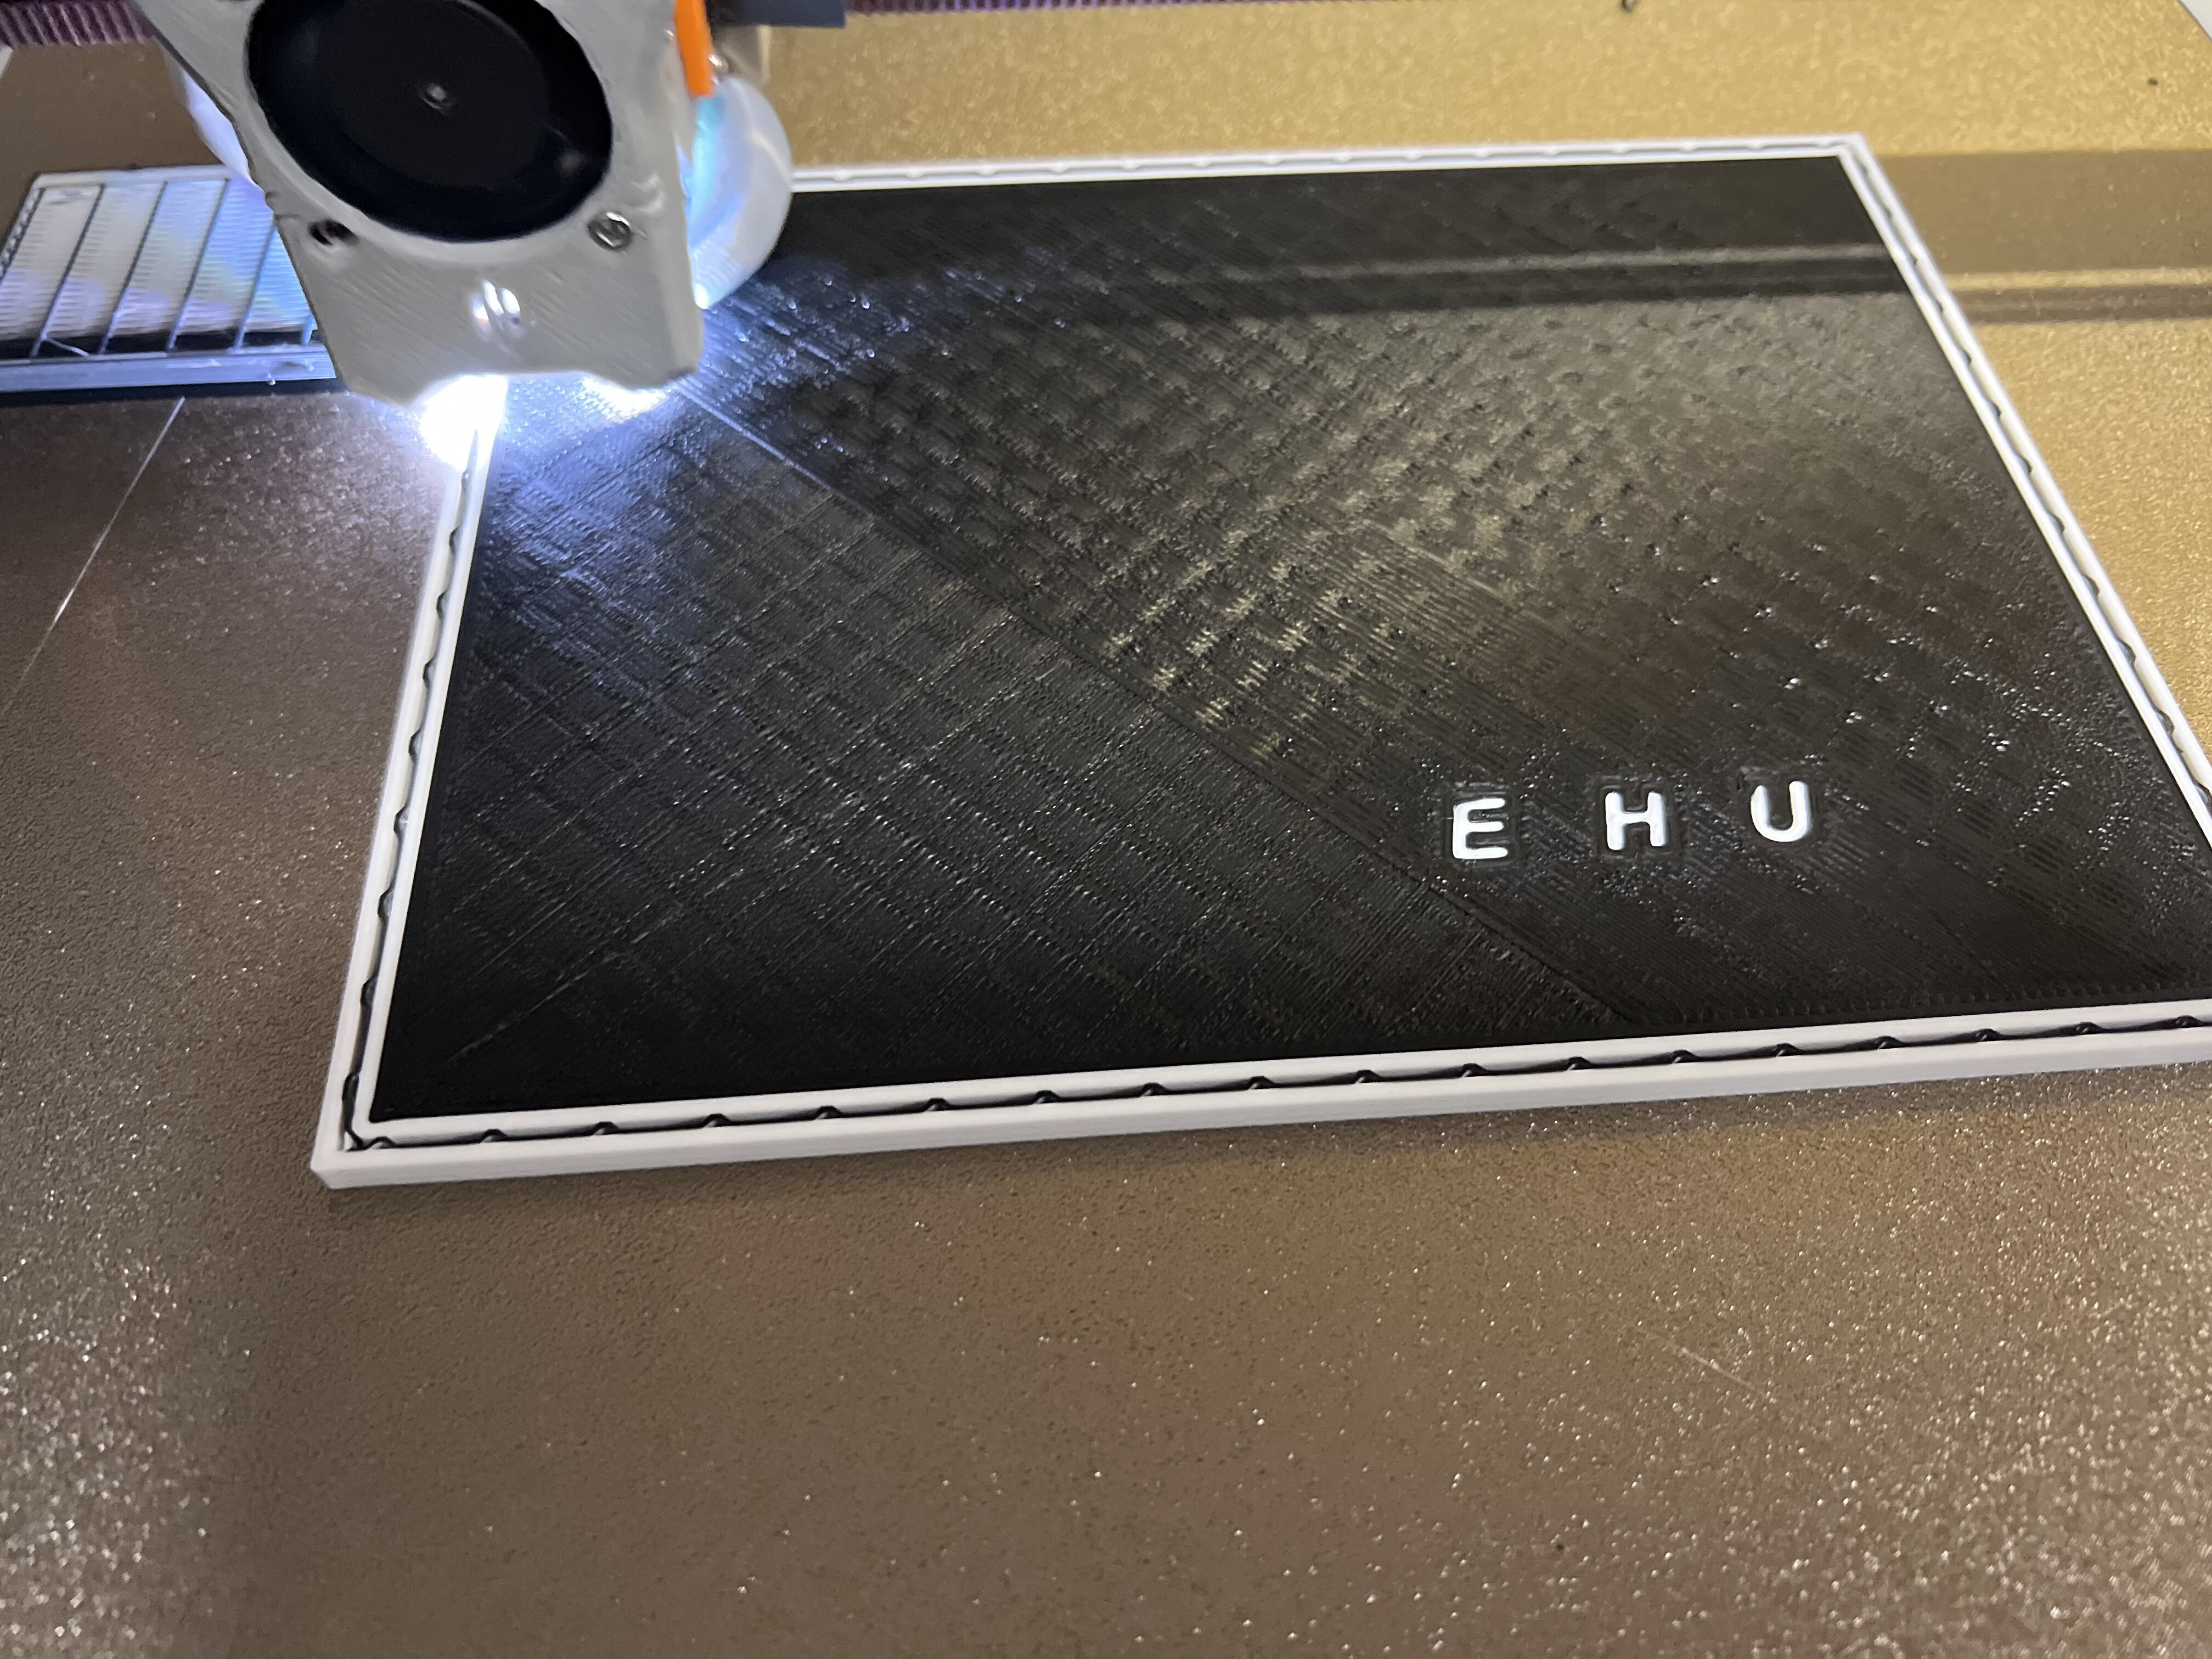
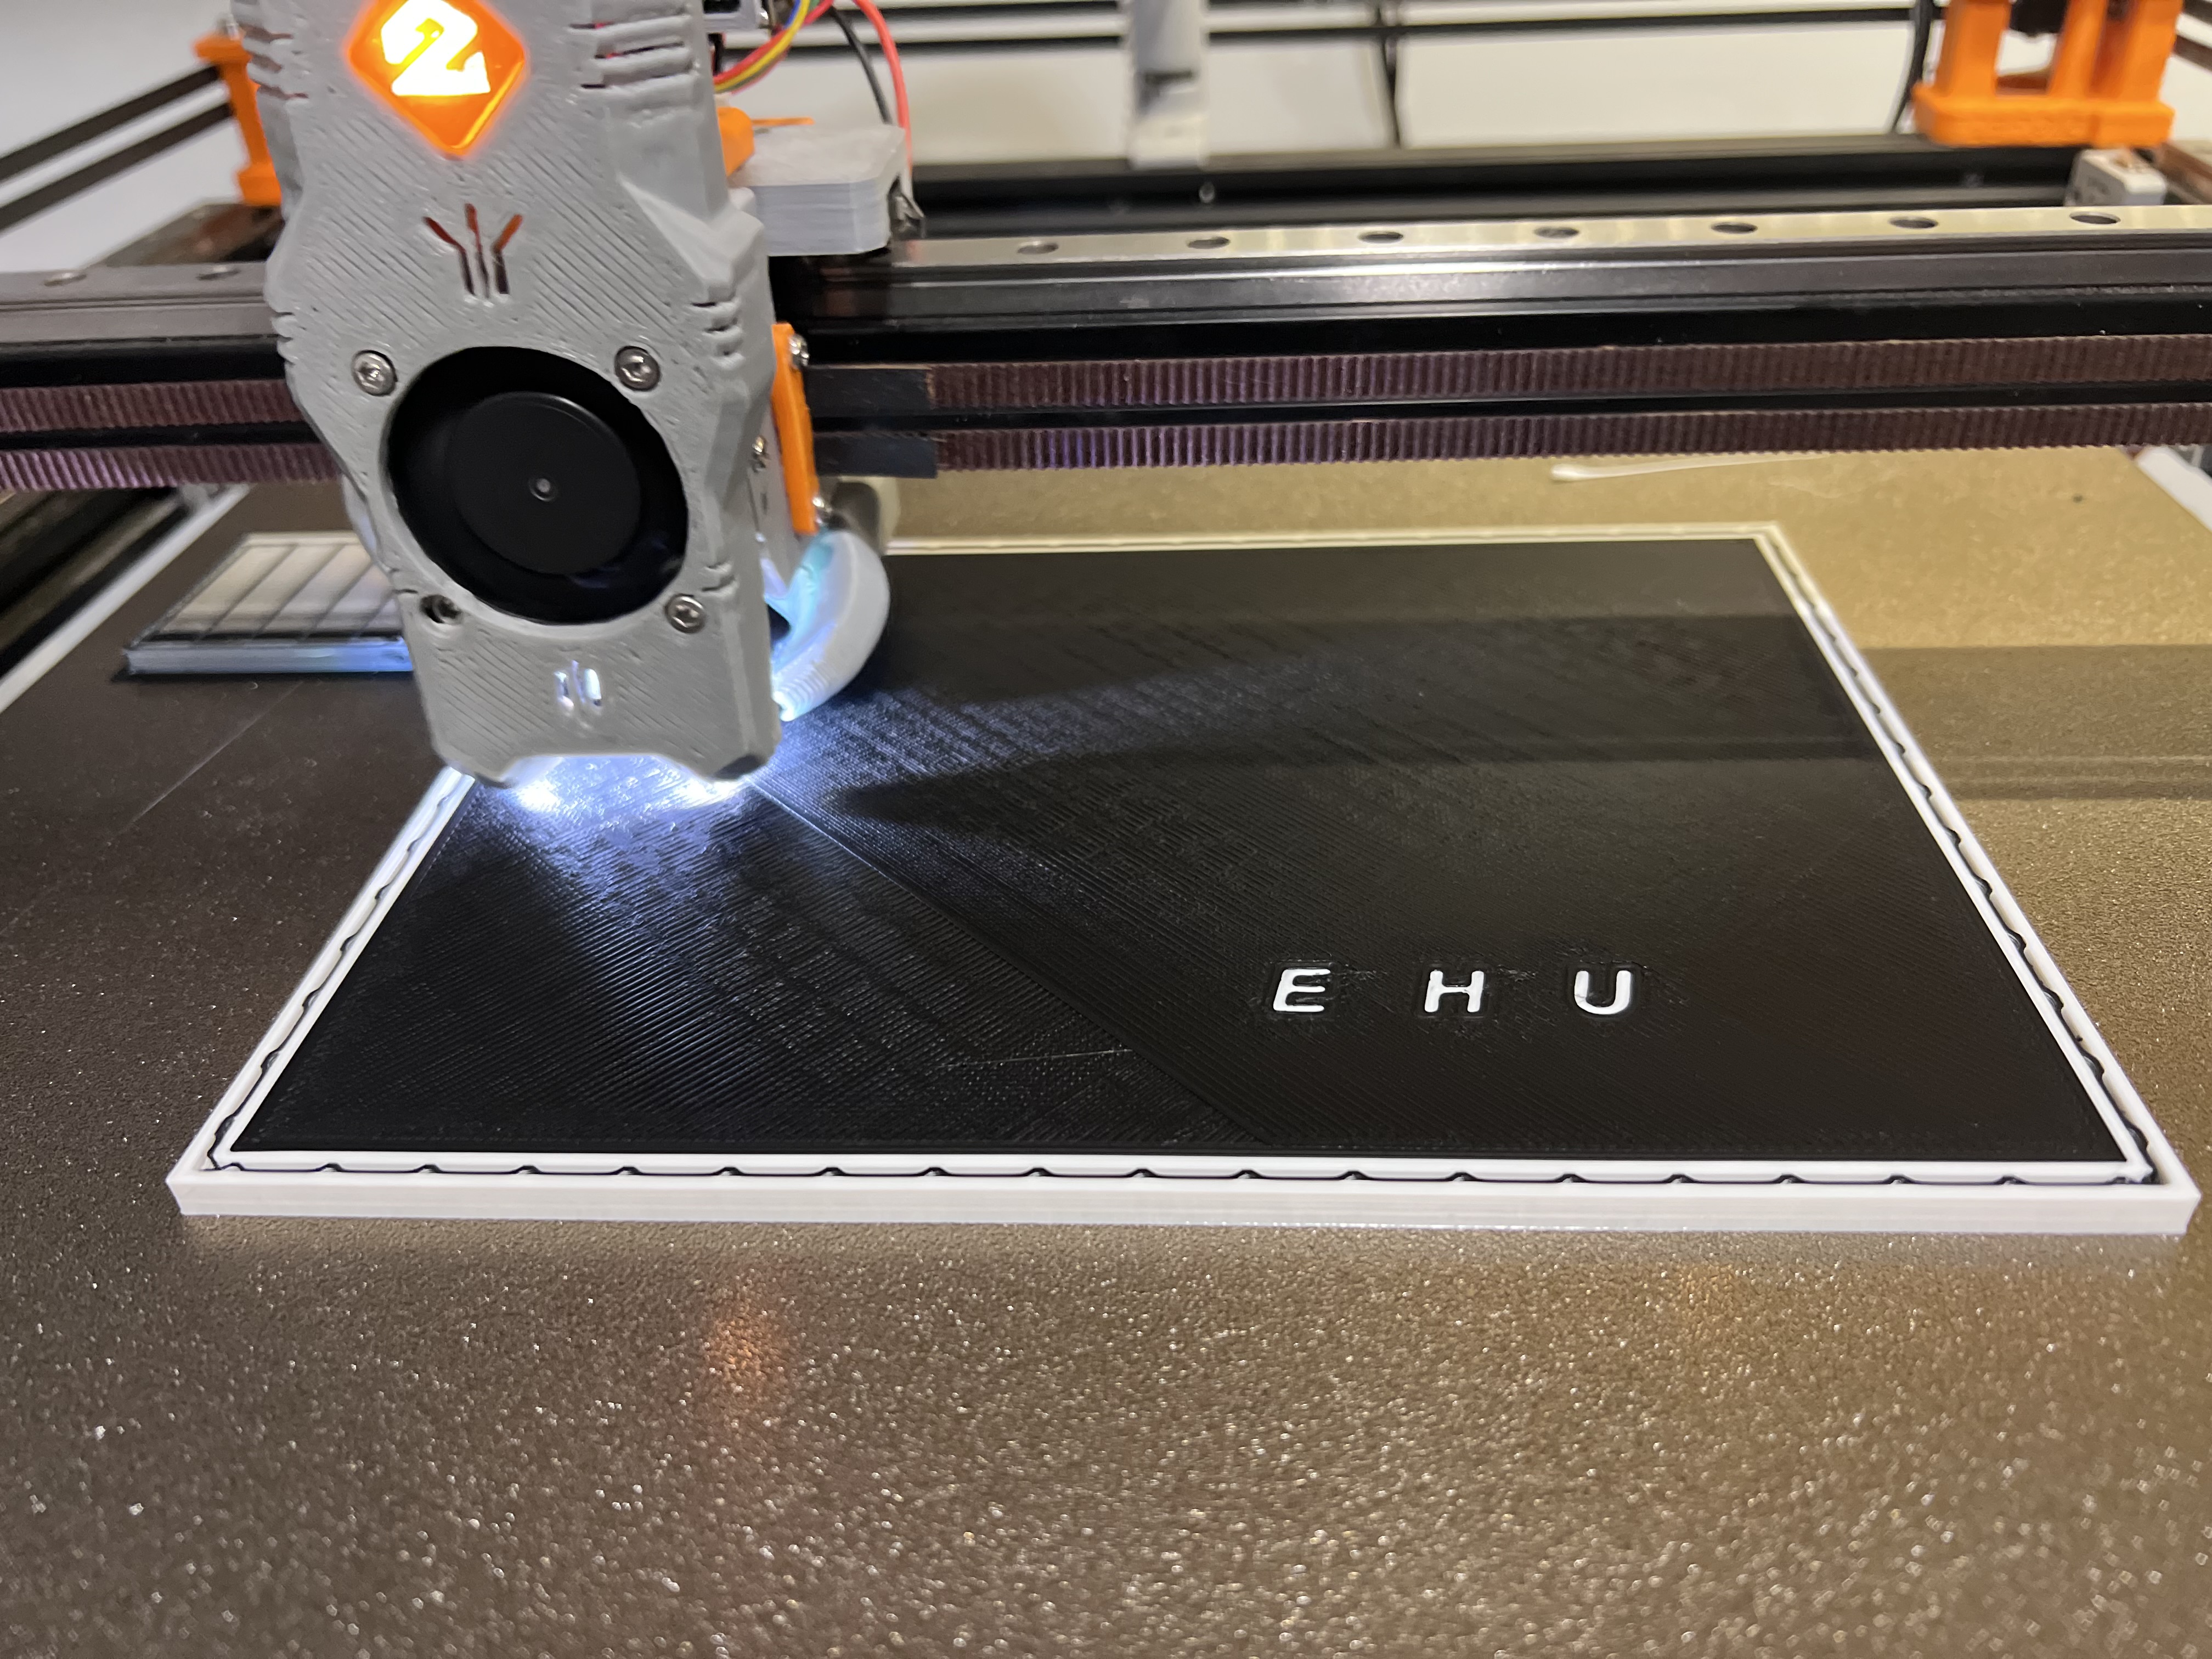
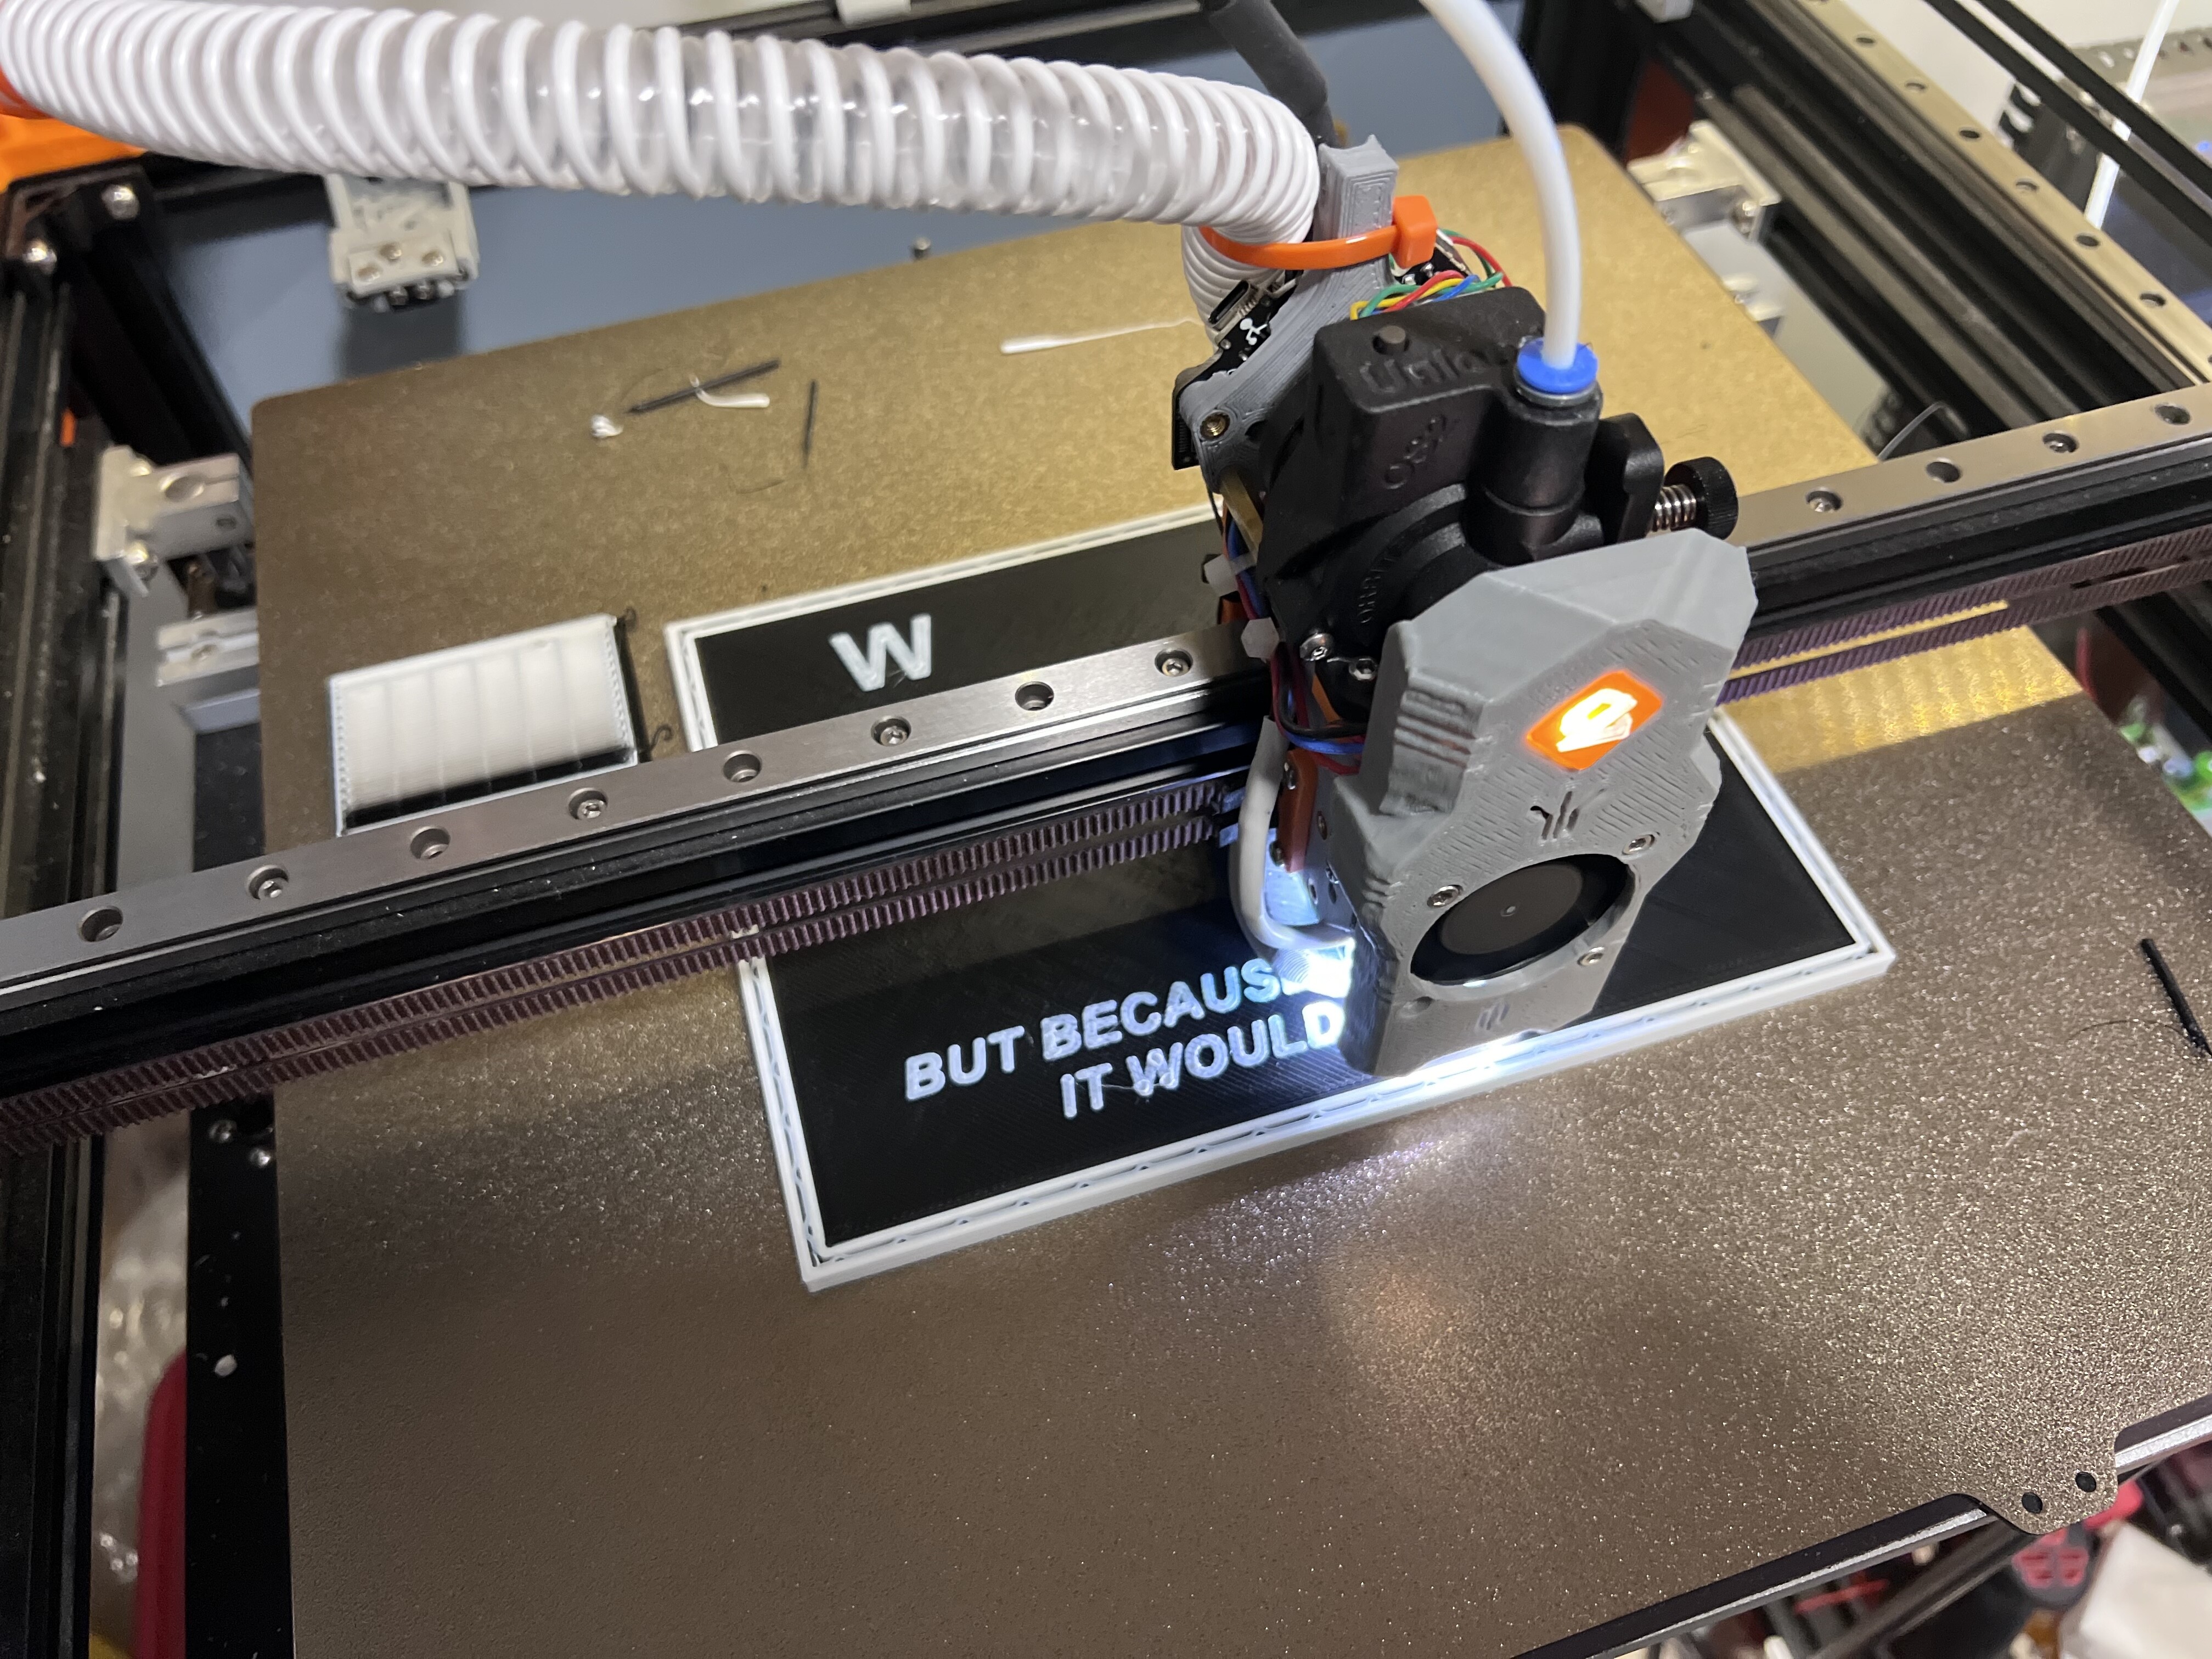
Well now on to what everyone is here to see. The damn thing actually works…
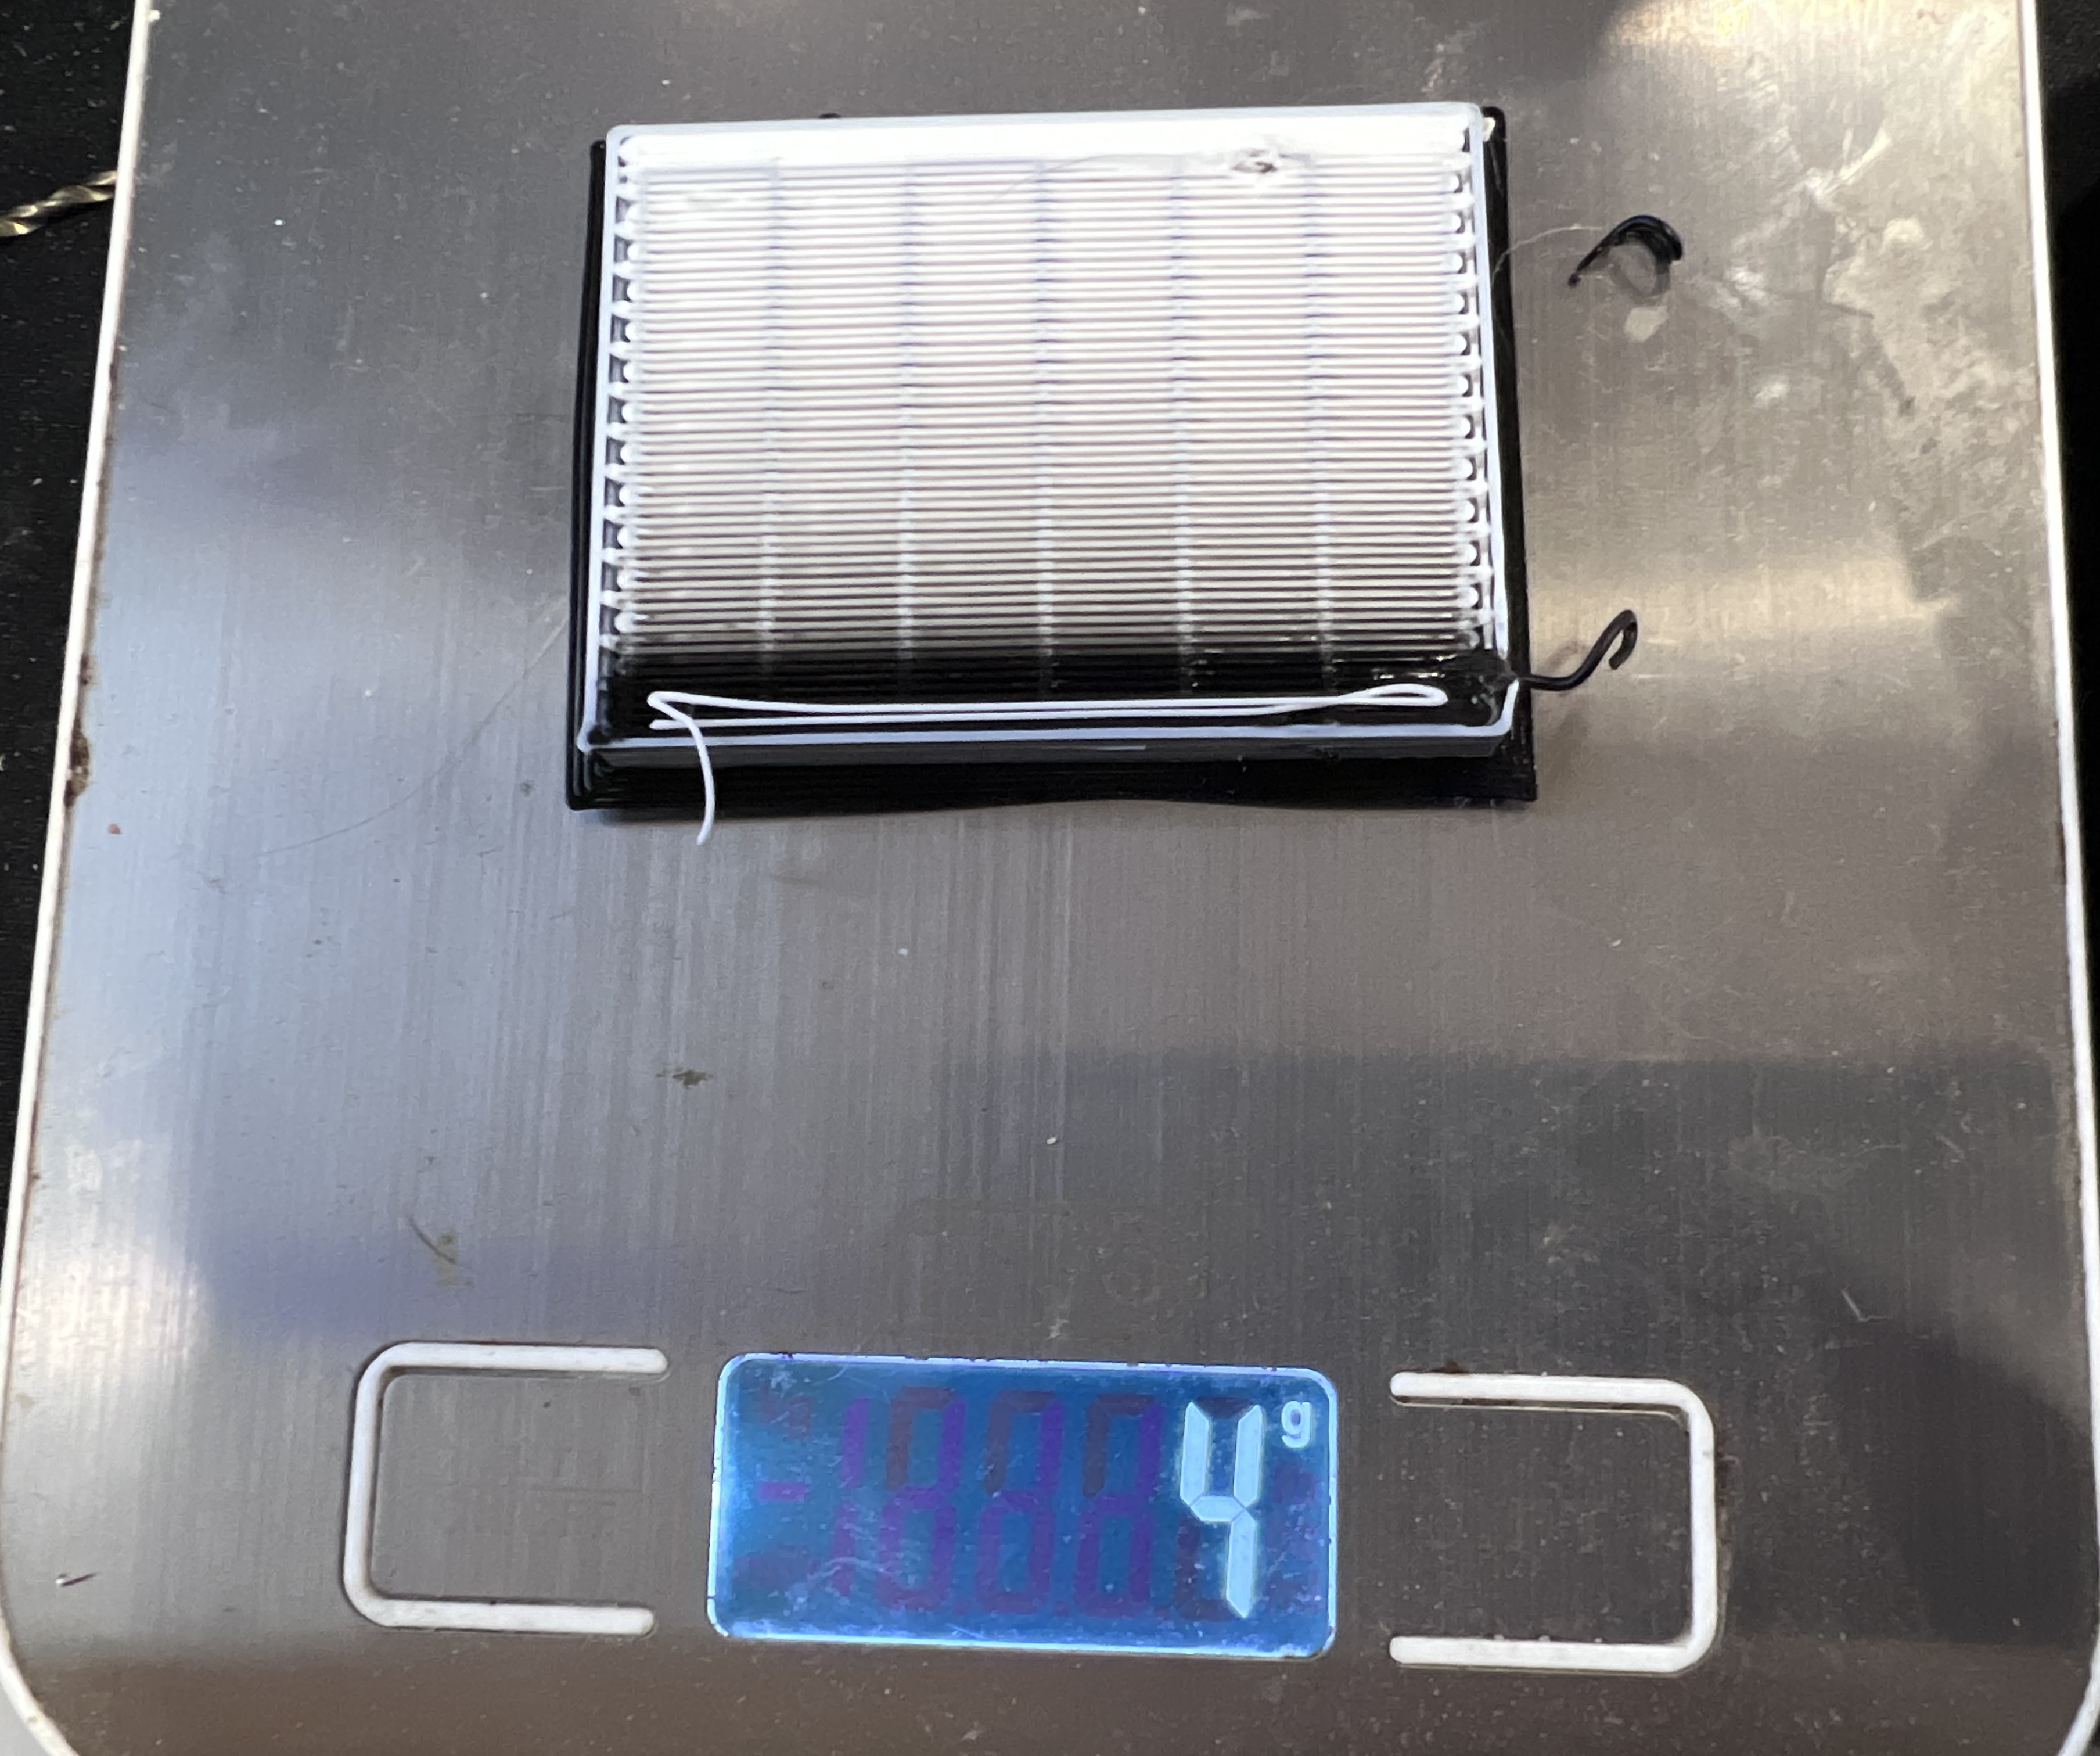
Sort of… First off I know the quality of the print is shit. But for my first ever multi color print from something I built here in my cluttered ass computer room, I’m happy with it LOL. All but 3 letters are only single layer. I’ll blame that on @Michael_Melancon since he found the file LOL. Just kidding Mike. Now that I know that they are only 3 layers hopefully I can figure out how to fix it in the slicer and later print another one that looks a ton better. I believe it was 26 swaps for this file. And the prime to infill is pretty neat. It still needed a prime tower but I weighed it… 4g total. Cant complain with that.
This journey is far from over lol. But man is it sweet to see it work! It did have some failures, but I have learned how to recover from those pretty easily now. The Happy Hare software is really good from what I can tell so far and does a great job of letting you fix things without losing the print.
Ill leave with some closing thoughts. First off, its not really a bad build. Will be way easier if you just have a little patients lol. Determination goes a long way too. But really its not near as bad as I made it seem. I still have several things to figure out. And some more parts to print, and reprint some still here now that are too large. And I think once that is done things will start to come together a lot more. If I haven’t completely scared you off from taking the dive into this project then I will leave with this. Wait for the LDO kit. The “meat and potatoes” parts in the Siboor kit were great. But all the extras that are supposed to make it easier made it a ton harder in the end. And its just sloppy to send it out that way for something very easy to test before hand. I have a feeling the LDO kit will be MUCH better put together. I know I have seen it talked a lot about on the ERCF Discord and all with positive outlook.
If you have any questions comments or criticisms please don’t be afraid to say it. I will answer anything I can and take any help I can get to finish this out.
7 Likes
So cool you are getting multicolor prints. if you had to guess or if you know, what is the change time from one color to the other?
2 Likes

I do have it running really slow right now. This will get better once I get it working better. But I just wanted to see it make ONE print before I had to head back to work for a month lol
7 Likes
I have never done automated color changes, would that tower not have been needed if there was a denser infill? Or is one always needed for things like the top and bottom layers?
1 Like
Honestly, I have no clue LOL. I have exactly 1 more multi color print under my belt than you do LOL. I do know as it was coming up it used much much less of the prime block. Mostly it was only using it to keep it at the same layer height for when it did need it. Once the Black went back to solid layers the white used the prime block the most.
There is also a mod called “Blobifier” that makes it where you don’t need a purge block at all. Basically you just do like the bambu and poop it out in a bucket then go back to printing. I still think it would only purge what it had to then the rest could go to infill. I will say I was impressed that the purge block was only 4 grams. I am sure if I had more colors and a taller model it would be much more than that.
2 Likes
I built a Jublilee Toolchanger and one of the modifications is called a Pebble Wiper. It’s a small platform with a stepper to adjust height for z-offset, and a small servo. My toolchange code picks up the tool, purges a small amount, moves it to the Pebble Wiper, purges a small 1/4" blob (pebble) onto a small aluminum square, then goes to full cooling and moves so the arm of the servo passes extremely close to the tip of the nozzle. Servo activates to break the filament at the tip and then the movement to the resume position occurs. I think it uses less filament than a purge tower (only real complaint is that the little pebbles end up everywhere. It’s not great at hitting the little bucket.
Here’s a link to a video. I don’t see why something like this couldn’t be an option for ERCF on an MP3DP (although I don’t have one.). I think he developed it based on an MMU on a Prusa?

2 Likes
That’s not a bad idea really. And its nice and compact. I might have to see about making something like that work. First I just want to get the ERCF dialed in and working correctly. I did another print this morning and found out REAL quick it does NOT like wet filament lol. It would leave such a string on the end that even after it retracted and cut, part of the string would break off in the PTFE tube and then jam the next filament going in.
One thing about this kind of system I would have to think about is how much to purge for each one. Since I am not using a tool changer, I have to purge enough to get the previous color out. Orca has a guide for this…

Would just have to figure out how to get the macro to read the flushing volume from the slicer and make sure it purged that much.
ERCF project could re-market the pebbles as enraged rabbit turds.
2 Likes
I would love to see more pictures of this.
Is this in reference to My ERCF or something else in this thread?