It looks so good, I am trying to think of a way around it.
There is tons of room on the idlers to shave them down enough to clear. Just make sure the edges stays smooth so they do not wear out the belt.
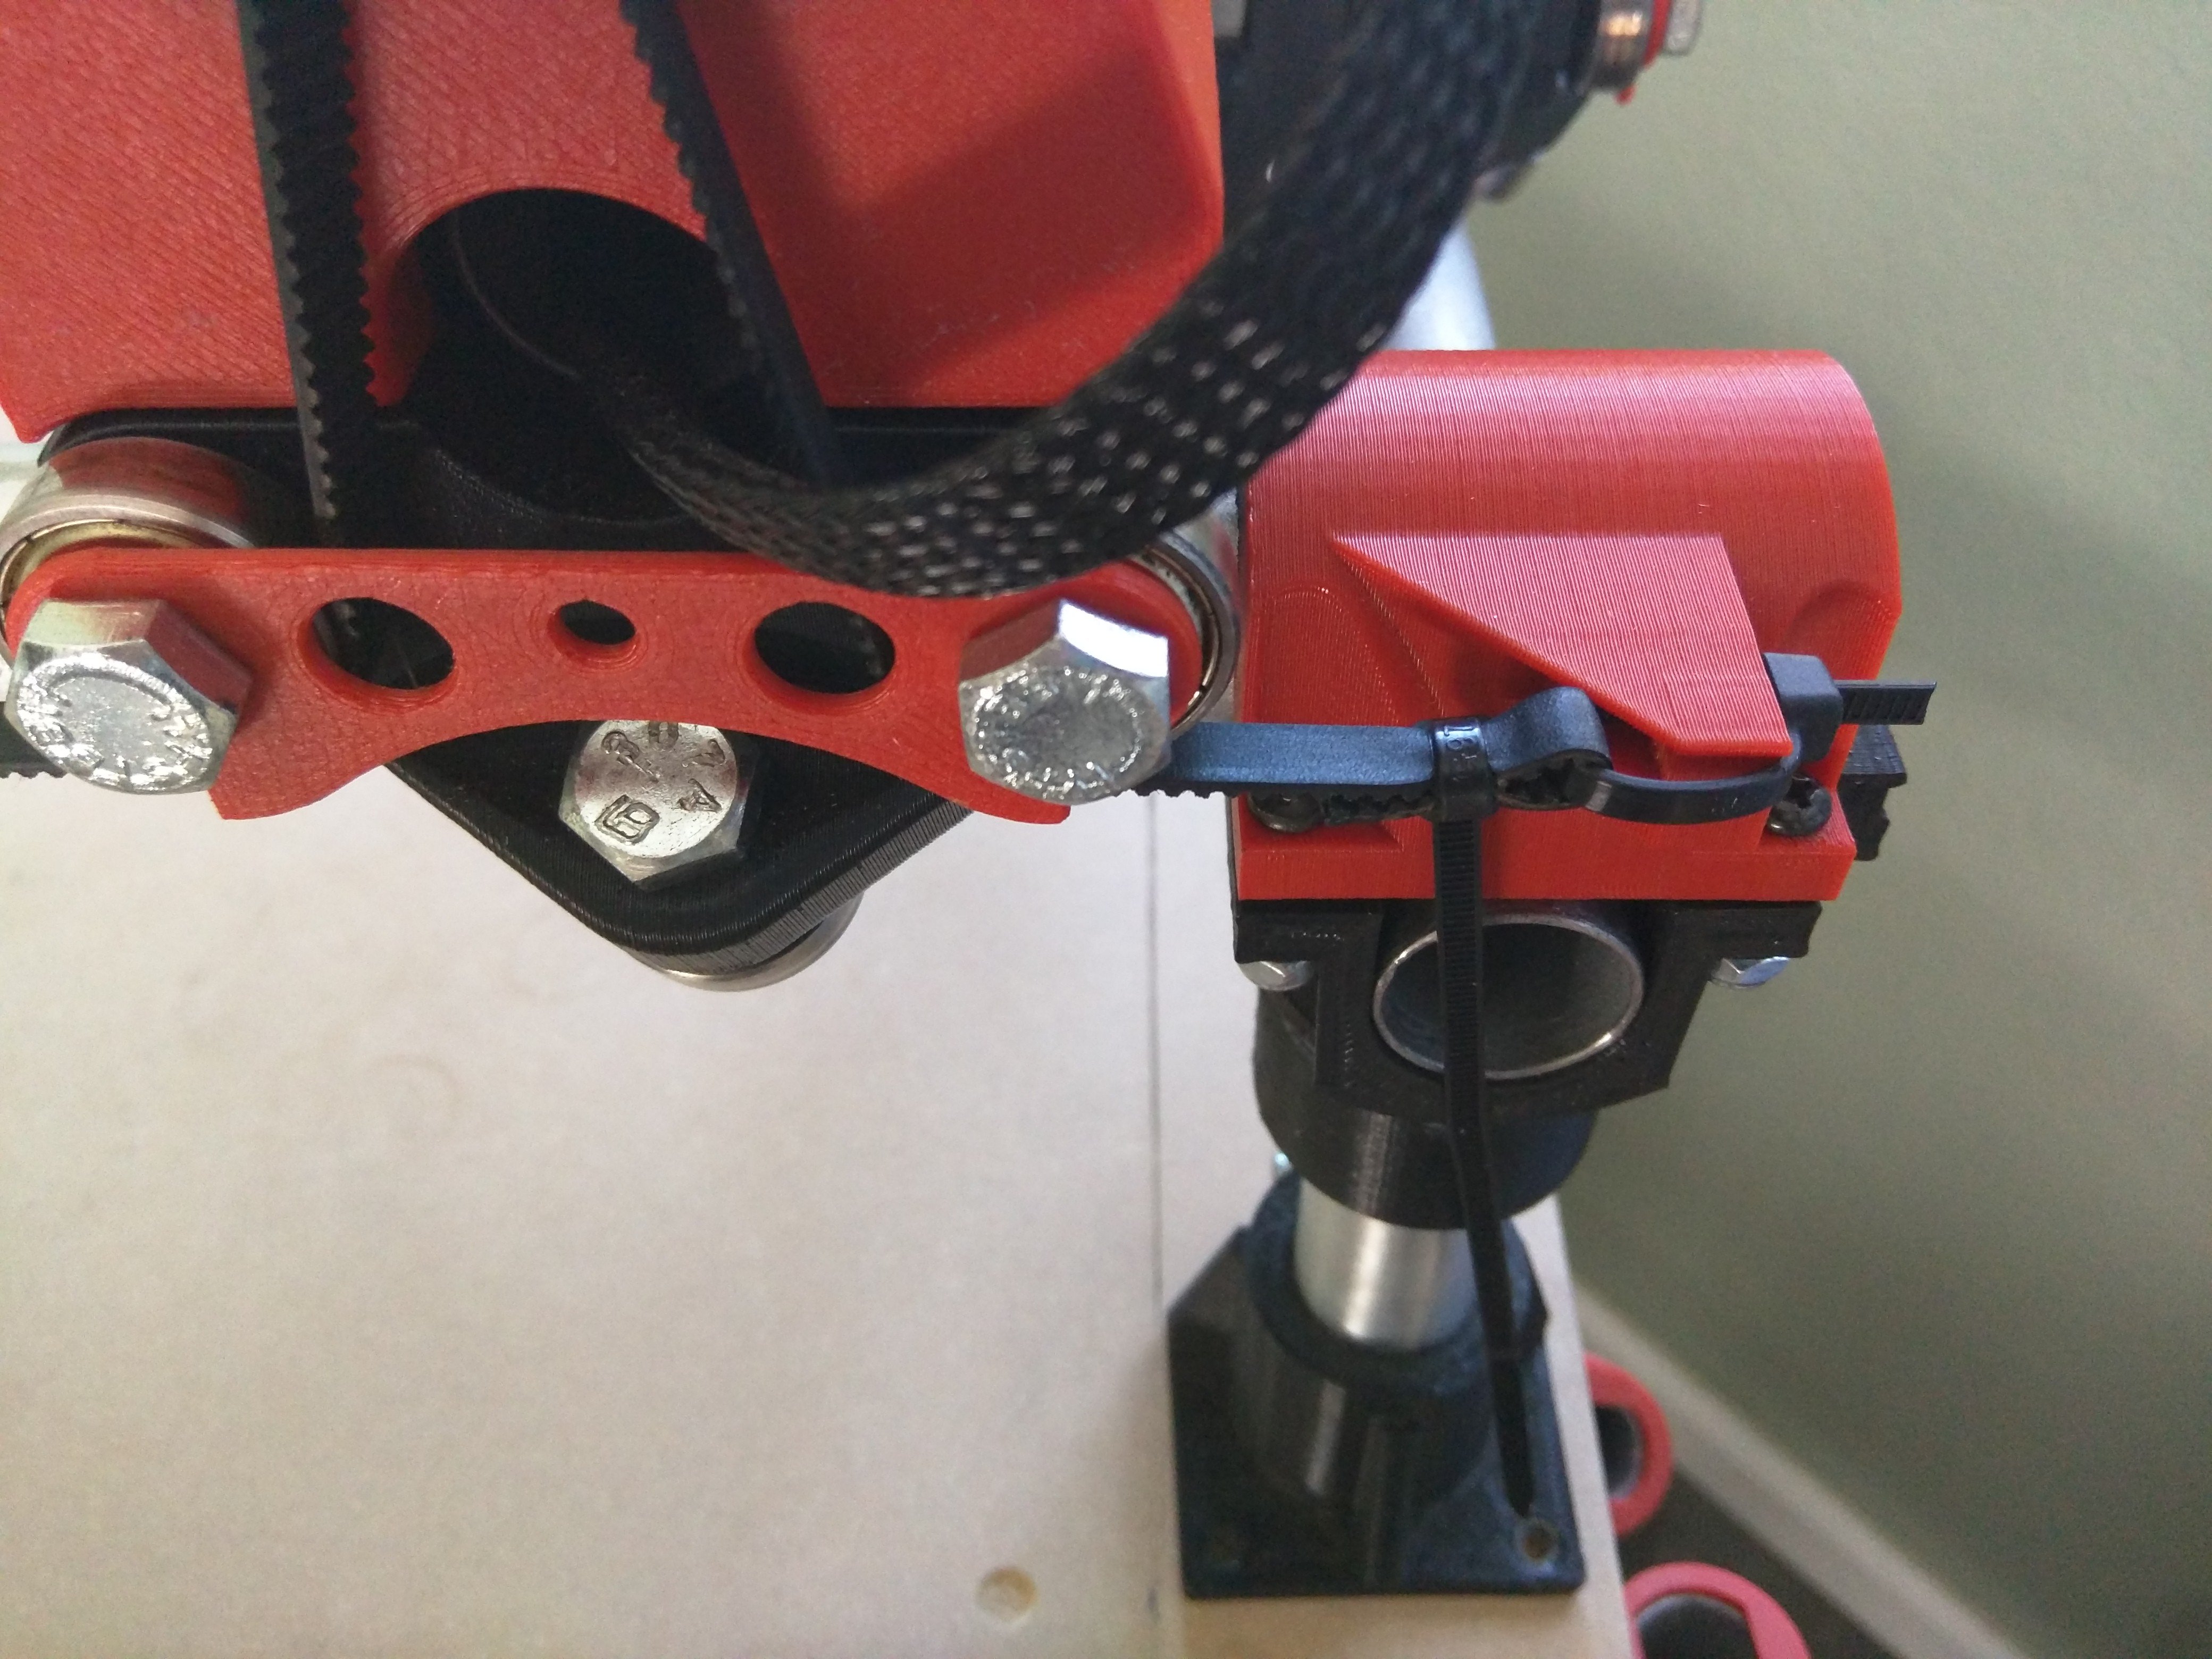
I can not think of a way to pass that belt through to be able to tension it though…you could add the old snap on triggers I have for the endstop, but how would you tension the belt? You could Loop a zip tie in there and tension it the way we used to for all the previous machines!?!
This isn’t your fault at all!!! I knew full well I was headed into uncharted territory when I took this on. One good this is we all learned something from it. I think I’m going to attempt to shave 1-1.5mm off of the acrylic. I really don’t want to cut a grove in the strut and have that take away from the overall look. And I would rather have the much better belt tensioning that we have now. Those zip tie loops used to drive me nuts LOL. I’m hoping I can figure out a way to hold the acrylic down secure and then line up the cut. I think I’m just going to do it manual style from the terminal. That way I can plan each and every move one at a time before its made or before a whole program runs and I’ve screwed it all up. I have one of those 1/2" dovetail bits now. That at a .5mm doc should work pretty good if I can get it lined up correctly.
I use zip ties all over and even buy them from you sometimes. But talking about belt loops gives me flash backs of those little 3D printed things on the LR2. I was so frustrated with those things lol
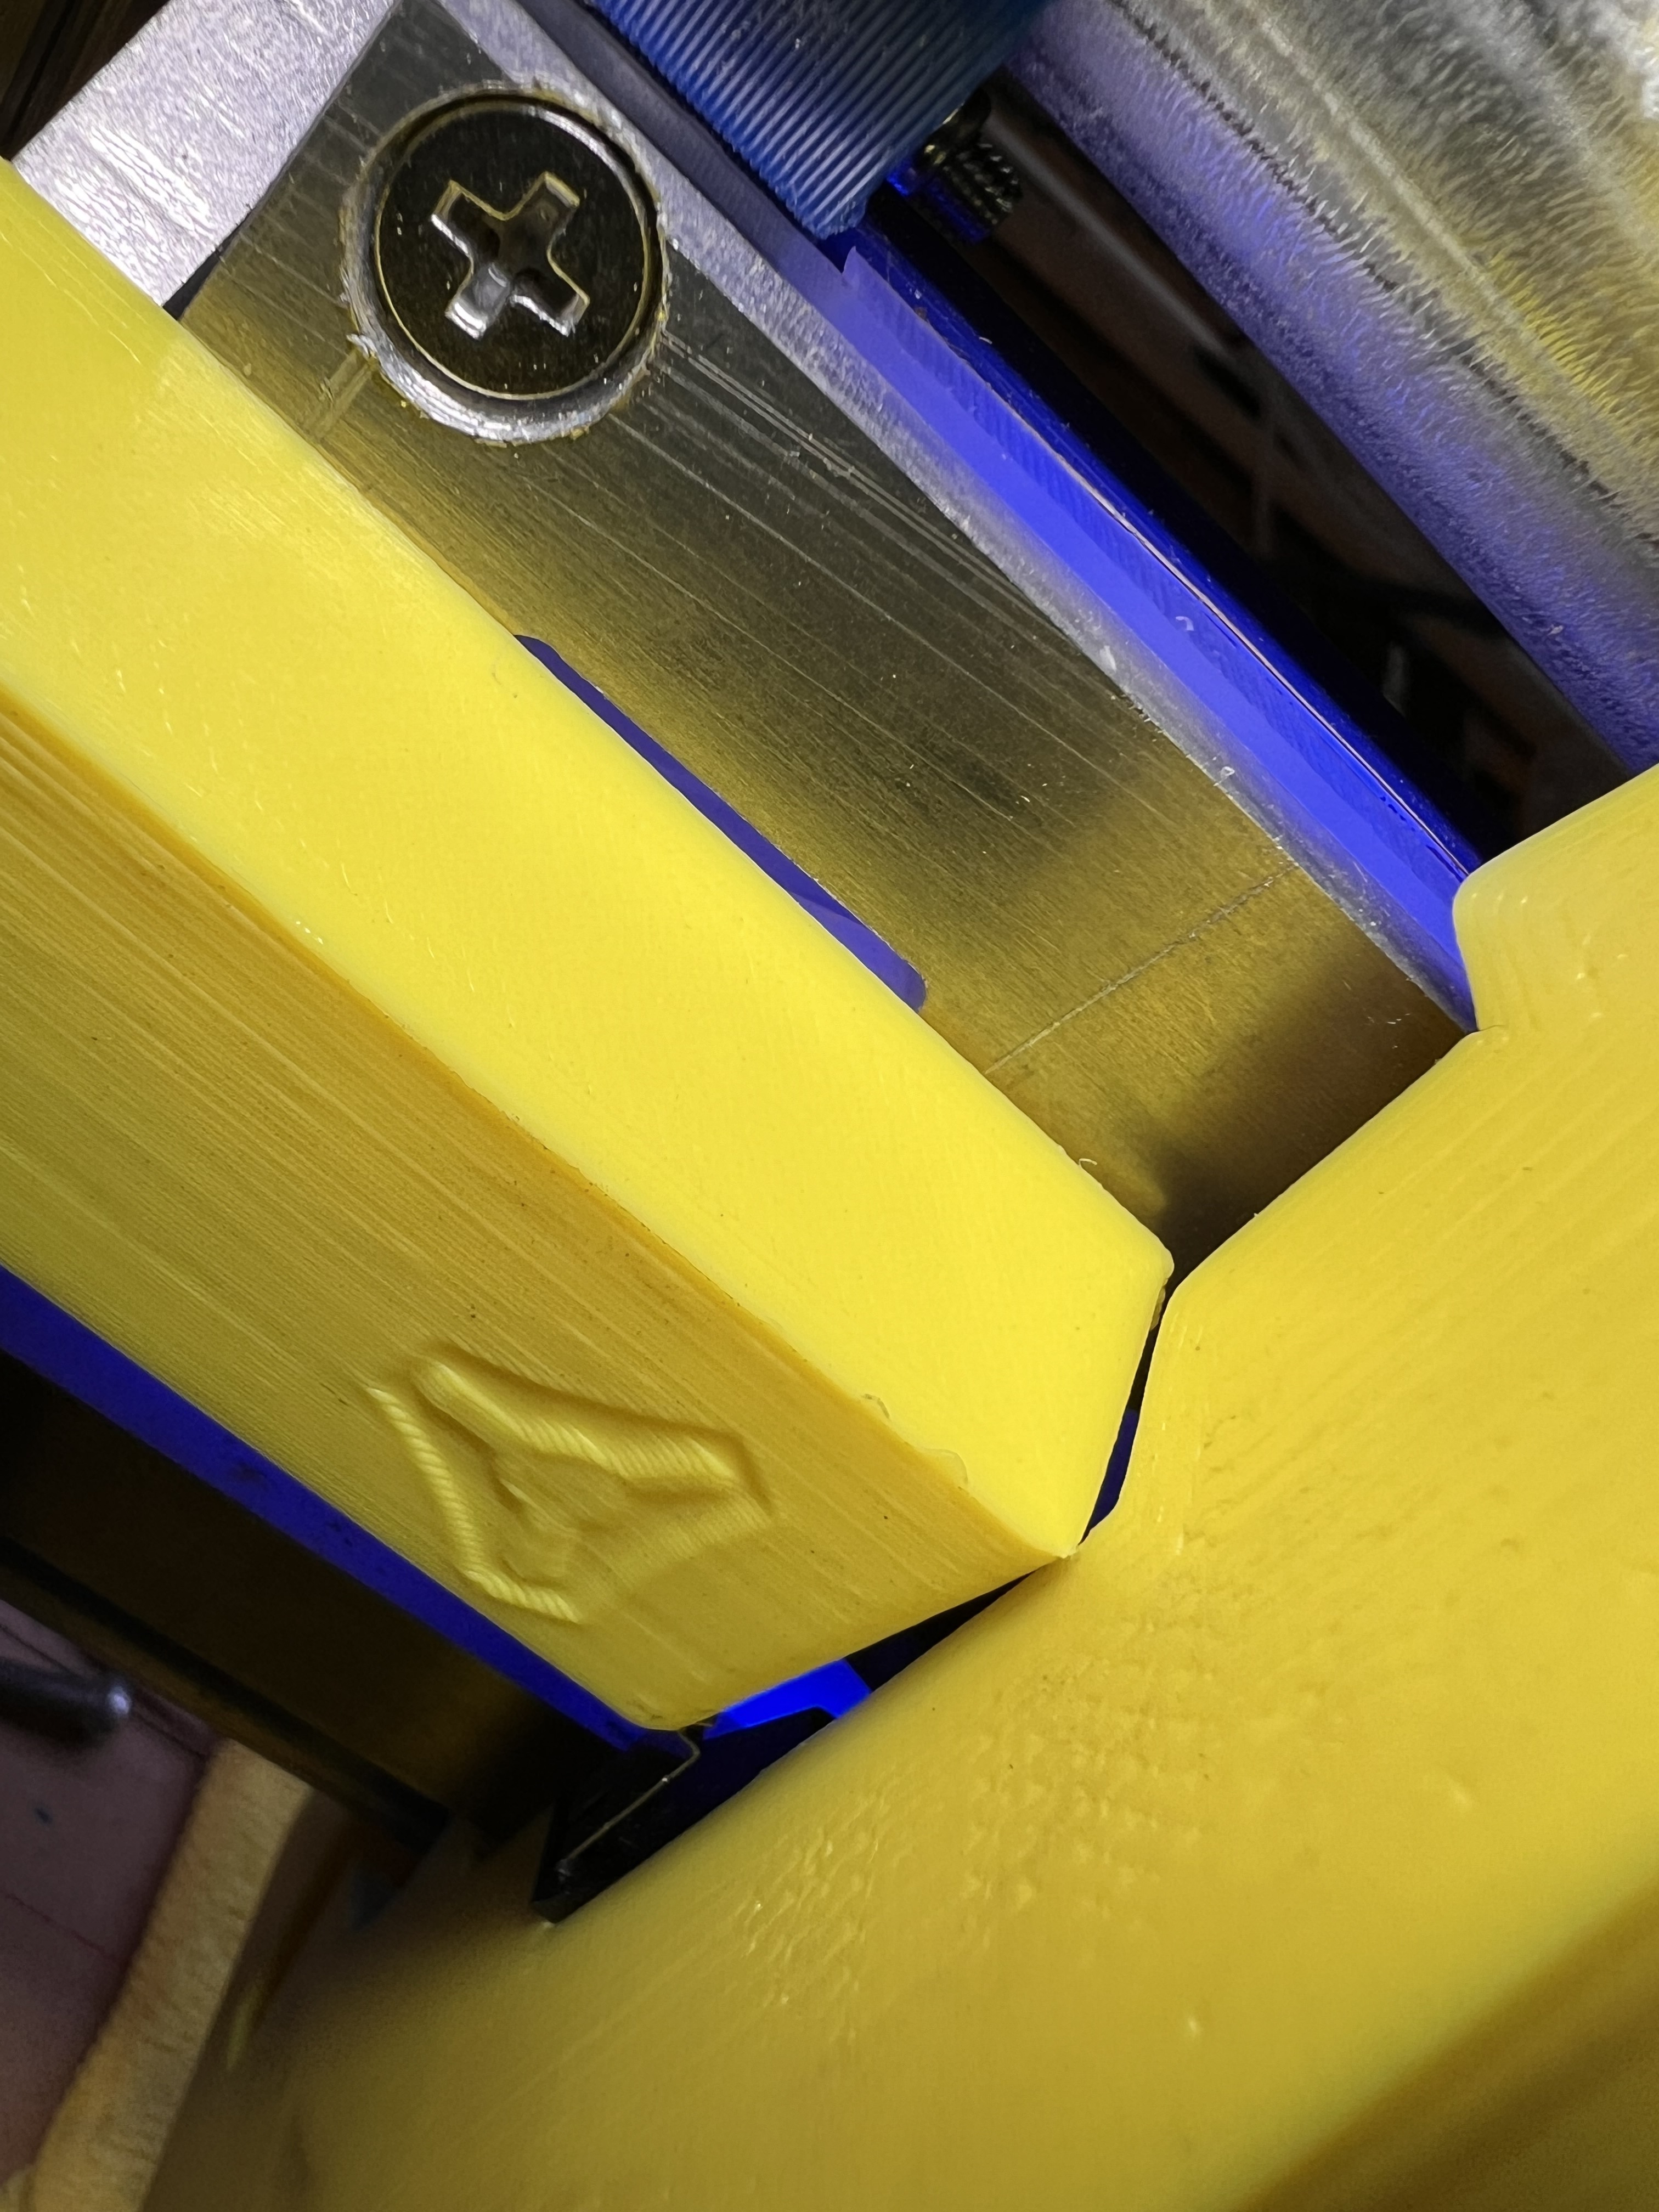
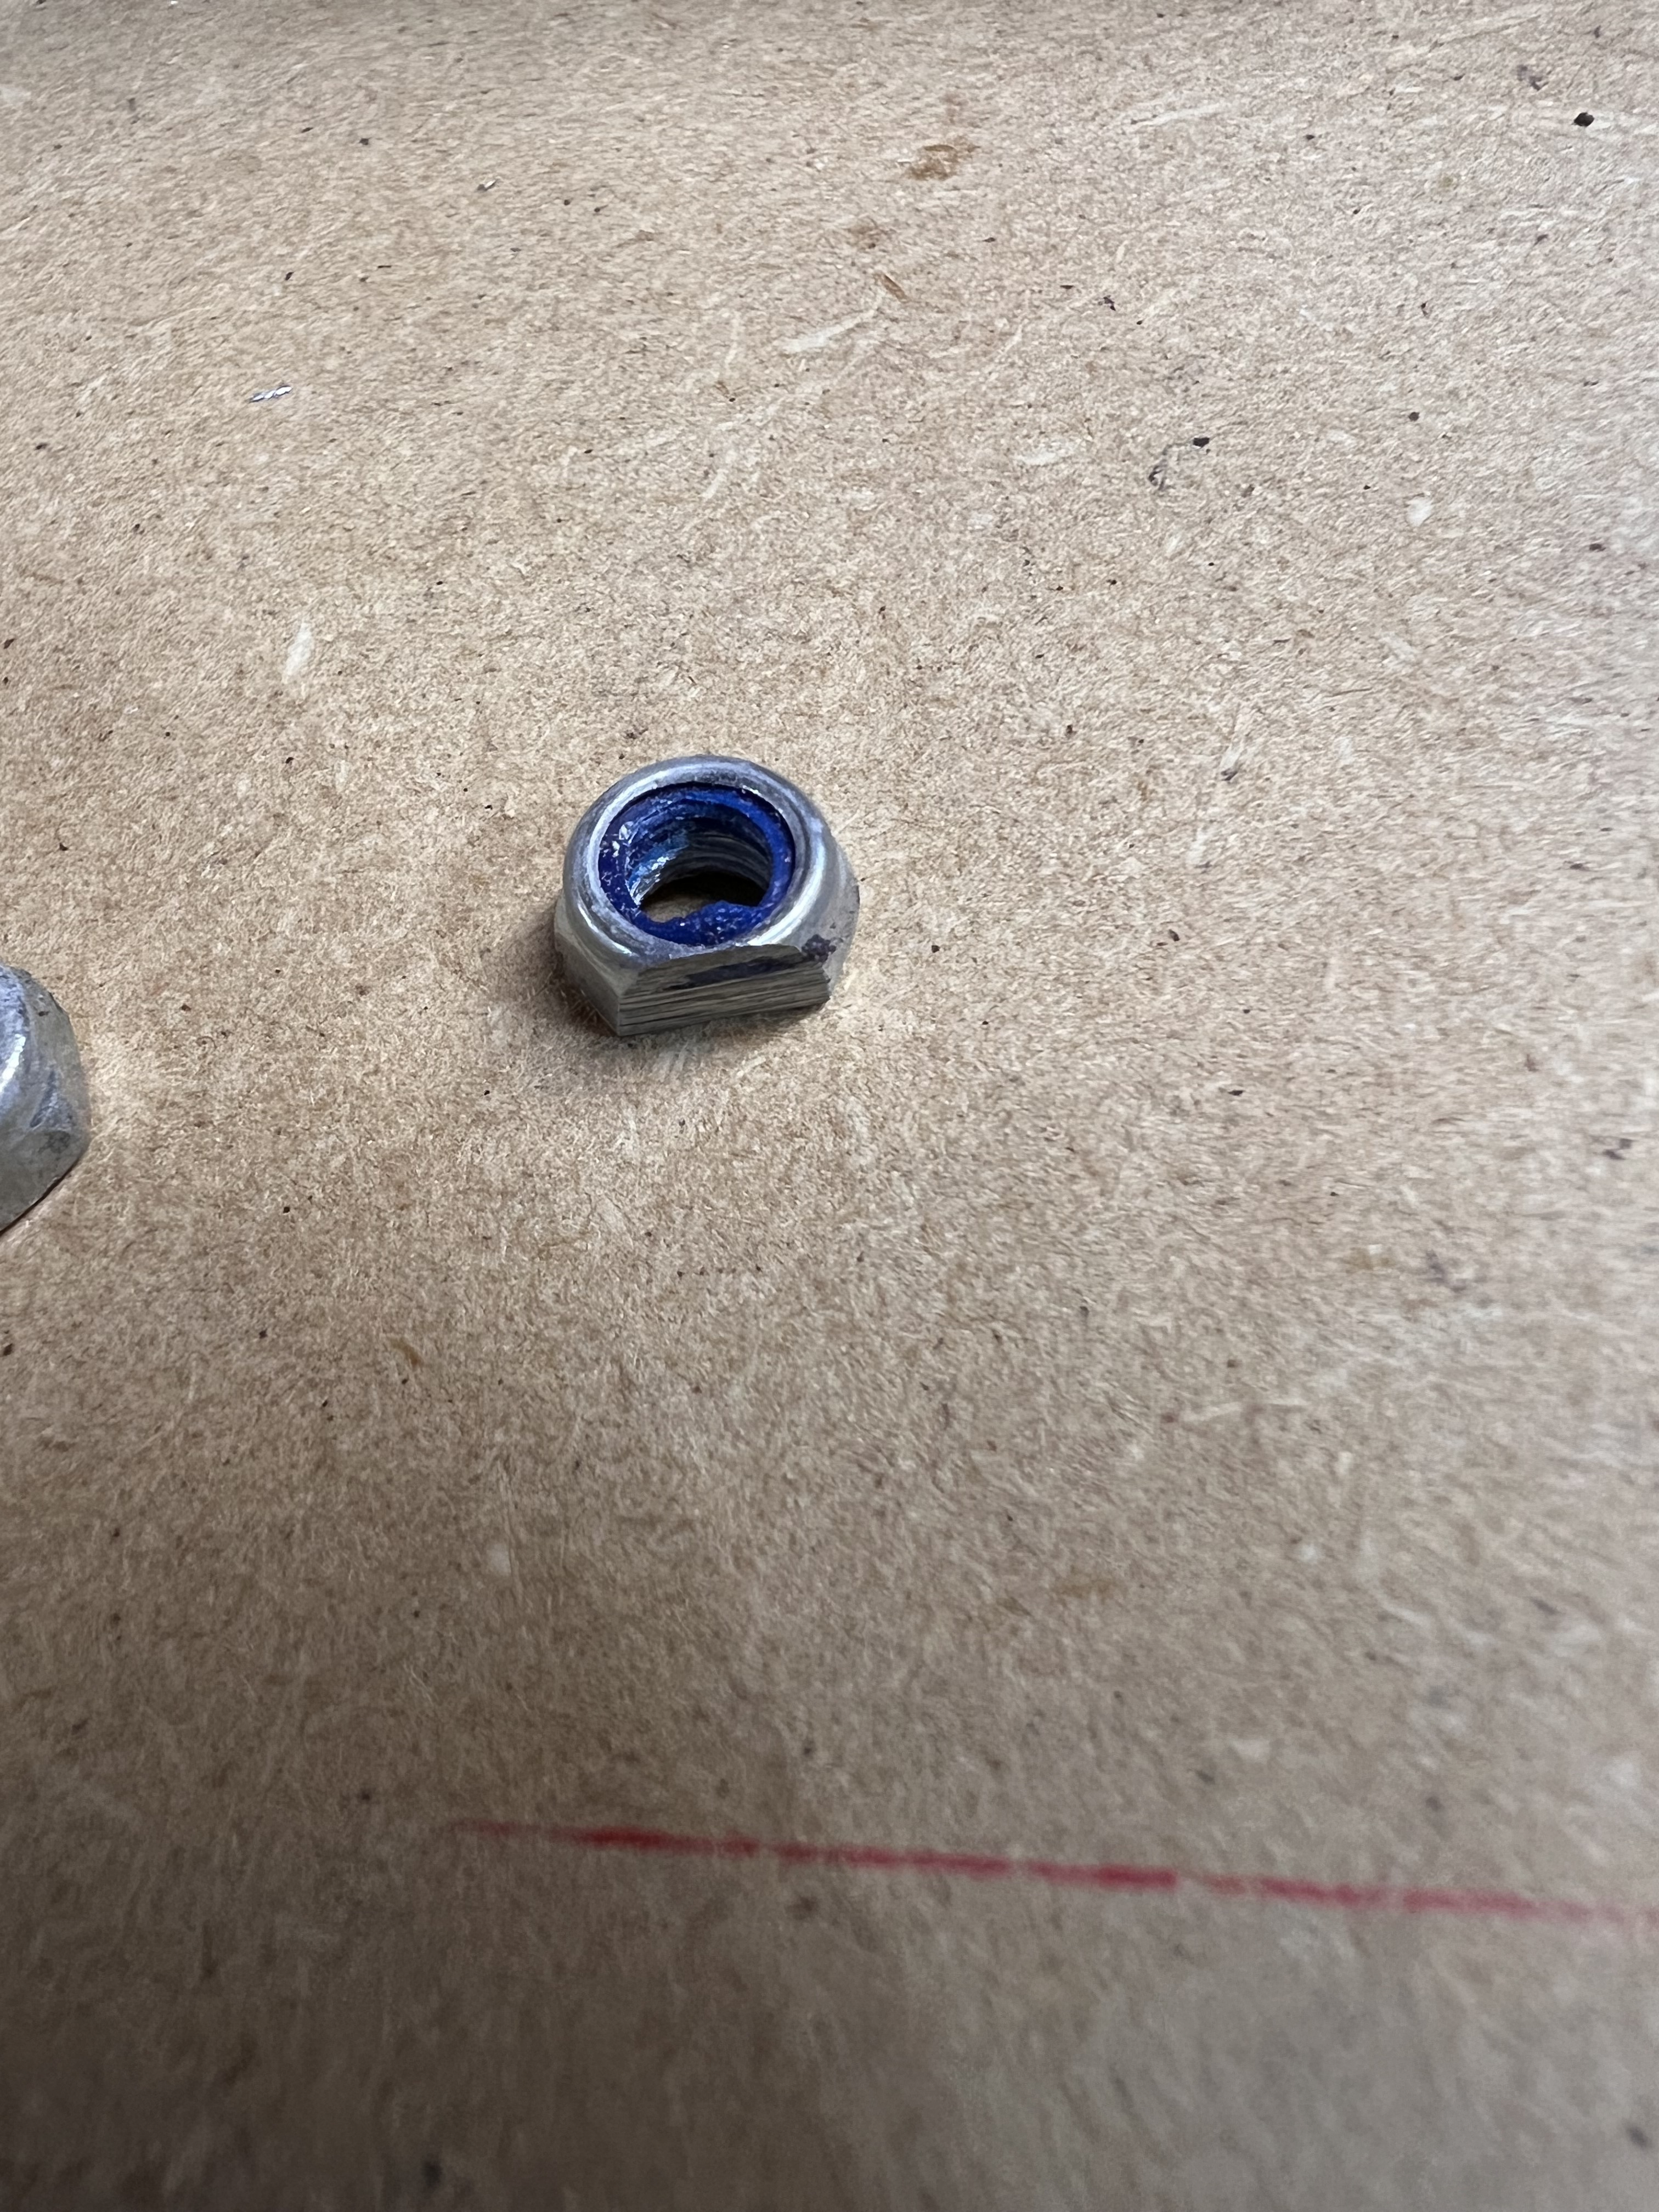
Got the acrylic off and milled down 2mm more with the dovetail bit. Now to deal with all these screws and nuts again lol
Well first thing I would do is take the part off and take a sanding block to it. If it’s that close, it could be just the tiny imperfections in layer lines. I know the X tensioner is pretty tight with my 1/4" MDF plates, and I think I hit that part with a sanding block.
That’s what I ended up doing. There is no more logo on that piece lol. Afraid if I go much more ill be into the infill but pretty sure I put 3-4 walls on all these parts. Right now I have it where its still rubbing but I can push it all the way to the endstop with one finger. Time to get the rest of the wiring done and see if it can move to the endstop on its own.
If you can spare the 5cm or so you can also put a long screw into the “nose” of the tensioner, thus making your endstop hit it before it has to slide over.
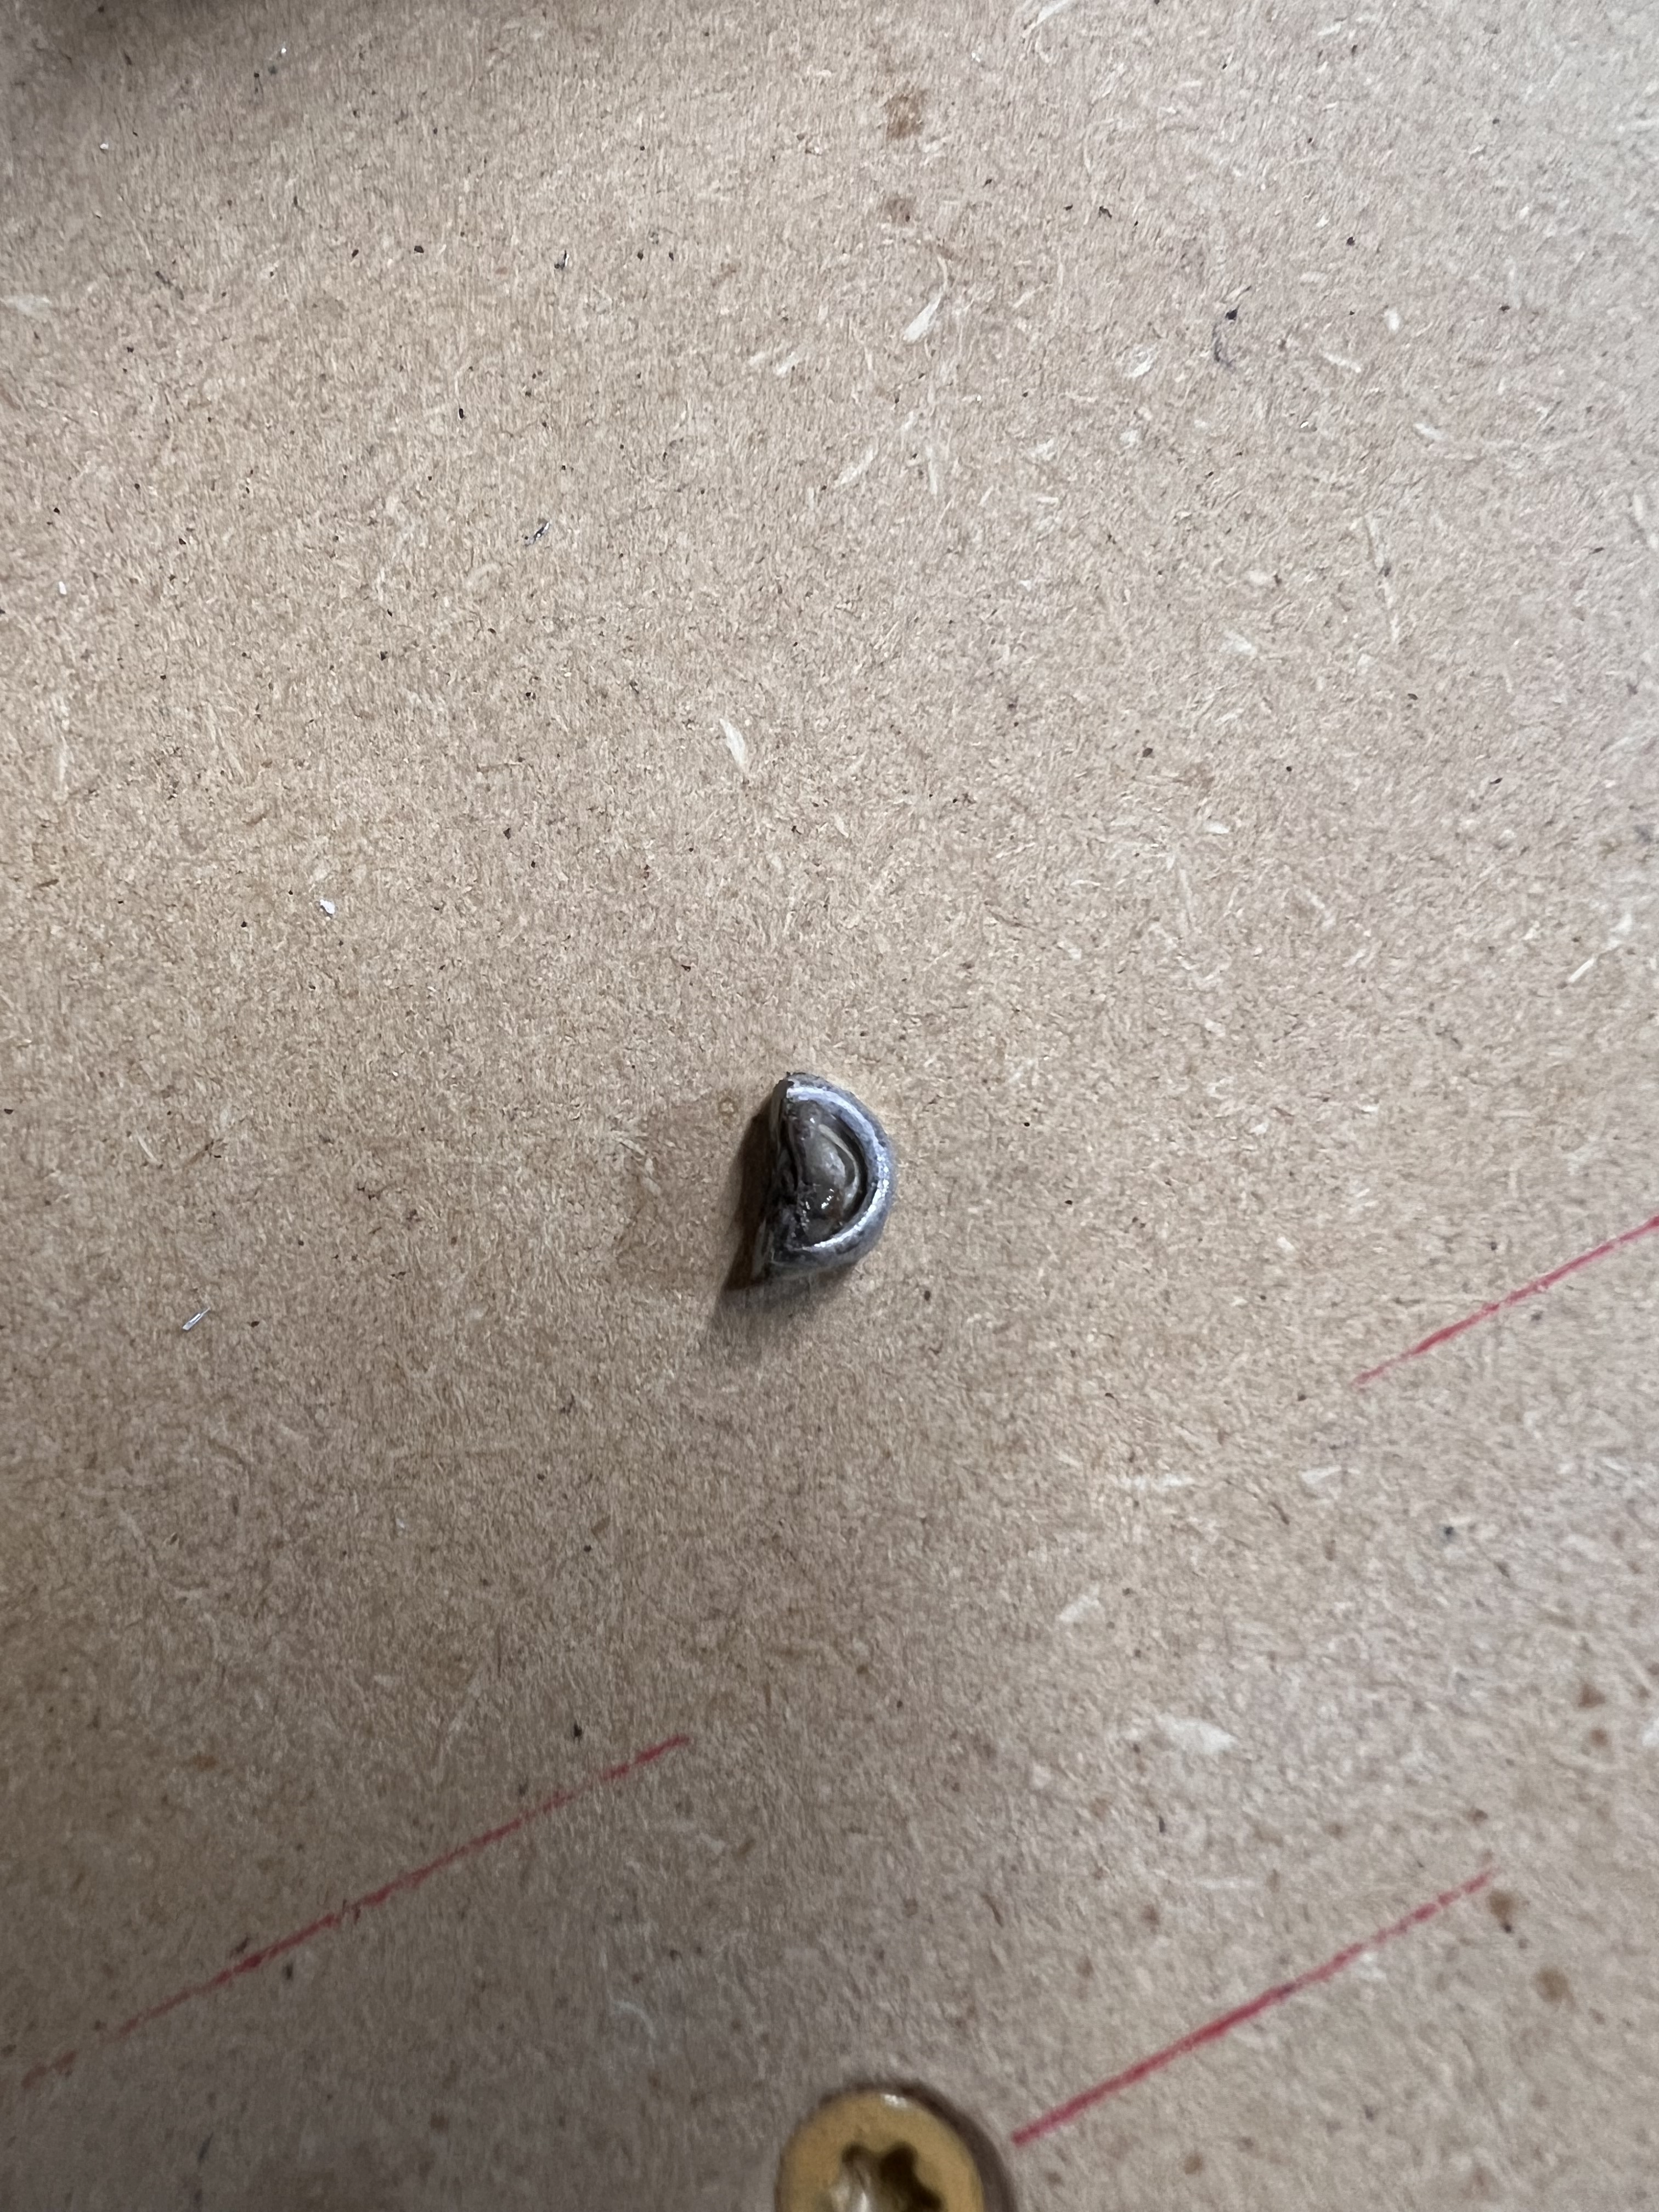
There isn’t much to shave off on the back side. I can see the nut though the plastic now LOL. Had to take some off on the fat pretty side. If I was worth a at remixing I would make it thinner and leave the logo. Good thing is that’s an easy part to swap any time if I ever do acquire the skills
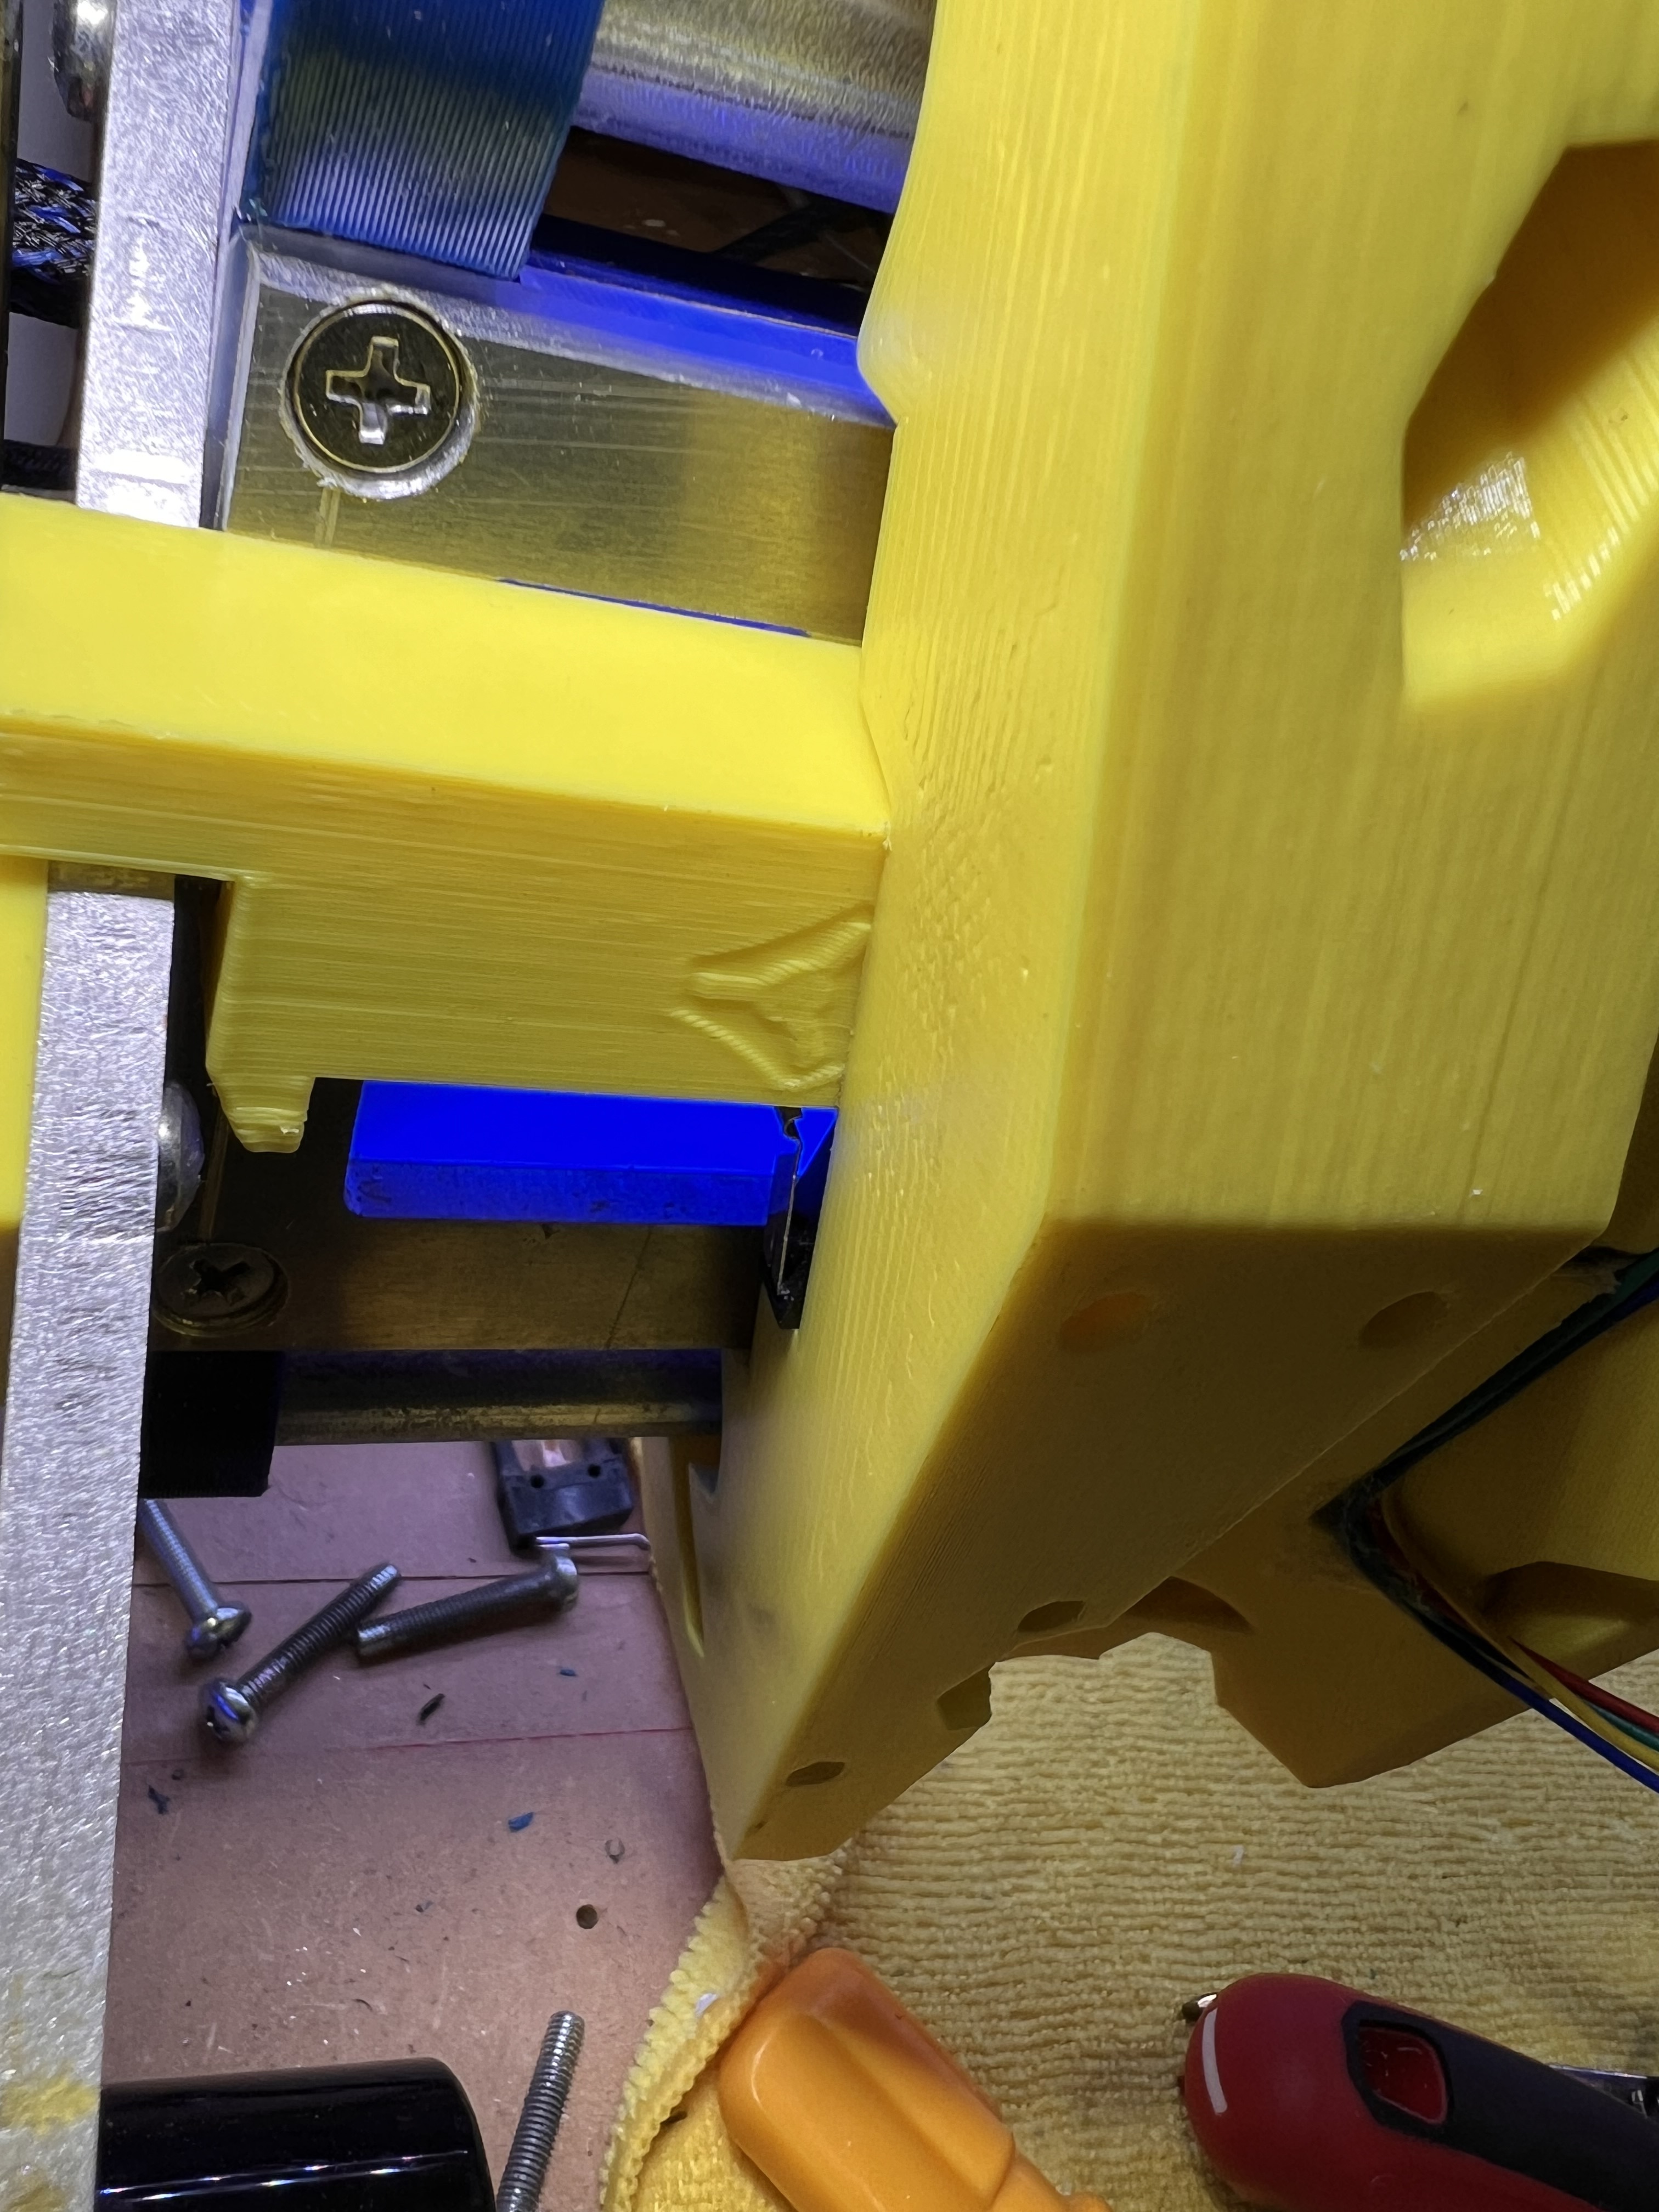
Is there room to bring the “pretty” side down and keep the logo? If what I’m asking is making any sense lol. I had to sand on both sides. and I took the majority off the “pretty” side. It clears now but still touches. Was thinking about putting some super lube on it LOL. Don’t have the wiring finished yet so cant test to see if it will go on its own.
Edit. Just loaded it into the slicer and now i see what you are saying. Just started a print before I saw this. As soon as its done I will load this up and see how it works. I’ll take a nut to the belt sander and get it to fit. Thank you @vicious1 !!!
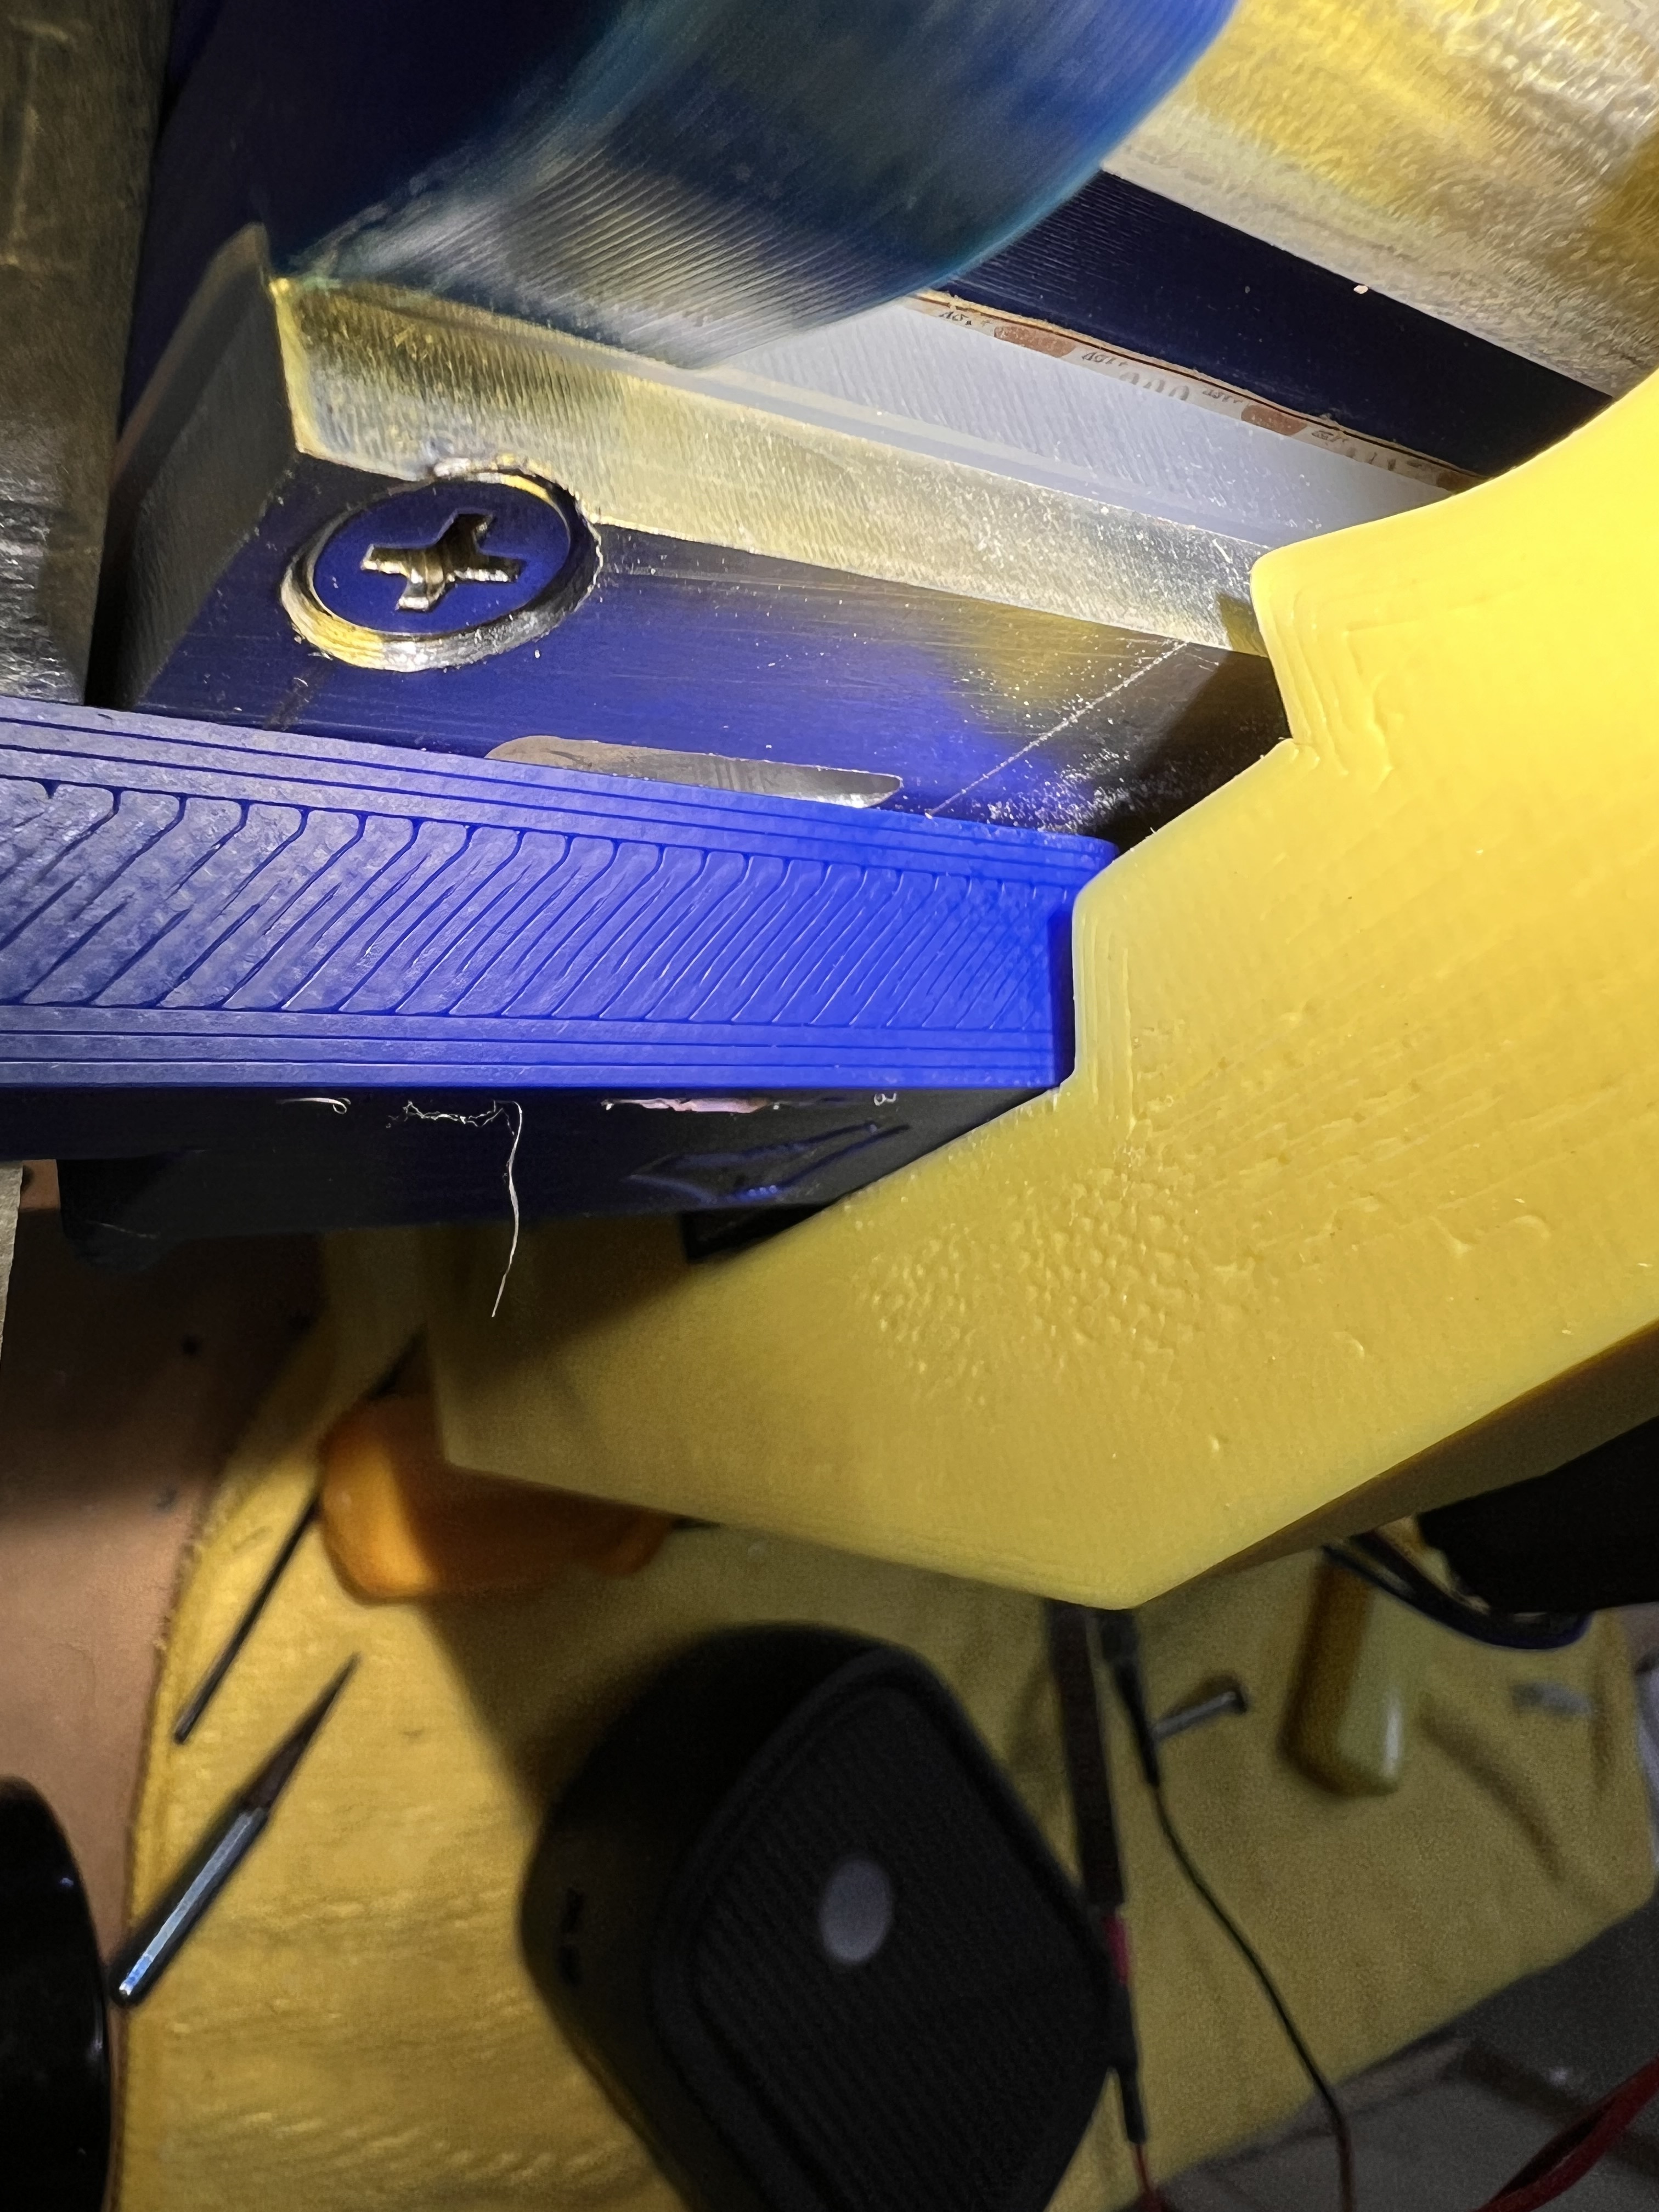
As always @vicious1 you are the MAN!!! Gave you no measurements or anything and you nailed it. It doesn’t rub on the core at all. At least not enough to feel or hear in any way. Thank you!!!