WOW that is awesome!!!
1 Like
That is going to be a stunner!
1 Like
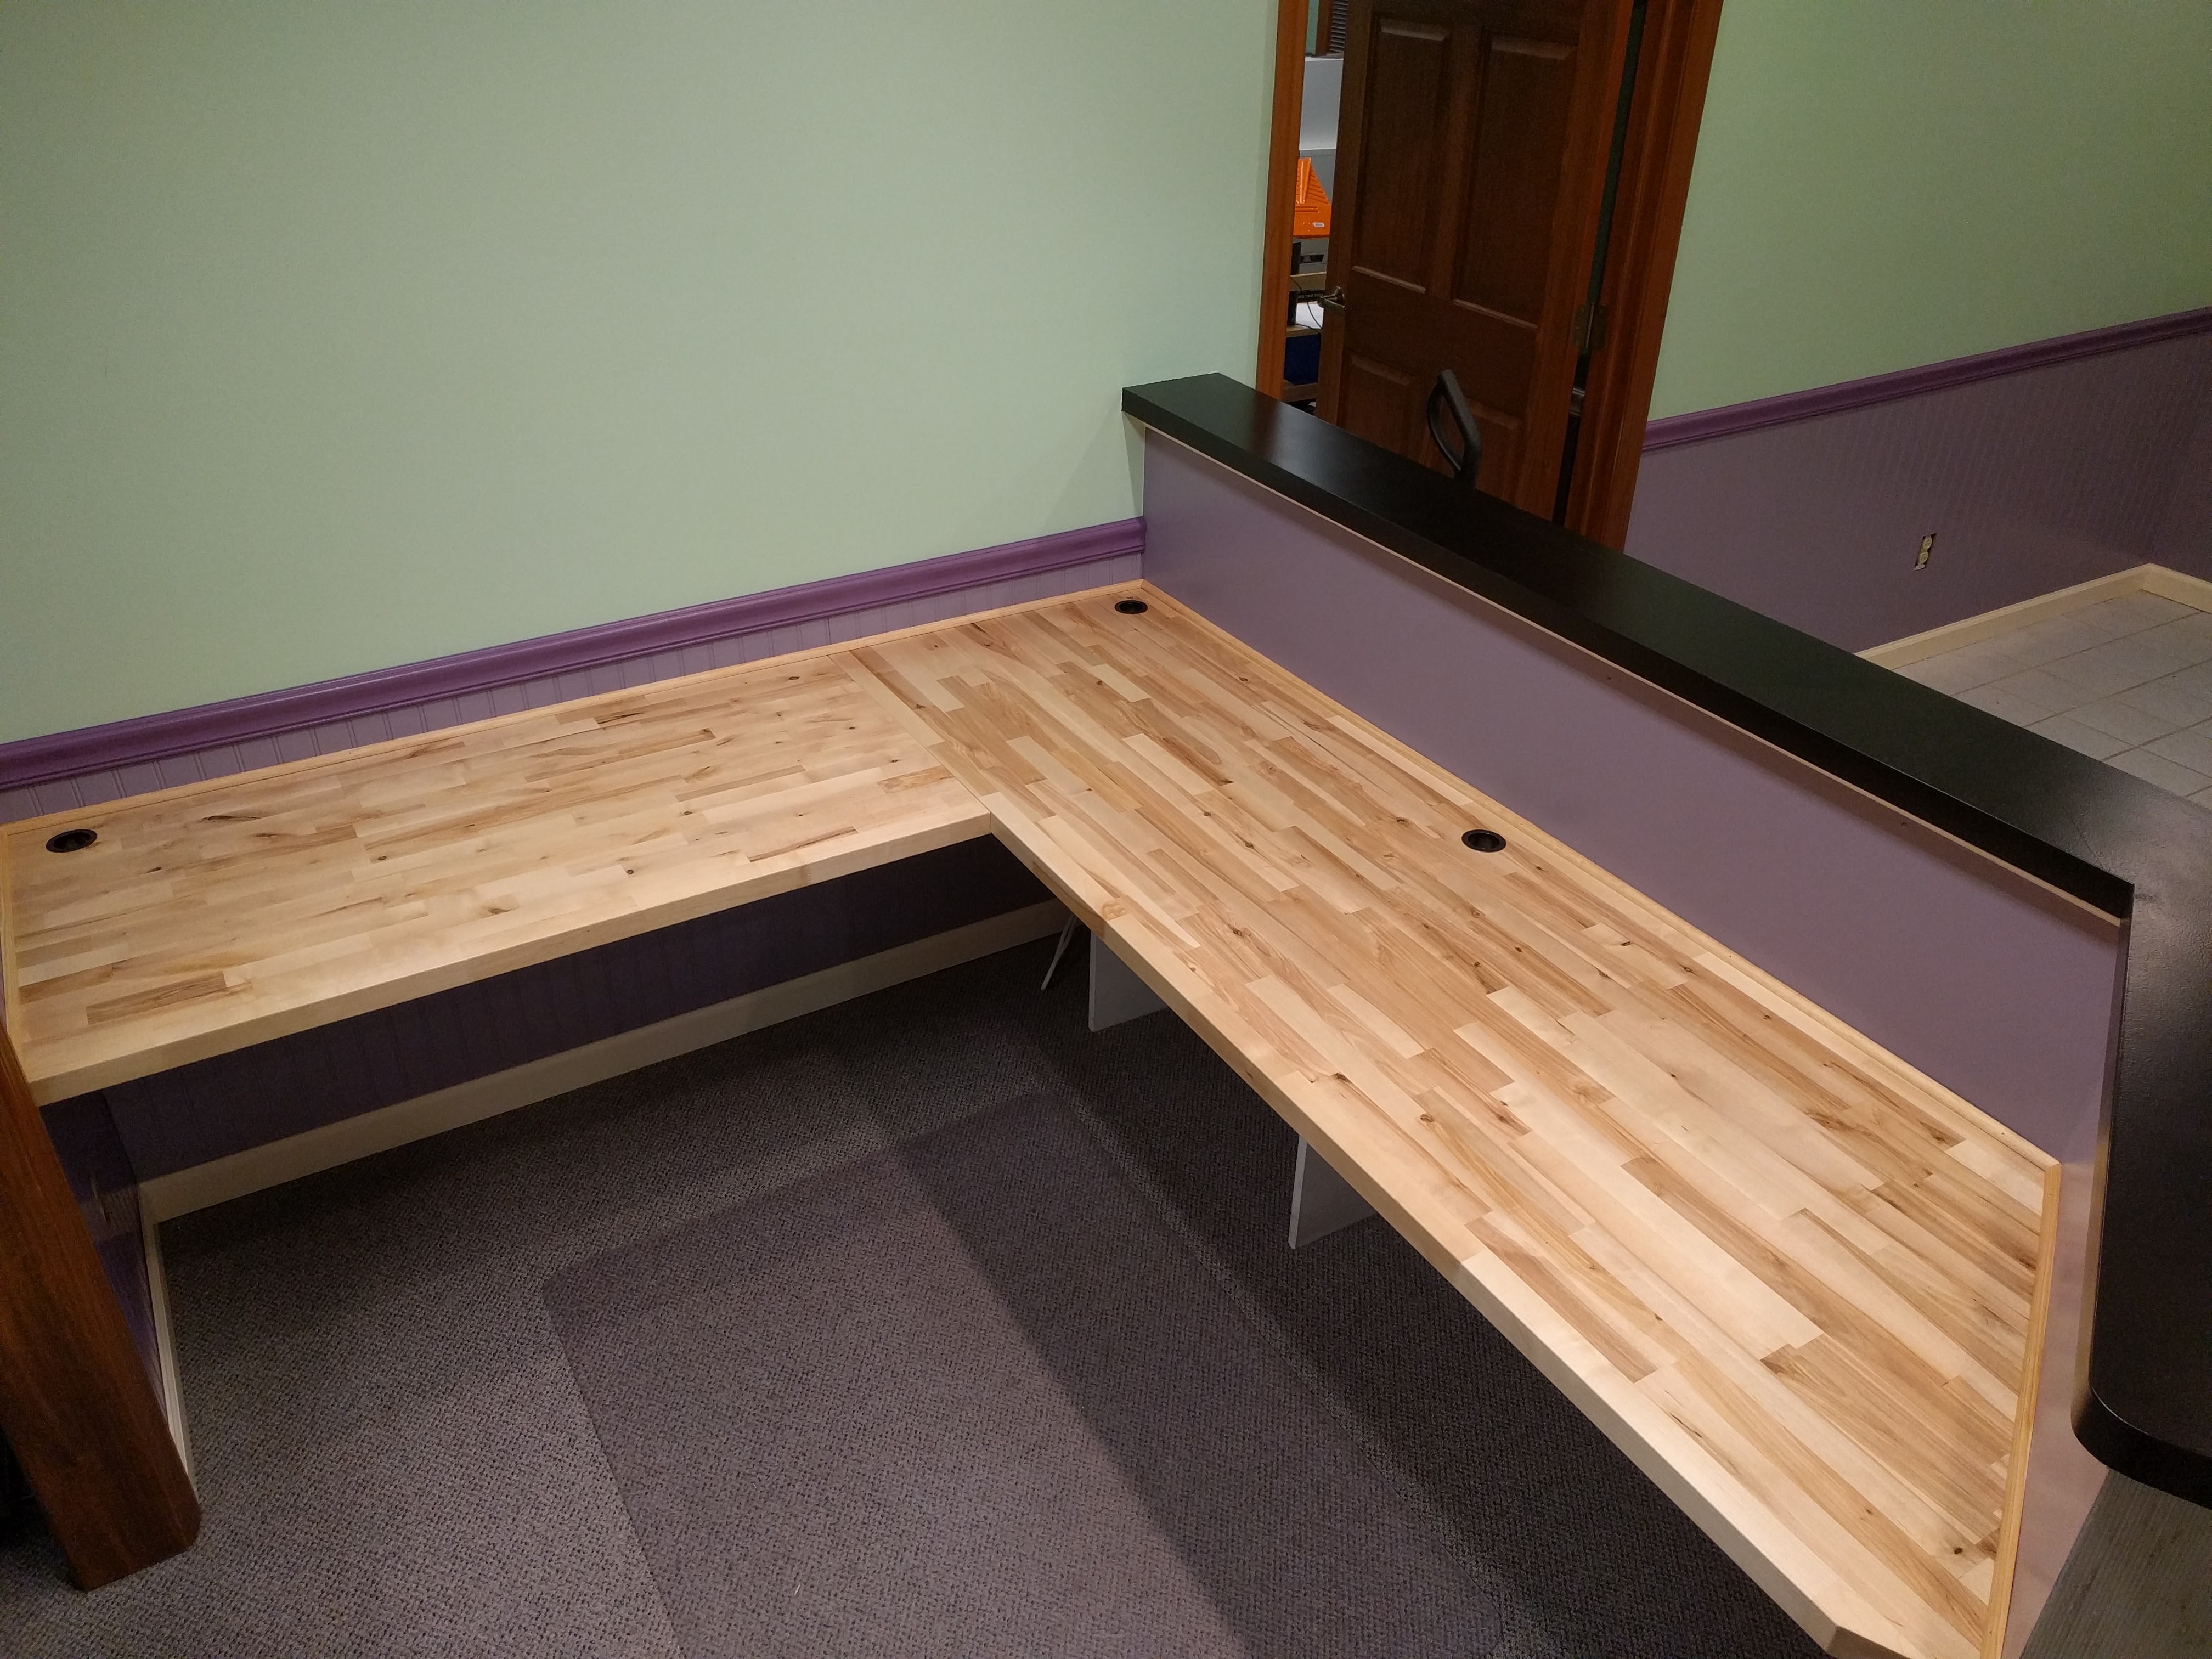
Nice!! Yea, butcher block is no joke! I made a new front desk with the stuff for Shaneh’s old office. Had a weird angle in it too.
They wanted it to be able to convert to a standing desk, I was like “naa”!
3 Likes
That looks pretty good. I would work there. Does the joint between them give room to move/expand?
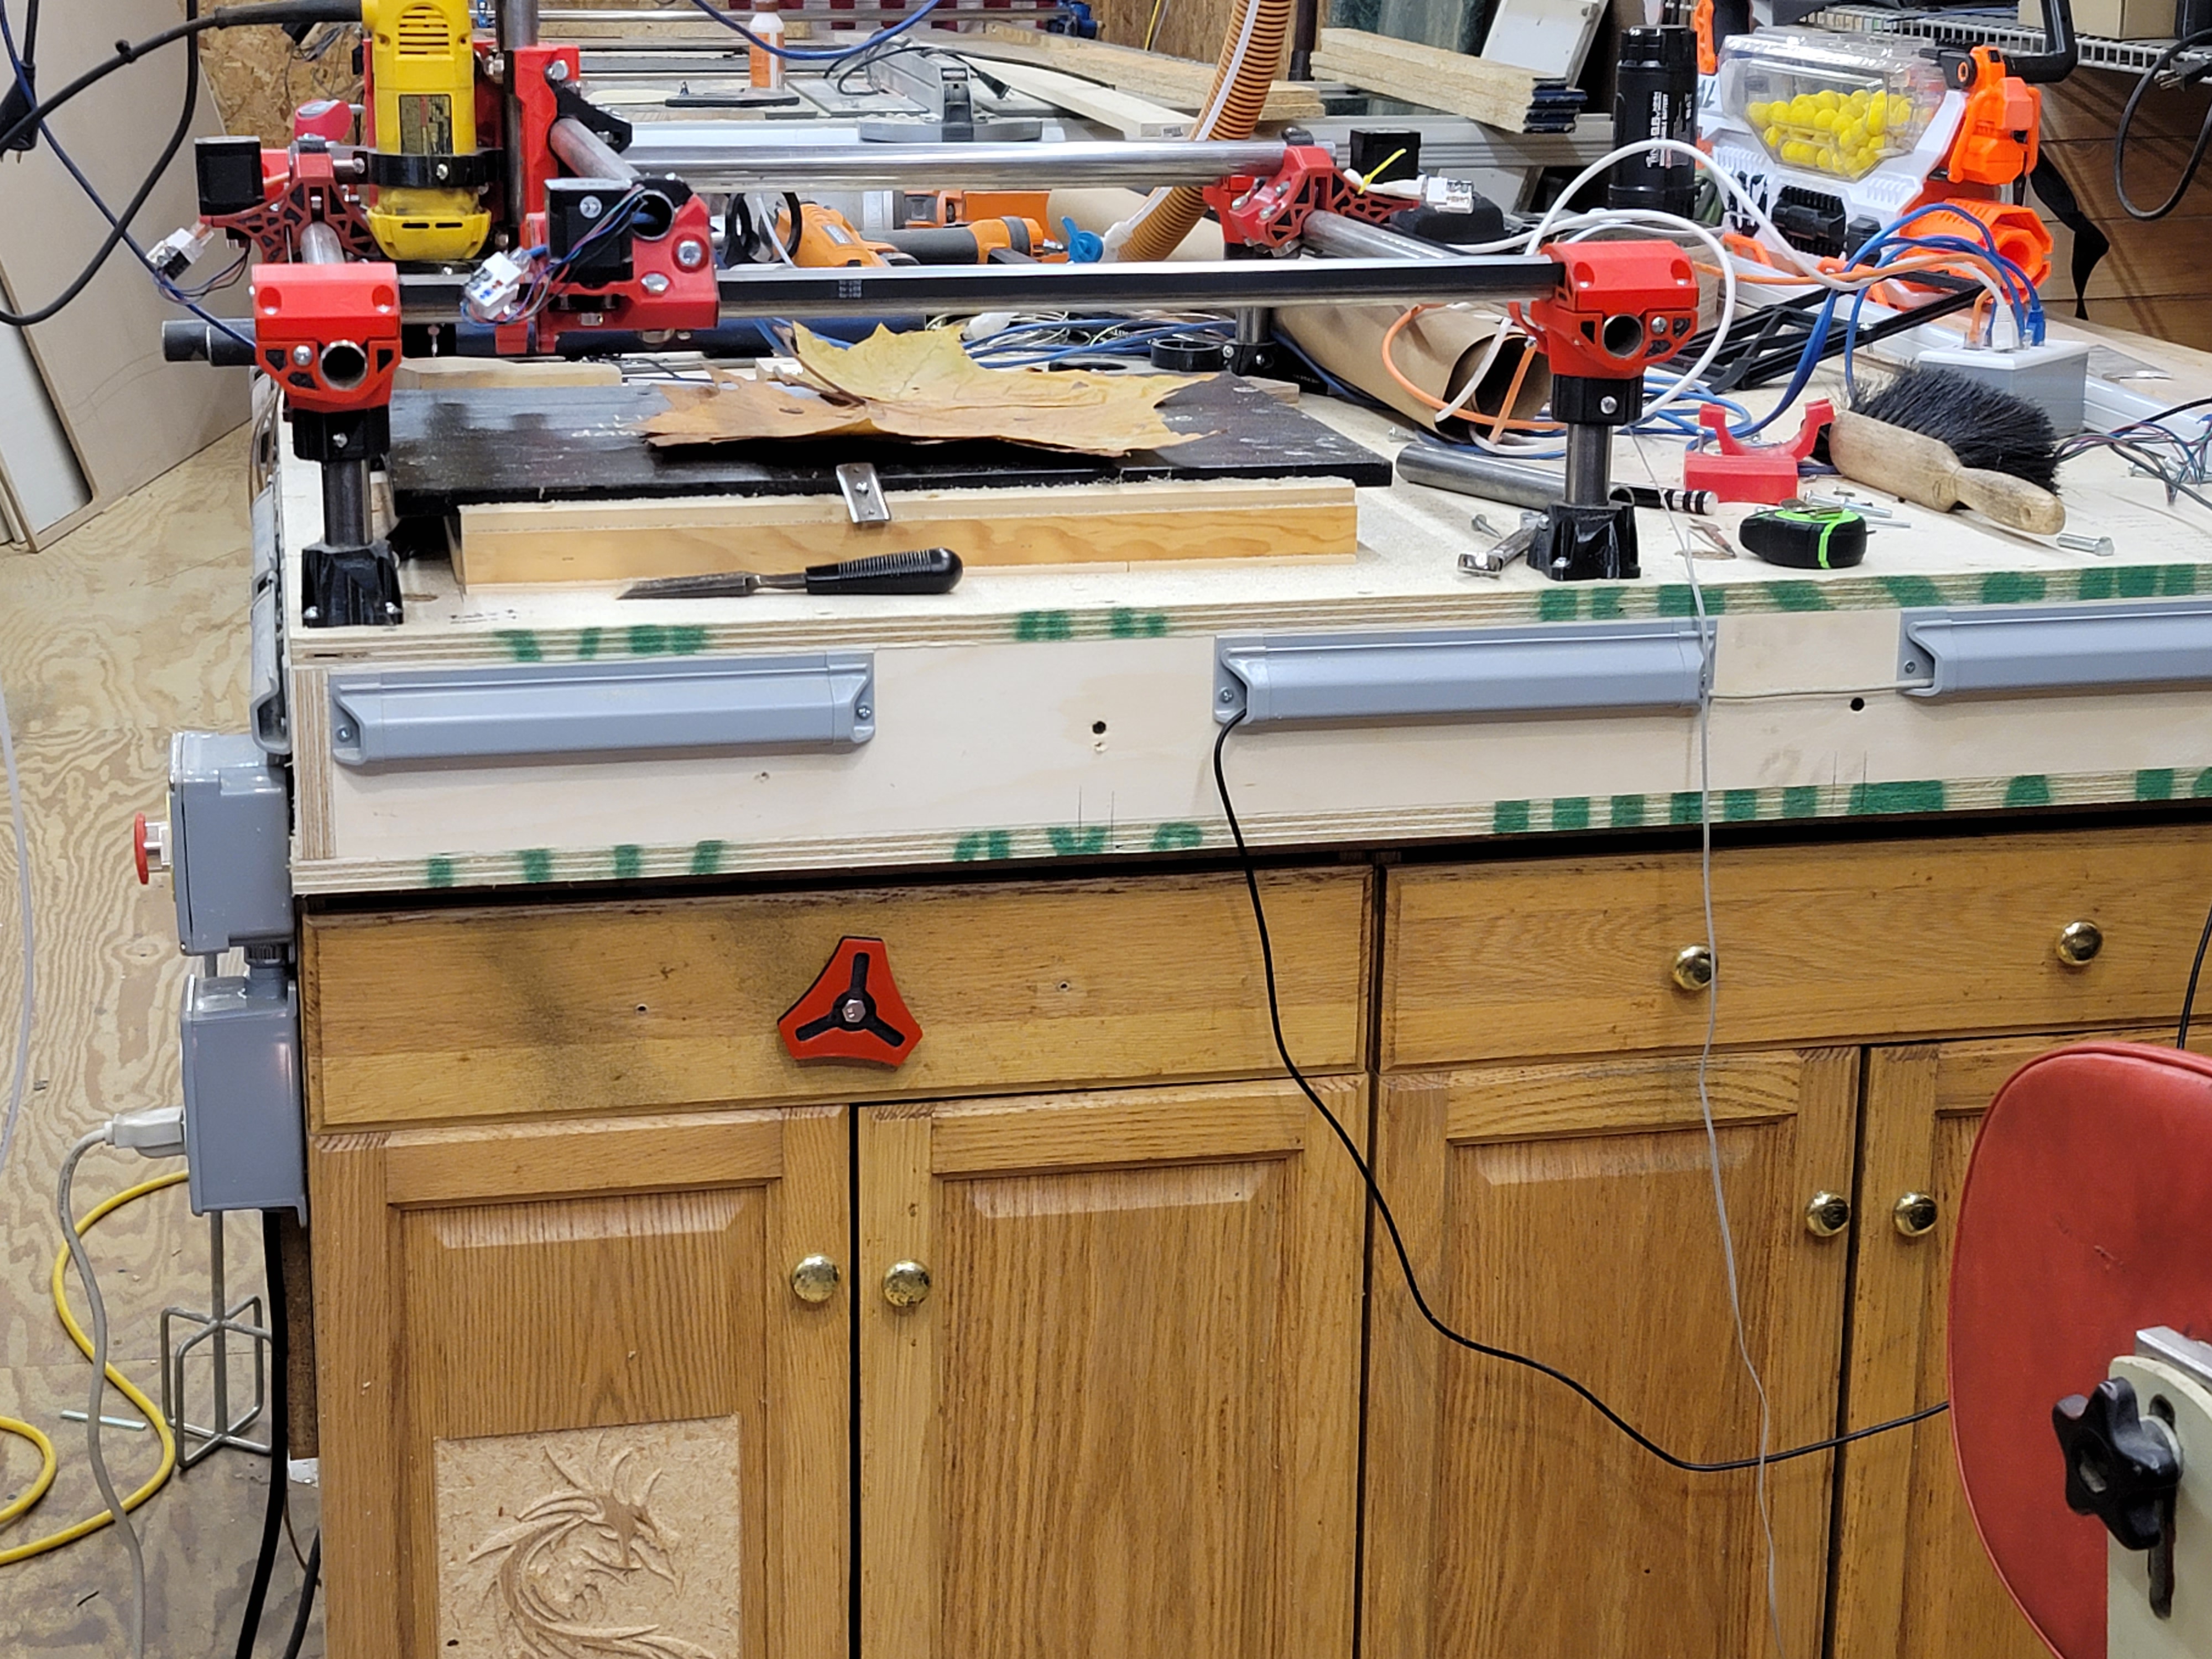
I haven’t decided what kind of cable hole to make in mine. I have a chunk I can use for a 4" back splash. But I haven’t decided if I will install that either. I am thinking it would be nice to mount a power strip onto. I might just cut holes and route all the power through the cabinets out into the middle.
There was one big pocket hole screw in the center of the two pieces to hold them tight, but no glue. Super heavy duty shelf brackets underneath lagged to the studs. Luckily this building was built when they didn’t require metal studs in commercial buildings.
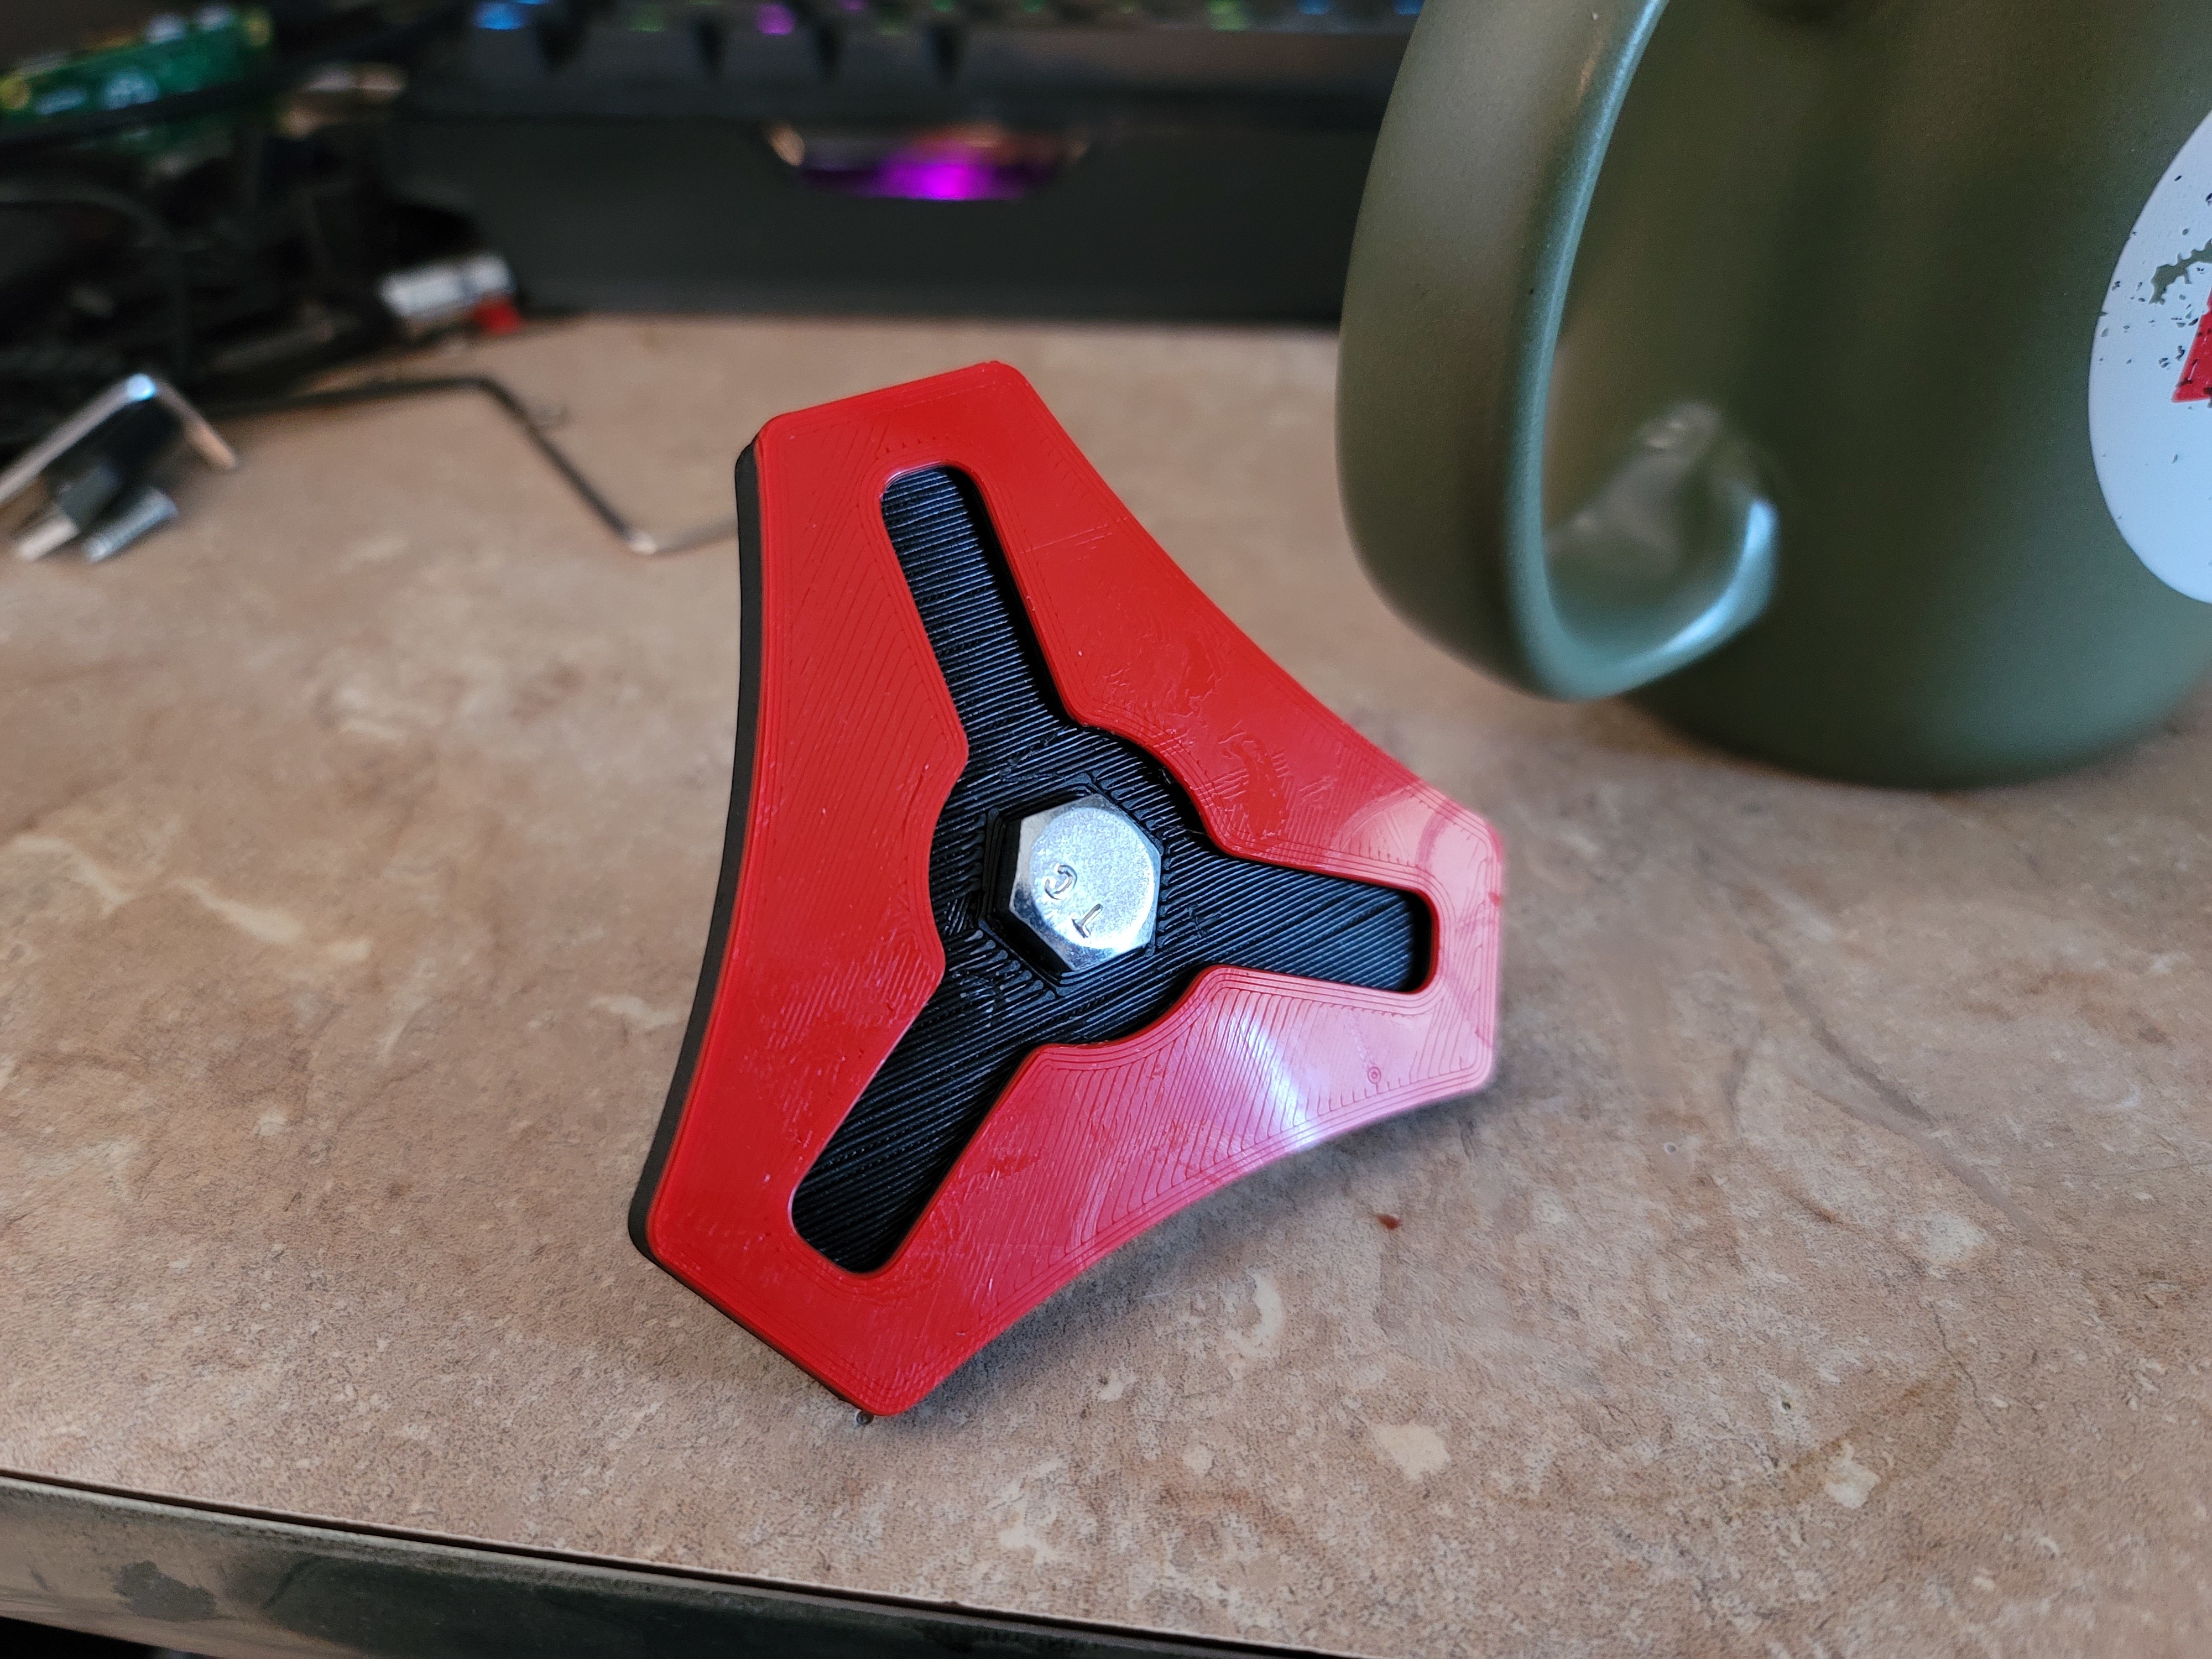
I’m printing out my knob to see if a filament change will work with it.
2 Likes
That makes sense. Good idea. The leg in Sara’s desk has pocket holes, but the grain is oriented so they should grow the same way.
I had an idea for a wider, assymetric handle on one end of each drawer and then a separate shape/logo on the other. Sort of like a label. I will make at least one the v1 logo. I need 7 more shapes. I will draw this up sometime. I have a long list of todos still.
1 Like
Poop emoji, as a knob the kids will love it.
3 Likes

Thank you for reminding me why I am not putting it up to a vote.
I do need to allocate at least one drawer for just extra  though…
That looks awesome. The perfect red. What are you going to do with yours?
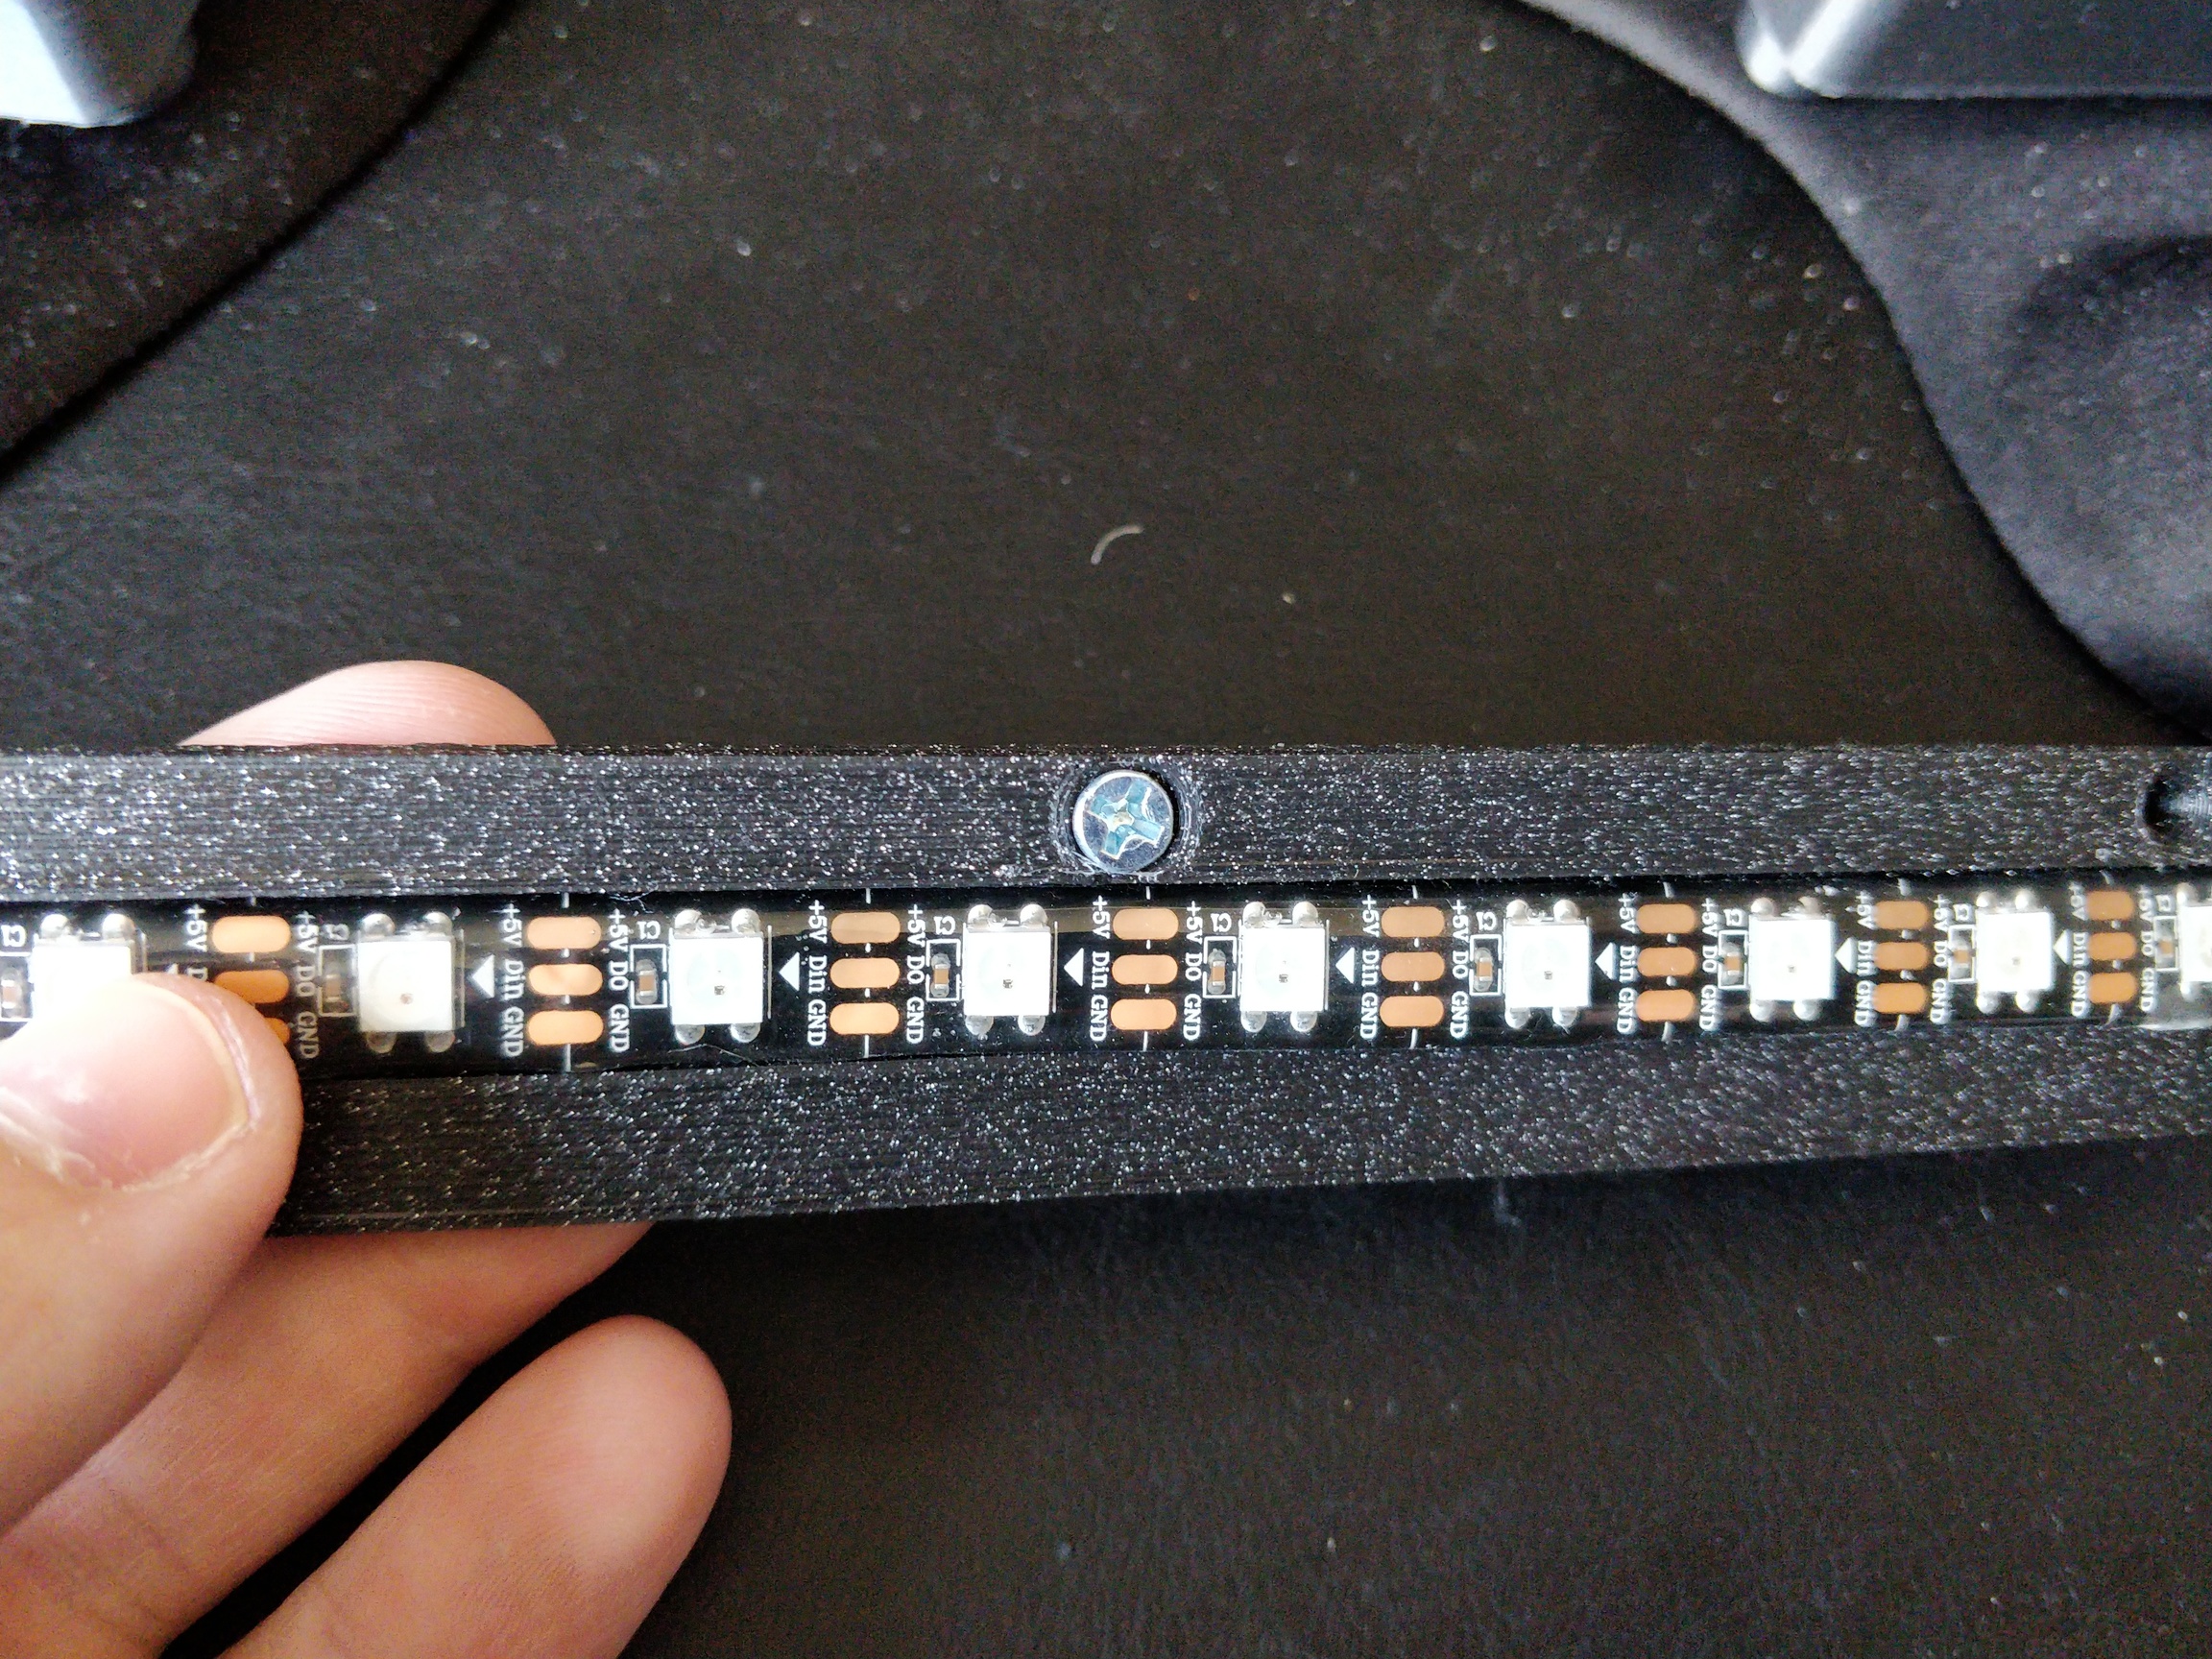
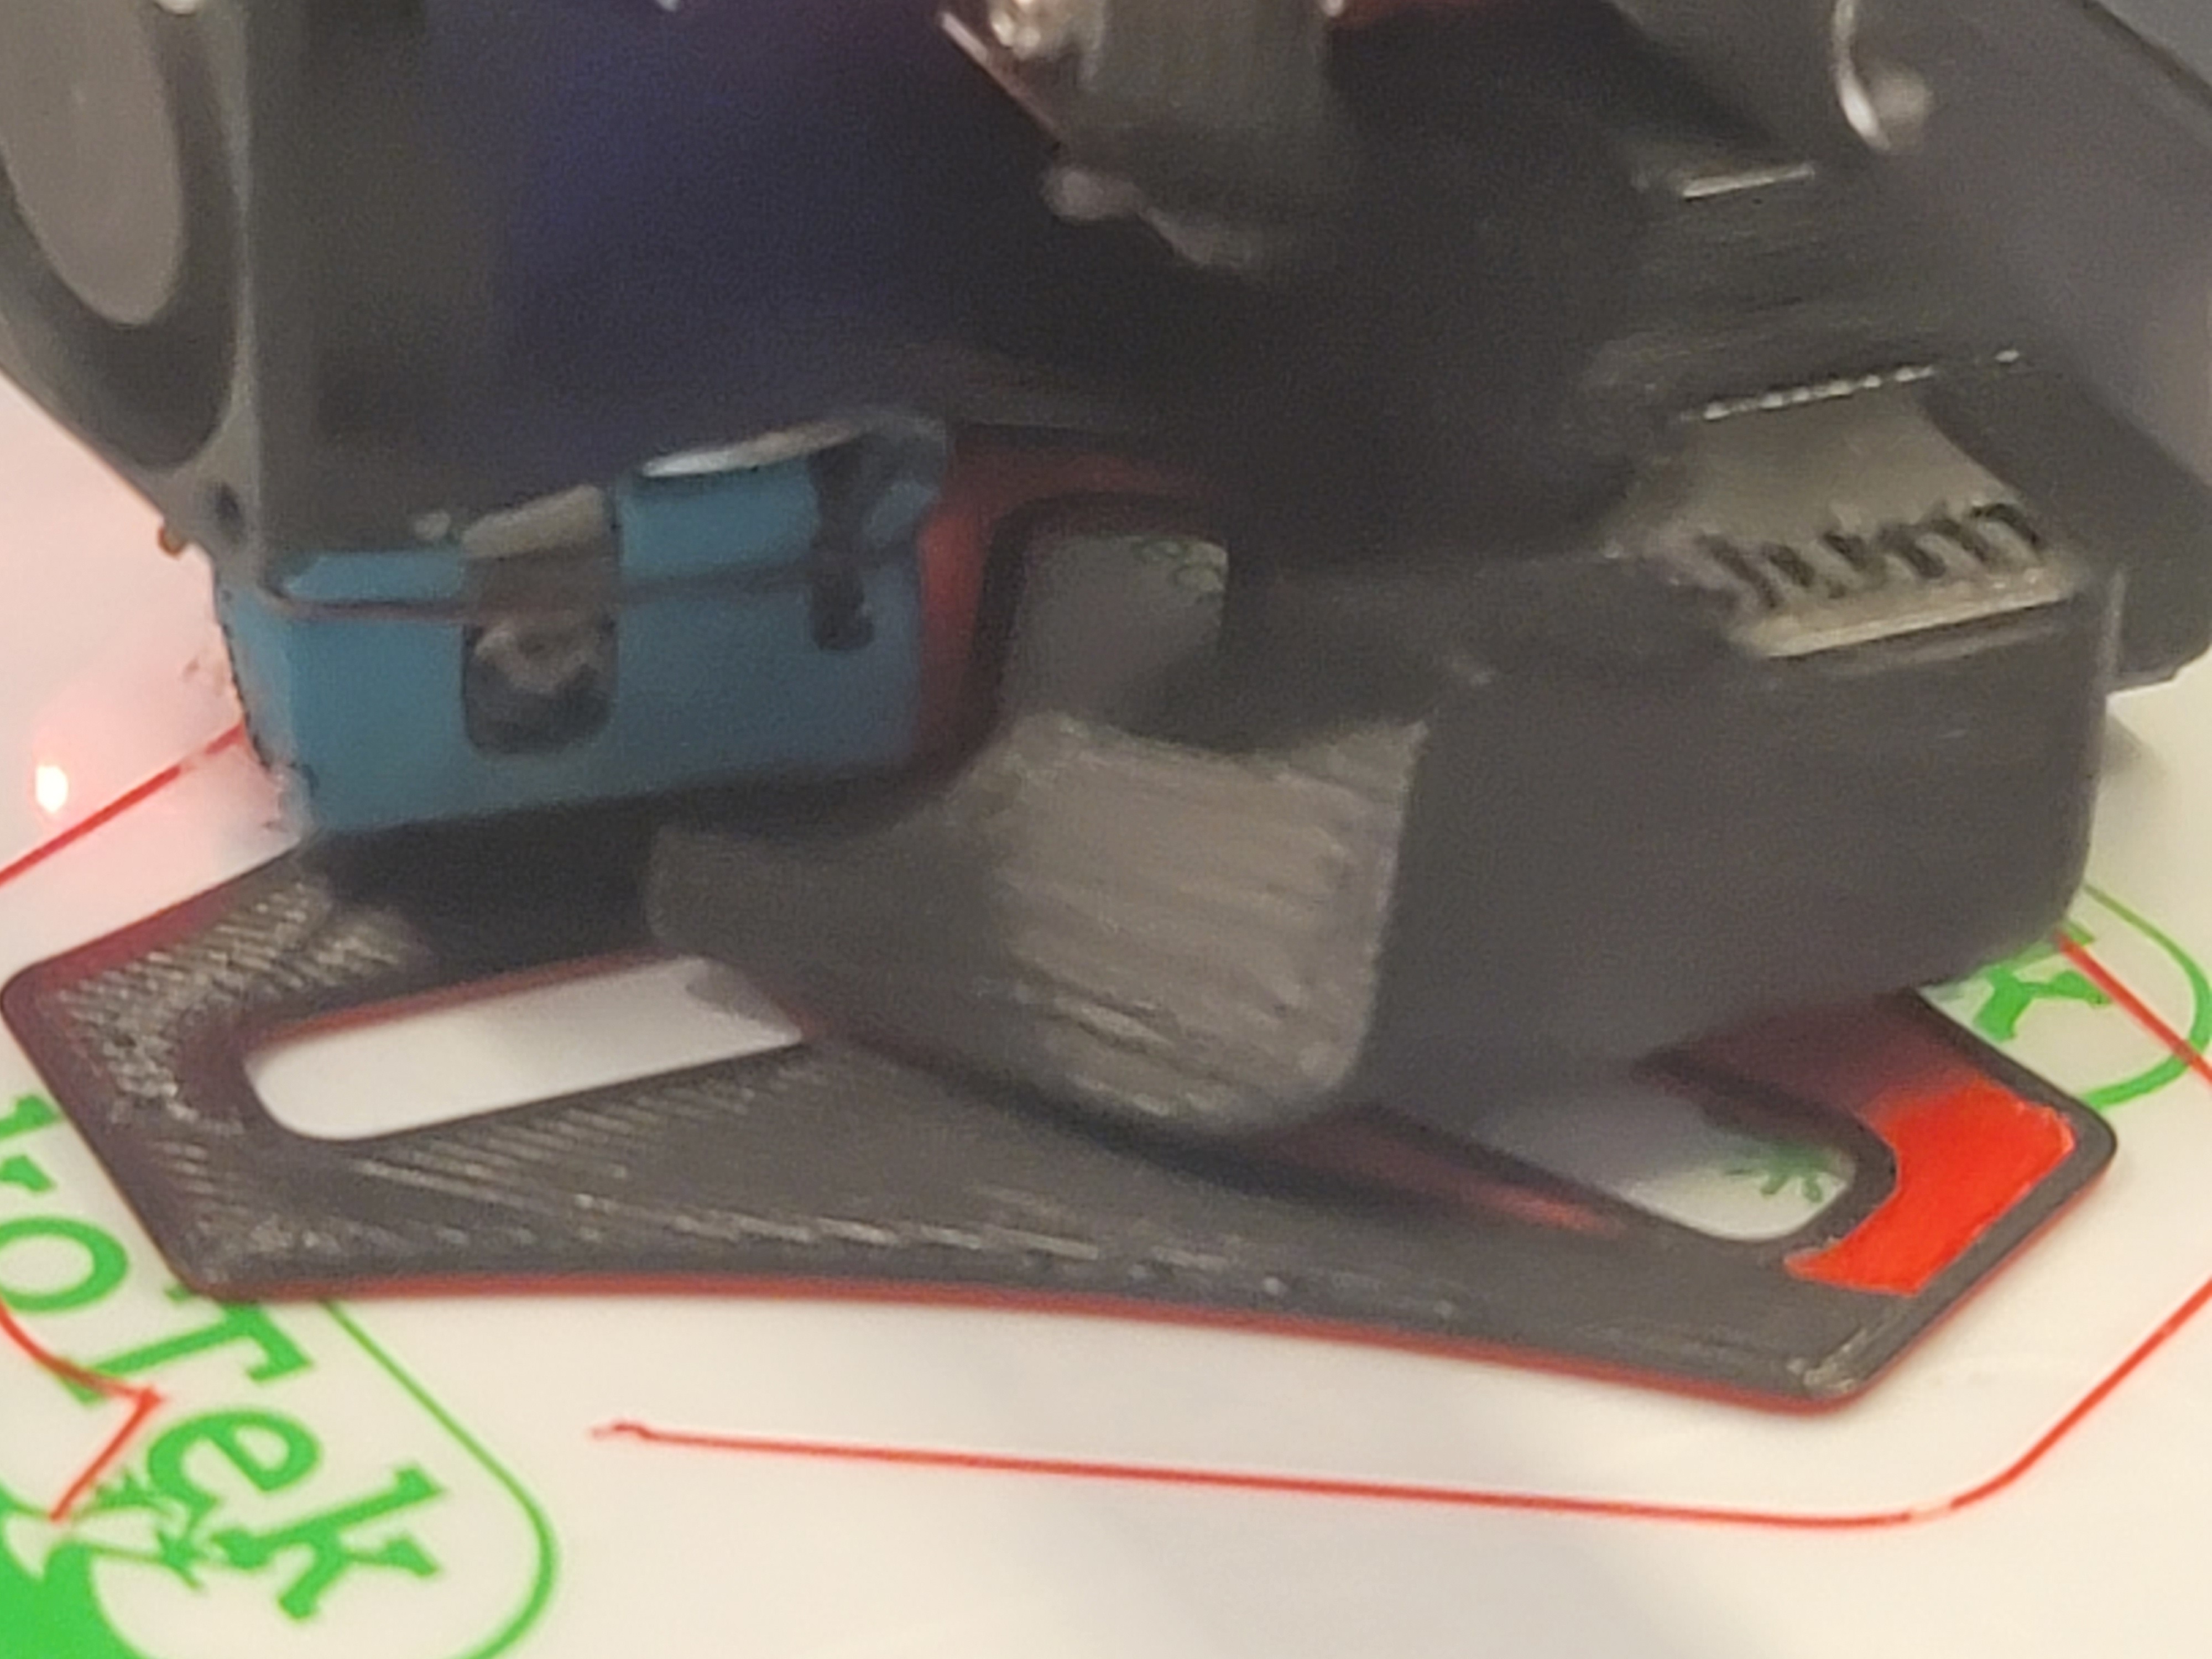
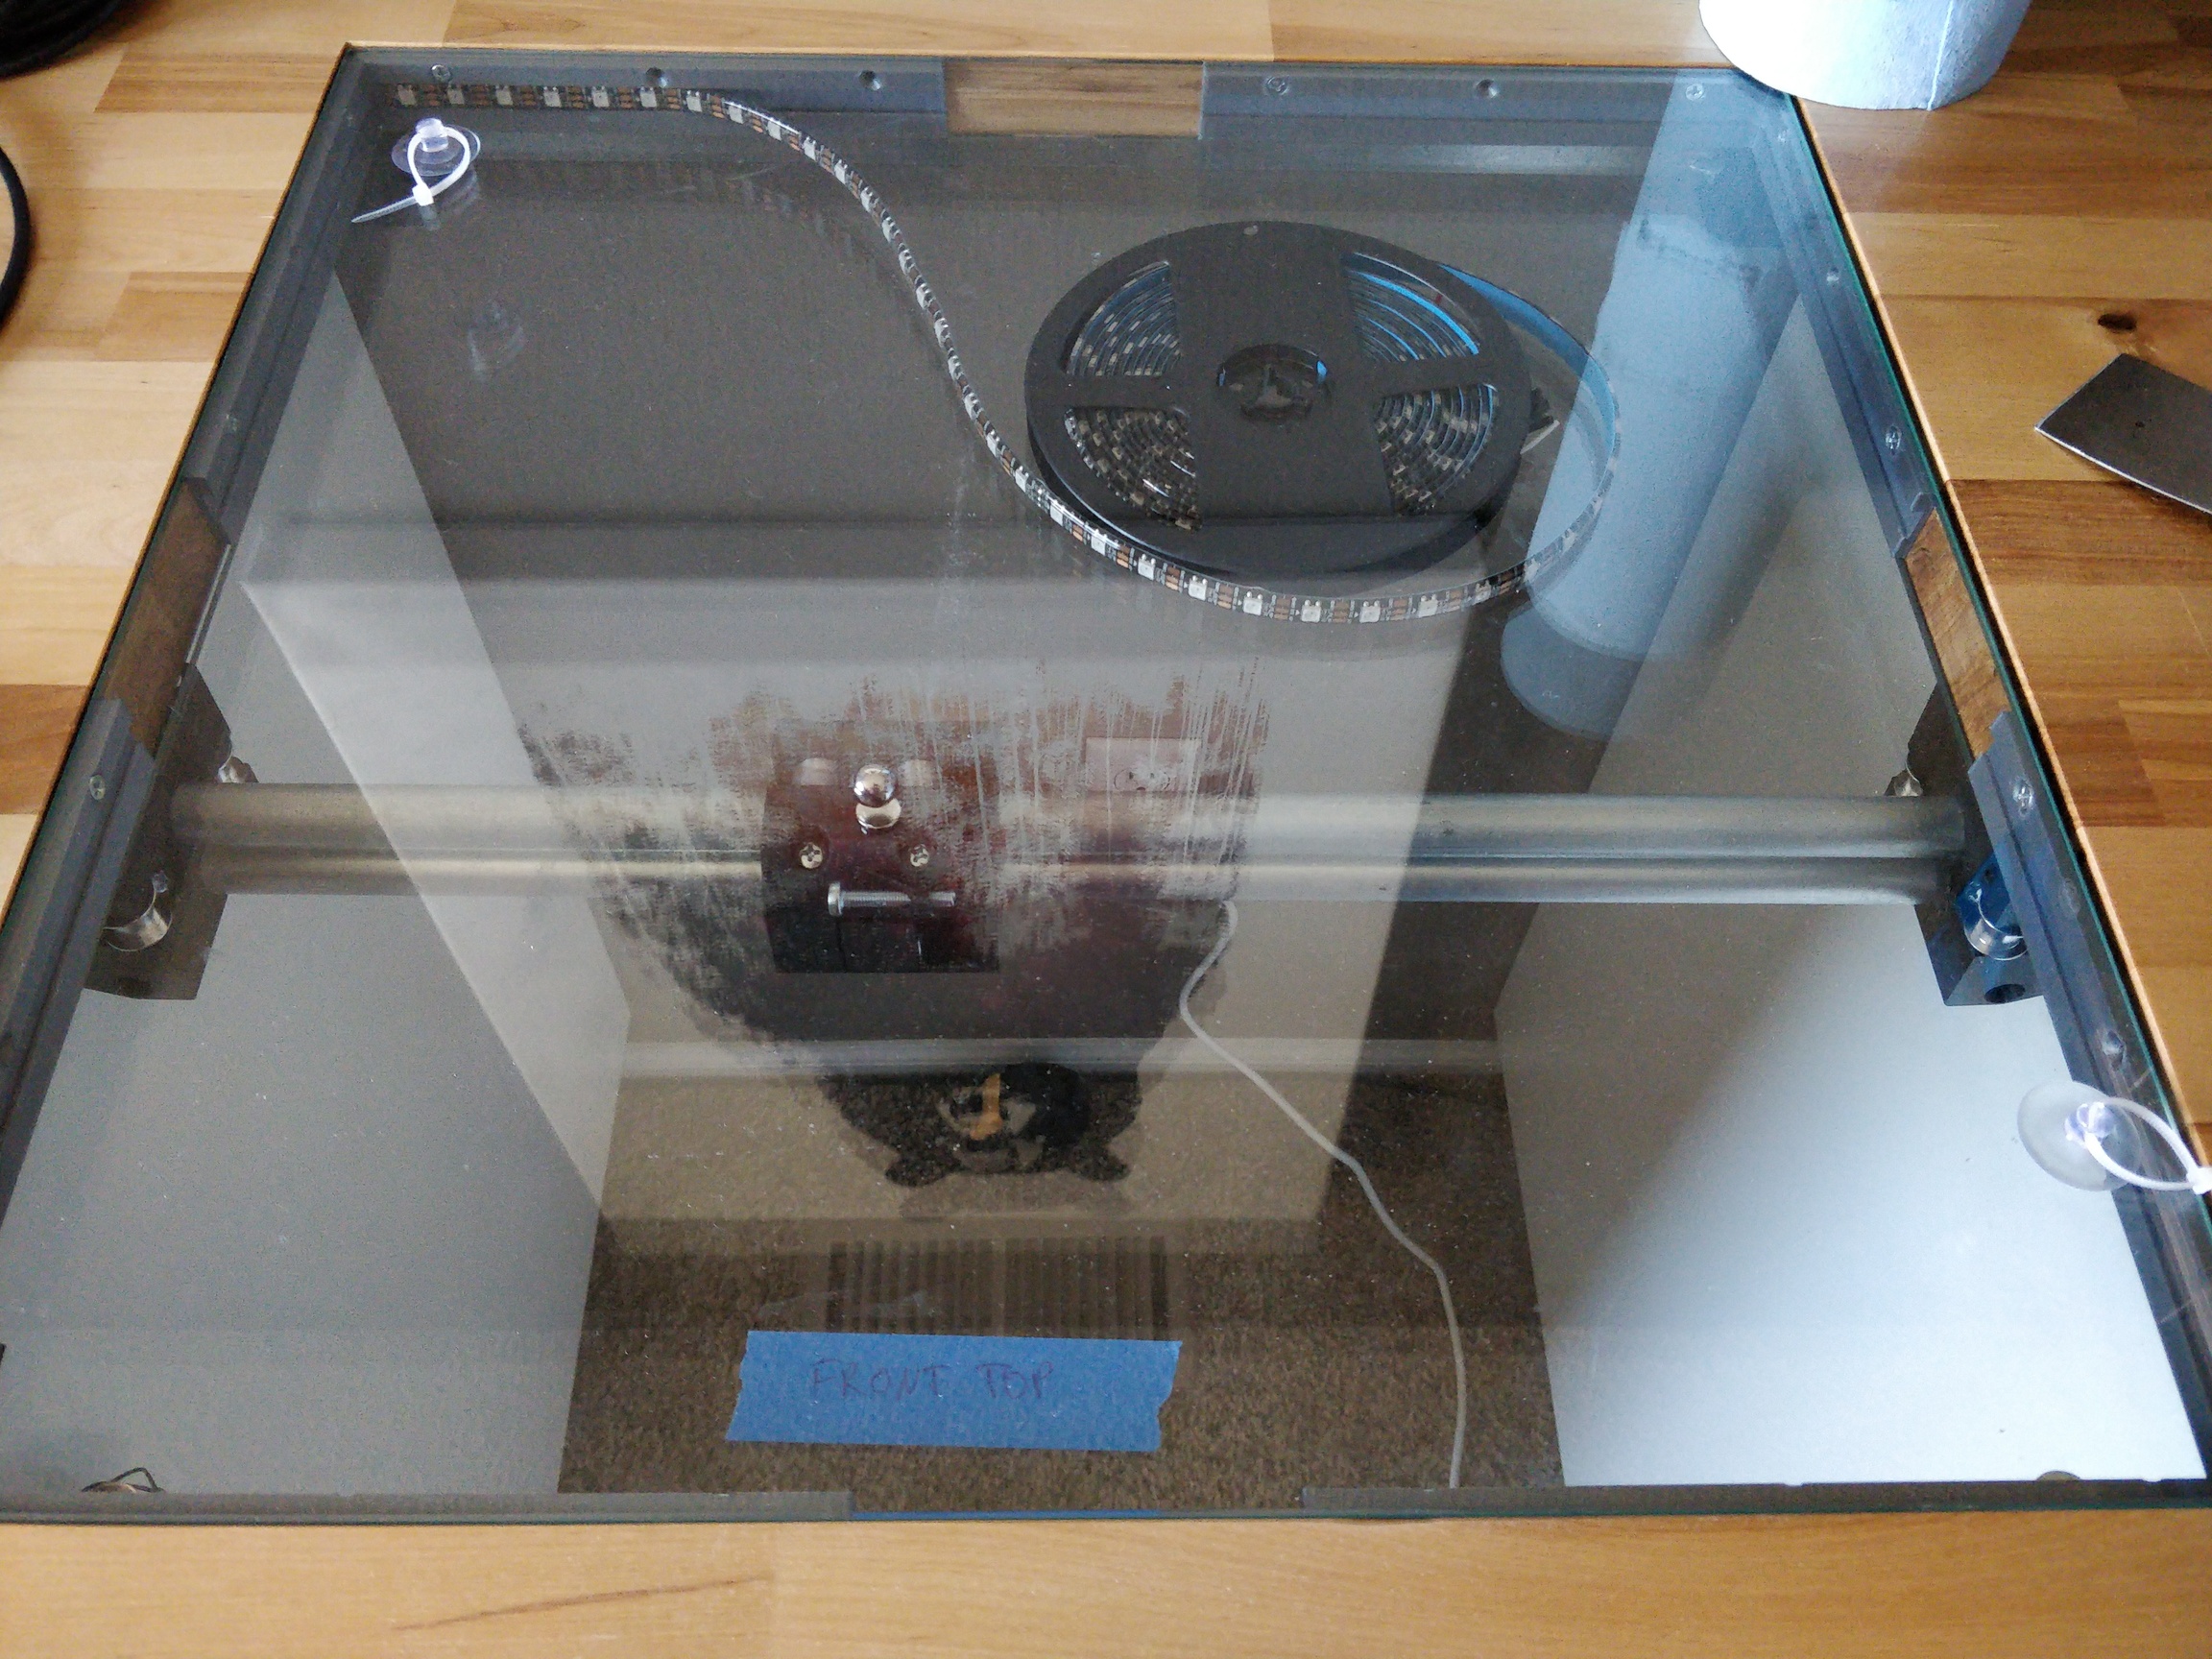
This is the current iteration of the bracket. Screws (#6 3/4" wood screws) will be on the top. I ran out of my Empire Strikes Black.  . But I have lots of other kinds of filament, and this shouldn’t be seen (and it will be covered in sand soon anyway).
I cut the pipes according to my design. There are a lot of details that make this epic. But my current favorite is the cut out for the idlers. They don’t look like they are going to fit together and they just make a perfect fit.  .
.
5 Likes
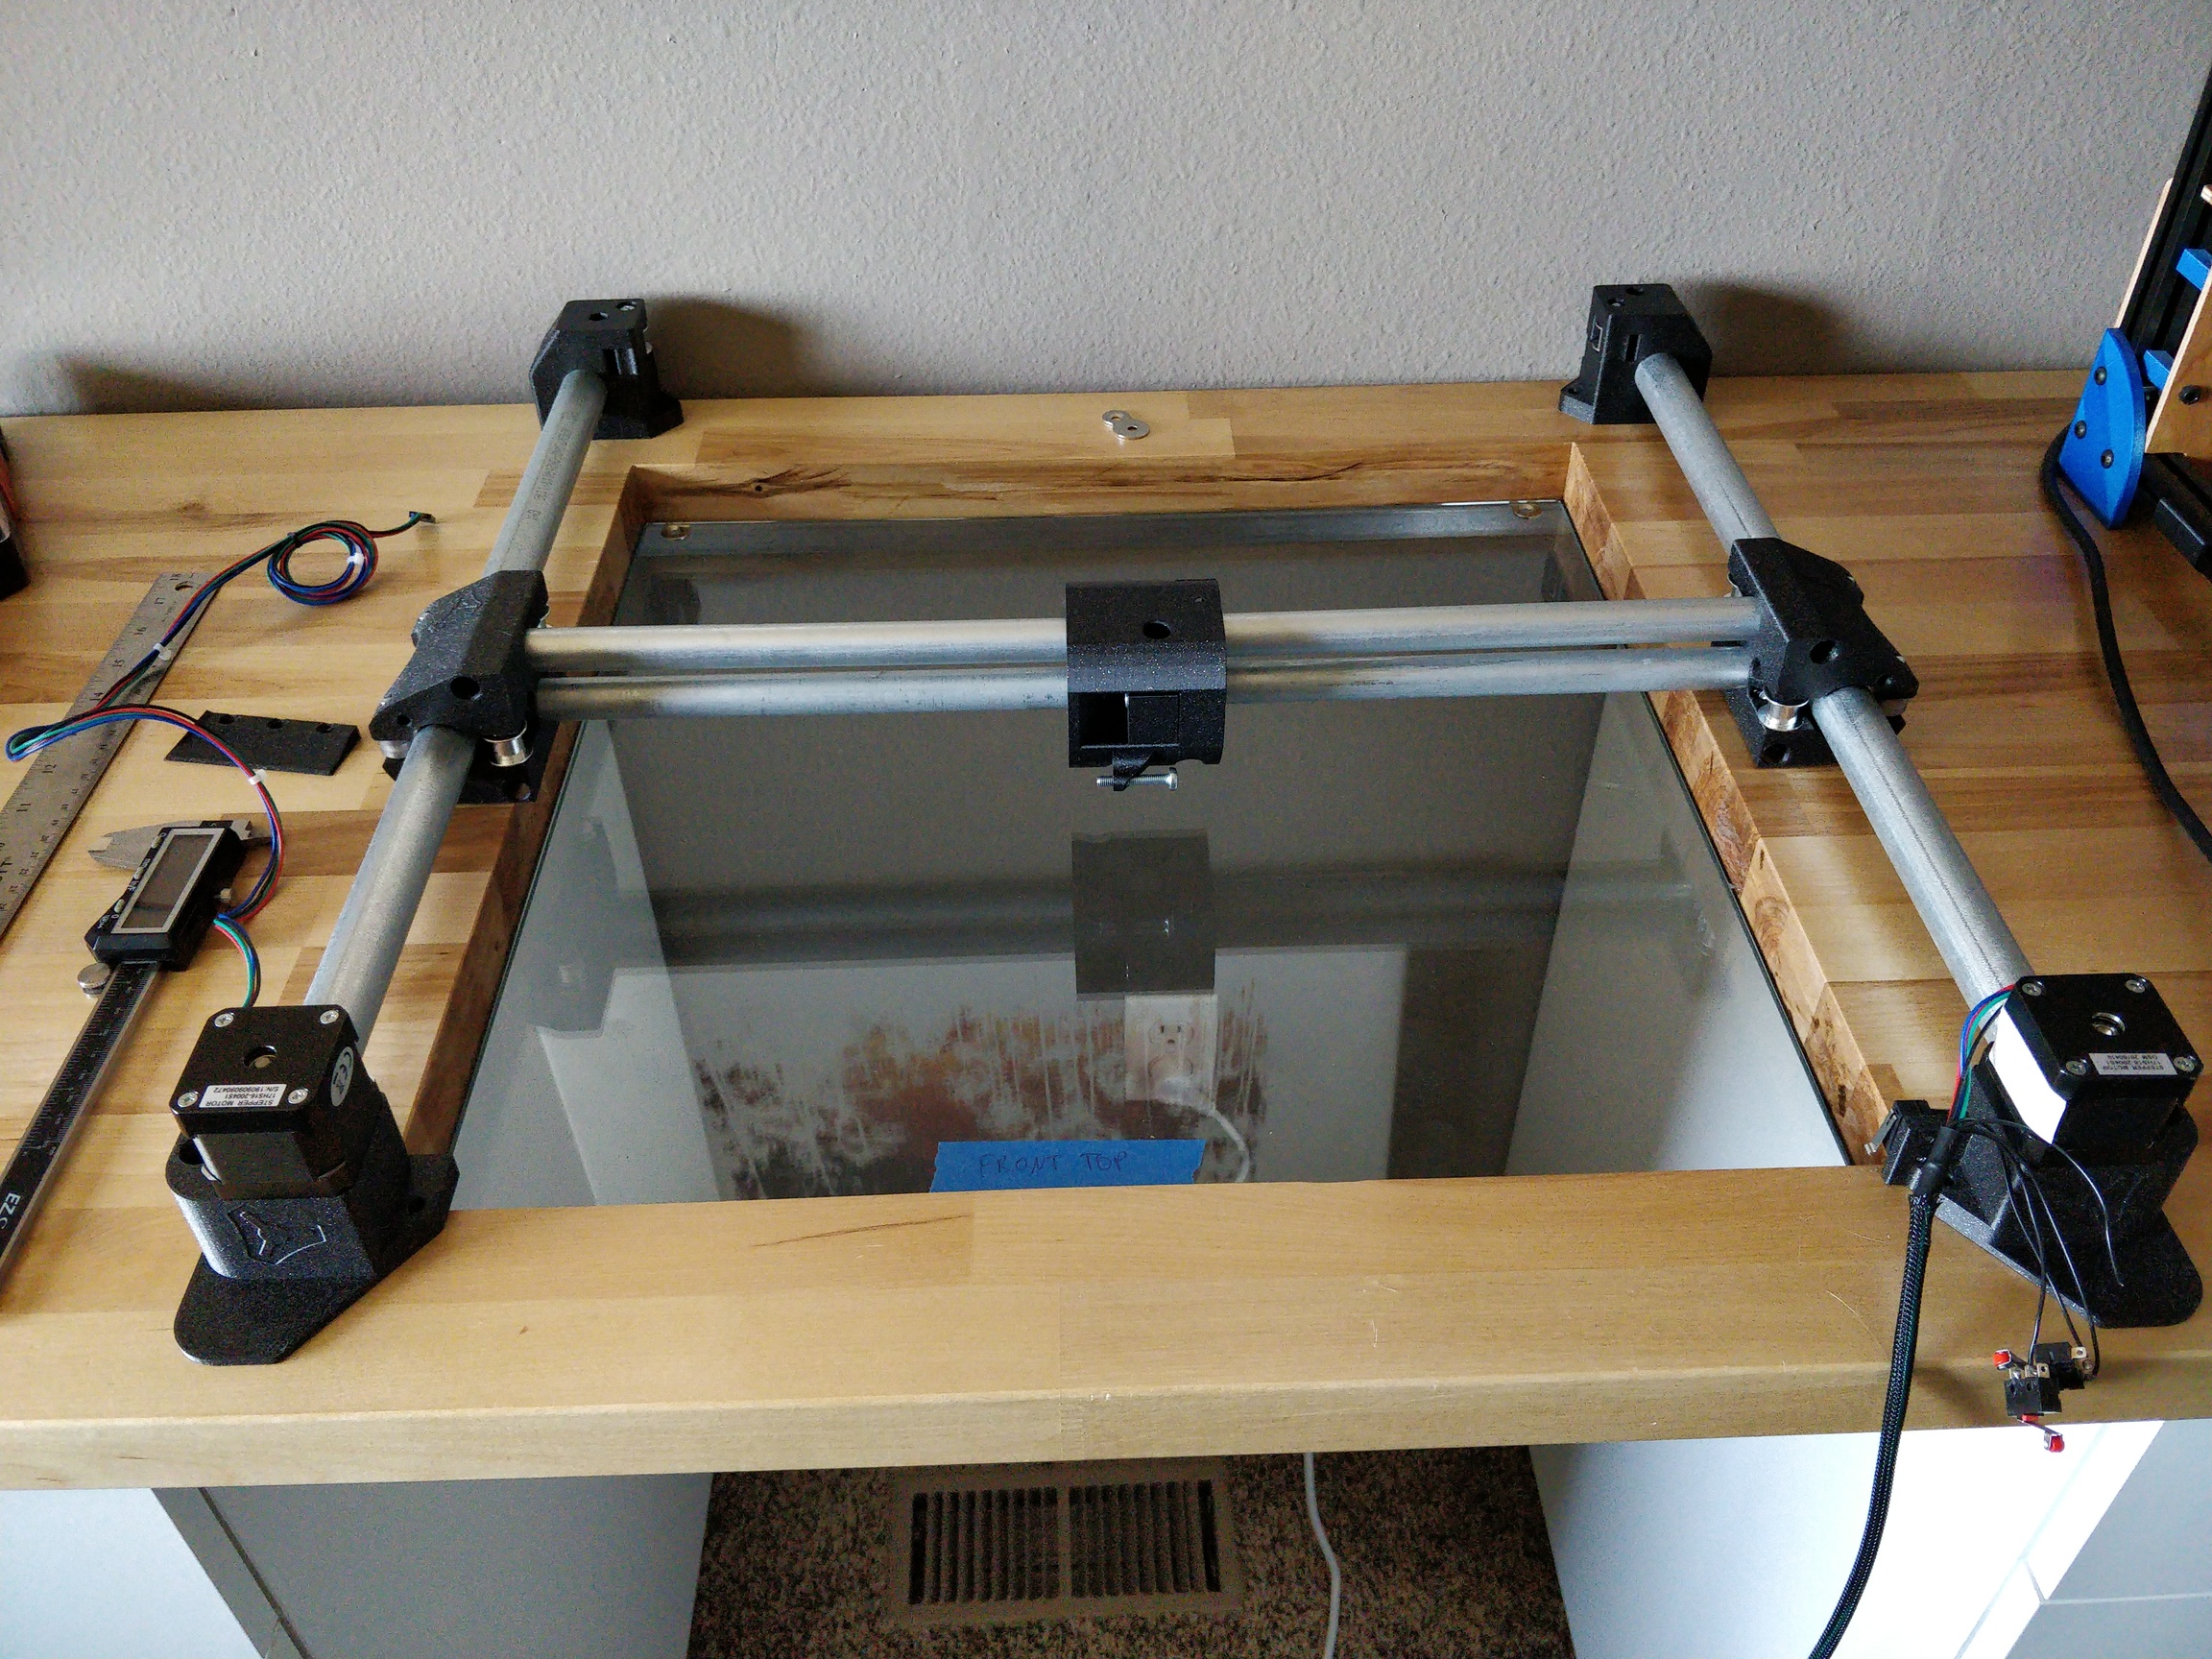
These brackets are working well so far. I left a pretty big gap, because I know the sides are not perfectly the same size. The gaps will be filled by more pieces. I chose to make the pieces about 3" so differences of a few mm wouldn’t make any visible difference. Those will be printing next. Getting the screws just right was tricky. A brad point bit and an awl really helped.
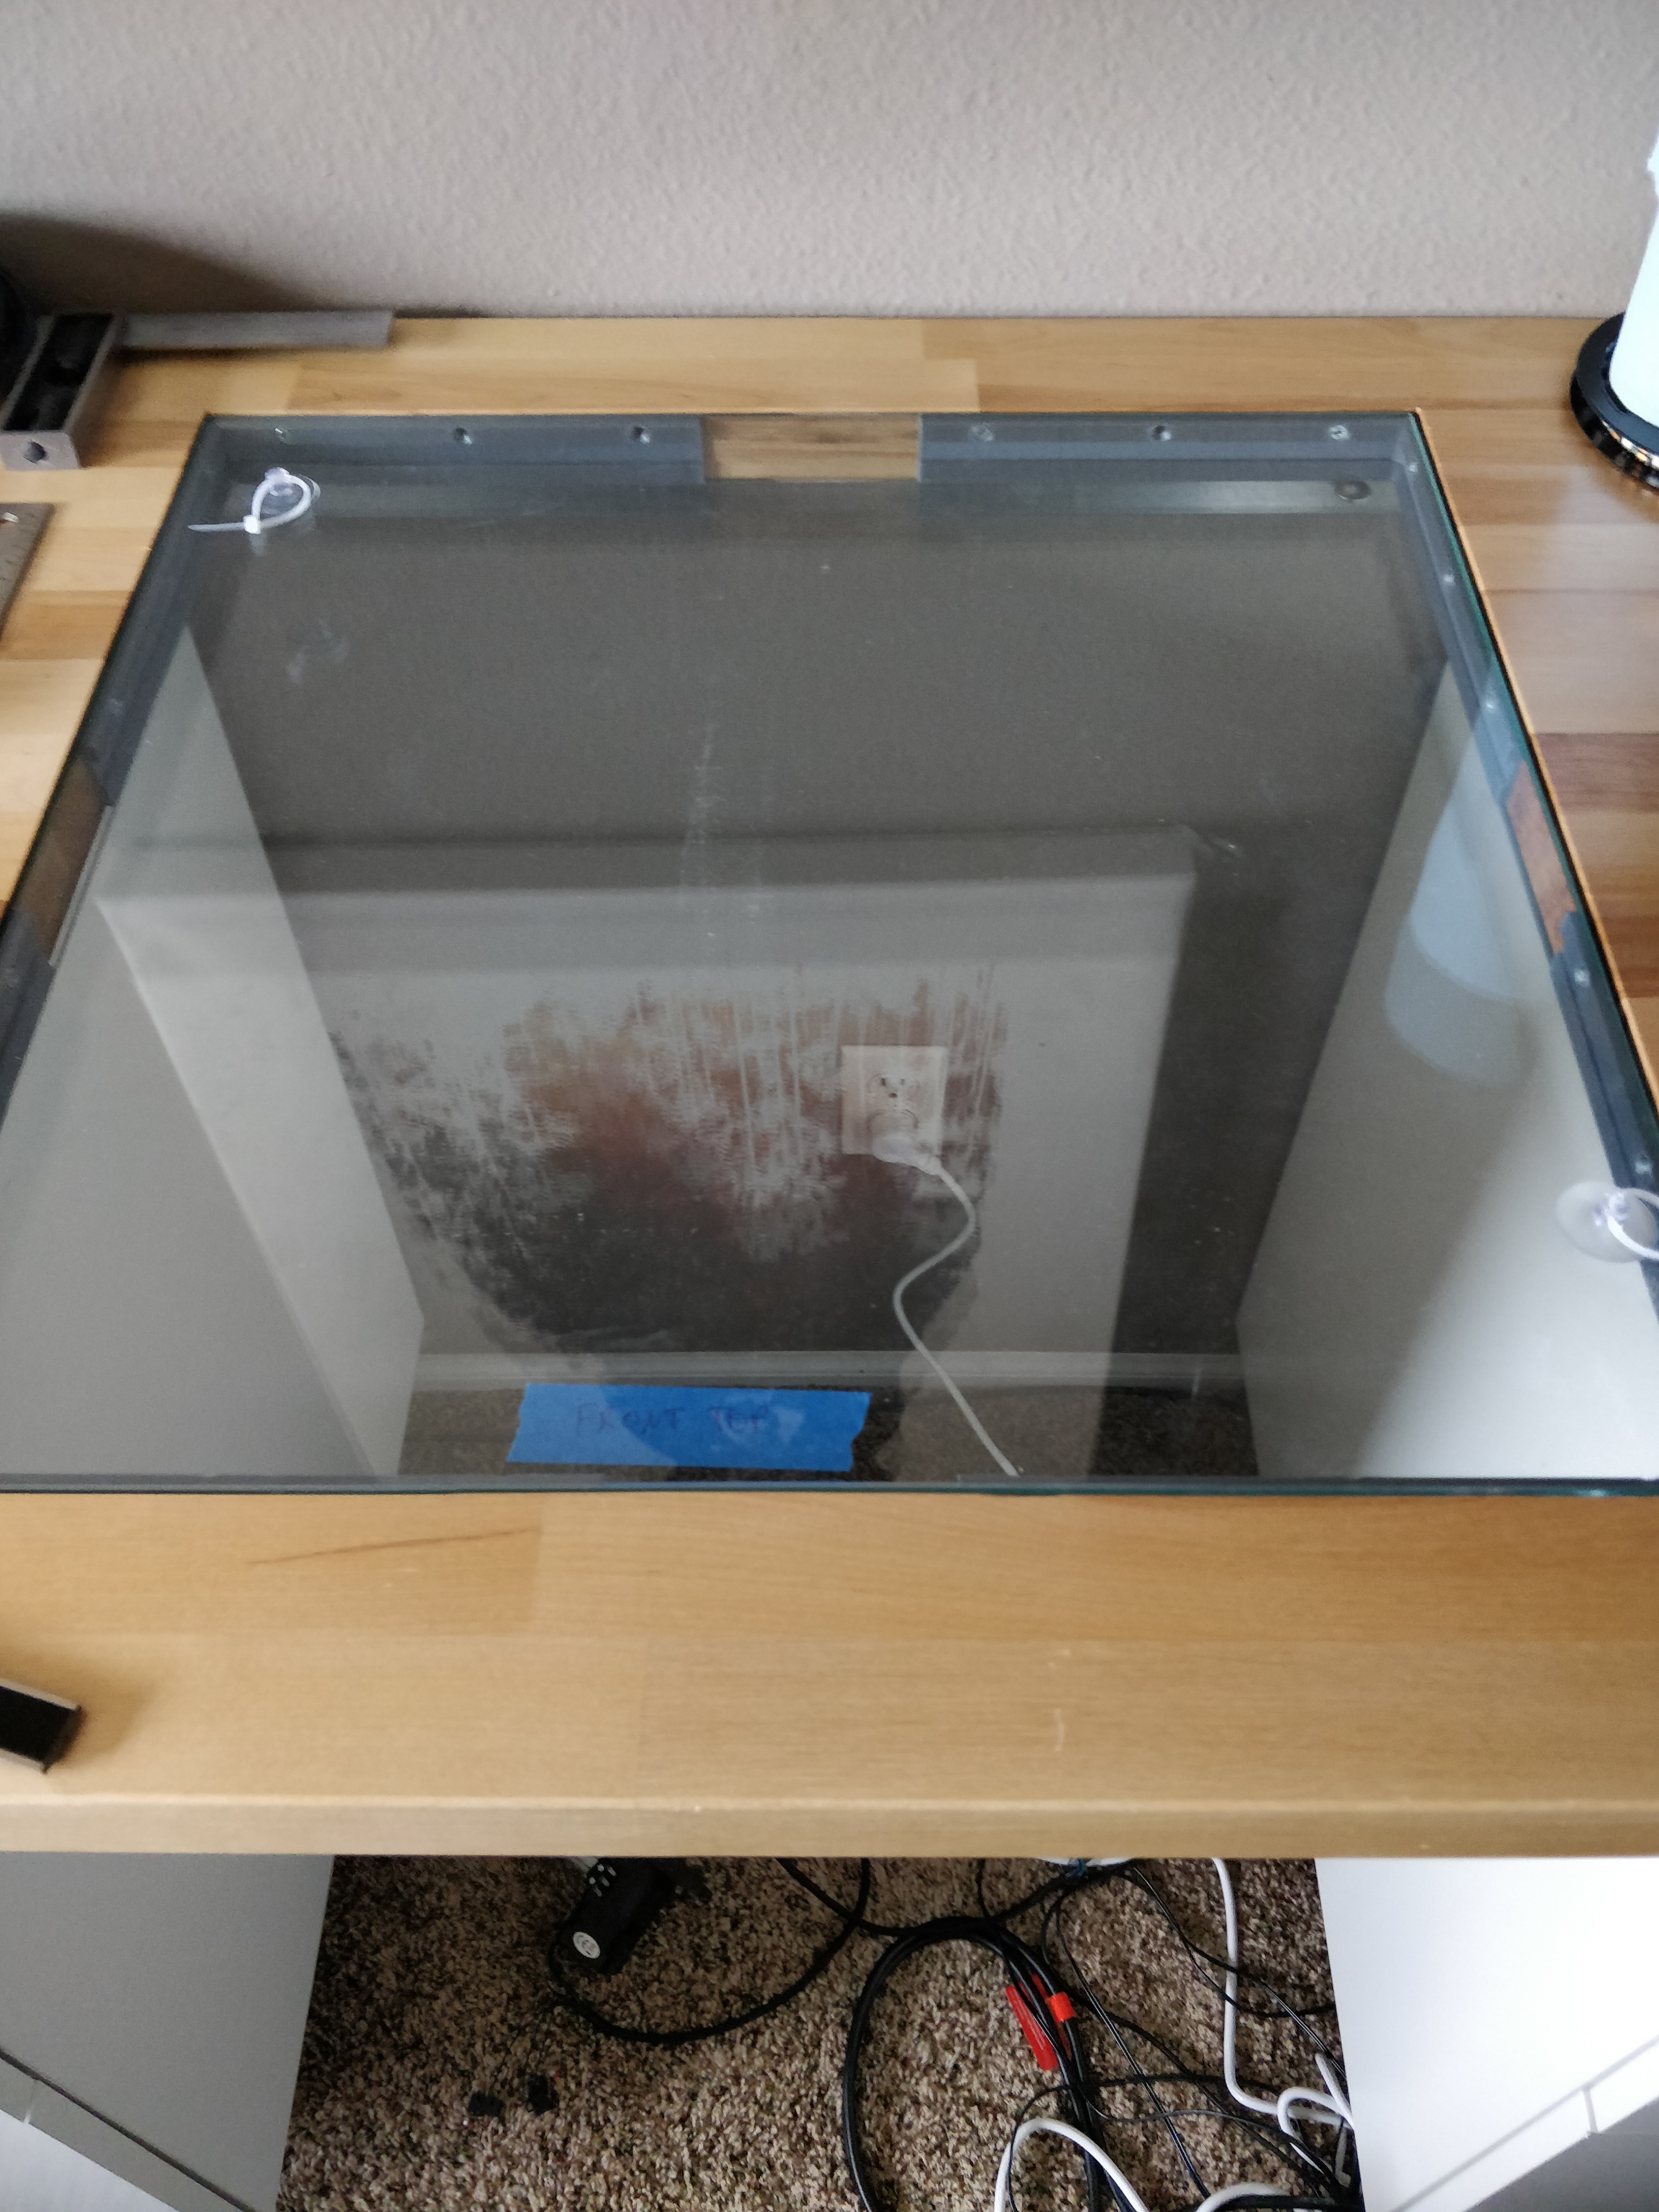
I also bough some suction cups meant to attach plants to an aquarium. It came with like 20 for a few dollars on amazon. These are working great and I don’t have to worry about prying up the glass or leaving a hole to poke from the bottom.
I also have been looking closely at the led wiring. I have some pretty thin wires that I am going to probably just tug tight and hold in place with glue. There isn’t much room, but it just fits through the gap in the glass and it fits in a 2mm space I need for the bottom glass supports. I “edited” the brackets with some flush cutters to make enough room.
I need to lay out the mounts, for the electronics and attach the 4 feet. The wiring is pretty simple. So we are getting close. (Except for the masking/frame matt part)
2 Likes
@vicious1, How precise should I be on the 1/2" conduit? I mounted these side pieces a little wider than I planned and they are probably 1/4-3/8" smaller than the max. Once I tighten the belts, I assume it is going to be pulling hard on that gantry and flexing the sides.
Is there anything I am missing? Should I try it like this, or just go get a new piece?

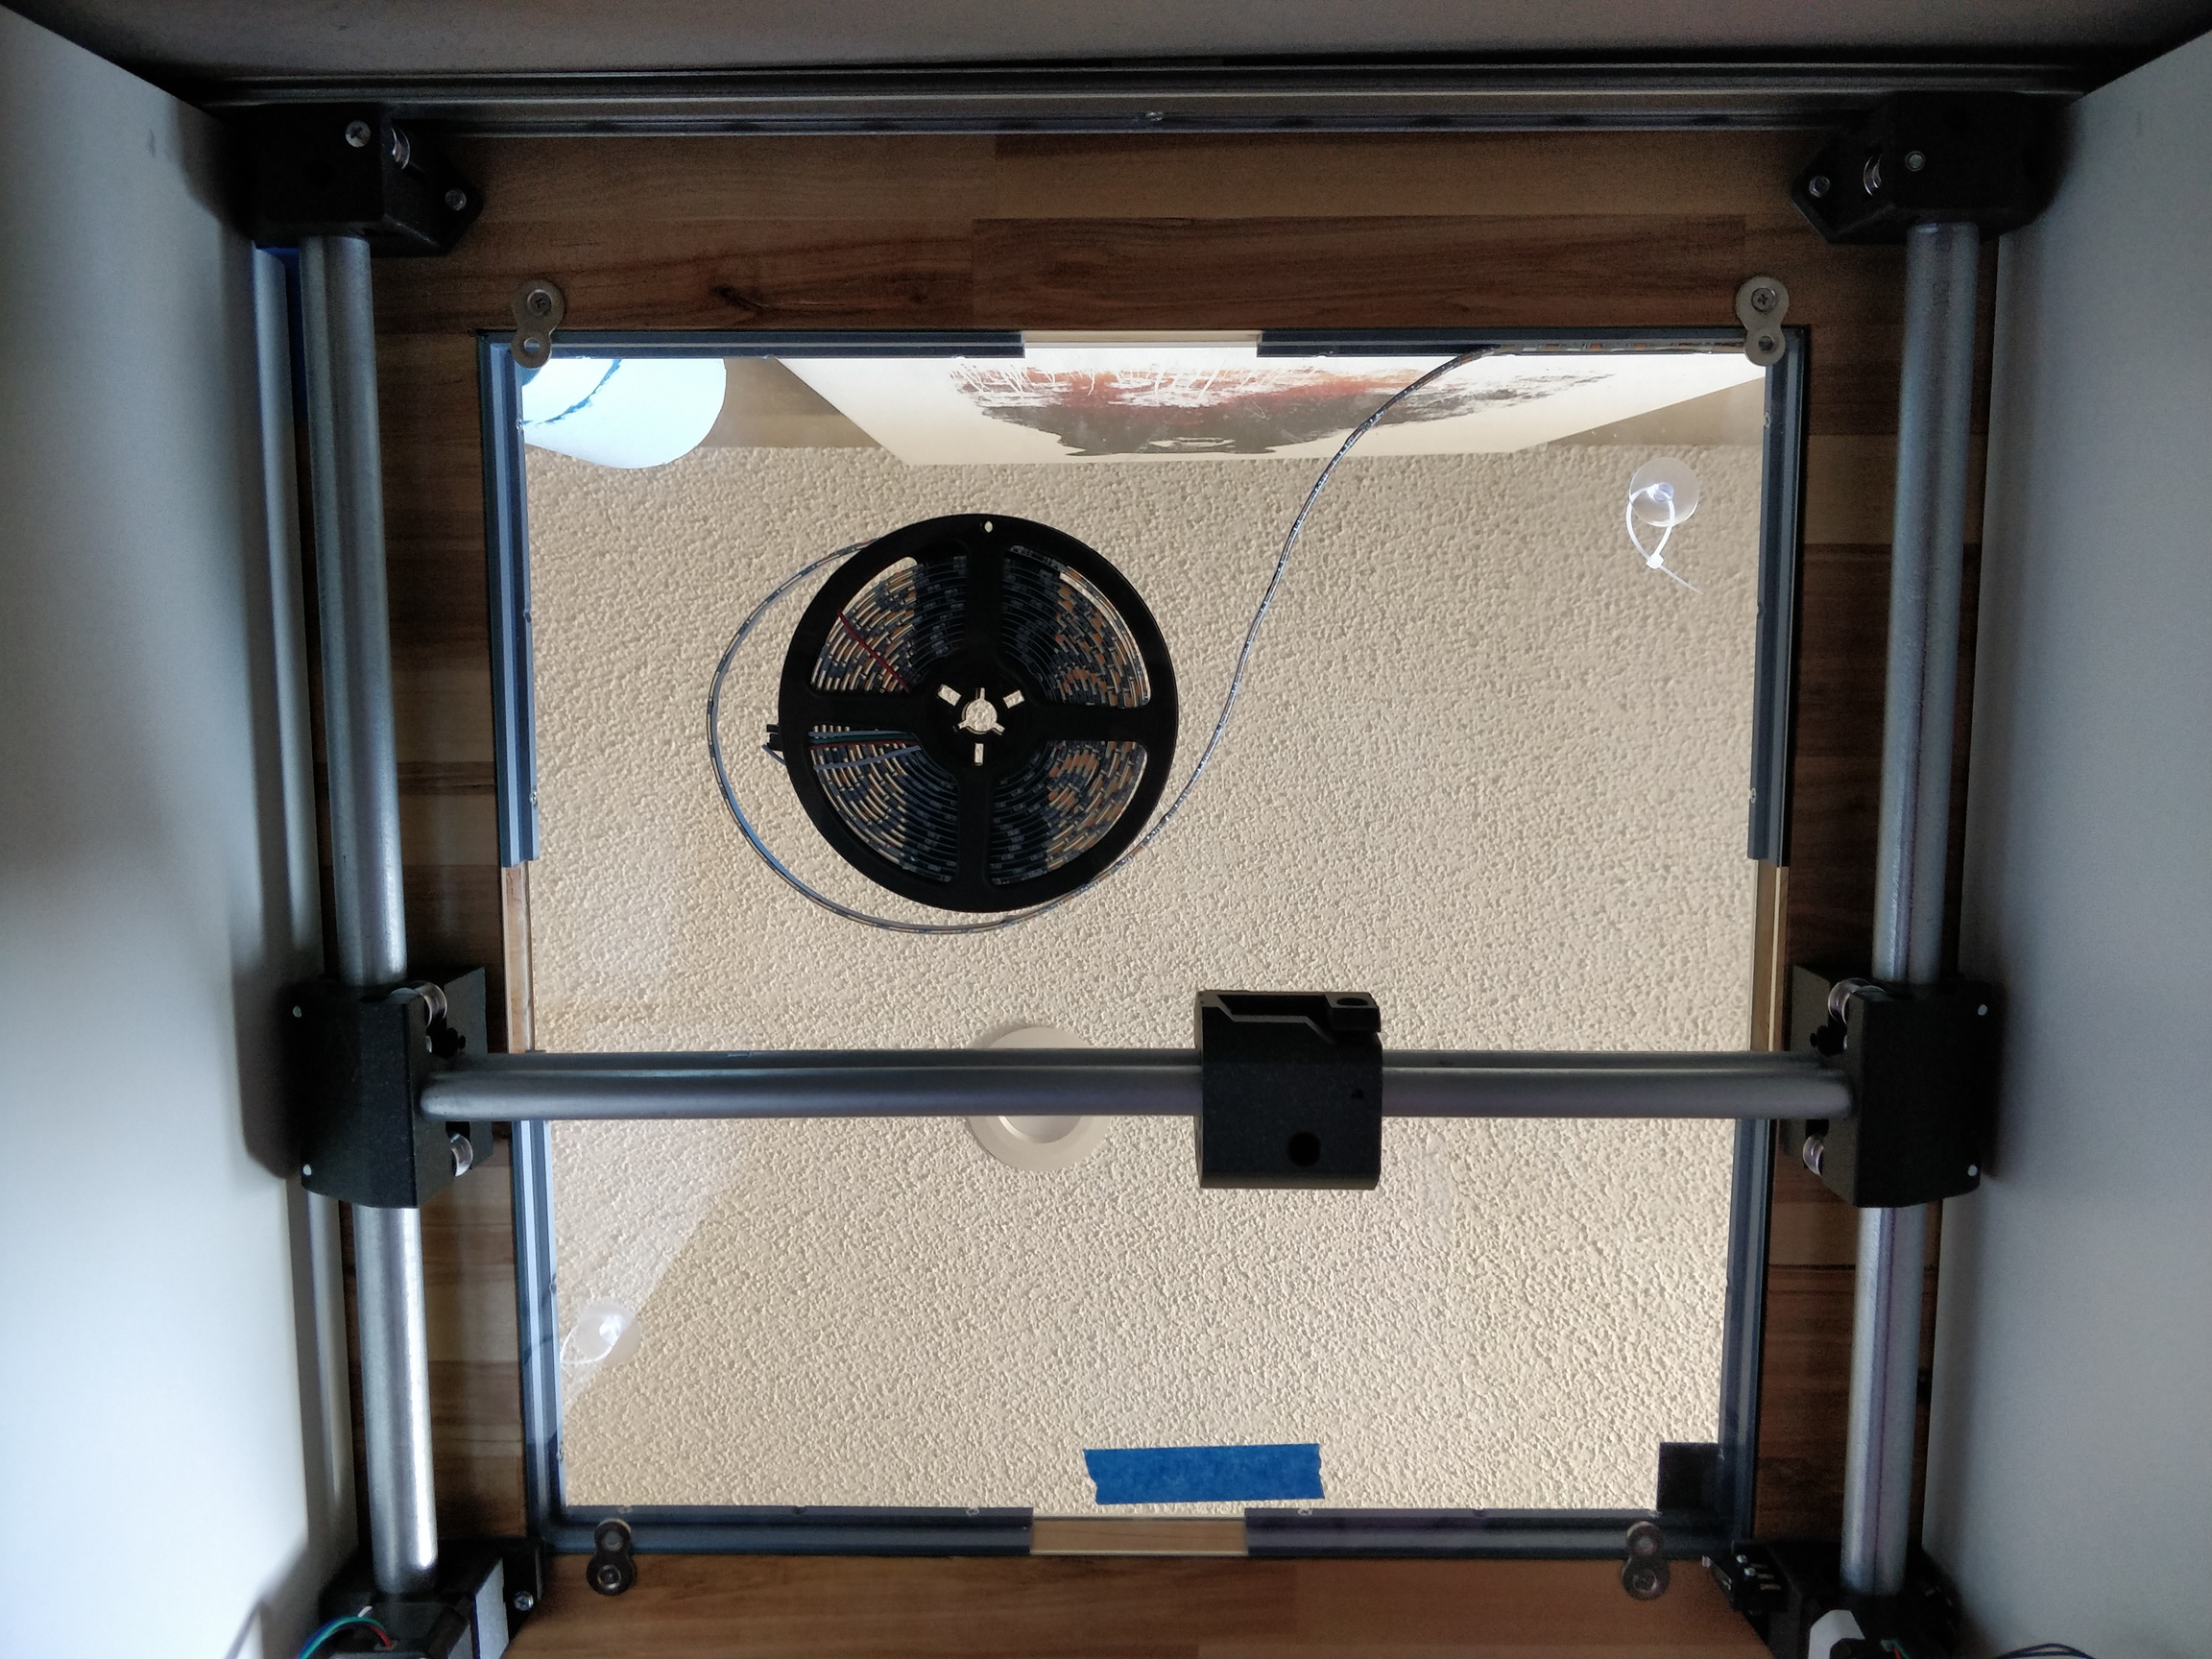
Wait. How the heck do I get the belts in there? Haha. I guess I need to take it down and get the belts and some longer tubes in there.
1 Like
Sorry buddy I took the day off and actually was out of cell reception for the entire day…I was anxious. Wouldn’t you know it, the one day I could have actually helped you for a change and I let you down.
Yup twist in the belts, all need to be in there before you assemble, and the 1/2 tubes only have a few mm wiggle room. Make sure your endstops are in and have a little bend so that they work, they can be adjusted after install but it is nice to get them close with room to move your tools.
1 Like