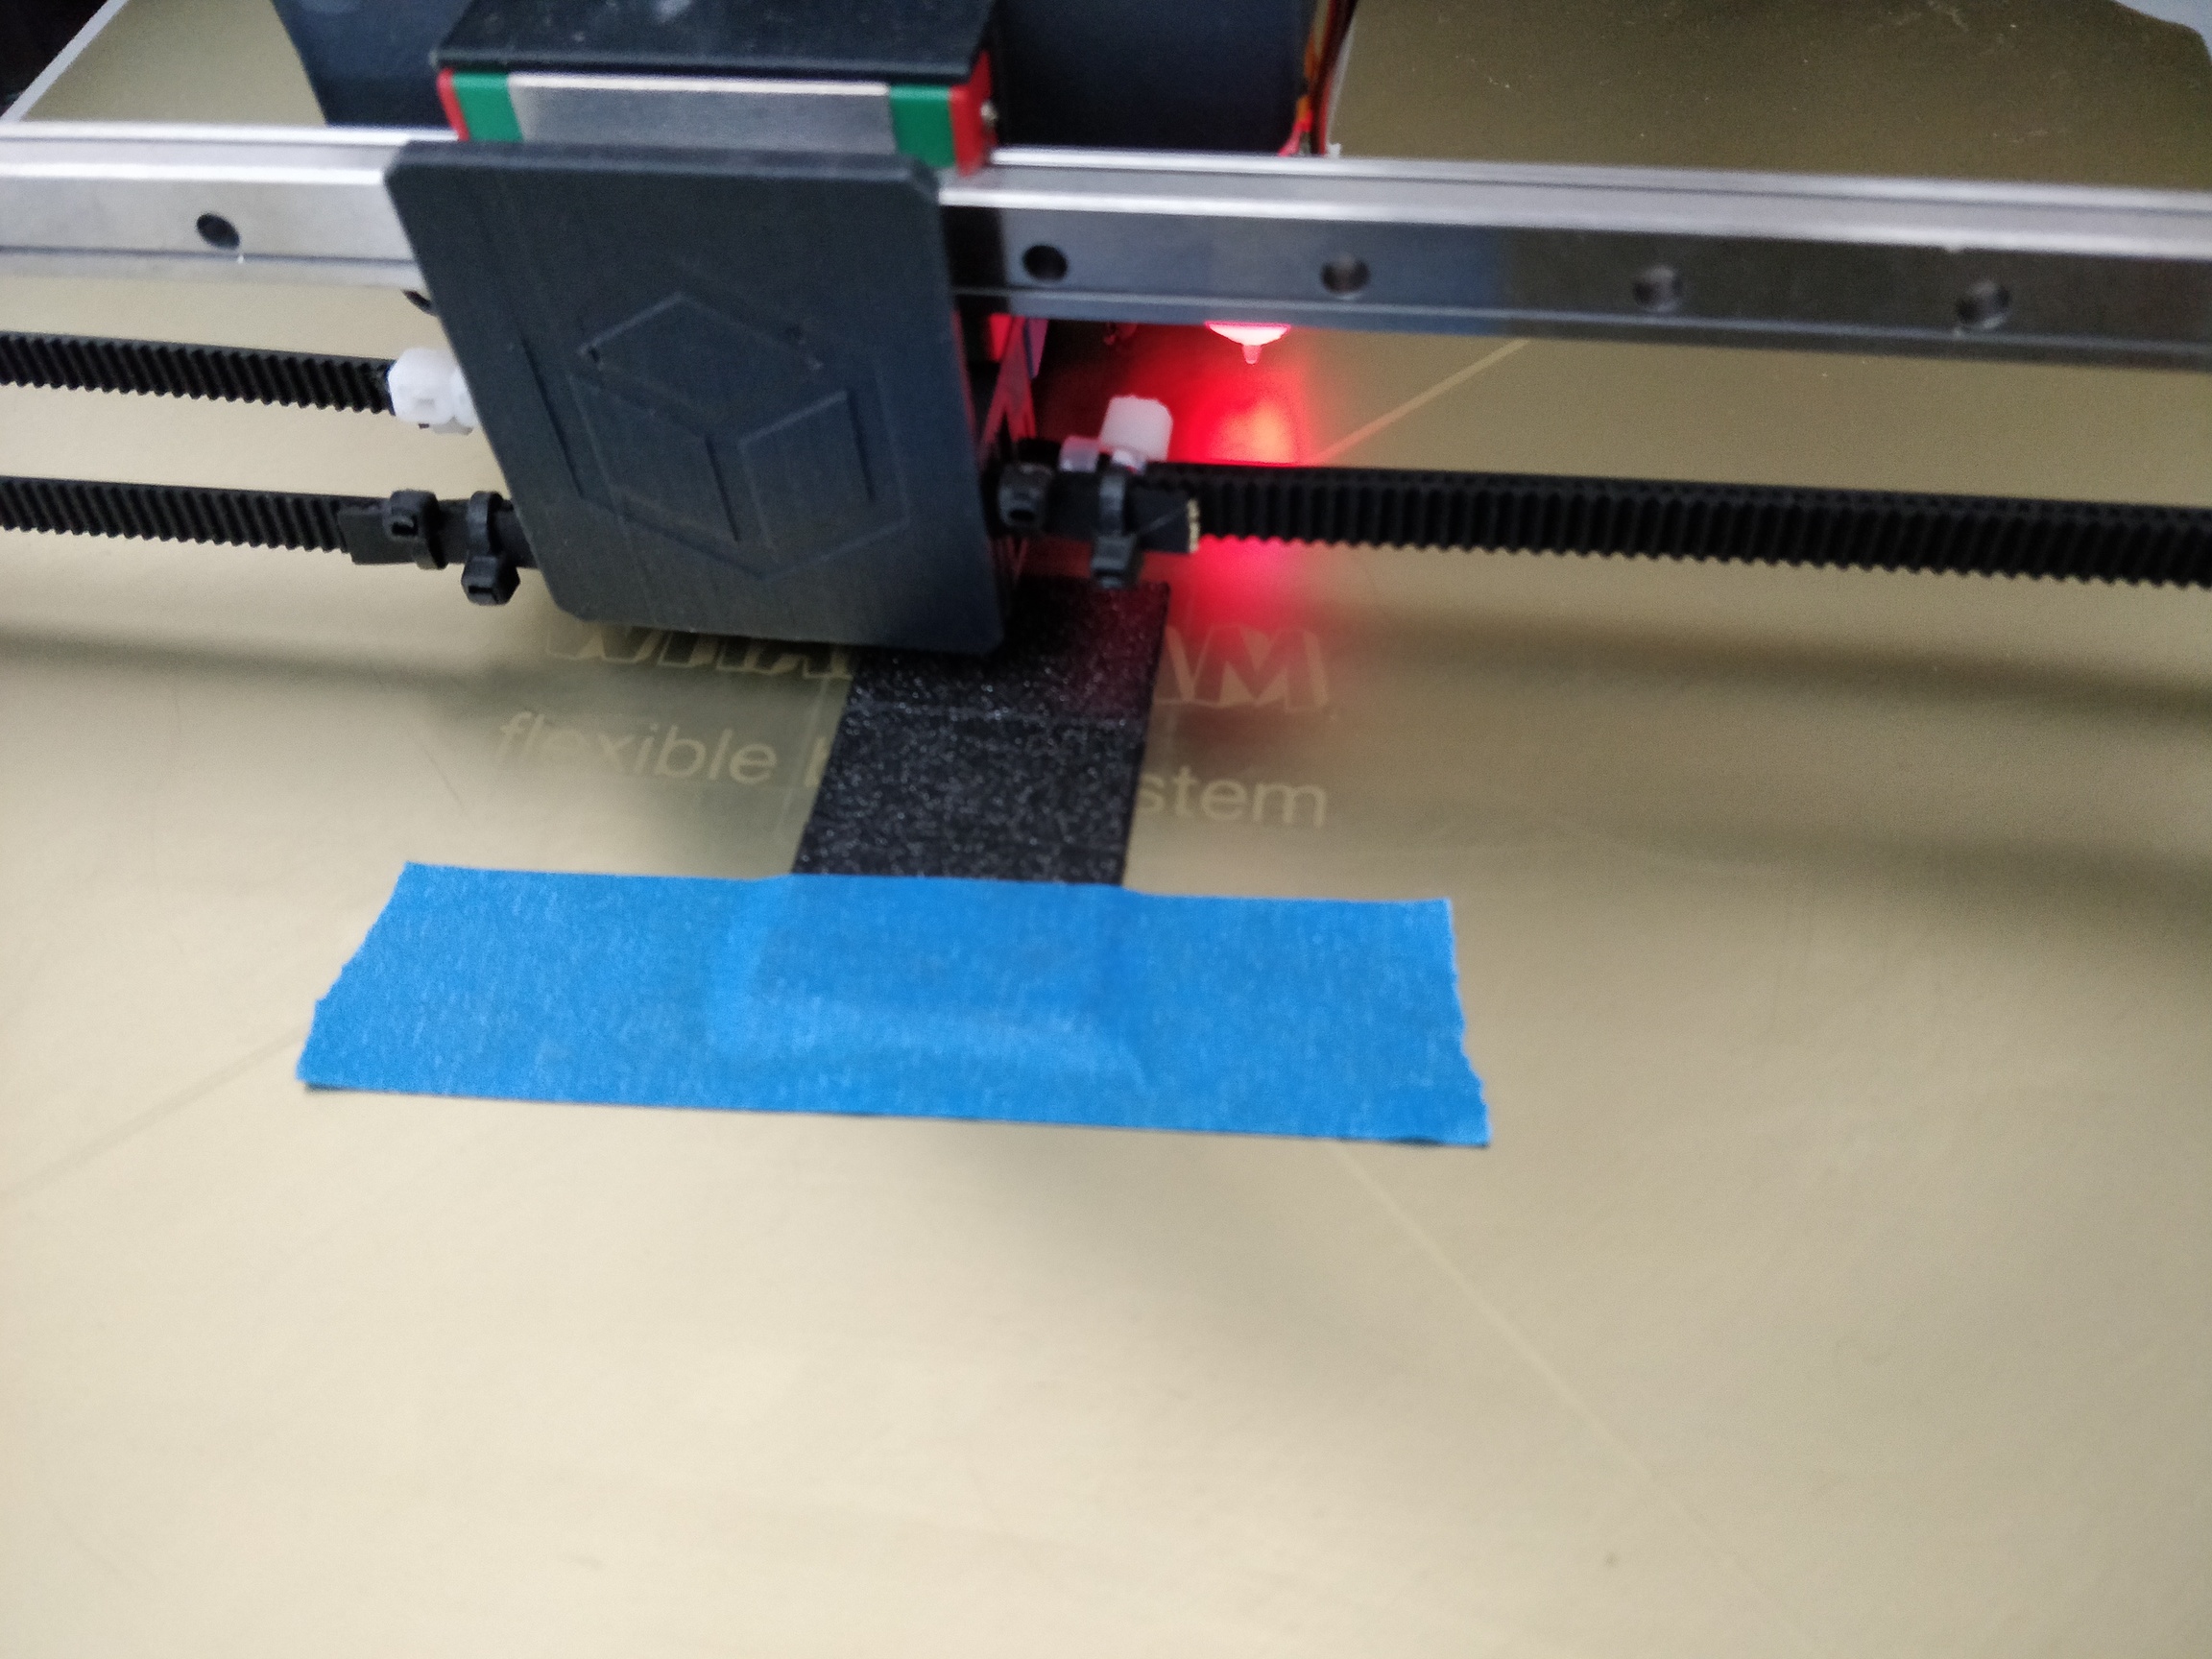
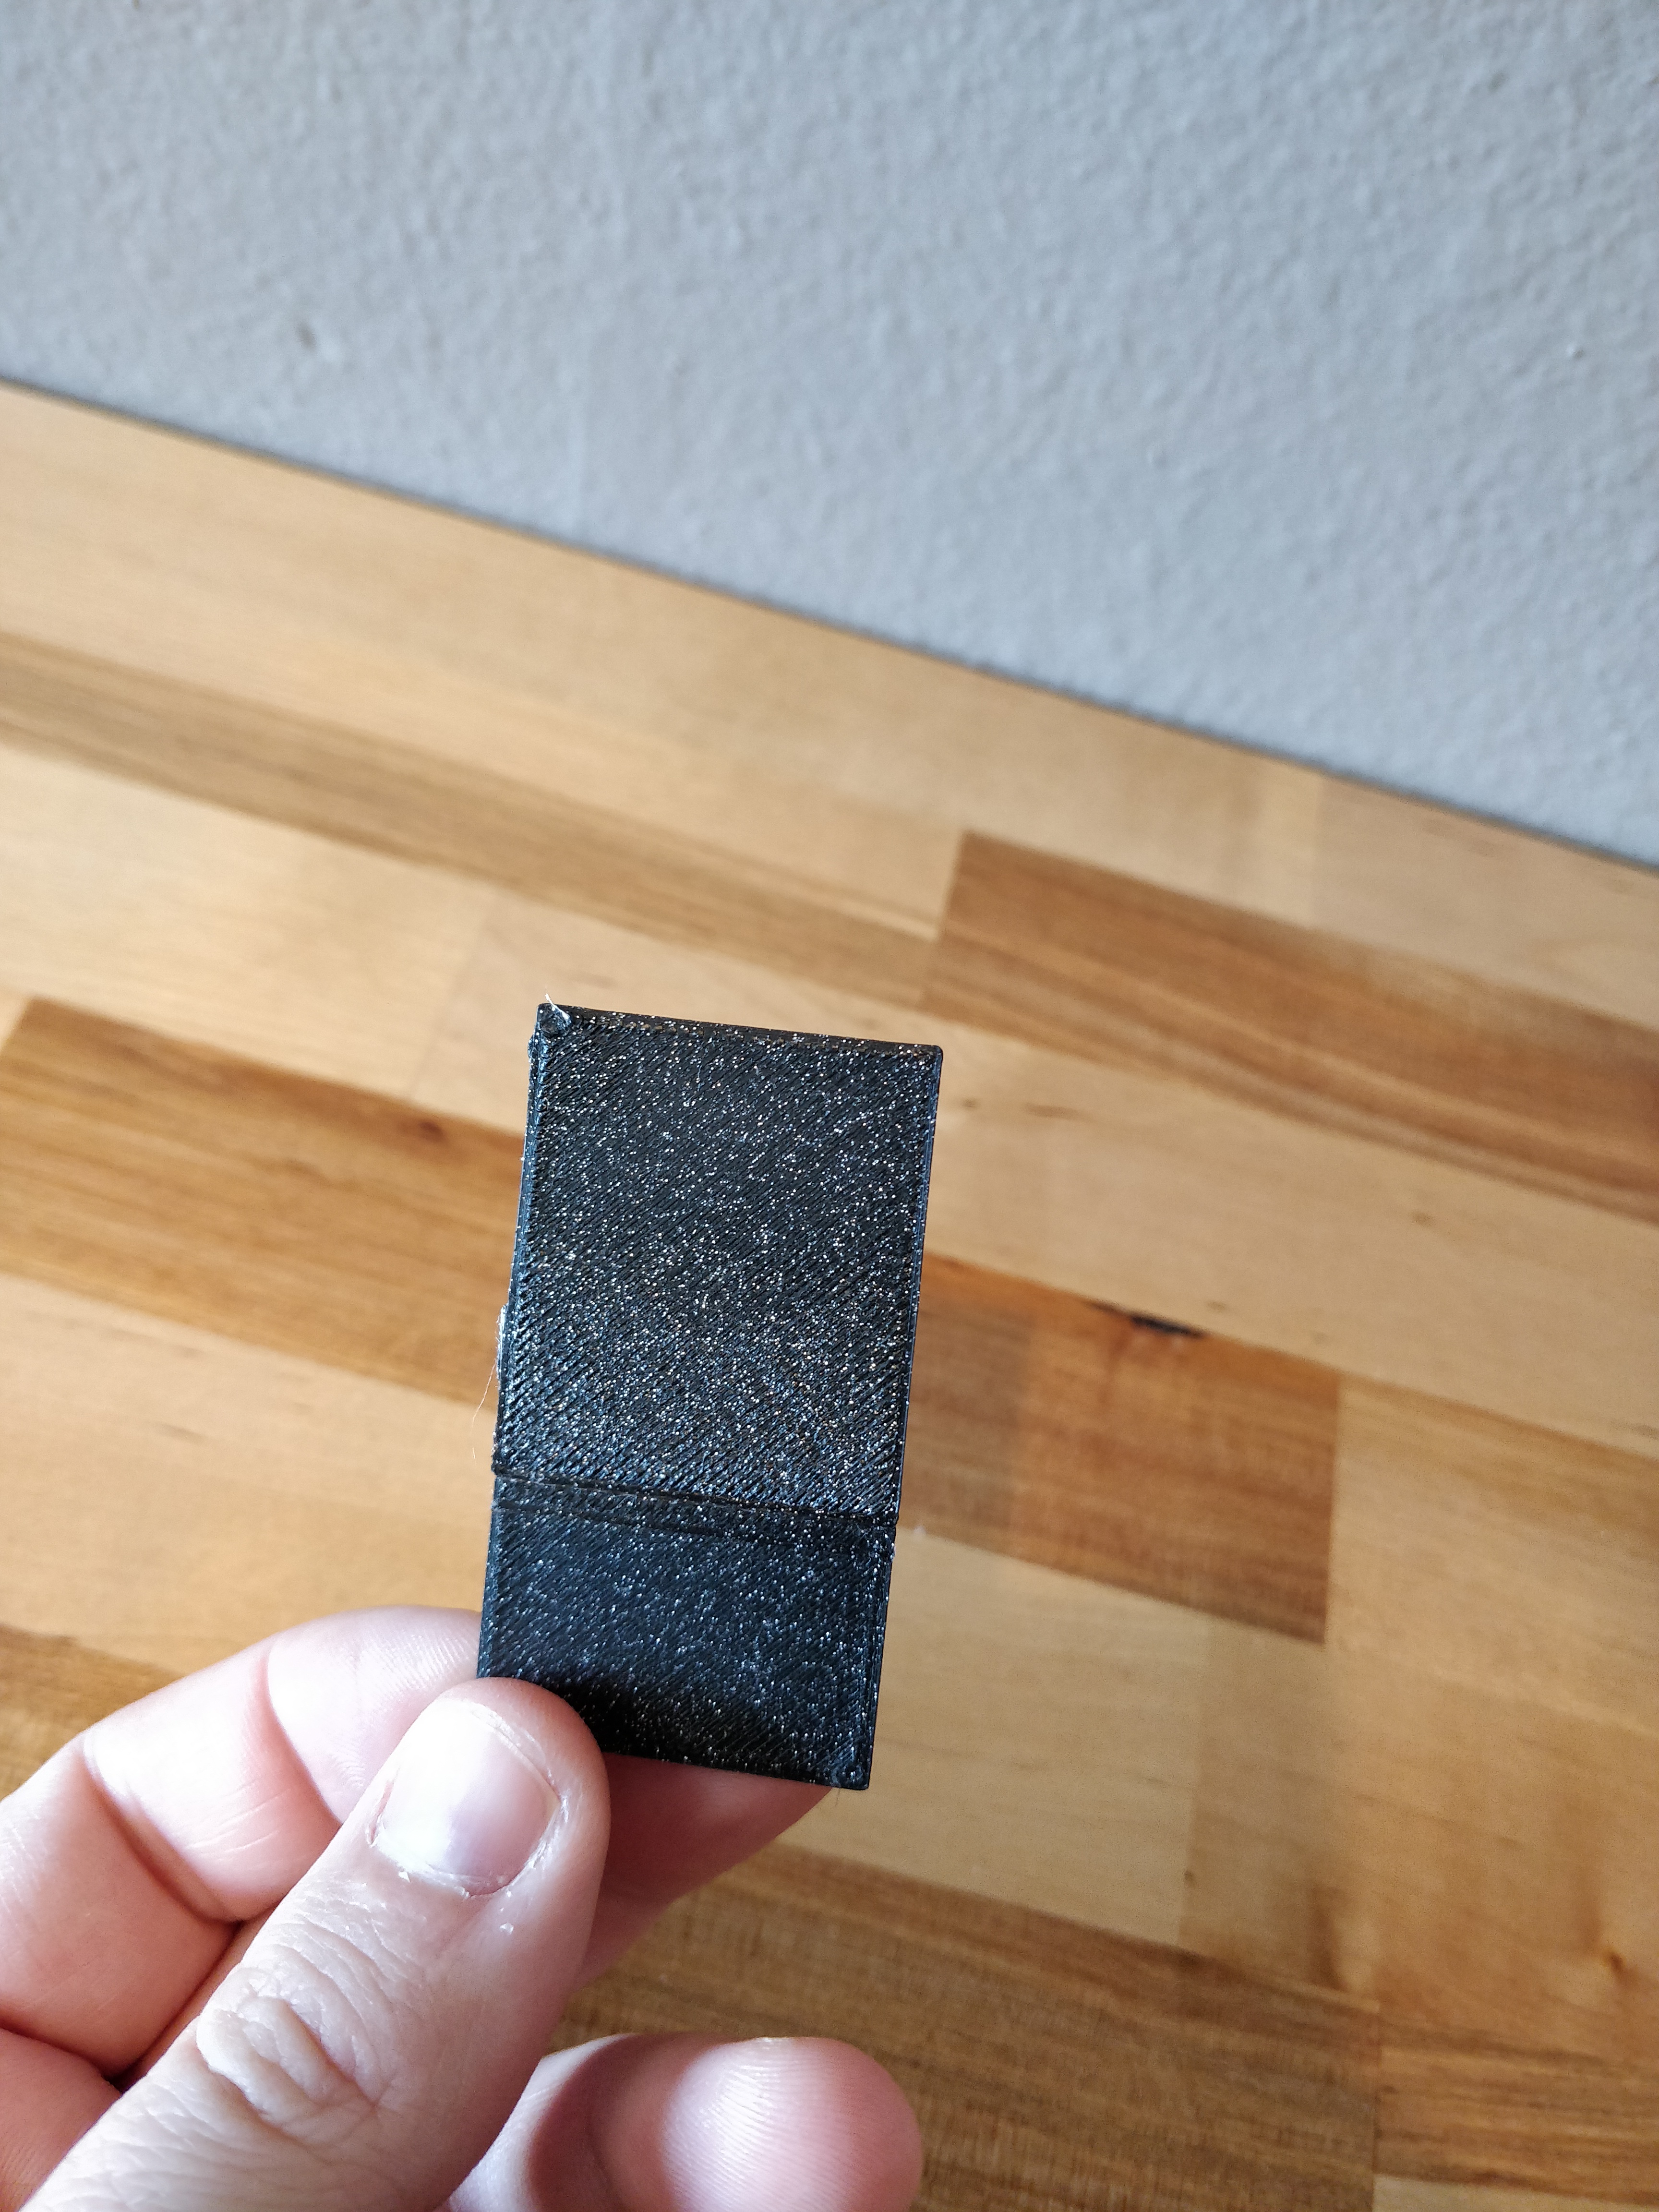
Then I added gcode to move out of the way, and then dwell for 60s (I am not sure if I can pause, never tried). While it was out of the way, I aligned and taped down the first part next to the partial second part. Imagine this first part sticking out of the printer.
I believe I can also do a right angle joint like this. I can’t do a whole loop*, so one end would end up needing some other solution. To do the whole platform would be 8 pieces, probably.
I am not sure this is much easier than just making something to glue into that space. But I am excited to try this, for the sake of trying it.
Edit: * or can I? Maybe on the last print, it would overlap on both ends? I think I could do that. I might just get the part trapped in my printer, and have to disasseble the printer a little to get it out
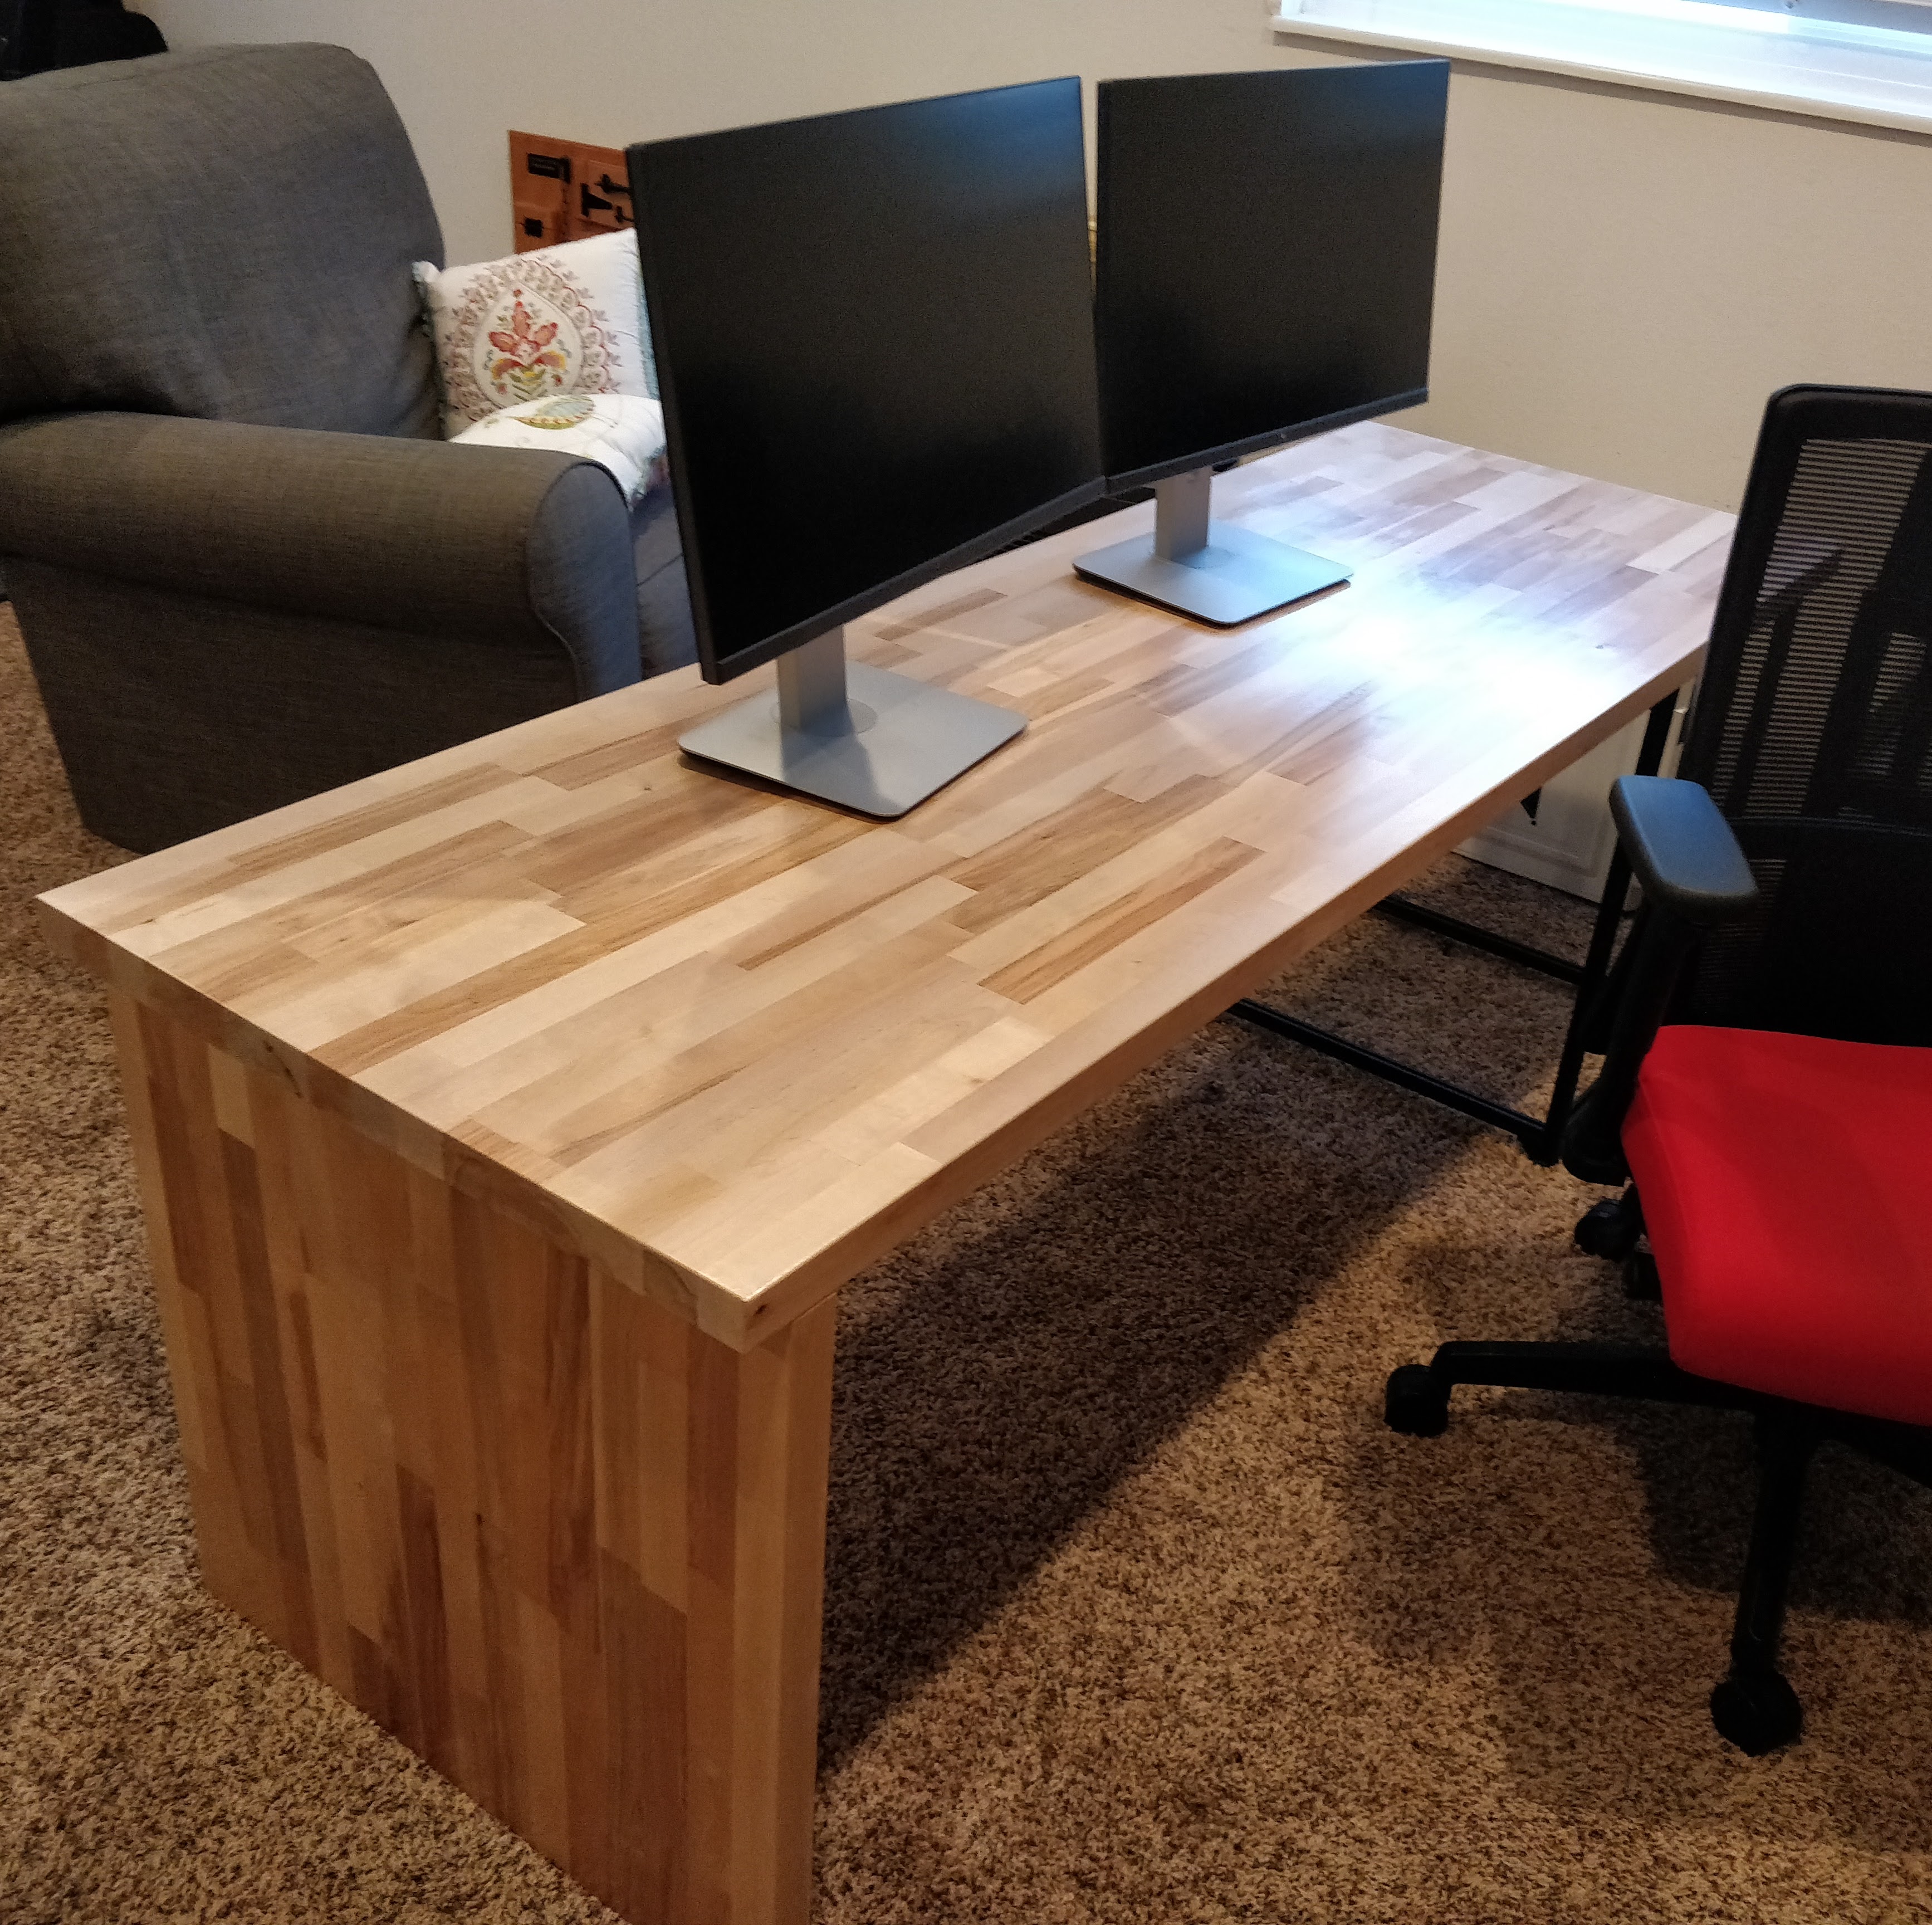
I’ve been working on a new desk for my wife. This is the same butcher block. I cut some off (25") and pocket hole screwed it on the left side. I built a frame from 2020 on the right and I am making some shelves (which are cut, but need some finish).
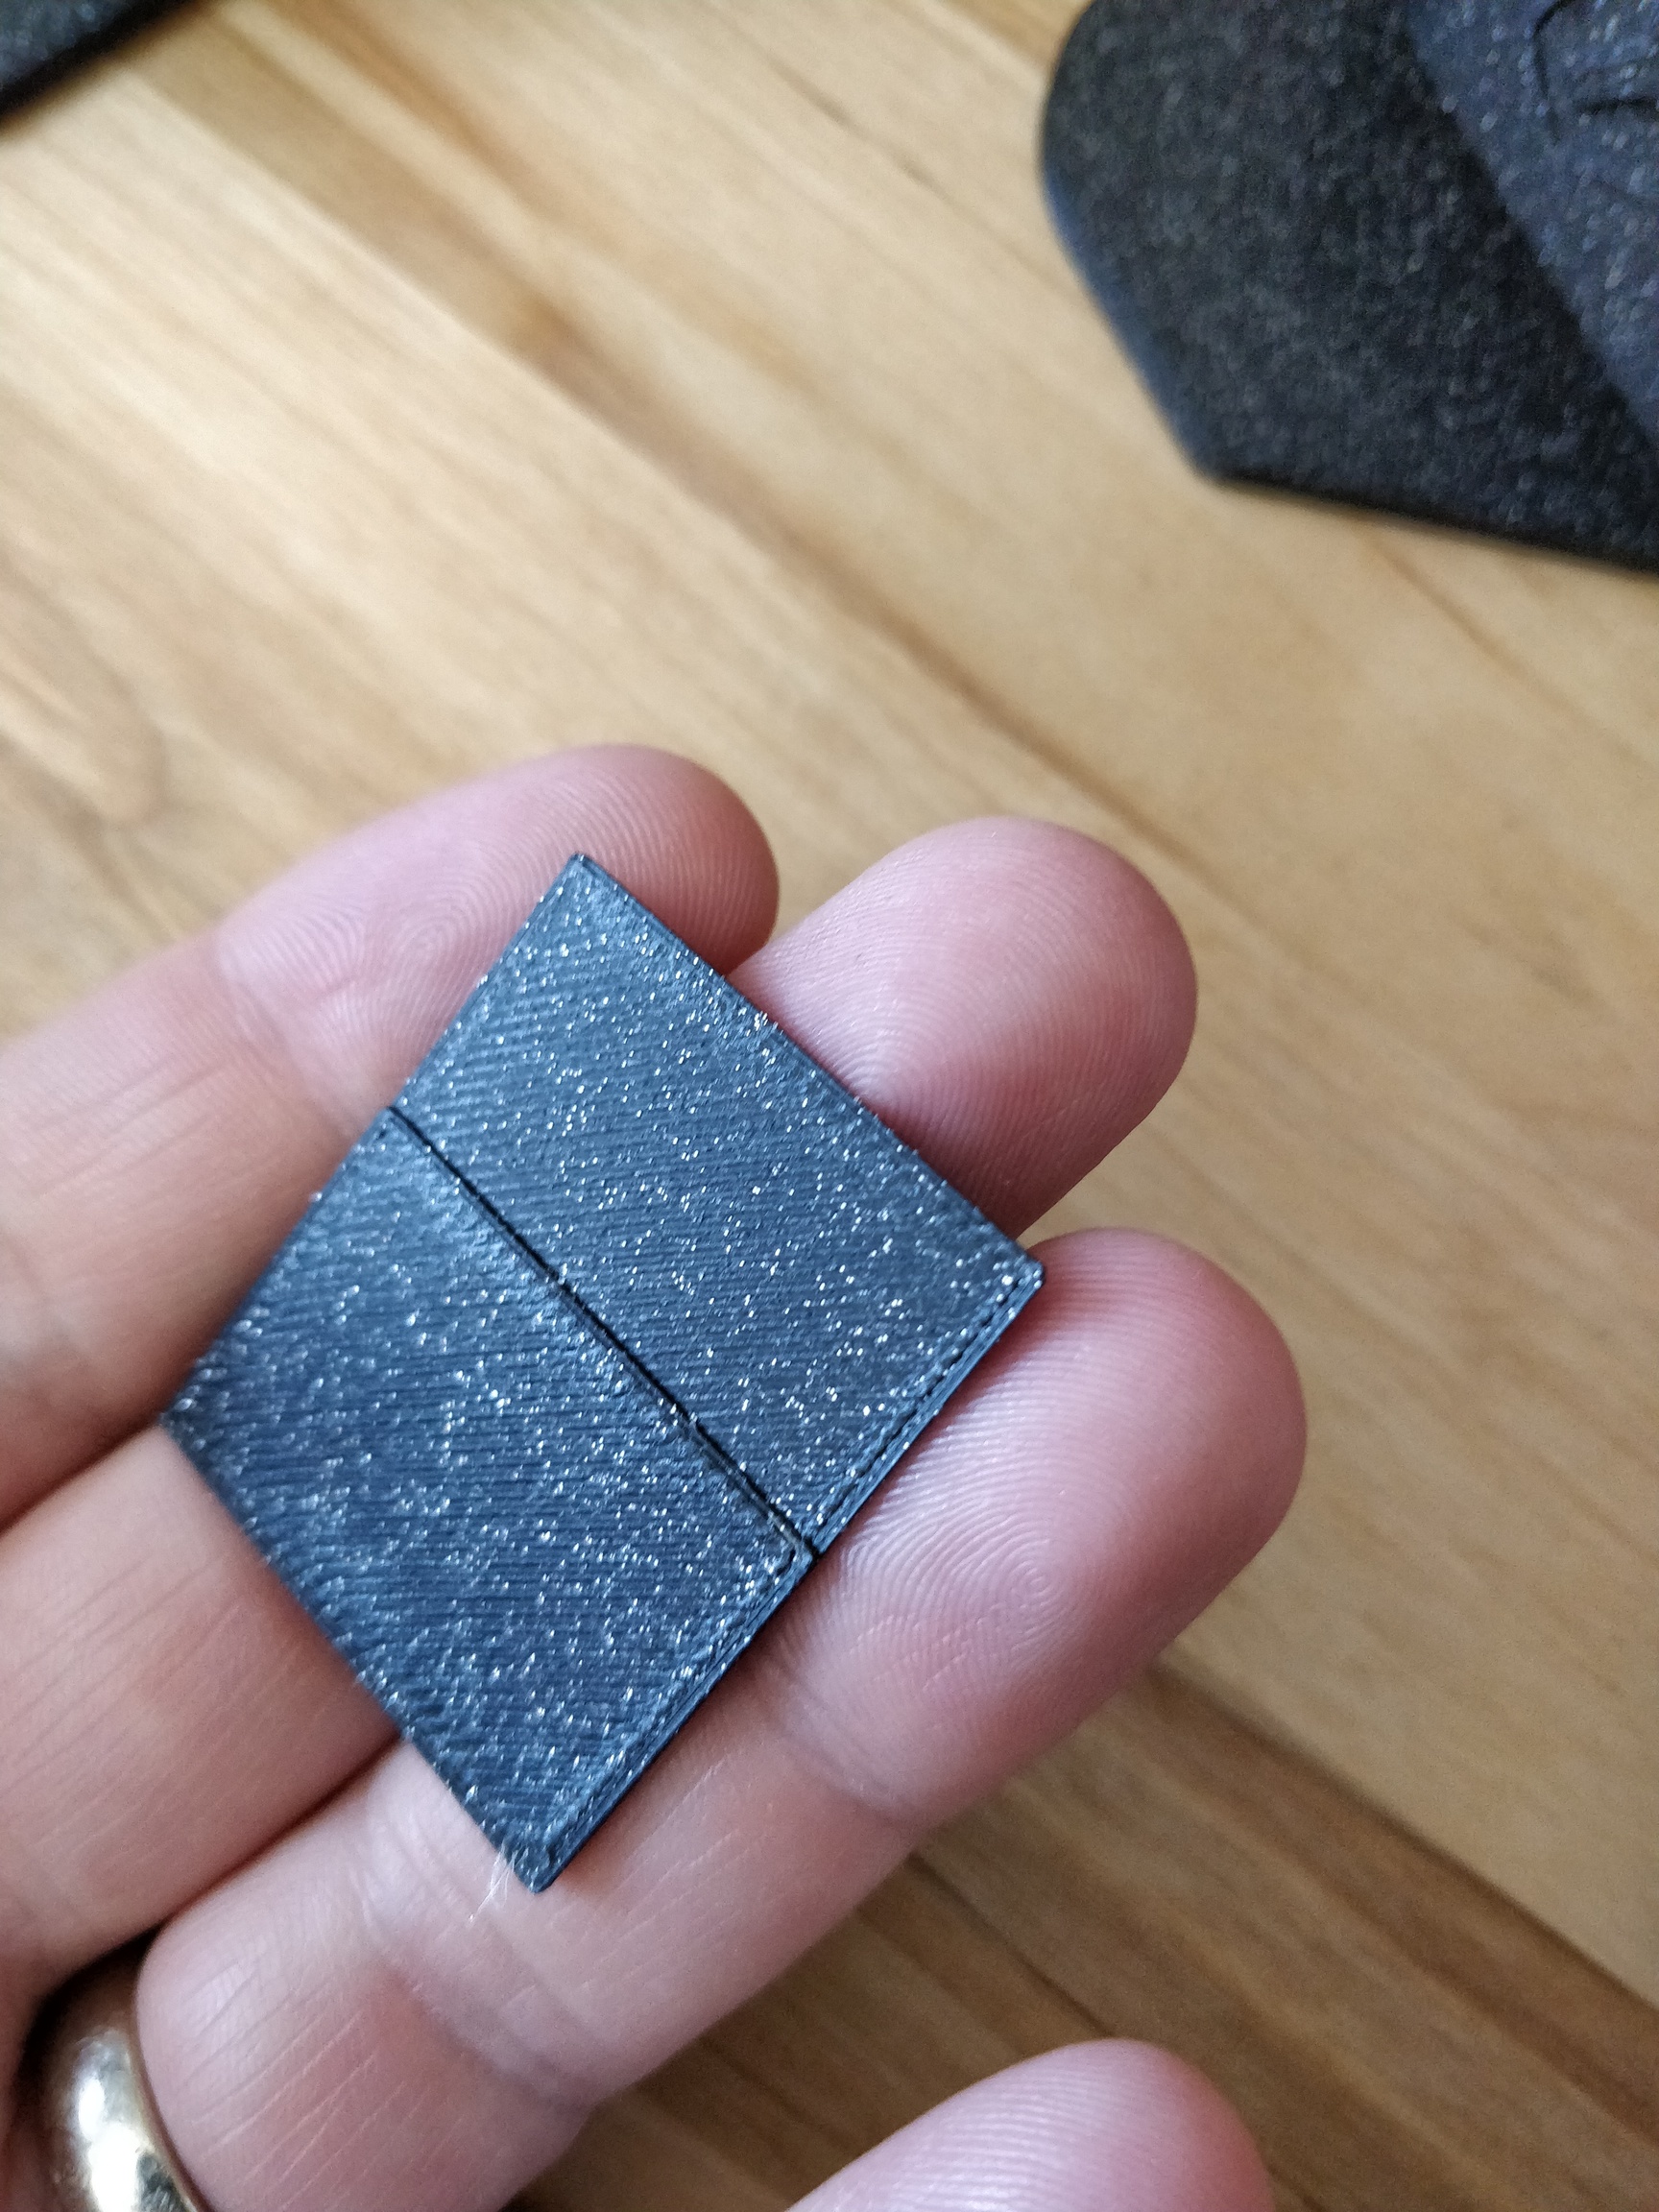
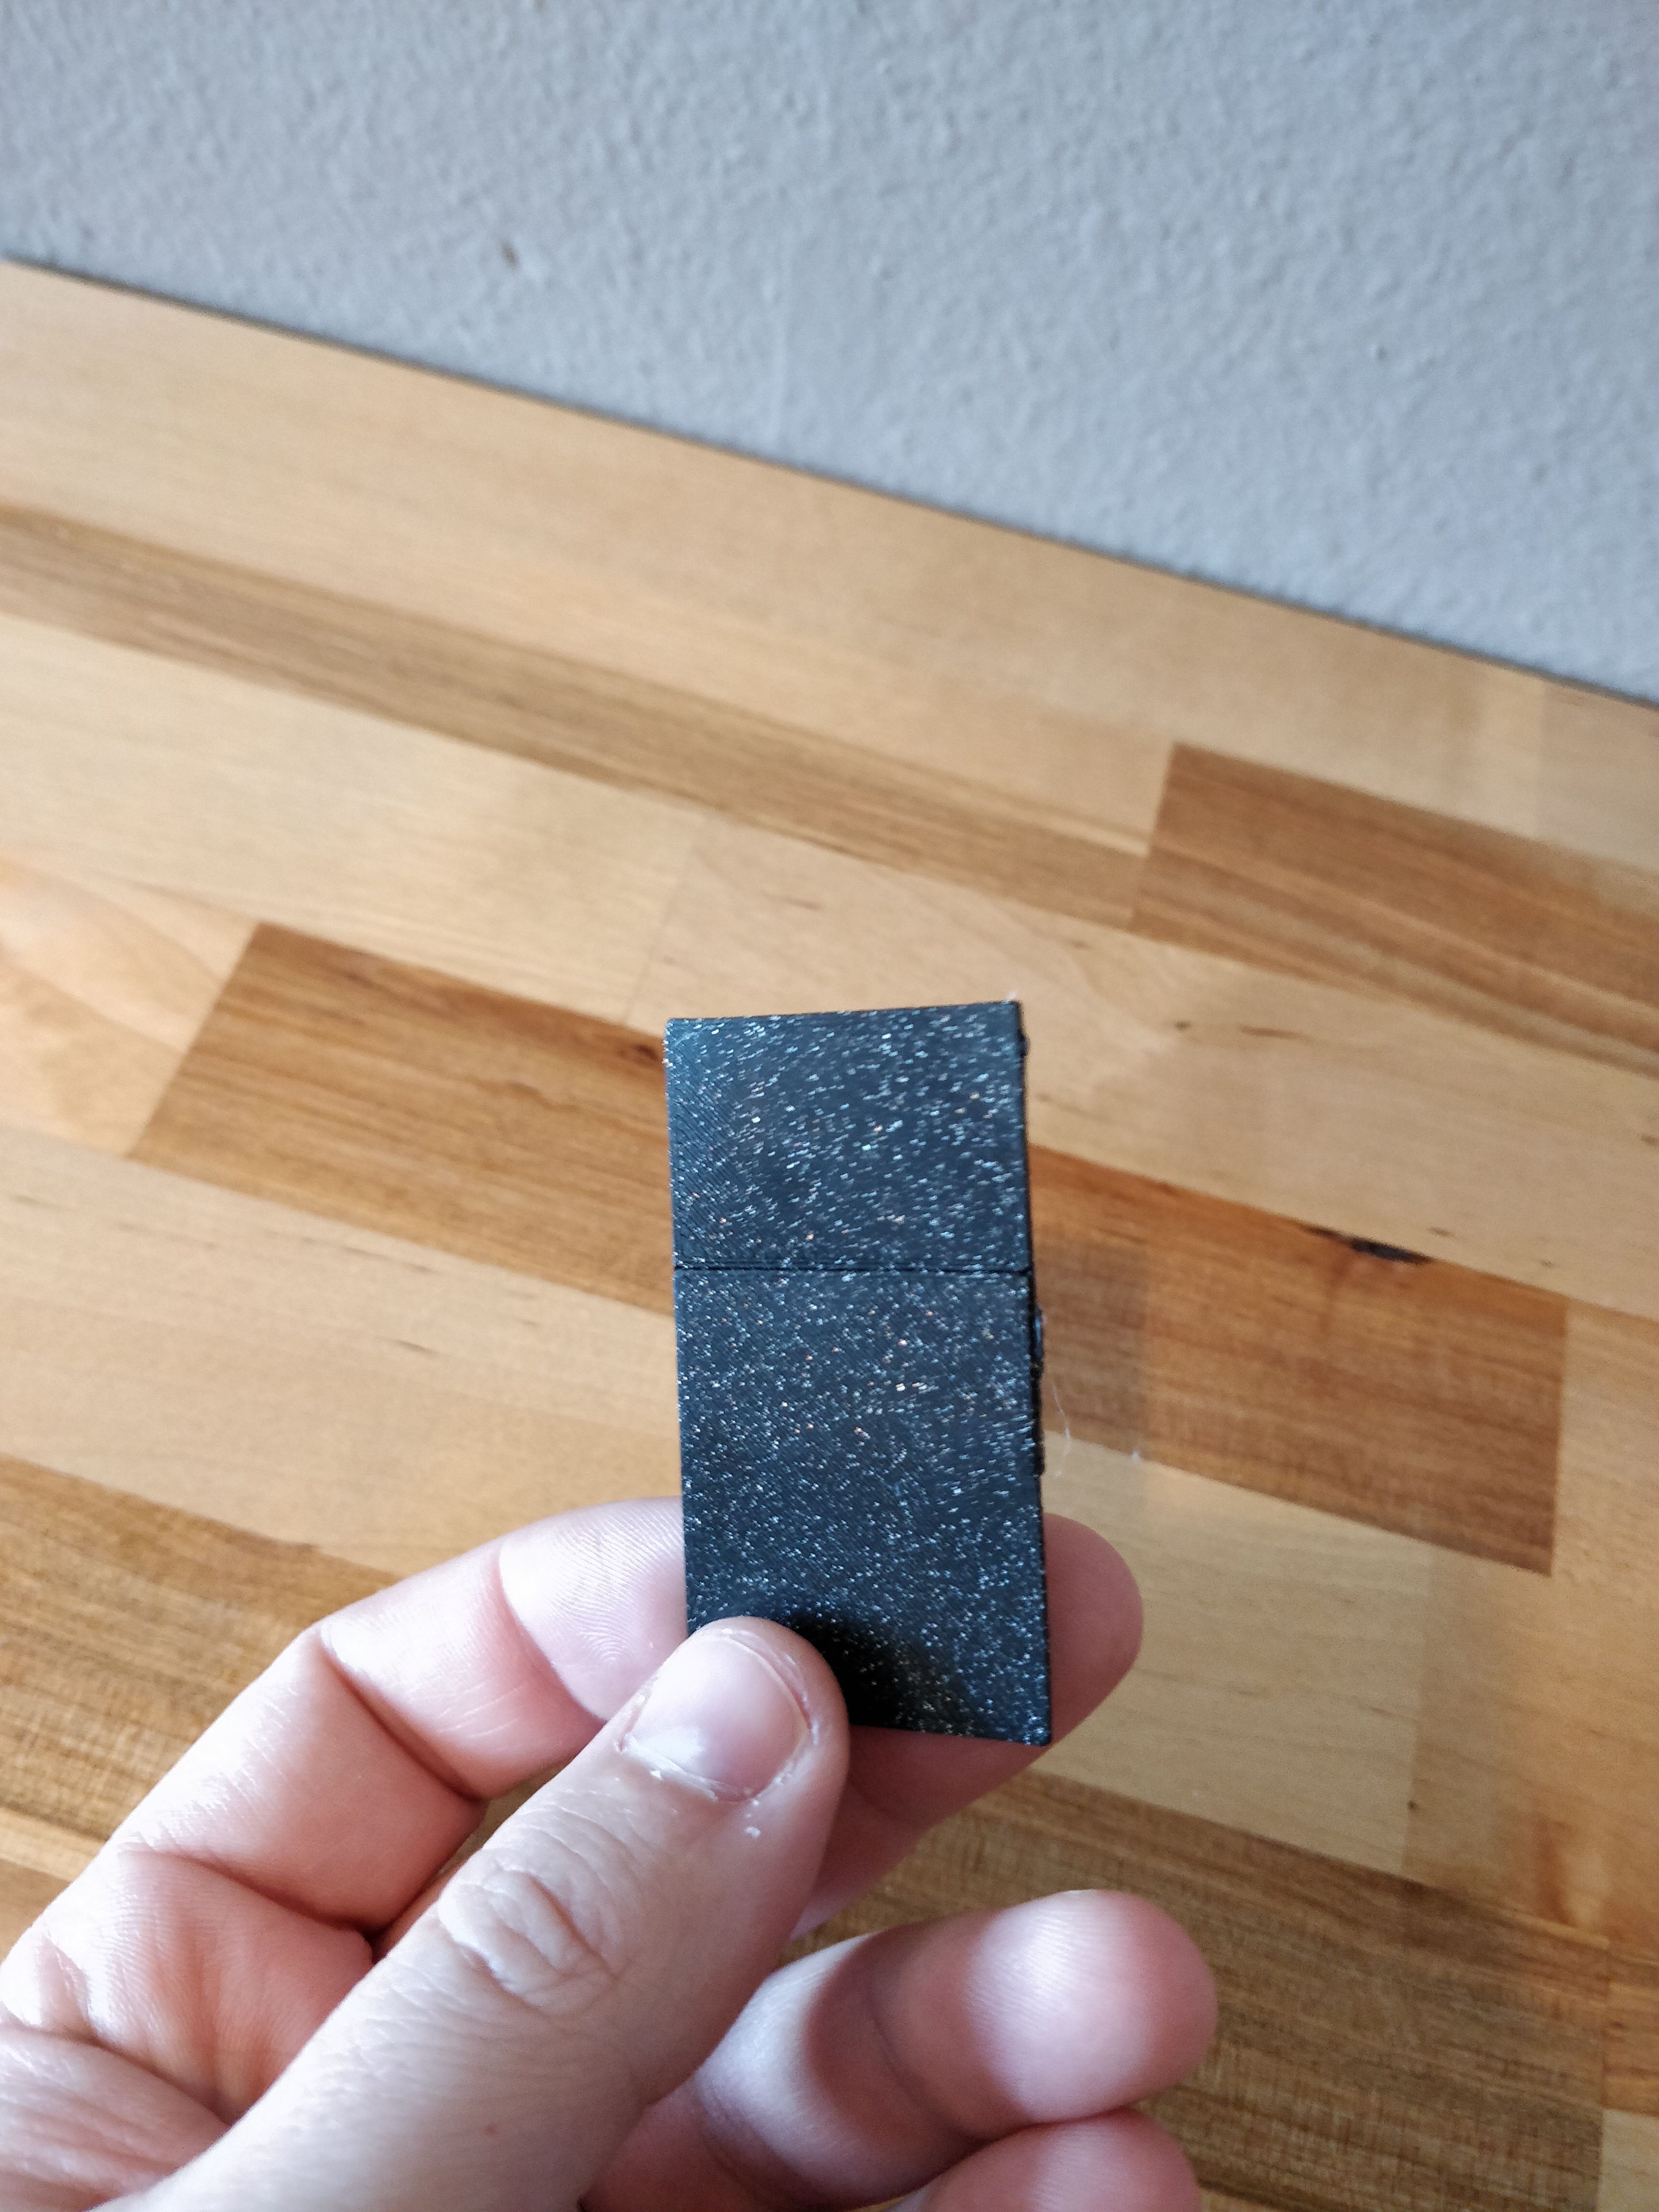
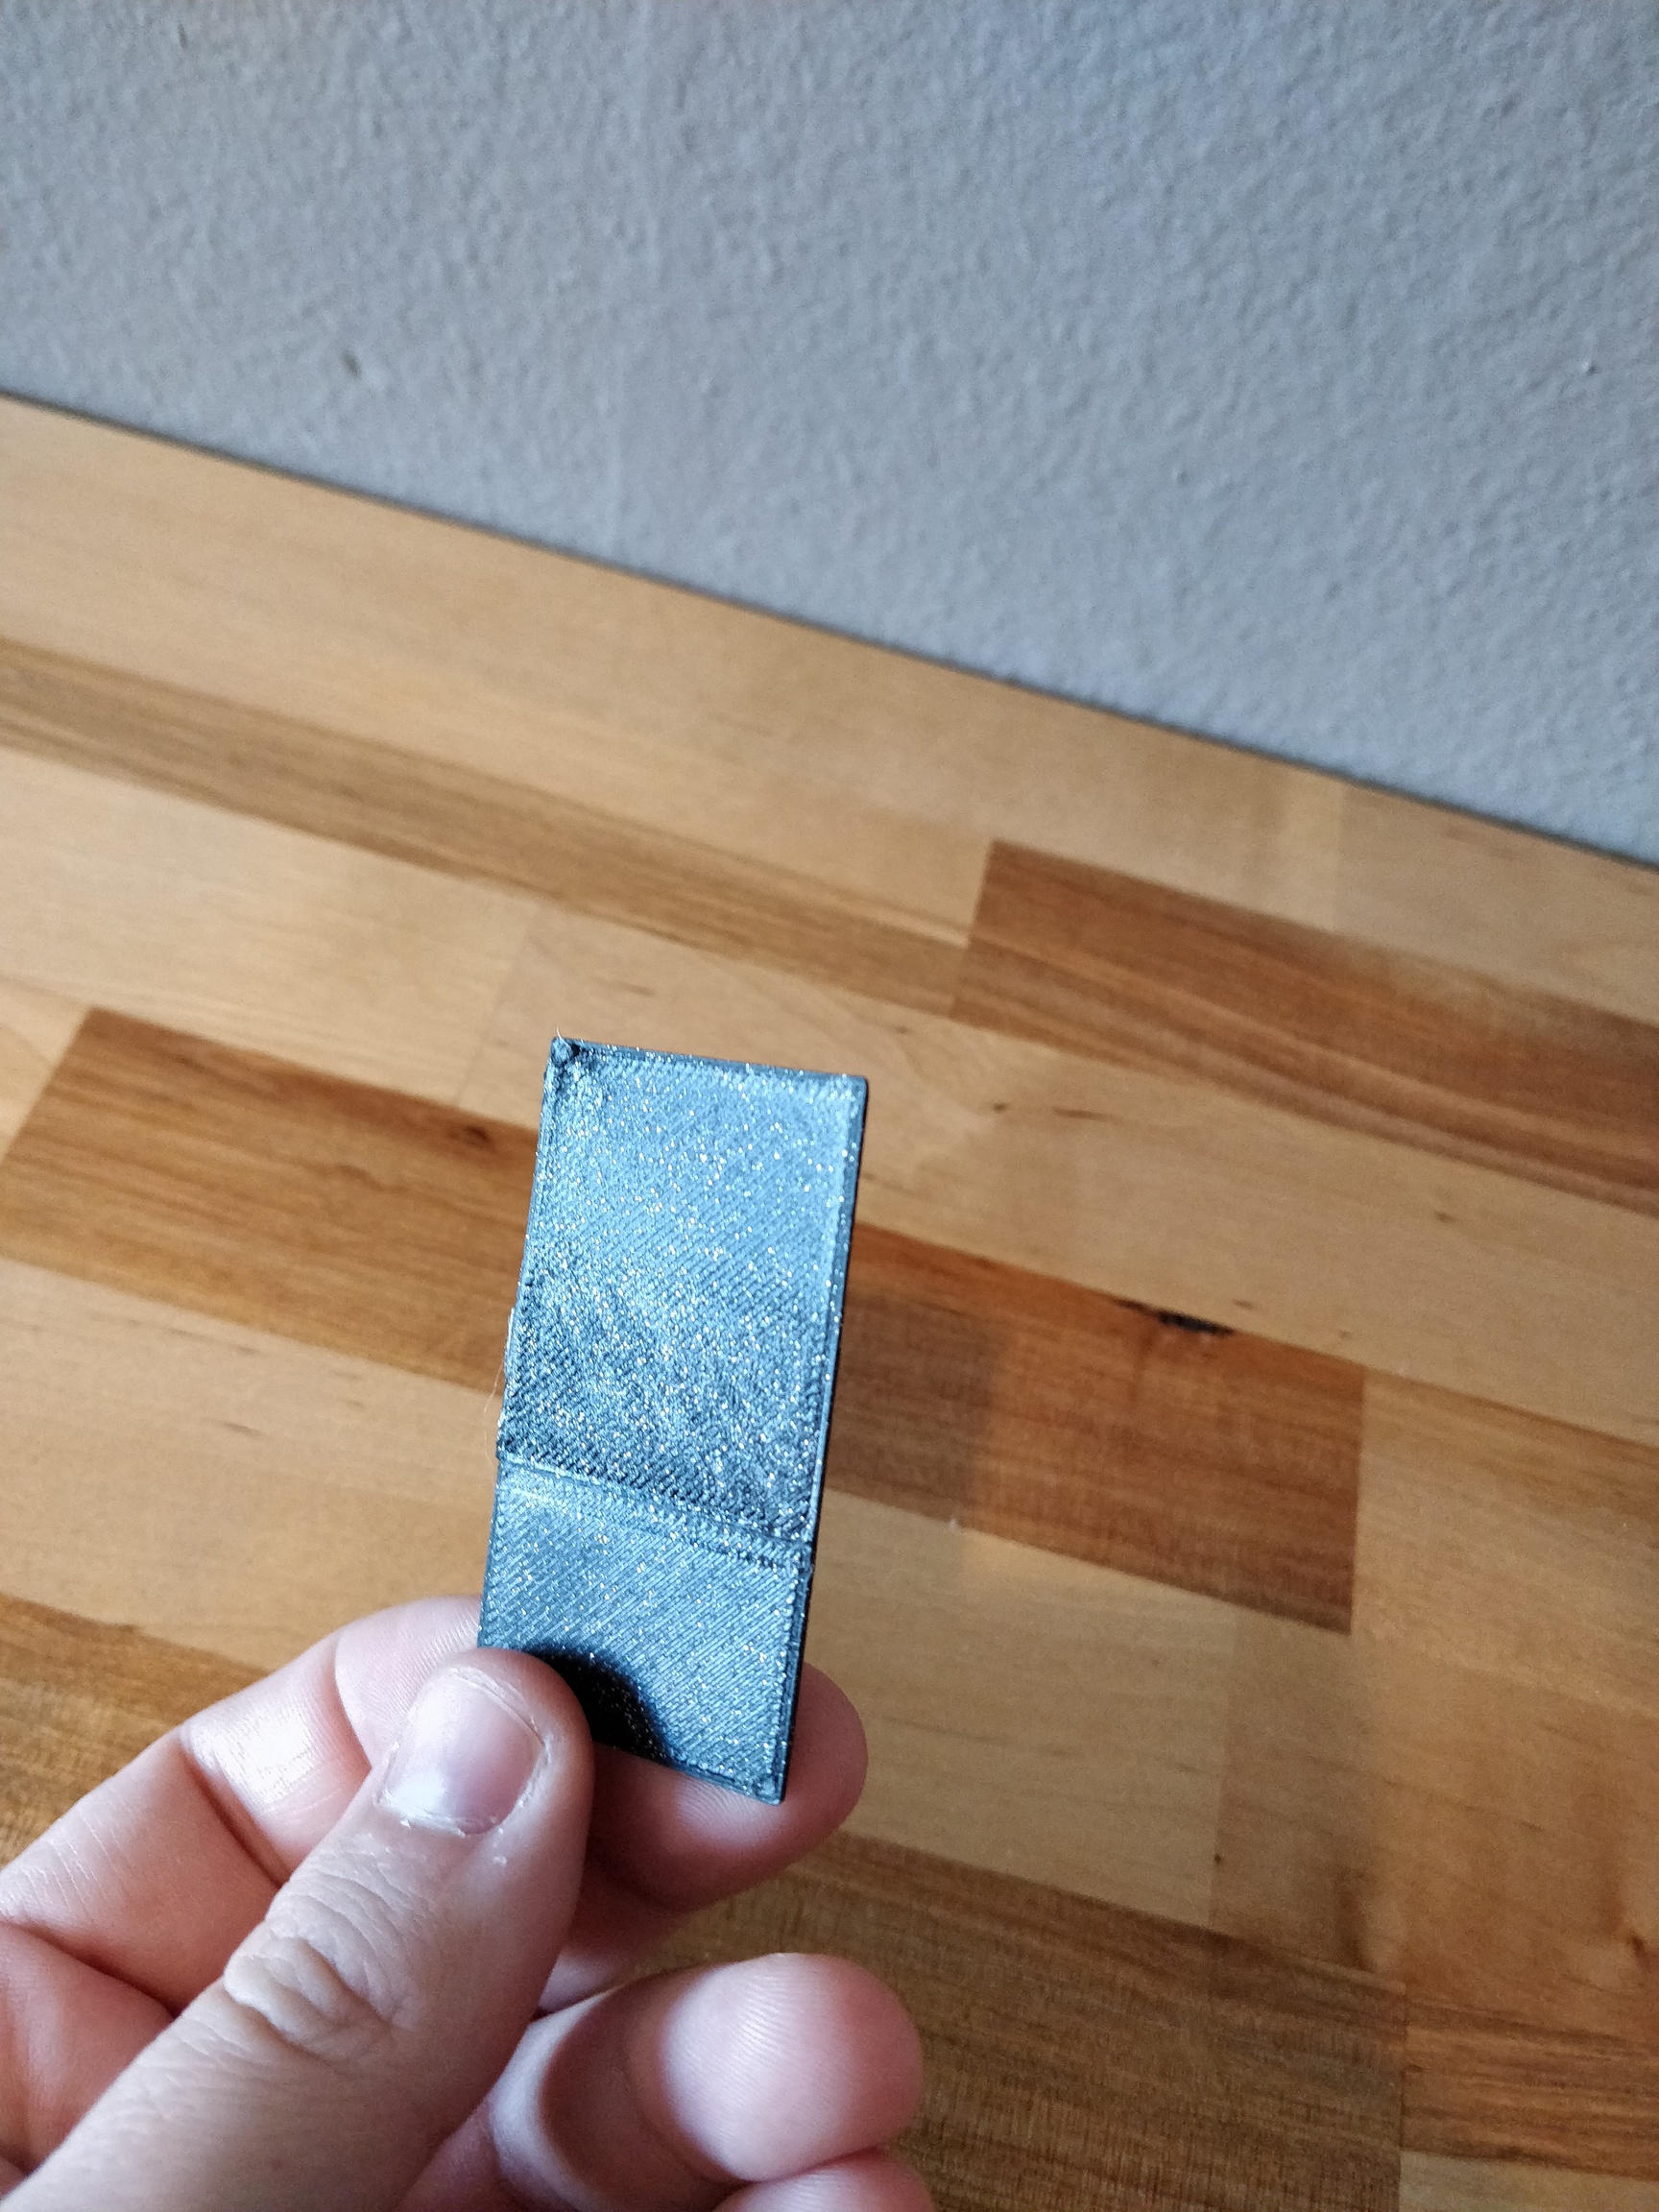
But now I am focused again on the ZXY and I am wondering if there are any neat drawer pulls I can print. Here are some ideas I’ve been kicking around:
Something functional, like a little box that can hold something. Or maybe it holds a screwdriver, and the screwdriver becomes the drawer pull? Or maybe it is for bit storage or something?
I’m also pretty ok with nothing. At least this way, I won’t catch my pants on the drawer pulls. I can still reach the side and open the drawers.
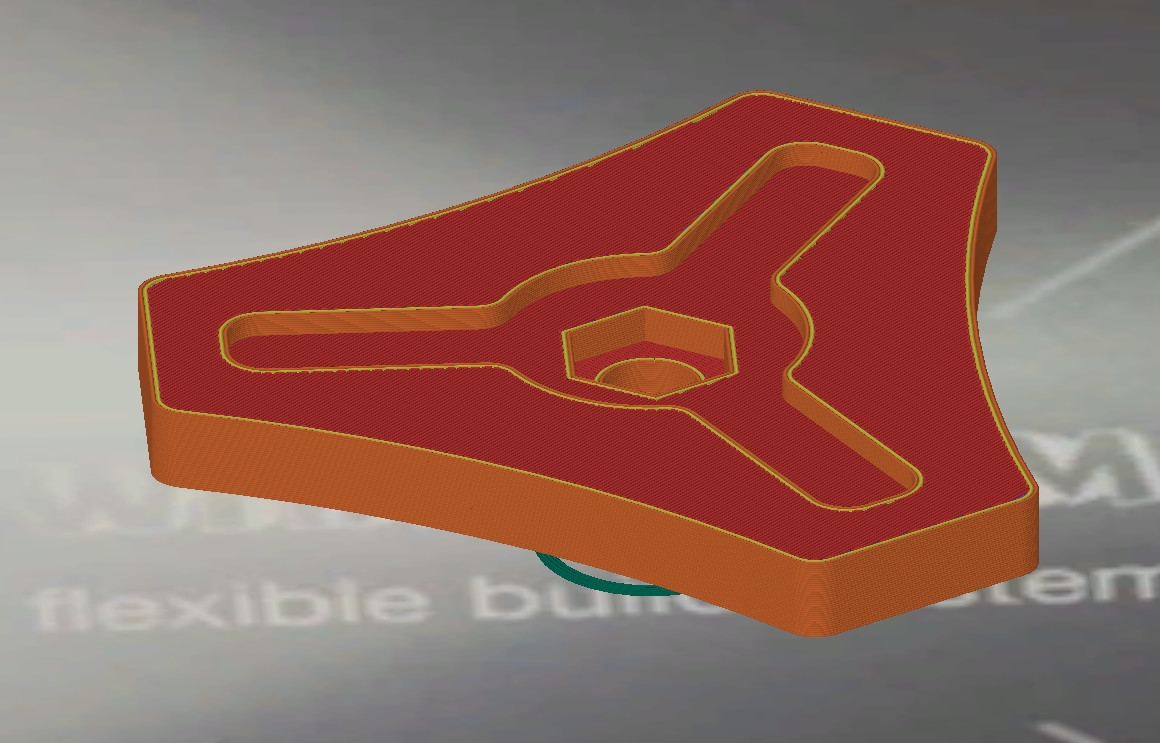
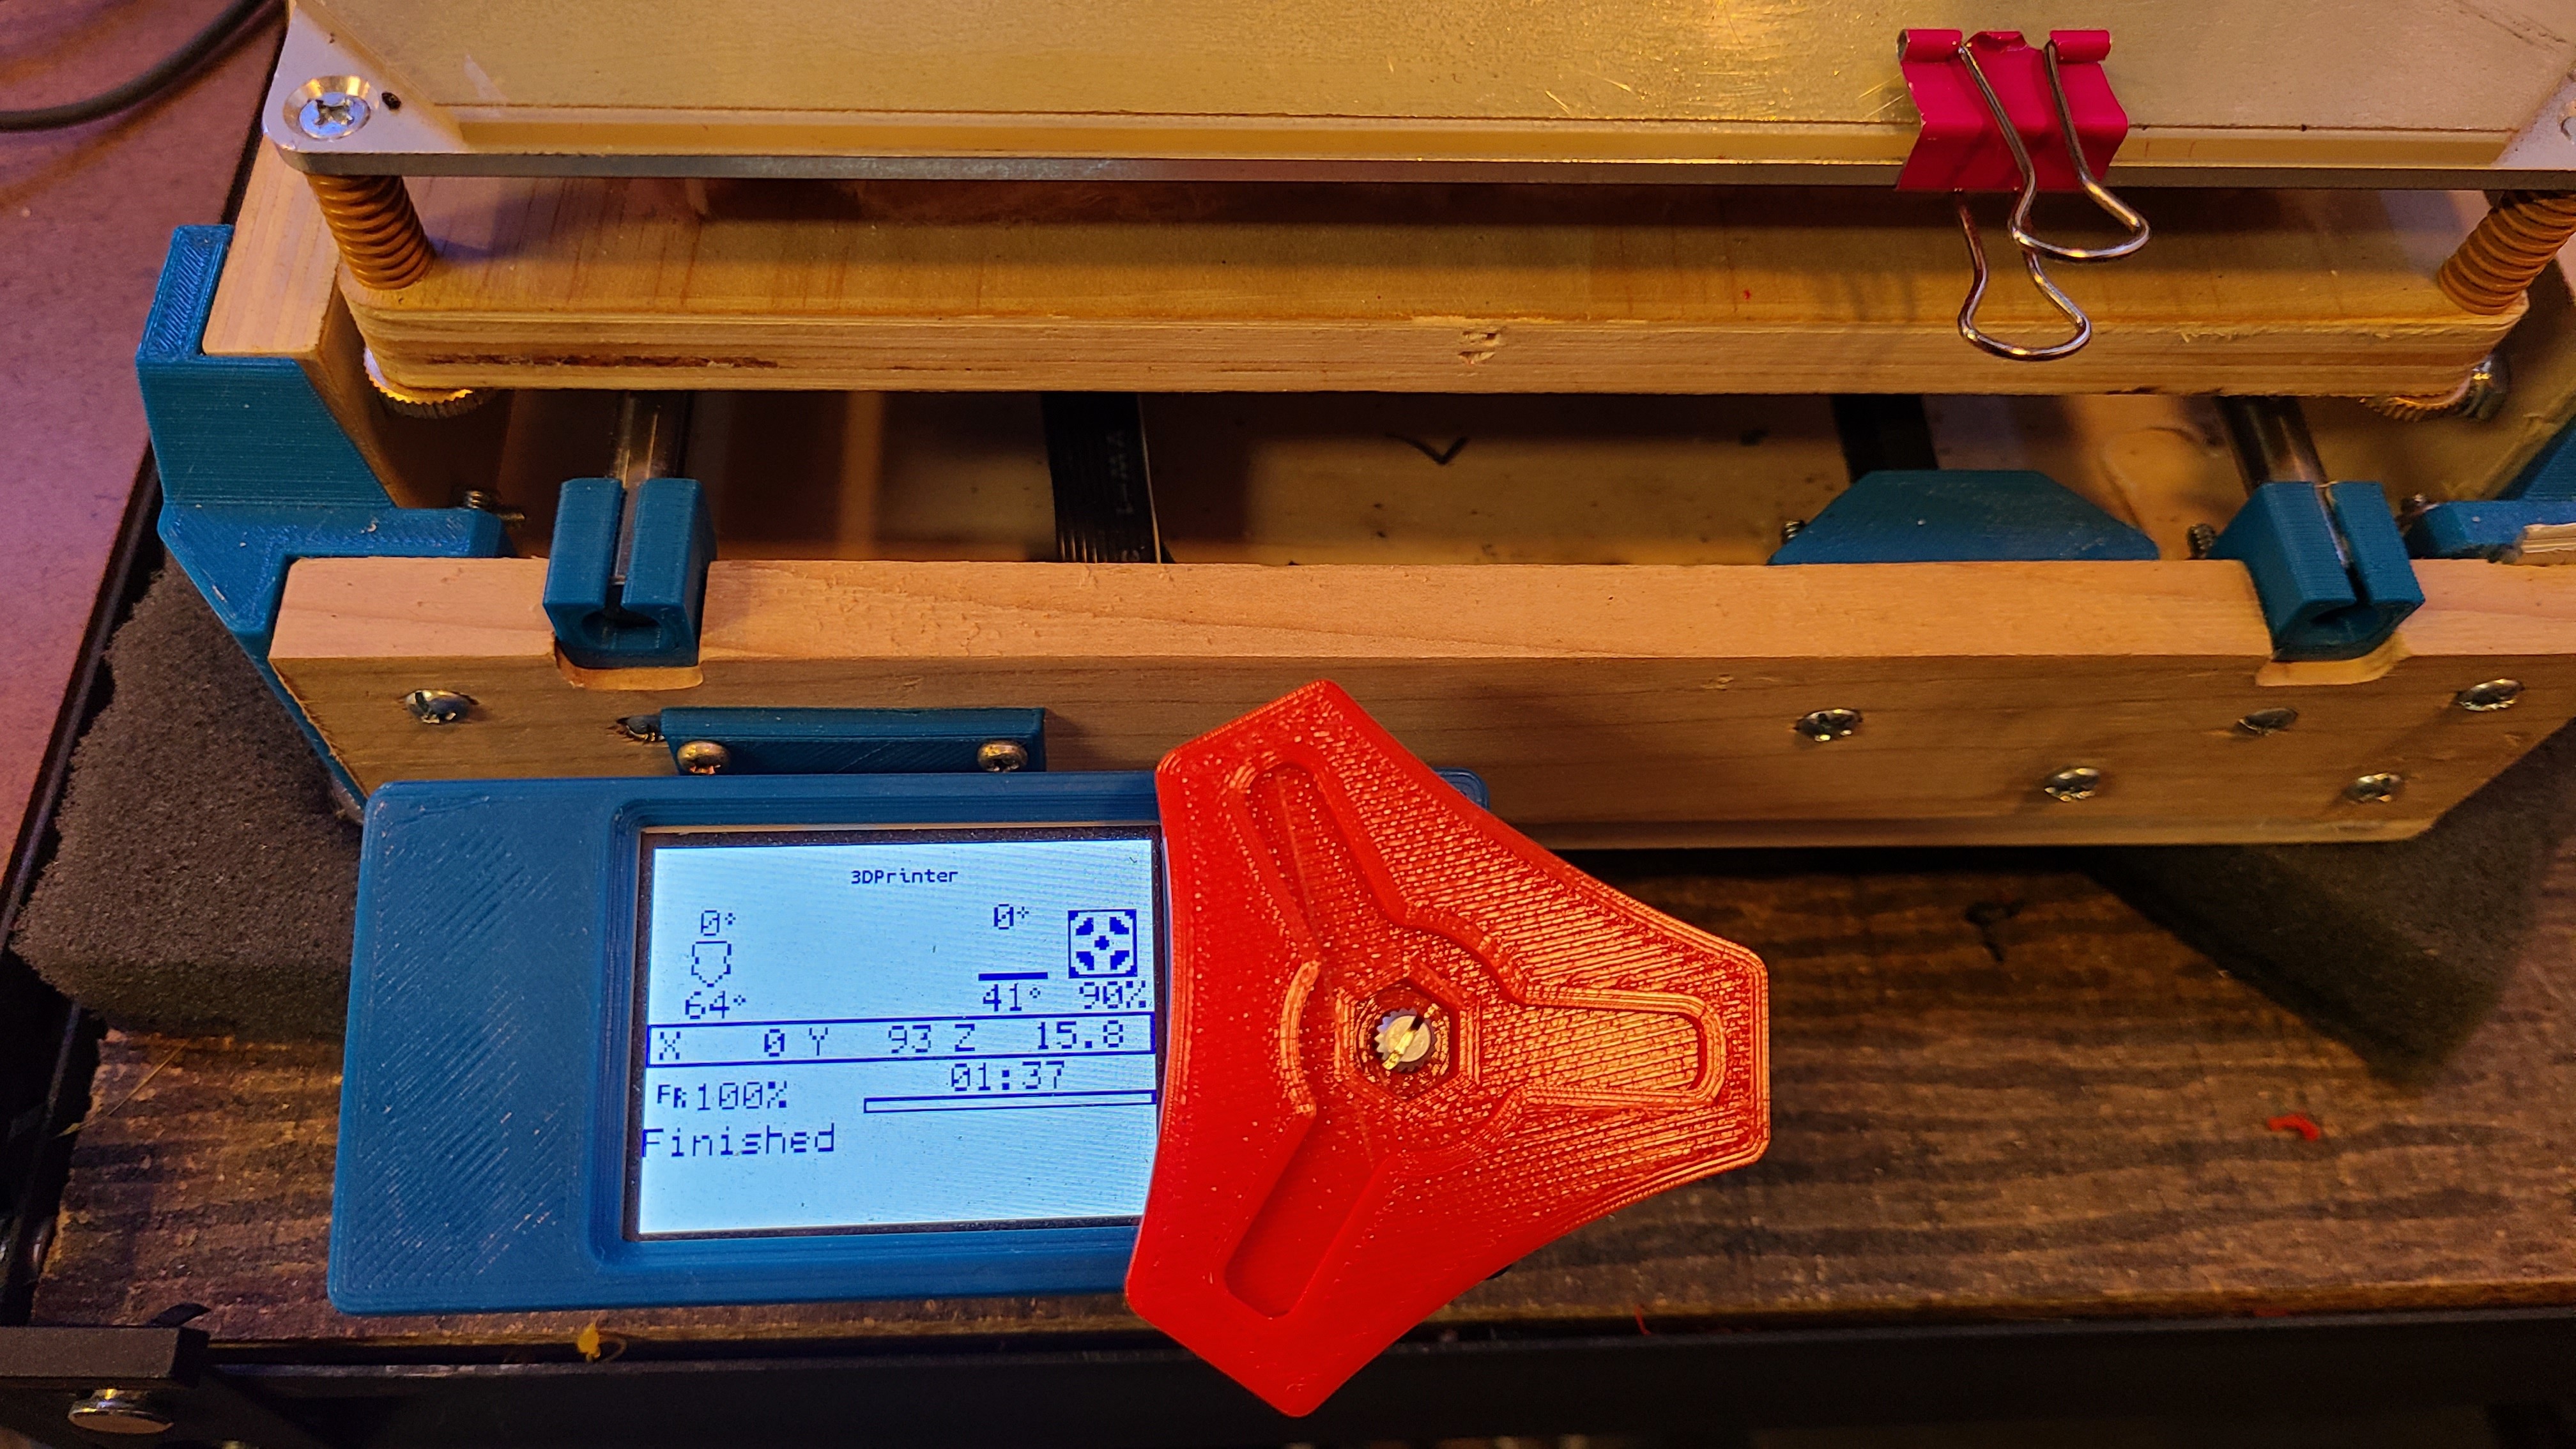
The logo would make a cool drawer pull. Make it so the stem has a hole through it for a 5/16 bolt that sits in a recess in the center of the logo. Could print them with a filament change so the logo is red, then the rest is black.
Printing the flashing is a cool process, but couldn’t you just use an opaque material on the underside of the glass? Paint or tape around the edge, under the glass so it doesn’t rub off in normal use/cleaning, but then it is automagically out of the way when the top is off to work on the machine or lights.
Yeah. I am not sure how the paint would look. That would be the easiest. Or, just buy a mat from a picture frame or something. I am really making this too hard.
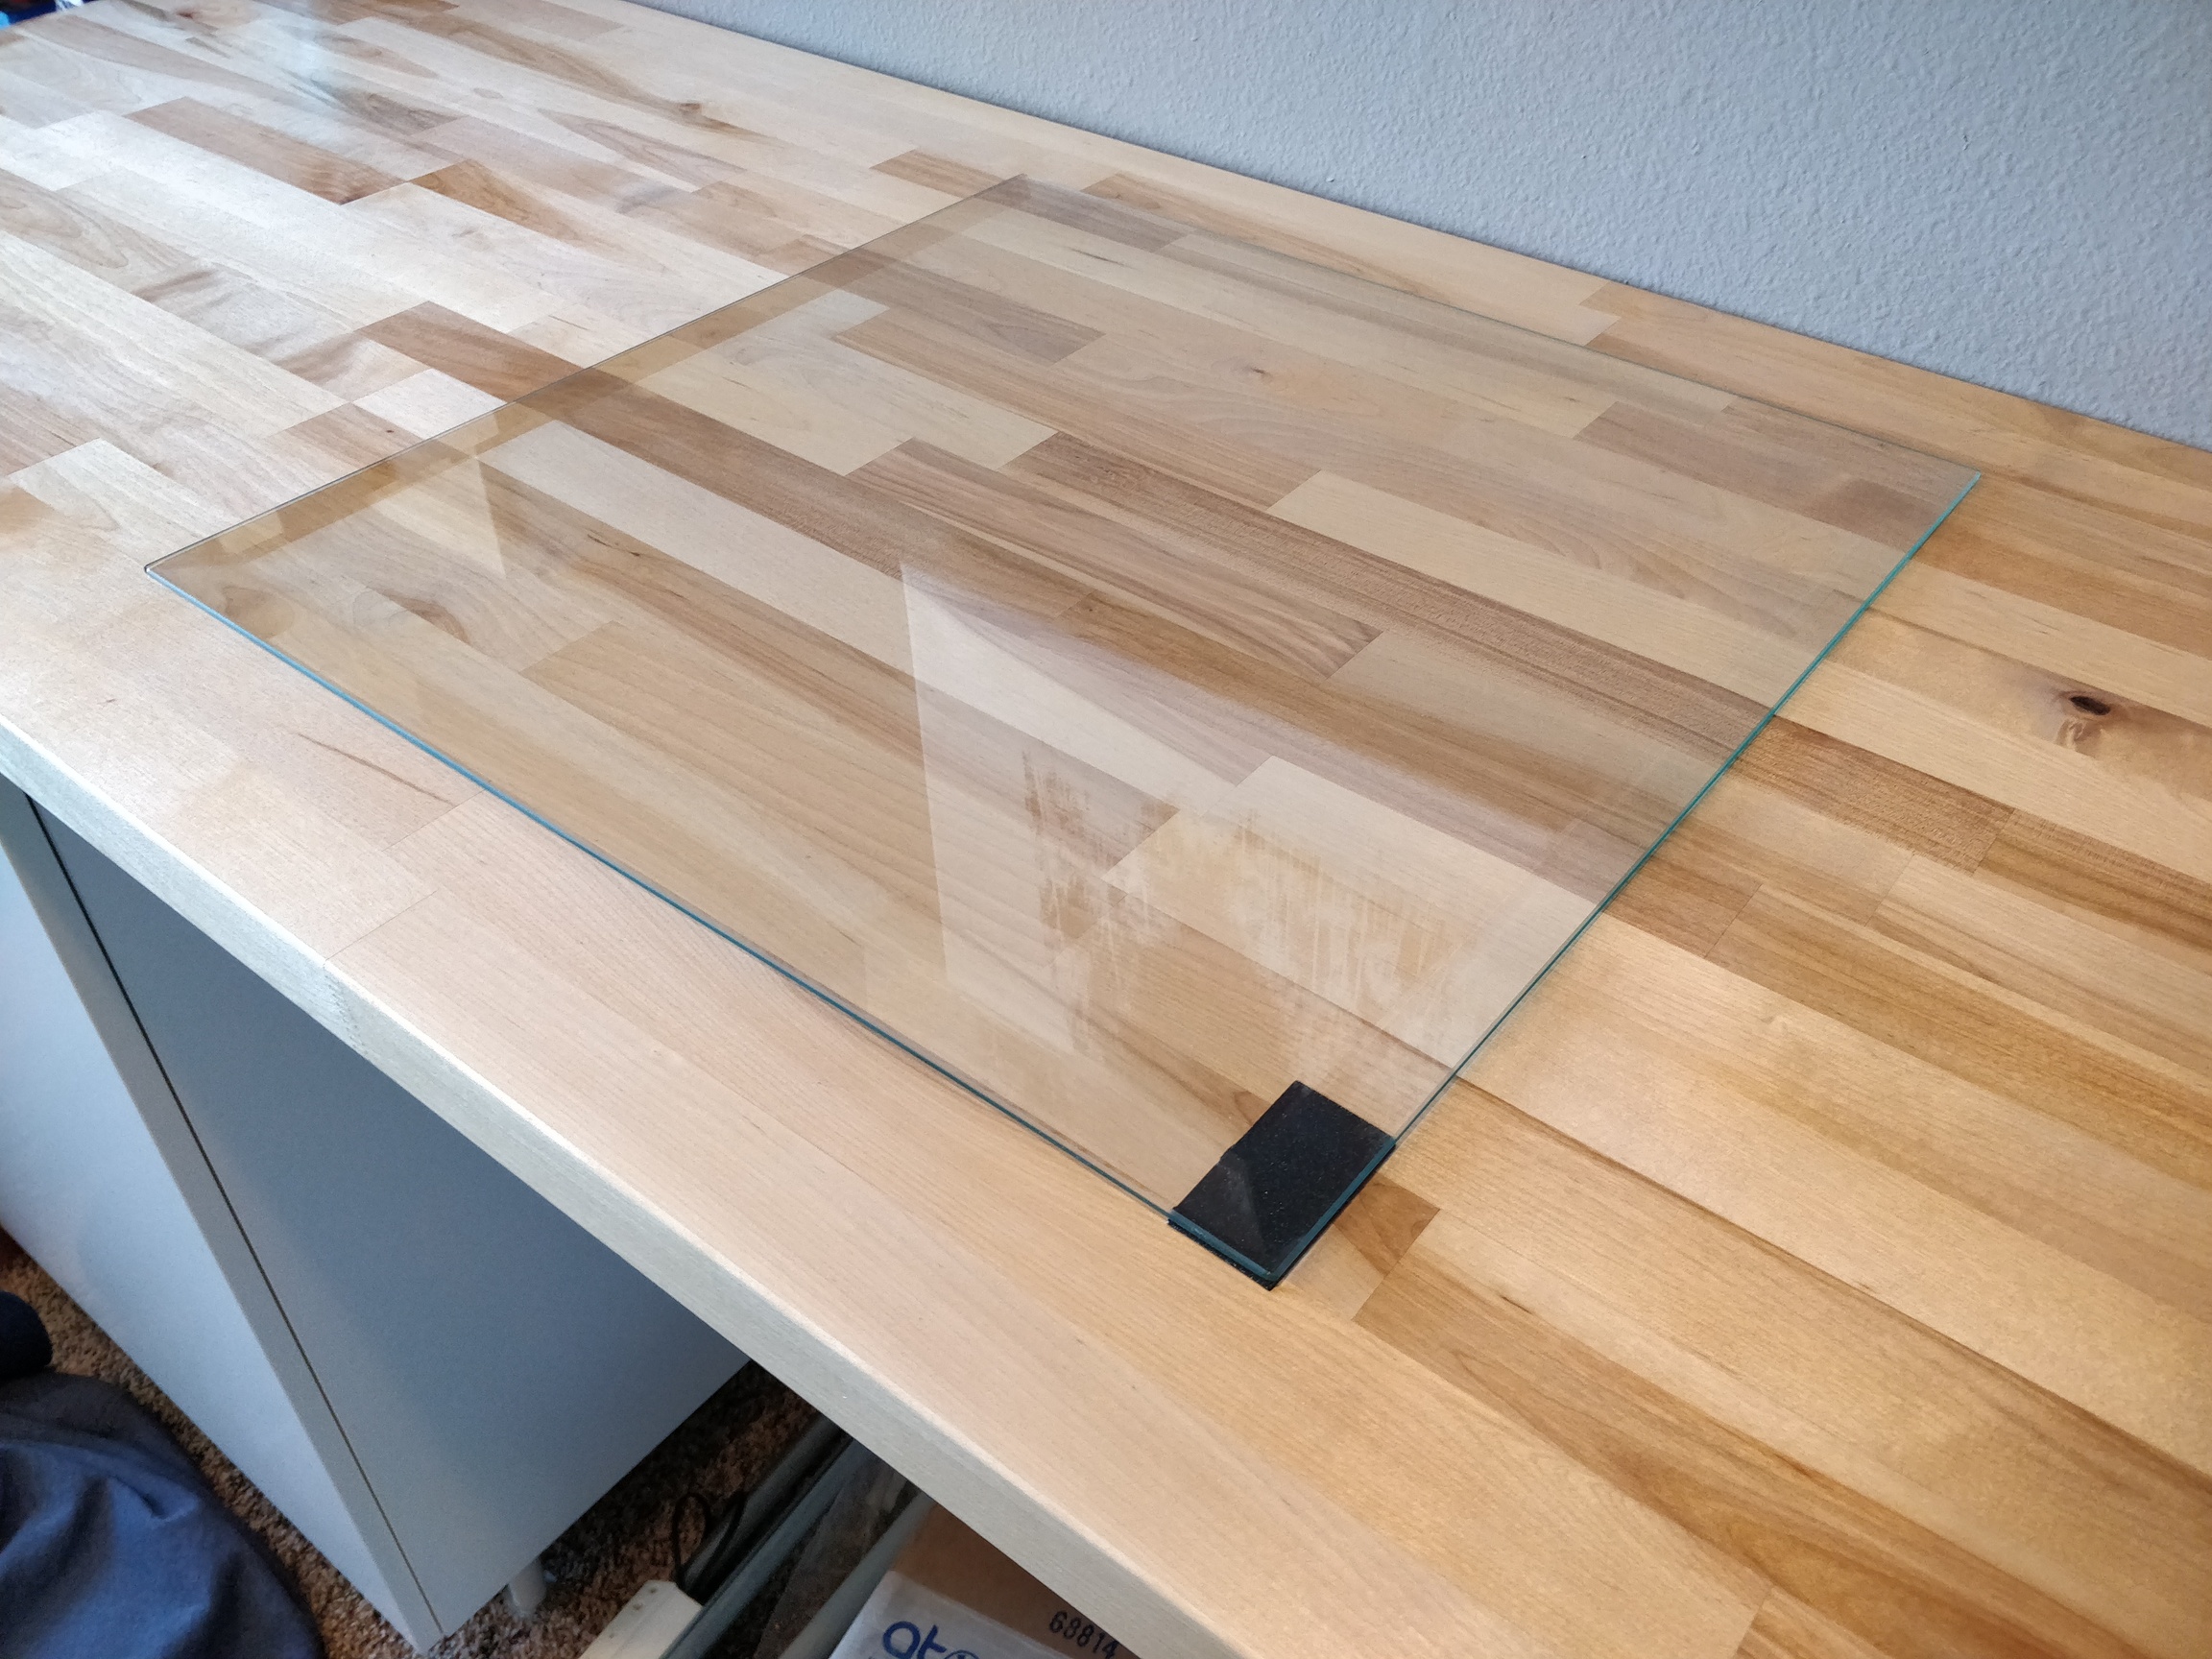
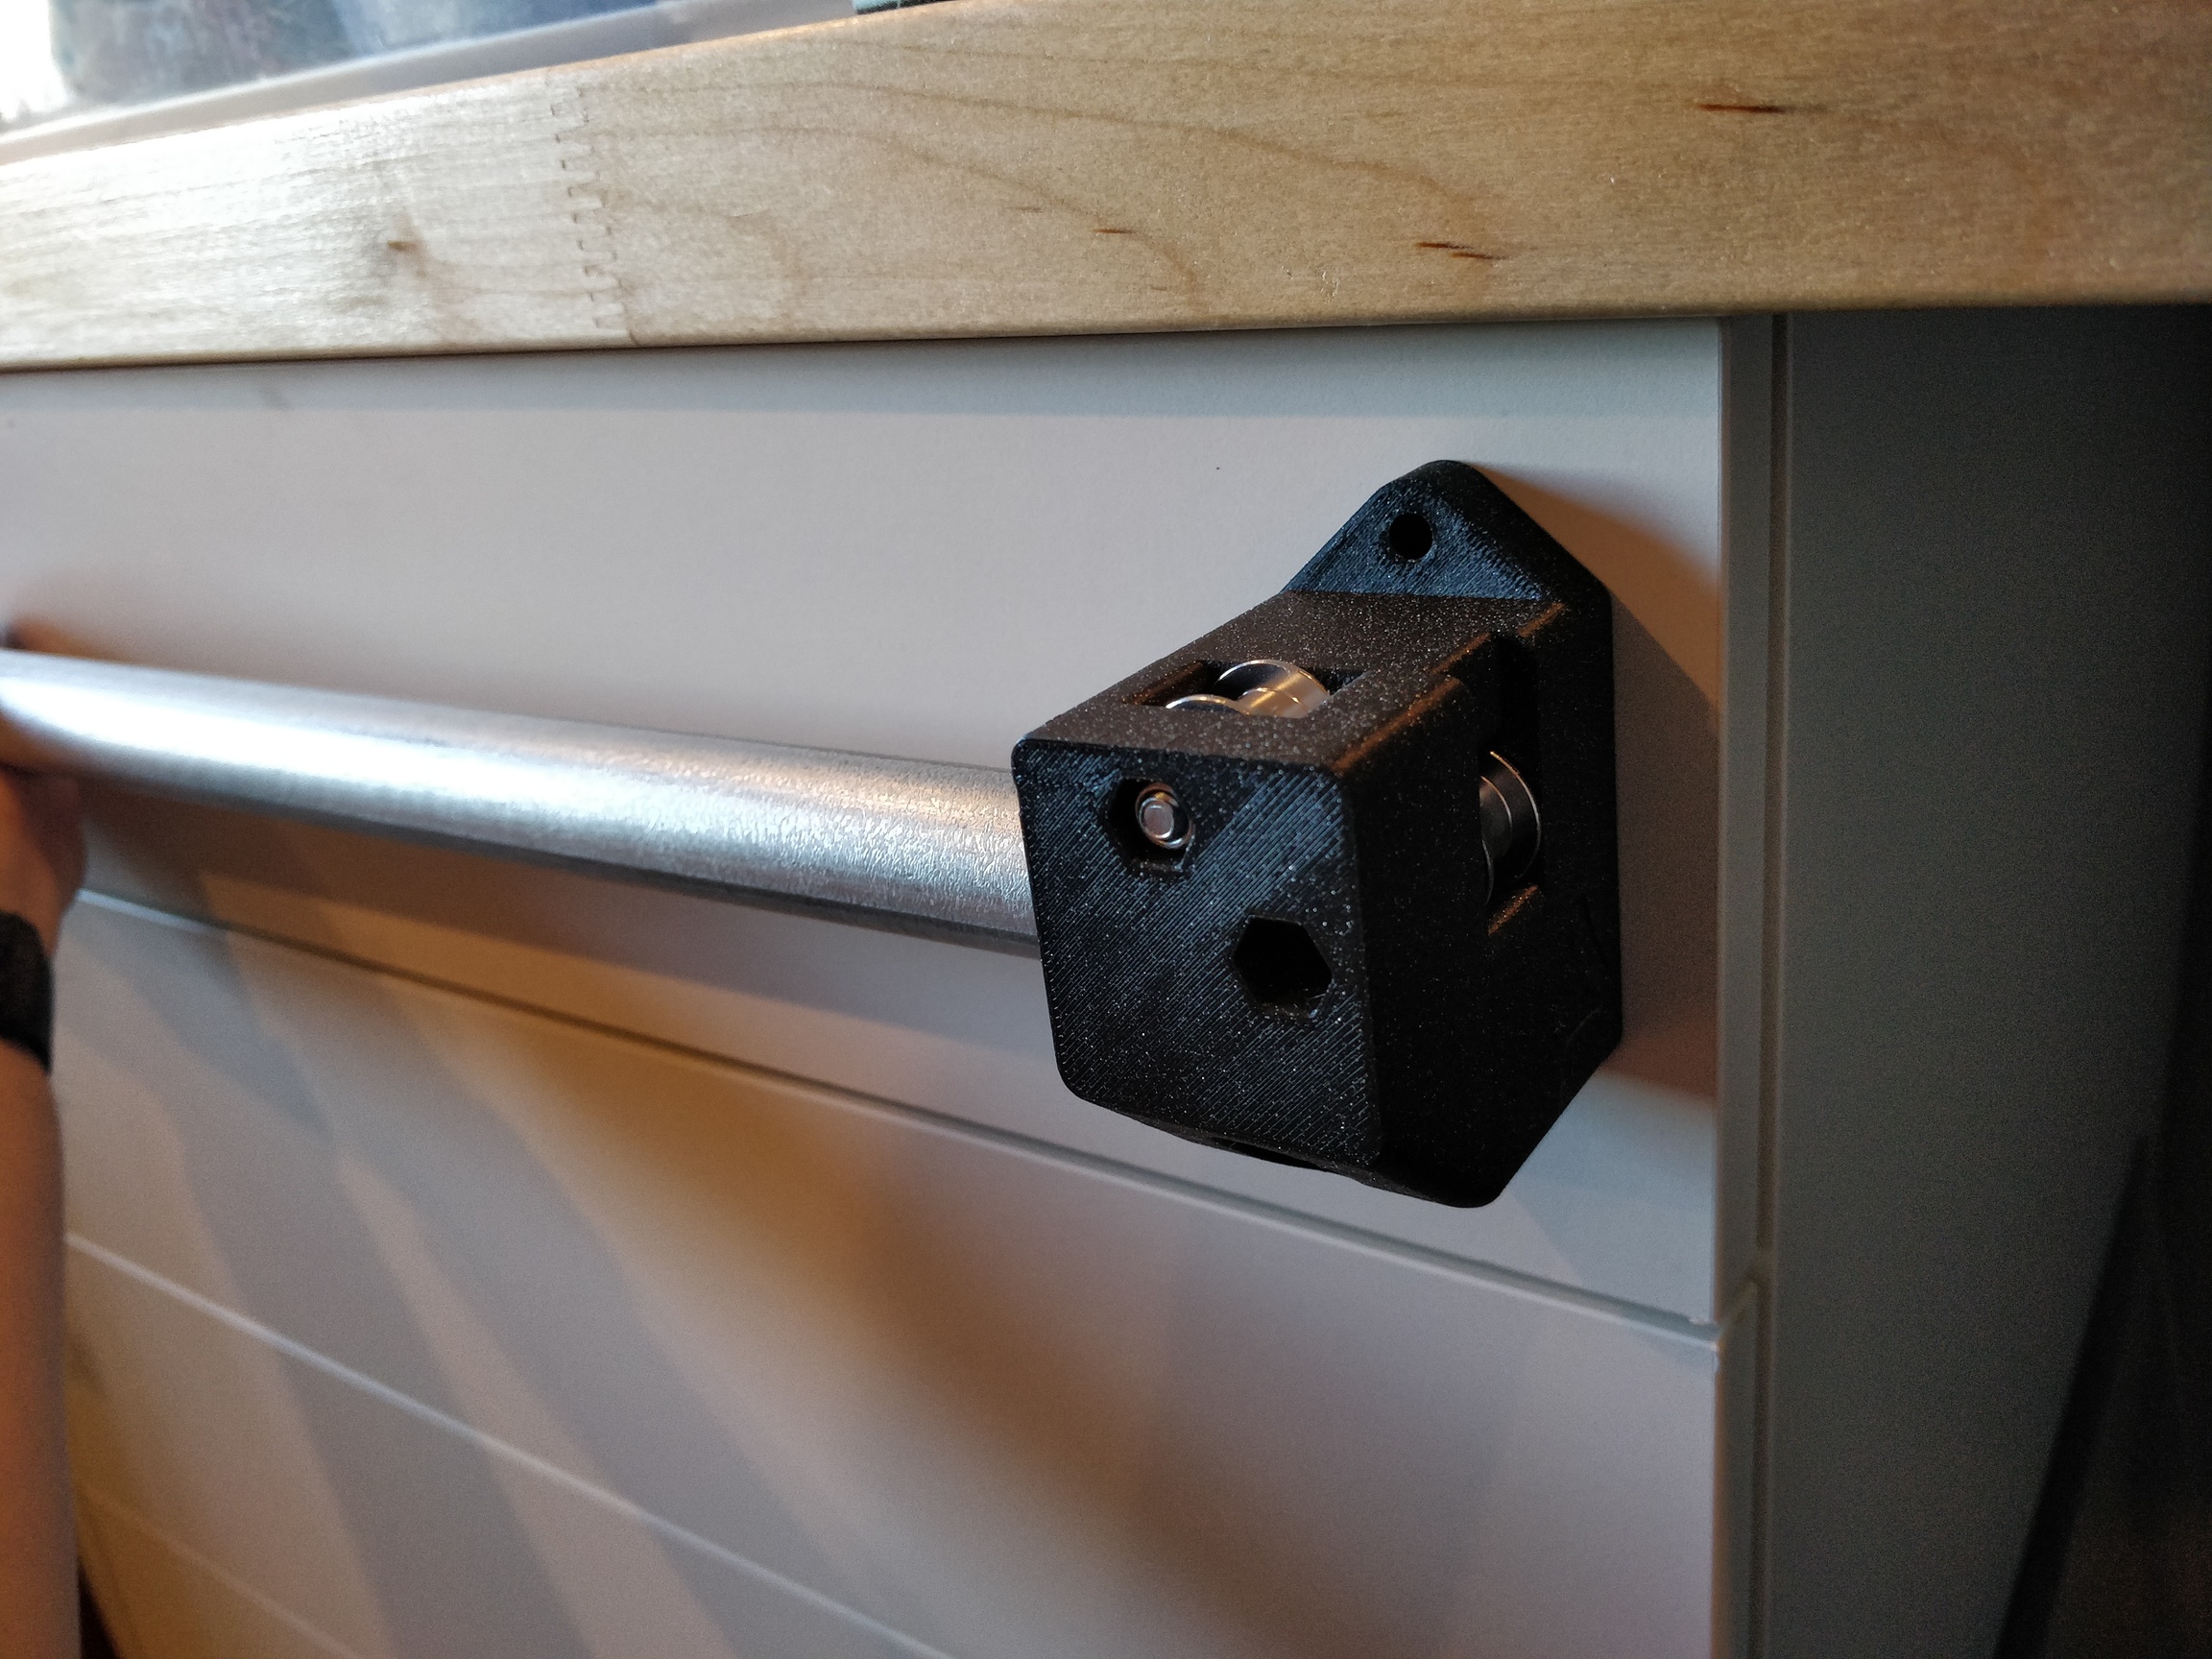
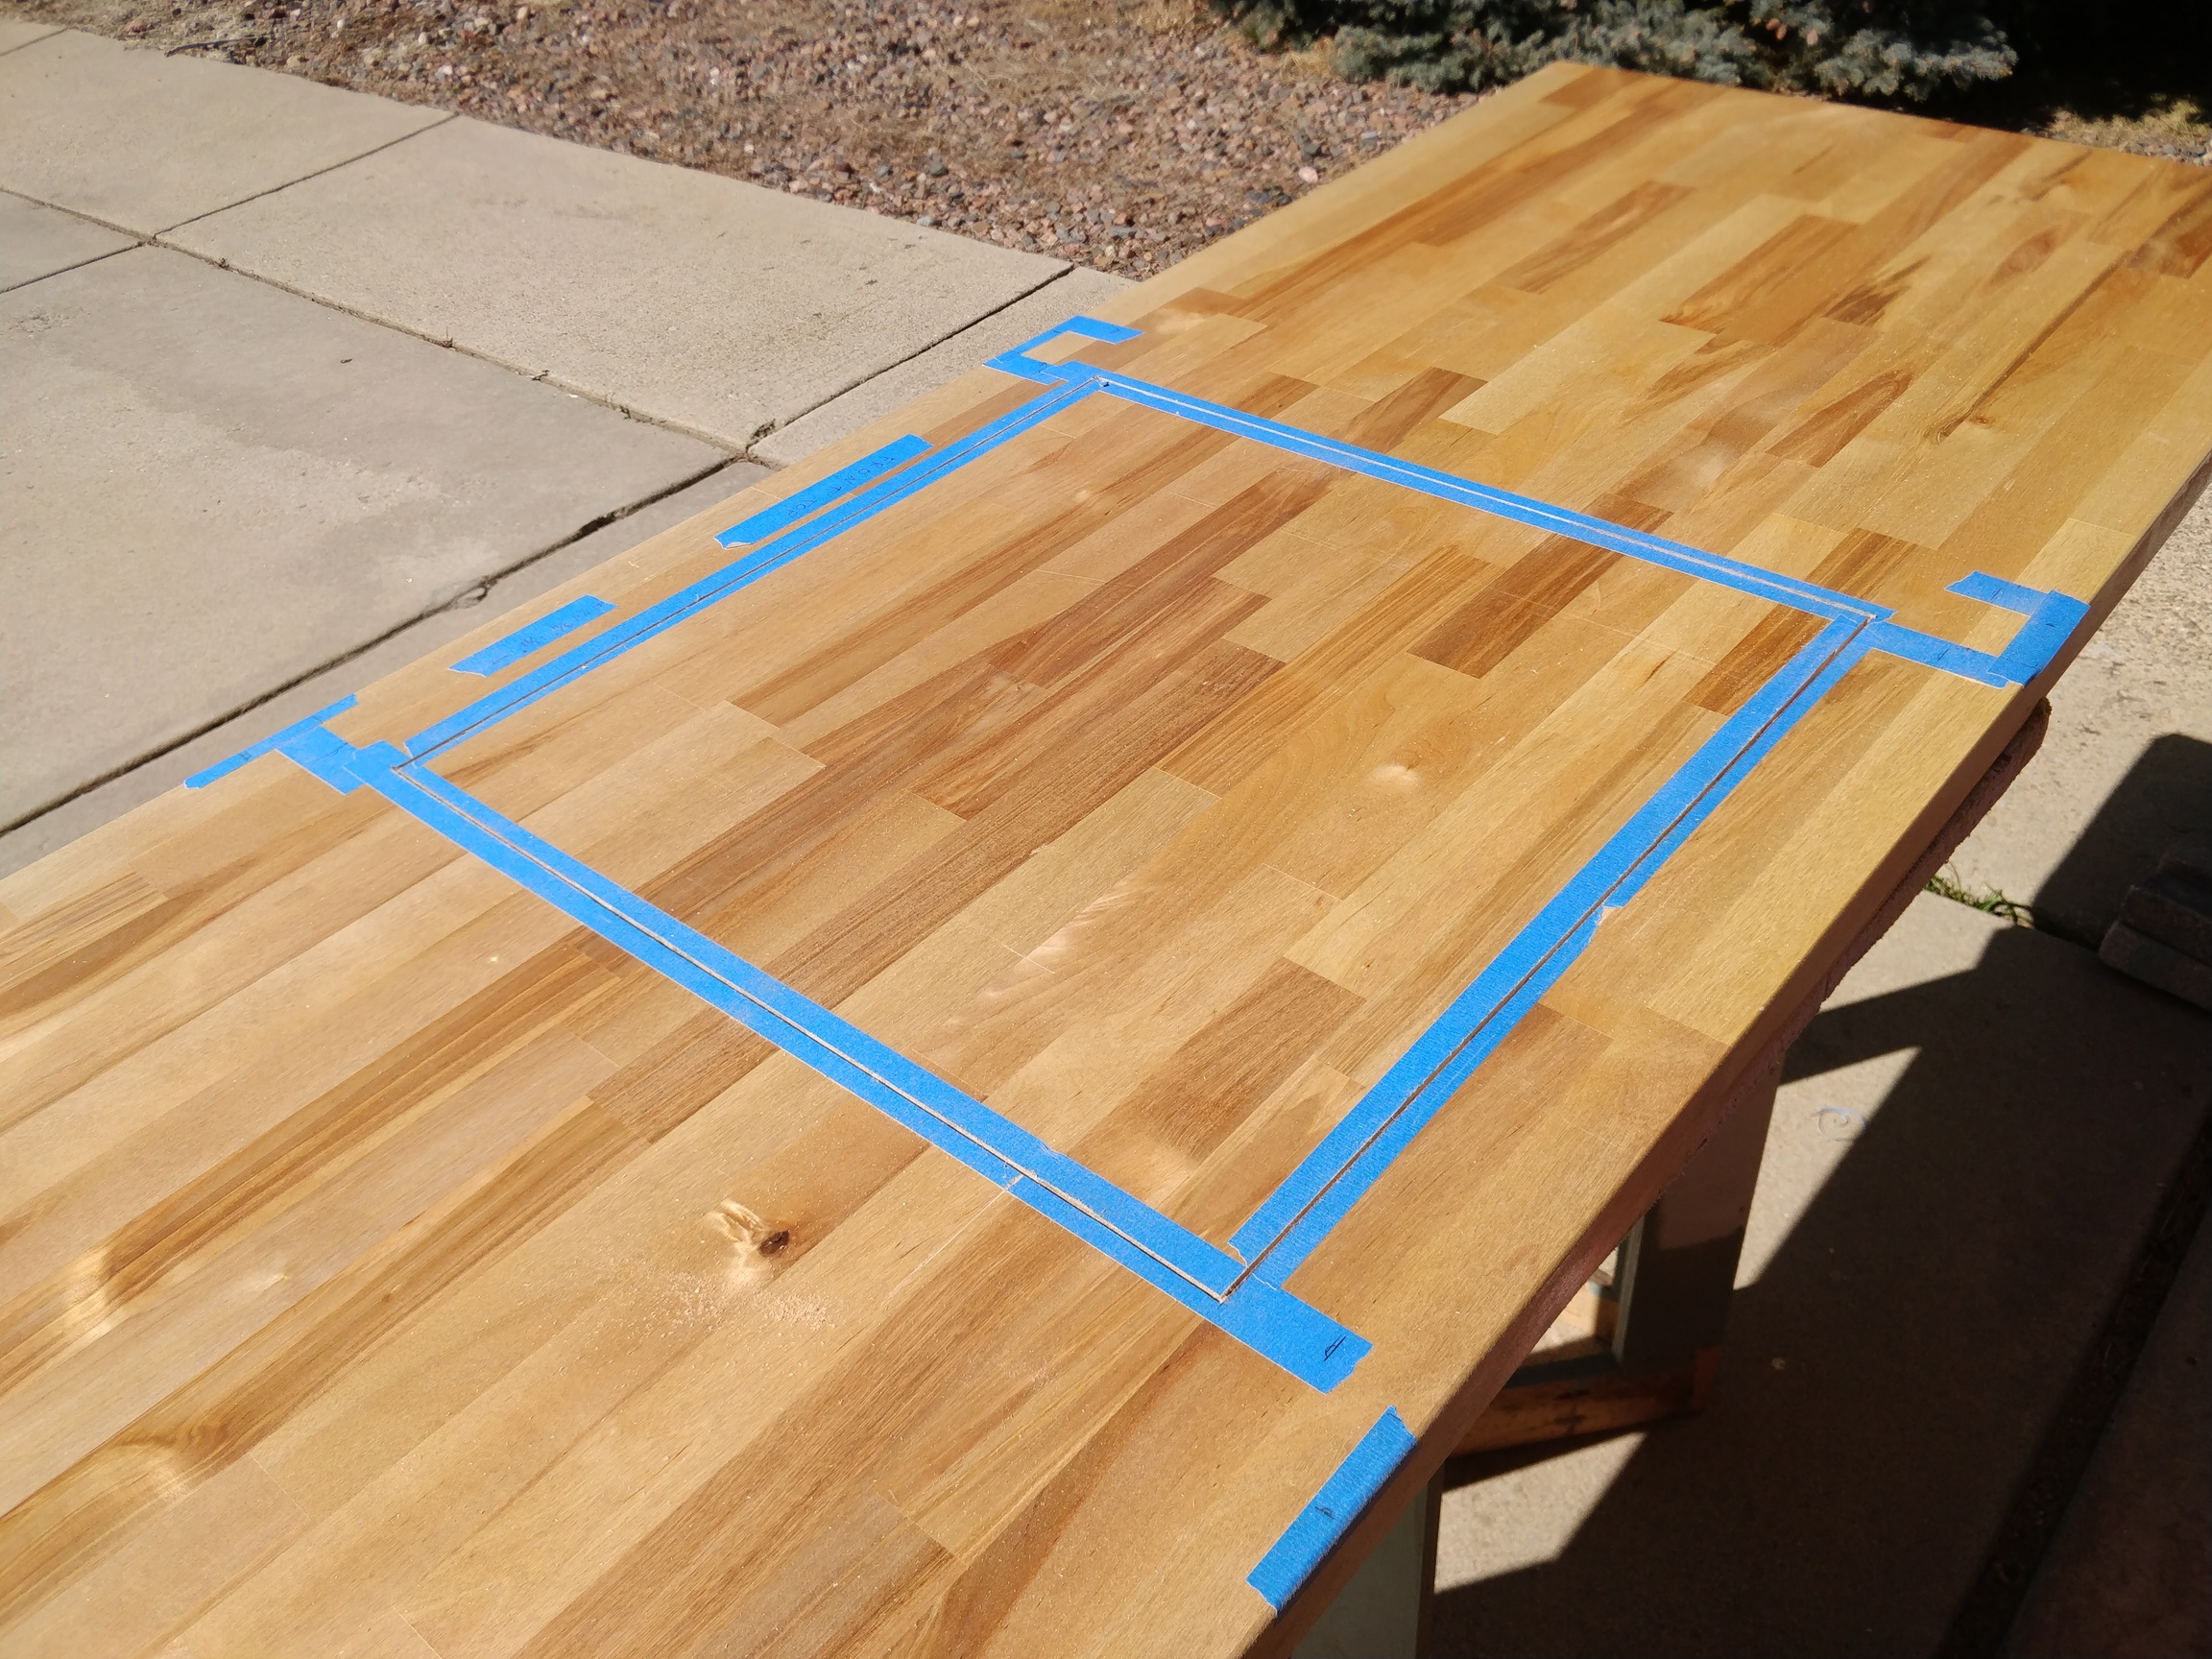
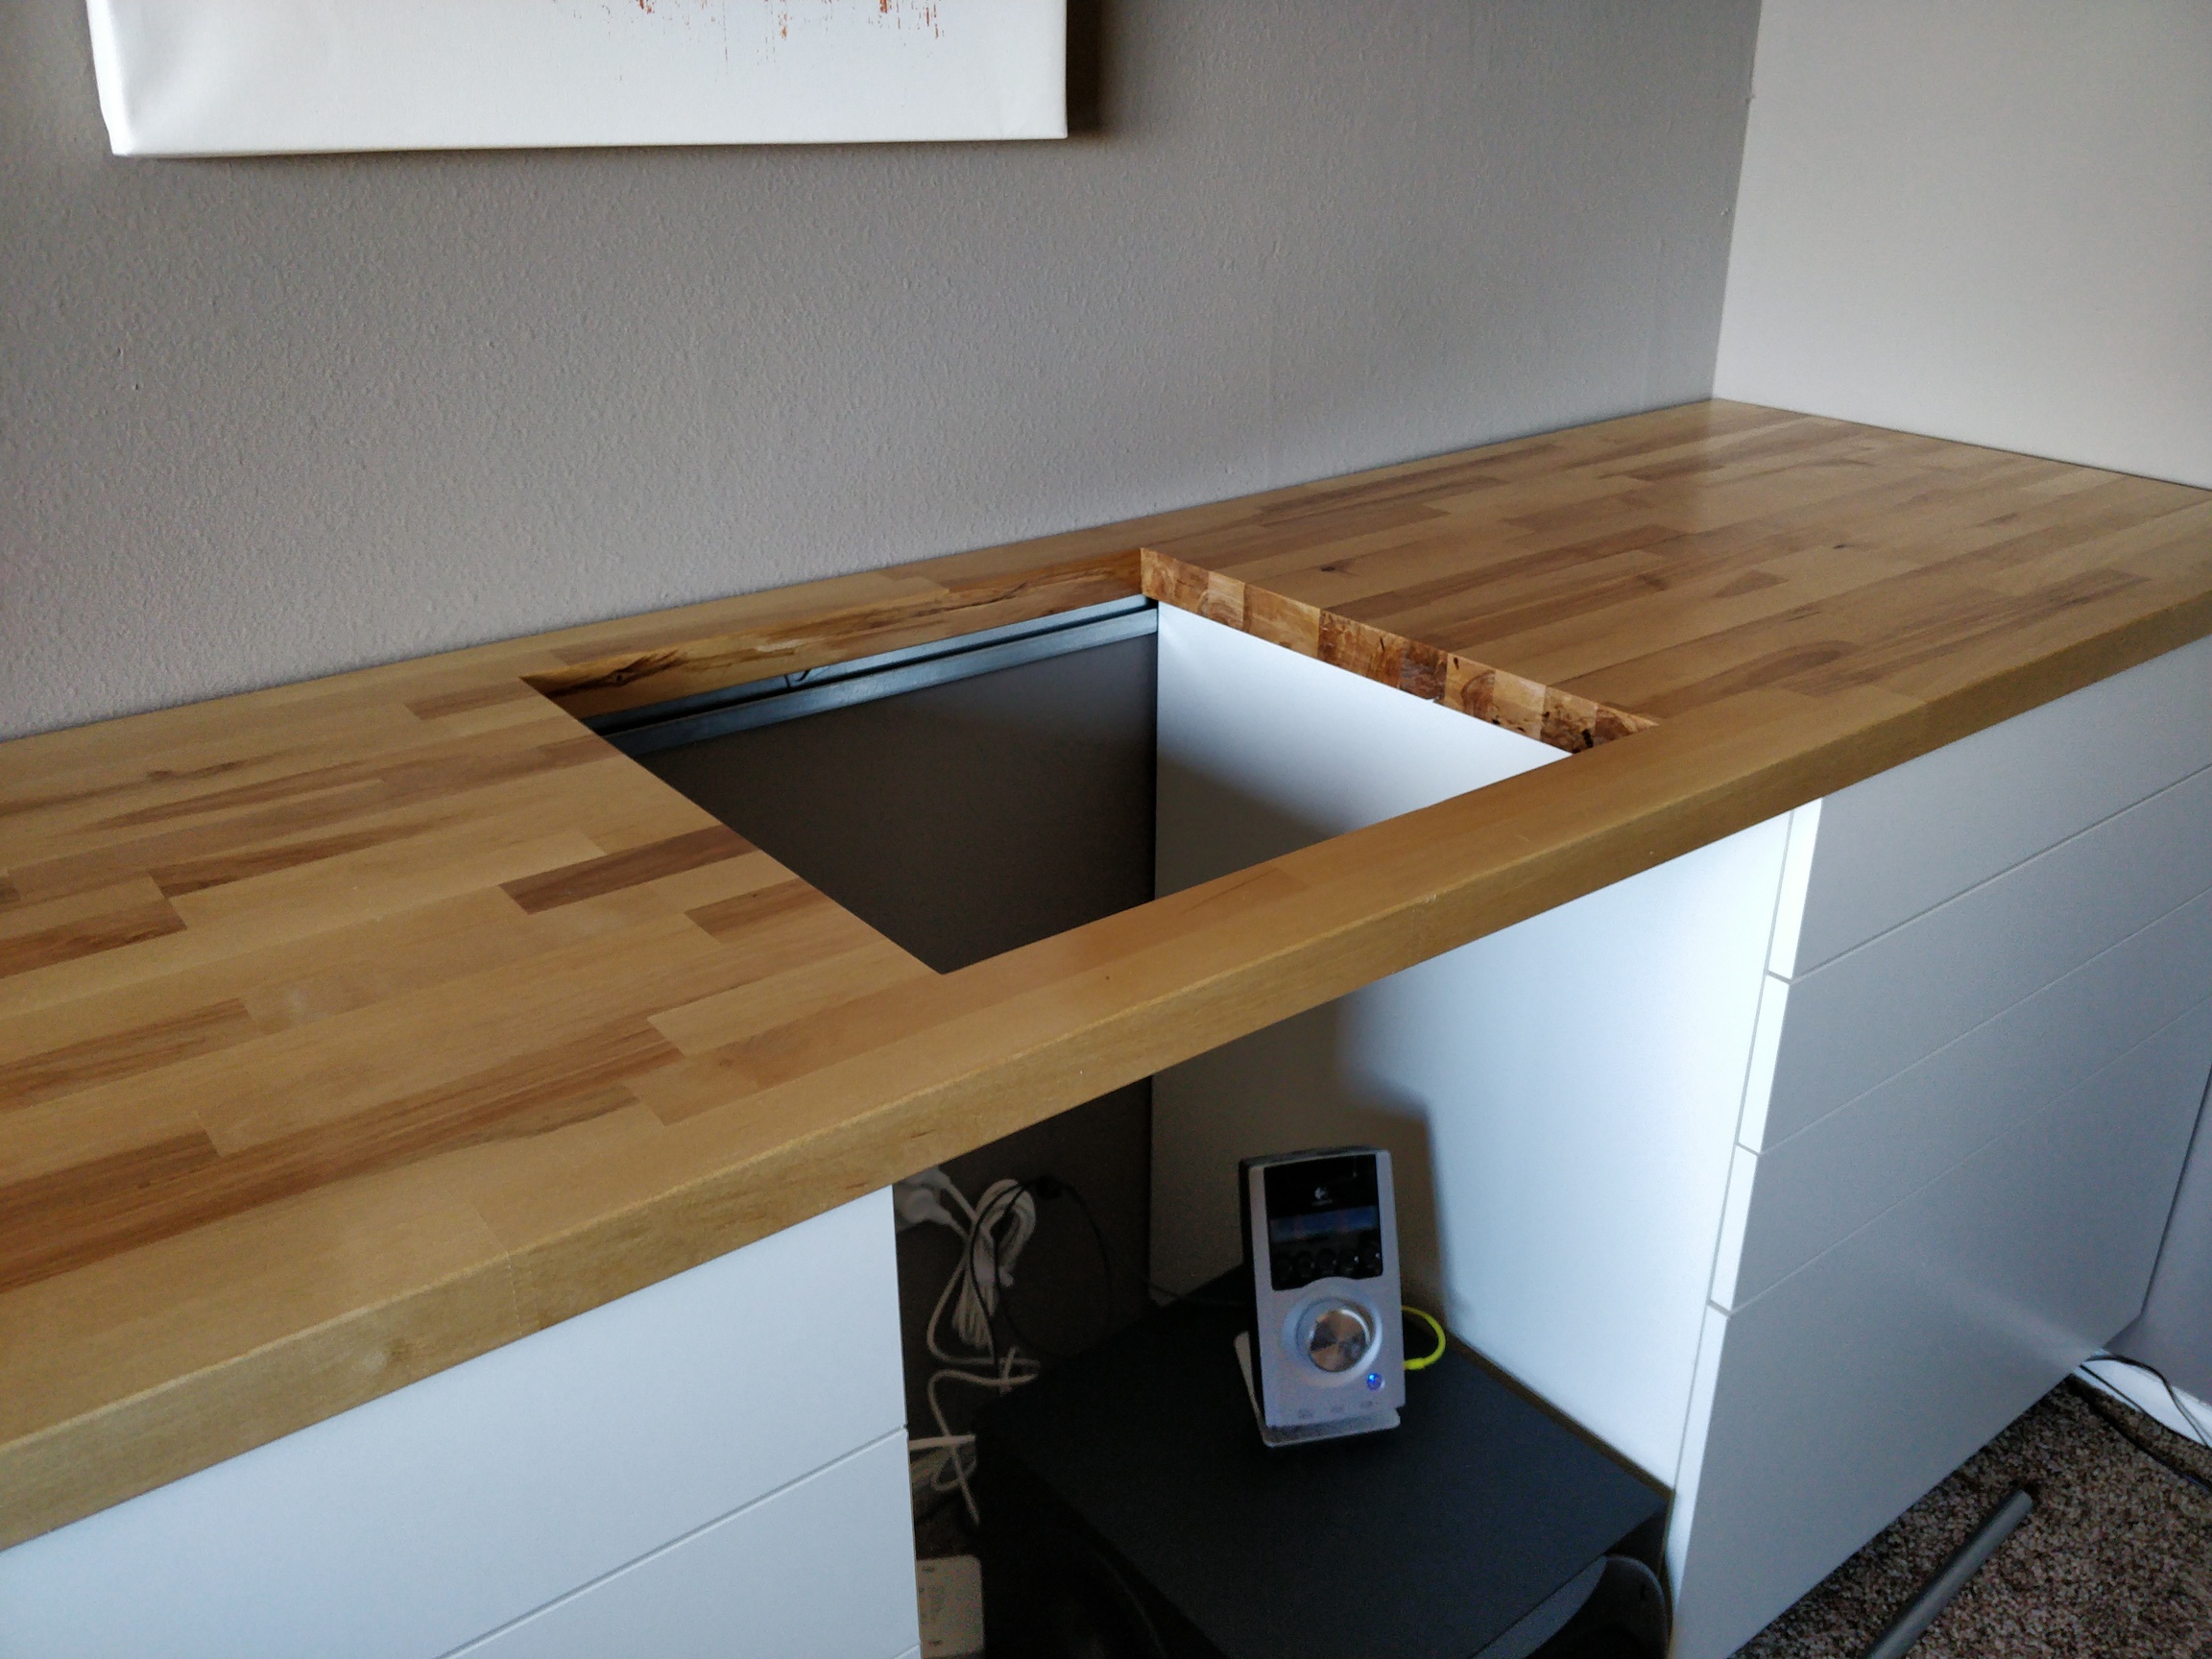
I have decided I am going to cut the hole the same size (slightly bigger) than the glass. I will print some brackets to hold it up and whatever frame I pick. I am making it a goal to cut the hole tomorrow. Once I have that, it will be hard to stop me!
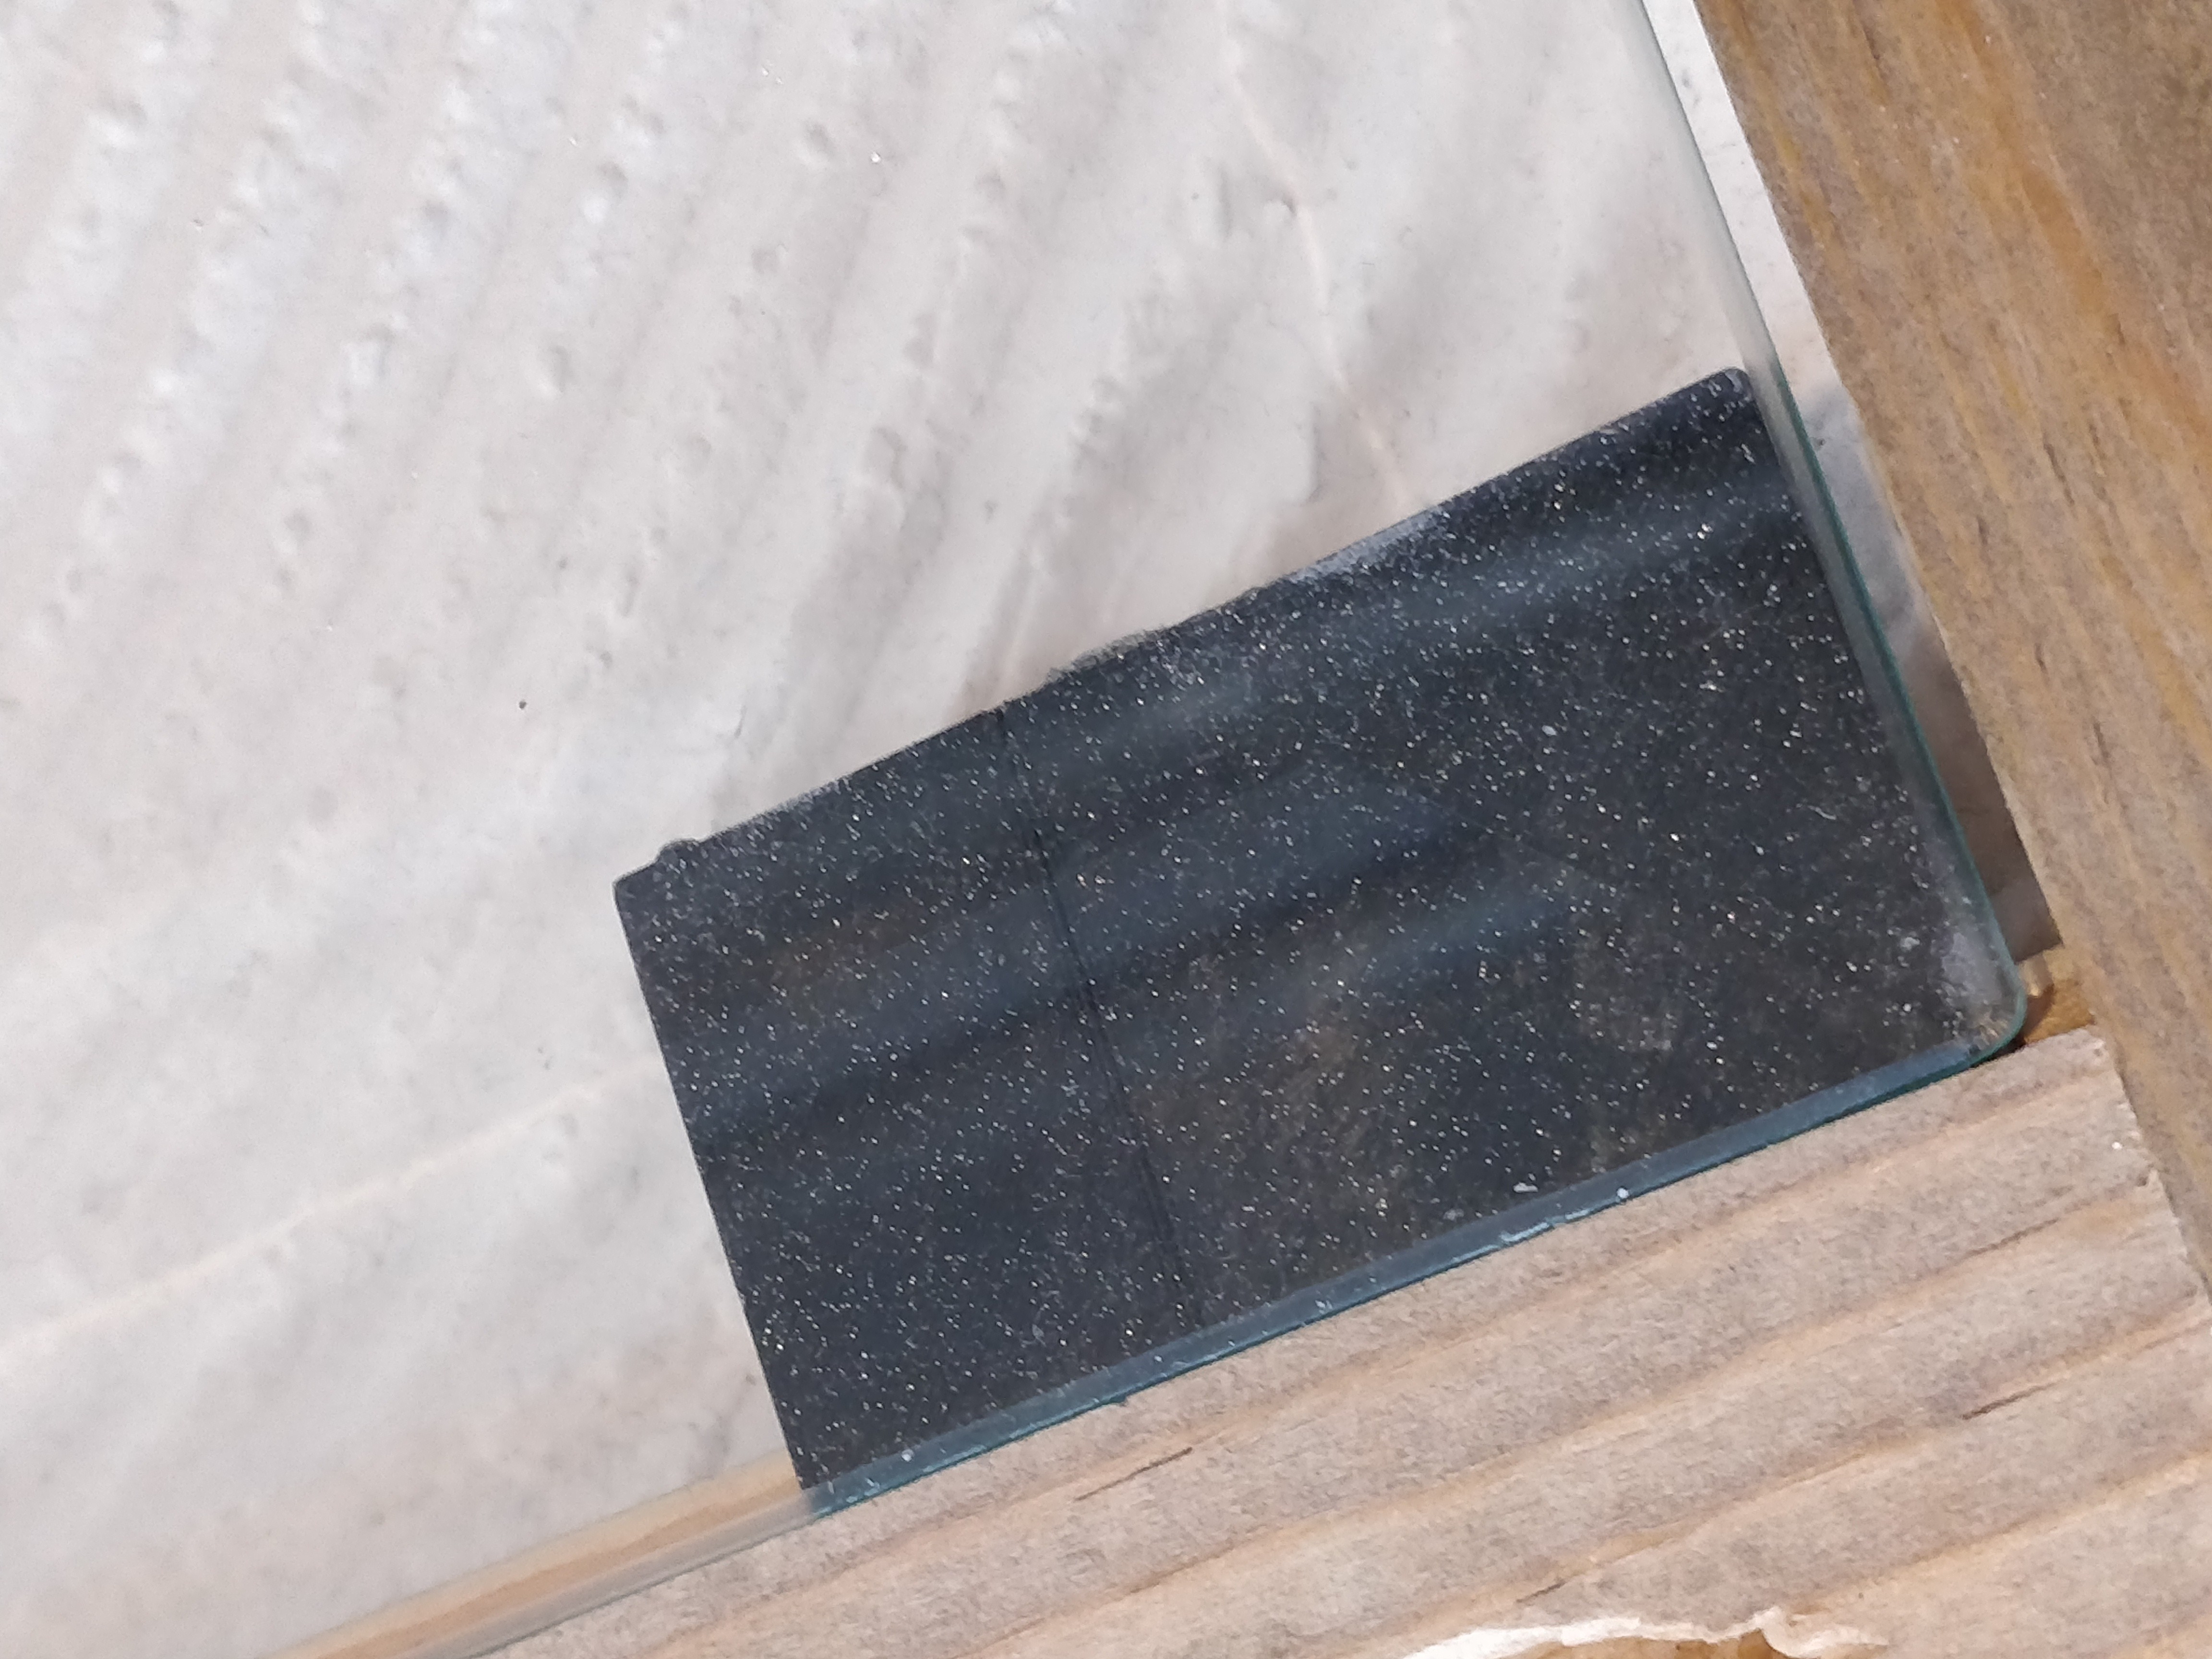
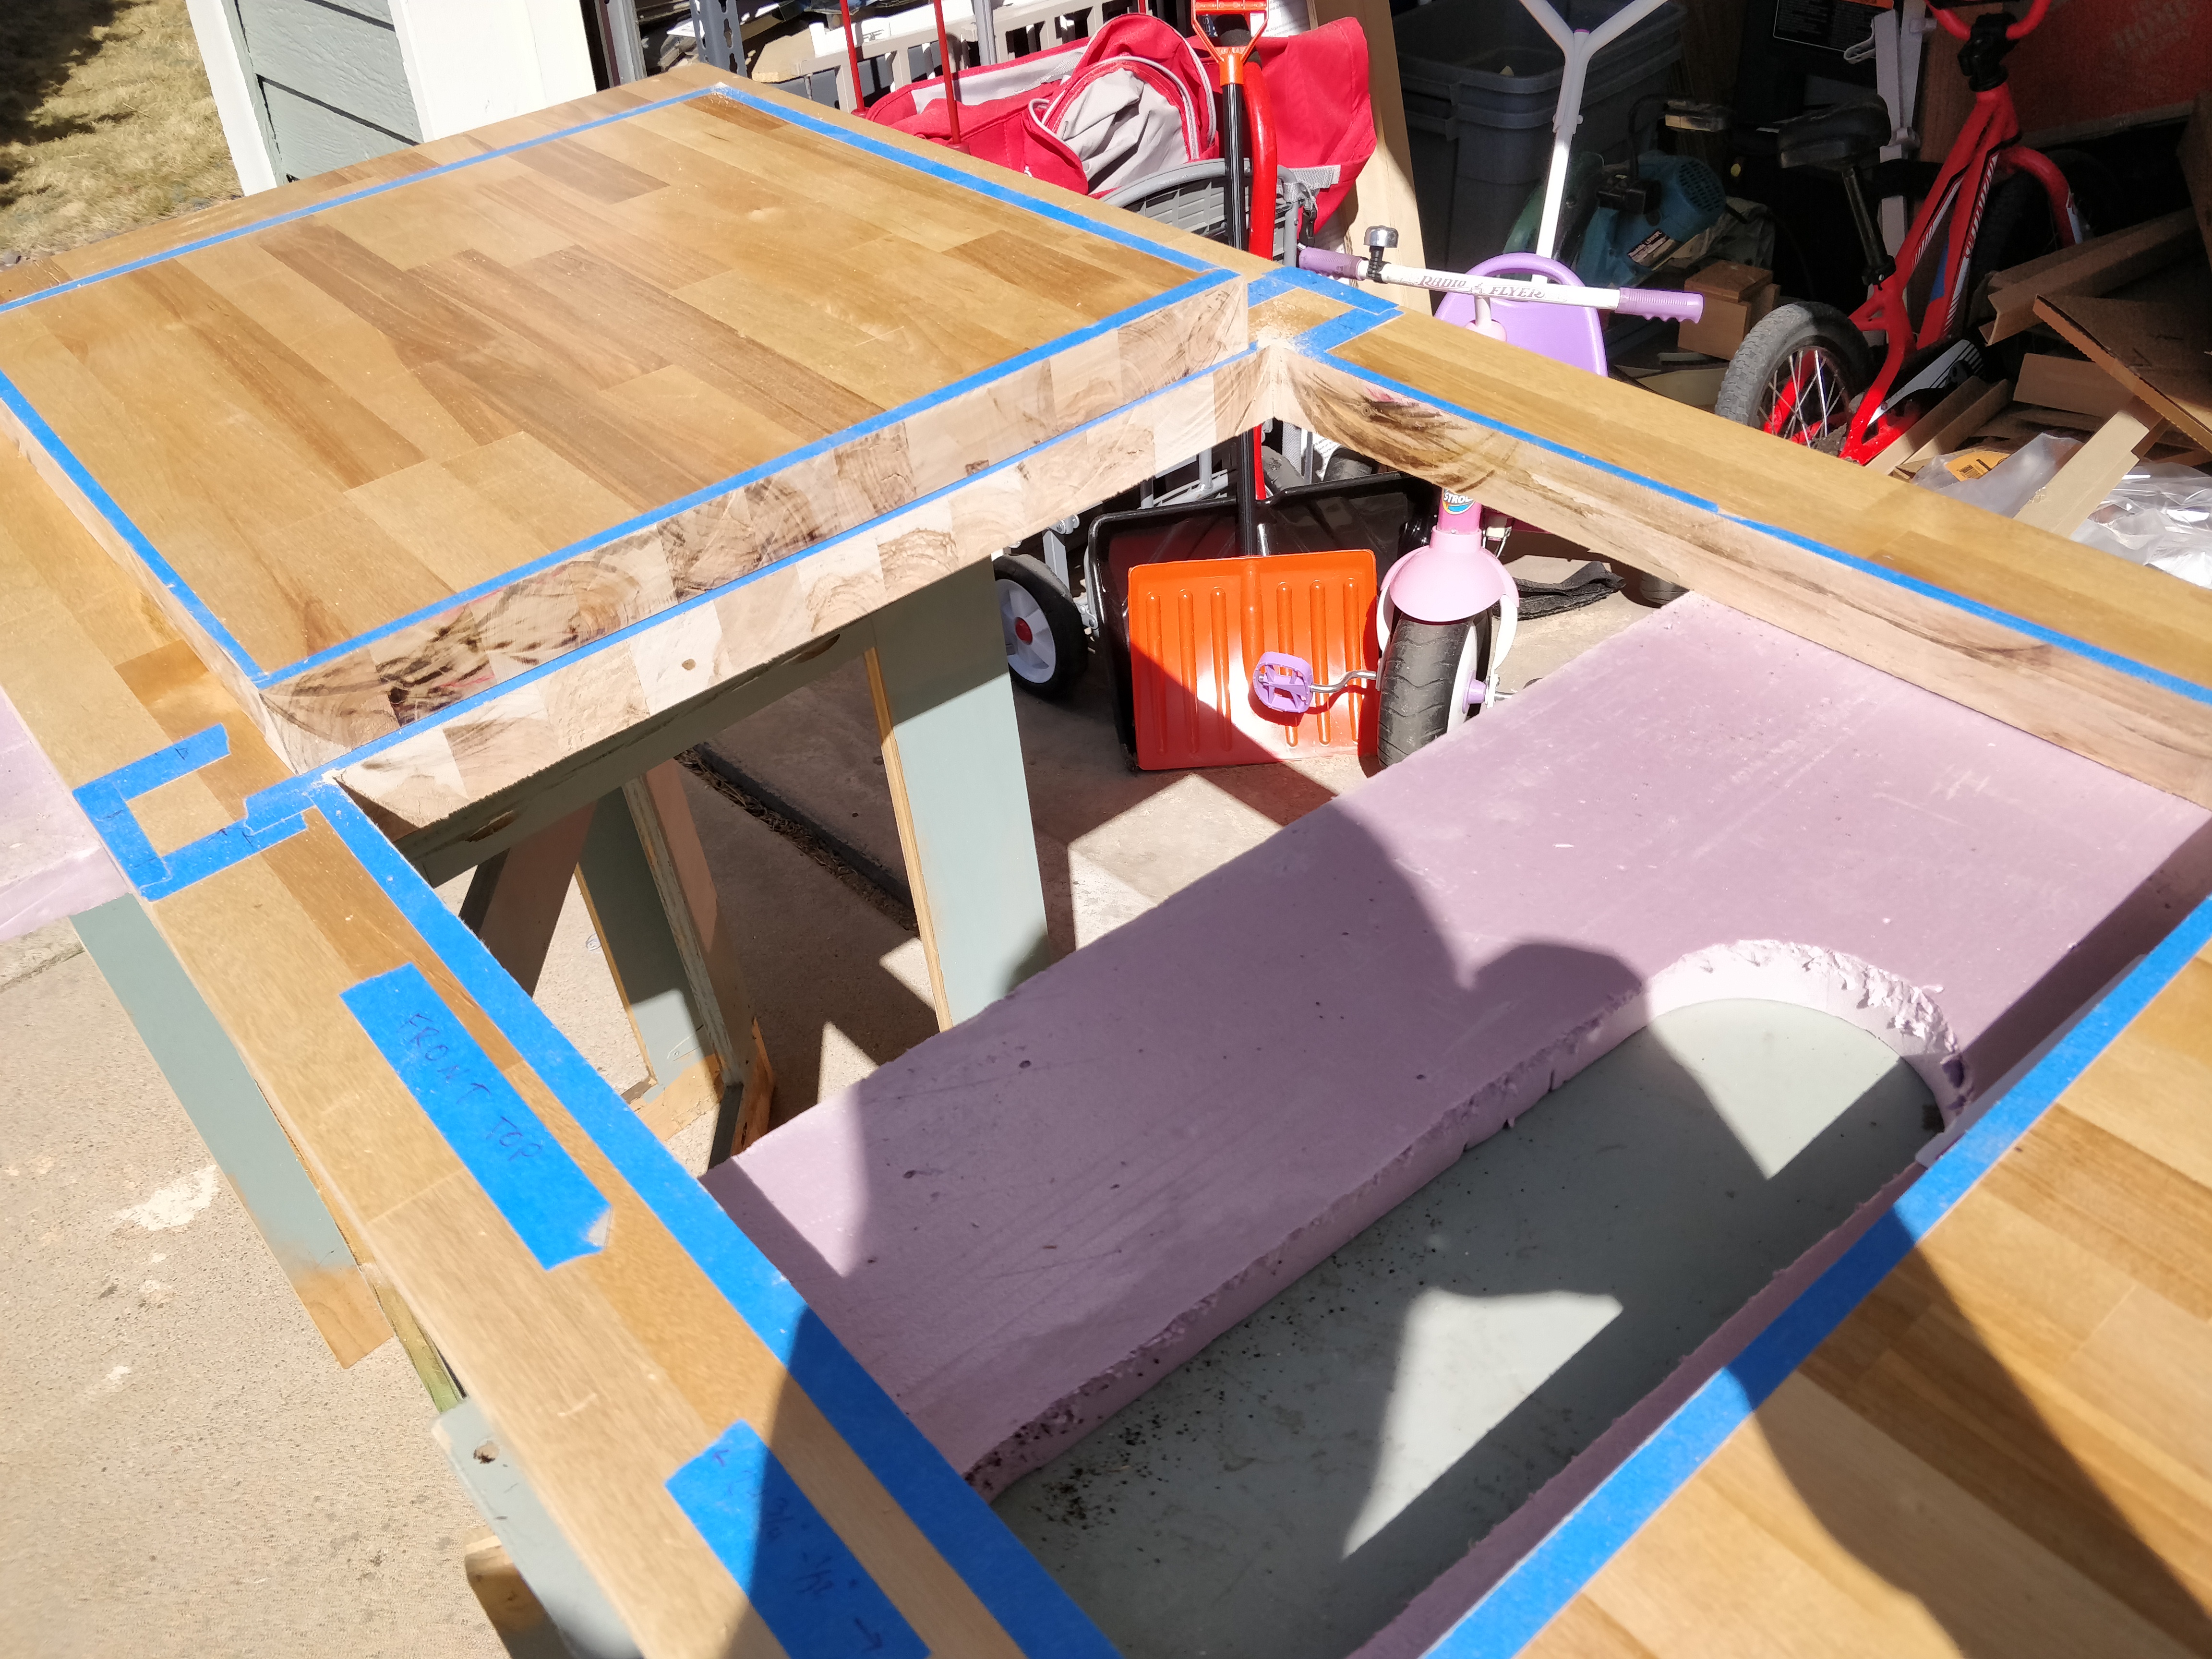
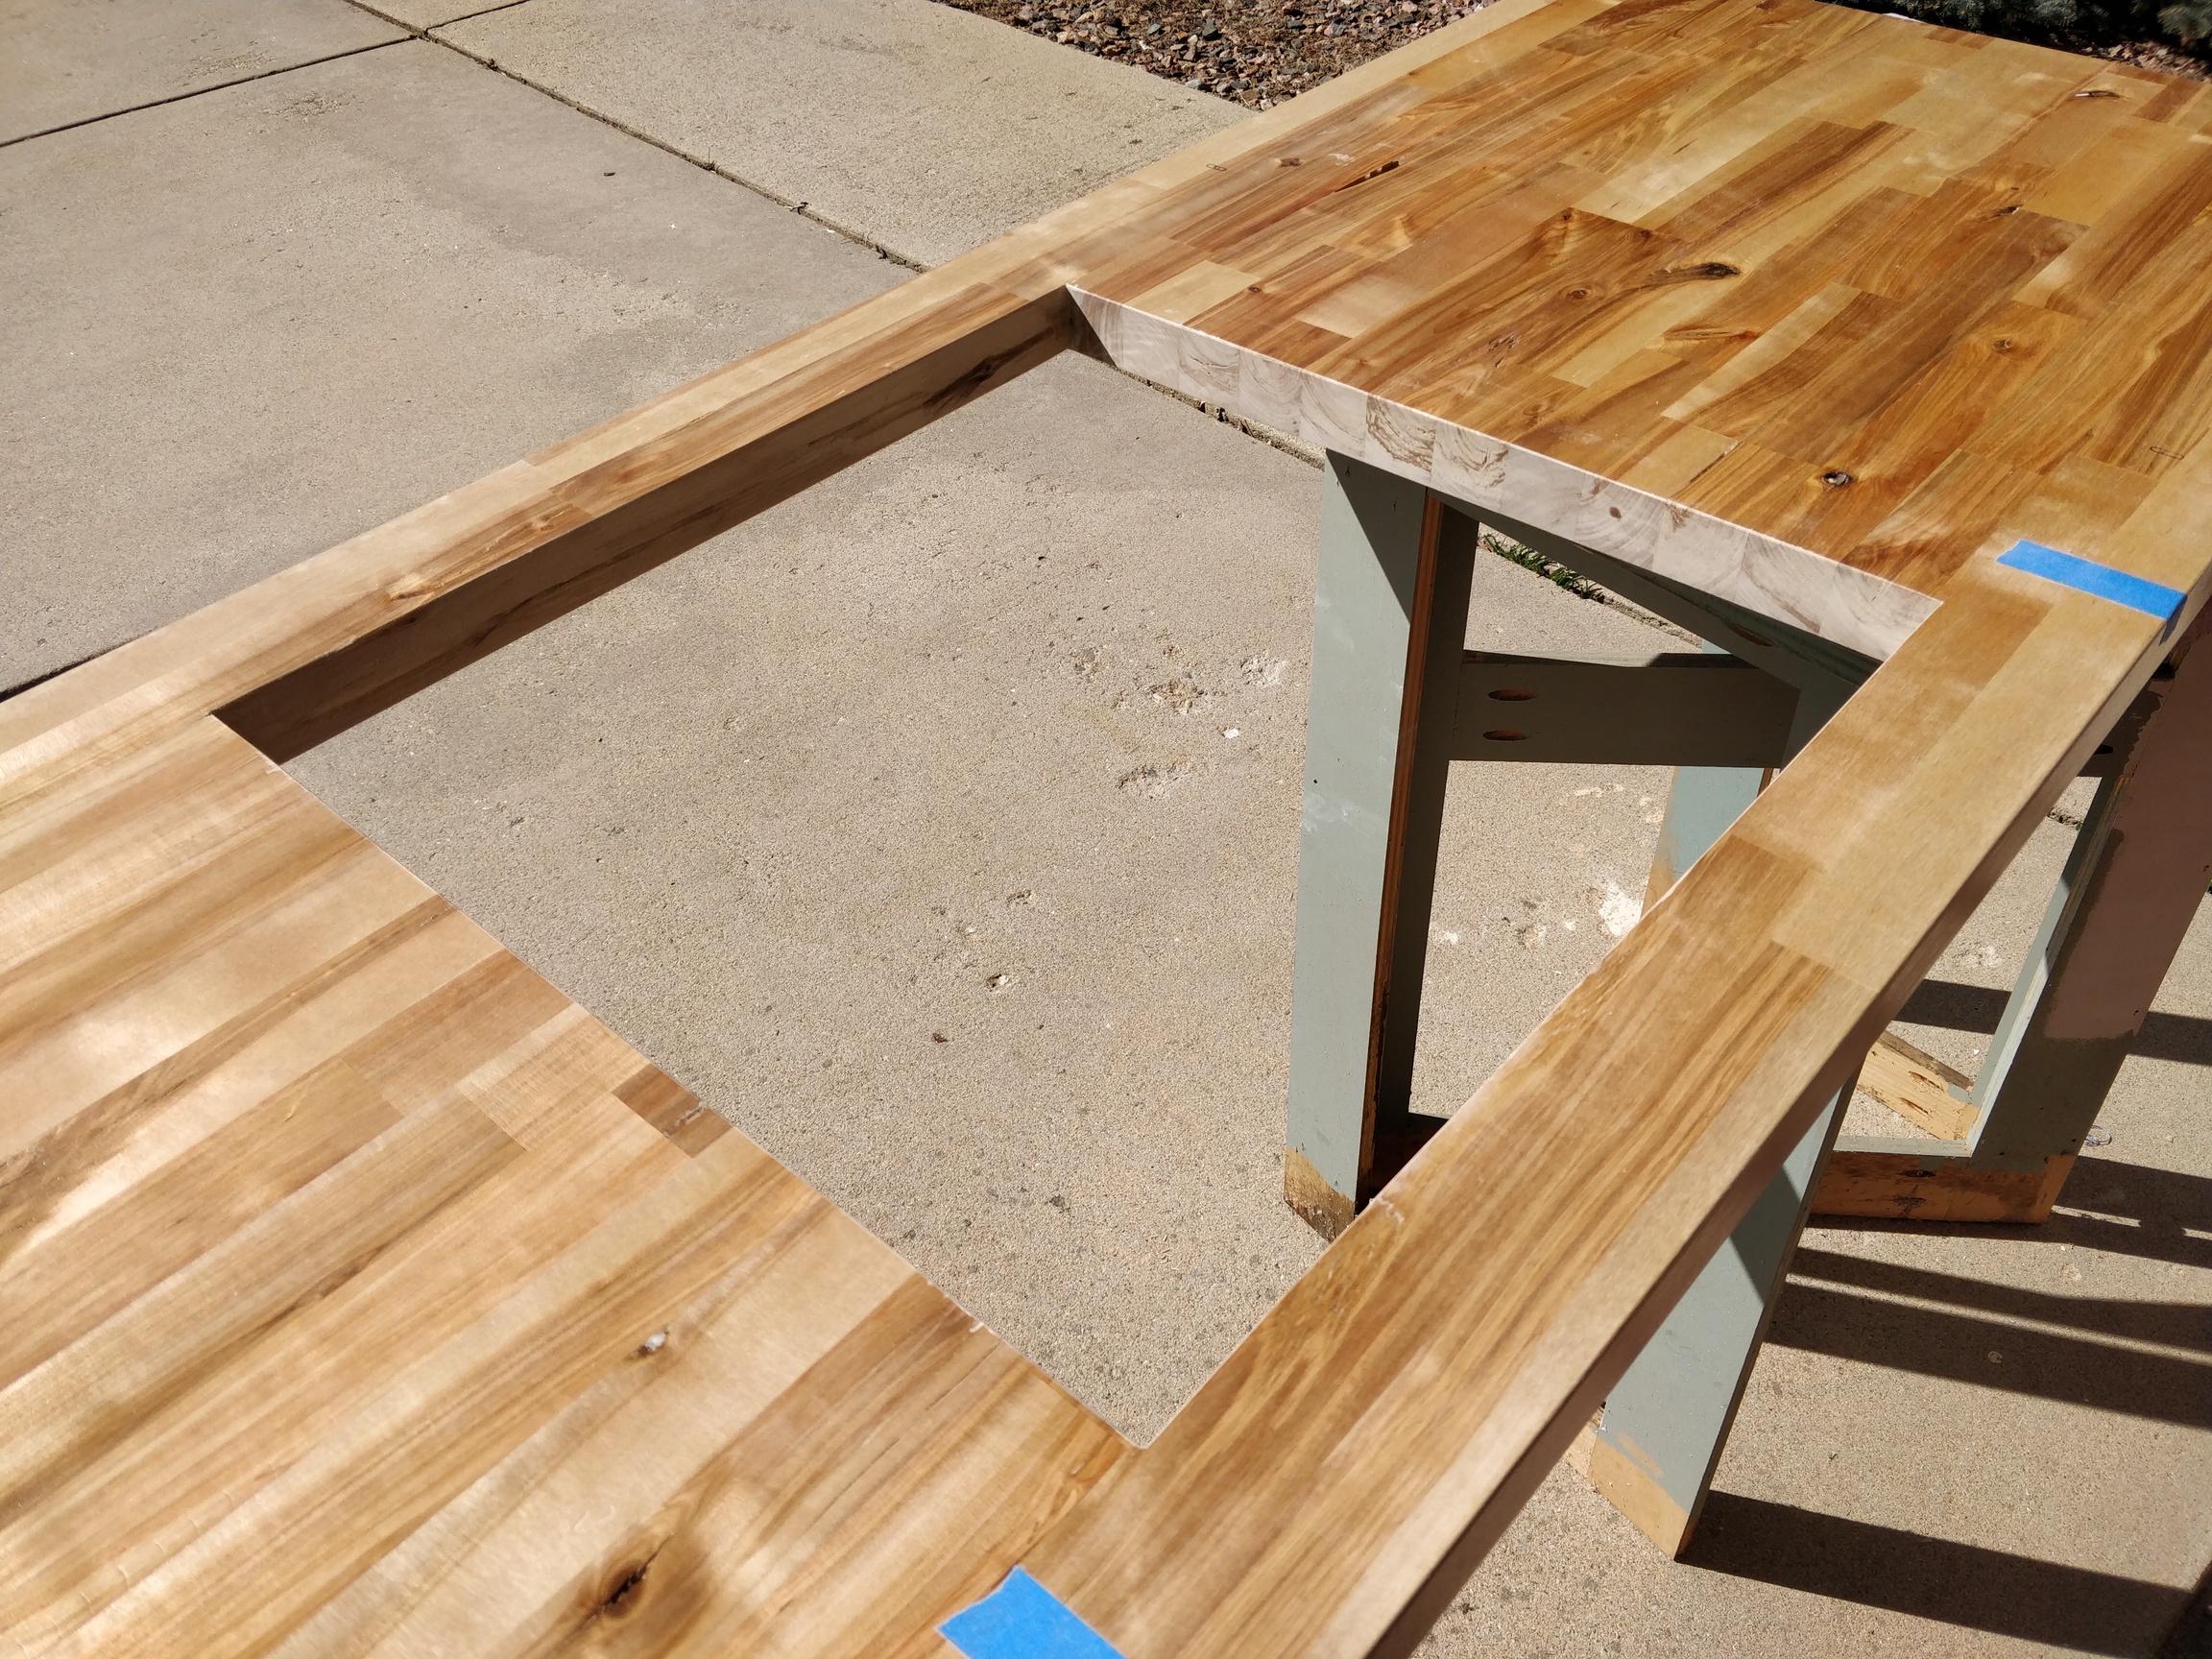
I just went for it with the circular saw, from the top. Then I finished the corners with a flush saw. I am close enough for sanding. But I’m on lunch break.
It really is. 1.5" means 1.5" and it is birch. You can kind of see where most of the burning was. It was when I was trying to plunge backward to the line and wasn’t moving. It sanded off easily though.
I have a coat of shellac dry already on the edge (not pictured) I want to get this back into its home ASAP. It looks better than I could have hoped. I need to start printing some brackets.