No worries. I think I figured out everything without spinning my wheels. I figured you were just taking care of yourself (it is sunday, isn’t it?).
You probably already tore your machine apart. If you didn’t, can you share a pic of the endstop twist? No rush, I have to read up about grbl endstops, so I am just skipping them tonight anyway. I might even prioritize LEDs over endstops
You got the first belt anchor point? Did you cut the belt into a point or just muscle it in?
I’m out of juice for the night, I will check-in in the am first thing.
I think the instructions on this one are going to be a bit more involved in a few places, but I think the fiddly bits are worth it for the end result. Shoot. I might have a way to make the fidddly belt stuff less fidly. Maybe my brain isn’t working right, why didn’t I do that in the first place (I will look in the morning).
I stuck it in from the outside first. Then I turned it back around the bar and fiddled it just enough so it meshed and then I pulled with the outside strap. The tail doesn’t stick out. I don’t know how many teeth meshed, but I gave it a strong tug test and it didn’t move…
The belts were good, honestly. I don’t think the screw on the back (the centering one) is gripping. The other side (on the back right) is holding enough to keep it square for now. I fed everything from the left motor all the way through and there were two tricky spots for feeding it that way. When the back belt met the rear right corner and when the belt went to the right truck from the motor. In both those case, I fed the other end of the belt in, added a bit of tape, and pulled the important belt through. It is not my first belt trip though
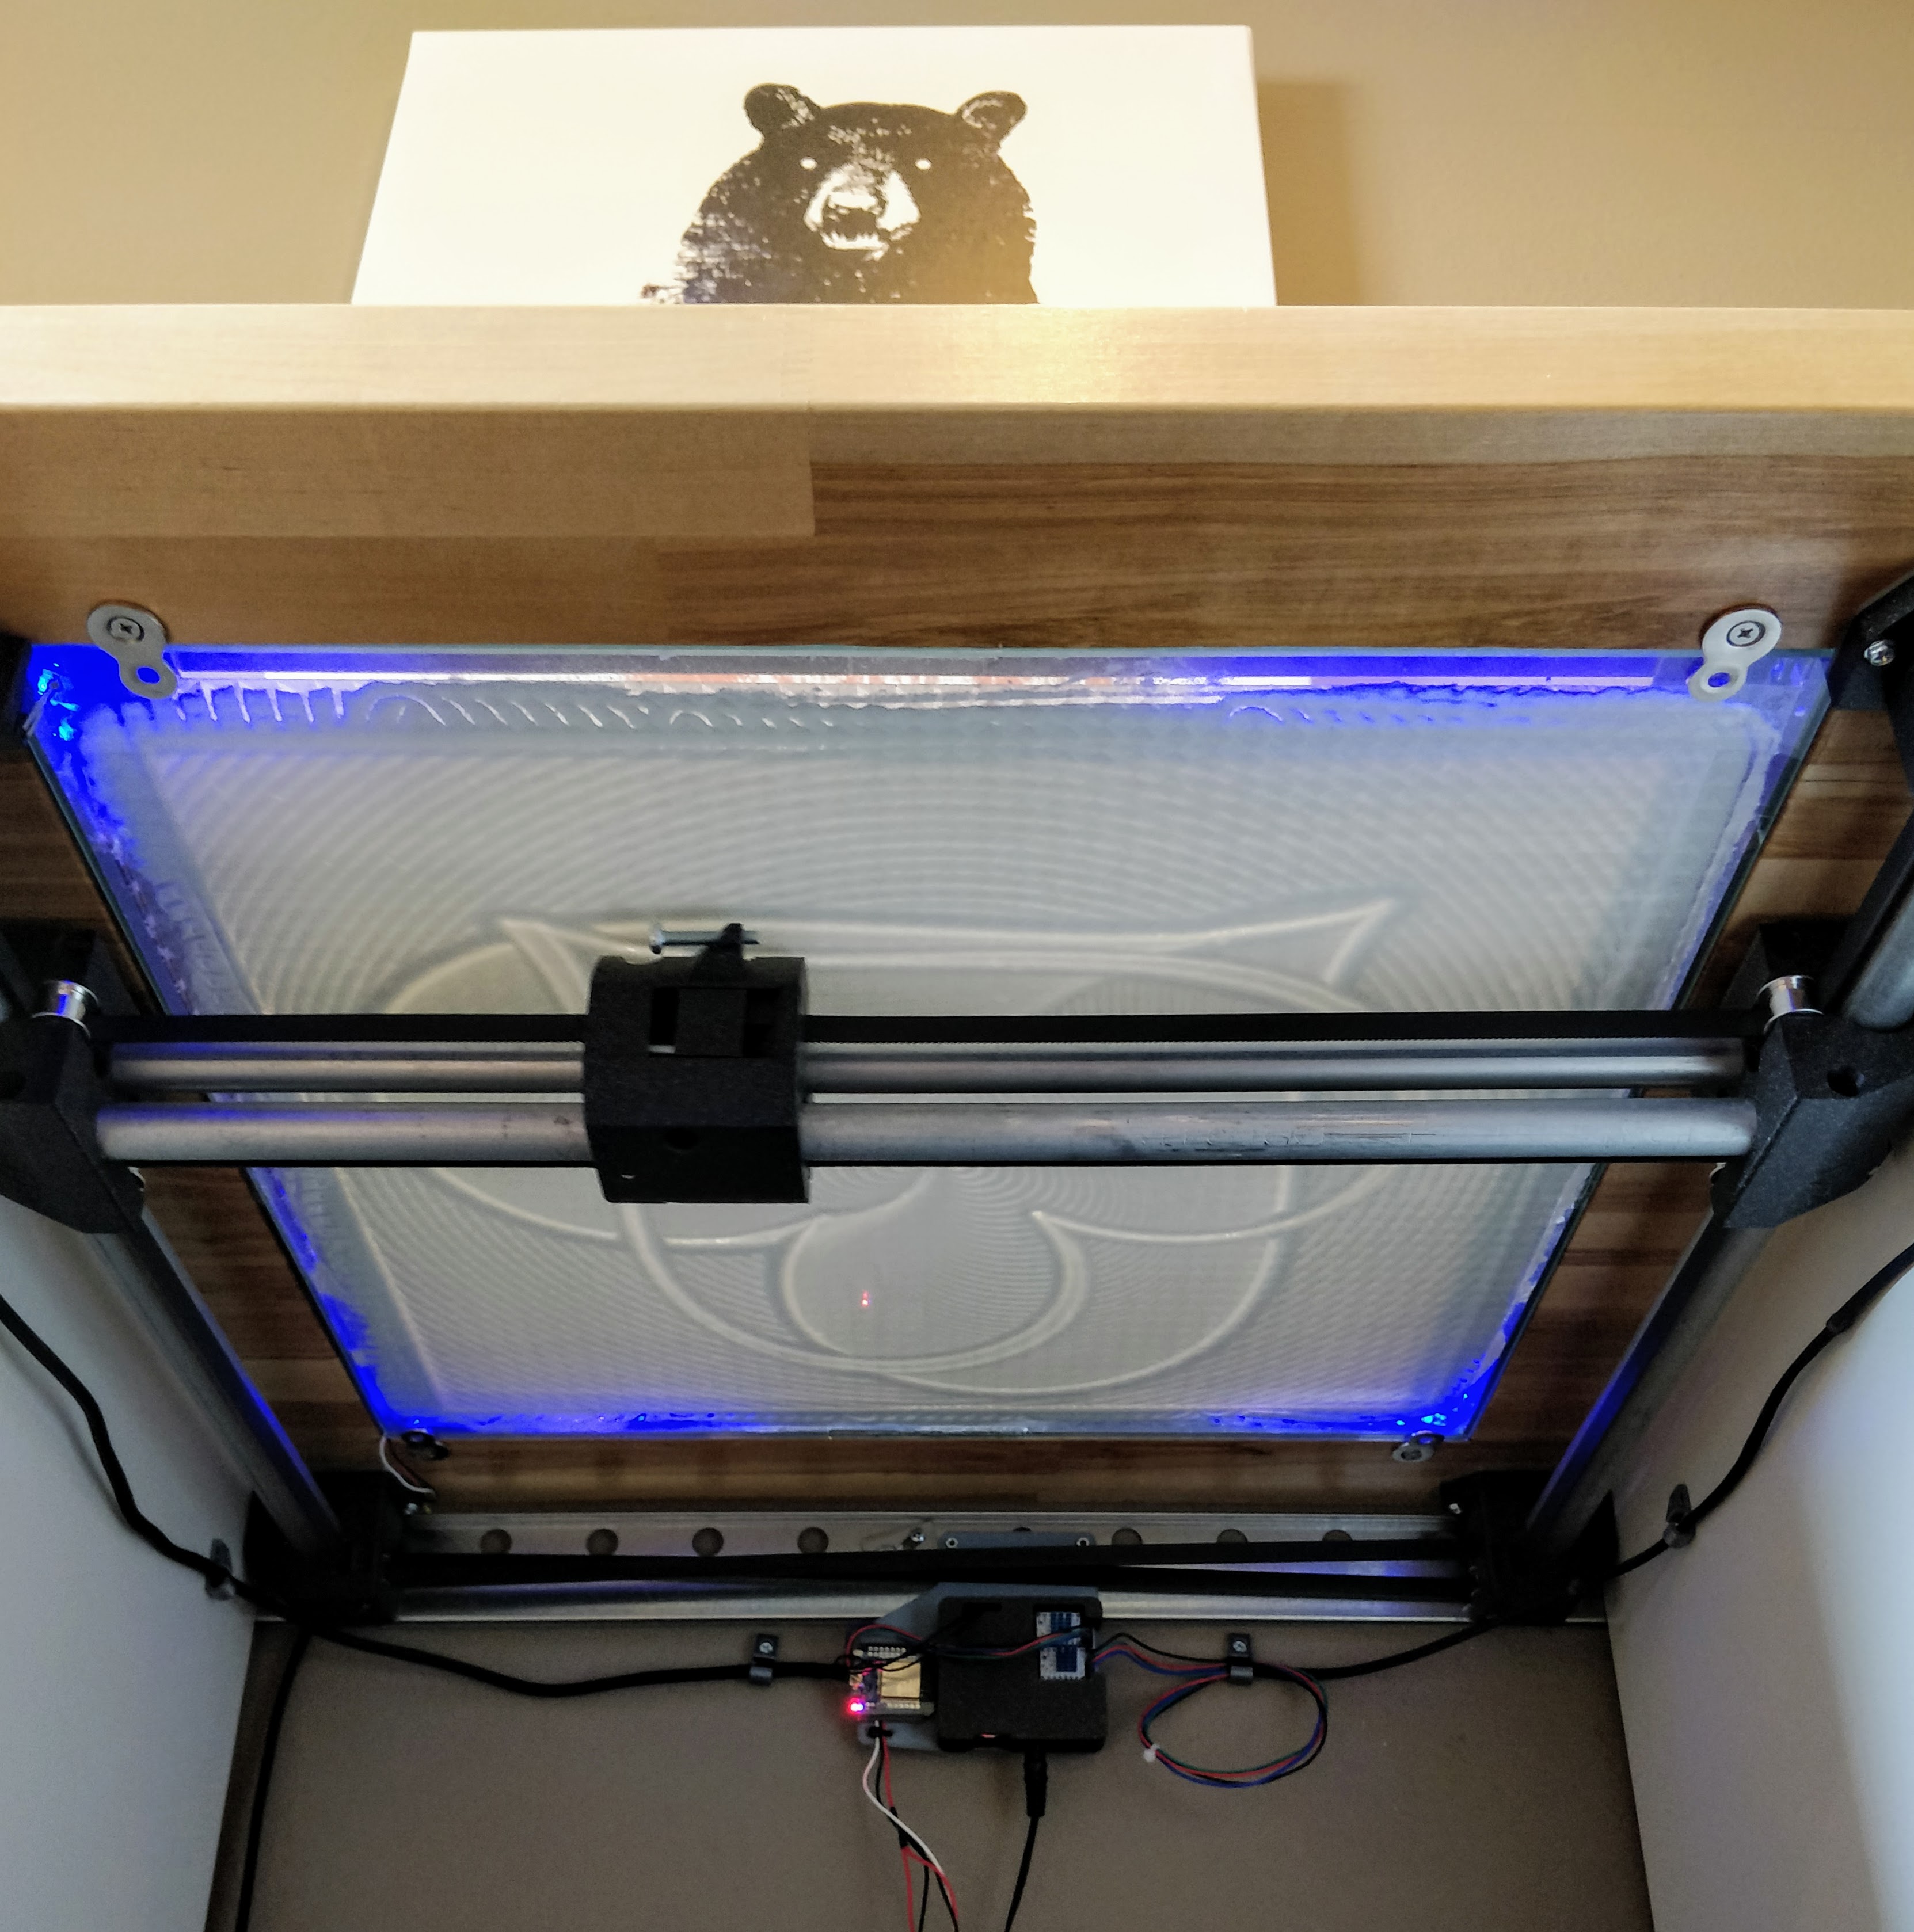
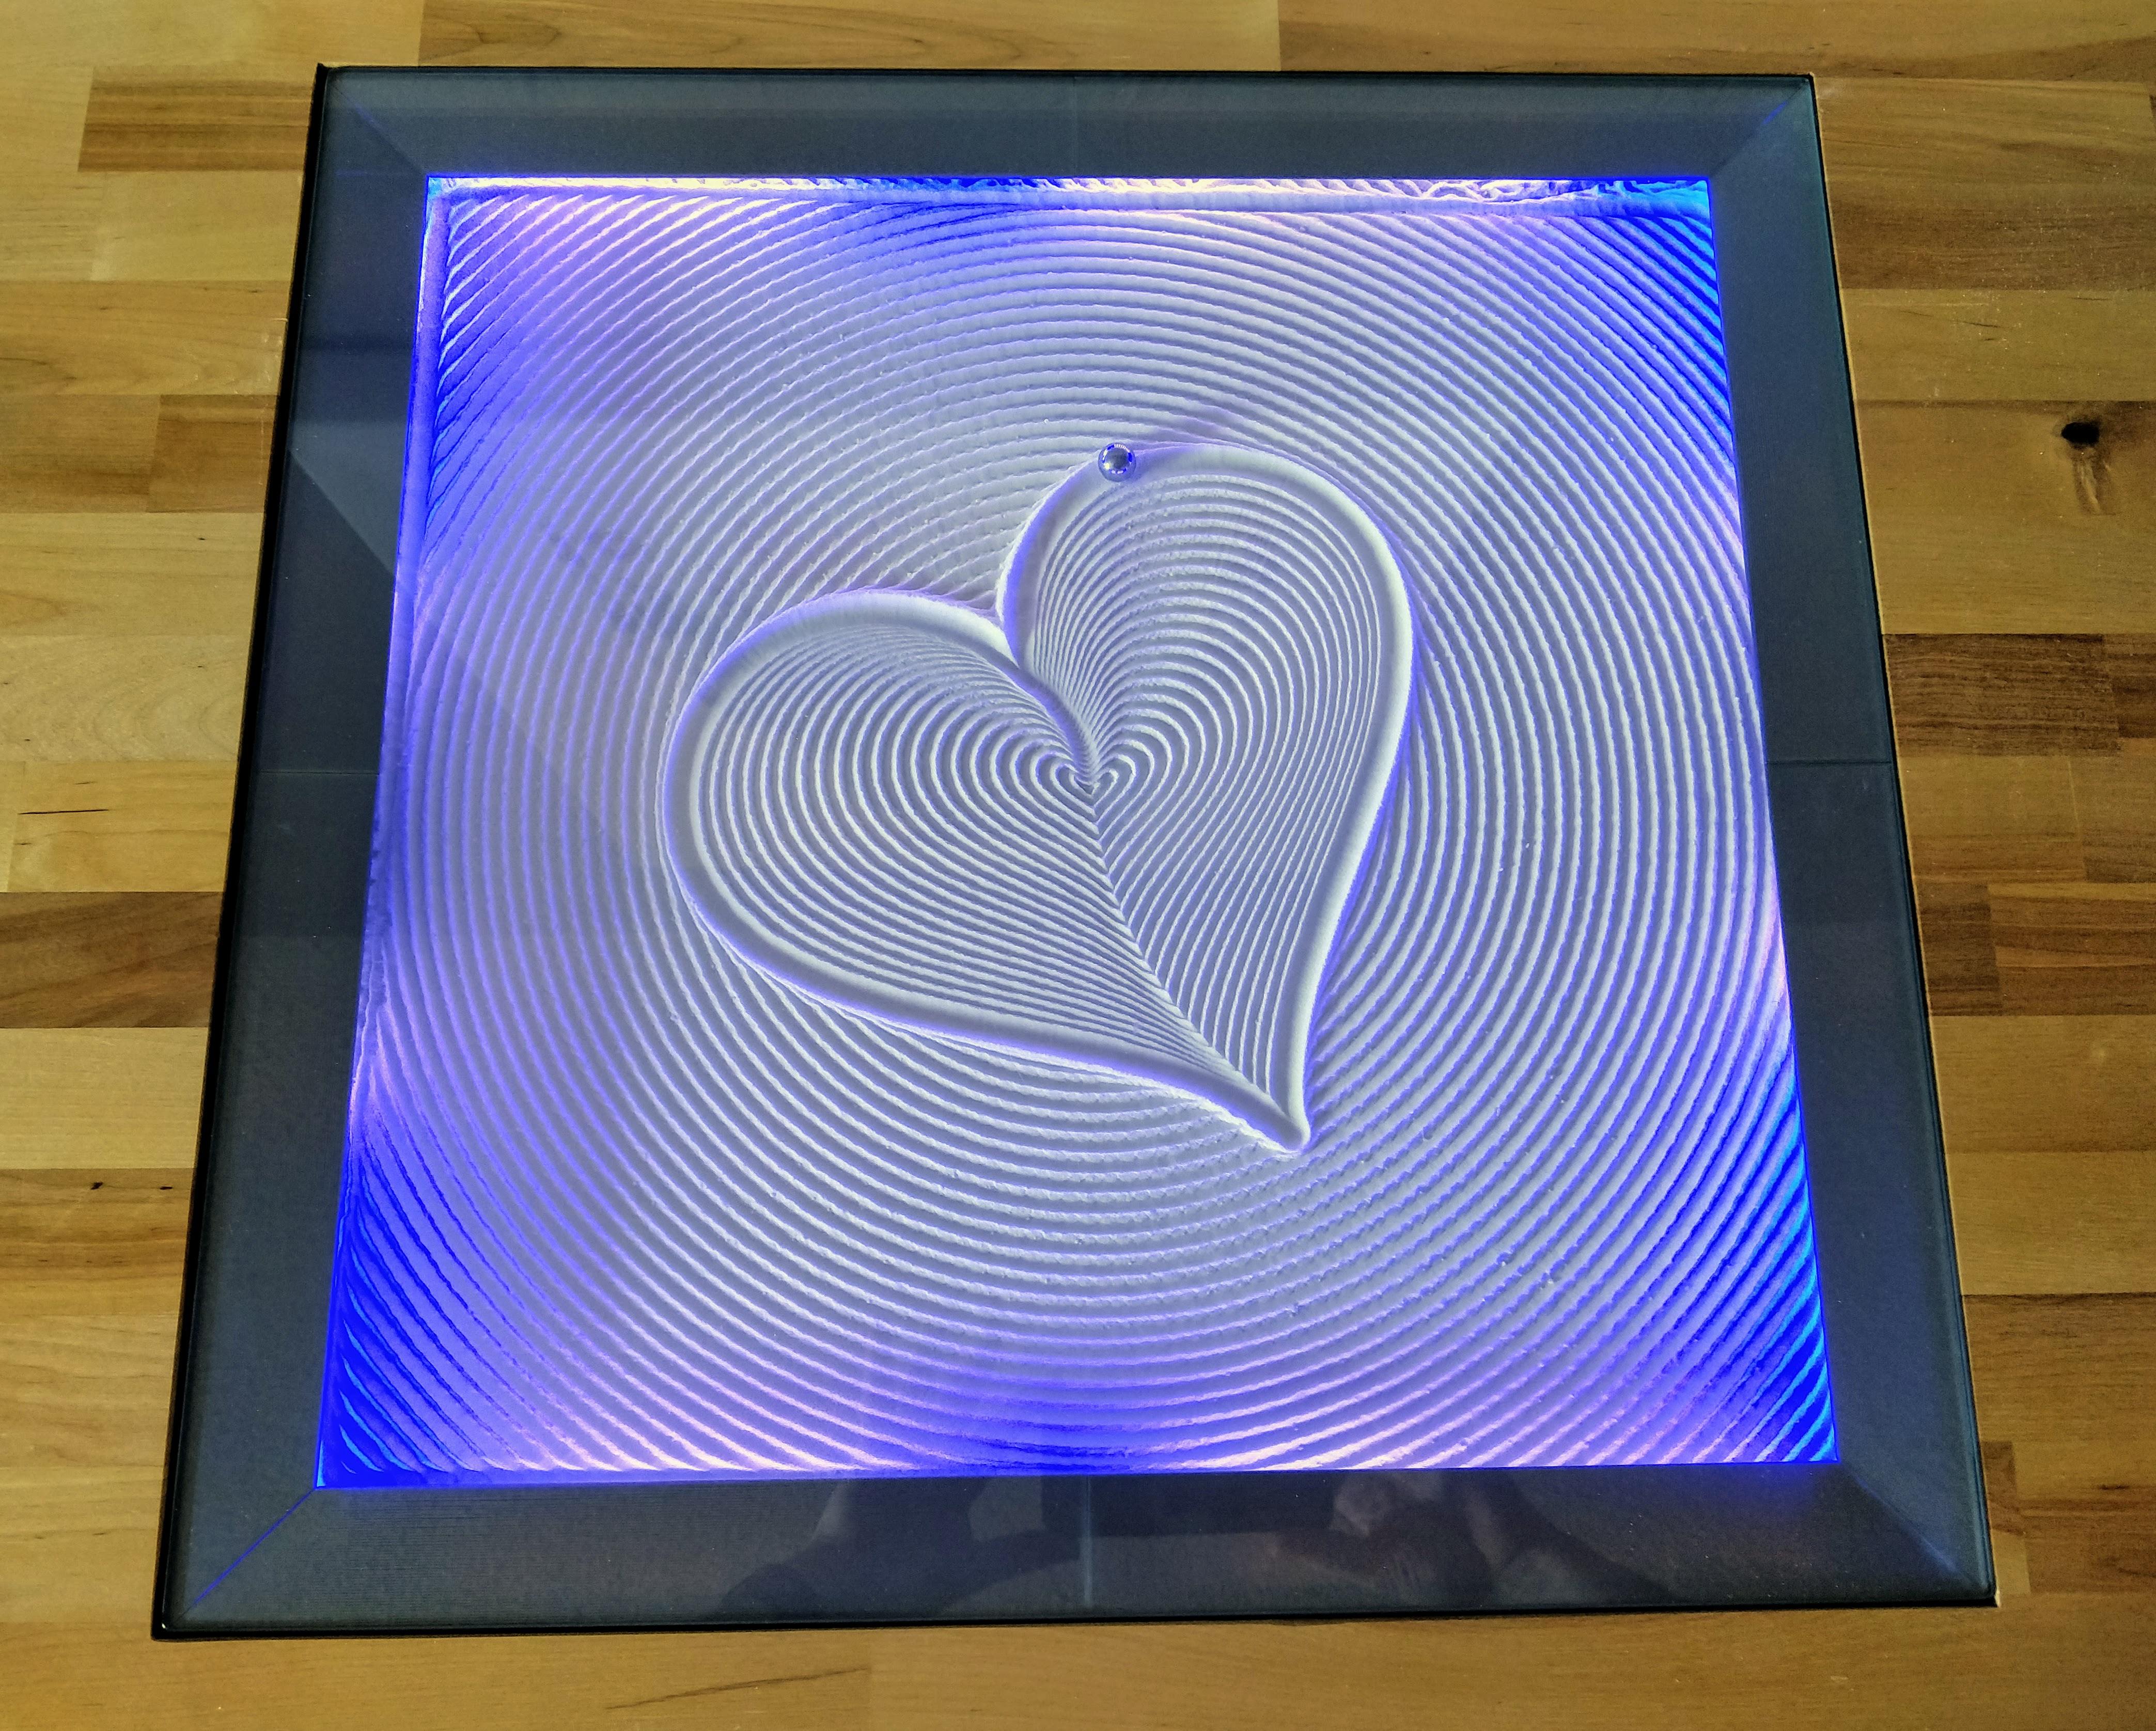
The bottom is glass, you can just sit down on the floor (or be a short person) and see the workings and the pattern (that’s the hope, I haven’t added sand yet).
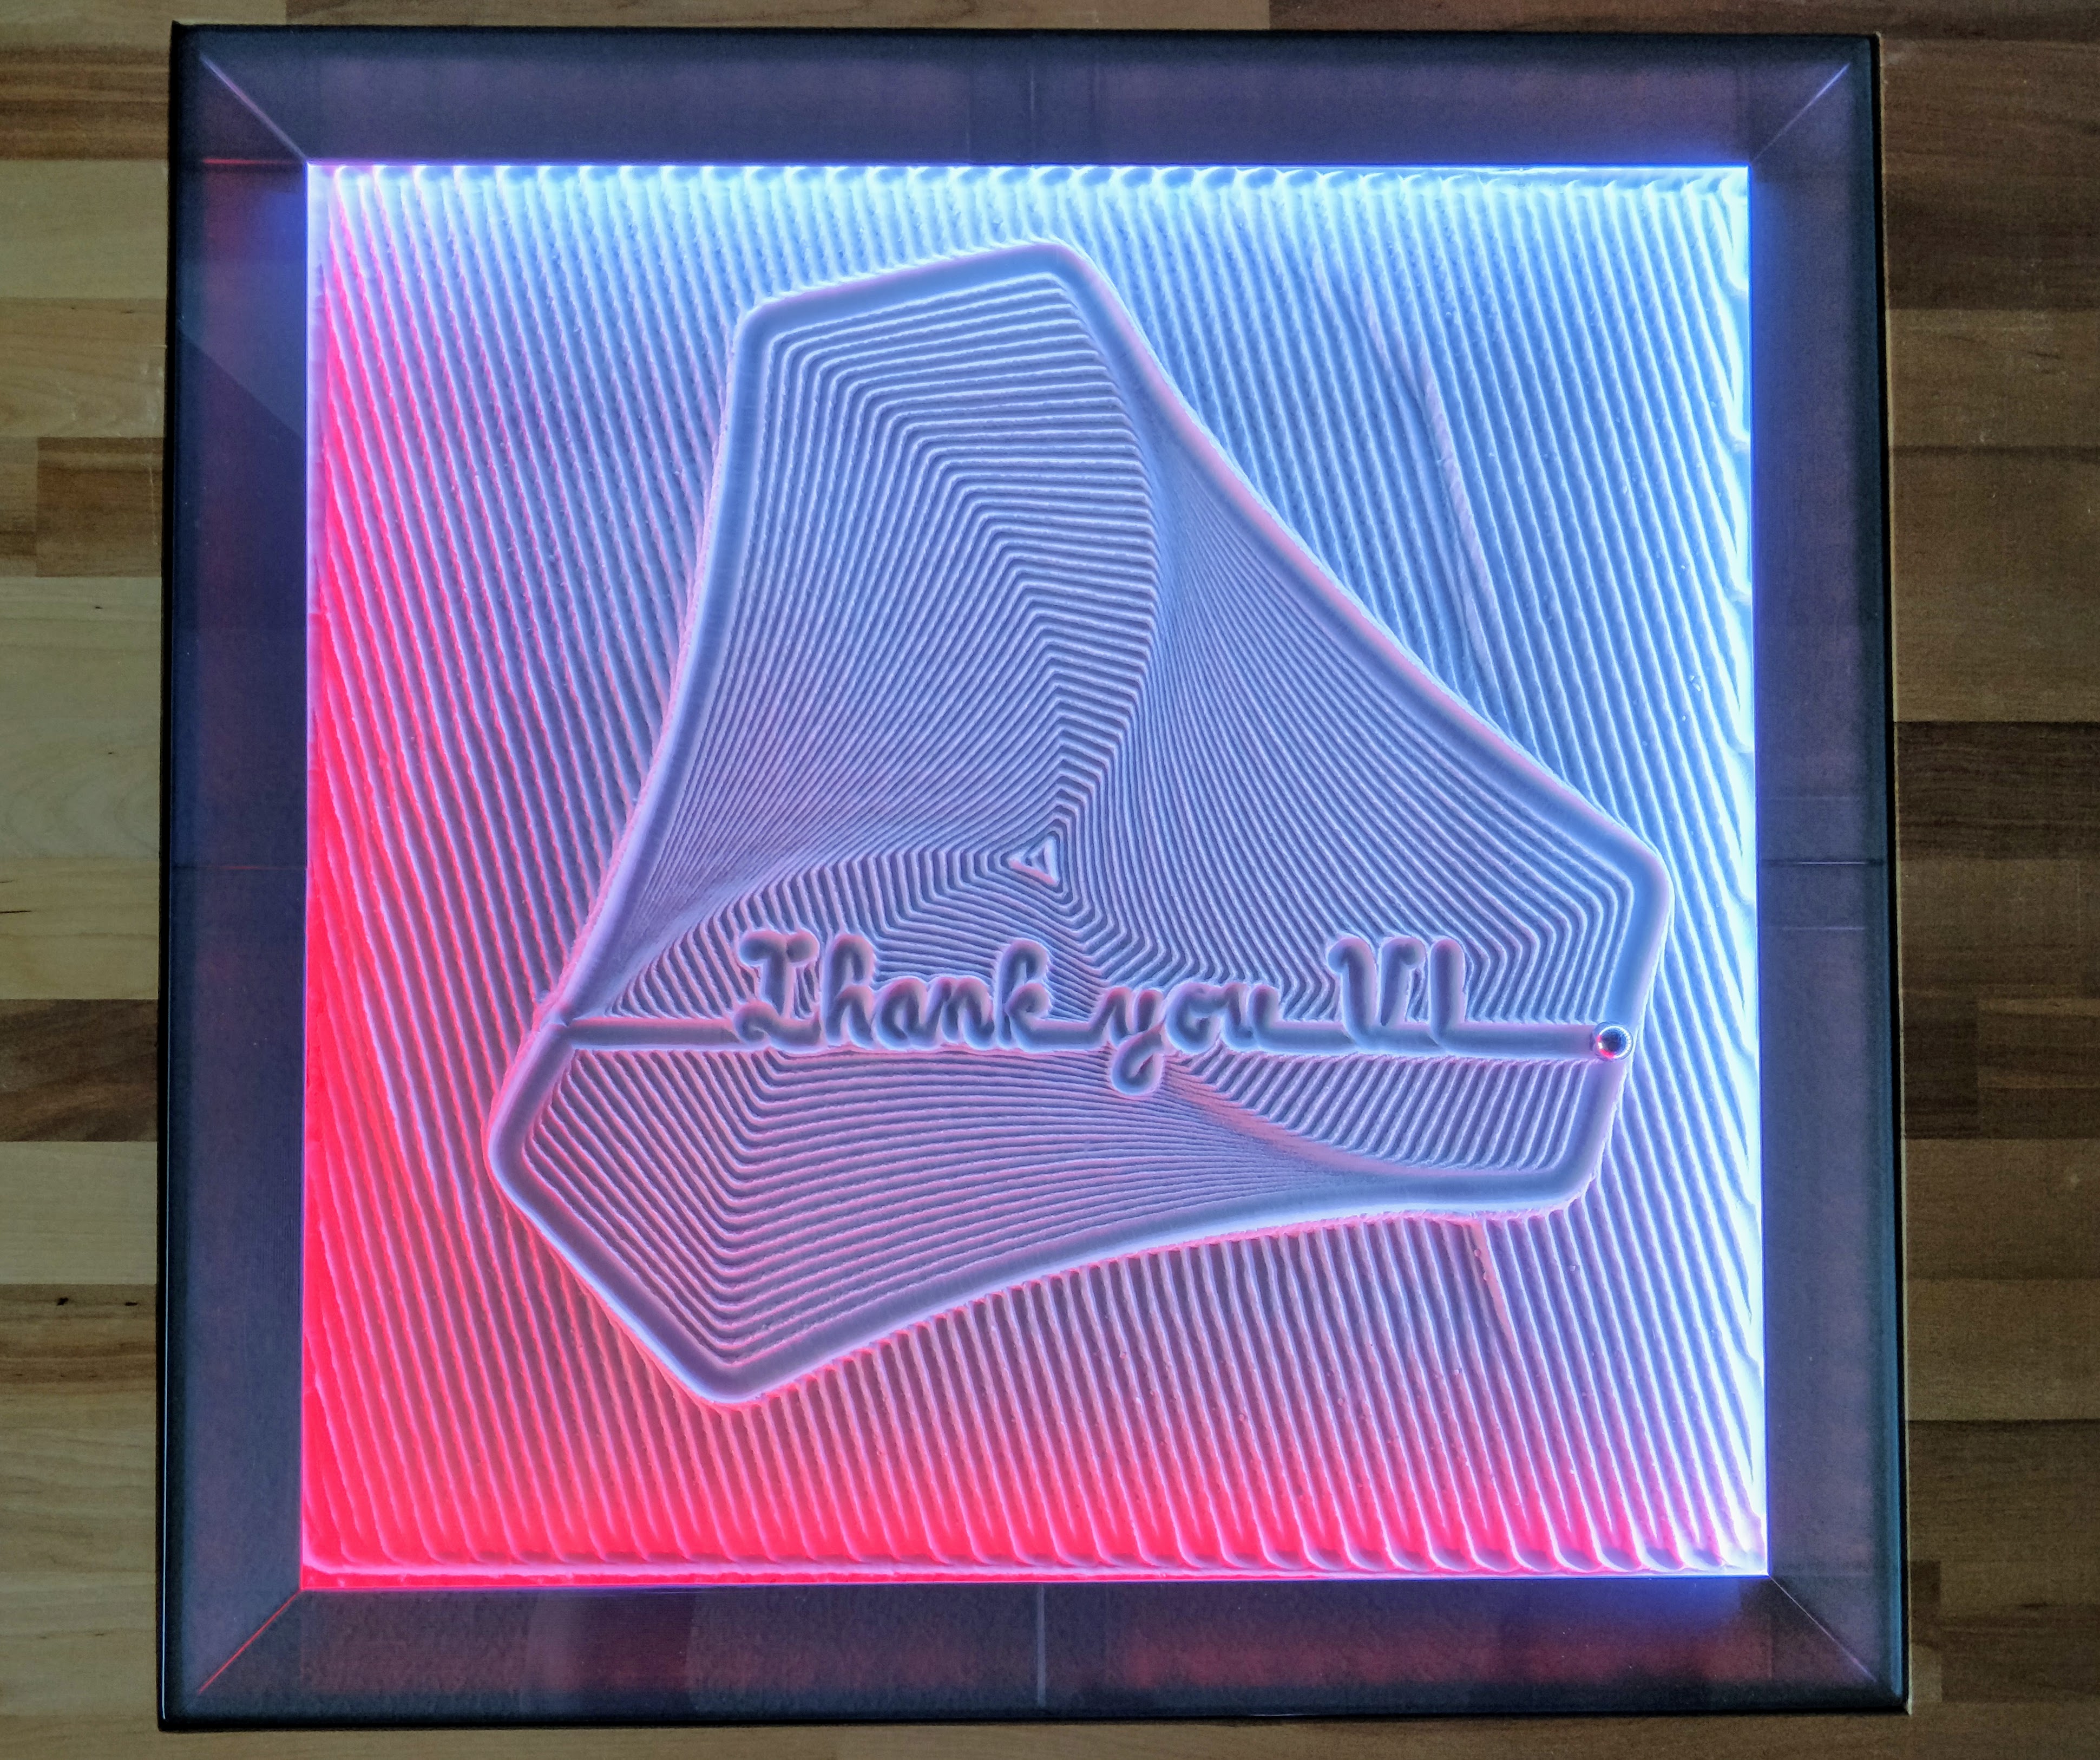
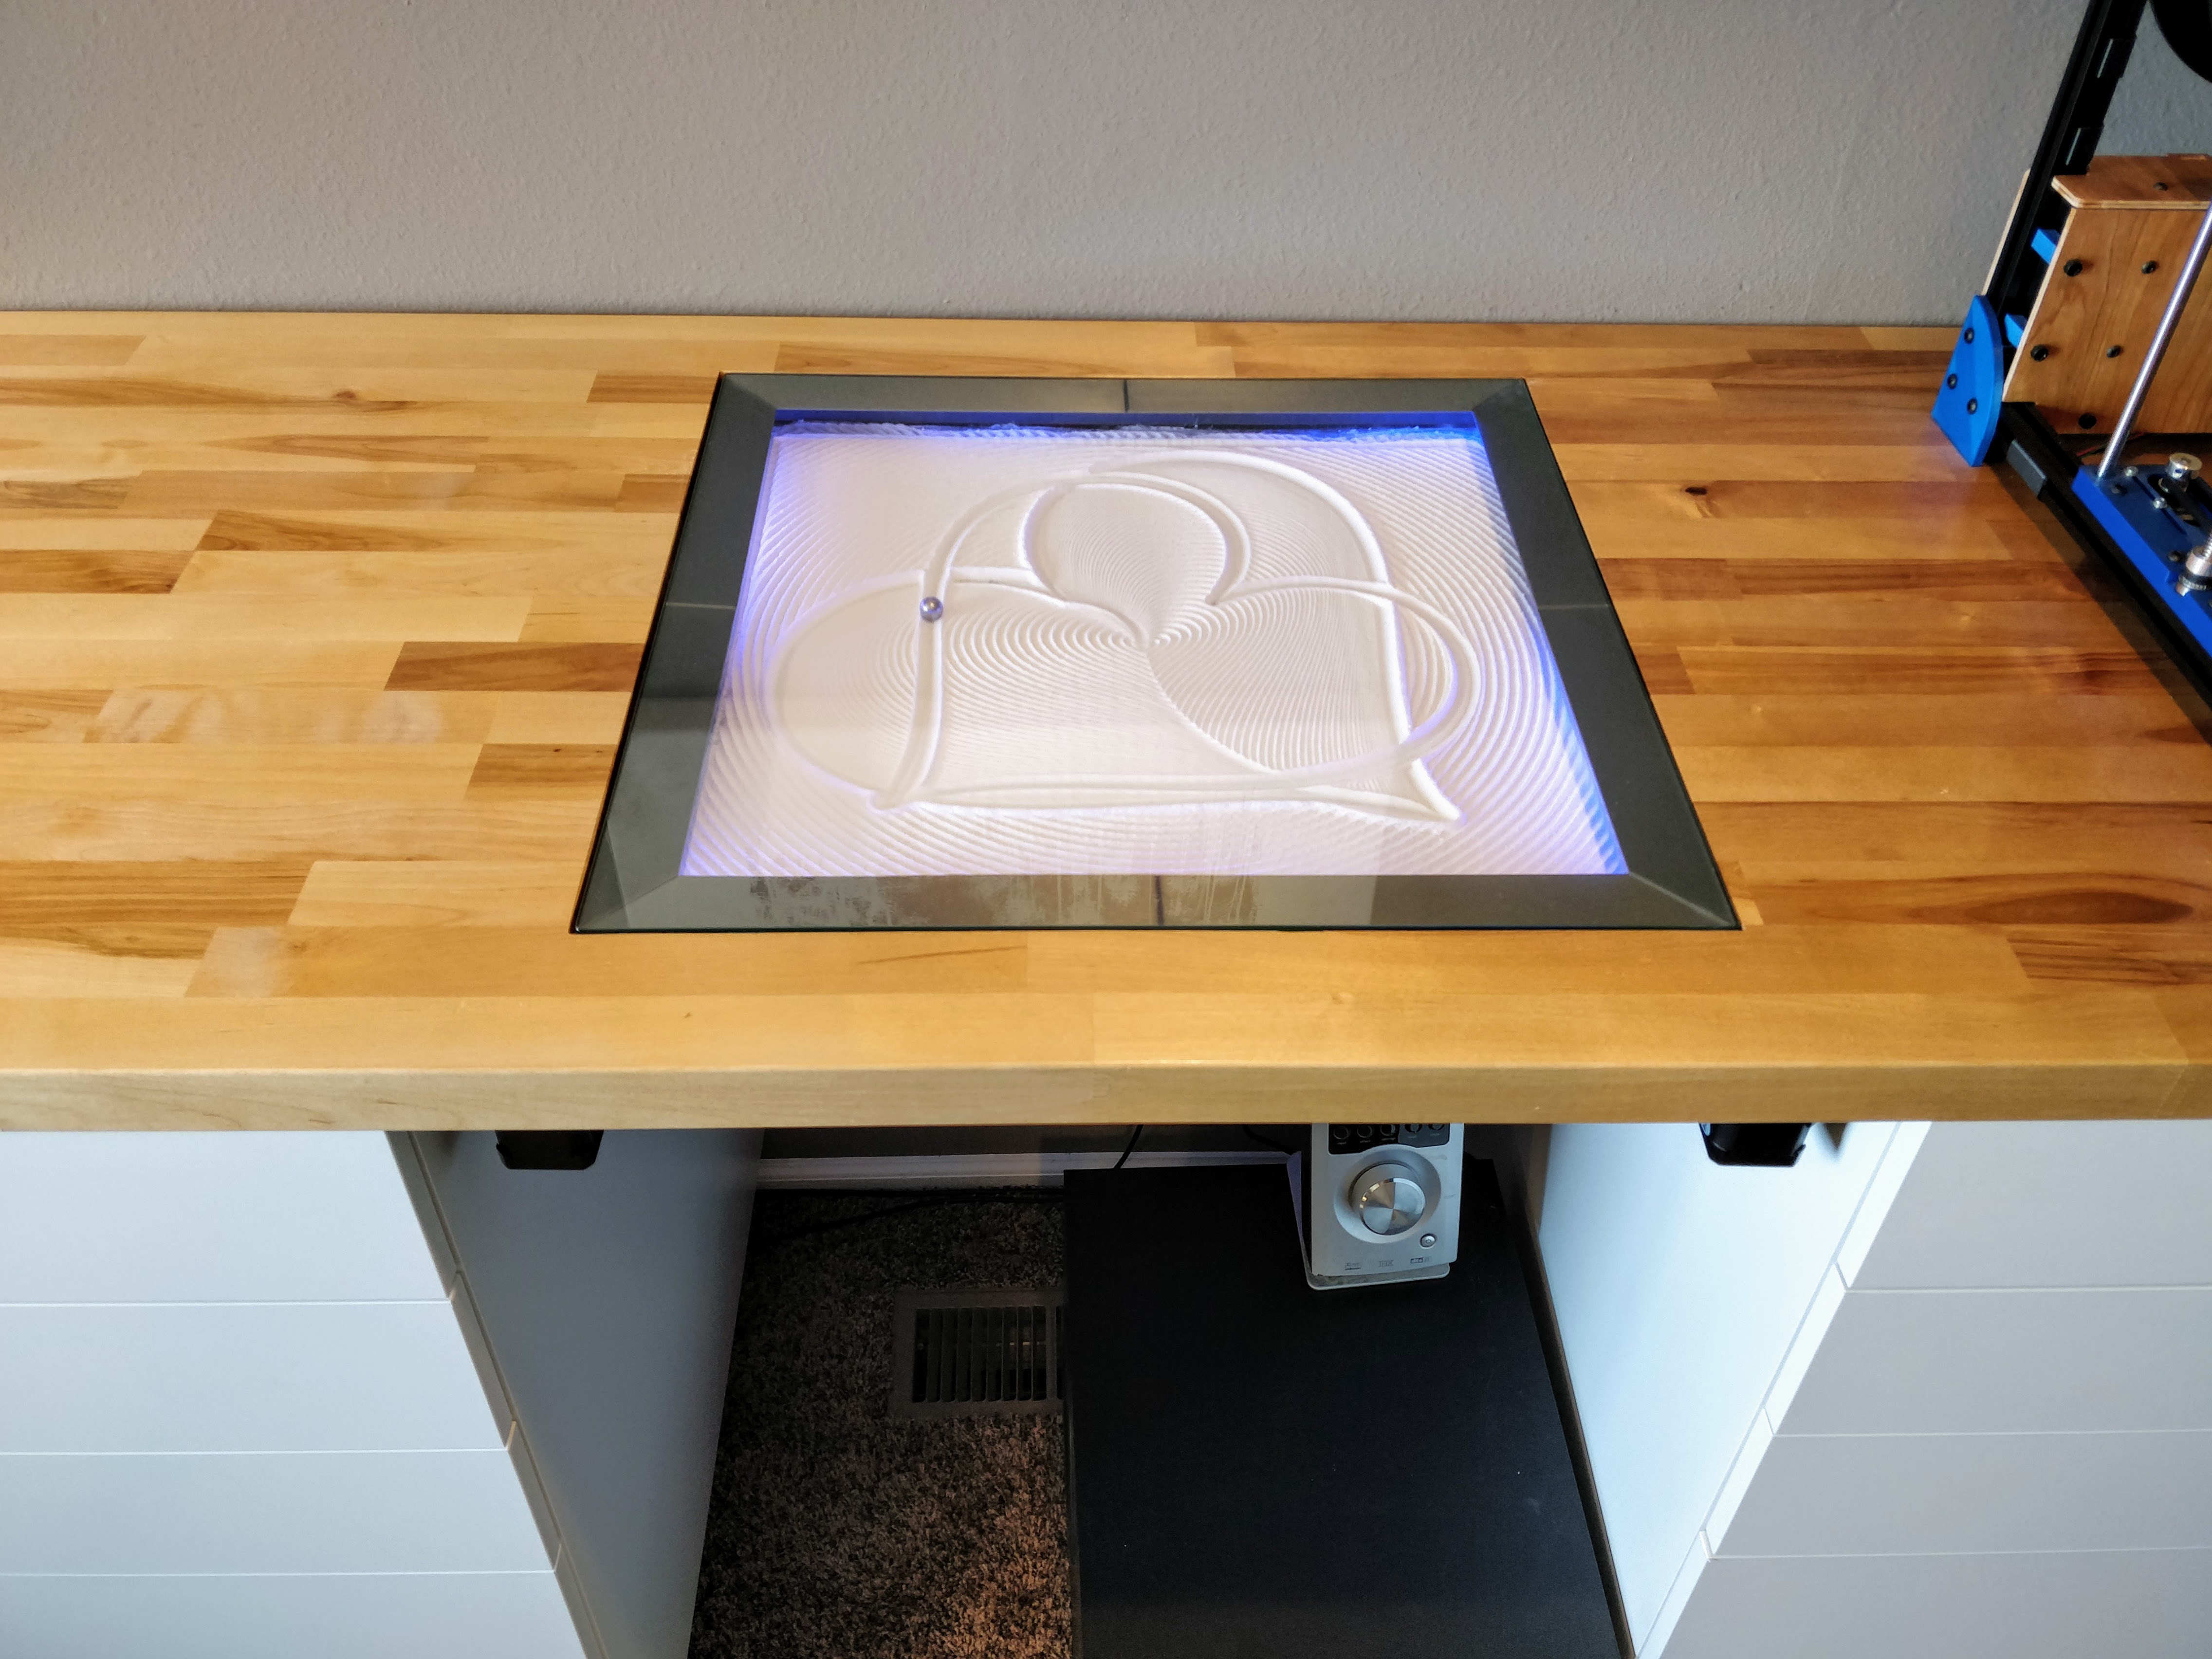
So, here is a huge update. This thing is “done”. I have been holding back showing off the whole thing, but now I have it all cleaned up and it is drawing up a storm.
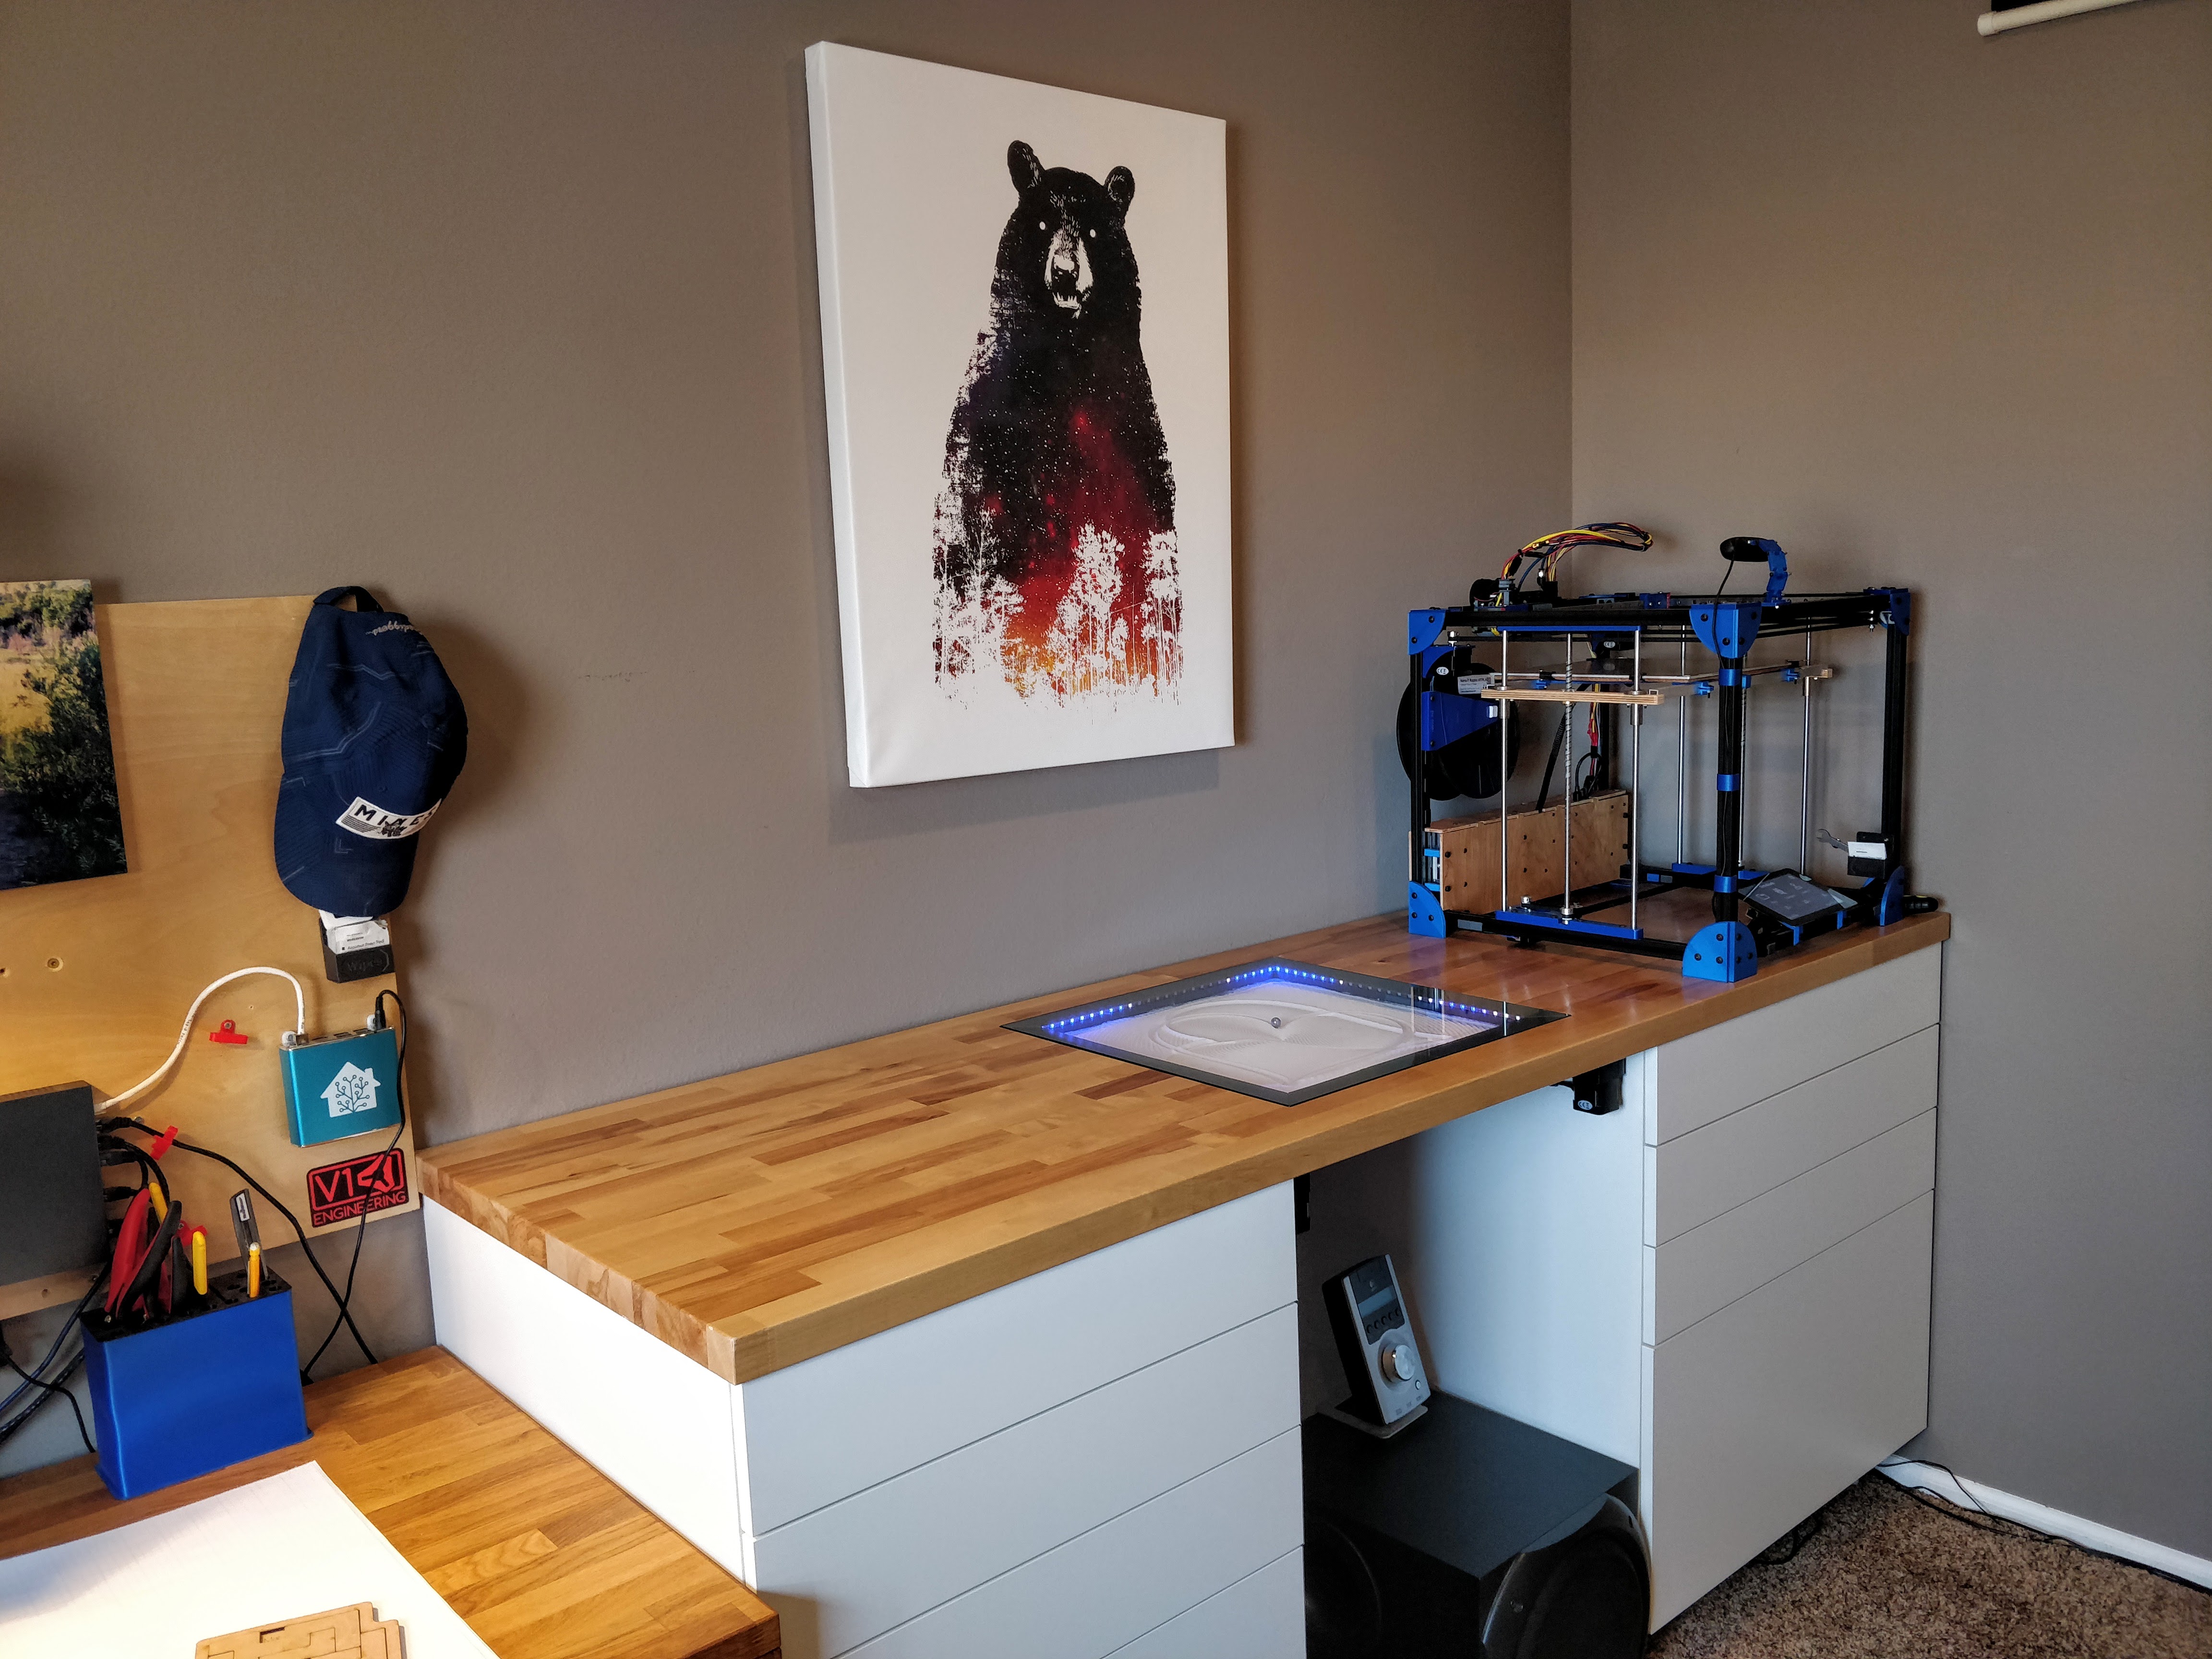
I freakin’ love it. This really feels like the home of sandify now (To be clear, there are other contributors, namely Bob, who does a ton of the work). I do all my development on my desk, to the left, and I can make a file and send it to the machine is seconds. It is so quiet I can work on it after the kids go to bed (they are behind the far wall). But mostly, it looks clean and professional and I love it.
The counter is very nice for this spot. I had a 7’ folding table there before, with boxes below. This is much more solid, and at a nice standing height (It is at a kitchen counter height). I have tons of storage and I have already moved a lot of stuff I will use up here into it’s home in these drawers and have a bunch more space.
The kids love it. My 3yo will just fit on the left side and she has stayed there for entire patterns watching it. My 6yo likes to sit underneath. I do too. I have been under there working on it, or checking it out, and I just pause watching it. Pretty neat.
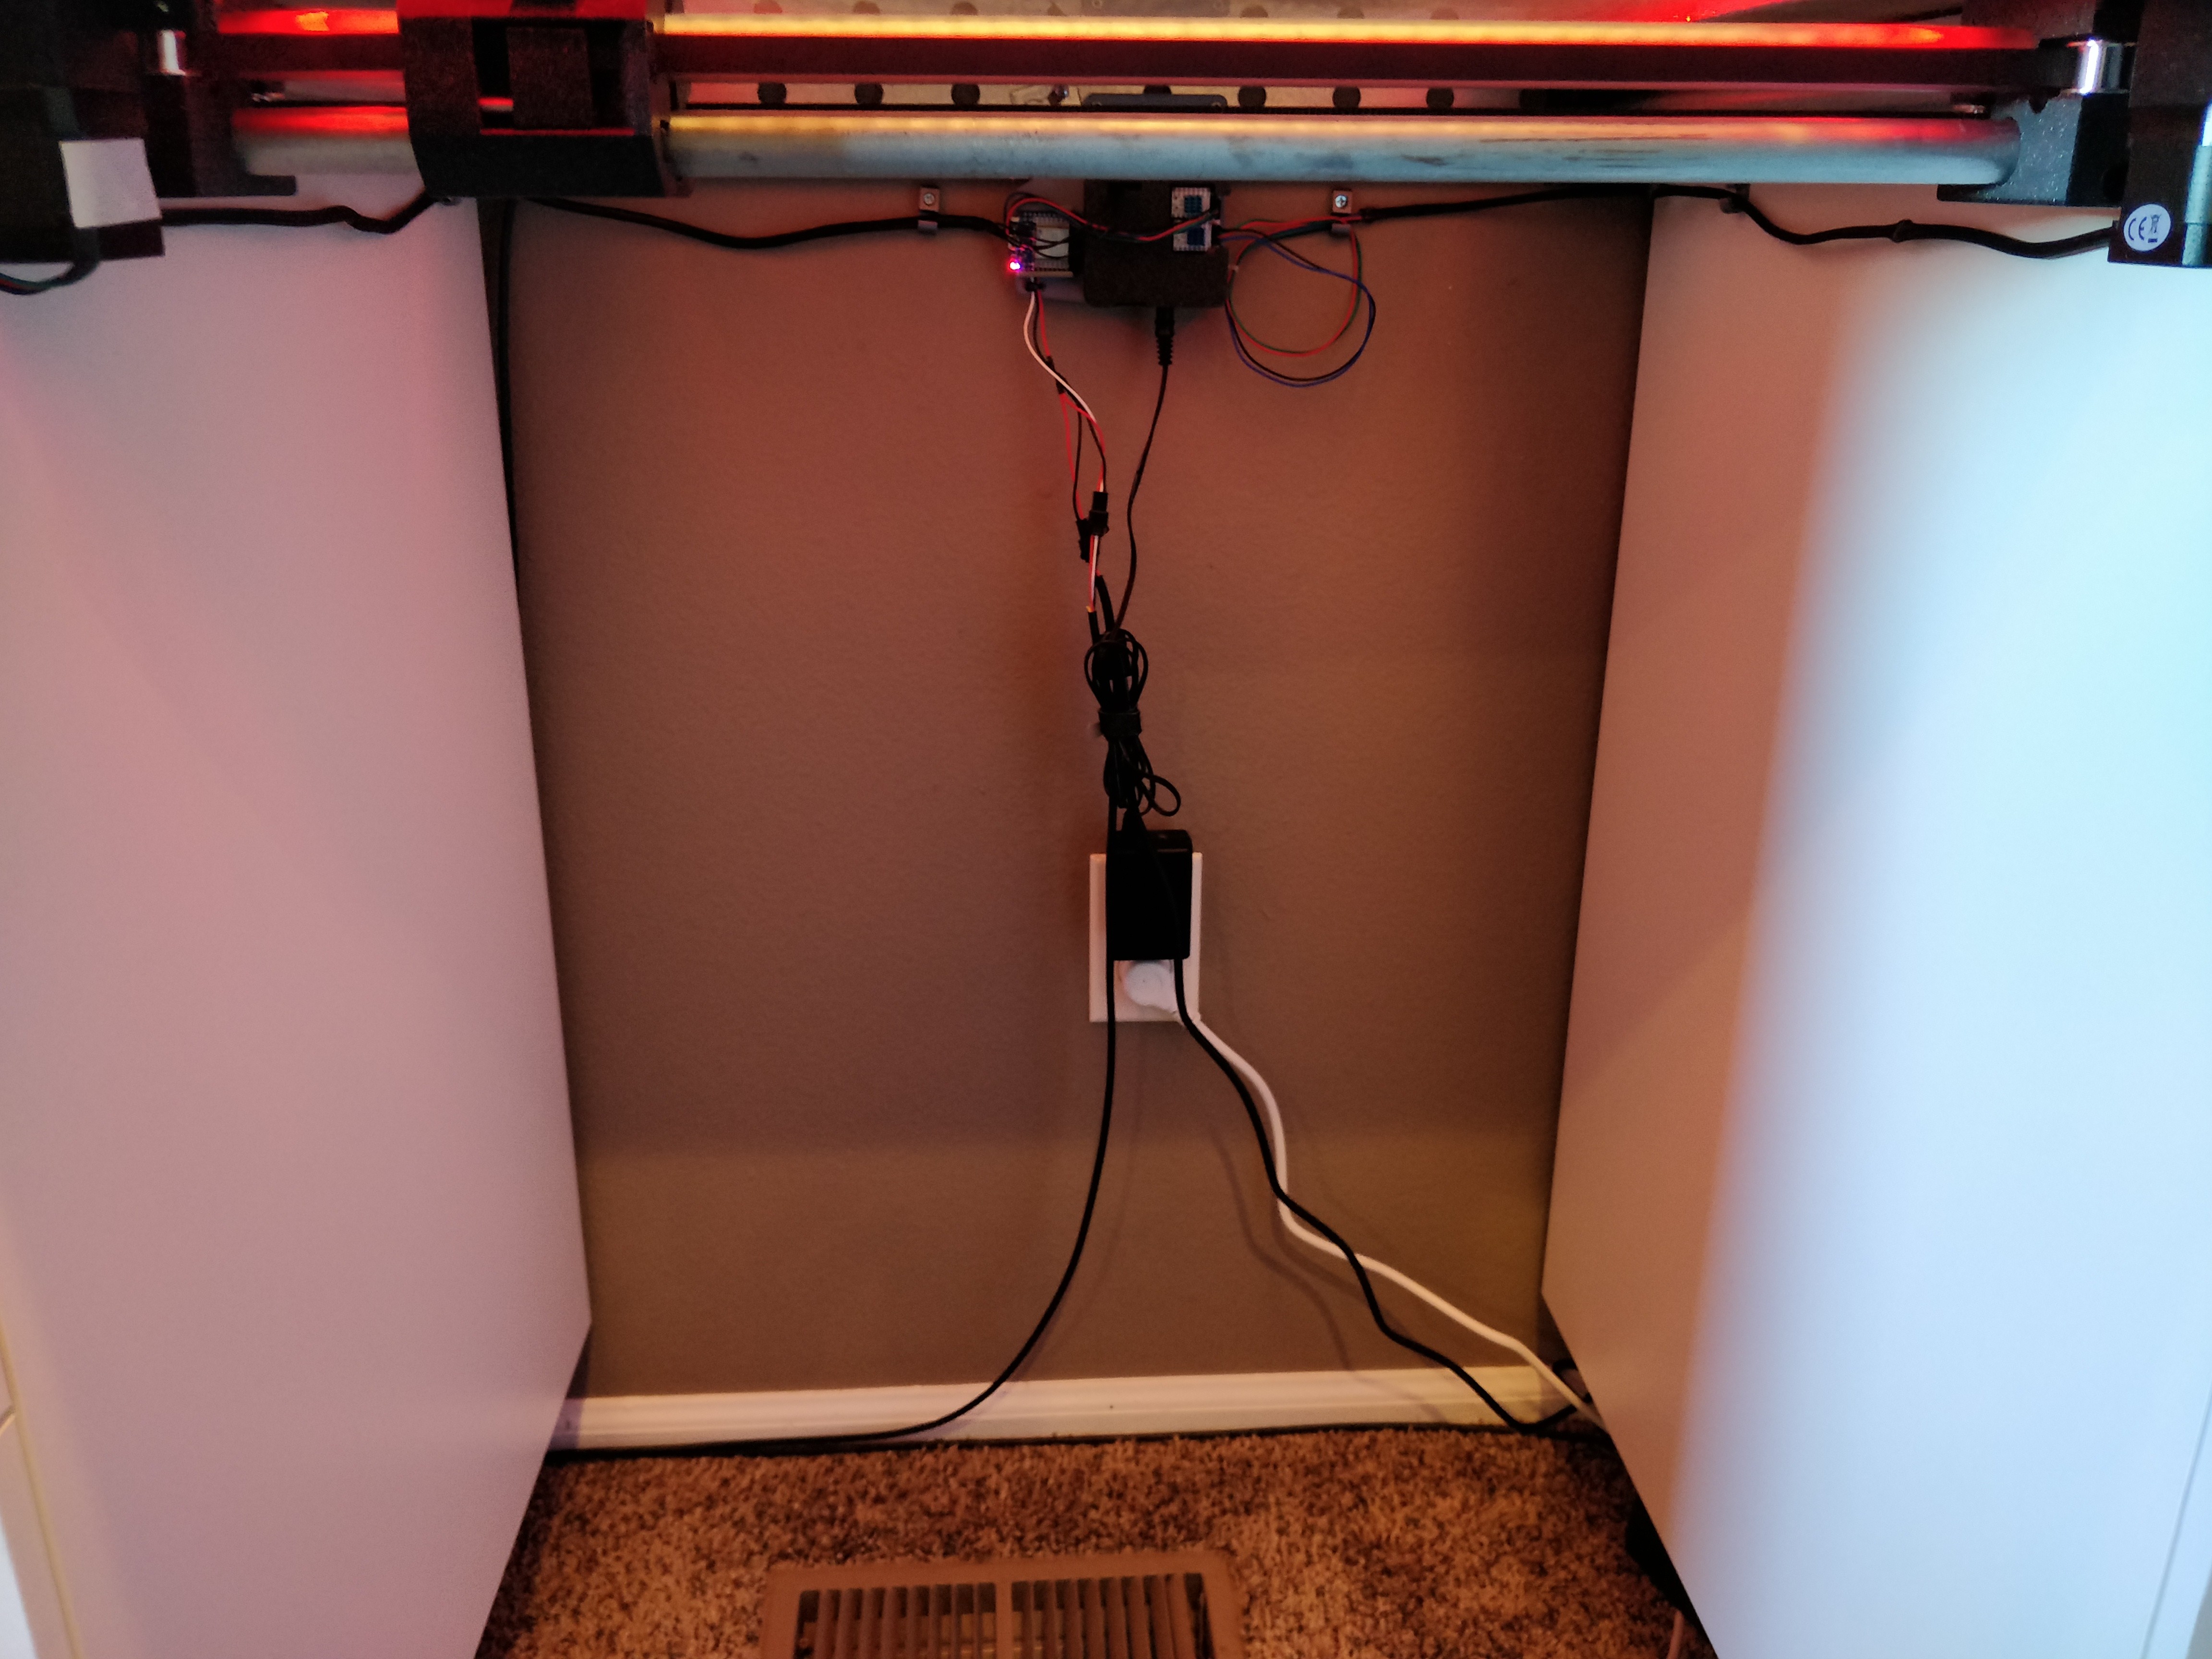
Well, a flood light underneath would be possible. You would see the machine’s shadow. Or I could stick some LEDs to the machine head (but it currently has no wires and that is so nice). But I will have to try shining a light underneath to see what it looks like. The harsh light, at an extreme angle makes the peaks and valleys have really strong contrast. But I think any new light option is a good light option
Yes exactly. I had realized the same concerns as soon as I hit send, but then I thought maybe a piece of sand-blasted edge-lit acrylic for the base. That way the light comes from the edges, reflected through the acrylic, so no shadows? Kinda like those etched acrylic stand-up signs.


")