Jeffeb3 Low Rider Table v2

Plunging!

2 Likes

OMG. This is awesome.

2 Likes

:black_large_square:?

:white_check_mark:

:white_check_mark:

3 Likes

On to the mechatronics!

I cut quite a bit off of the tubes. It is about a foot shorter, maybe 14". I just had it set up the hard way before. My Z tubes are still crazy long.

I still have to install the longer belts. I needed my hack tracks before, so I might need to attach those again, but I need longer ones. I might trim the wiring down a bit. I’m exhausted though. So happy. But exhausted.

10 Likes

I like the new shape, much better!

Good job on how square you got it. That will make every cut a lot easier.

2 Likes

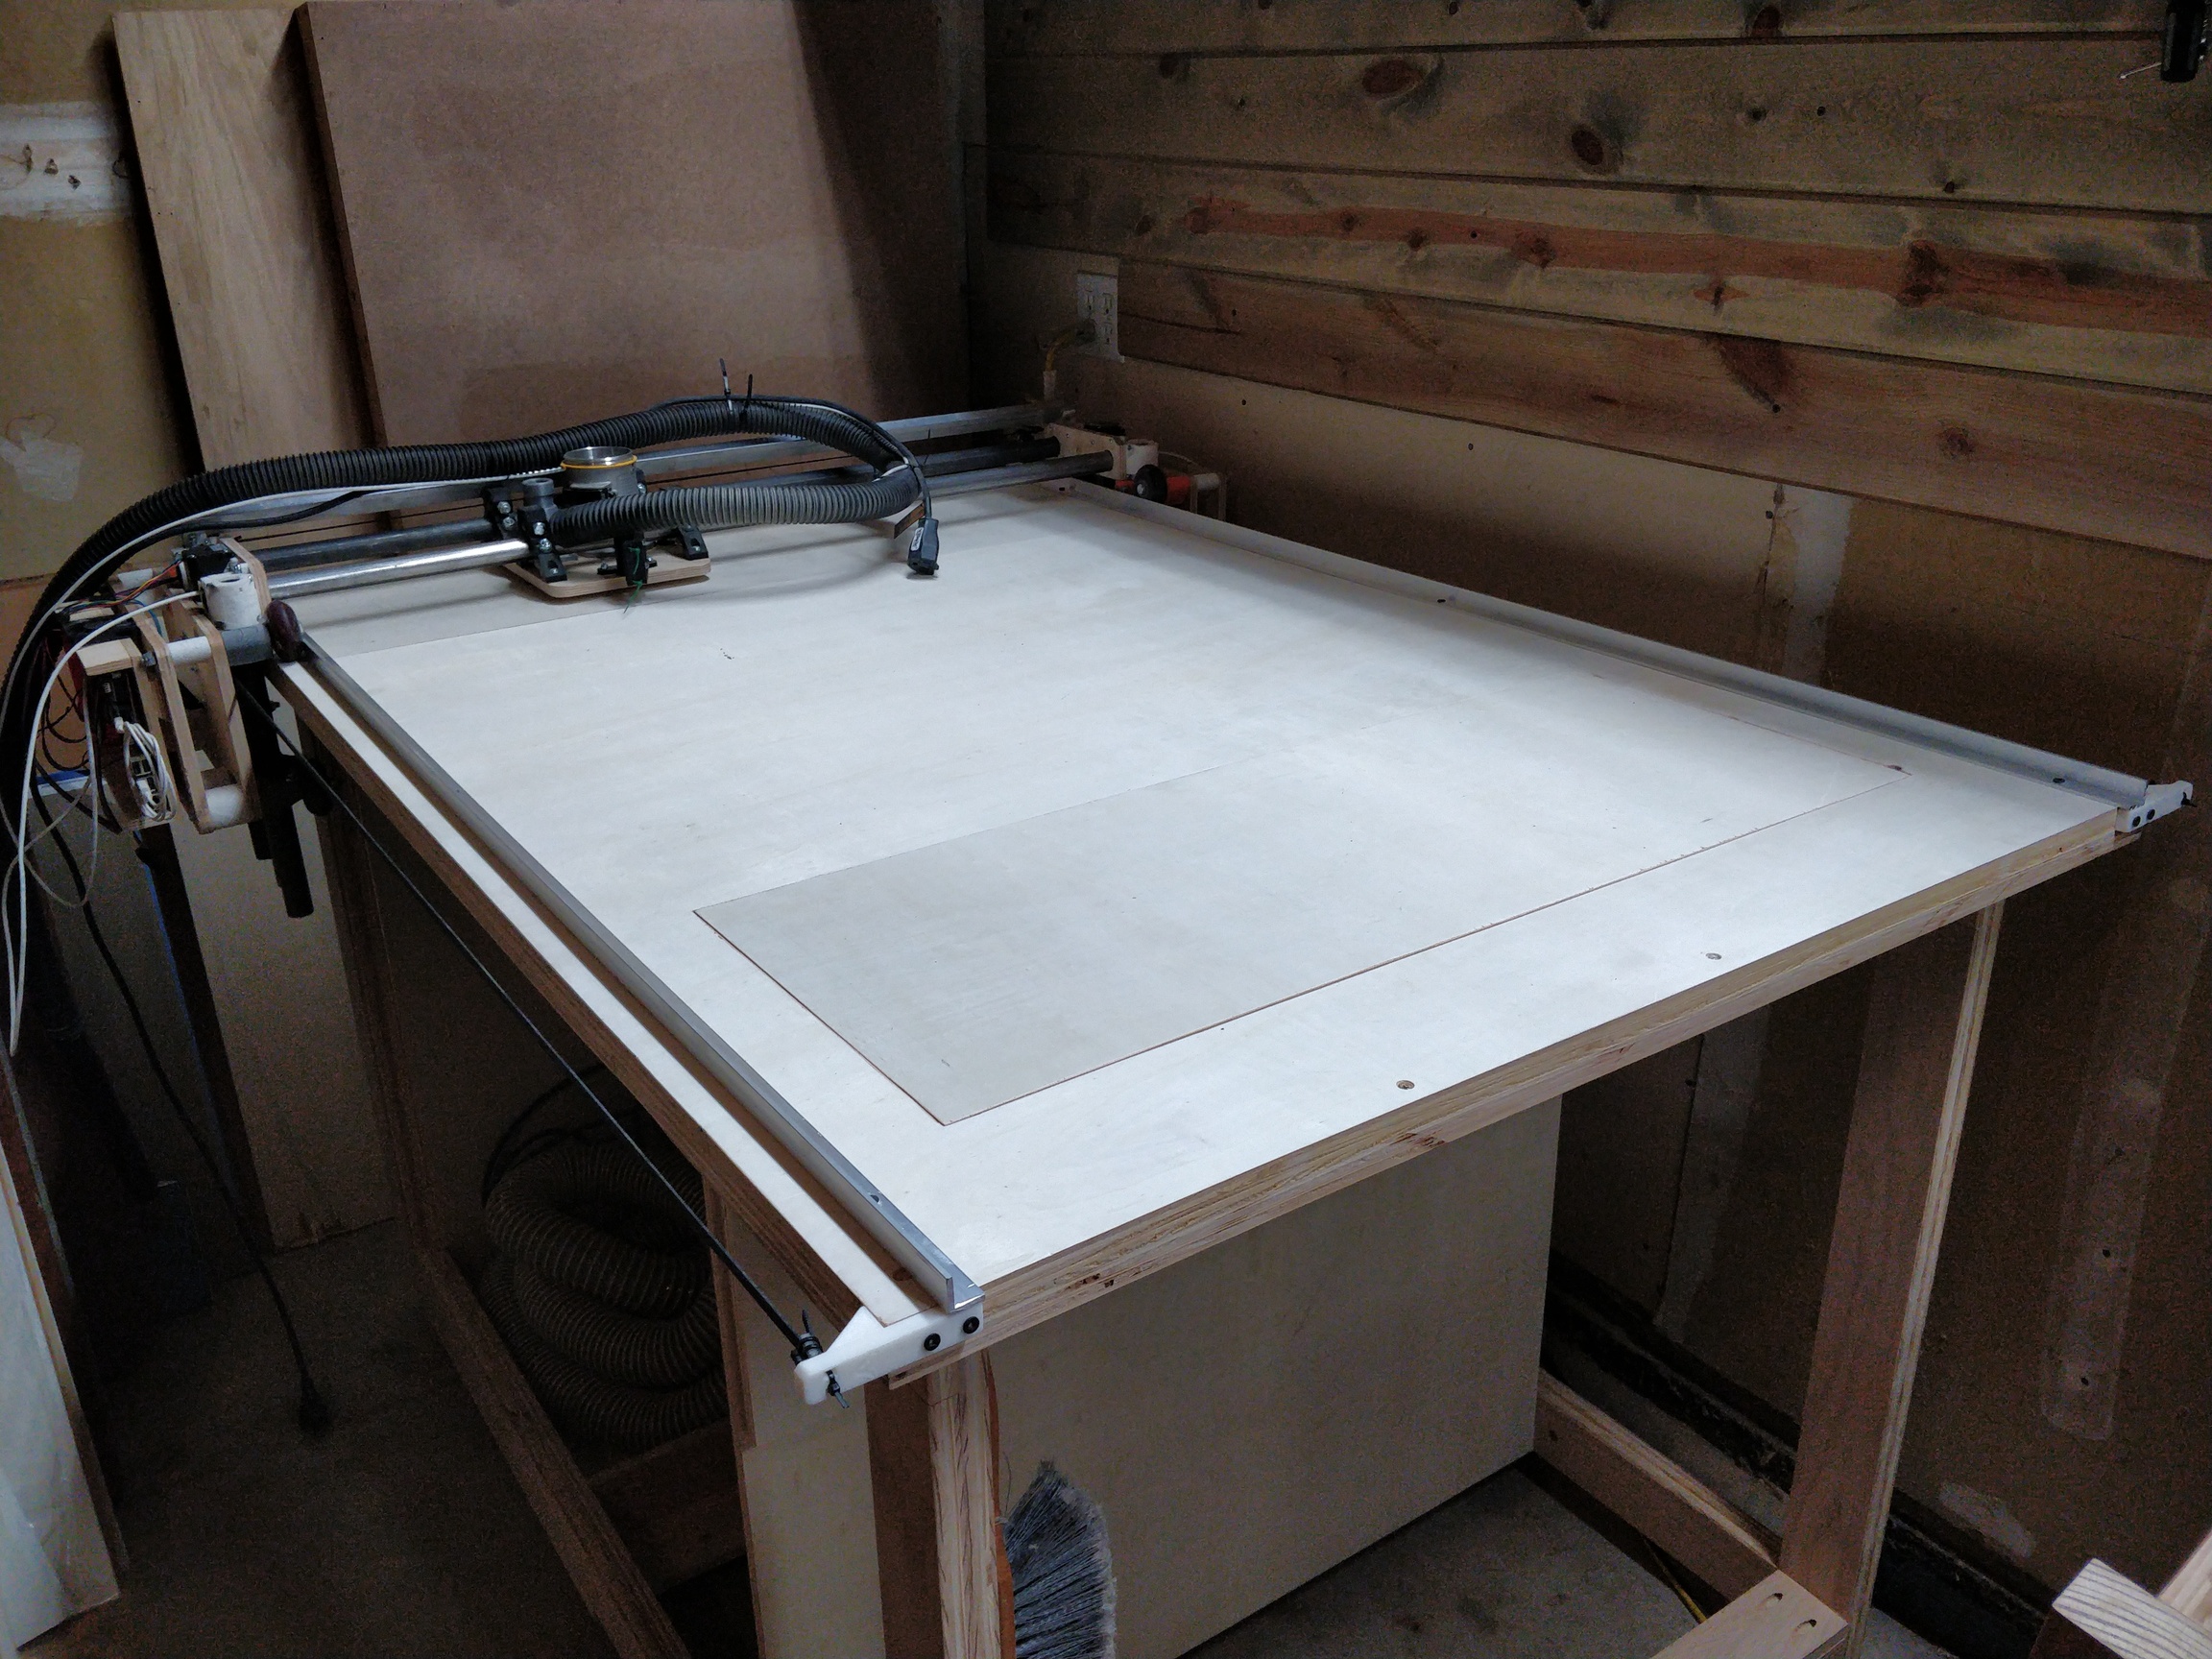
Back in its corner. I added 3/4" aluminum angle. I bought the 1/8" thick ones, but I think it was a waste of money. They were $20 each. Oh well. It rode very smoothly when I didn’t have the belts on. Let’s hope it stays as smooth. I am reworking the hose/wires next. Then I will plug it in.

9 Likes

Great table… my takeaway… I need to get one of those brushes.

2 Likes

The handheld brush? They are from harbor freight and I have one for each work area. I think you can see, I mounted one on the table on the near side in the last picture.

Yep that one… its the little things… I am constantly getting splinters because I’m too lazy to vac the table and just give it a good swipe of the hand.

1 Like

I keep a sanding block nearby as well. I sweep, knock down and screw burrs, then sweep again.

1 Like

Very nice!

1 Like

you don’t switch bits and run a second pass with a chamfering bit to clean up the edges? Amature… :slight_smile:

Nice build! It’s been a few months now so do you still believe that? Also how did the vise clamp positioning work out?

1 Like

I haven’t used it much. Too busy.

I didn’t mean that the tracks were a waste, but I could have found something cheaper.

3 Likes

I realize this is old, but where did you get the plans for the fence you built??

It worked great. Watch the youtube tutorials first if you want to see how it is built.

2 Likes

Very nice! Thanks

1 Like

And just like that, my new table suddenly needs vertical reassignment surgery…

Nice job!

1 Like

Nice! Thank you for the write up and details.

Still happy with 2 layers of 3/4" Ply (ACX, Birch or something else?), or would you use something else for the top surface? Like various features you’ve incorporated. 2" overhangs look useful for being able to mount/attach stuff.

1 Like

I like the top surface. Some of the screws are not in a great place for the LR3, but it is fine. The plywood is very old. I think it was cheap and from HD. It might have been sold as “poplar” plywood.

I haven’t thought about what I will do next time I replace it, since plywood has gotten more expensive.

Here is the updated build with LR3. I stuffed powe supplies under the front lip:

1 Like