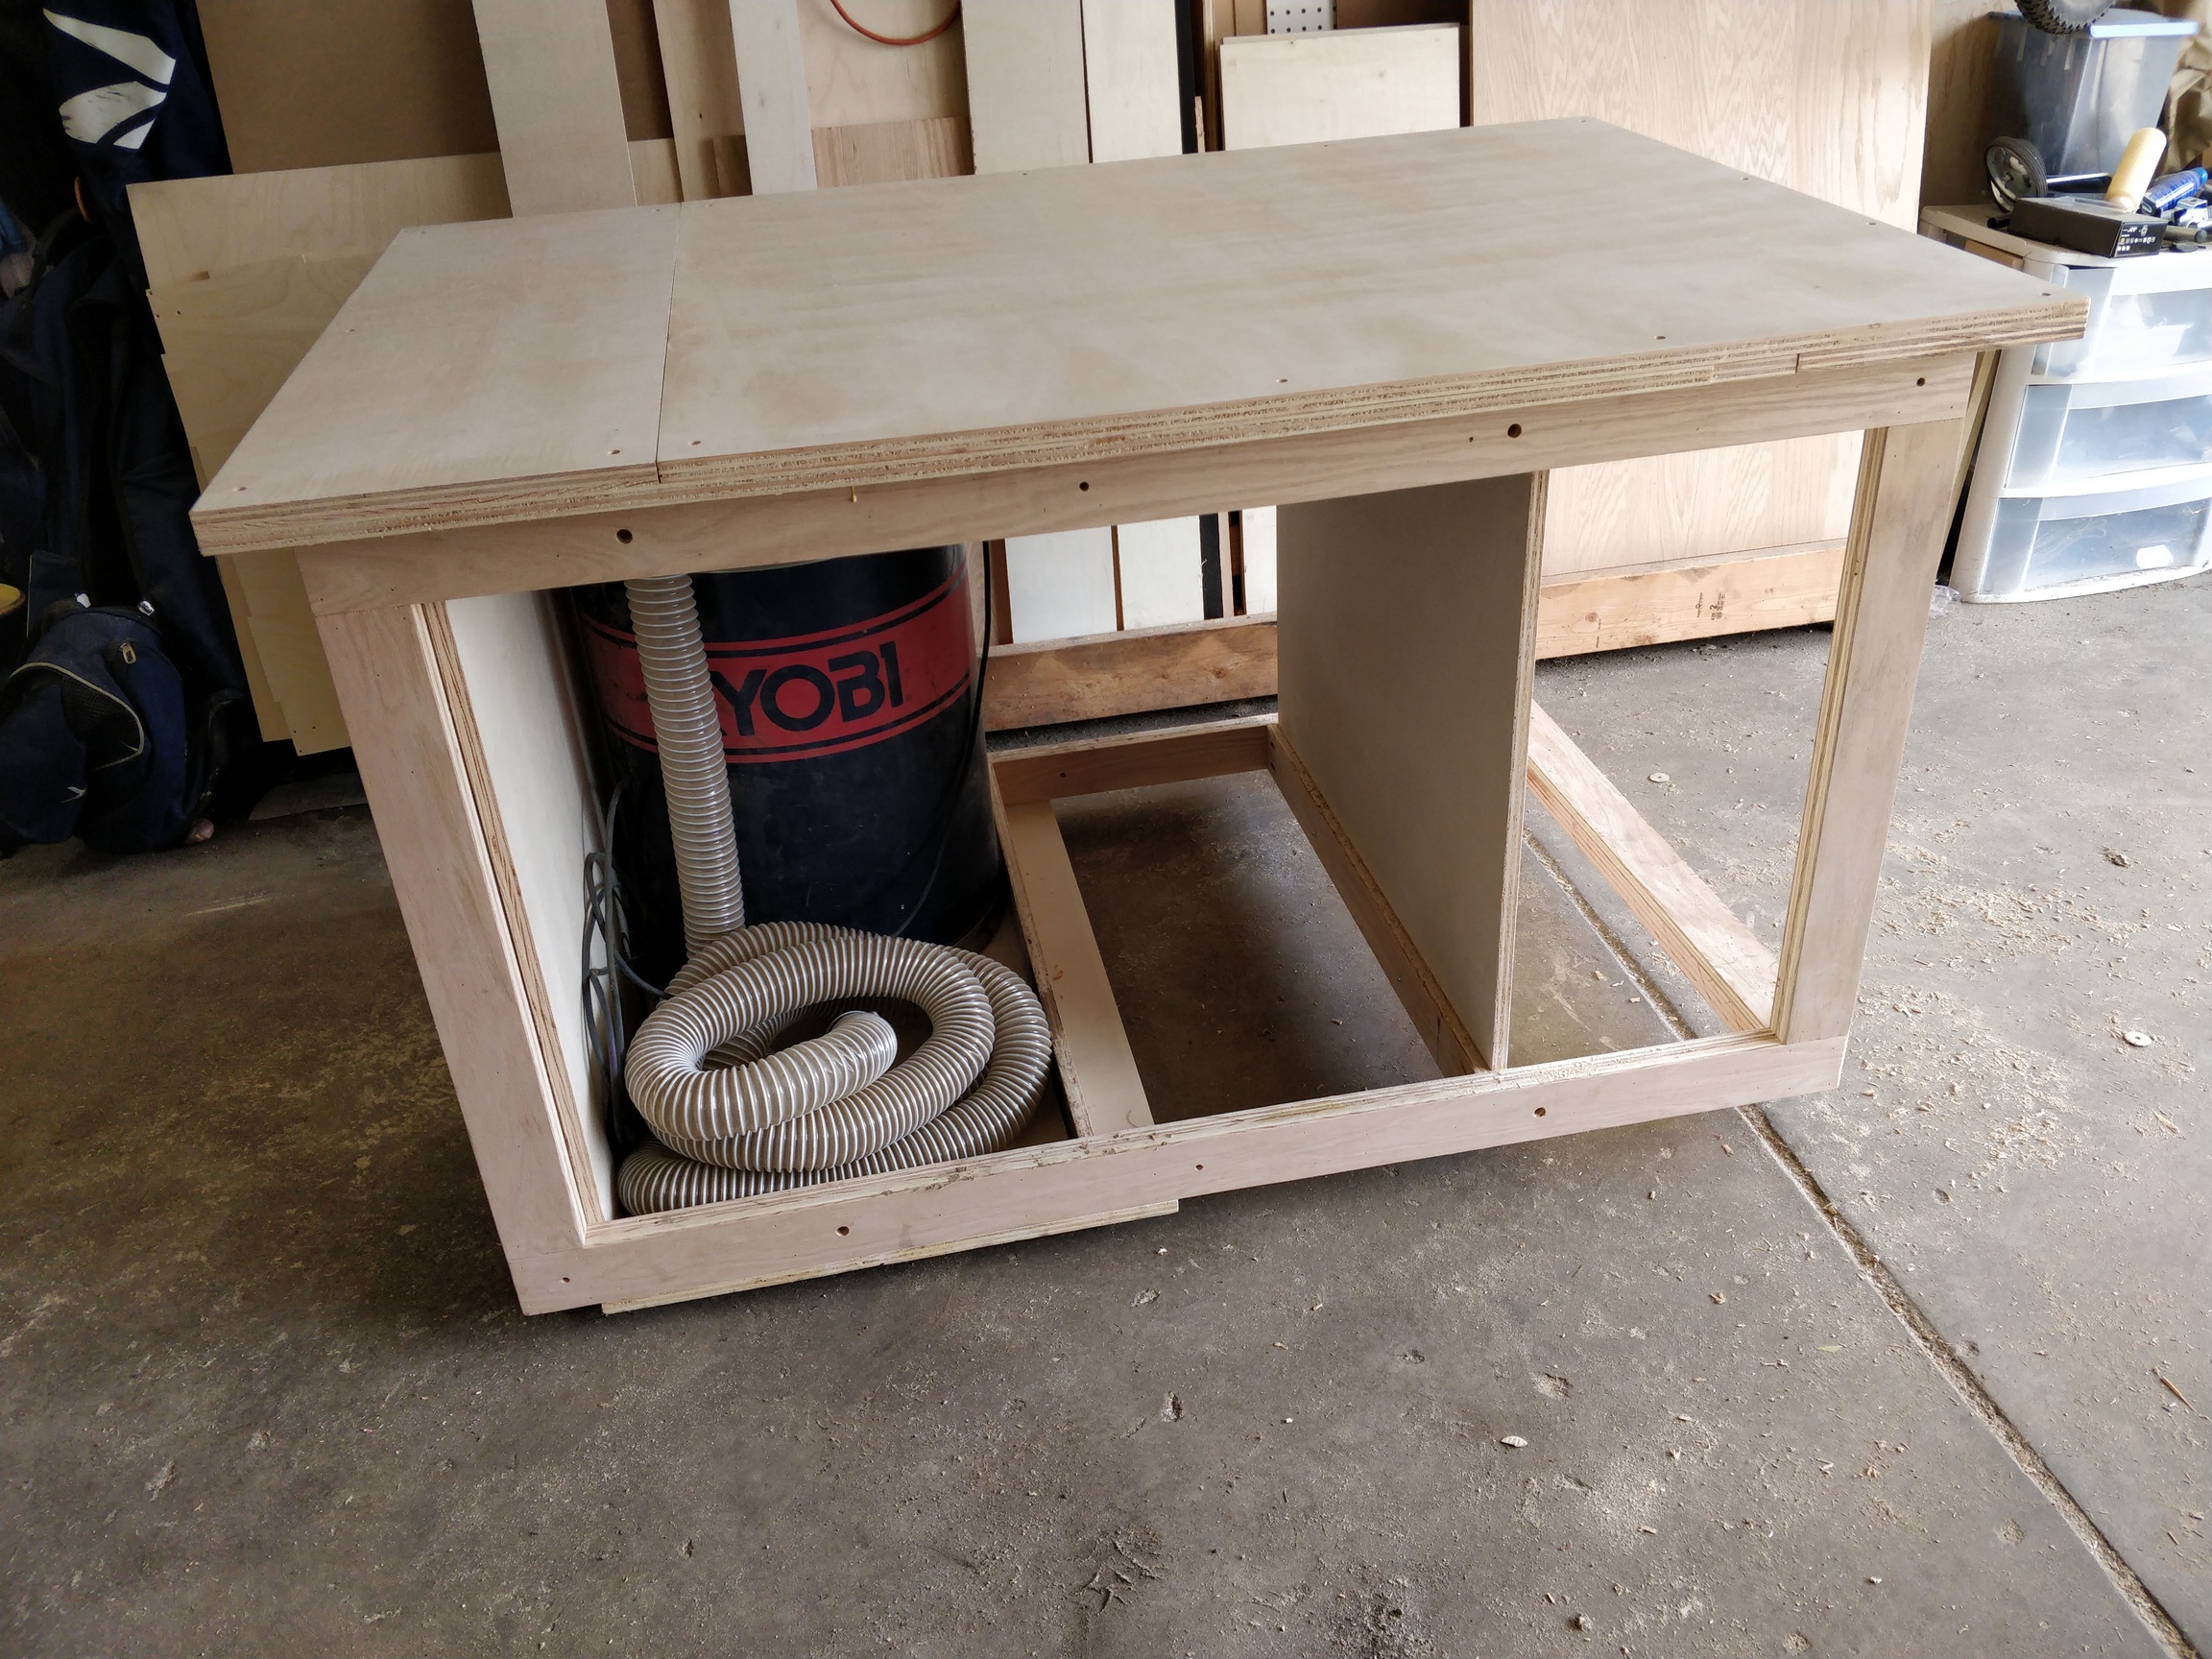
Well, I did manage to get back out there after lunch. I finished the base. I still have a lot to do, but it is very sturdy right now. There are approx. 5,000 pocket hole screws keeping it together. I hope to get the top on before they lose their grip . The frames have a crapload of glue, but I couldn’t get any glue, really, while assembling the whole thing. I could theoretically take it apart, but it would never go back as strong. I could try to take it apart and get glue in there, but that would also weaken the screws. I am just hoping it stays solid.
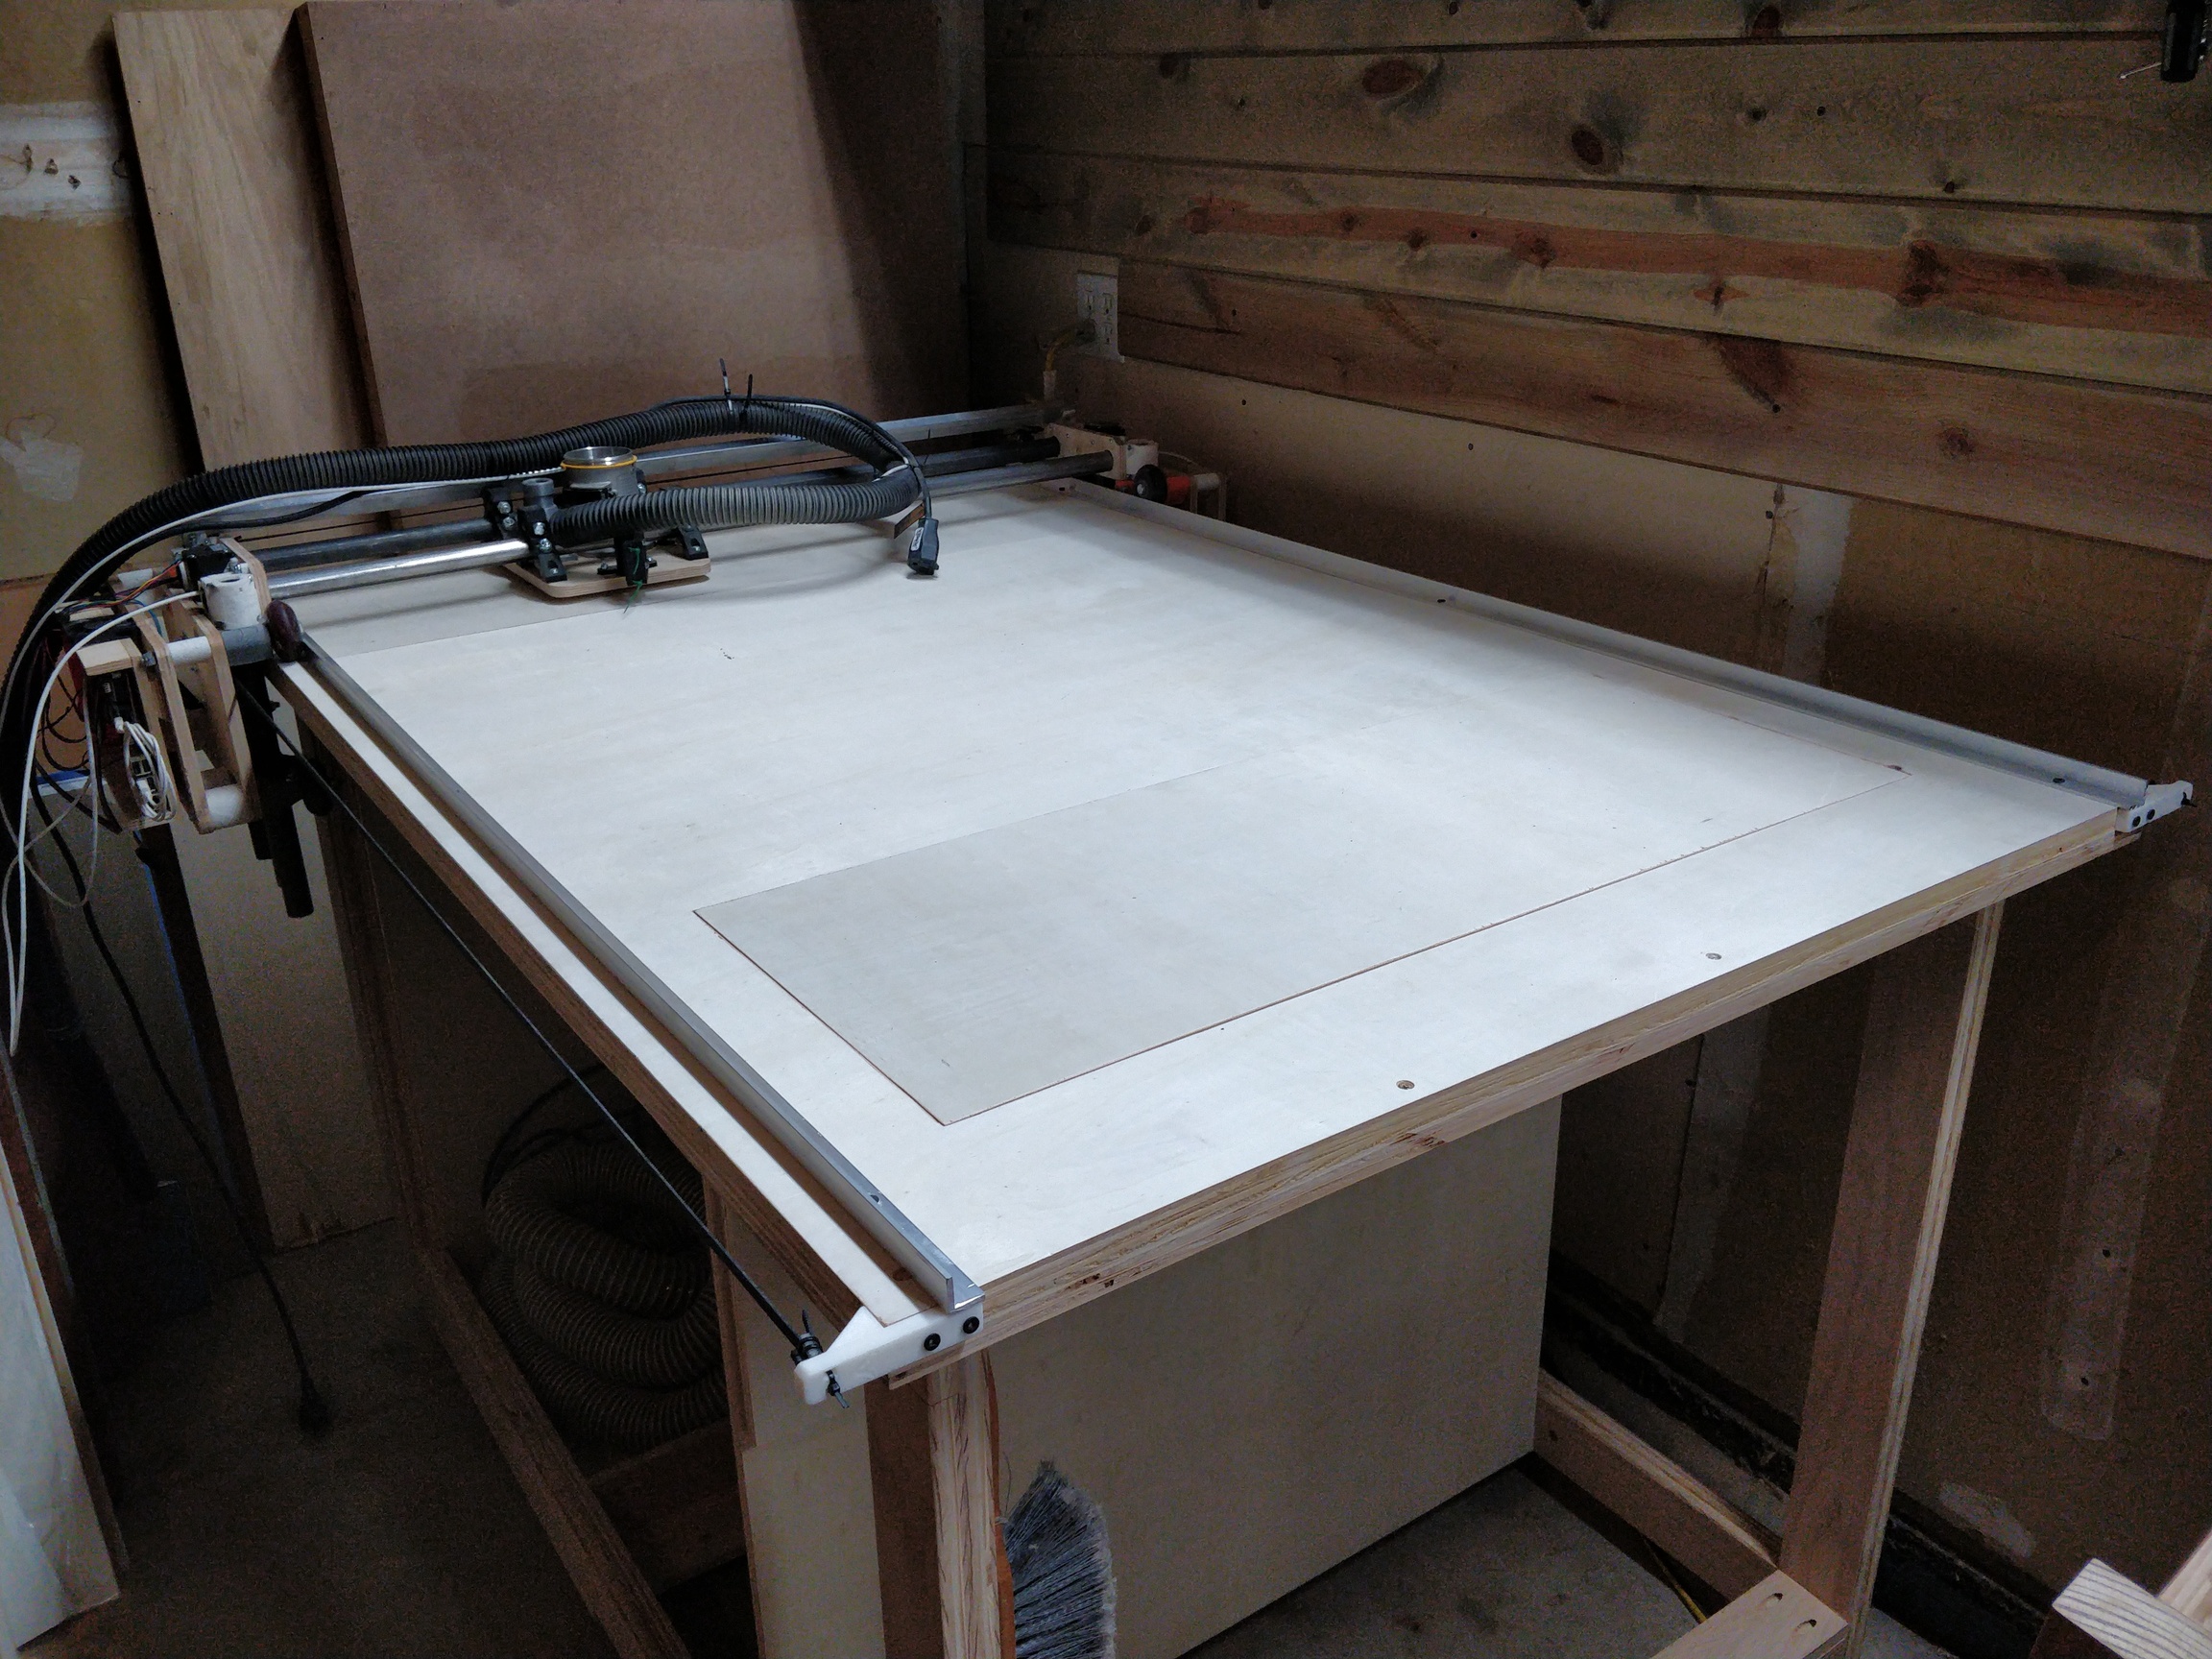
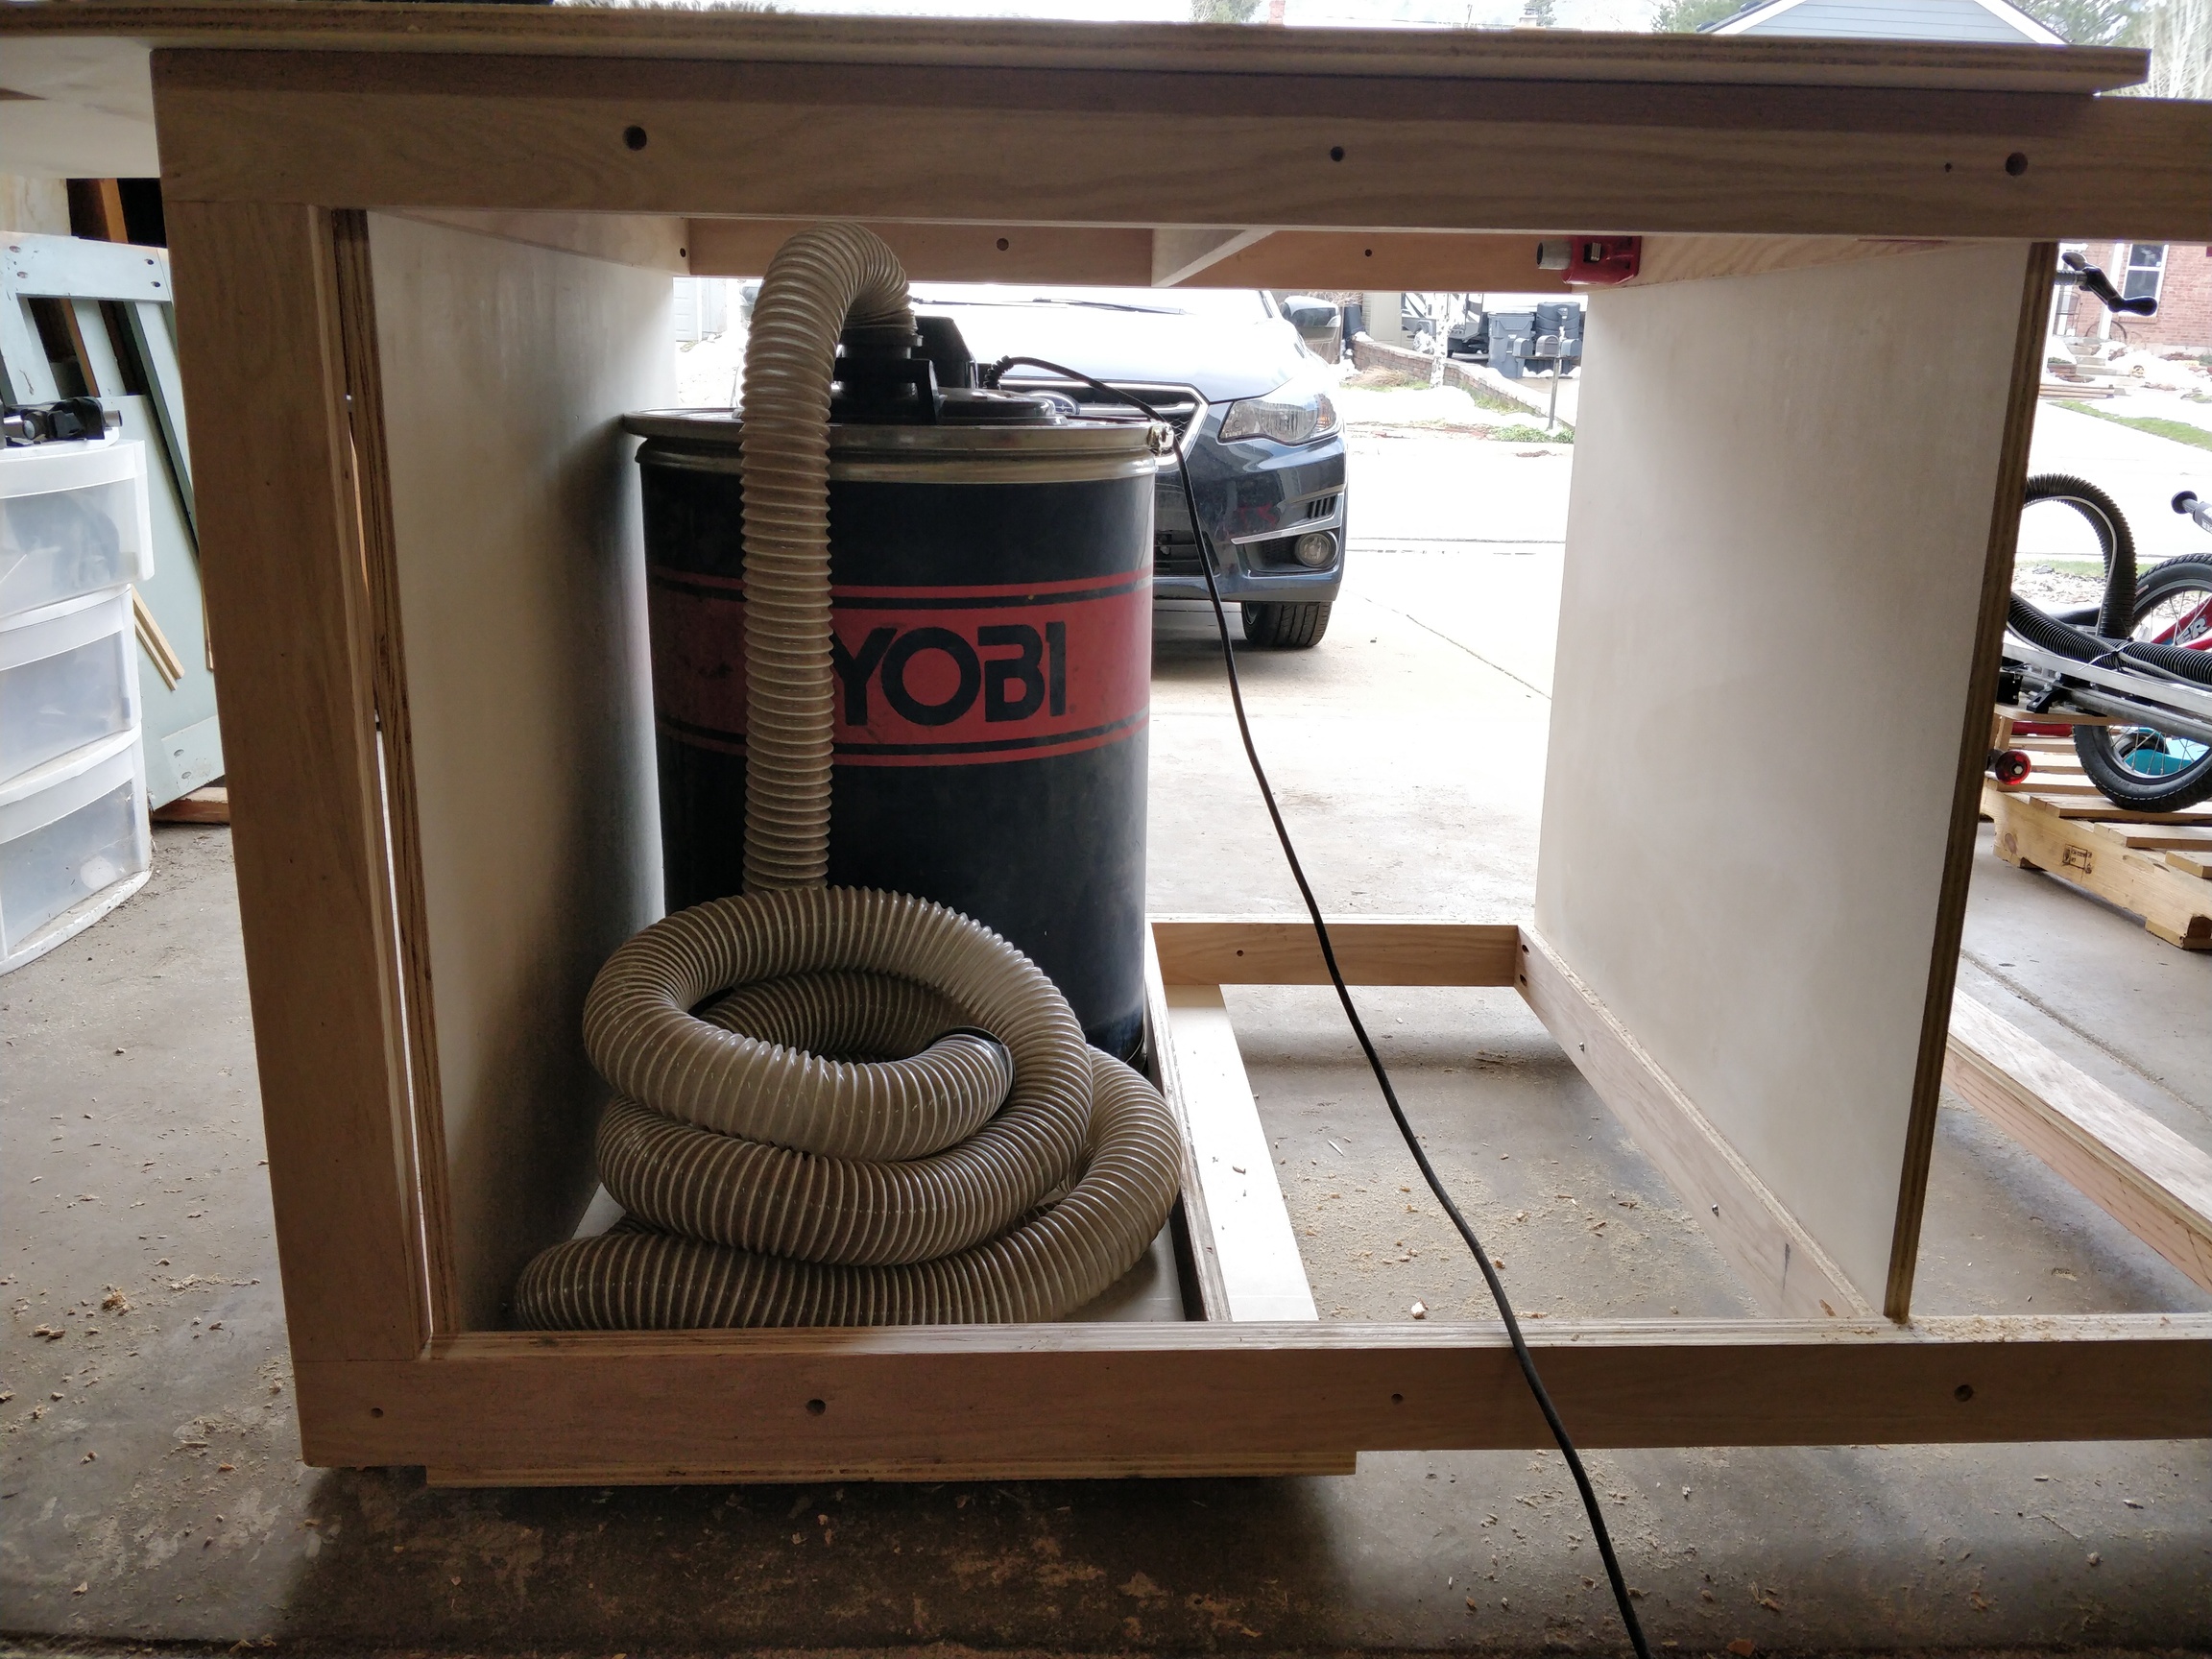
This is its home. I gained a bunch of space on the near side, mainly because of the dust collection storage. But also, the machine will be hanging off the front and back. I think I will figure some kind of spacer to keep the thing away from the back wall.
I have managed to make this all out of the weird scraps I have kept for years. I am running out of big pieces though (I have 3 4’x4’x3/4" plywood sheets. I also need to install some boards on the bottom to finish the storage and add some more rigidity. I will probably need to go buy some sheets for the top. Which is a pain in the snow and I don’t have a pickup. I either rent the HD truck or I strap them to my roof rack.
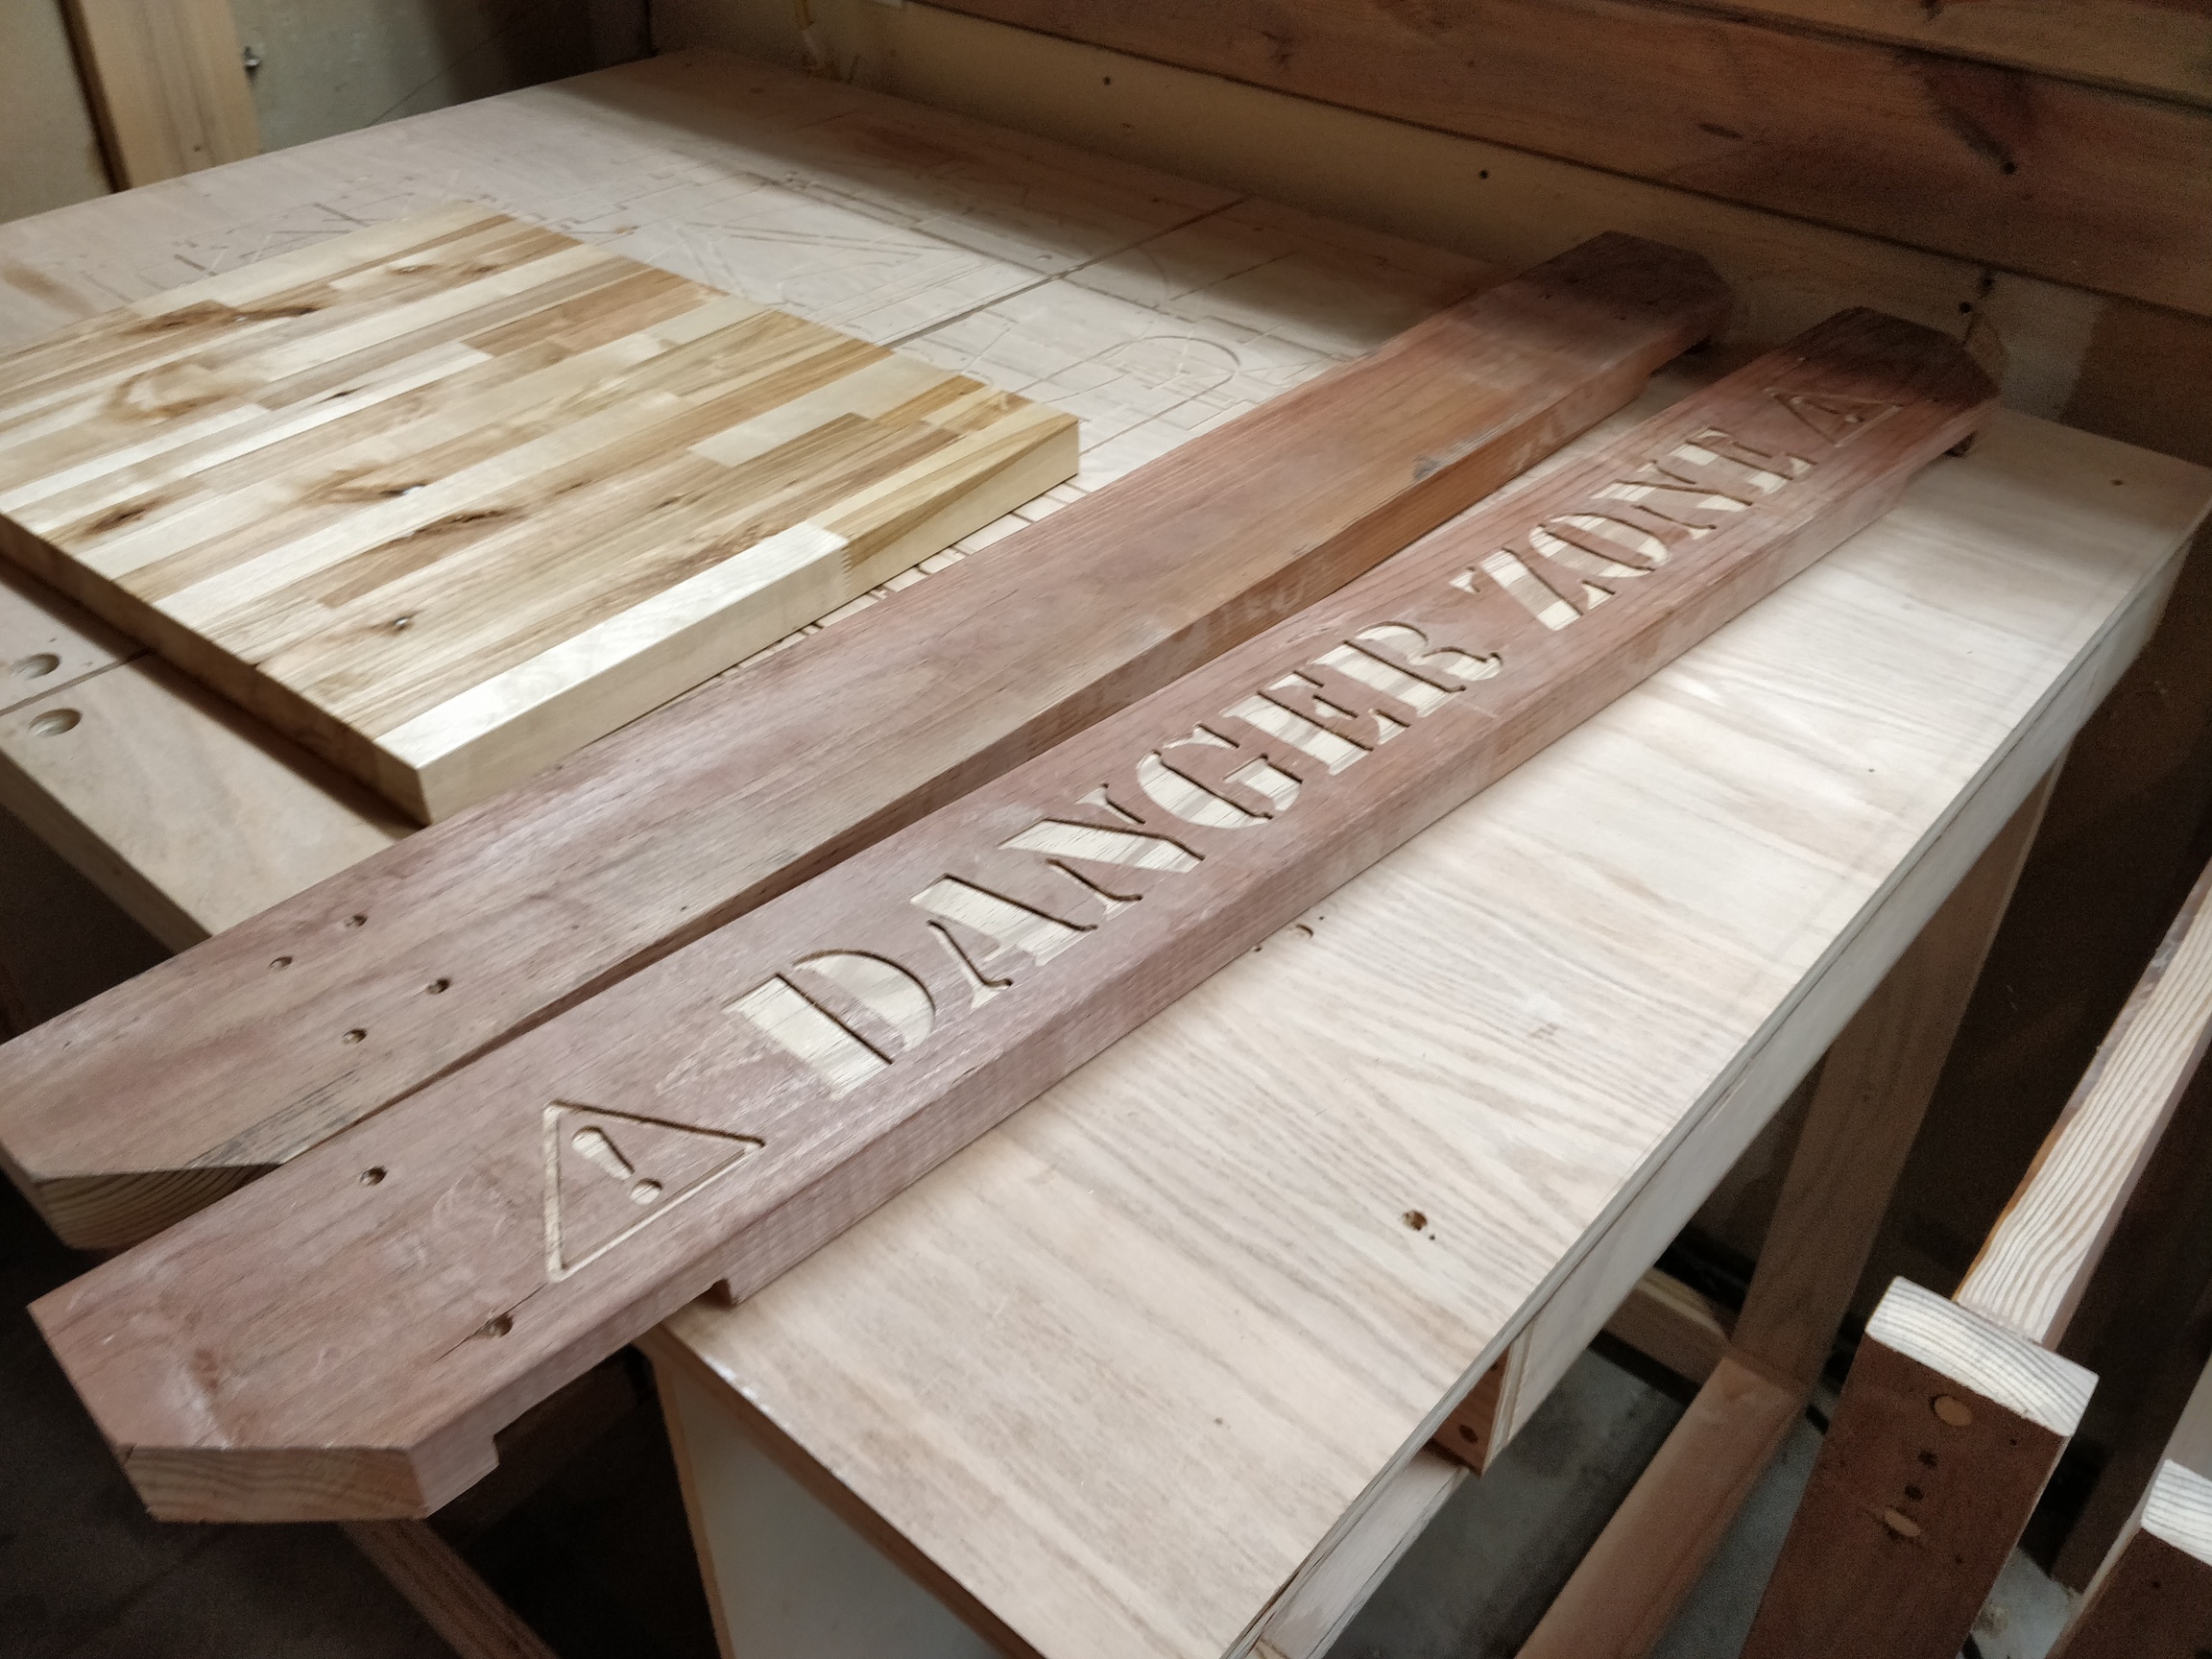
I took apart the old table to make room for the car. This sign was one of the first things I made with my MPCNC about 5 years ago. Itis oversized even for my 24"x36" machine. It is a reminder of how far we’ve come.
The lumber that you’re using is probably okay. I don’t like leaving stuff like MDF unpainted, or at least unprimed, because of its susceptibility to moisture. Also, it bothers me that unprimed MDF is still permeable to air. Plywood and dimensional lumber is less critical, and has a certain look which I like.
That said, I believe that working surfaces need some sort of finish. I might leave the table top, but would probably oil or varnish the rails and the beam supports, to provide some protection from the elements.
That’s a good idea. The edges of the plywood are not fun to look at or touch. Maybe I should round over the edges a tiny bit with some sanding and then paint the edges, like Ryan’s chip board. That would look and feel better. Painting where the wheels ride would be ok. But I think I prefer the spoil board unfinished.
Have you ever used the iron on edge banding for plywood? I have had good results with it in the past. You do have to account for its thickness in certain design situations though.
I have used the iron in stuff for a melamine project with white banding. It was only annoying because it didn’t like paint . I have to remind myself that this is shop furniture after all. But maybe I should take the time to band it nicely and clear coat it, as practice. Probably not though
Years ago i made a roller stand for a tool box with good quality 3/4" ply that I varnished, found some 3/4" wide plain molding with rounded edges, painted and attached it with brads/glue, looked pretty decent.
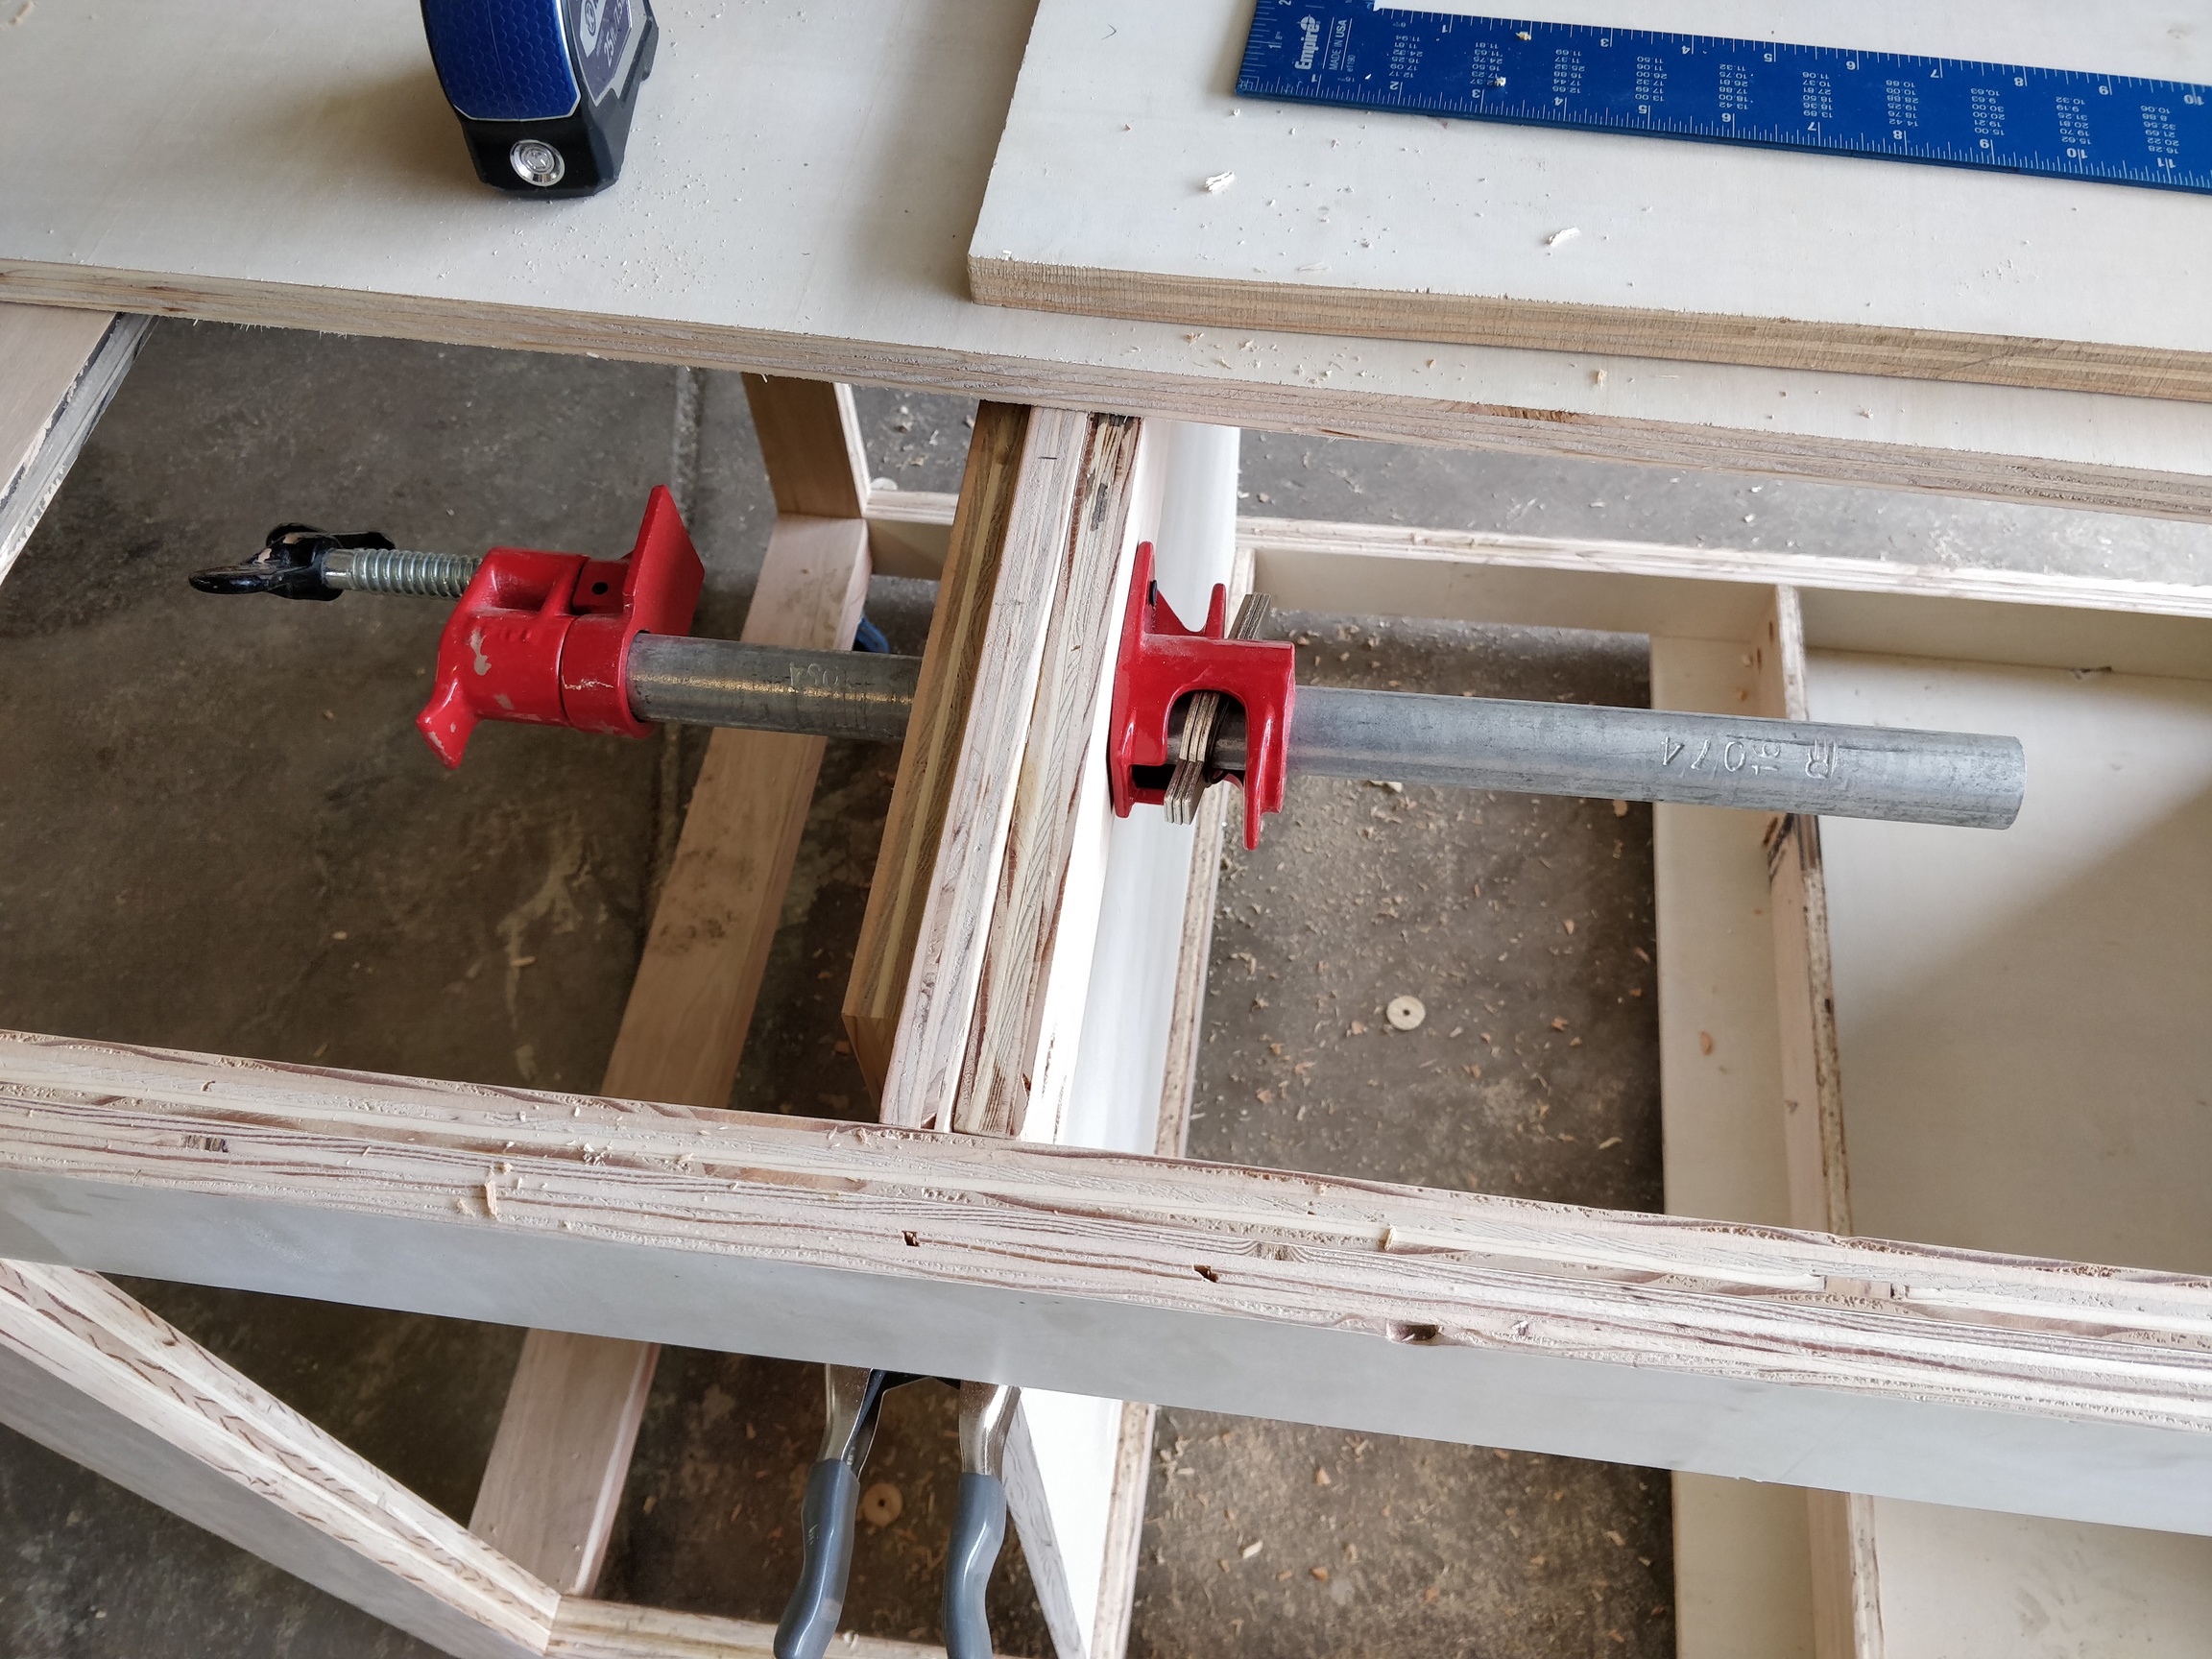
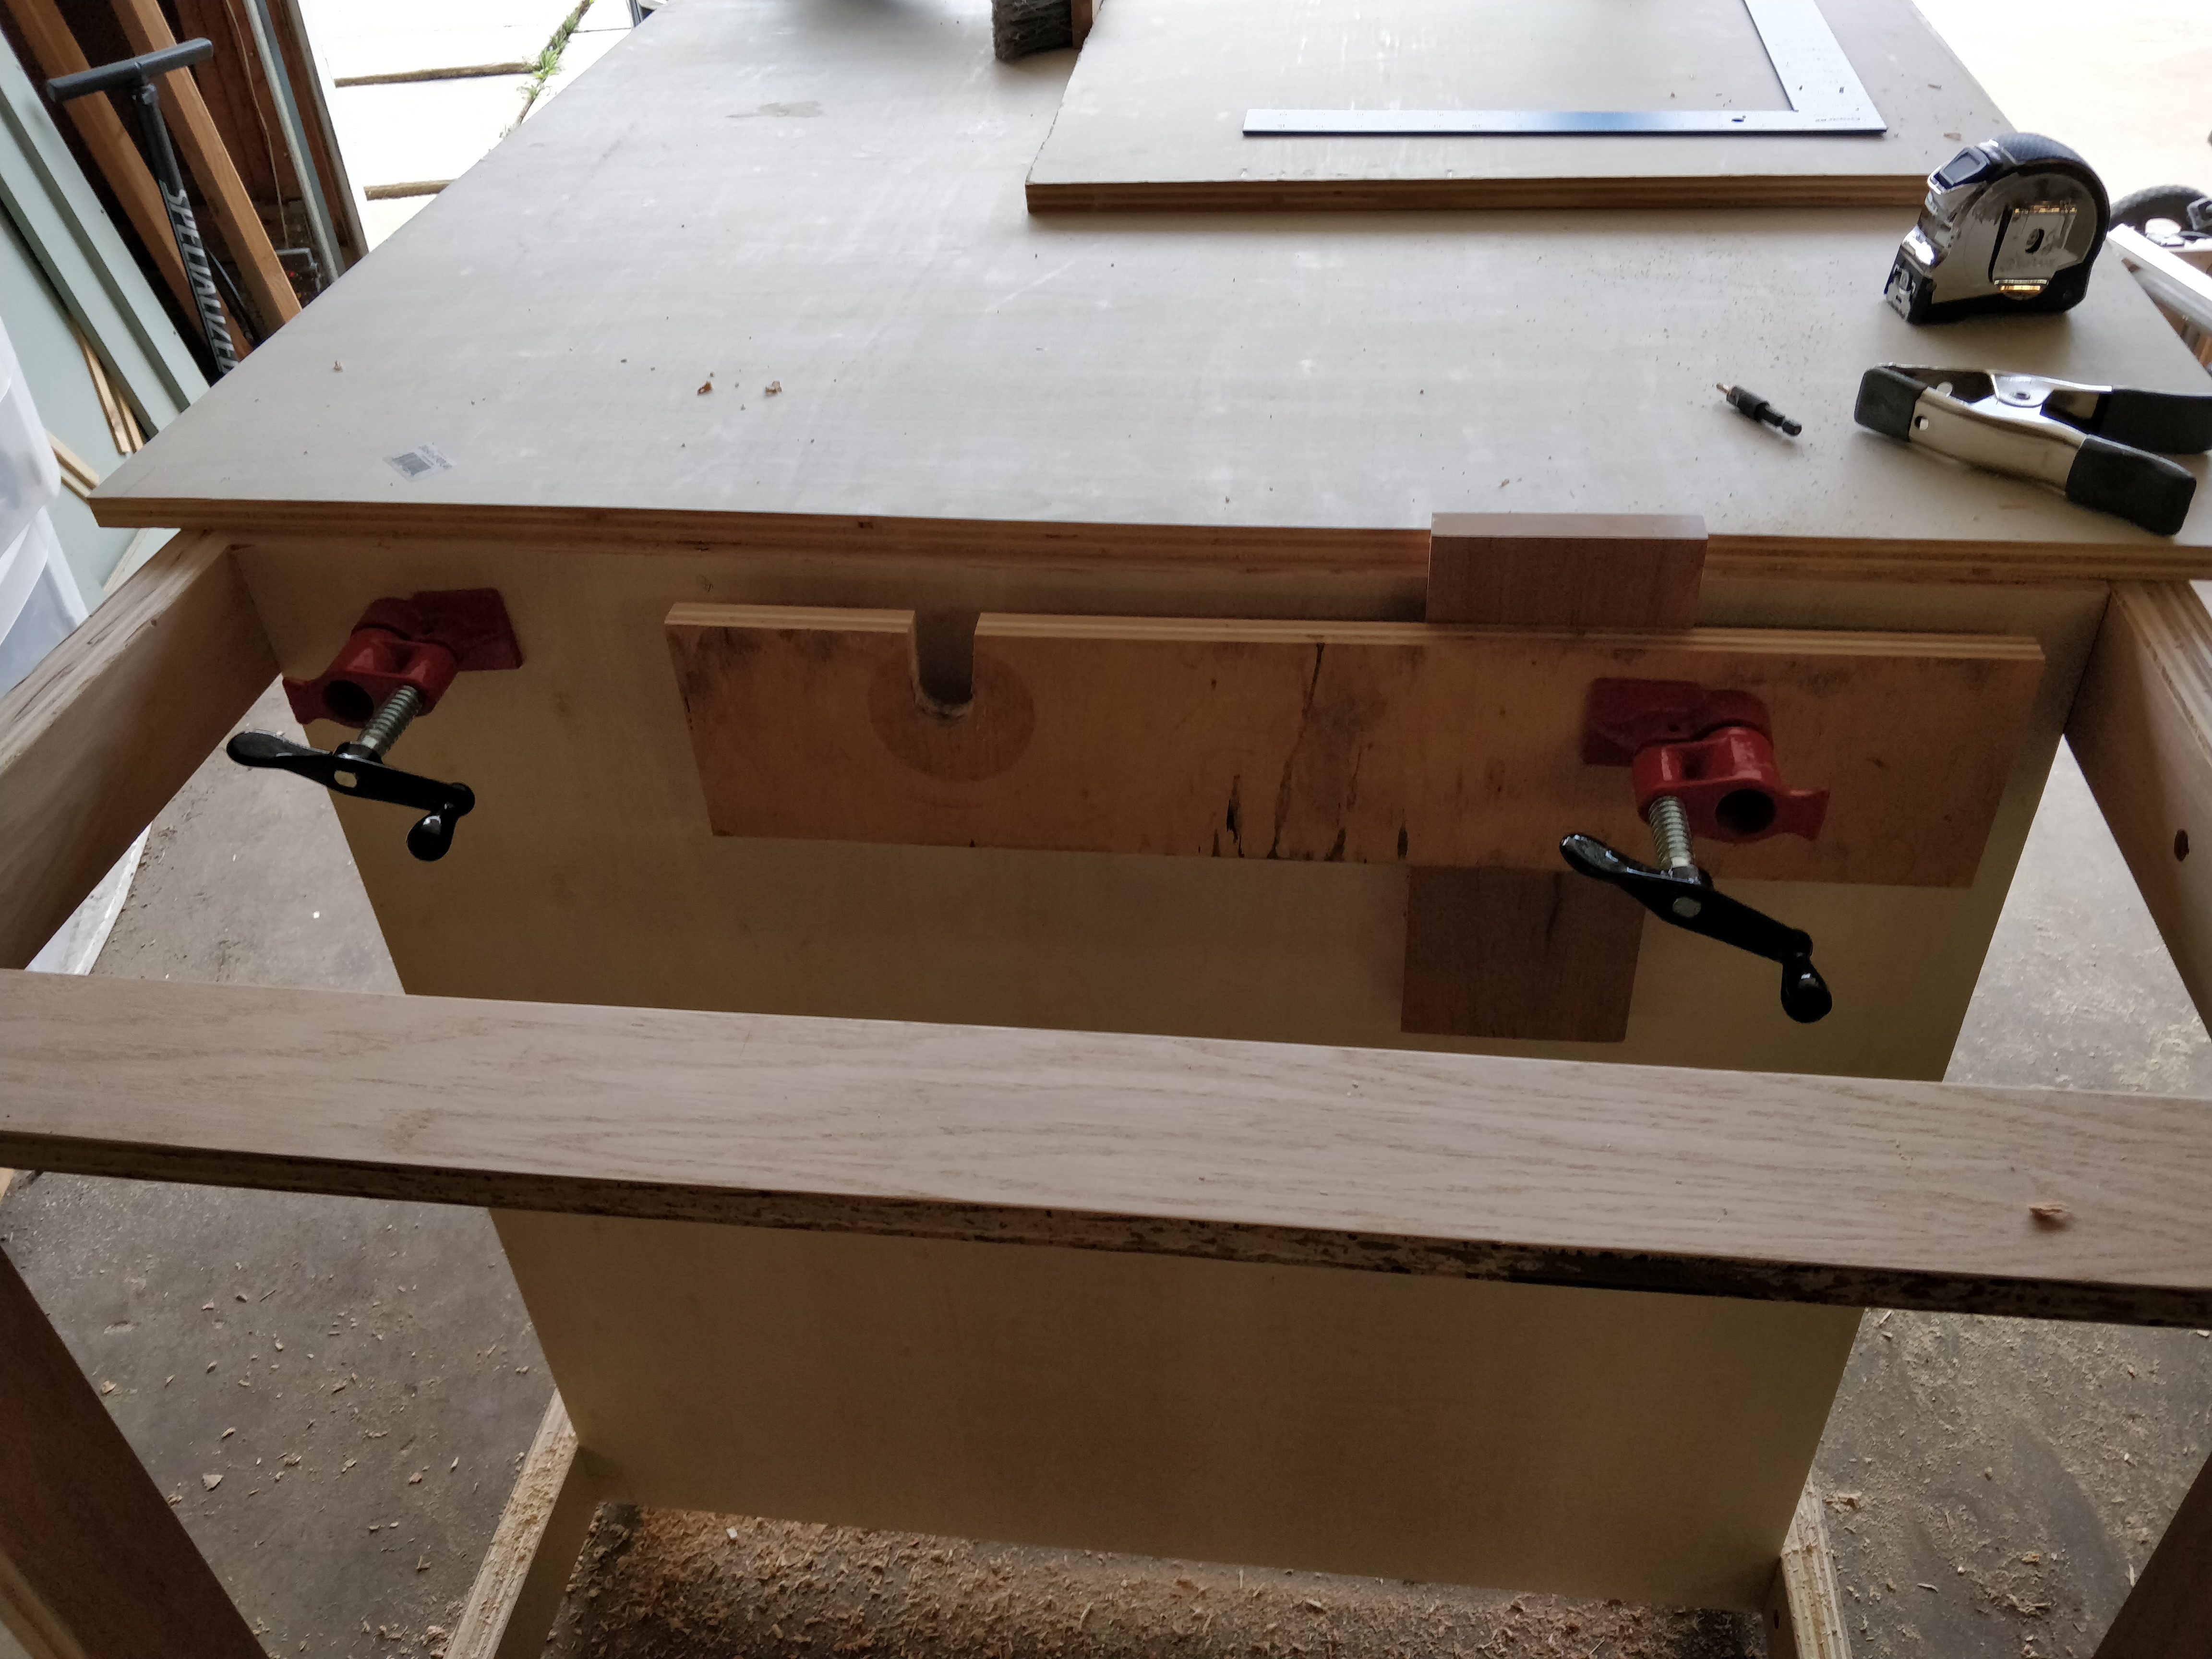
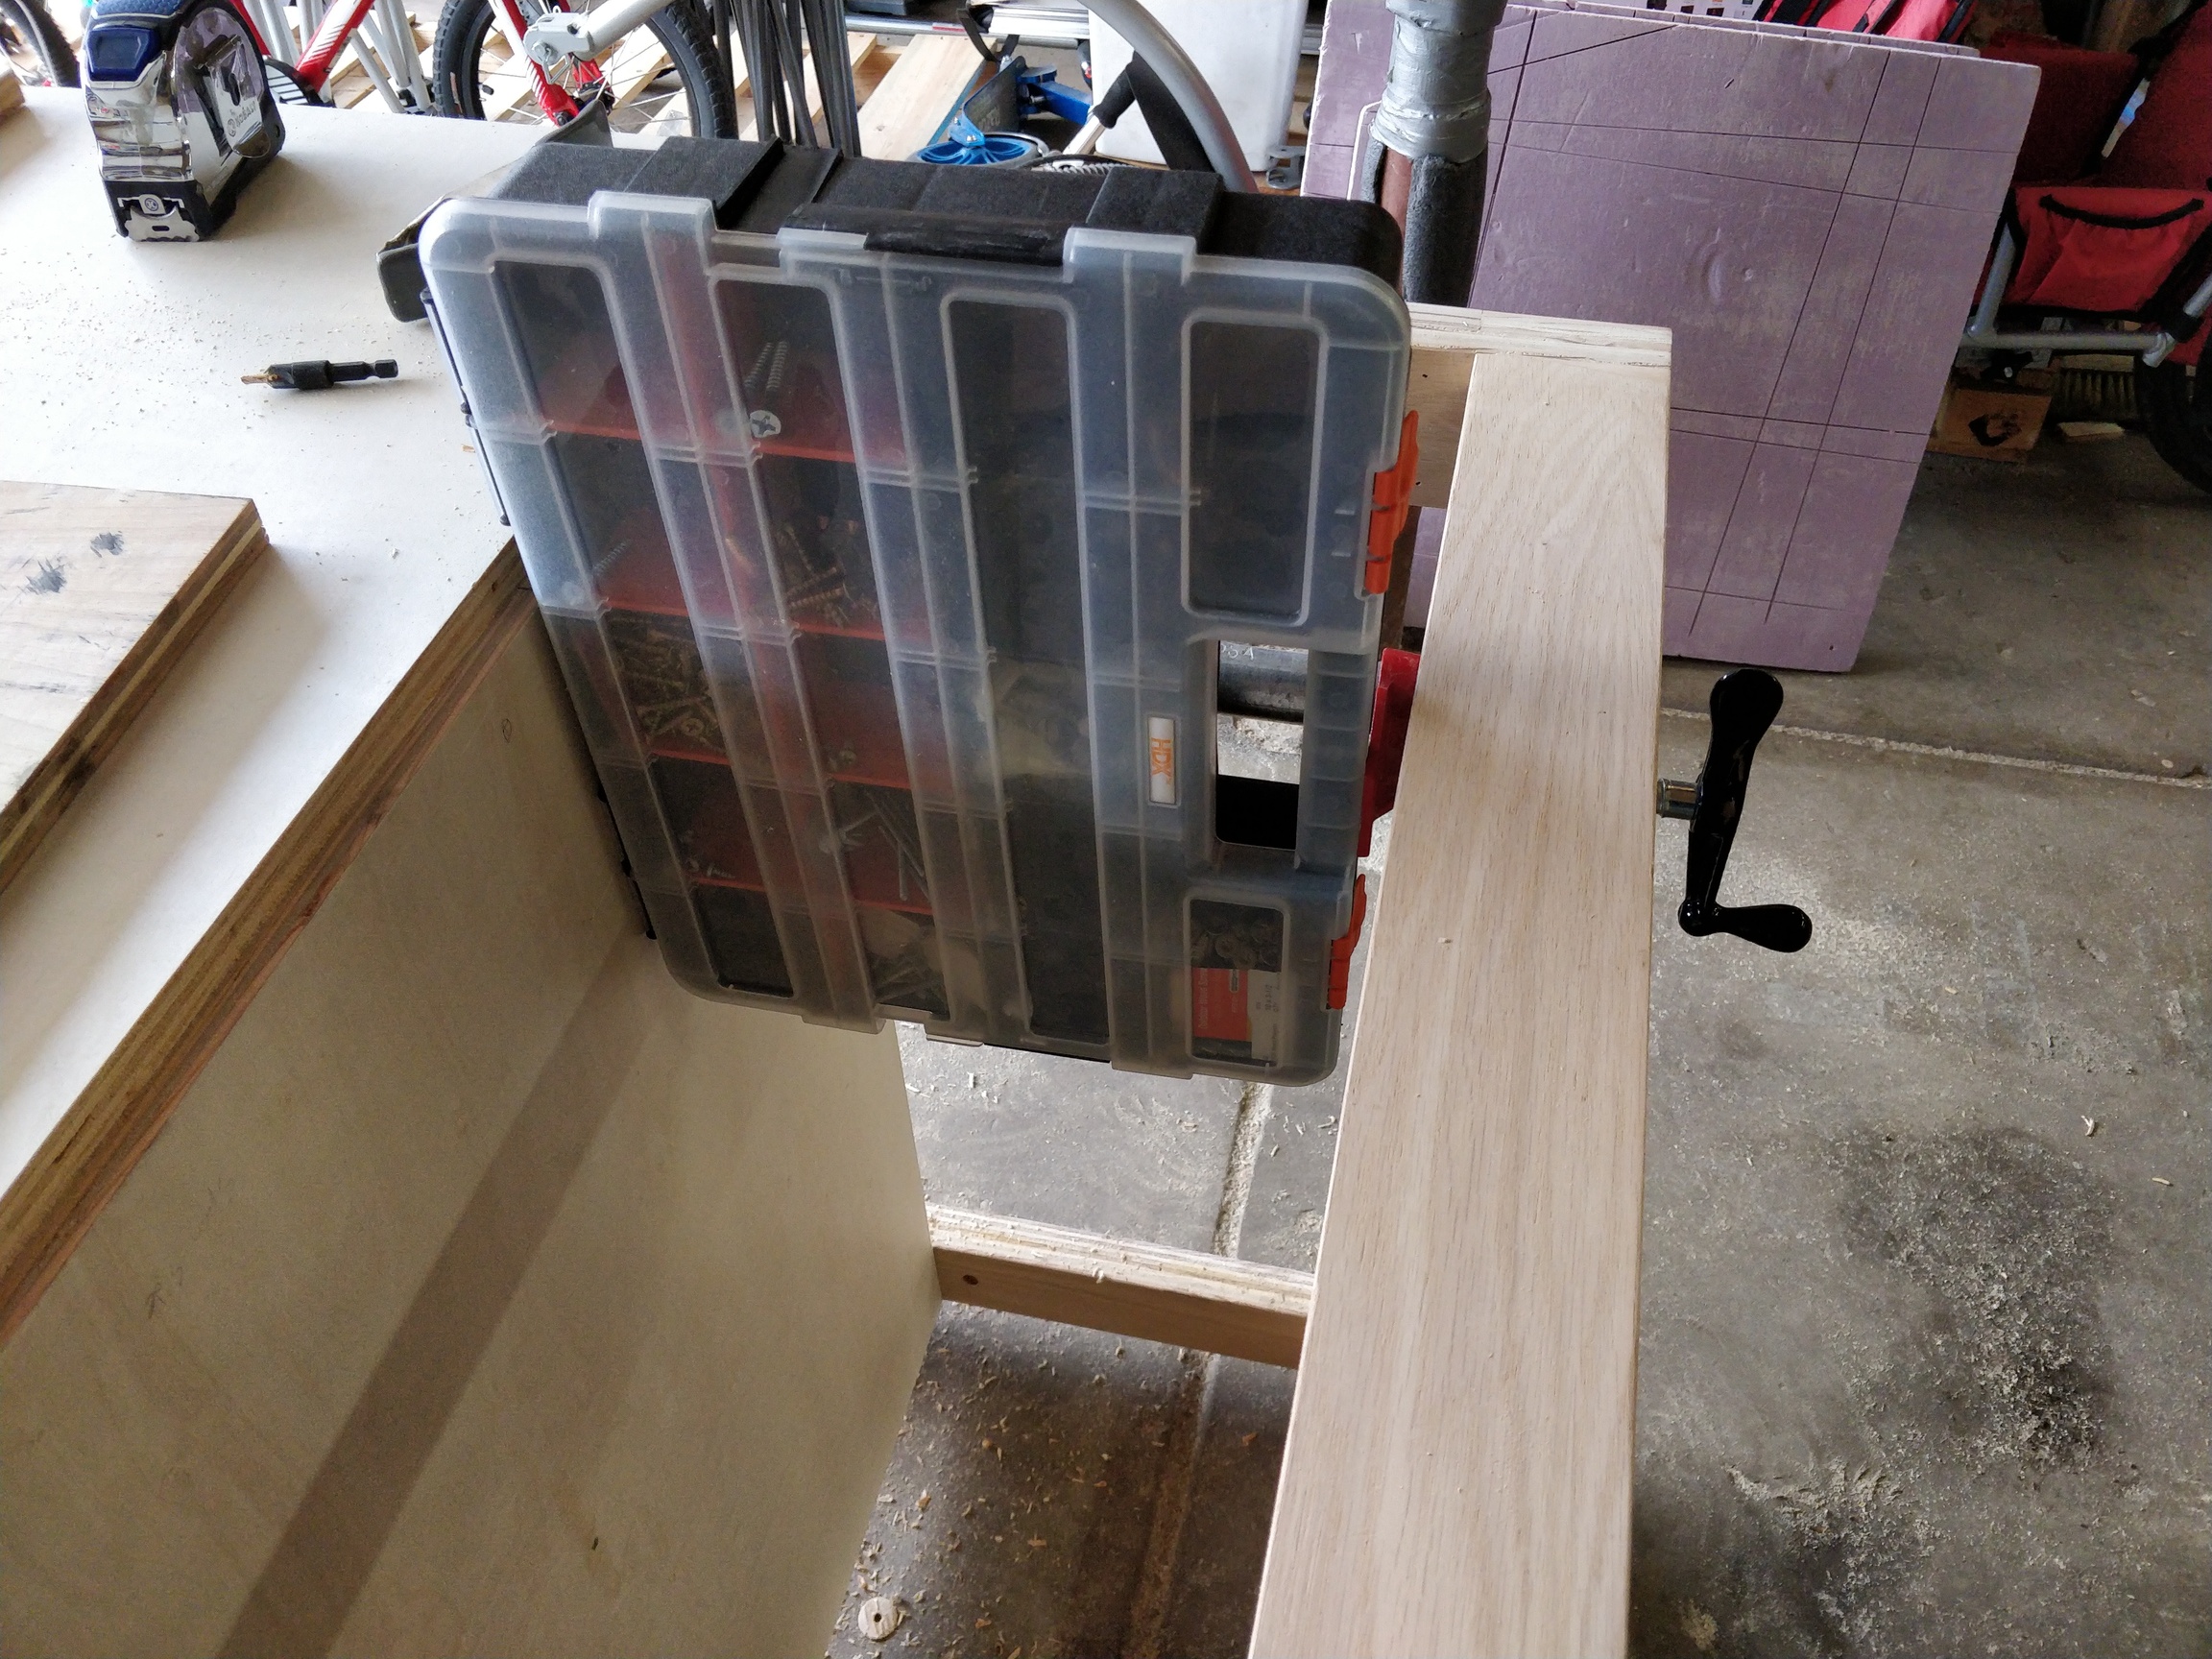
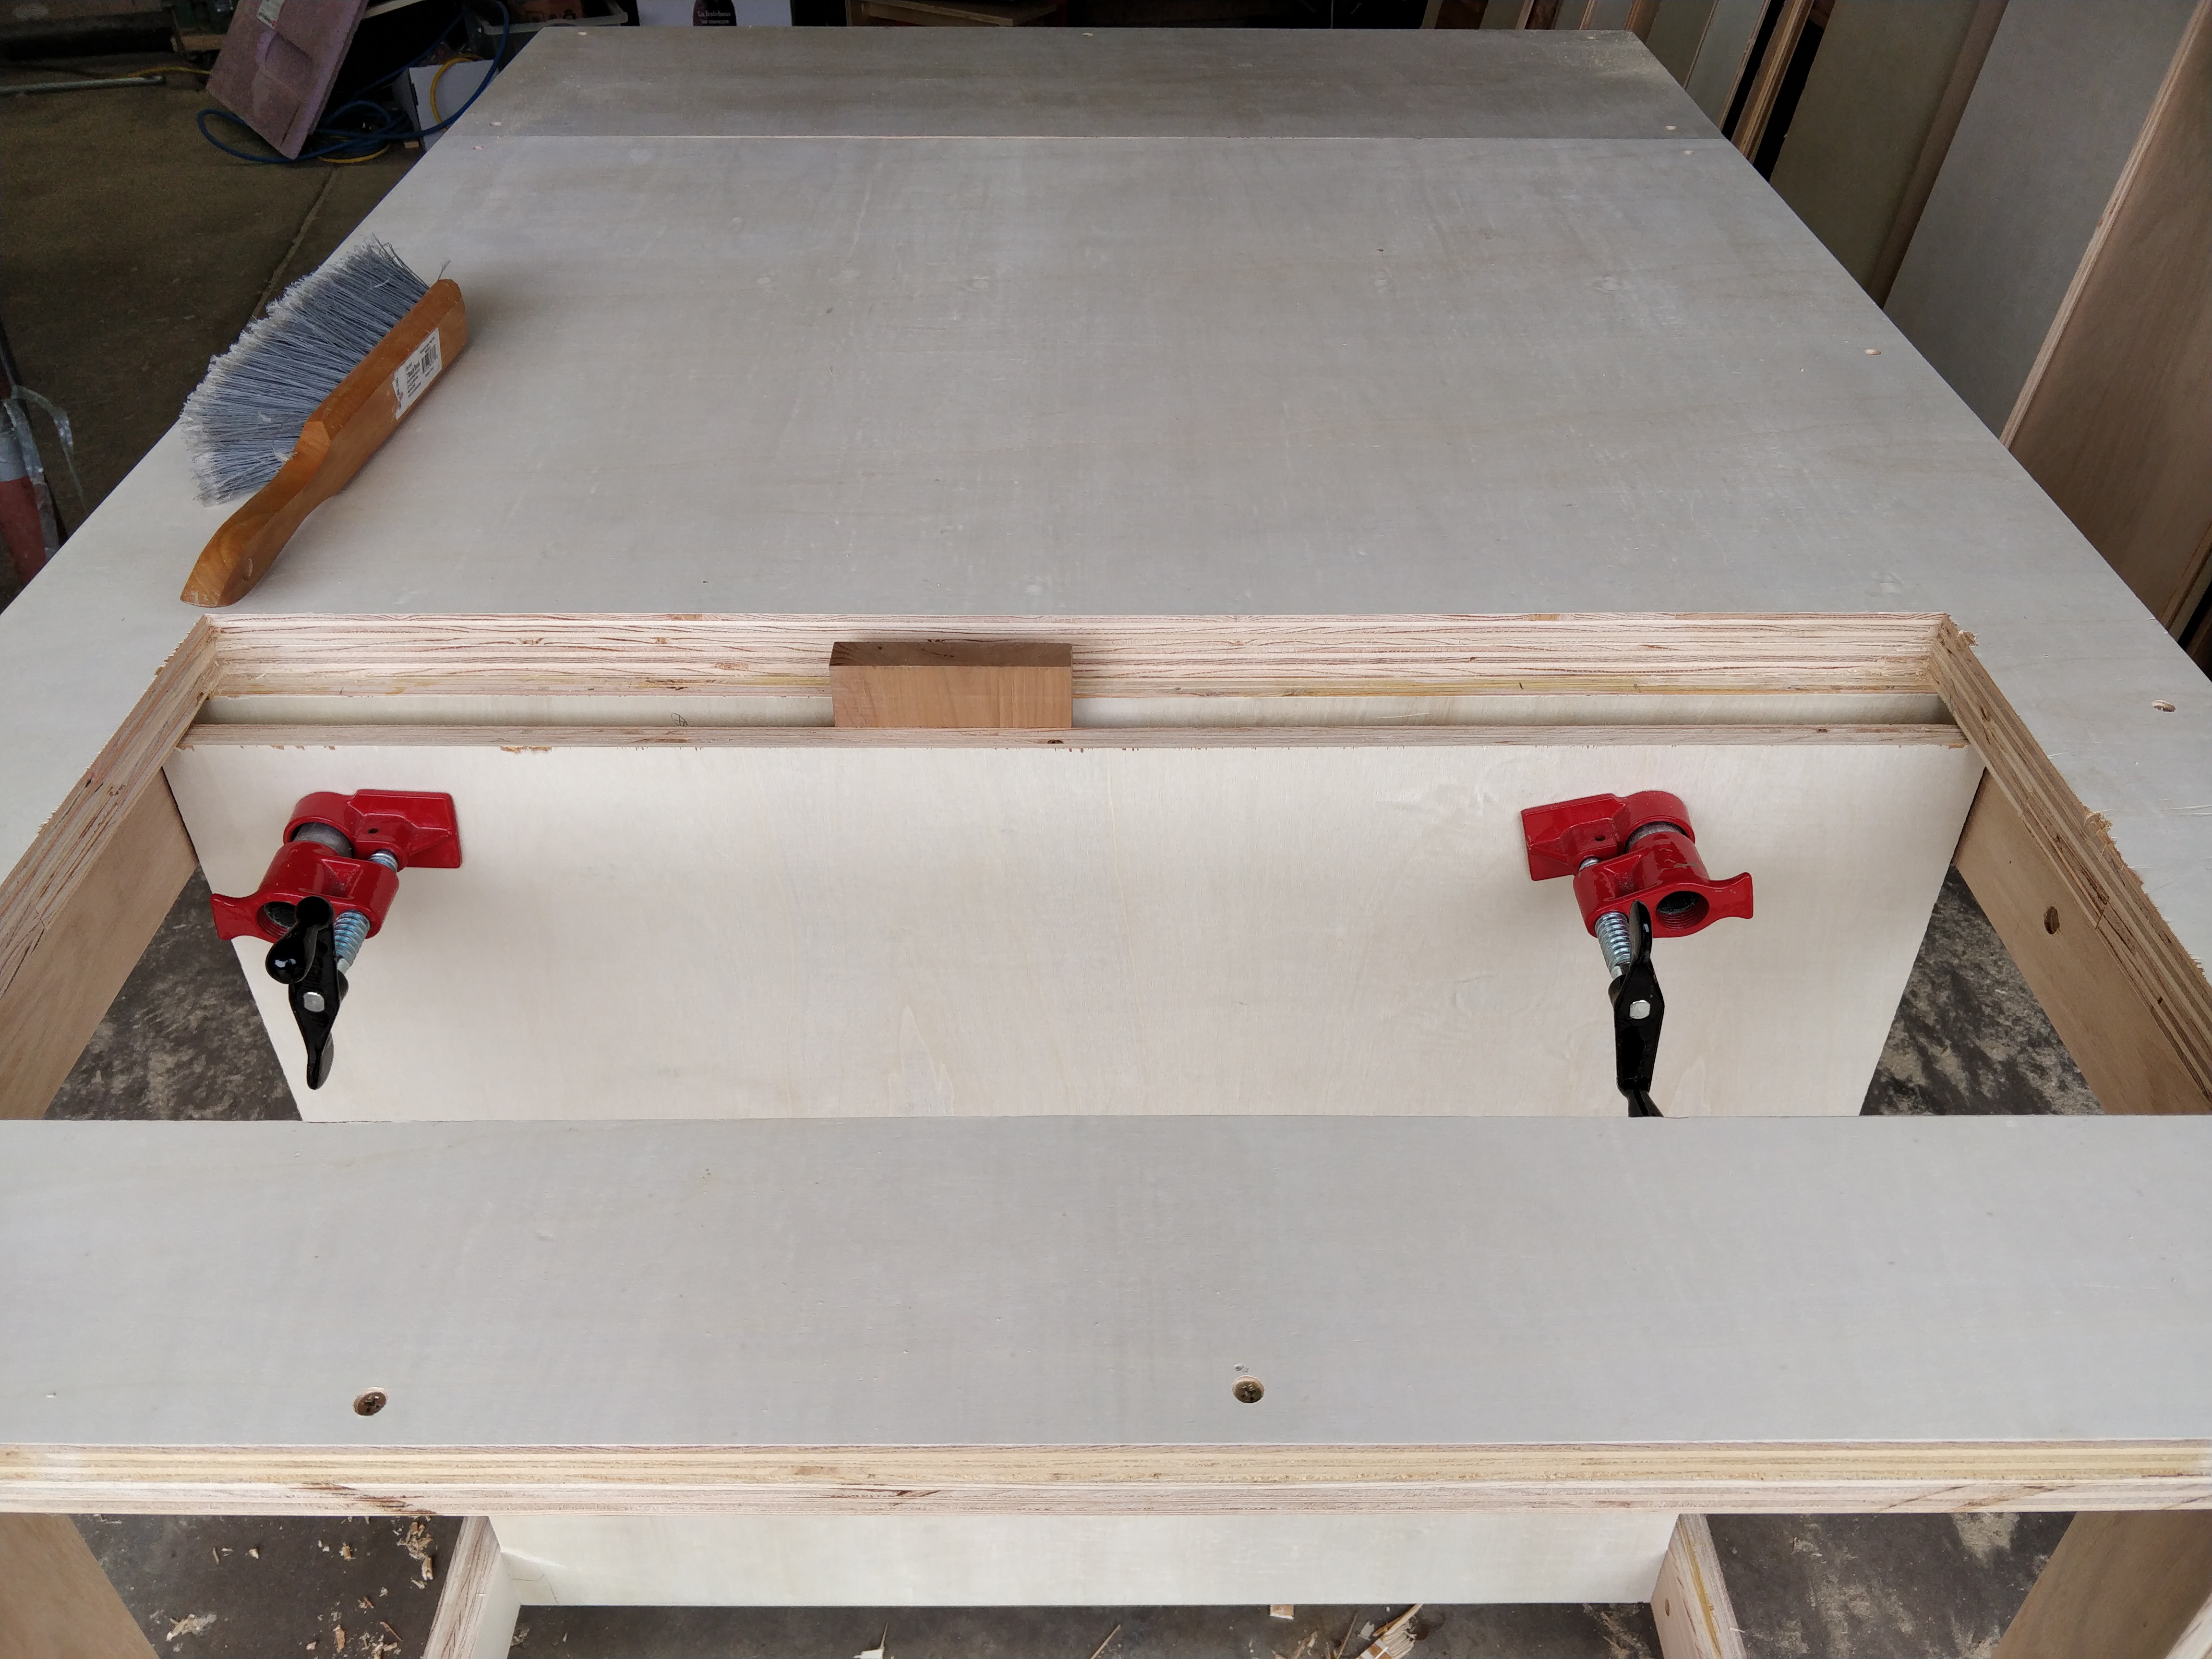
I am wondering if I will want a different arrangement of them. They currently have about 24" between them. I am not sure if closer (stronger) or farther (and more capacity) will be better. It isn’t too hard to move them when there is no top.
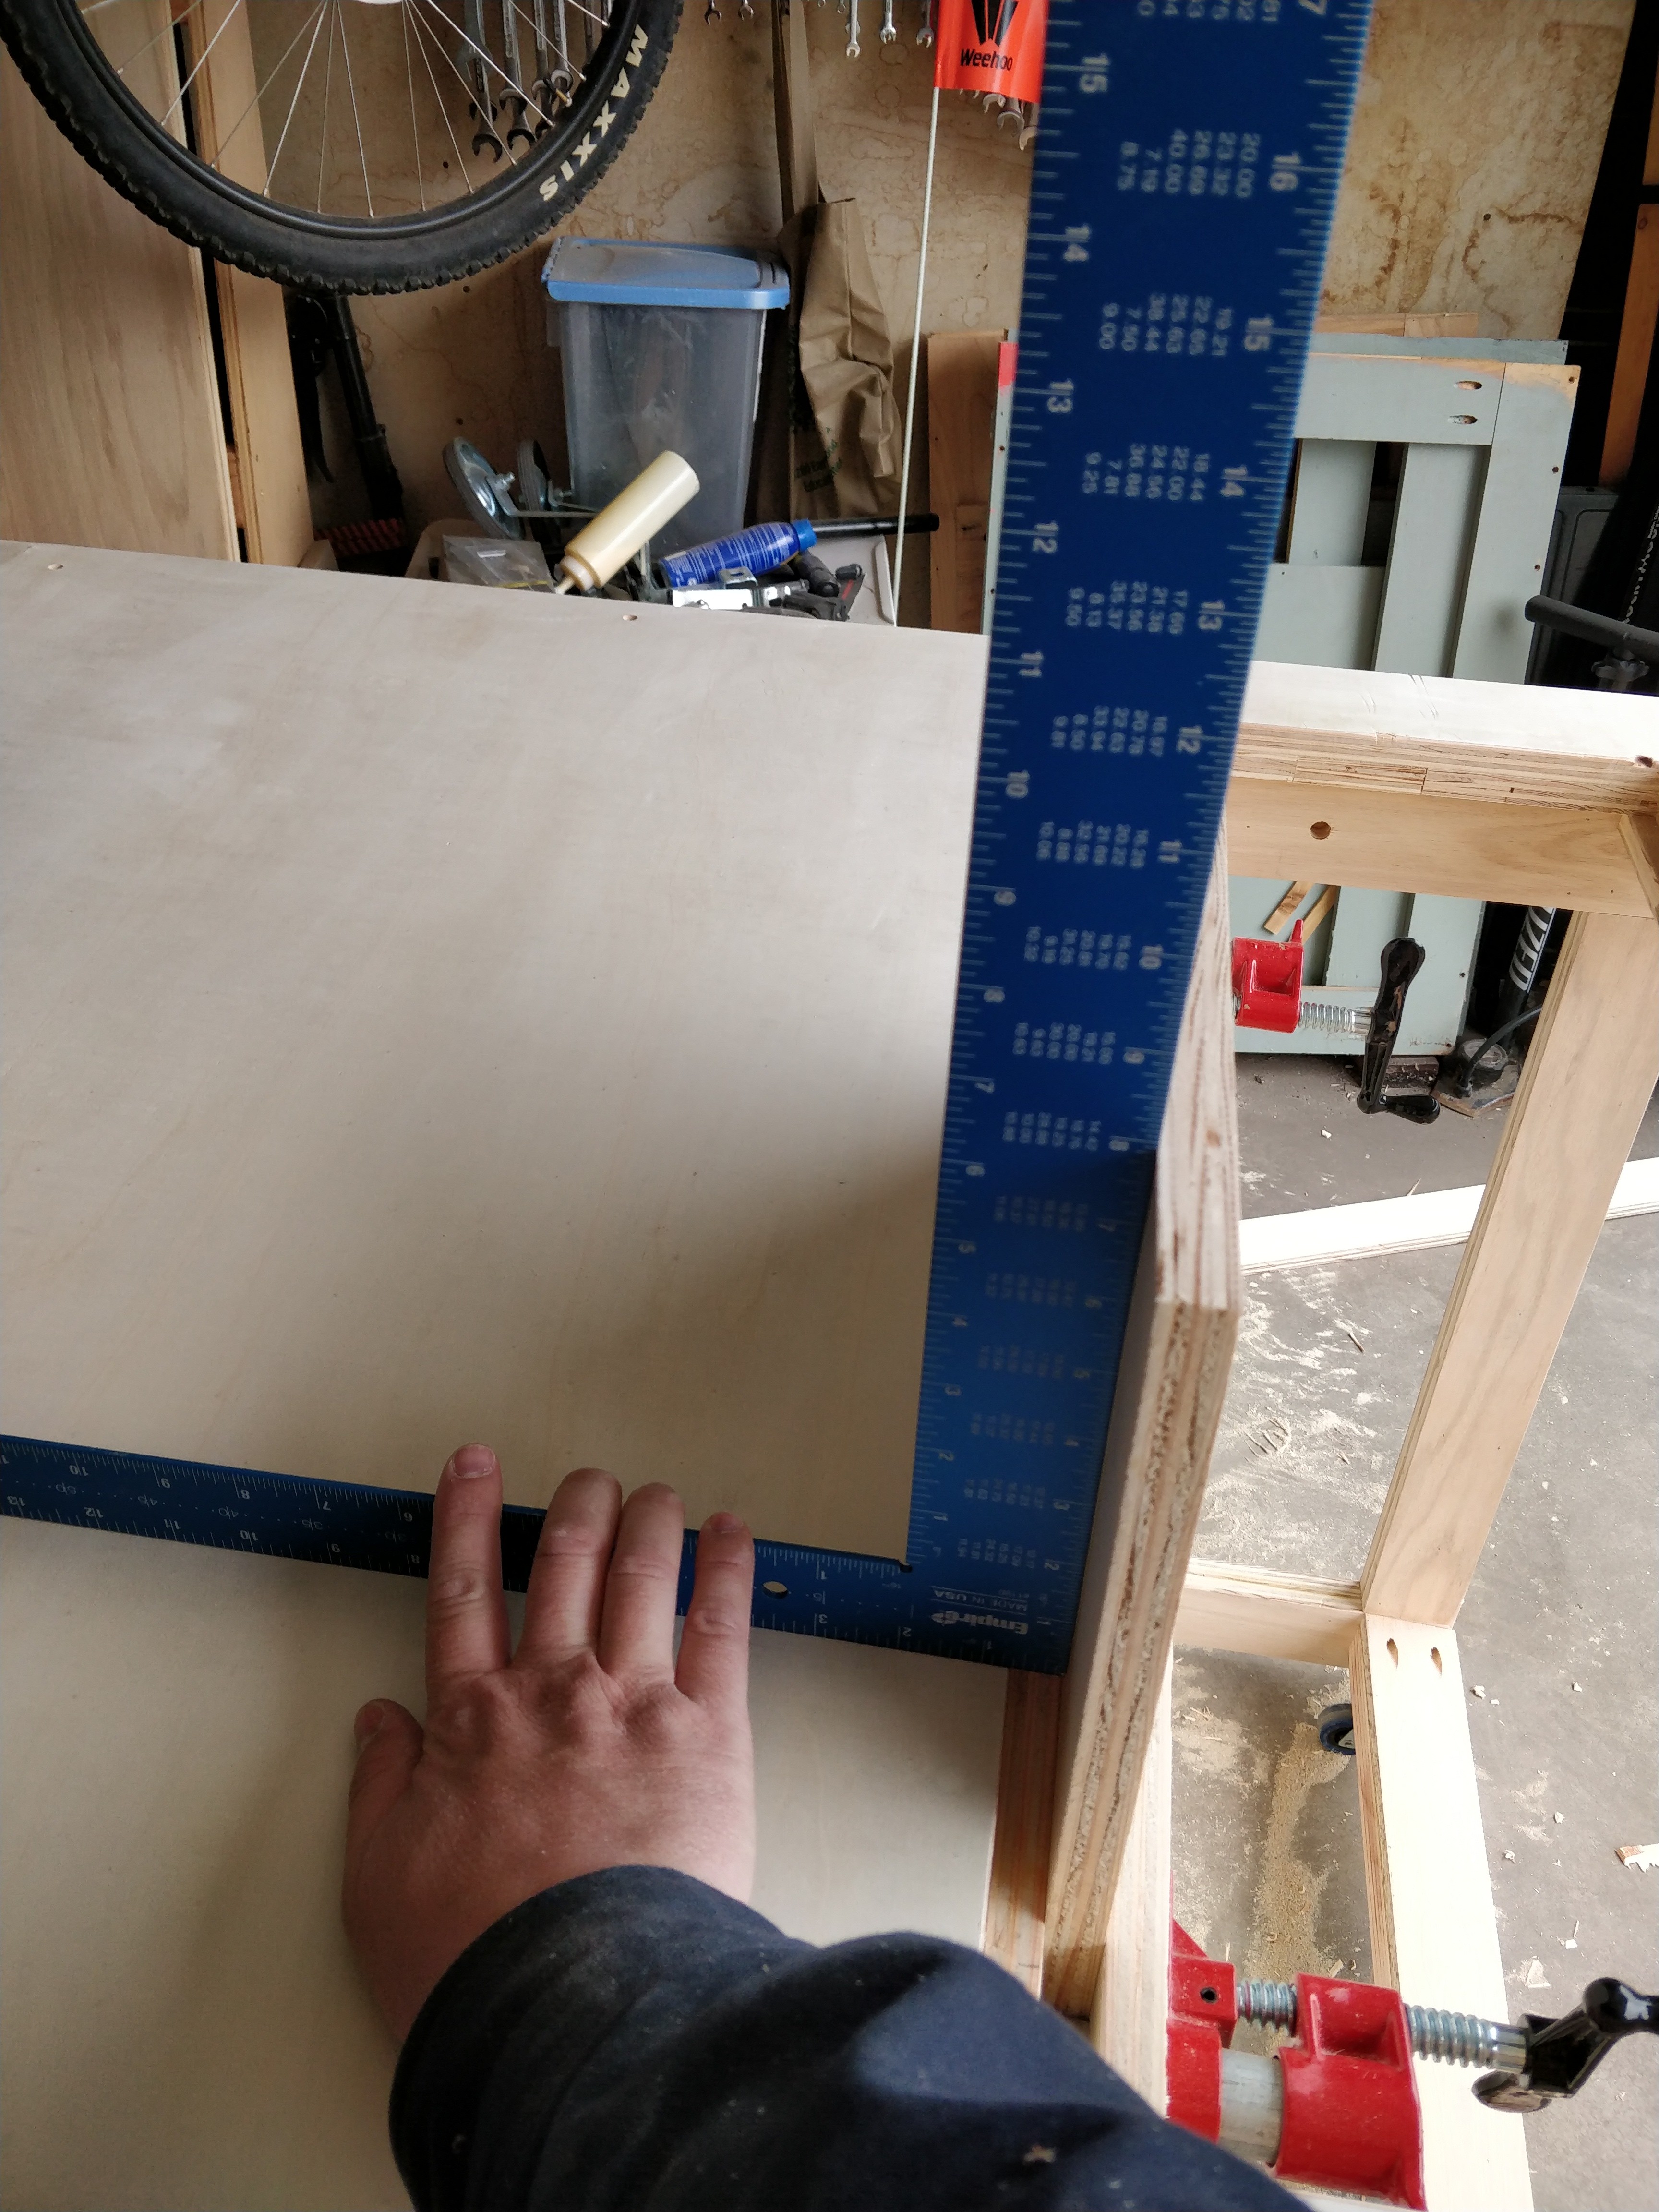
The back of the clamps have little releases fo moving the clamps in and out (more than the screw length). It is just doable to reach the back one from the front. But not very fun.
The twist handle ends can rotate. With the different stuff around here, at some distances, I need to flip them down to give me enough room to turn the screw.
I plan on putting some 1.4" plywood on the close end, vertically, to give me a reference edge for vertical pieces. 1/4" shouldn’t interfere with the clamps. I will probably wait until I have the CNC so I can make it just inside the workspace.
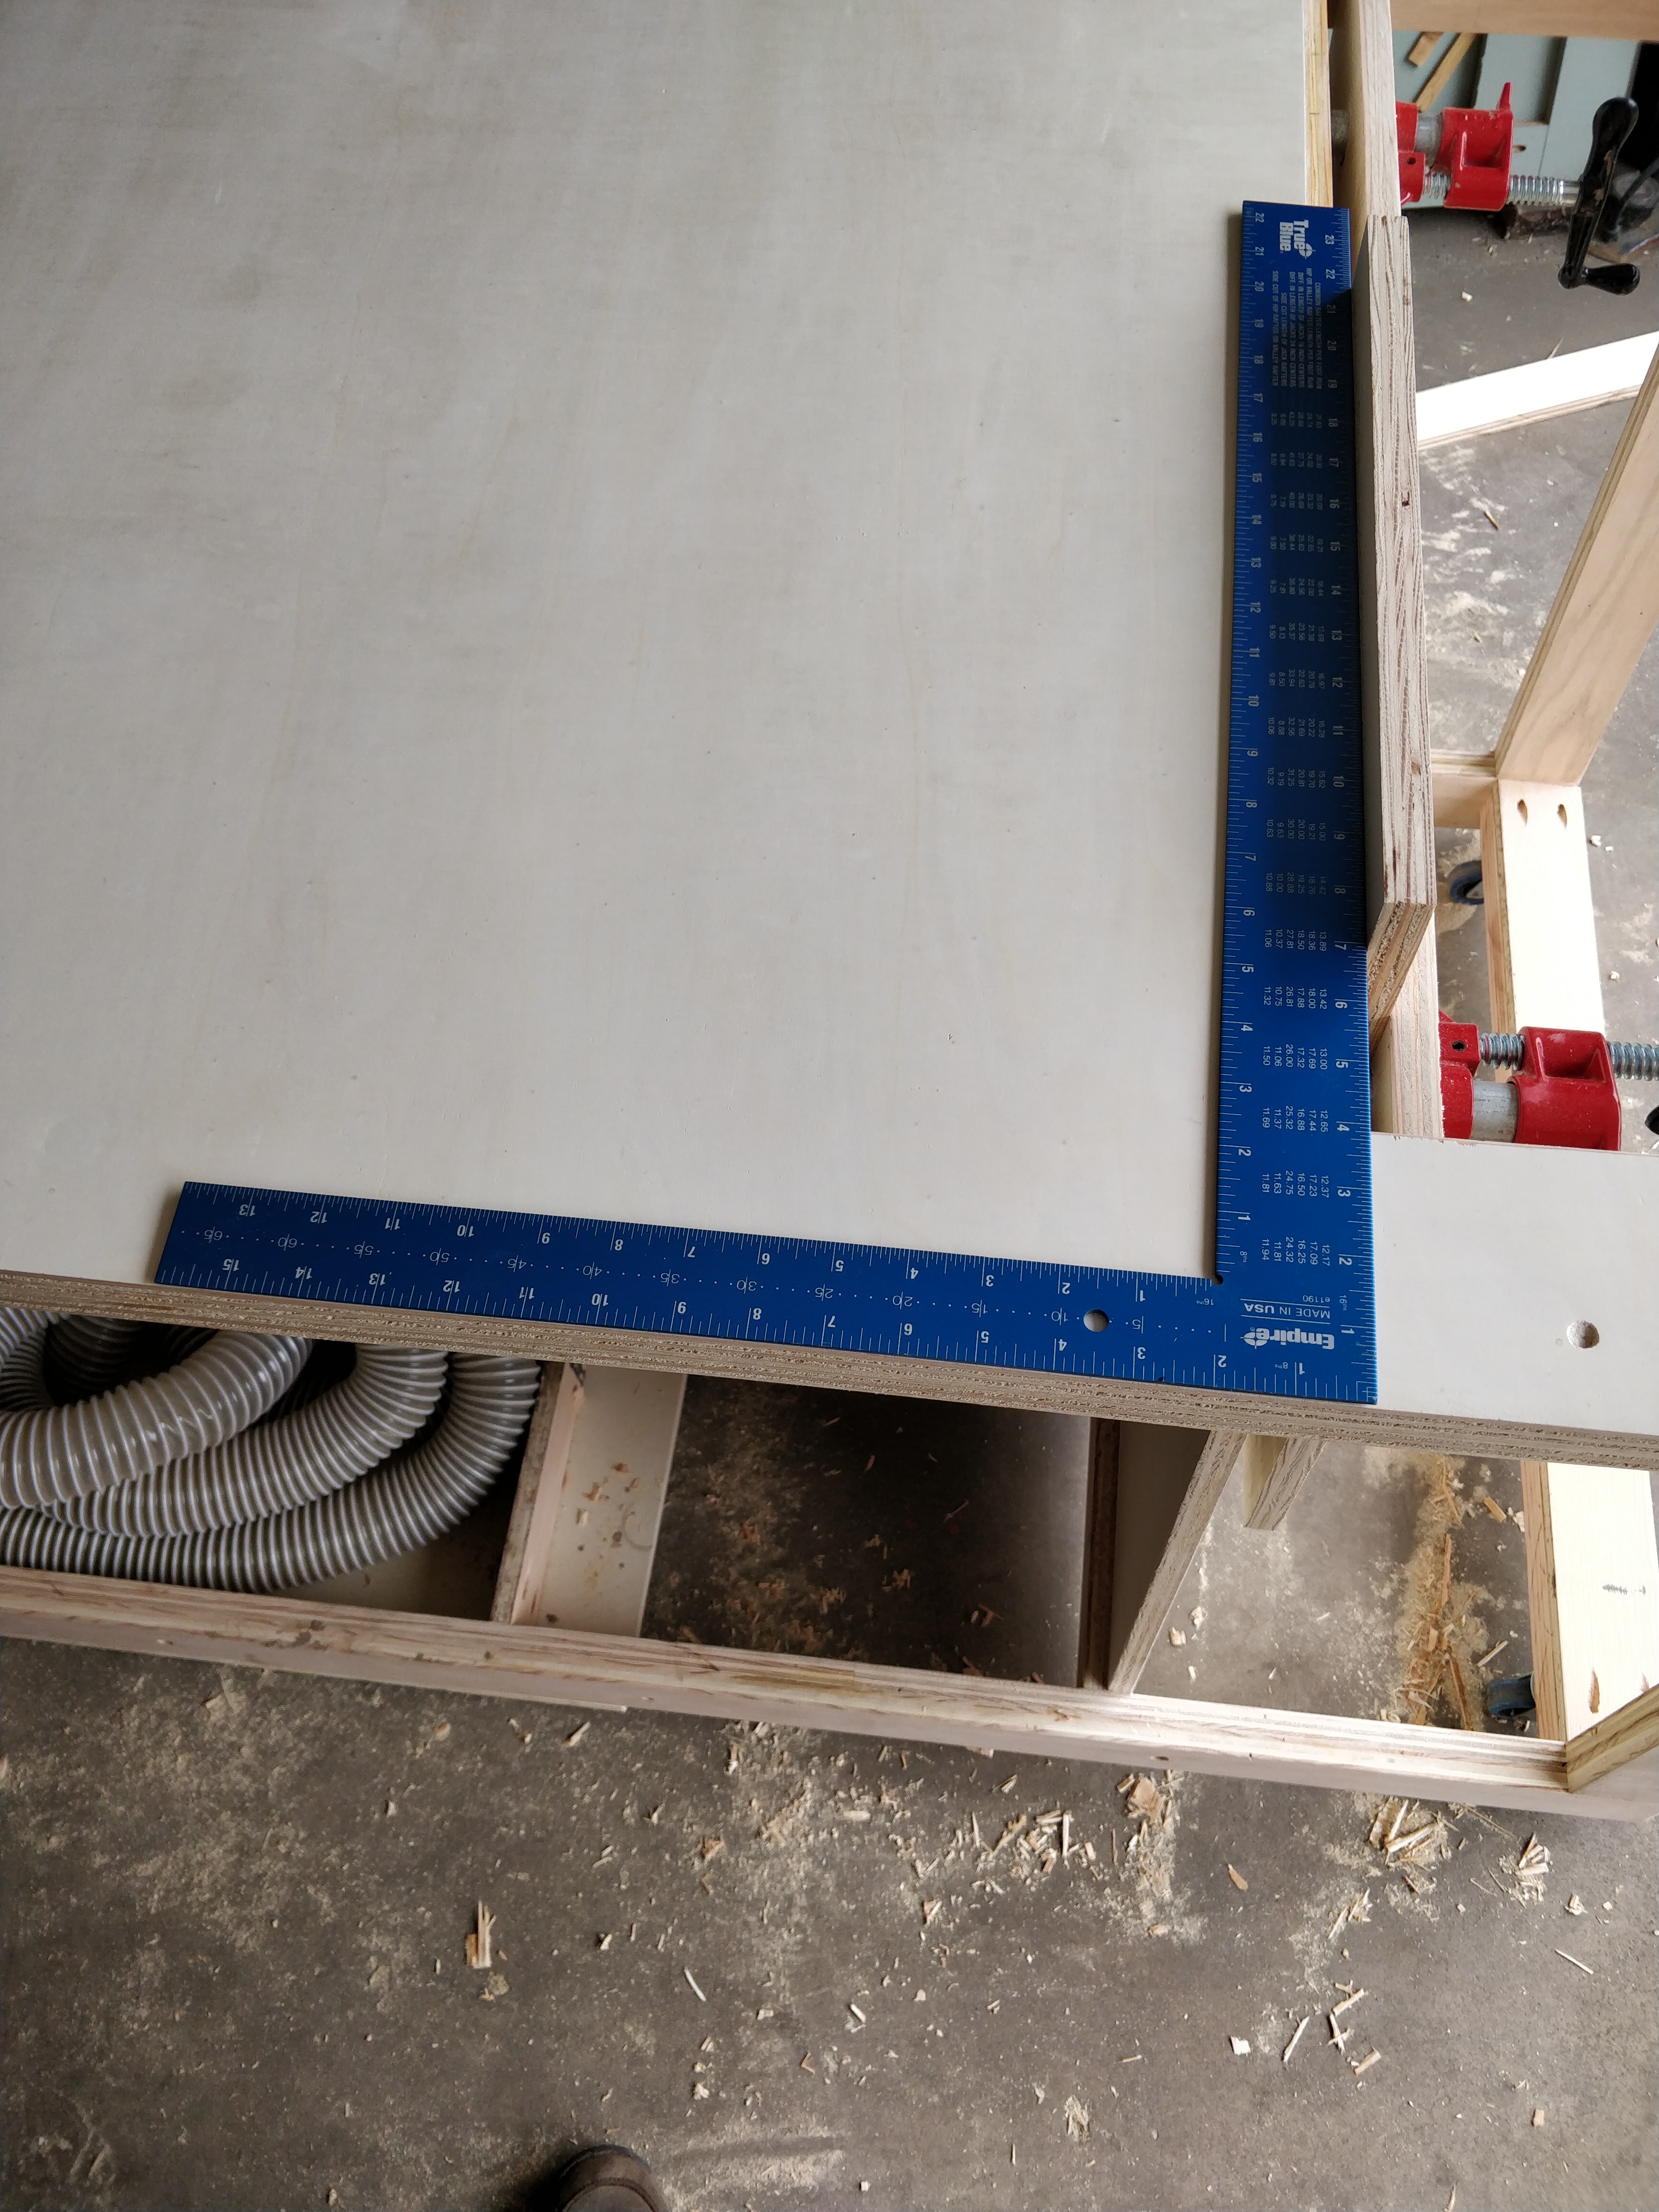
I had to think pretty hard to not go buy a new sheet and still get two full layers. The front edge is my reference edge, and I really hope I have the clamp face perpendicular to that edge. But I believe it is very close.
I did end up gluing the main board on the bottom layer. When that dries, this will be rock solid.
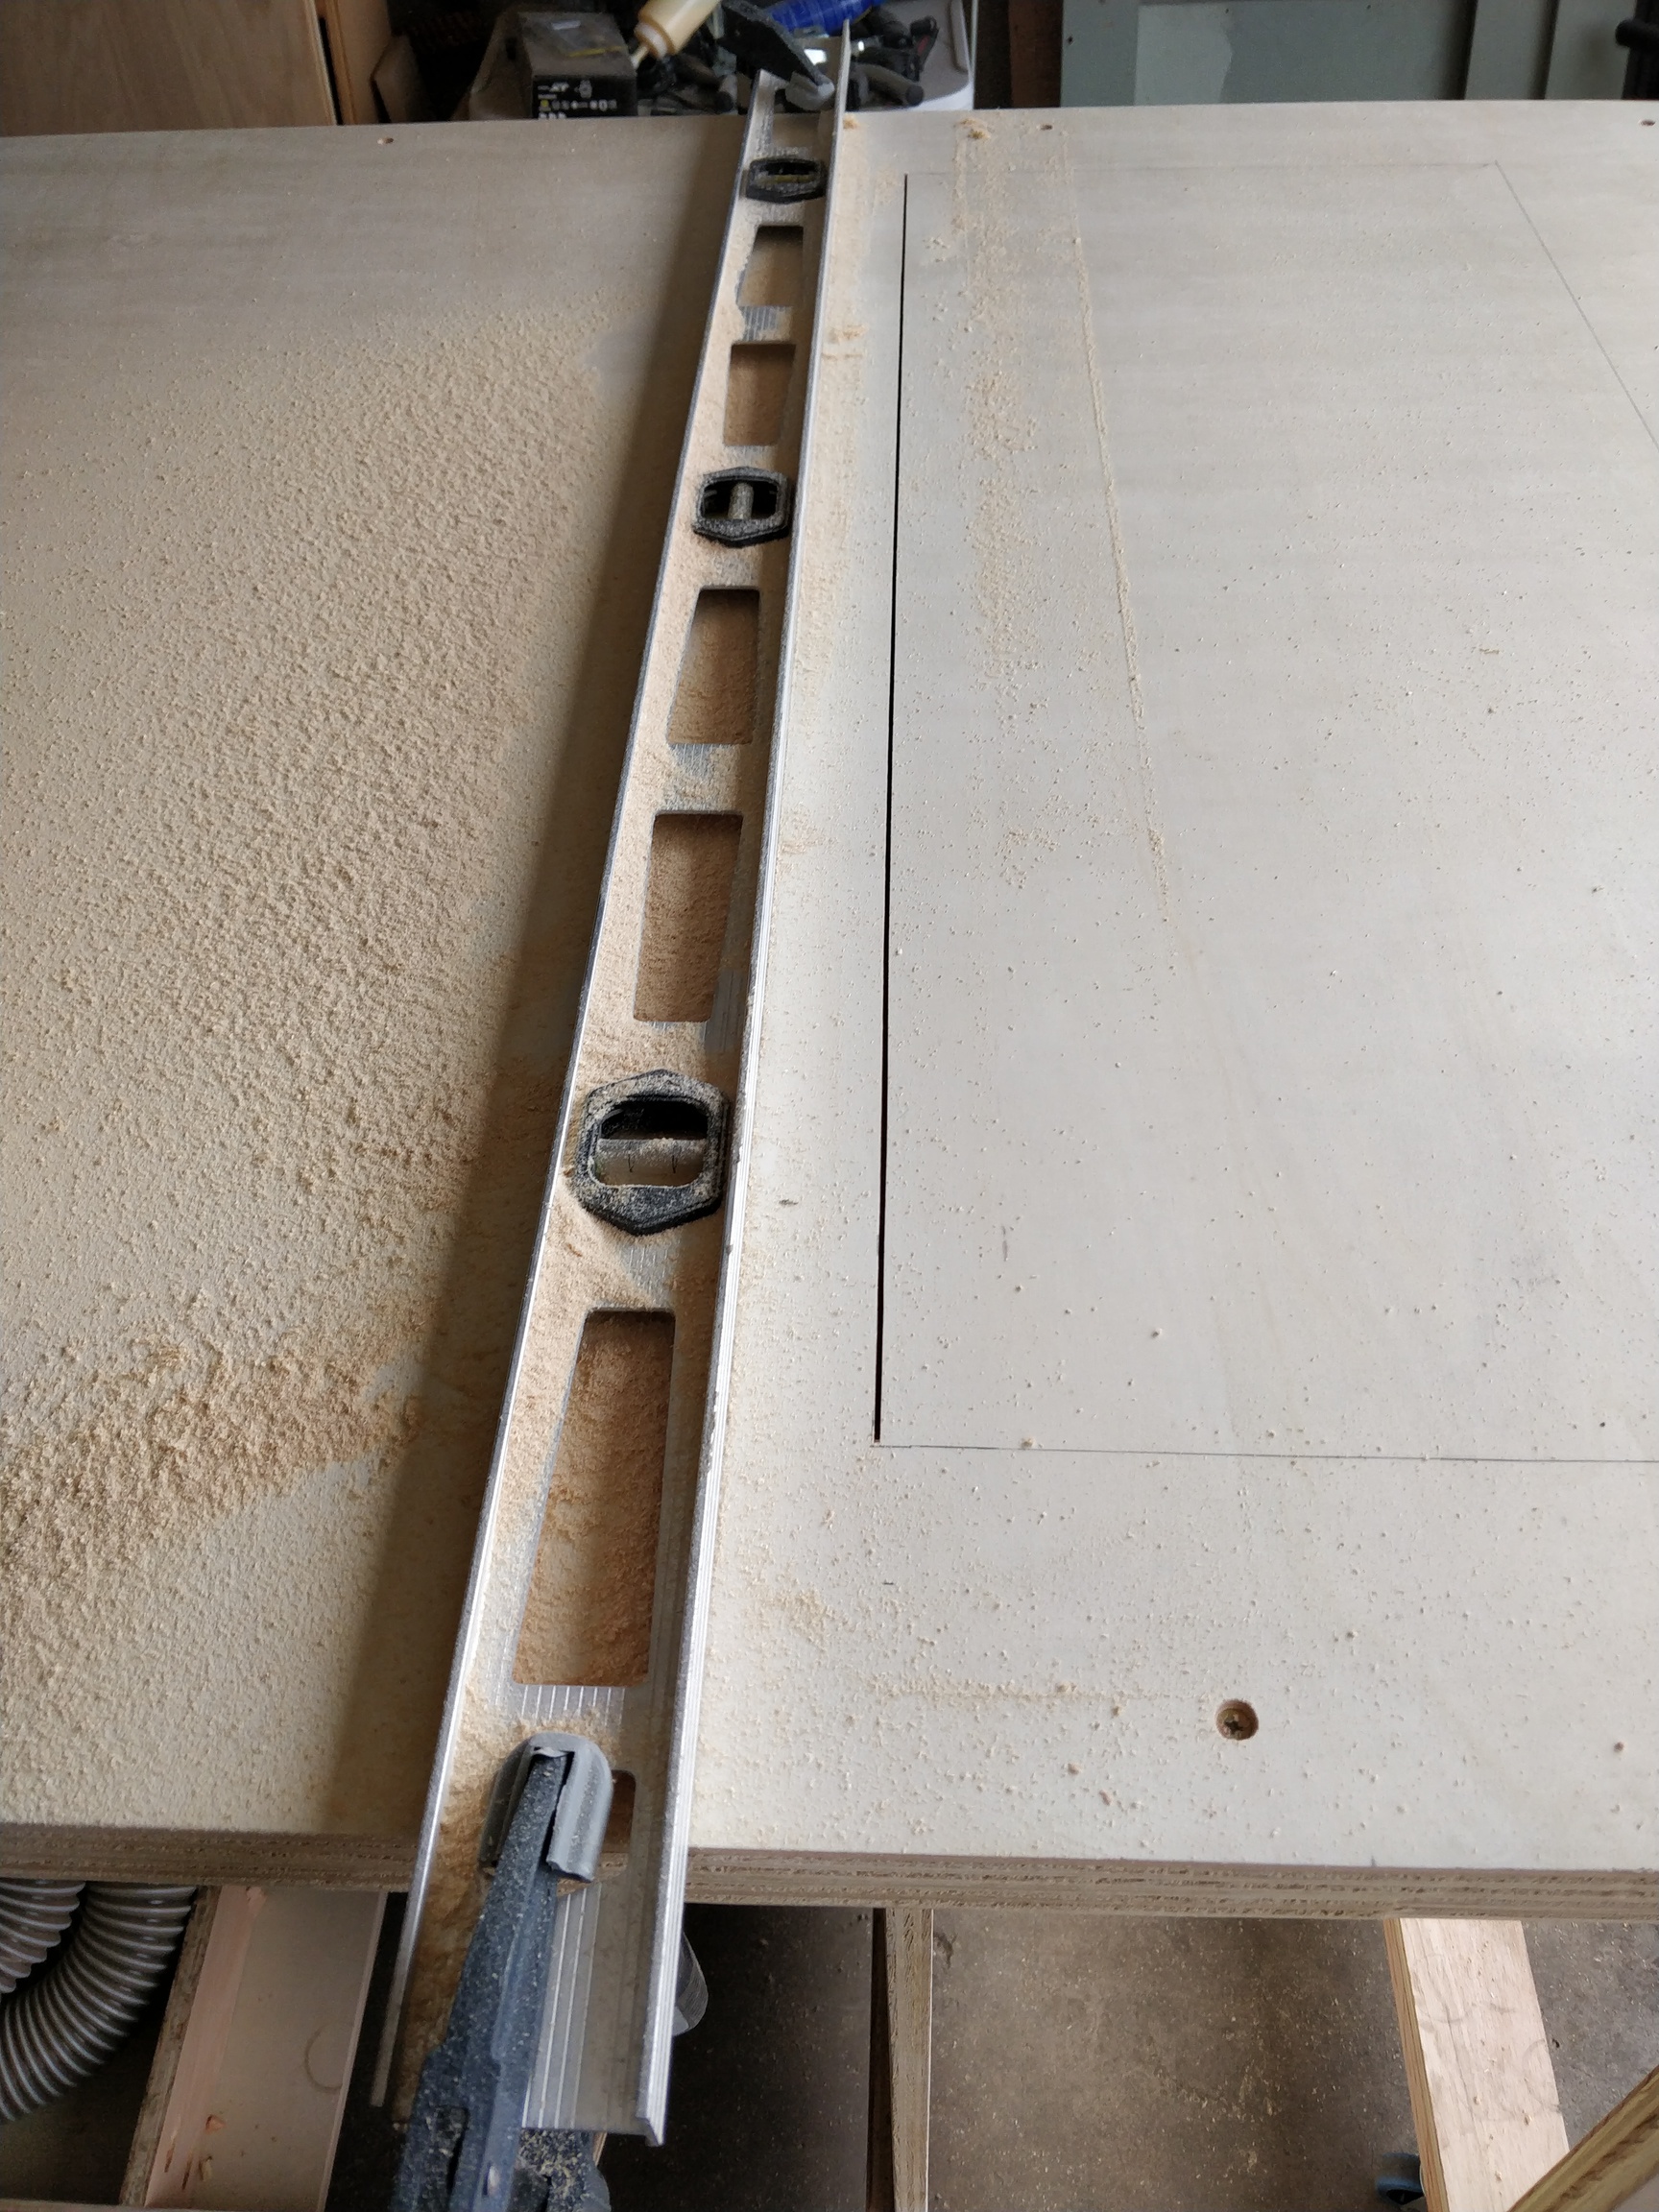
After some lunch… I’m taking the plunge! I thought about making the CNC do it, but it would be a lot of stick out.
I have 2" of overhang on all the edges, pretty close to 32"x48" workspace, but I think it is a little short. I will not miss it. This is going to be awesome. I can’t wait to get this board dirty.
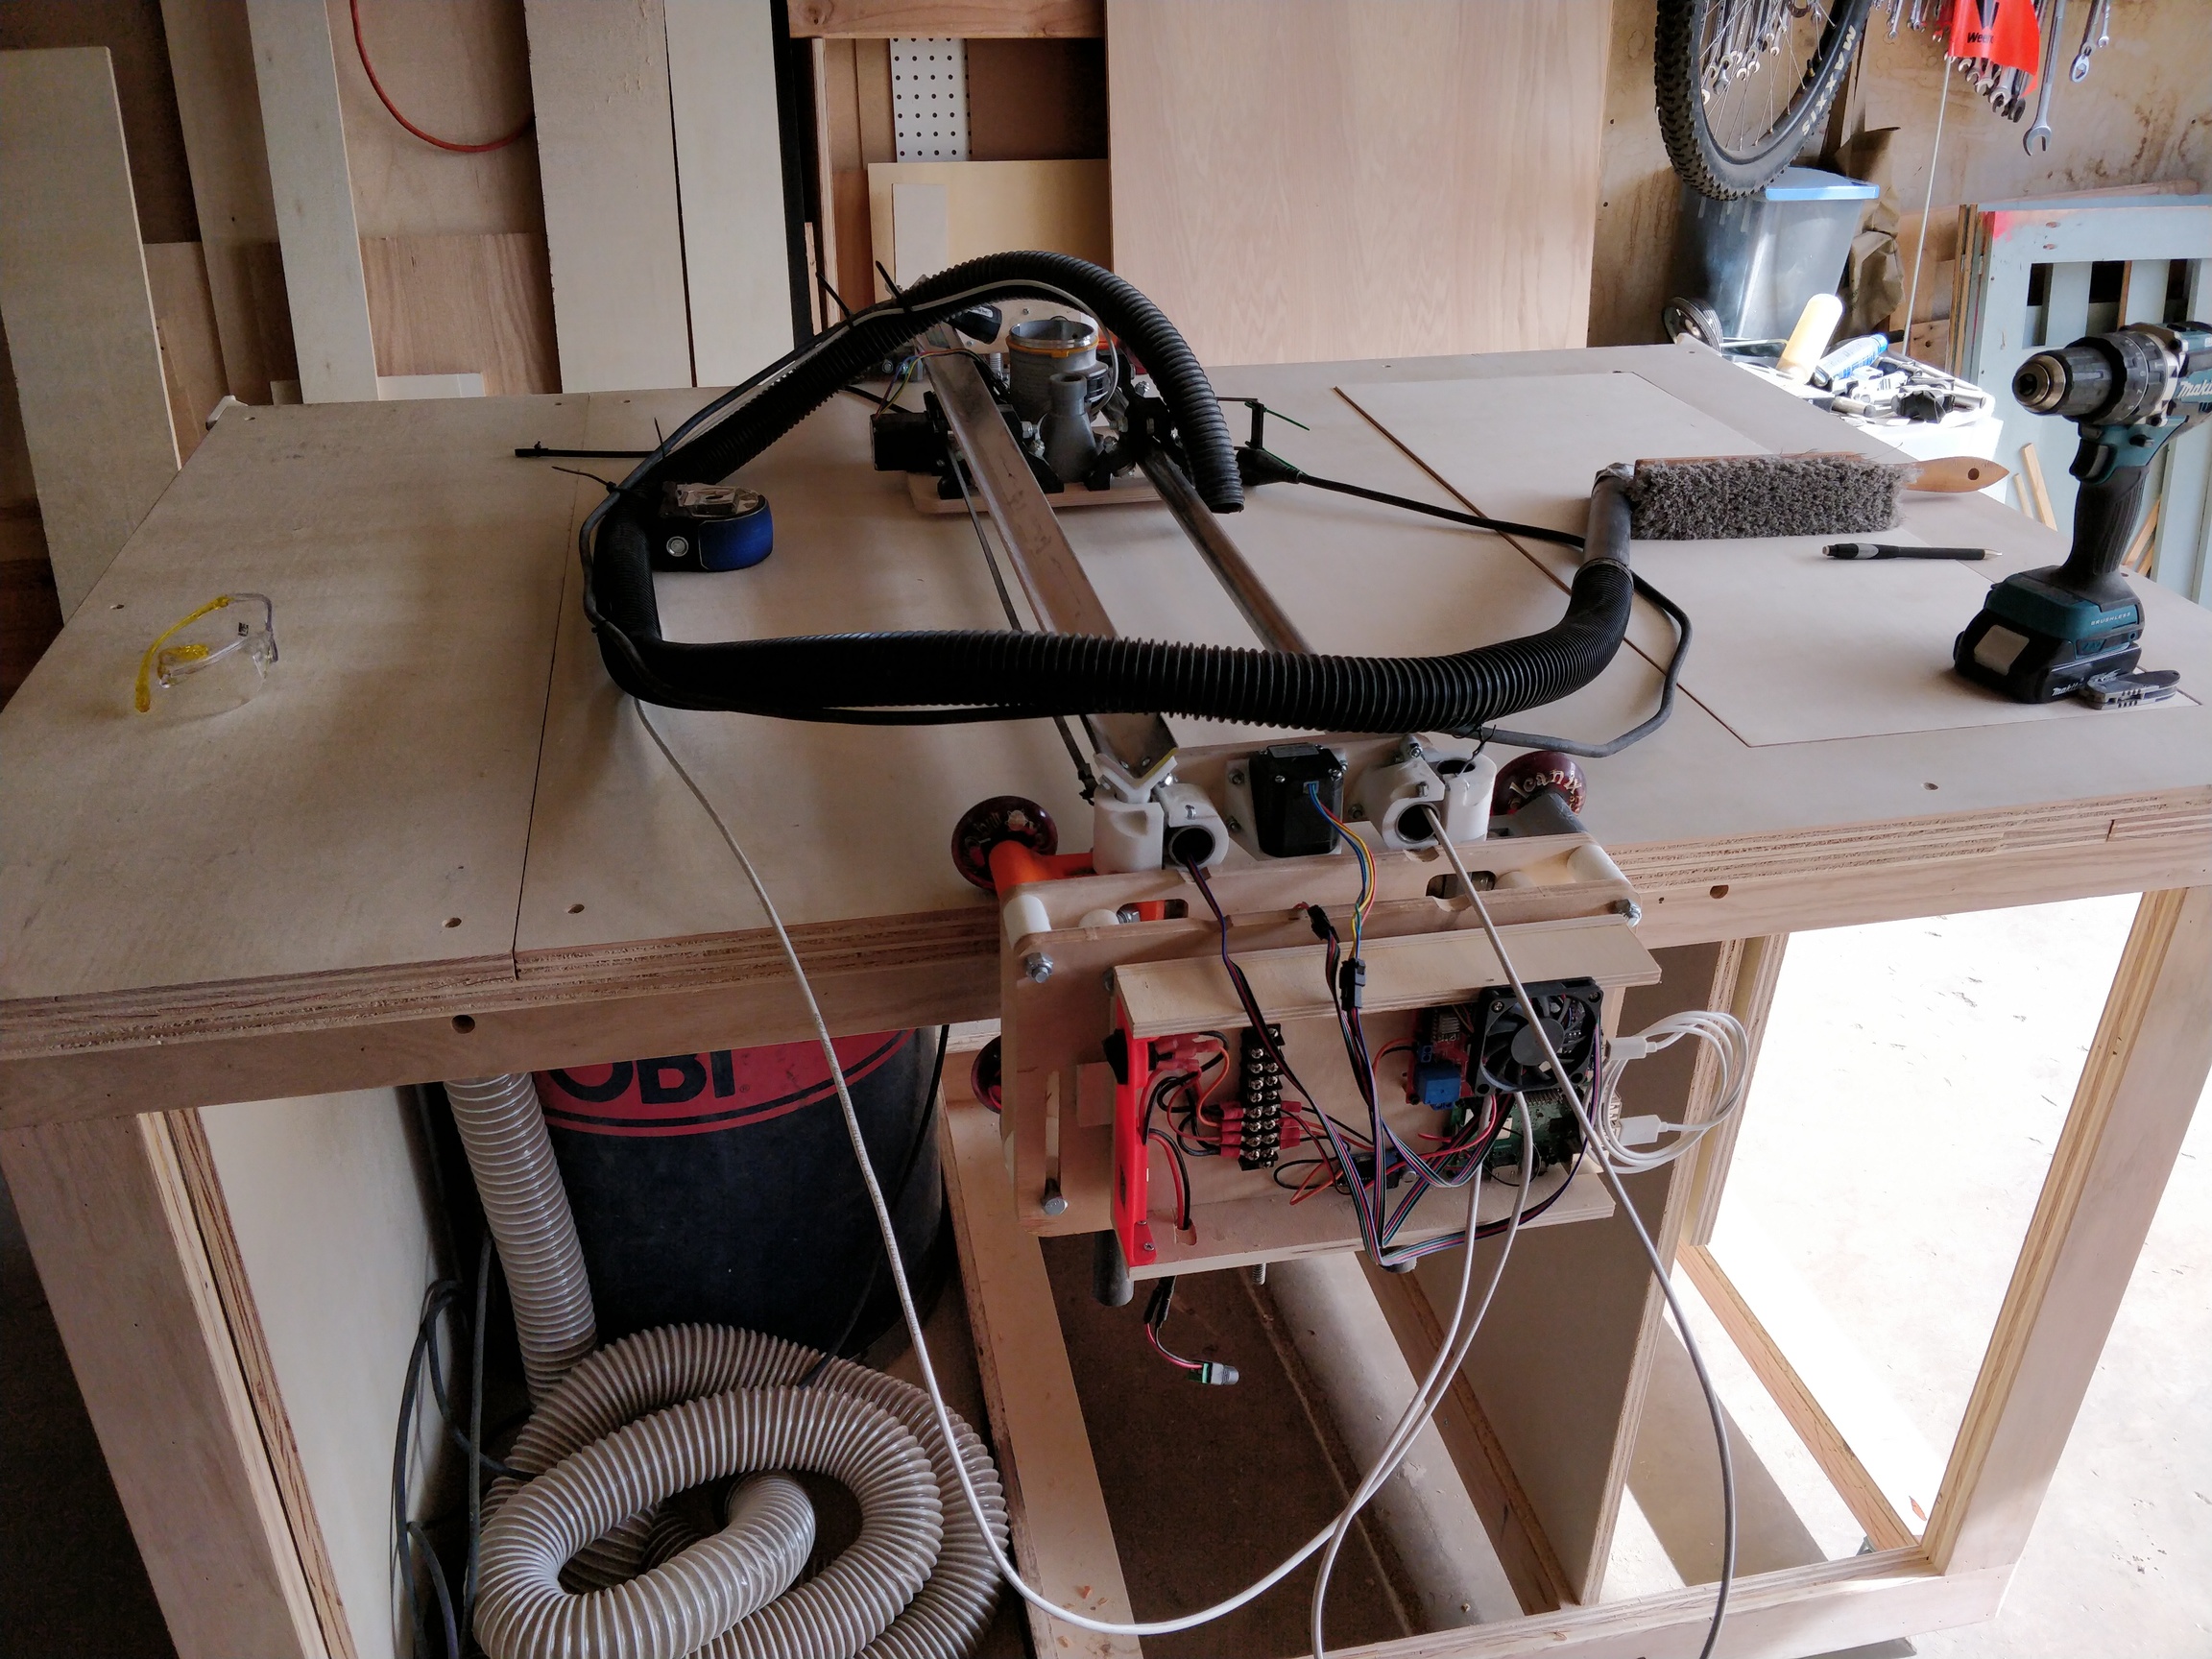
I cut quite a bit off of the tubes. It is about a foot shorter, maybe 14". I just had it set up the hard way before. My Z tubes are still crazy long.
I still have to install the longer belts. I needed my hack tracks before, so I might need to attach those again, but I need longer ones. I might trim the wiring down a bit. I’m exhausted though. So happy. But exhausted.
Back in its corner. I added 3/4" aluminum angle. I bought the 1/8" thick ones, but I think it was a waste of money. They were $20 each. Oh well. It rode very smoothly when I didn’t have the belts on. Let’s hope it stays as smooth. I am reworking the hose/wires next. Then I will plug it in.
The handheld brush? They are from harbor freight and I have one for each work area. I think you can see, I mounted one on the table on the near side in the last picture.
 . The frames have a crapload of glue, but I couldn’t get any glue, really, while assembling the whole thing. I could theoretically take it apart, but it would never go back as strong. I could try to take it apart and get glue in there, but that would also weaken the screws. I am just hoping it stays solid.
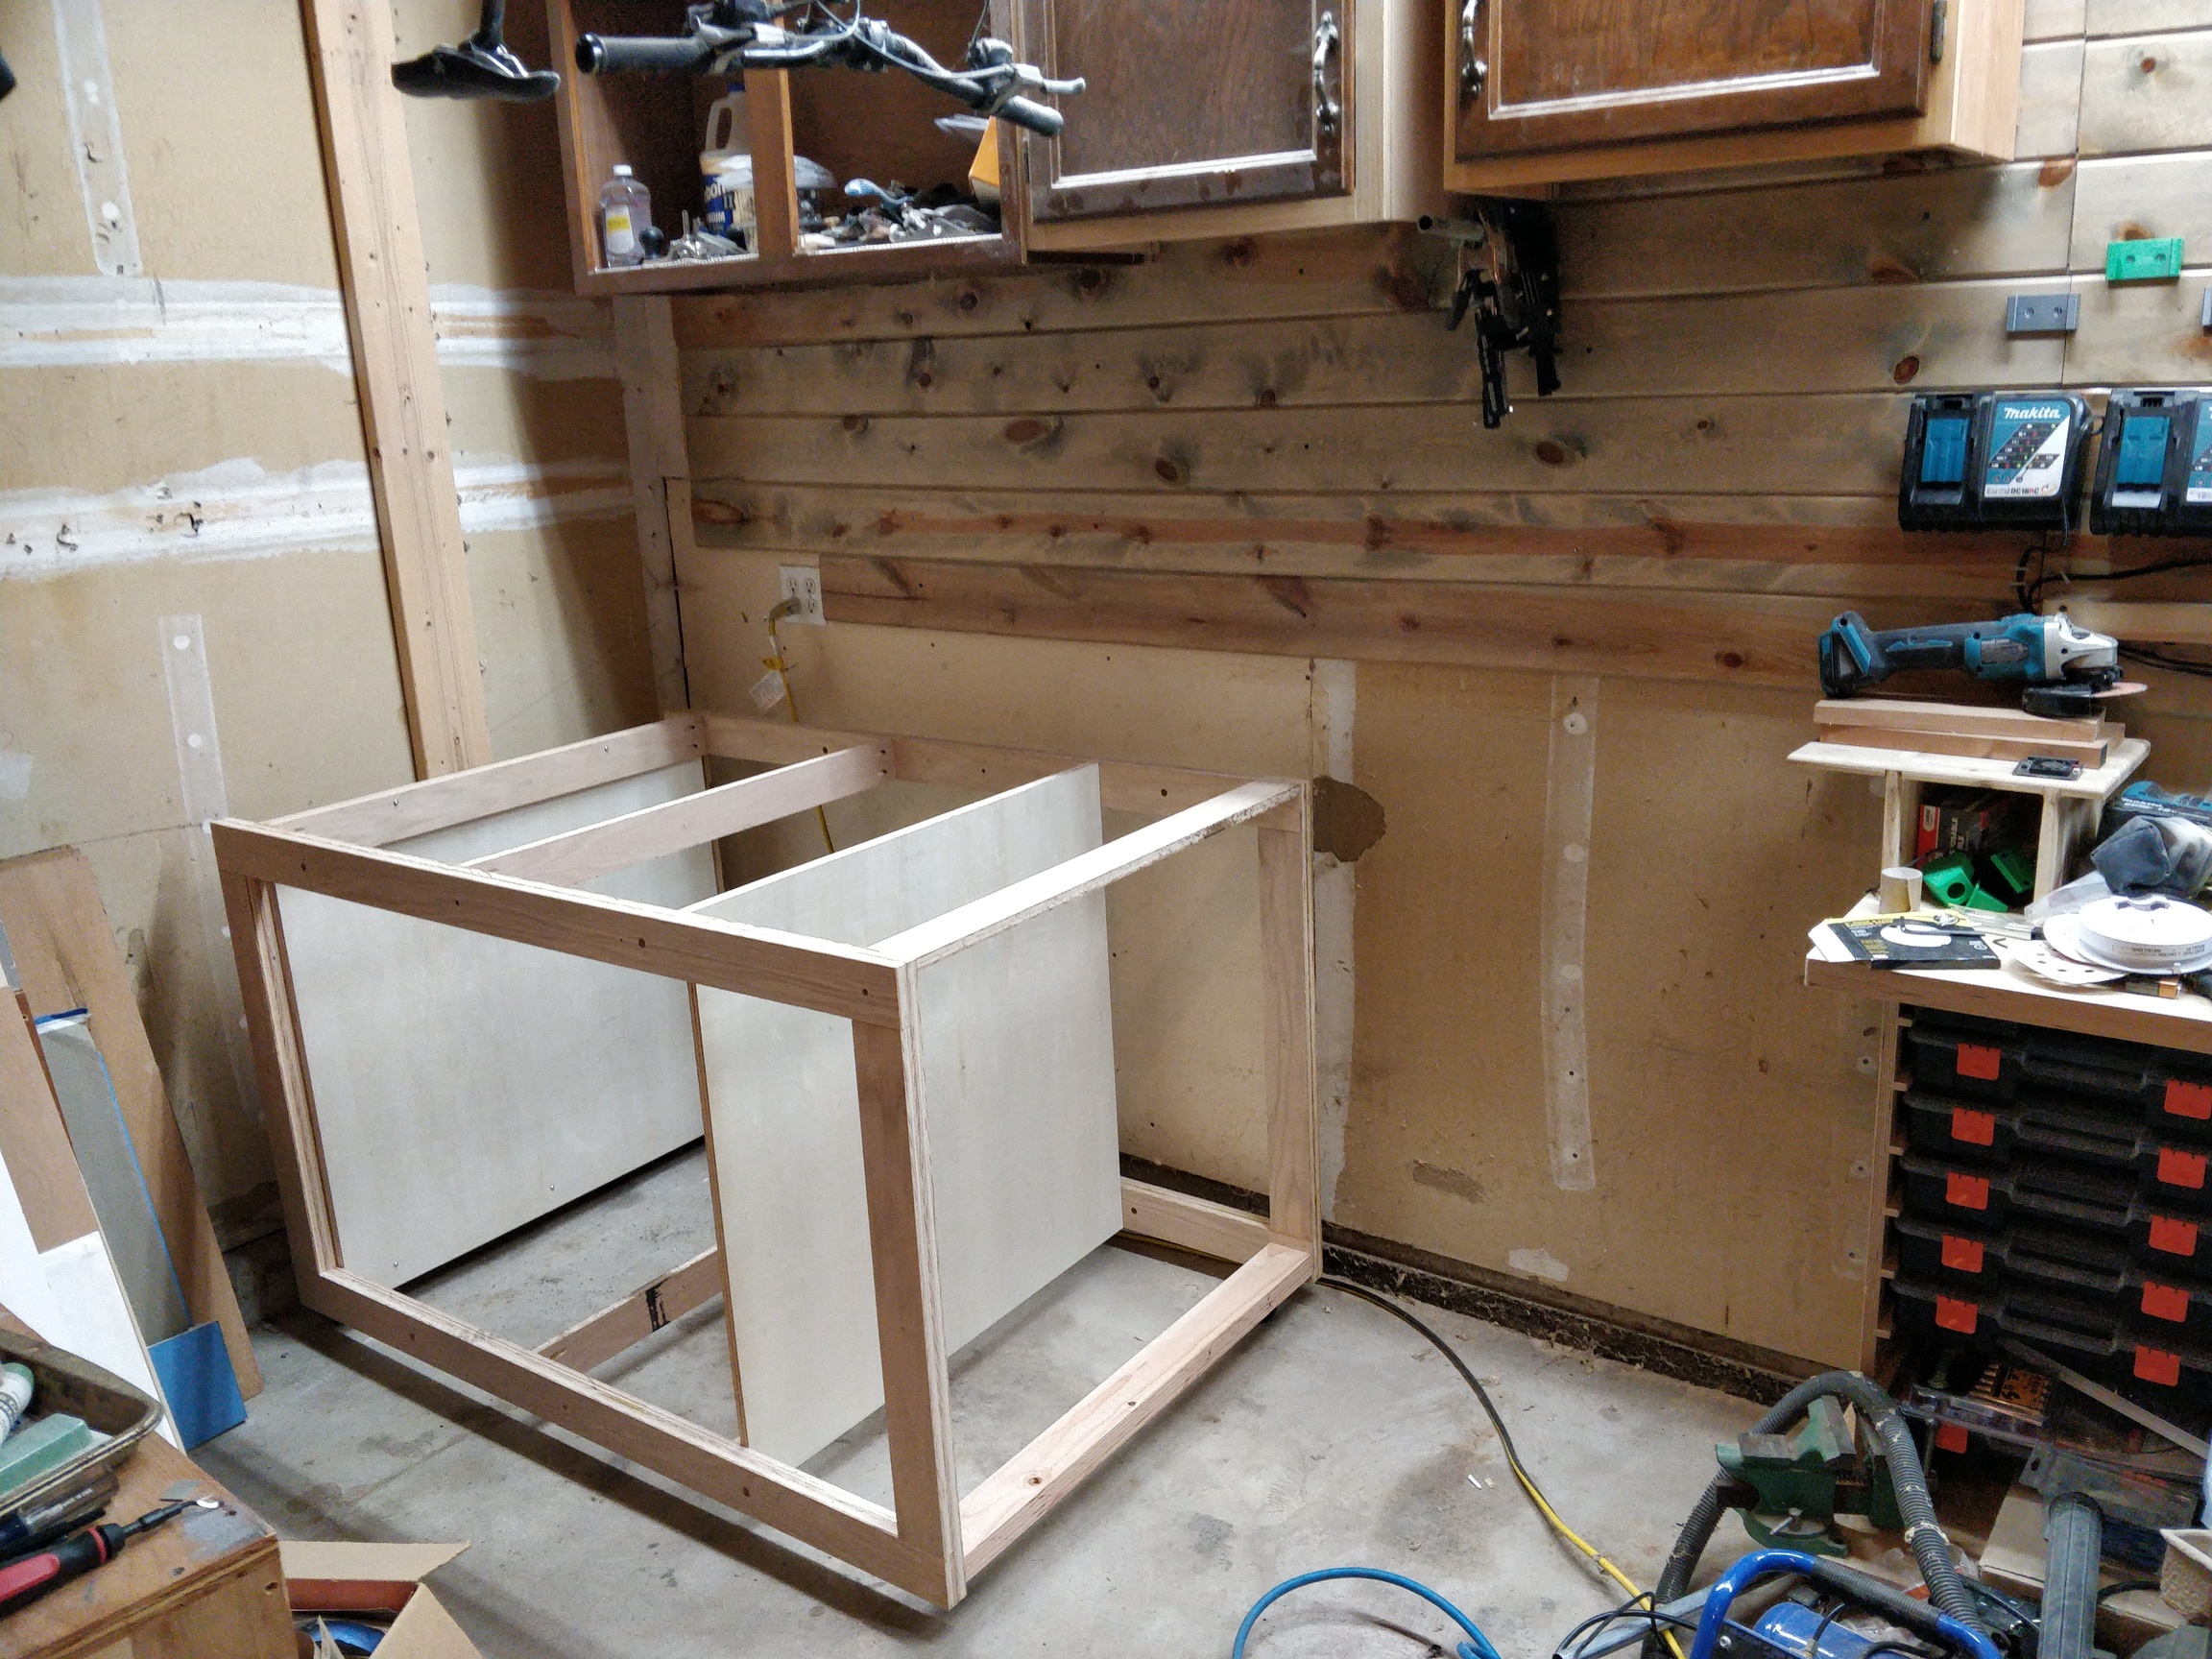
 ?
?