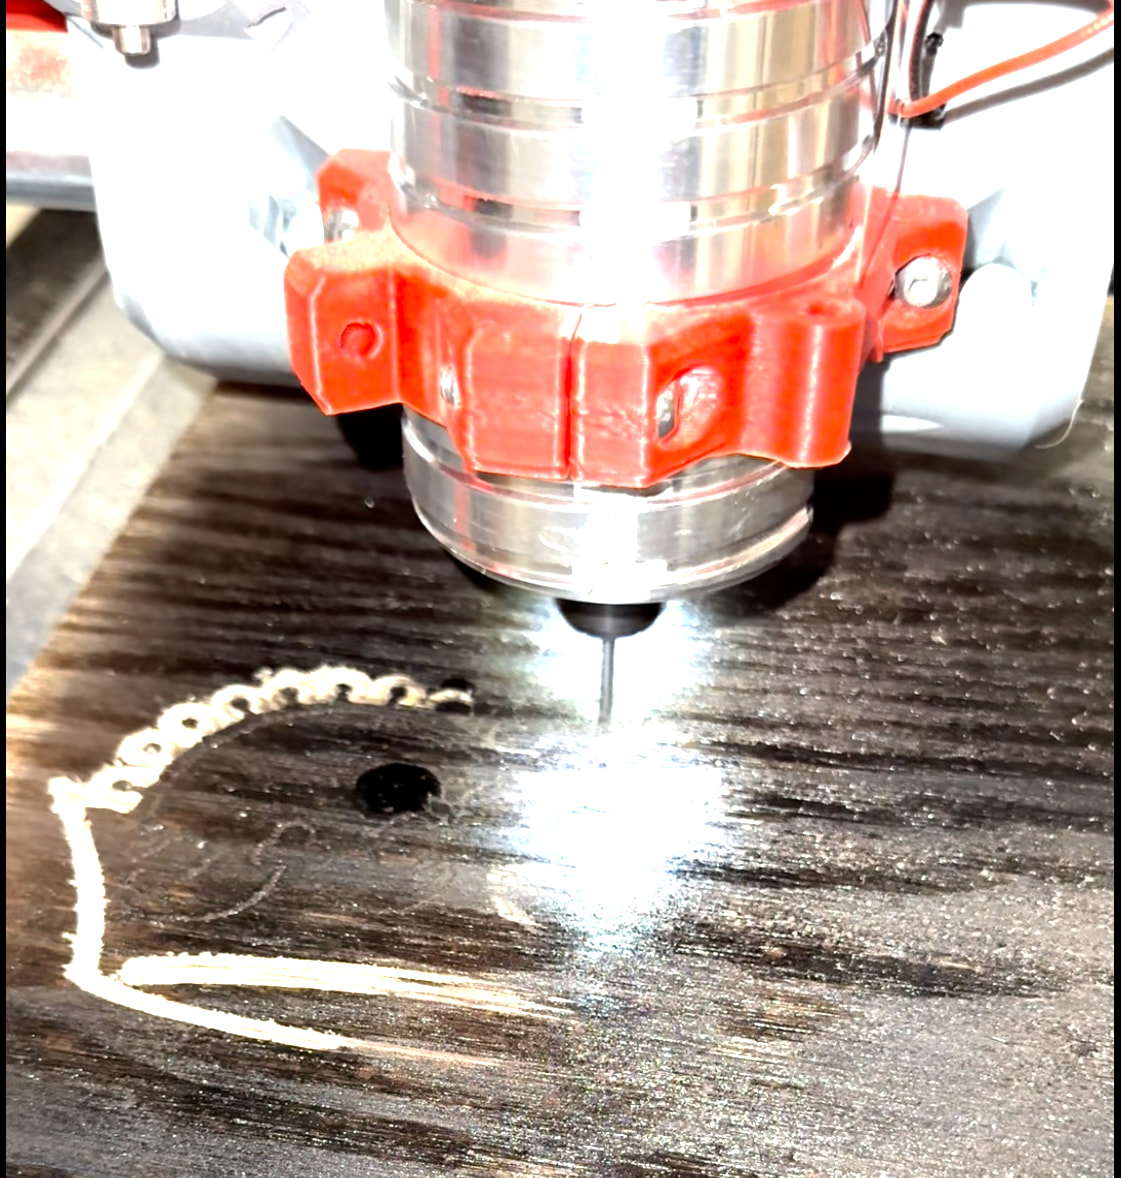
When running the script, it seems the left hand side of the board engraving correctly, but the right is not down all the way as shown in the image below. The graving is moving up, down, left and right correctly, but it seems it’s losing the clearance somehow.
So, I followed the information and the link above to Z level my Z0 and Z1 (lowering Z1 from 4.000 to 2.400), but it got worse and almost none of the test cut worked, so I reset Z1 back to 4.000.
How would I go about doing this? I’m trying to follow the guide here, and it seems it’s recommended to finish this up before moving on to the advanced stuff here? Or is there a step I’m missing?
Are your spoil board and work piece flat and level? Even a mm or two out of level or out of flat is enough to cause something like this in my experience, and it’s a relatively quick and easy check.
This is the wrong direction to move. Usually you don’t want your pull off to be less than 3-4mm. Also if that change made the problem worse, my guess would be you are moving the wrong side or the wrong direction. I would try moving it to 5.600 and see if that gets you correct.
I updated the Z1 to 5.6 mm and it indeed fixed some of it on the right axis, but the top is still missing which makes me believe going from the back to the front, the front is lower as well? Im just assuming. Any ideas what to try next?
Front to back could be your stock is not flat on the table, like something is under the front edge. Or if your table has a big belly in that spot, but for the size there it would have to be a pretty big dip in the table I would think. The machine rides on the table on X-min and on the rail that is mounted to the table on X-max, so as long as that is decently flat you should be good. You might move your stock and verify nothing ended up under it and if not, take a straight edge and see if you can find a dip in that area.
I was just starting to type what @Jonathjon got to. The other part I’m curious about is how are you attaching the workpiece to the spoilboard? If it is not securely attached across the entire area you are cutting, it’s possible part of the piece is lifting up.
Thank you @jeyeager! Yes there’s spoilbaord and drilling each corner of the work piece to the spoilboard. You also helped me in my original thread: Bought used and need some advice
I removed the board I’m working on and brushed under neath it (on top of the spoilboard) to make sure there was nothing under it and also brushed off the underboard of the working piece as well just to make sure. I then used wood screws to hold down the 4 corners of the working piece and reran the script… same result.
The spoilboard is about 4ft by 8ft (MDF) and the working piece is about 2ft by 4ft.
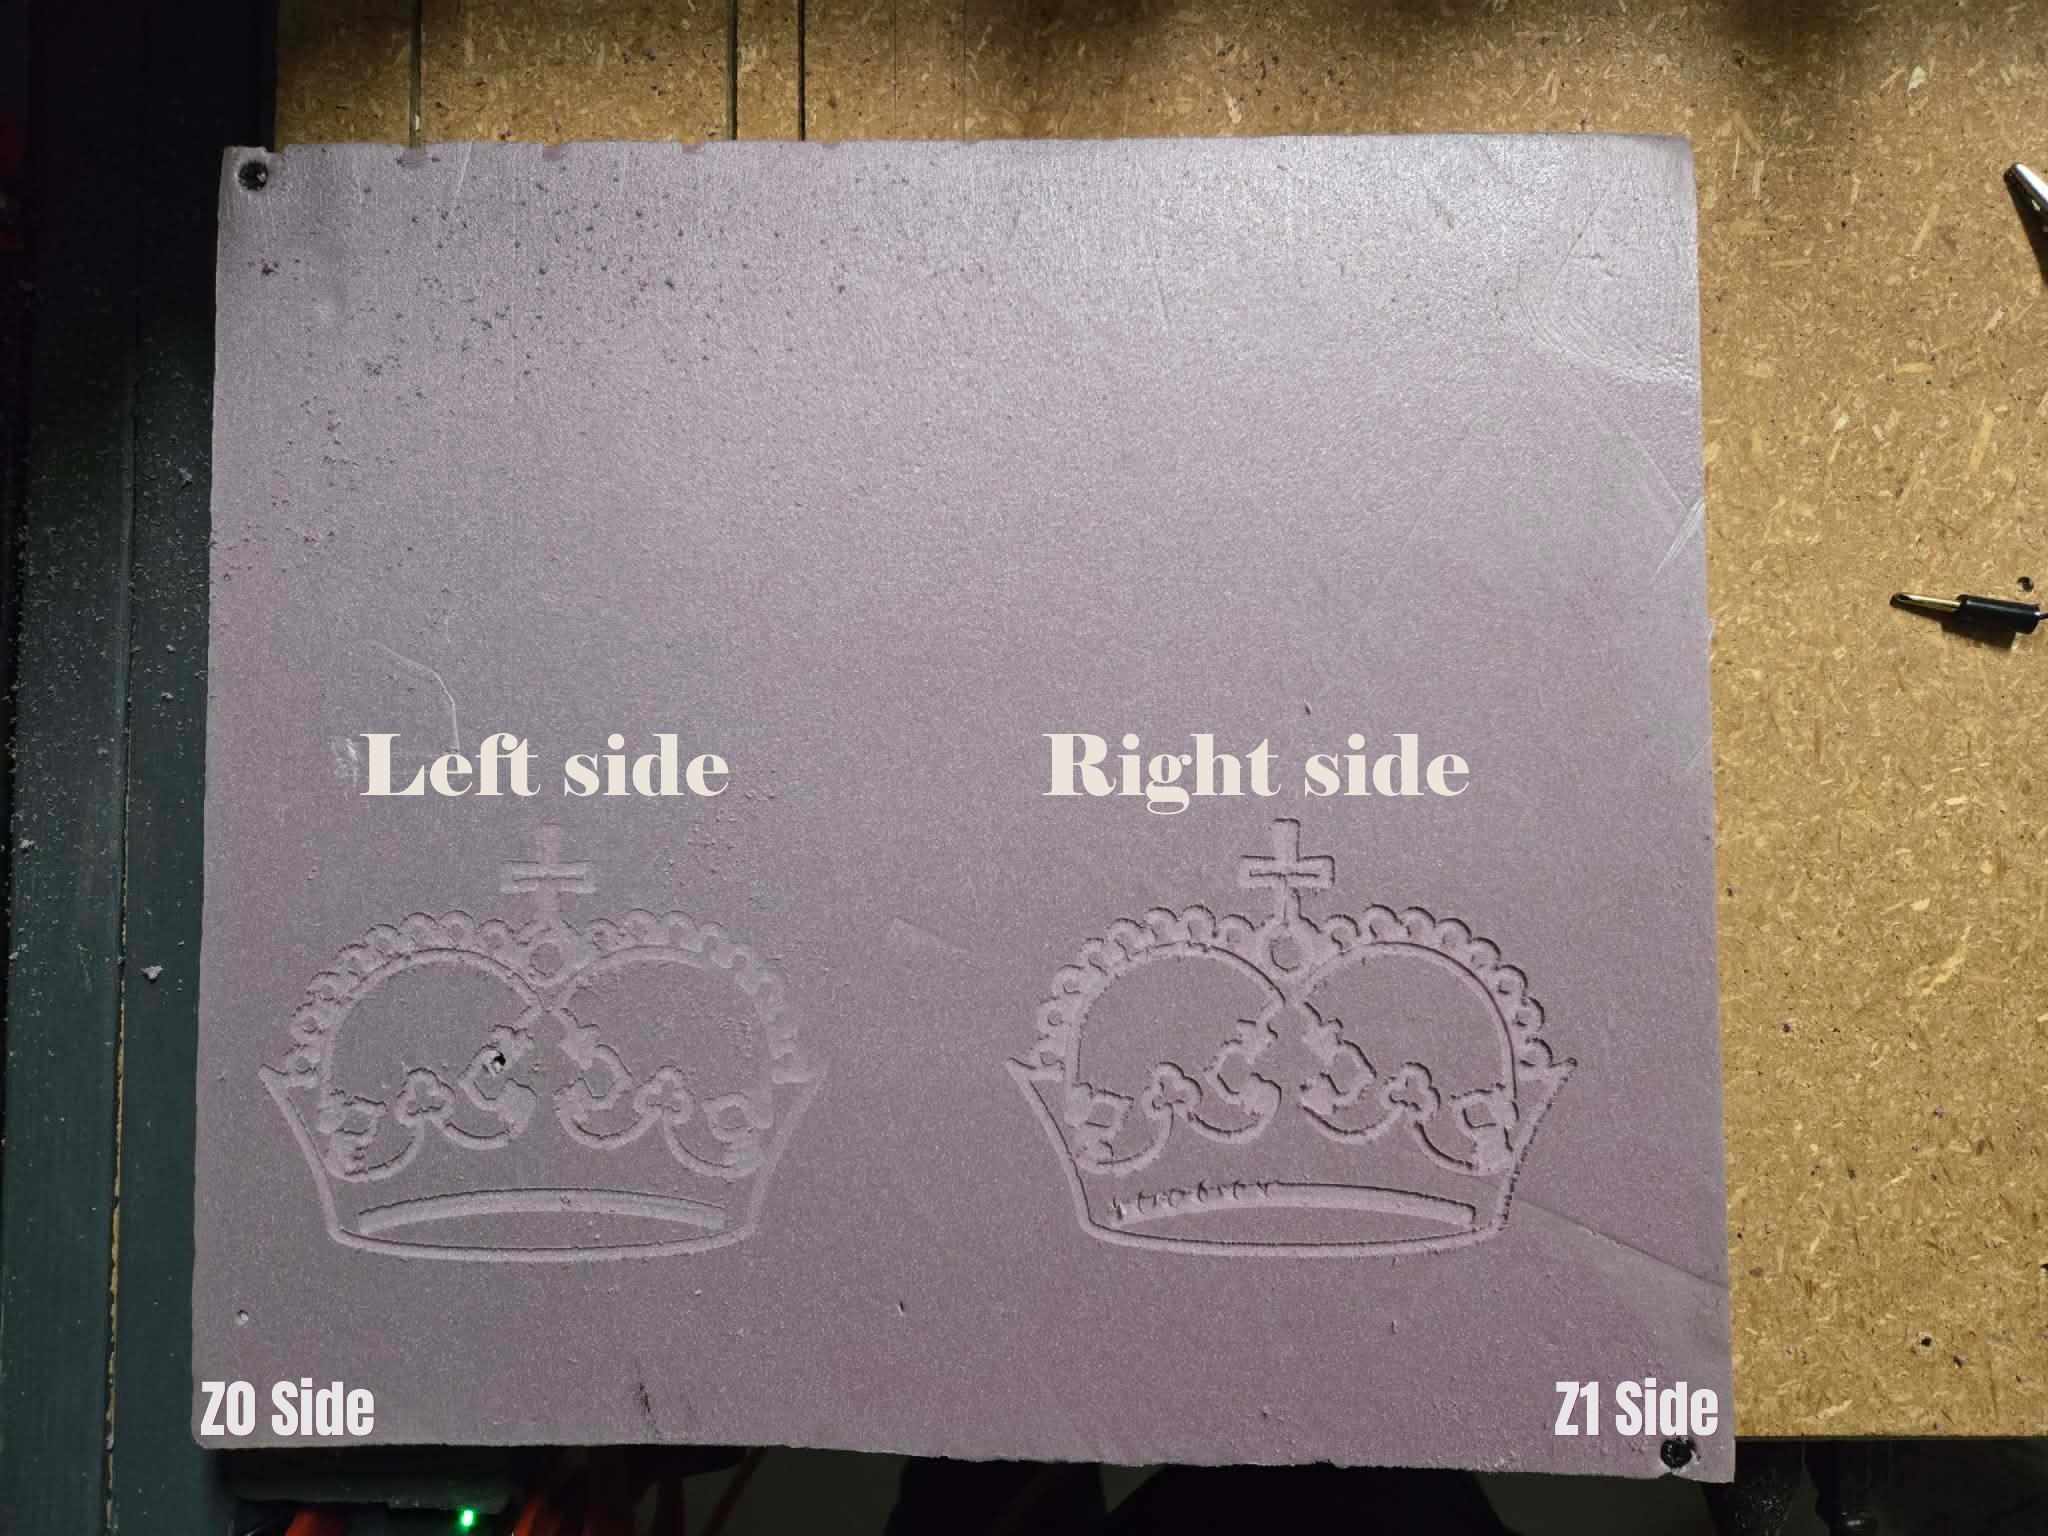
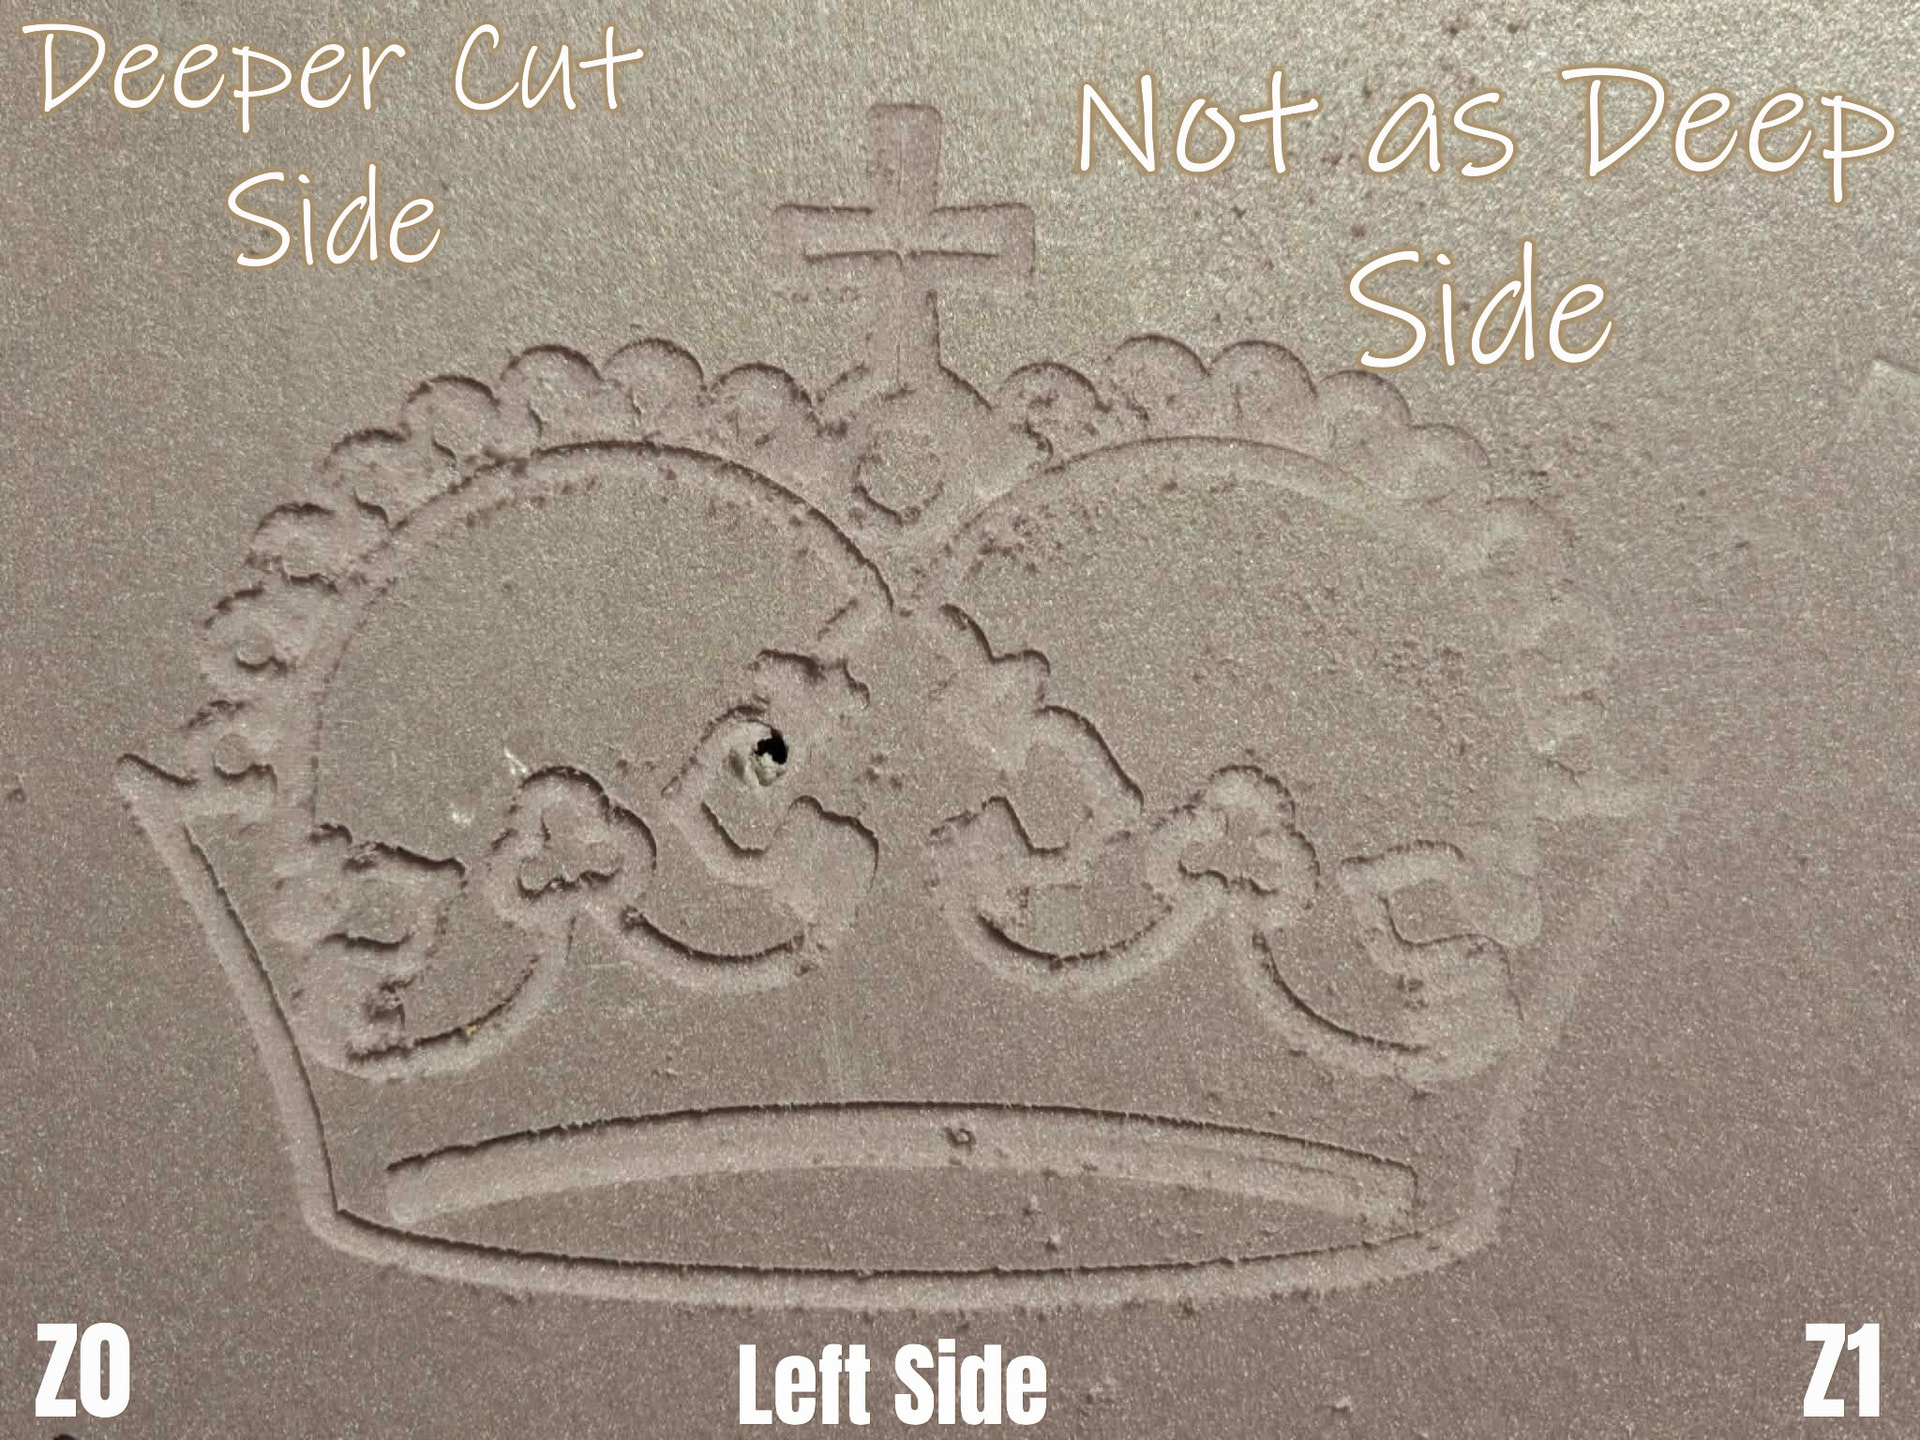
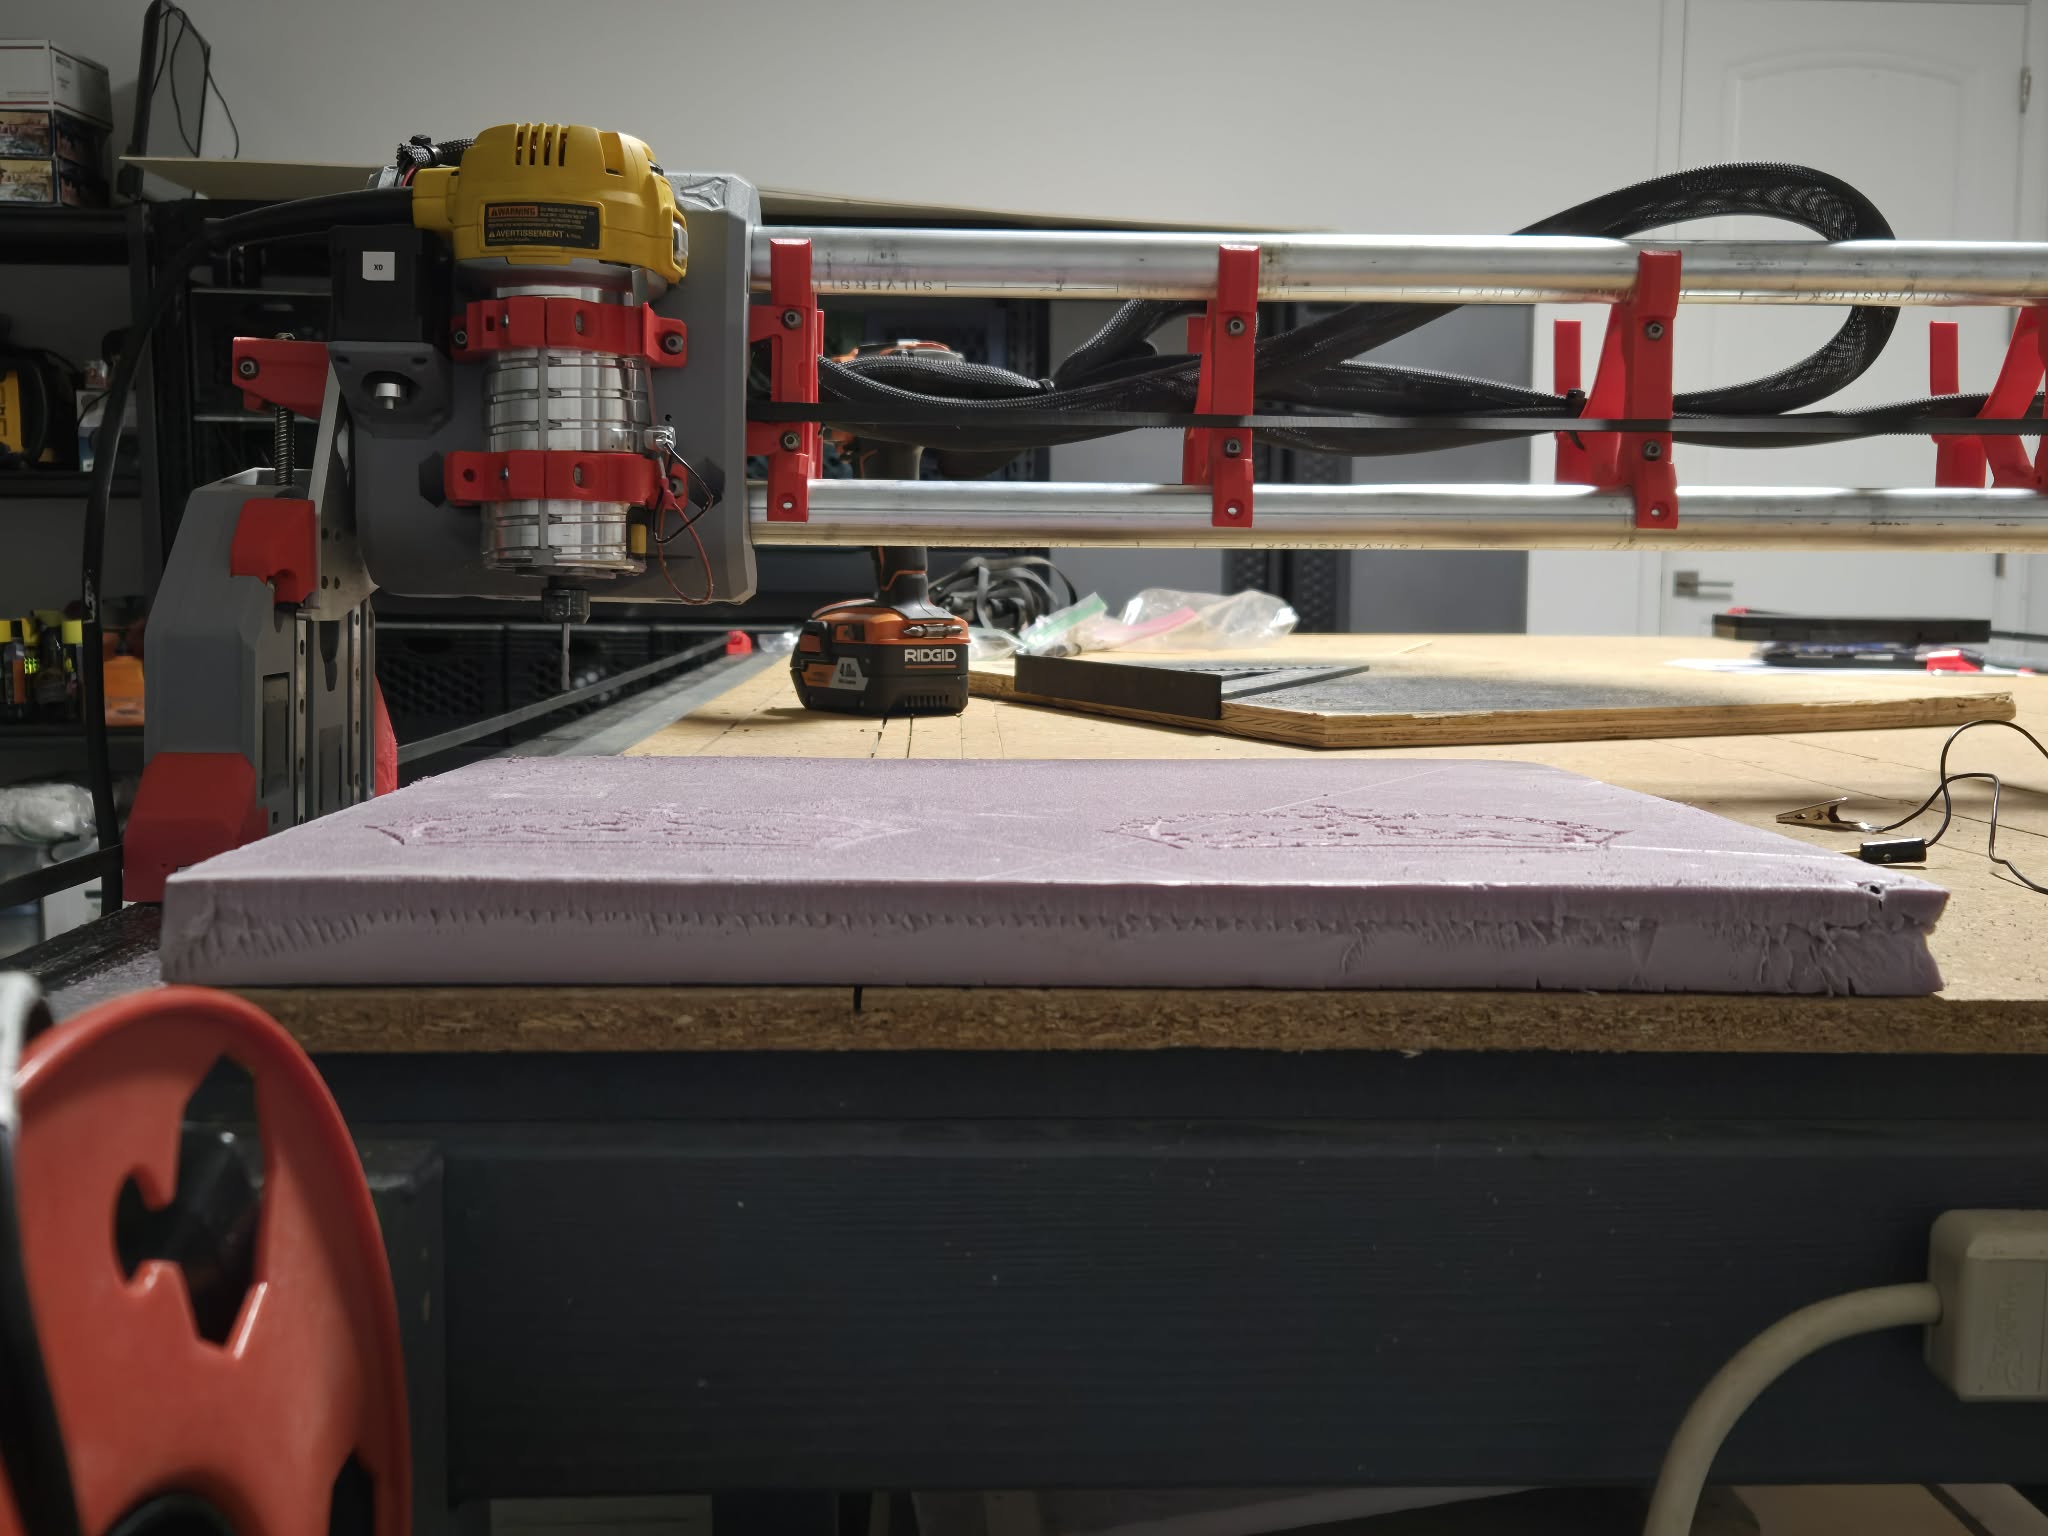
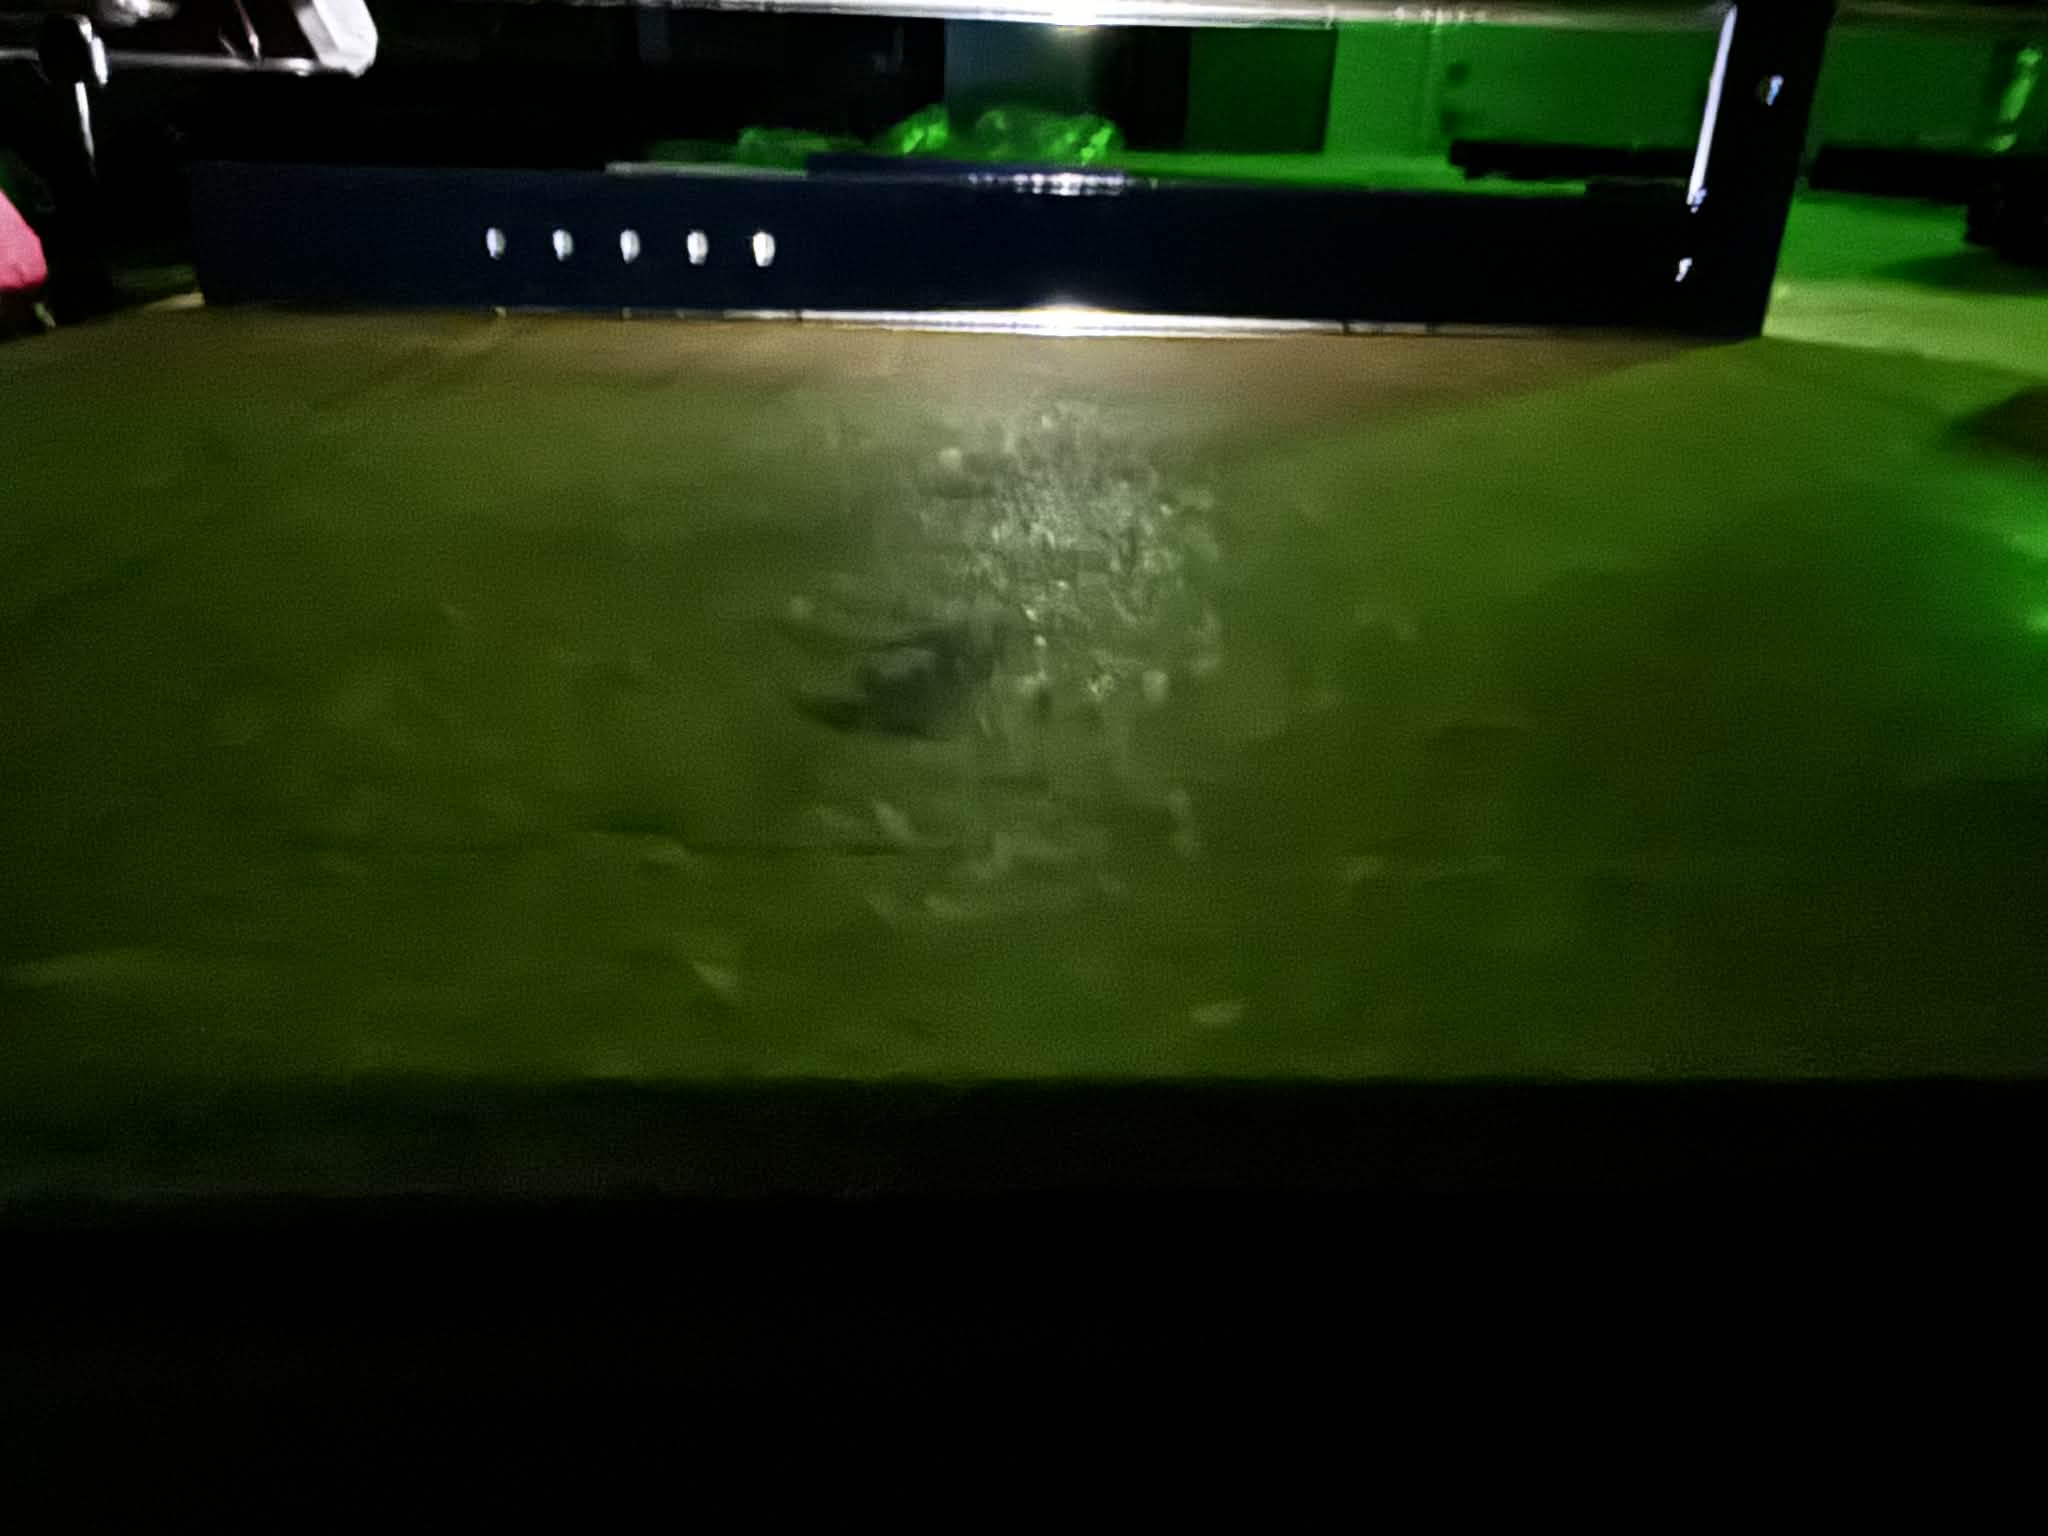
So, I removed the working piece of wood and decided to try a piece of foam board as it’s level. I ran this test back to back without making any changes or power cycling the board, just to see if I could get 2 identical cuts…. and I failed, not sure what to do here.
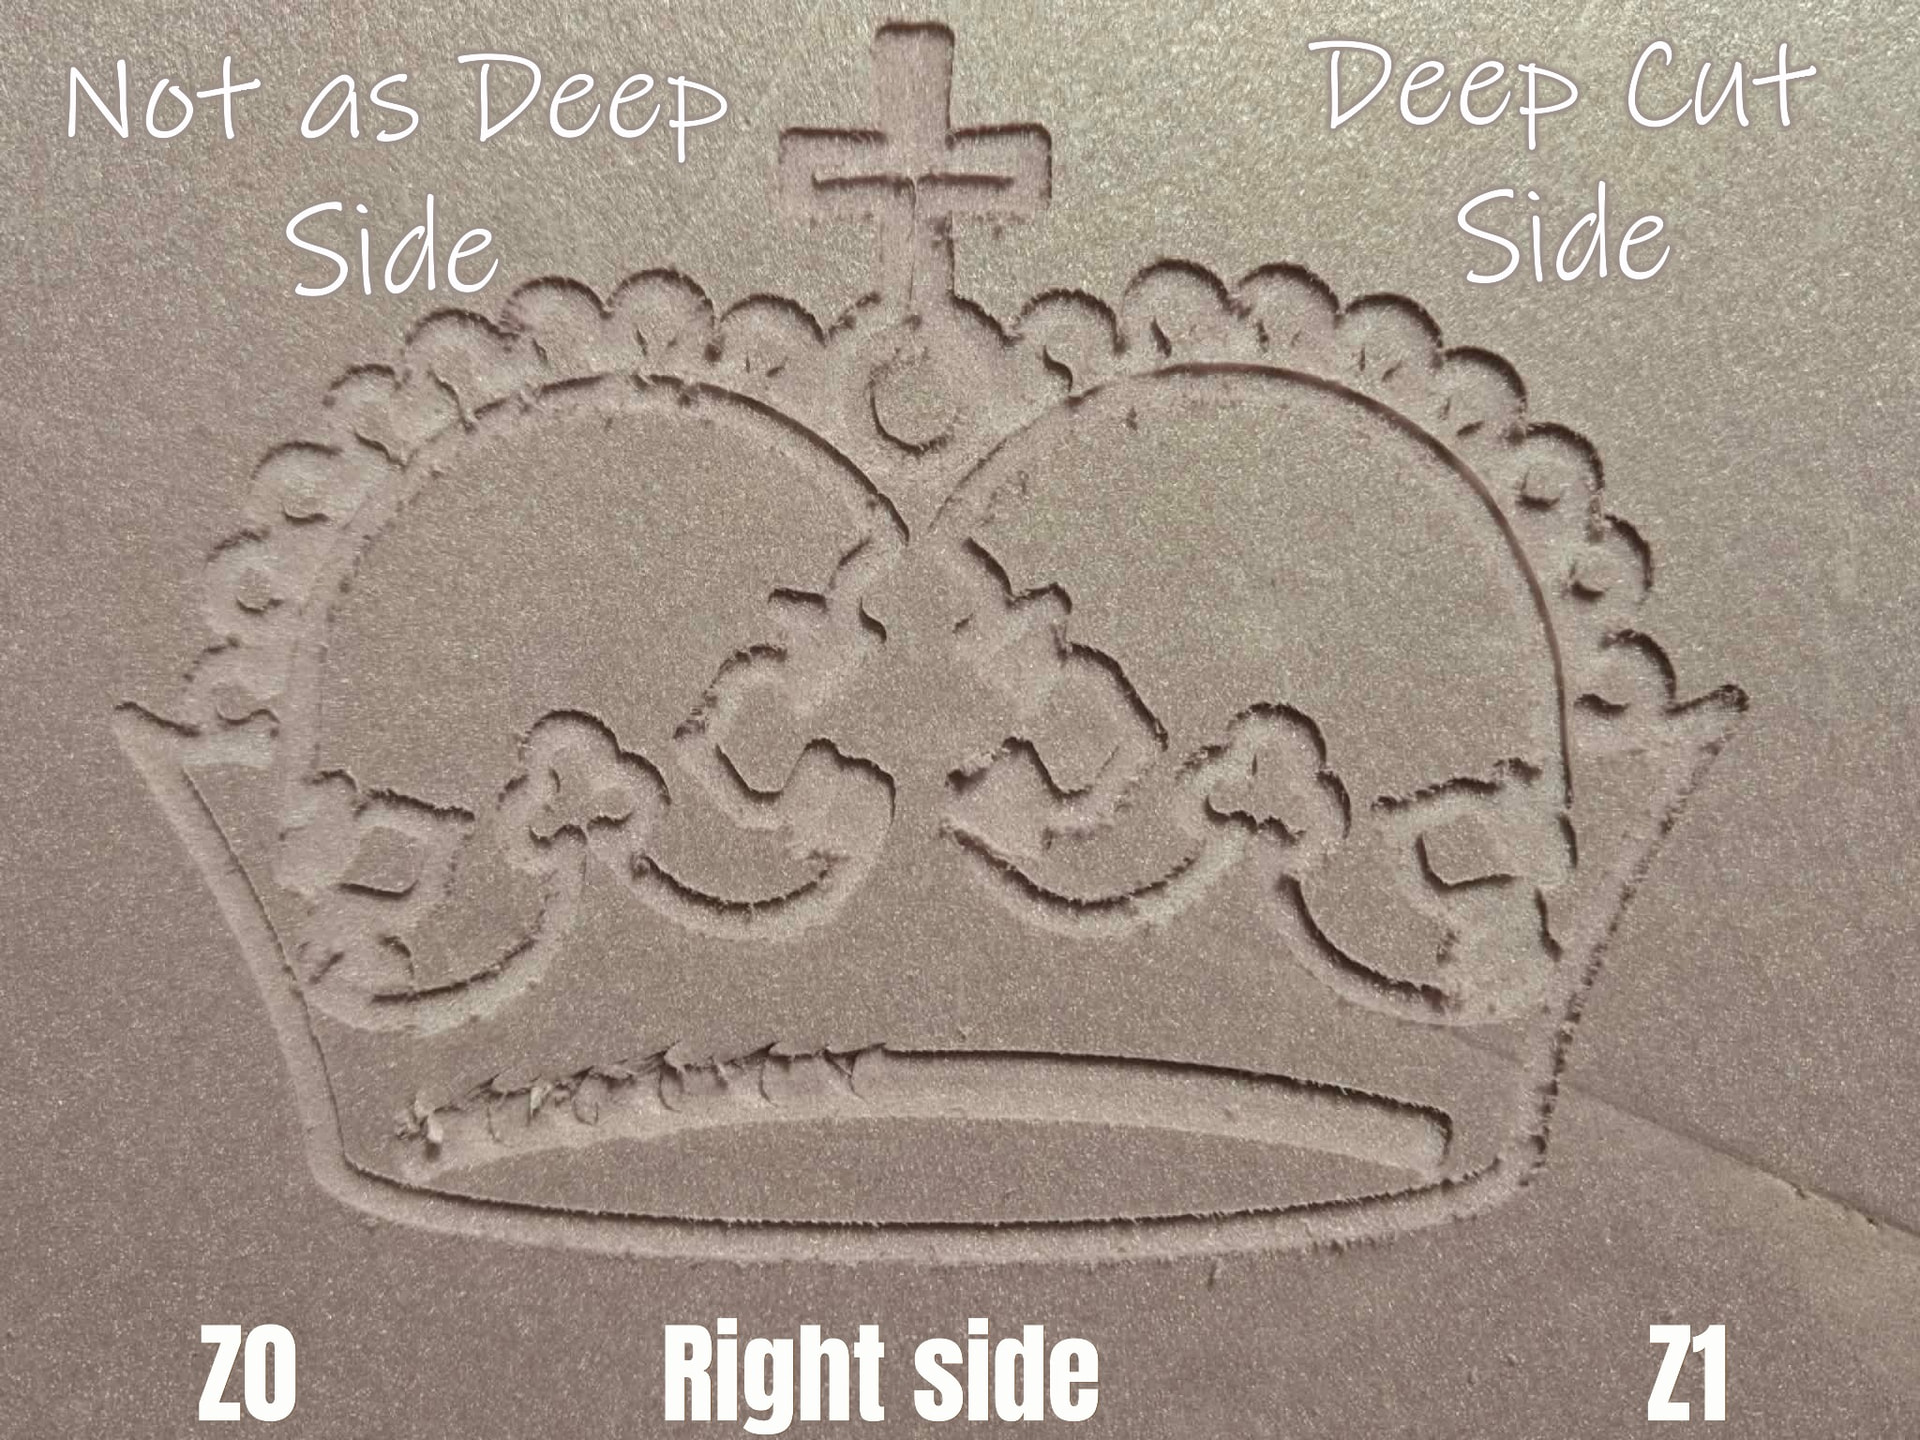
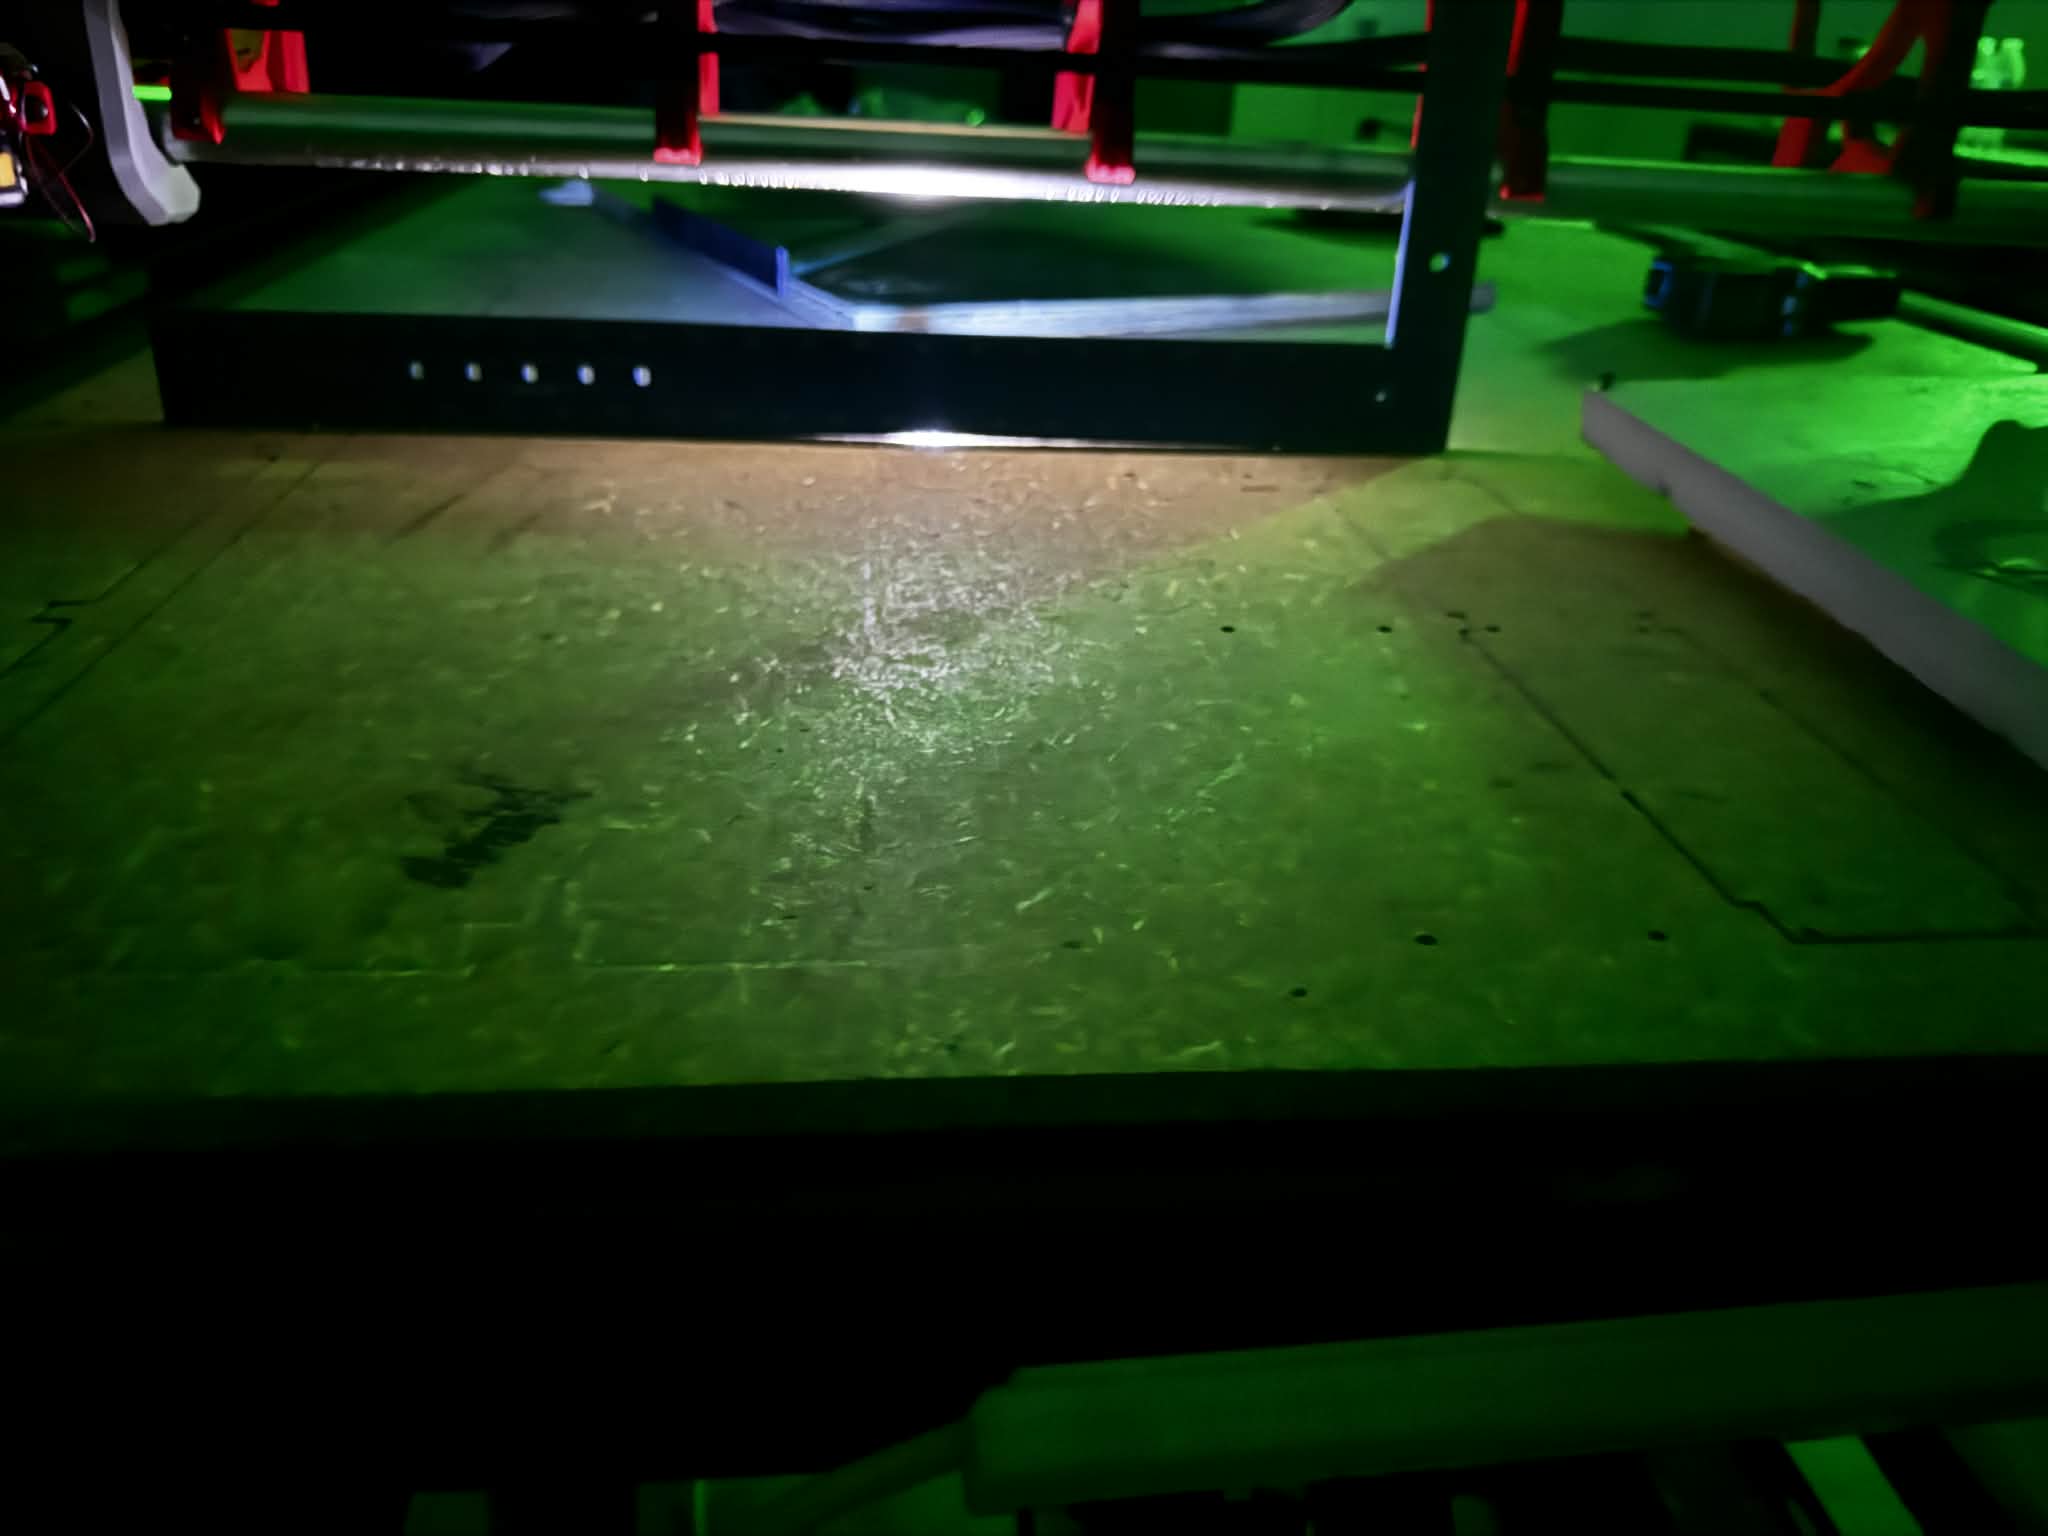
So, the cuts are deeper on each side but on opposite sides. Any idea what would cause this? Here’s a few images of the setup. Would it be easier to tear everything down and start over? Also, I’m including a copy of my crown code just in case…..
Basically you program one large square (so the cornw fits) and let the CNC cut it out at 1mm depth or so in the foam. Voila, planed. Do not remove it from the CNC, it has to stay where it is!
Then on this surface do the crown again.
@Tokoloshe Thank you for the guidance. I’m brand new to all this so please bear with me. I’m assuming this would be in something like Inkscape and imported into Esticam after? First time doing any of this so want to make sure I understand the process.
You can just draw a square in Estlcam if you select “Manual” and click the corners of the grid you set in the lower left corner. So if you wanted a 120x80 square, just set the grid to it, select cutout, manual, click the four corners and make it a pocket.
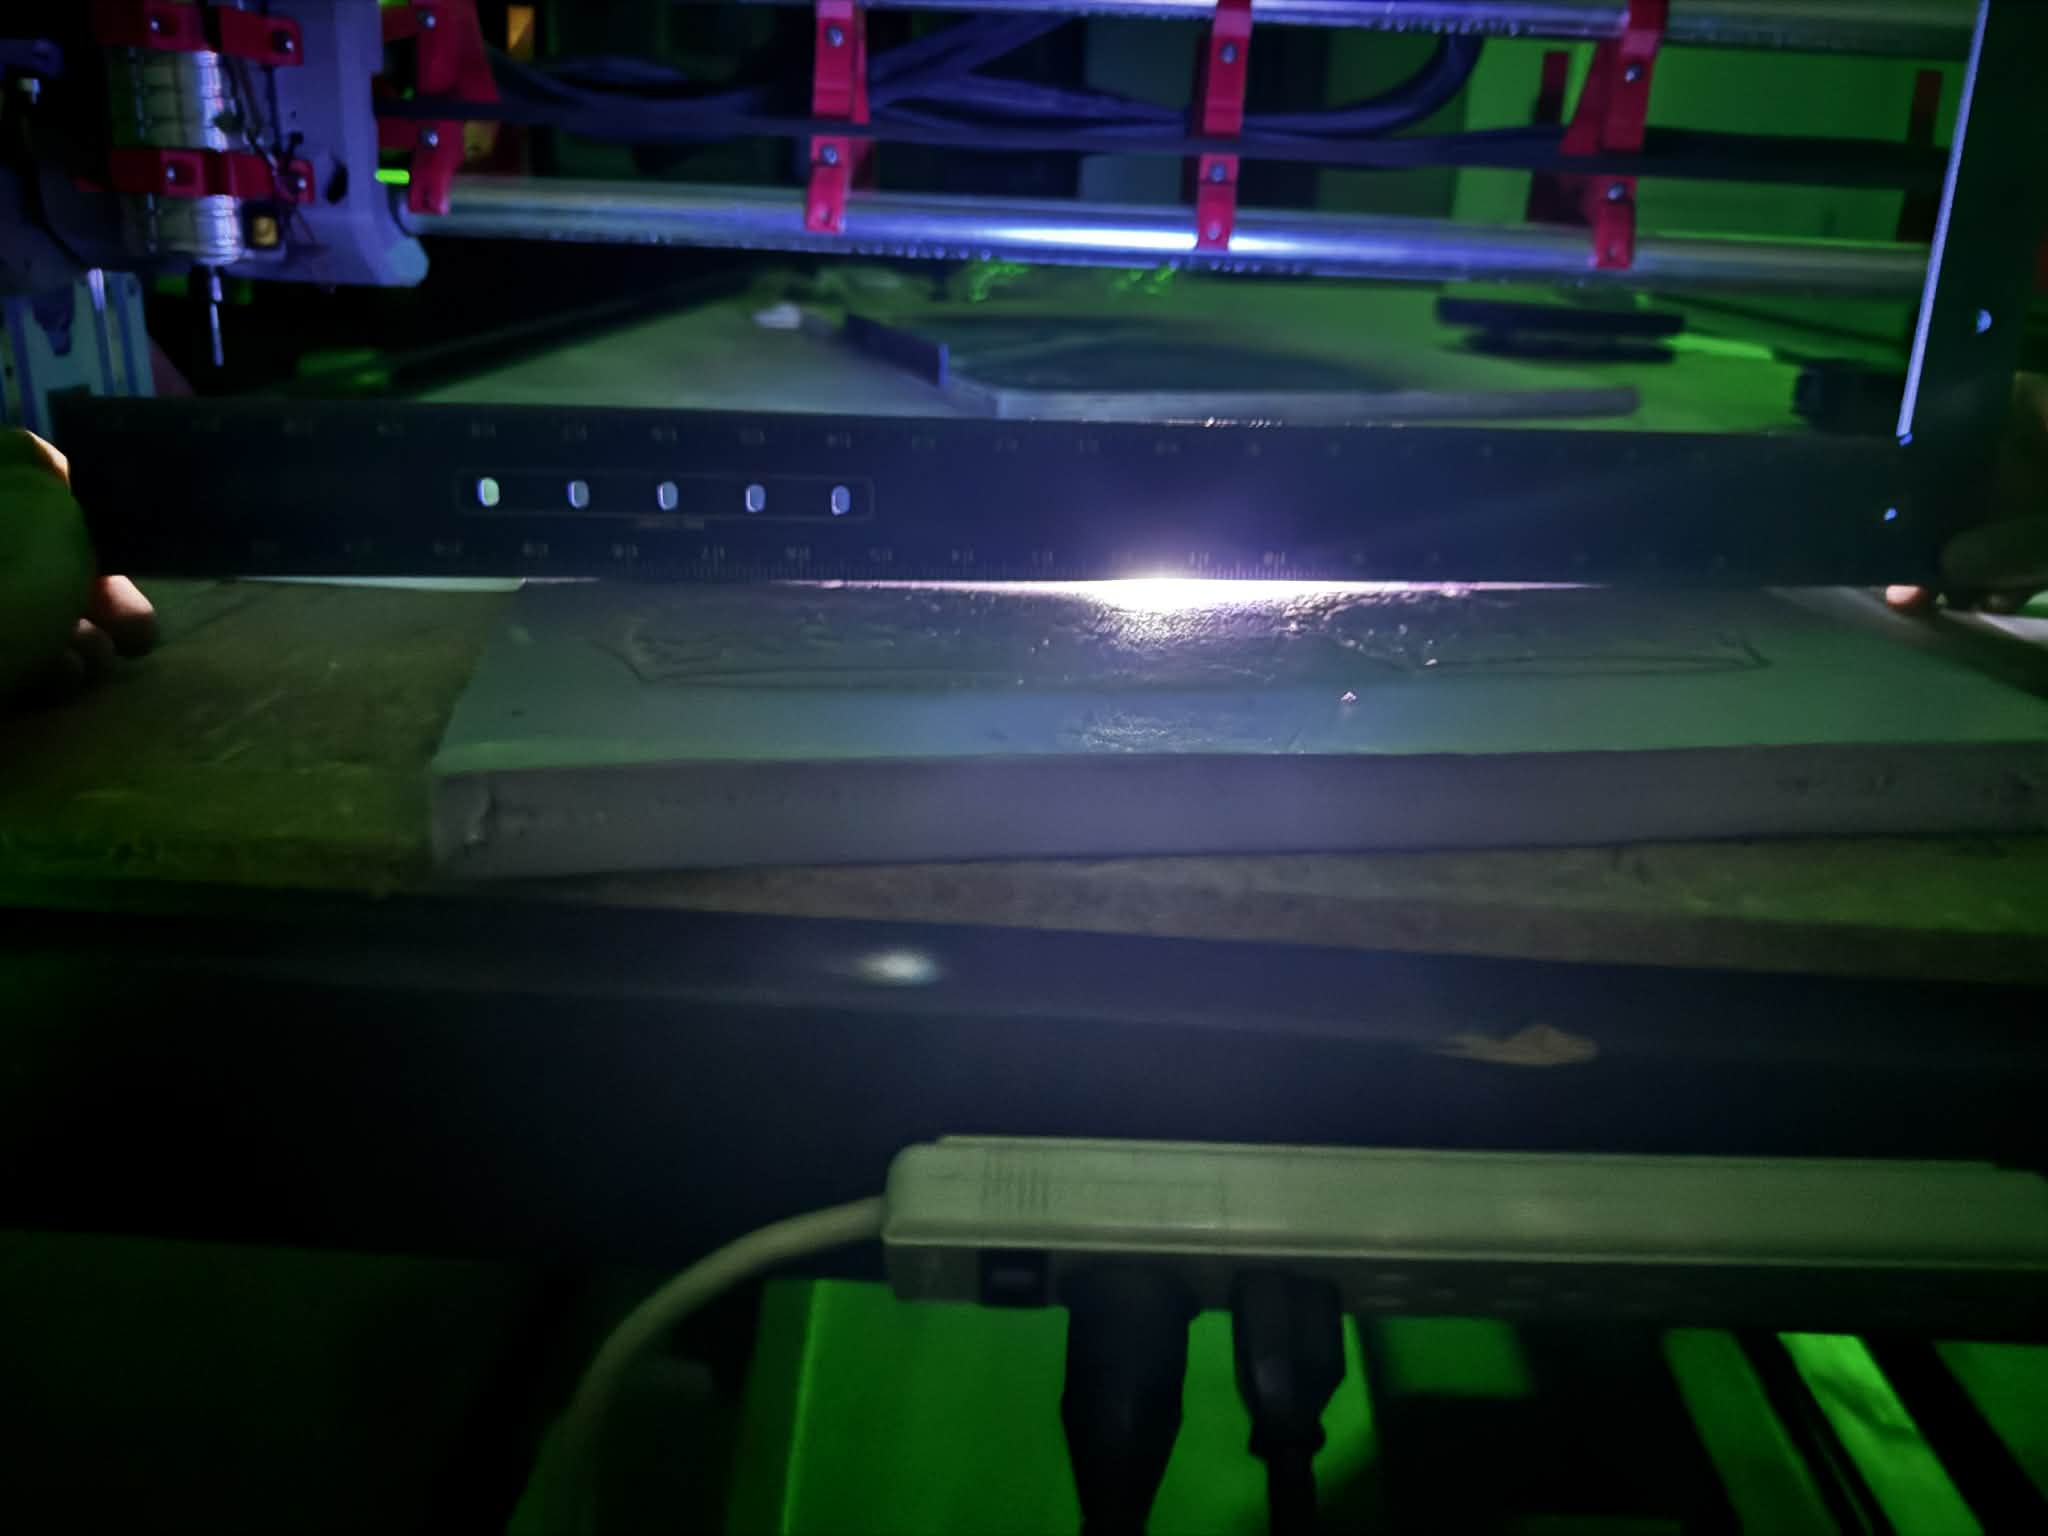
Also - have you got a long straight edge to check flatness of the spoil board? A spirit level is good - ignore the bubble as we don’t care about level, just flat (level only matters relative to the gantry) you’re looking for any gaps between the bottom of the level and the board. Repeat at various spots and angles to identify the problem areas.
That’s the method I used to discern my spoil board was about as flat as the pacific in a gale, anyways….
That’s what I used and found out too lol. I fixed it (or at least made it a lot better) by shimming my table top with playing cards (they don’t really compress and are a convenient 0.25 mm thick IIRC) and 3D printed shims (super clutch) of various thicknesses.
I just went out and checked both my working piece and my spoilboard (not the full board, but about 24 inches X 24 inches ish) and it seems like I have some curve to it, about a piece of paper then gap. Is there an easy way to fix the spoilboard or shall I just replace it all?