Brilliant! Keep up the great work - knowing nothing about poker, what are the circular pockets for? I thought at first you were doing some sort of magical pool table!
Those are for the cup holders. Very important to have adult beverages available at the table in poker!
2 Likes
Pity the fool that sets their drink down on your speed cloth!
1 Like
LOL. I’m too cheap to by a router table, and my only palm router is installed in the LR3, so when I needed to use a roundover bit to chamfer some parts of the poker table build, I did what any self-respecting DIY’er would do…
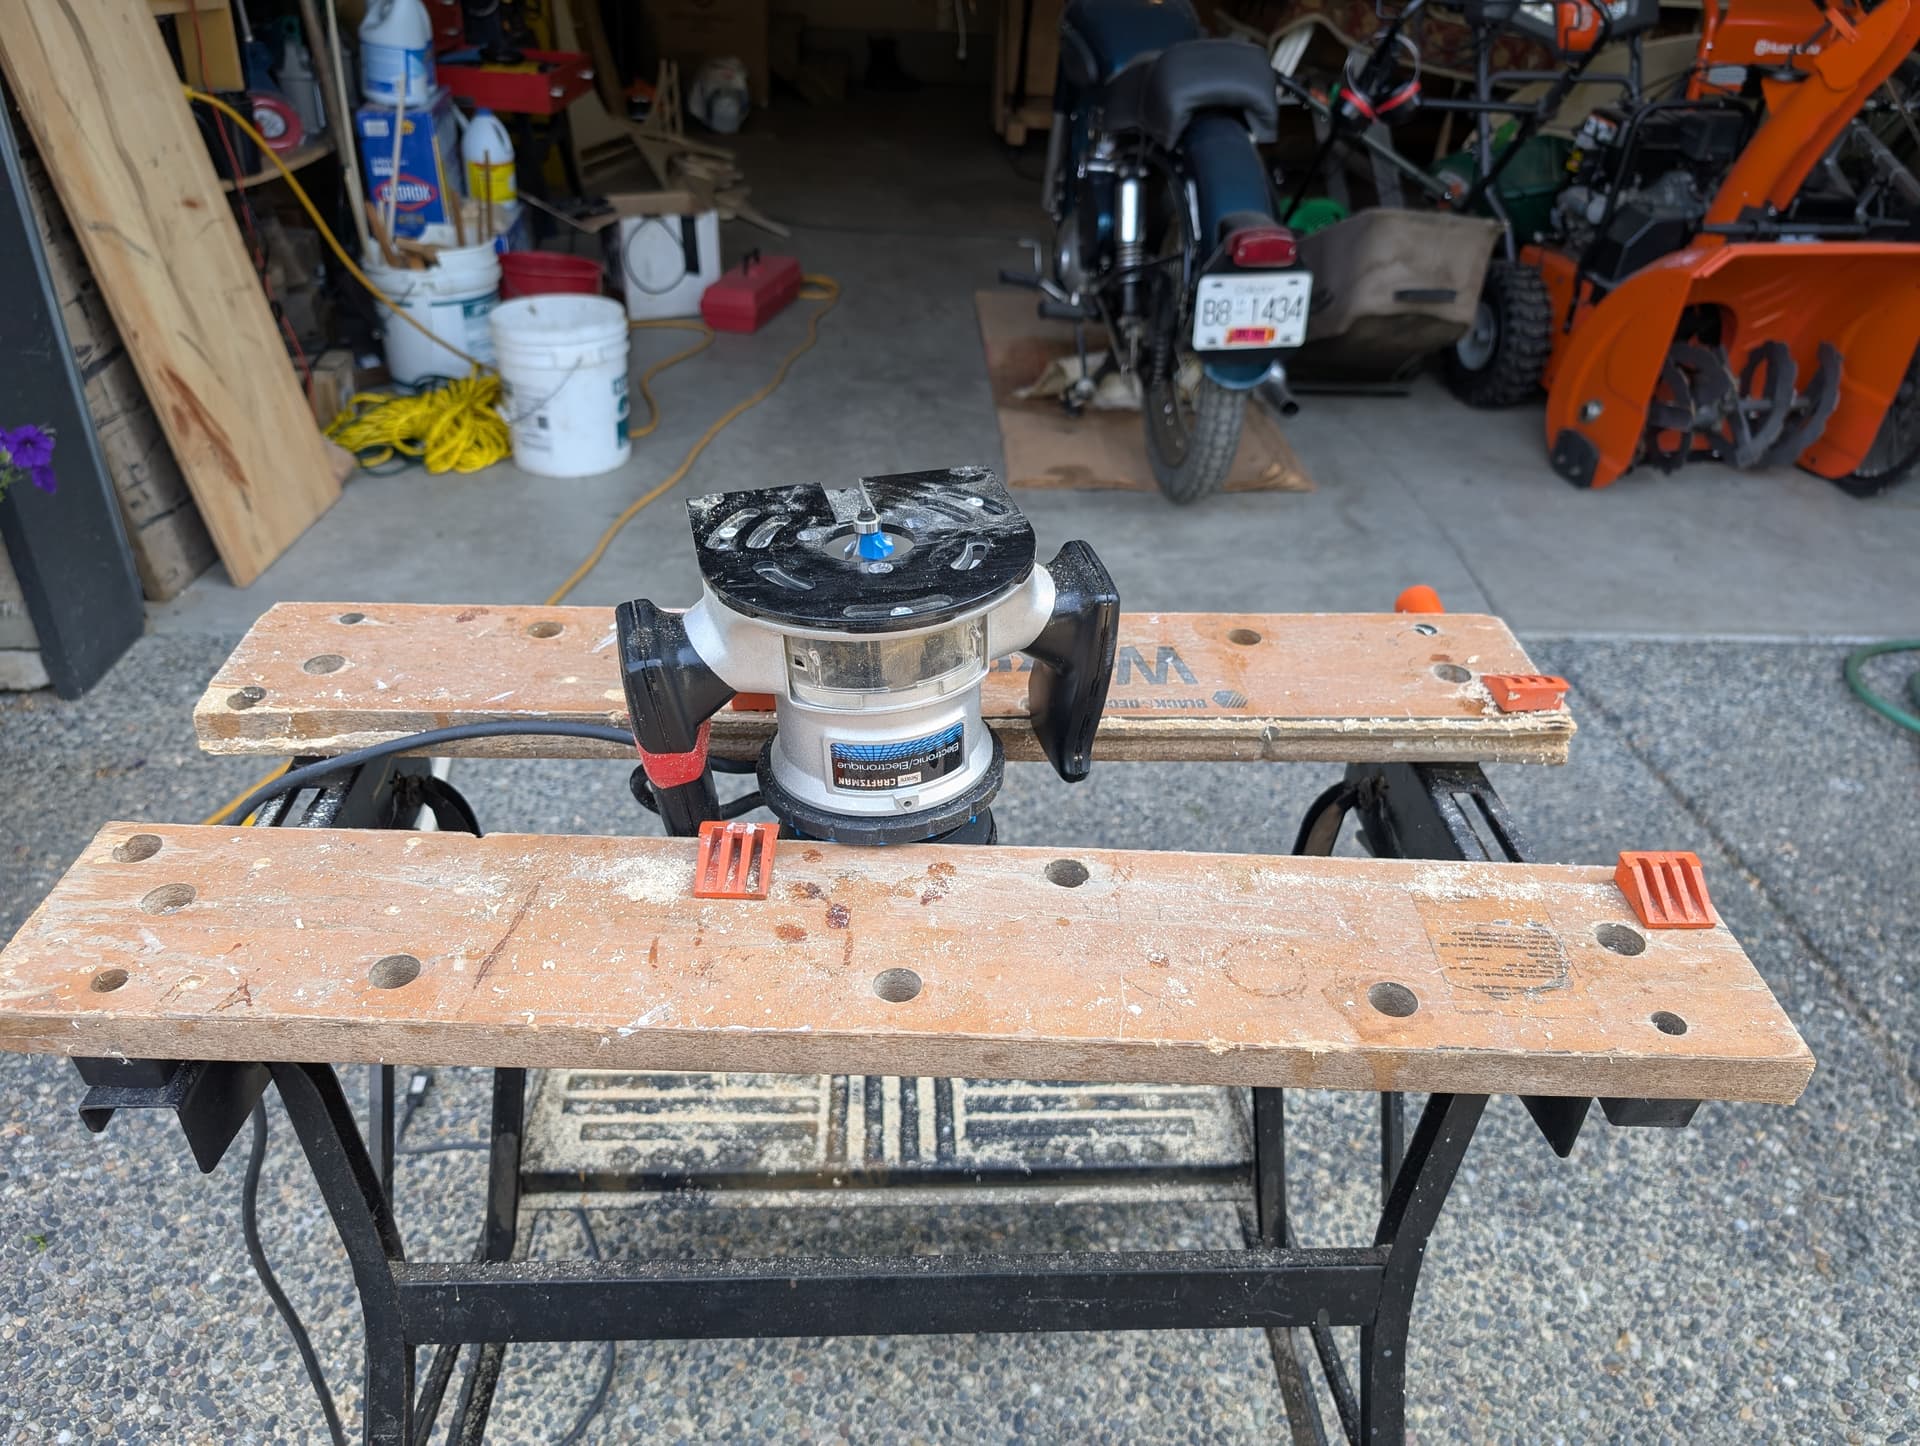
Note the red electrical tape holding the On/Off trigger switch down.
It looks sketchy as heck, but it did the job!
2 Likes
Mount that thing in your CNC table. Most of my builds have one mounted in there.
3 Likes
Pictures, or it didn’t happen!
2 Likes
Hmmm, swear the LR1 had that as a “feature”. I have not cut it into my new build yet. I just take the plastic plate off and use it as a template, counter sink the holes and slap it in. Make sure to sink the screws real deep so you don’t catch them.
1 Like
At least mount that better. That is so sketchy
3 Likes
What I built those buckle holders last time home I had the boss hold my Milwaukee palm router while I ran all kinds of parts across it. Probably better than the work make because she could have said something if she was losing her grip lol
1 Like
You’re right, I should have used duct tape!

1 Like


One of the things that I really like about my 5’ x 10’ table and side mounted belts, is that I can use the table for easy access assembling and working on the project.
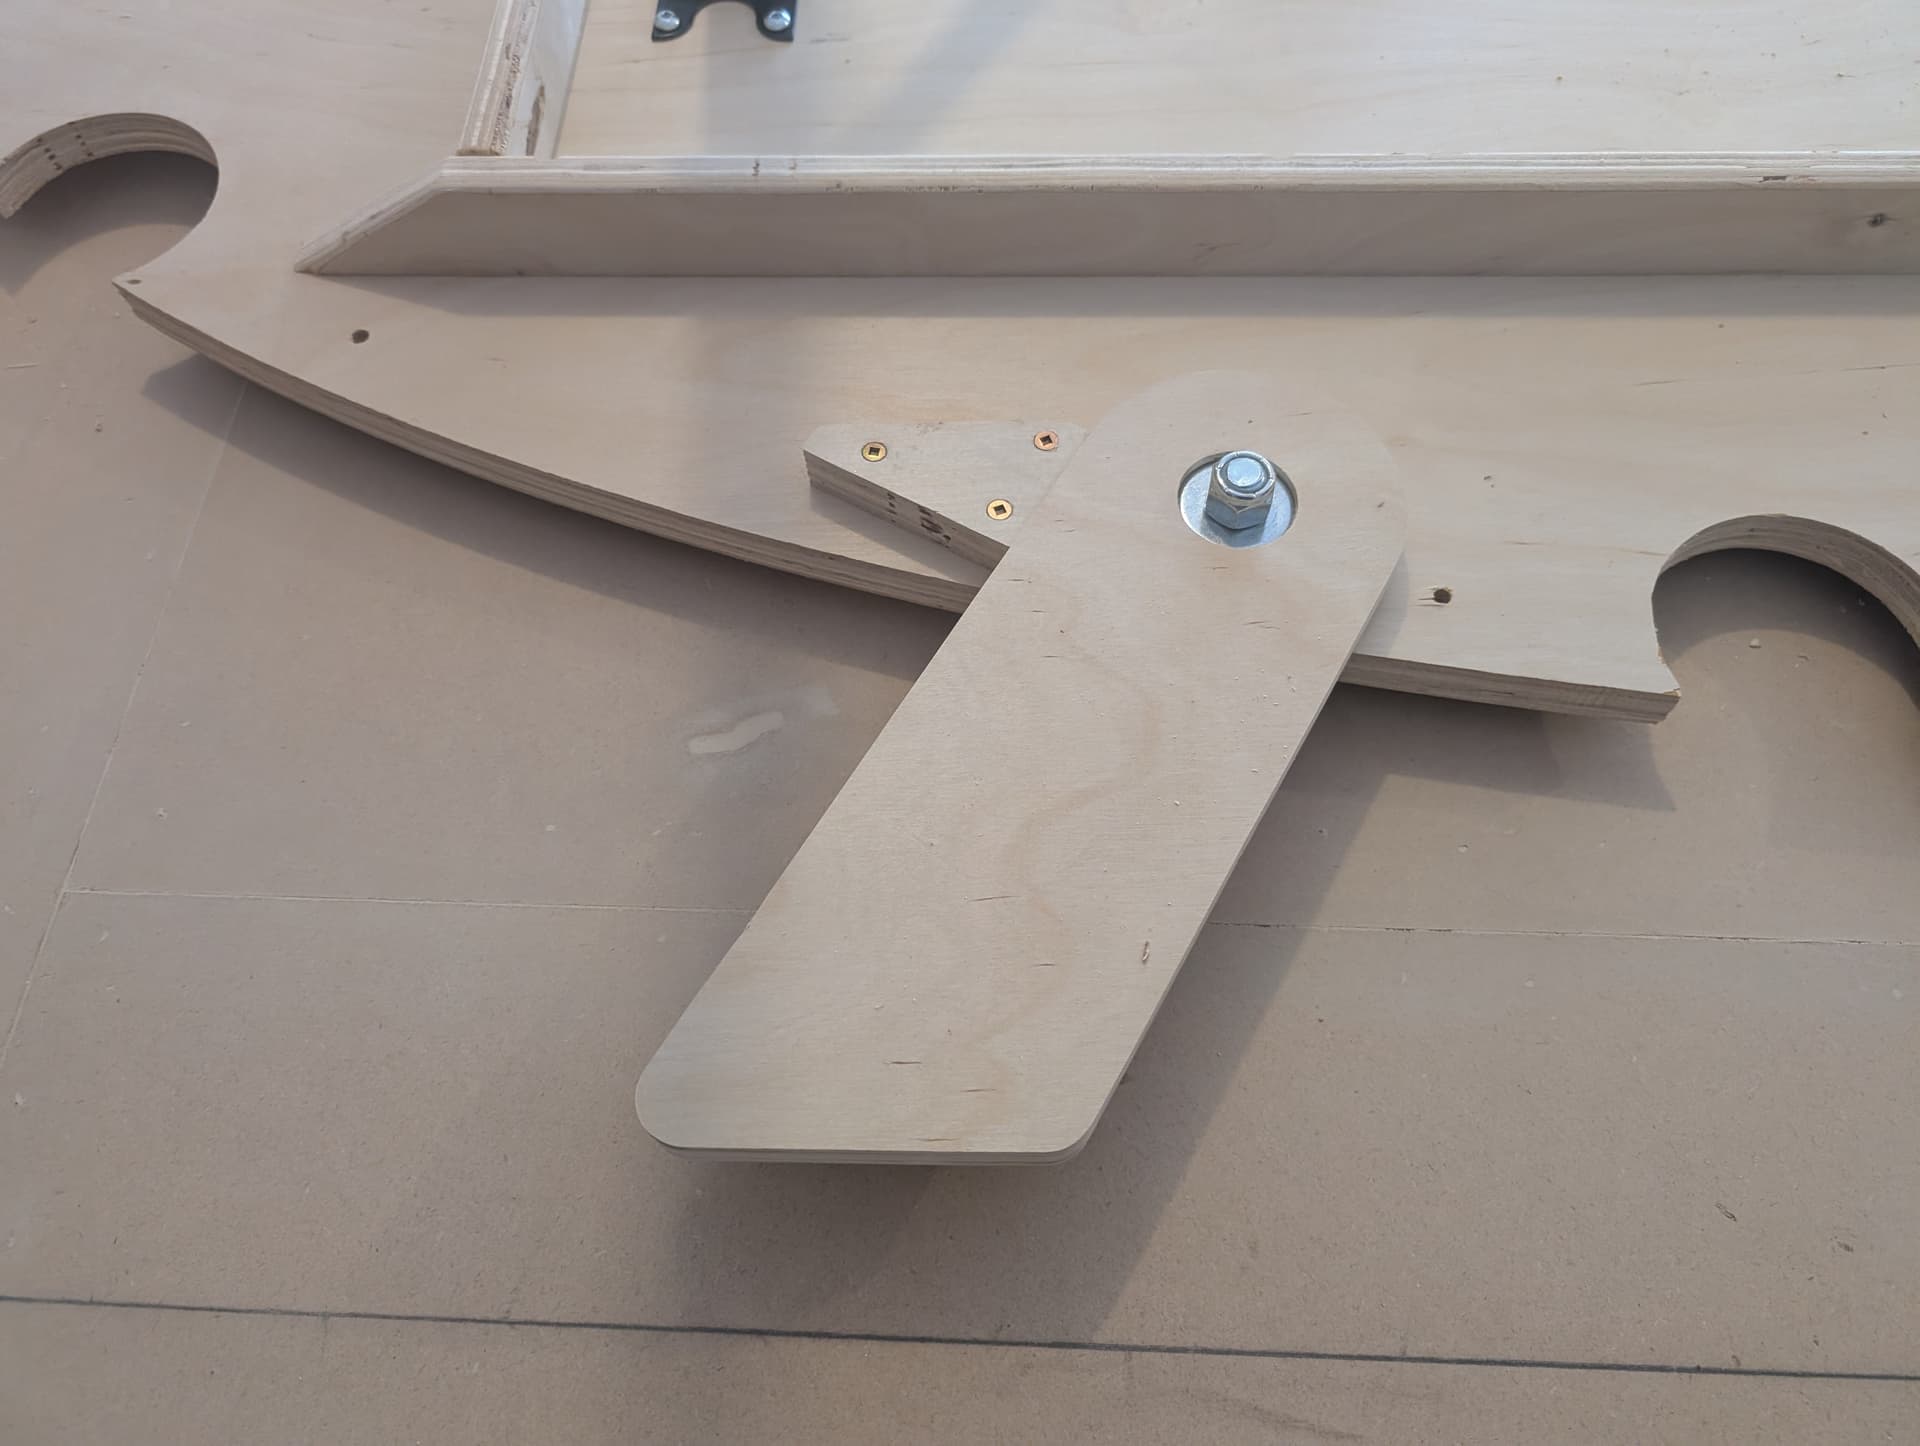
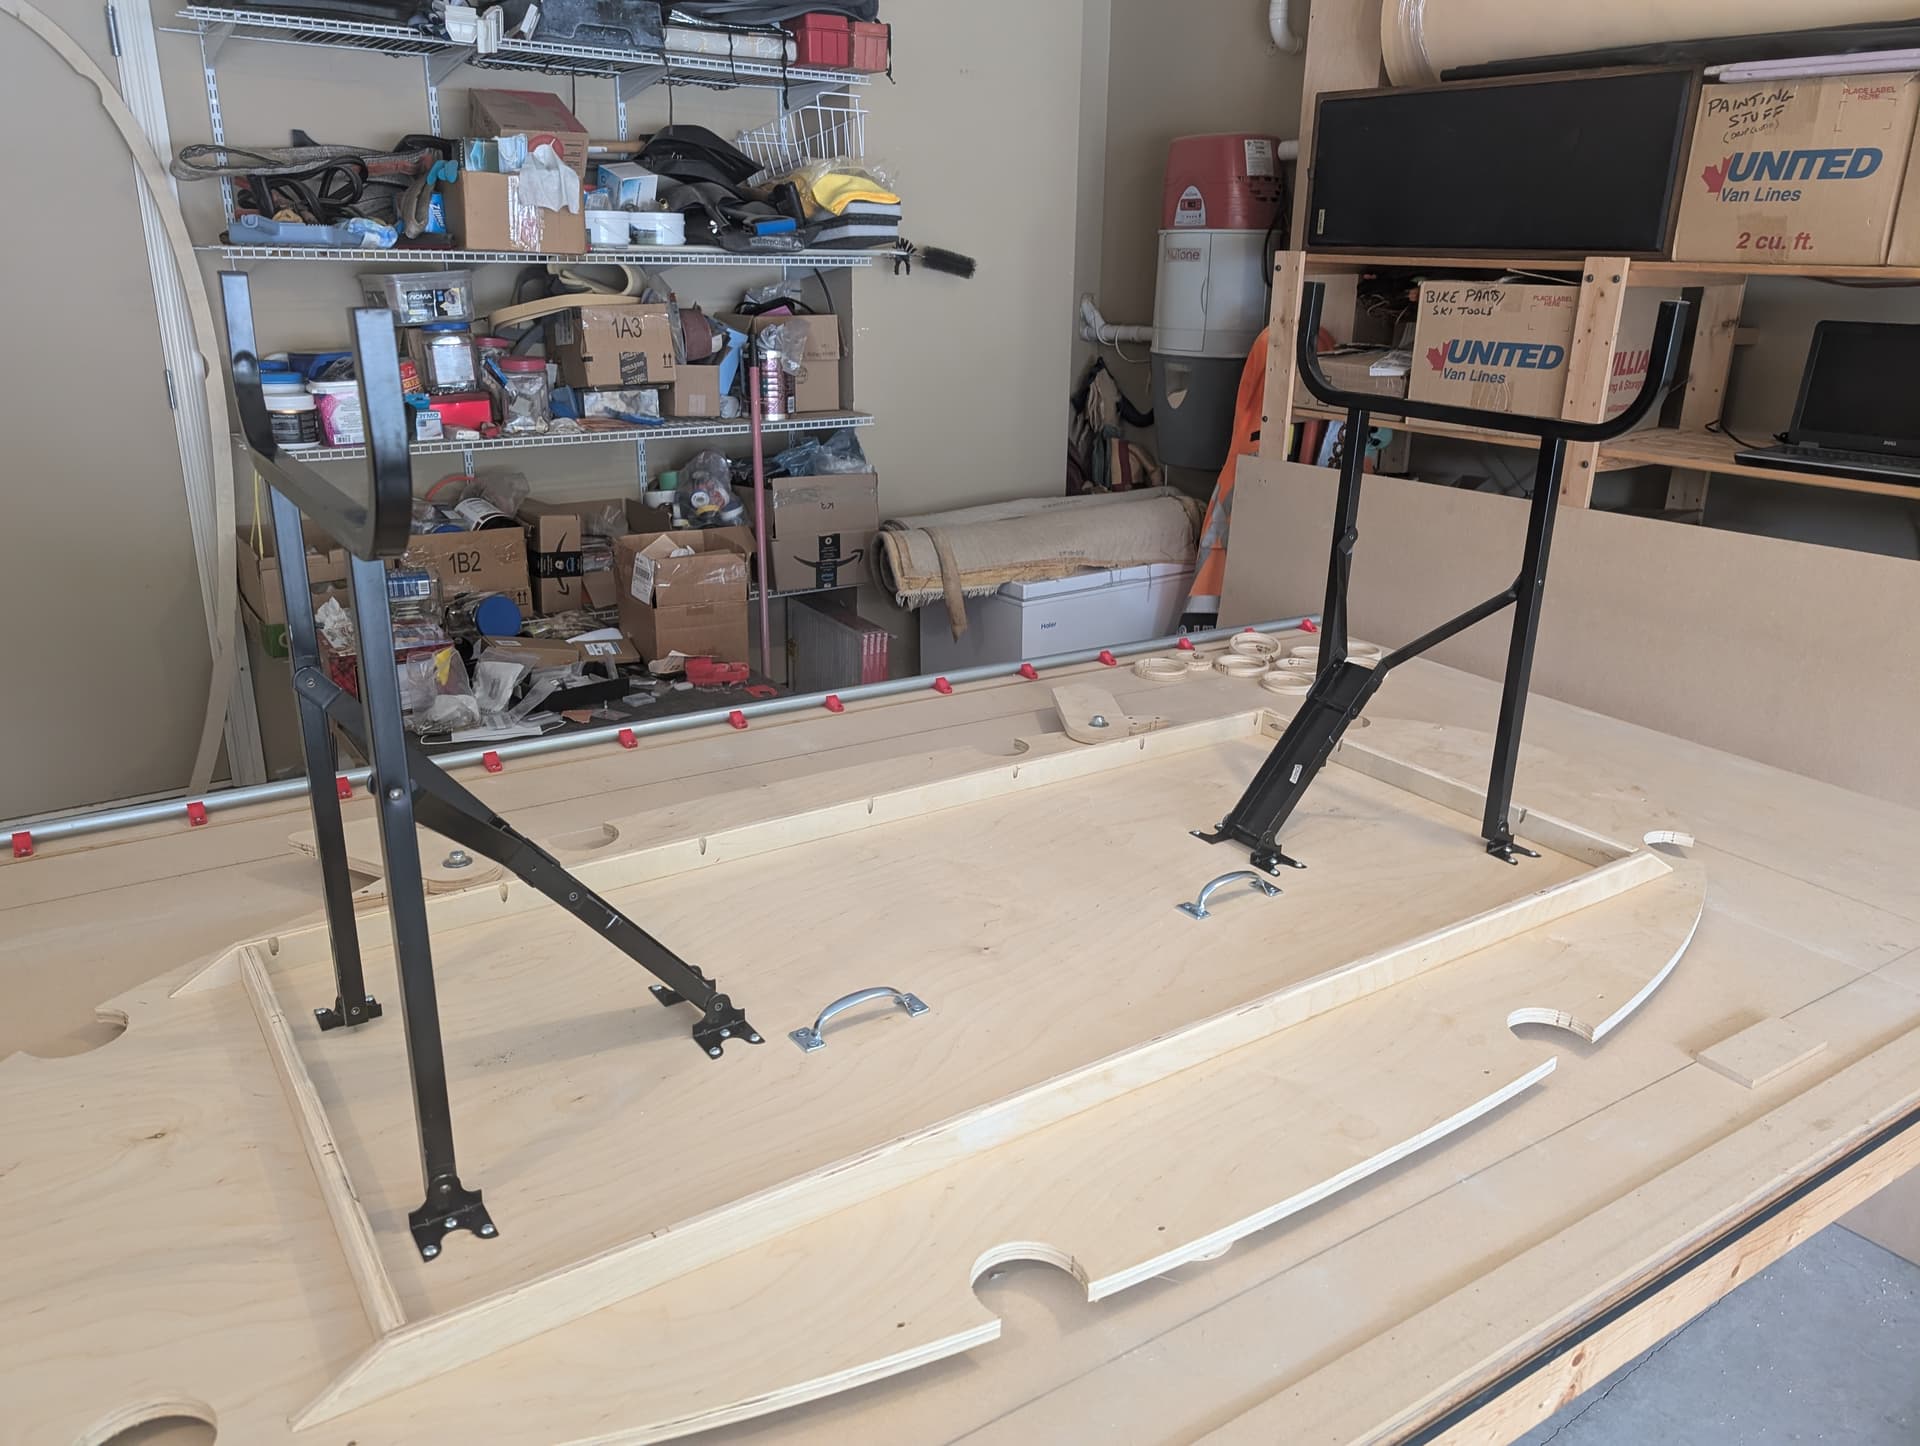
Here is the poker table with the support gussets, table legs, and “kickstands” installed
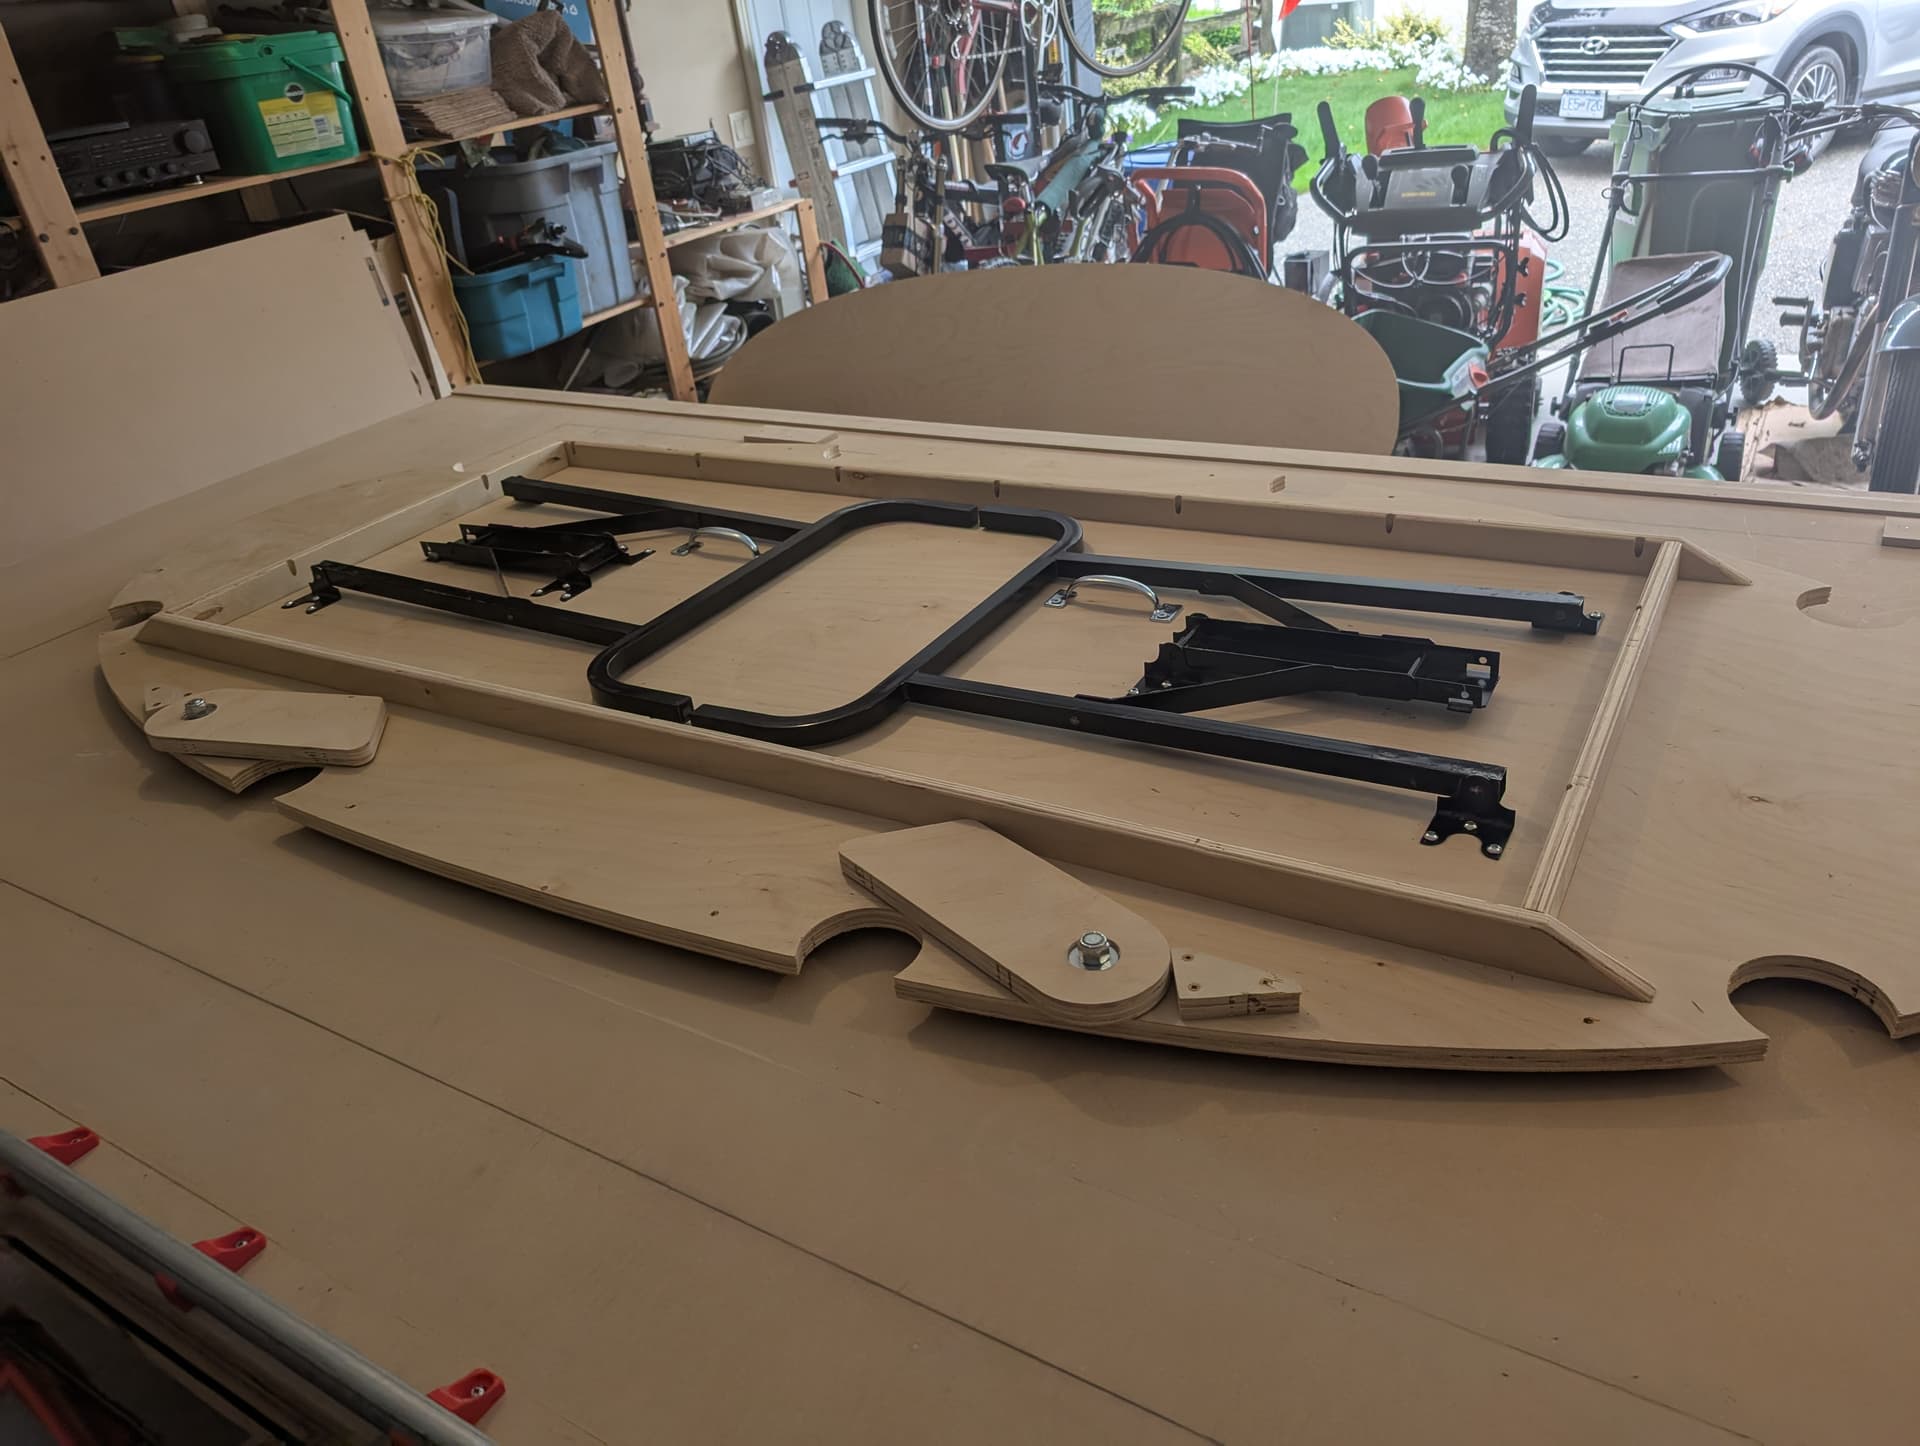
The kickstands rotate out to the side and are used as legs when the table is stored an its side.
I added some pull handles to the underside of the table to make it easier to lift and move it when it is on its side
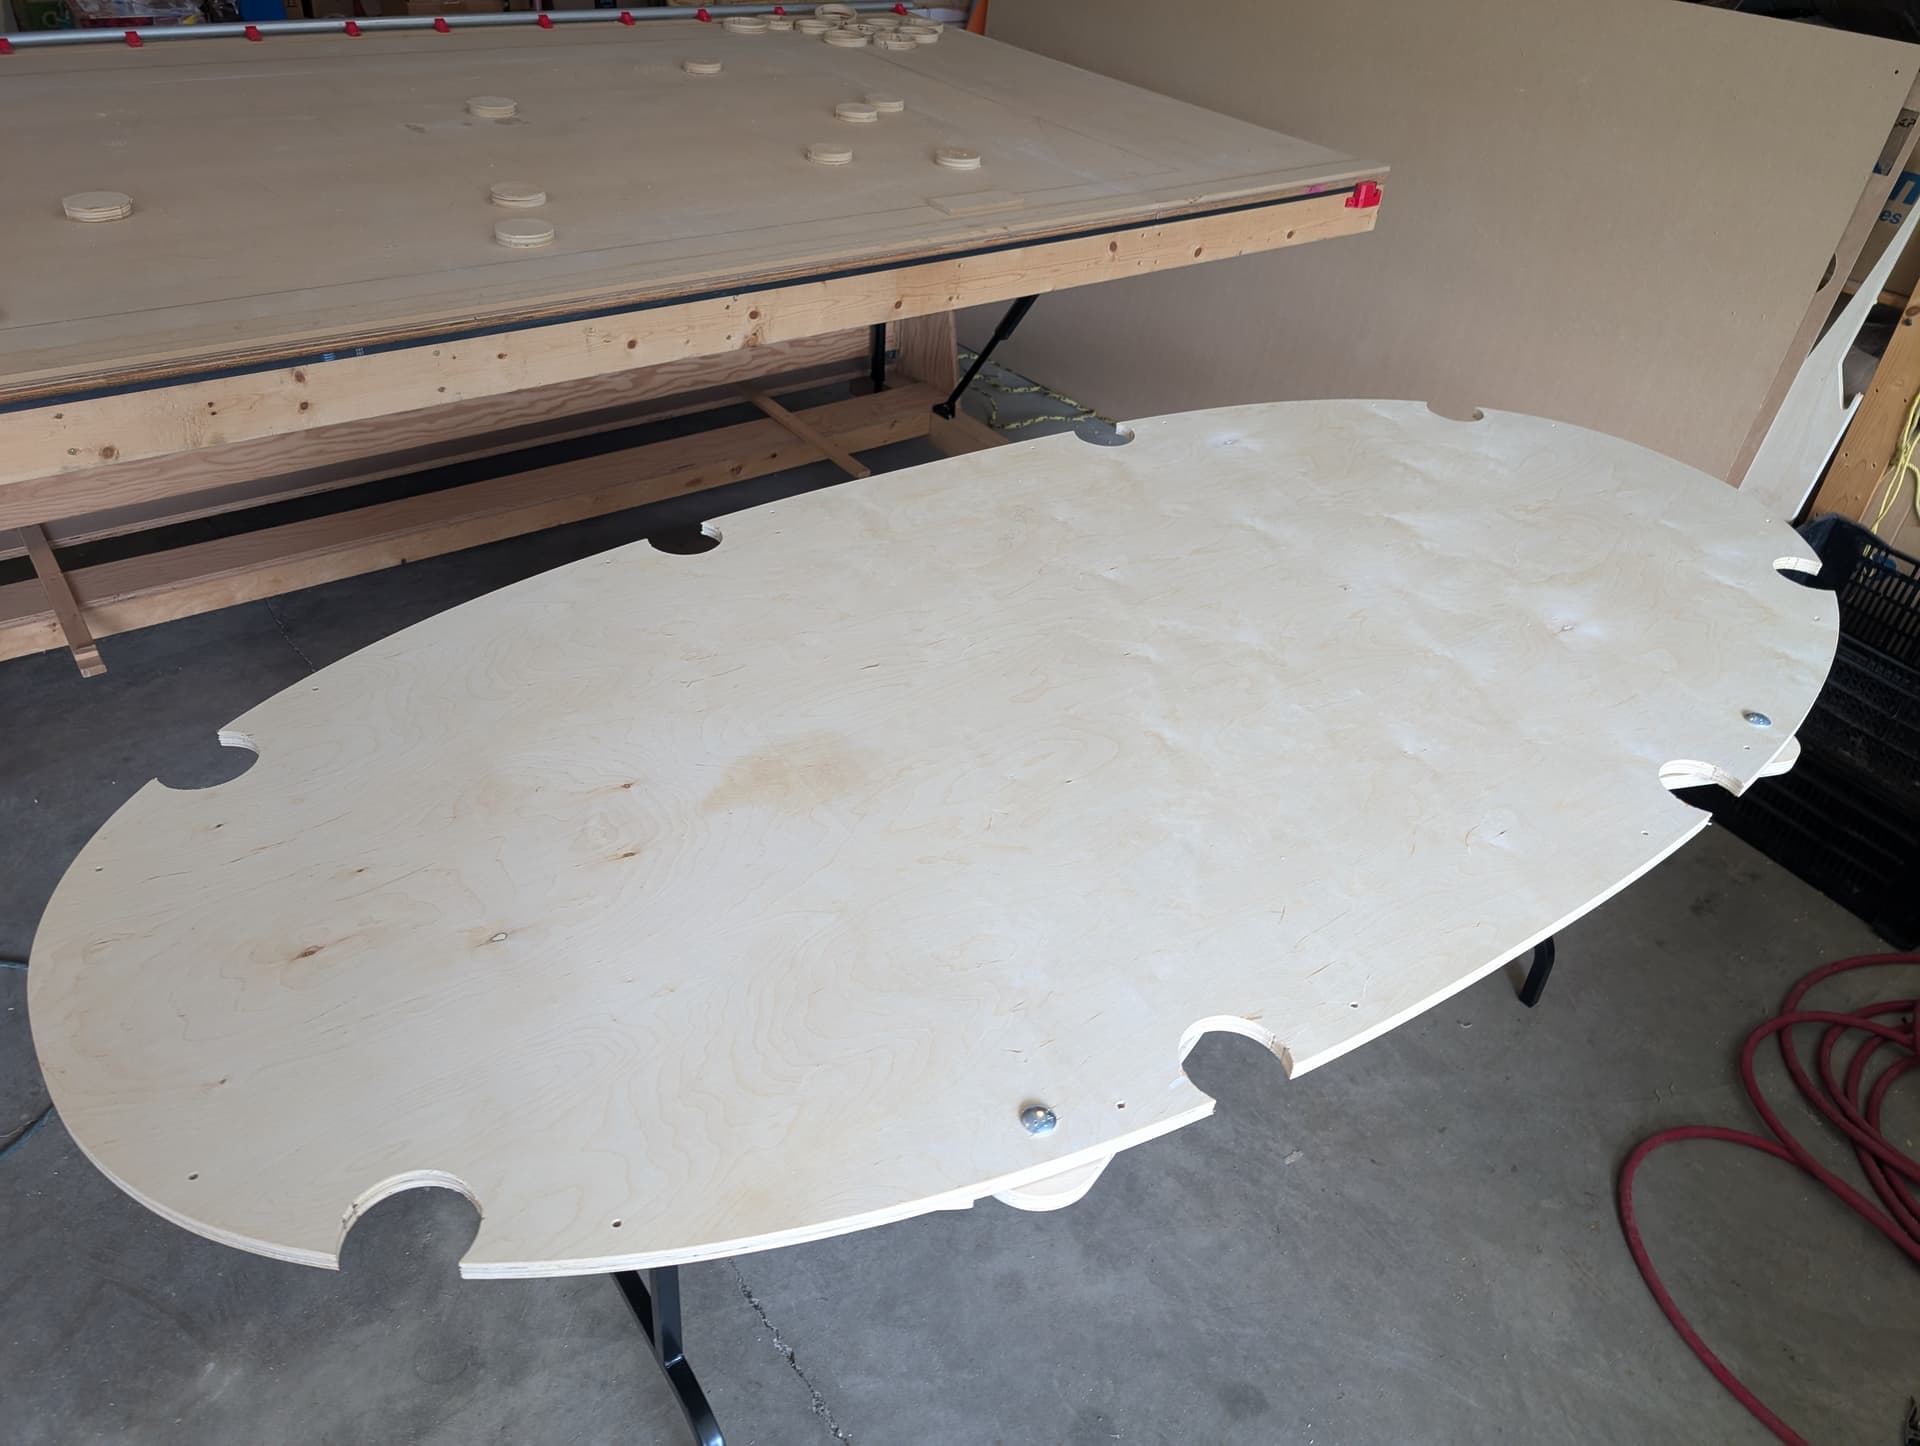
Here’s the table set up on the floor (without the rail)
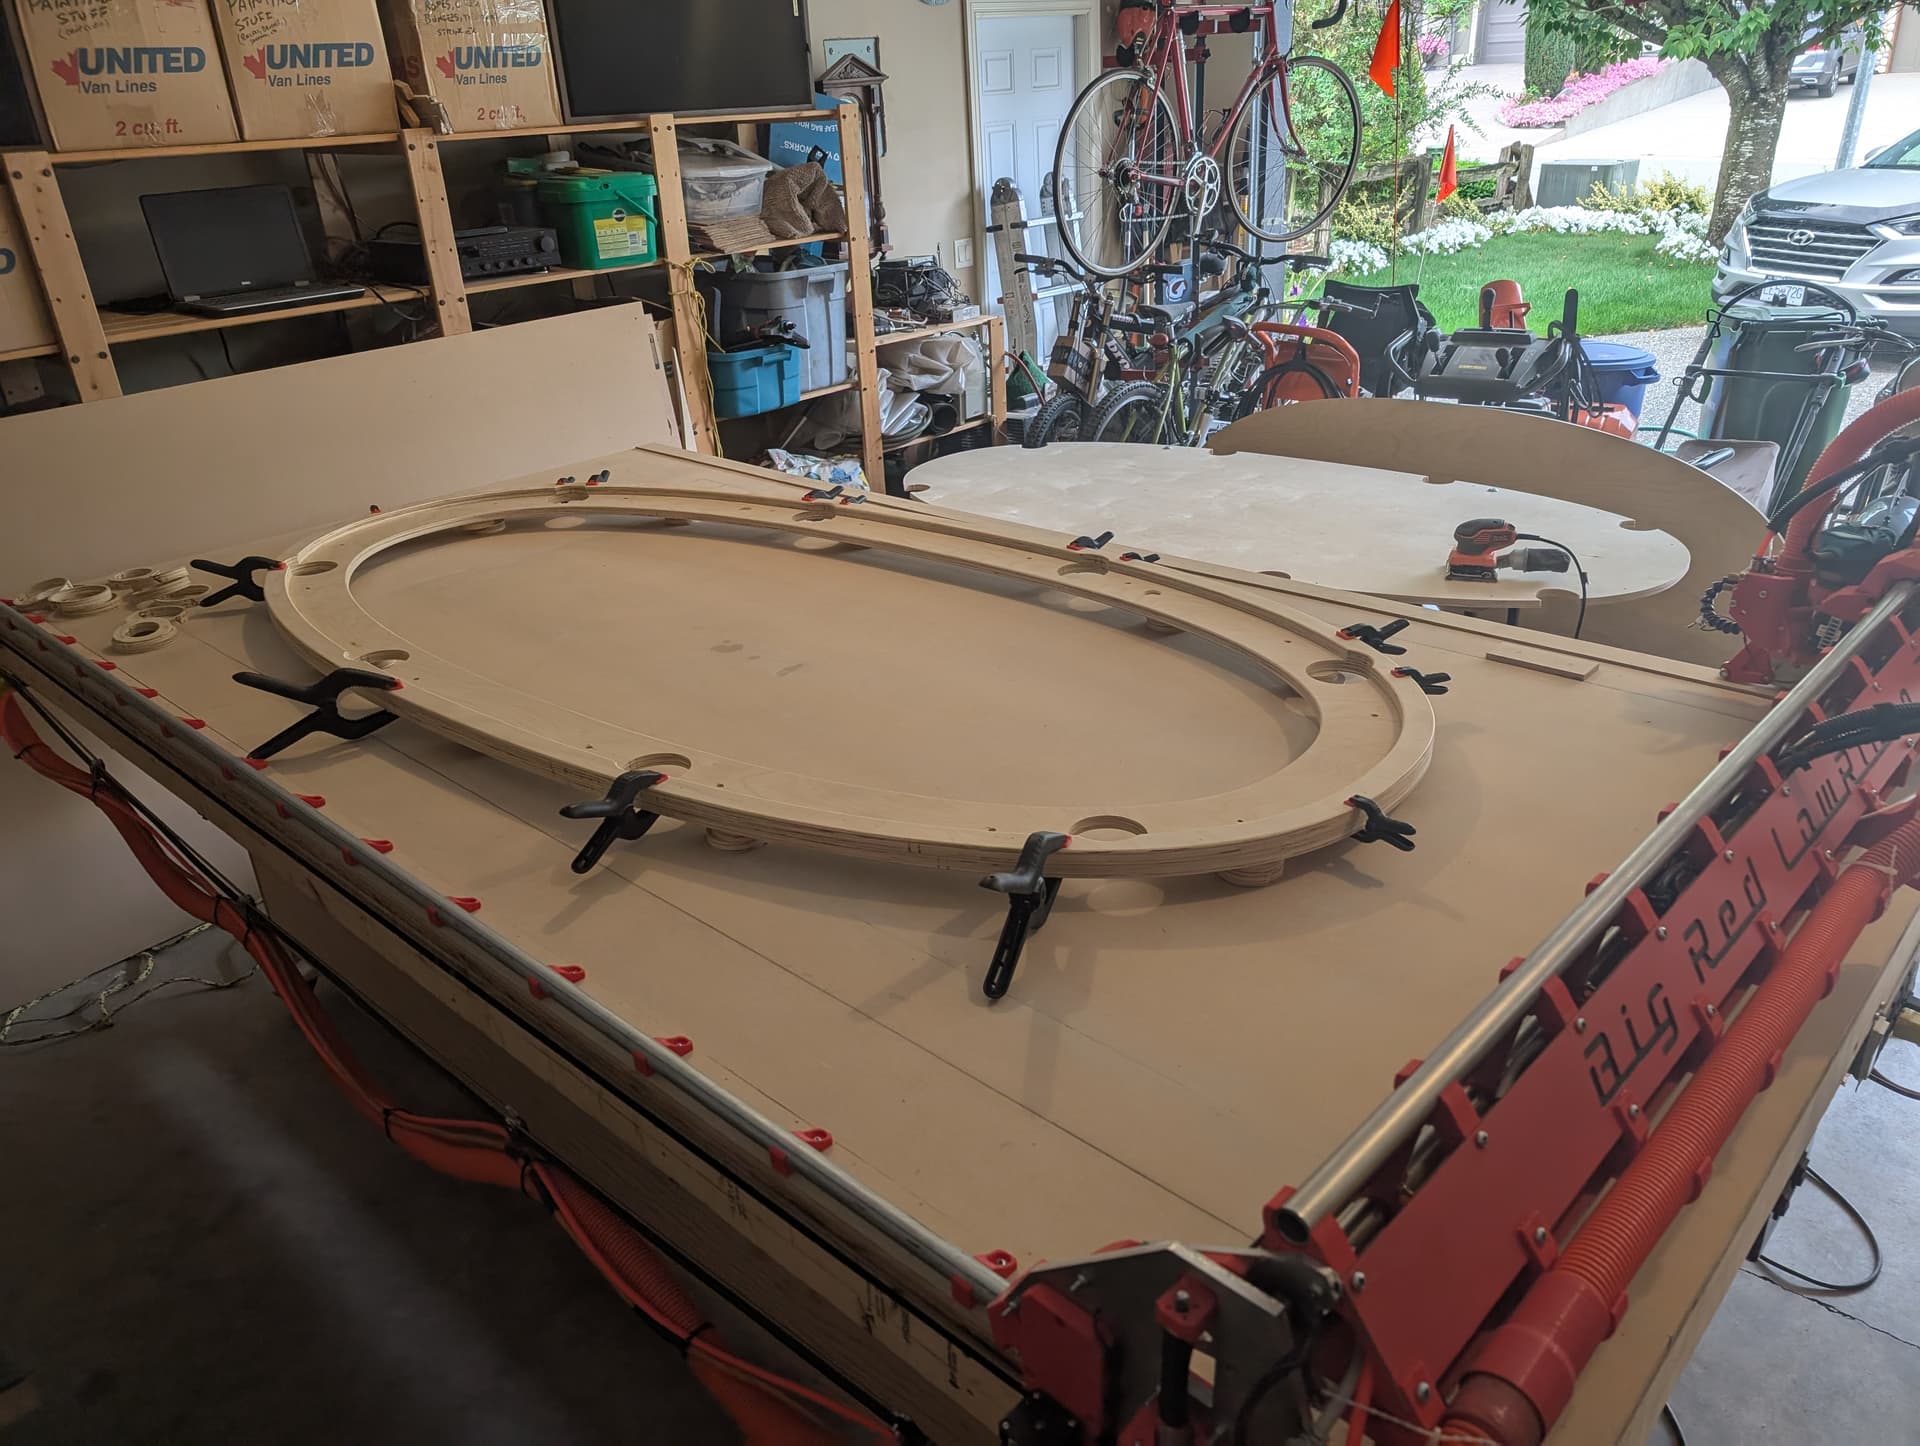
The upper and lower rail have been assembled together, just waiting for the glue to dry
And here is the table fully assembled (minus the rail foam/vinyl and the playing surface foam/felt).
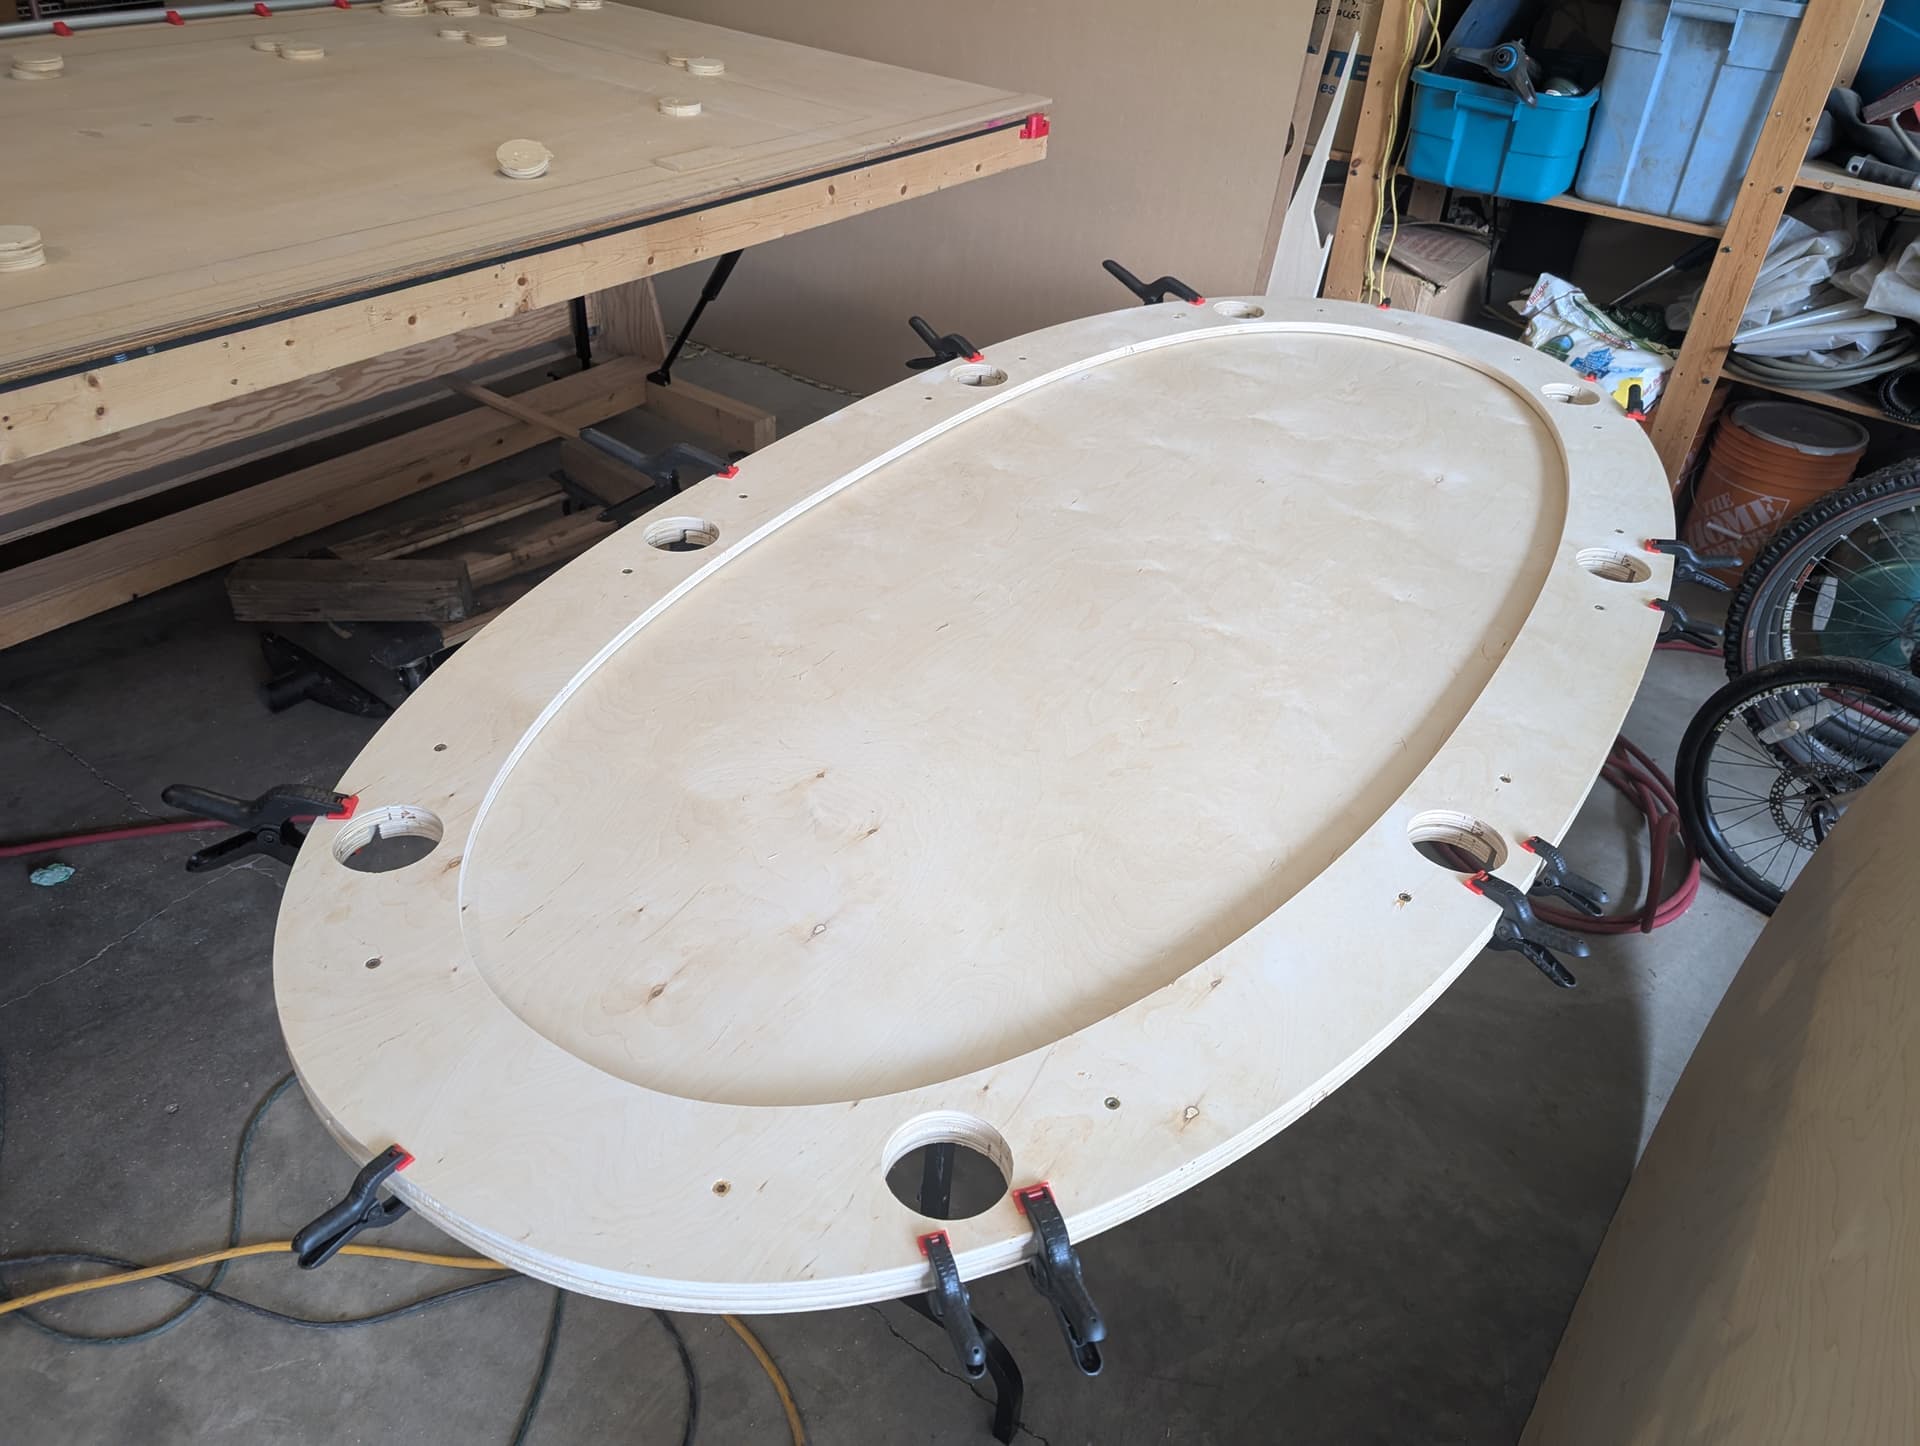
I just need to do a quick sanding of the outer rail edge once the clamps are removed, and then I can install the foam, vinyl and felt.
13 Likes
Show ![]() off
off
1 Like
Well, despite that fact that I am a cheap bastard, (or maybe because I am), I broke down and ordered the Carbide ER-11 router. $60 US (around $83 CDN) was/is a pretty good deal, and shipping to Canada was a surprisingly low $8 US. I’ll probably have to pay taxes and duties when it crosses the border, but it still seems like too good of a deal to pass up.
It was either that, or buying another roll of duct tape, and kludging together the WorkMate router stand again (see post #65).
1 Like
Man, carbide router with the er11 is such a good deal, both collets, (you can get a 6mm one also) installed brushes +2 extra pairs, and soft start. They are really quiet compared to my old DeWalt routers
2 Likes
Cool! The last few times I looked they wouldn’t ship it outside the USA.
Interesting!
This is from their Policies - Shipping page:
At checkout it showed $8 for “Standard Shipping” to Canada (much more for overnight or express courier). I’m somewhat expecting an exorbitant brokerage charge to be tacked on, along with the $10 or so GST and PST.
1 Like
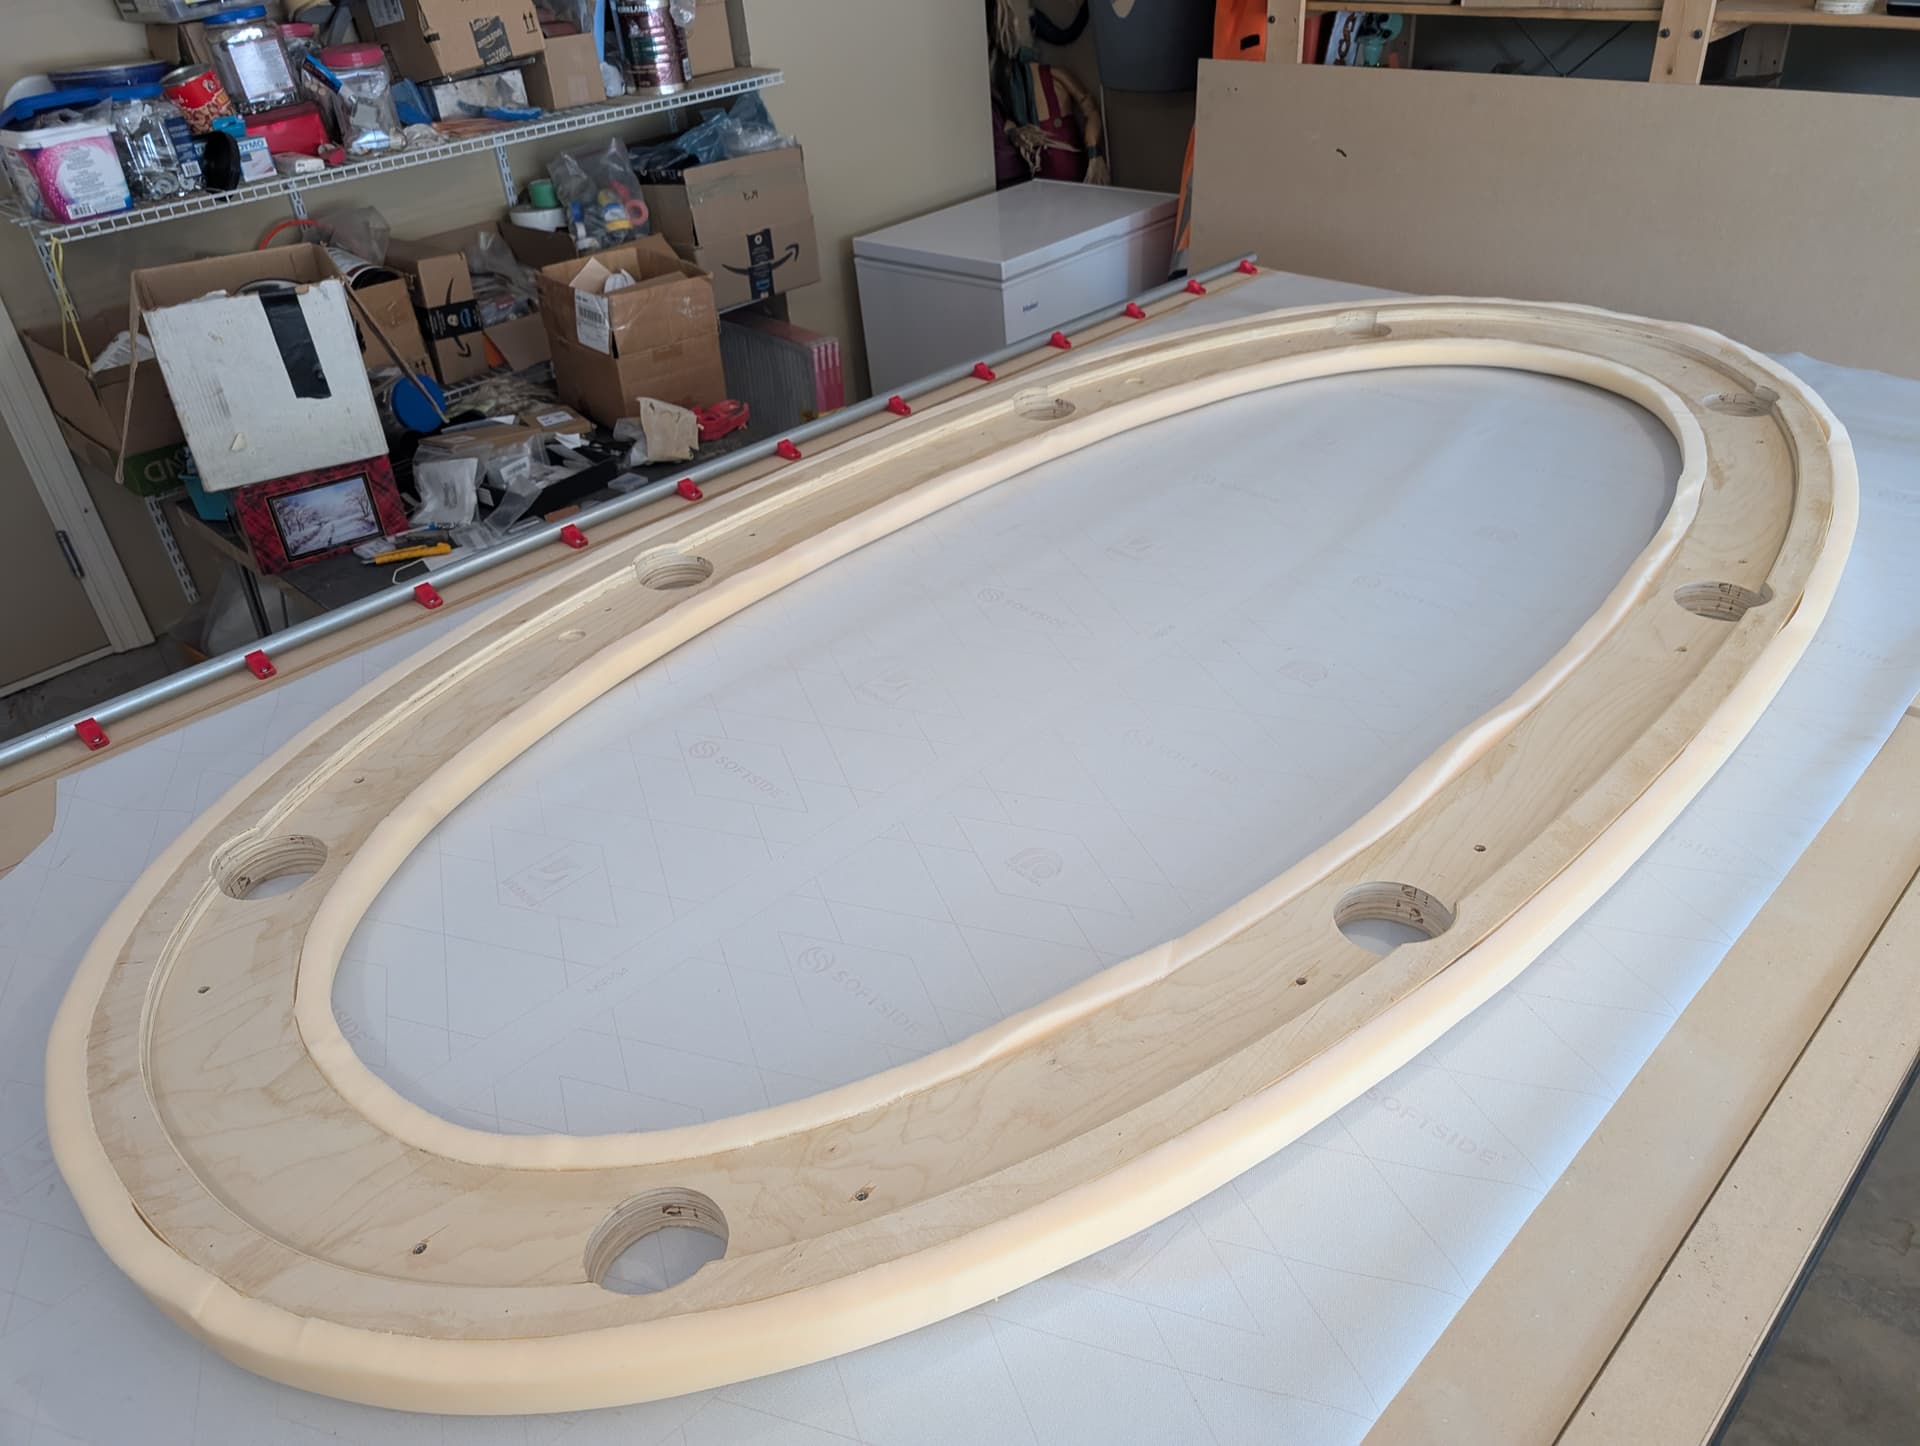
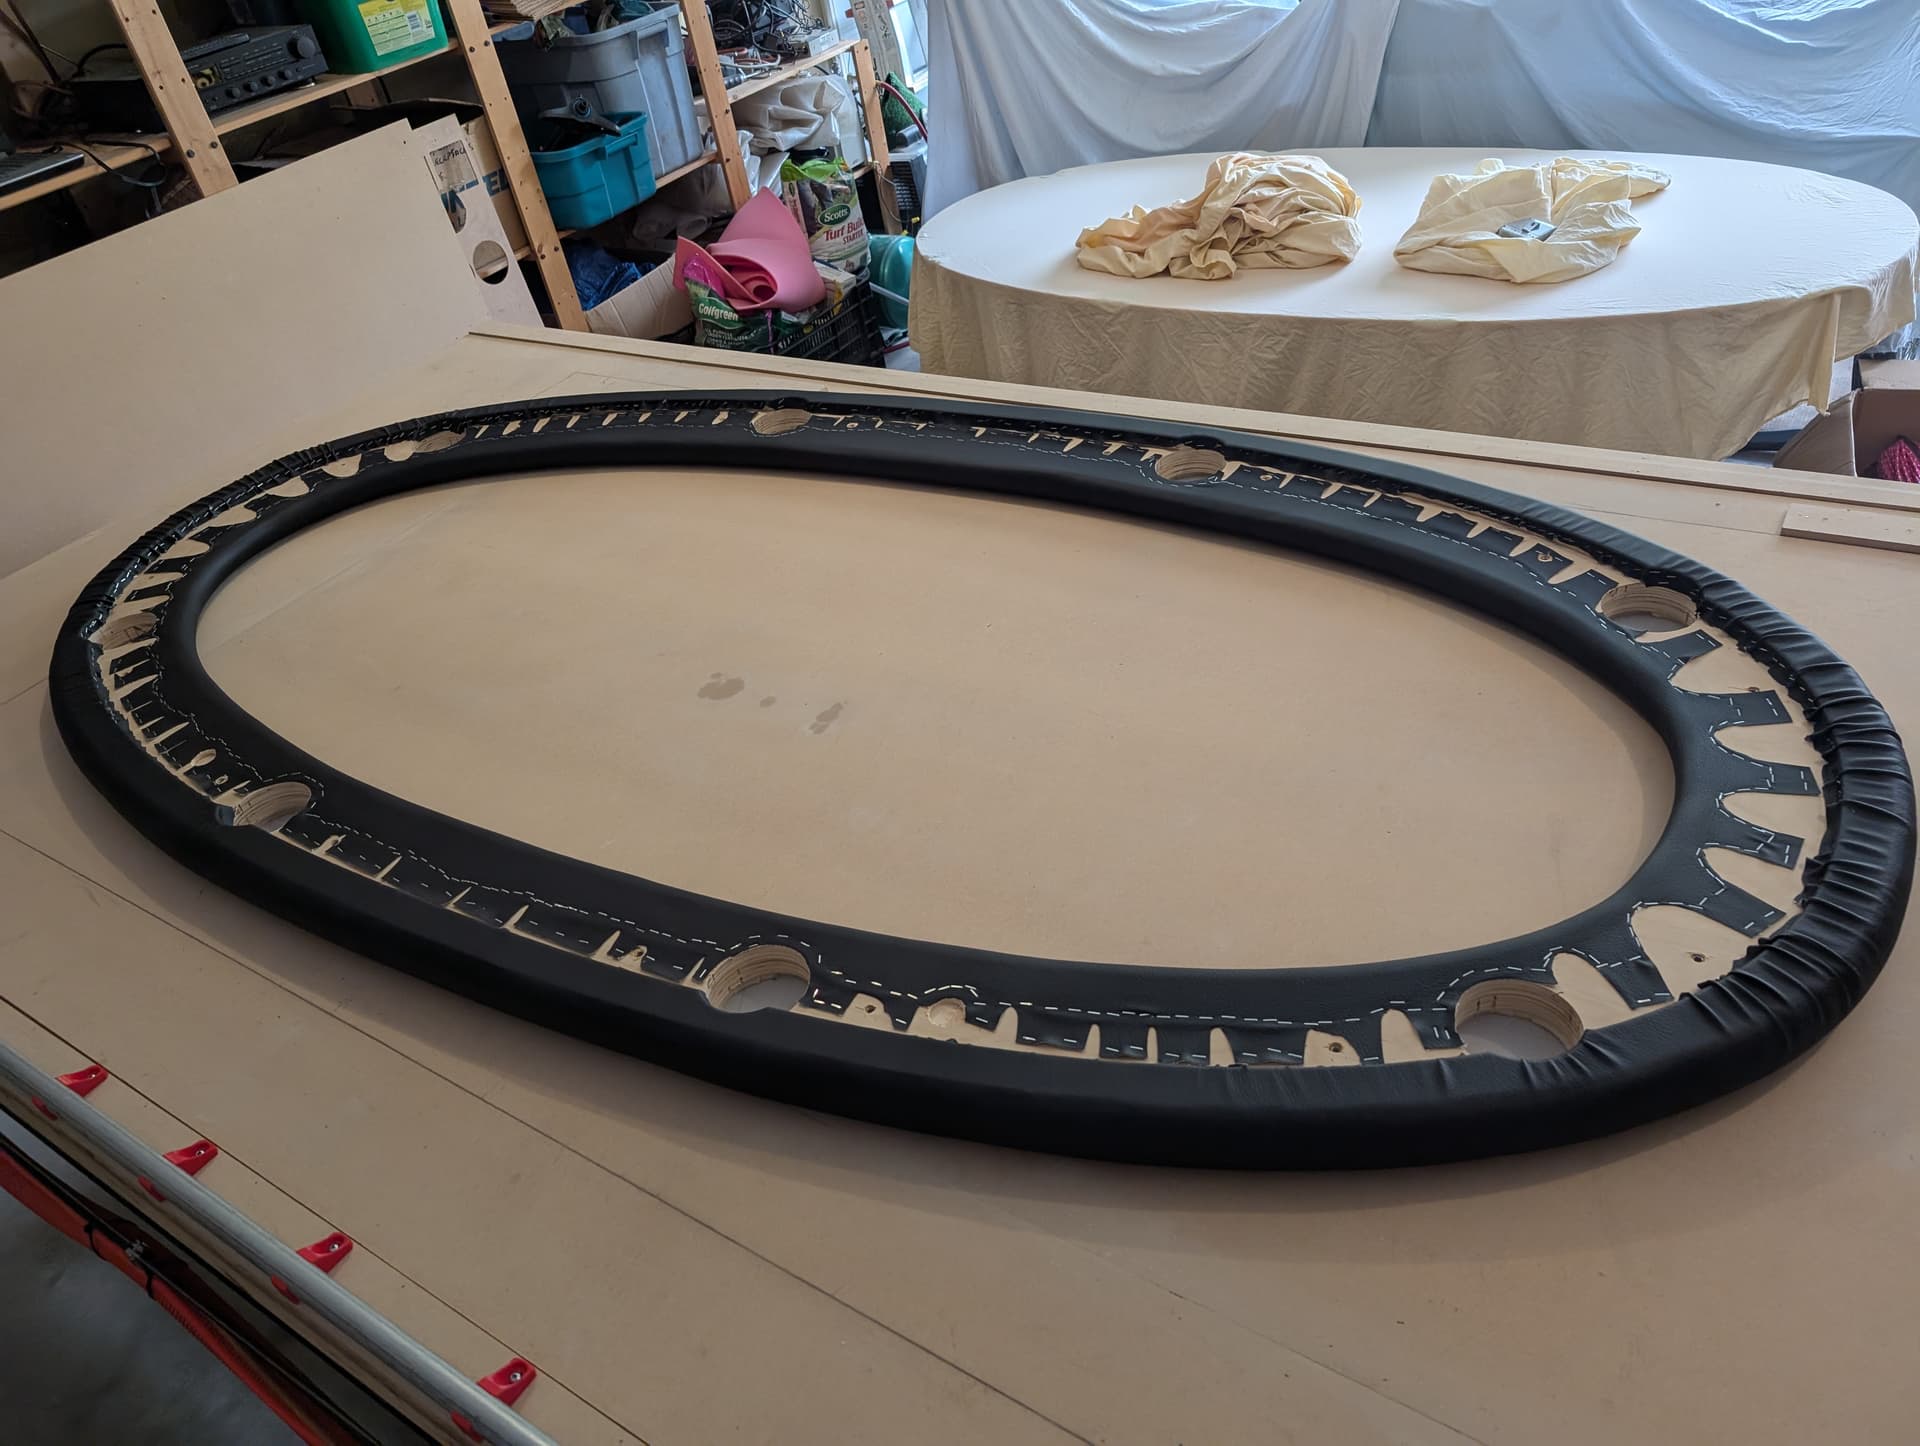
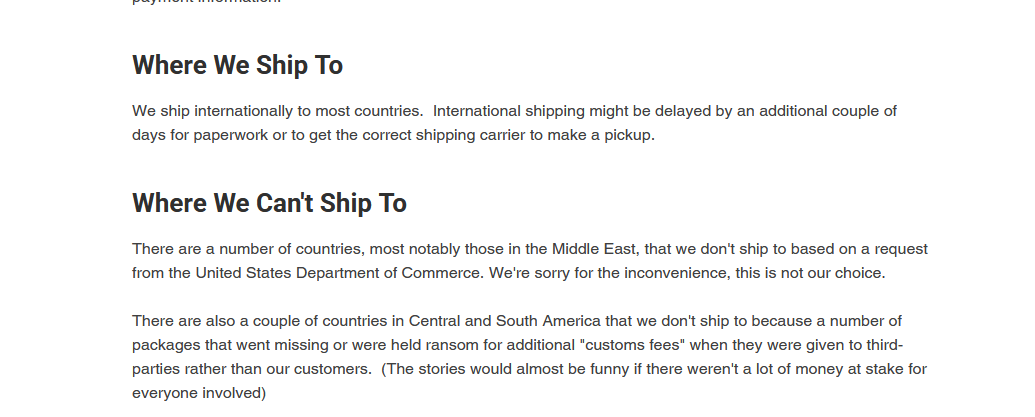
Still waiting for the cloth (felt) design to be completed and printed, but the inaugural build of my super-ellipse poker table is almost complete.
14 Likes
![]()
![]()
![]()
![]()
![]()
![]()
You have to post complete sentences. I’m surprised I ever got a post to go through before.
Absolutely fantastic table!!!
2 Likes
Yeah, saw that… originally they had “only to US” on the listing for that item.
I eagerly await to hear what carrier (and service level) they send it to you when using the $8 standard shipping option. I’m guessing either USPS or FedEx. DigiKey does FedEx Overnight for $8. Or ultimately, I guess, what you end up getting dinged for… if it comes via USPS I’d be happy to order a few and pay the $10 fee to Canada Post.