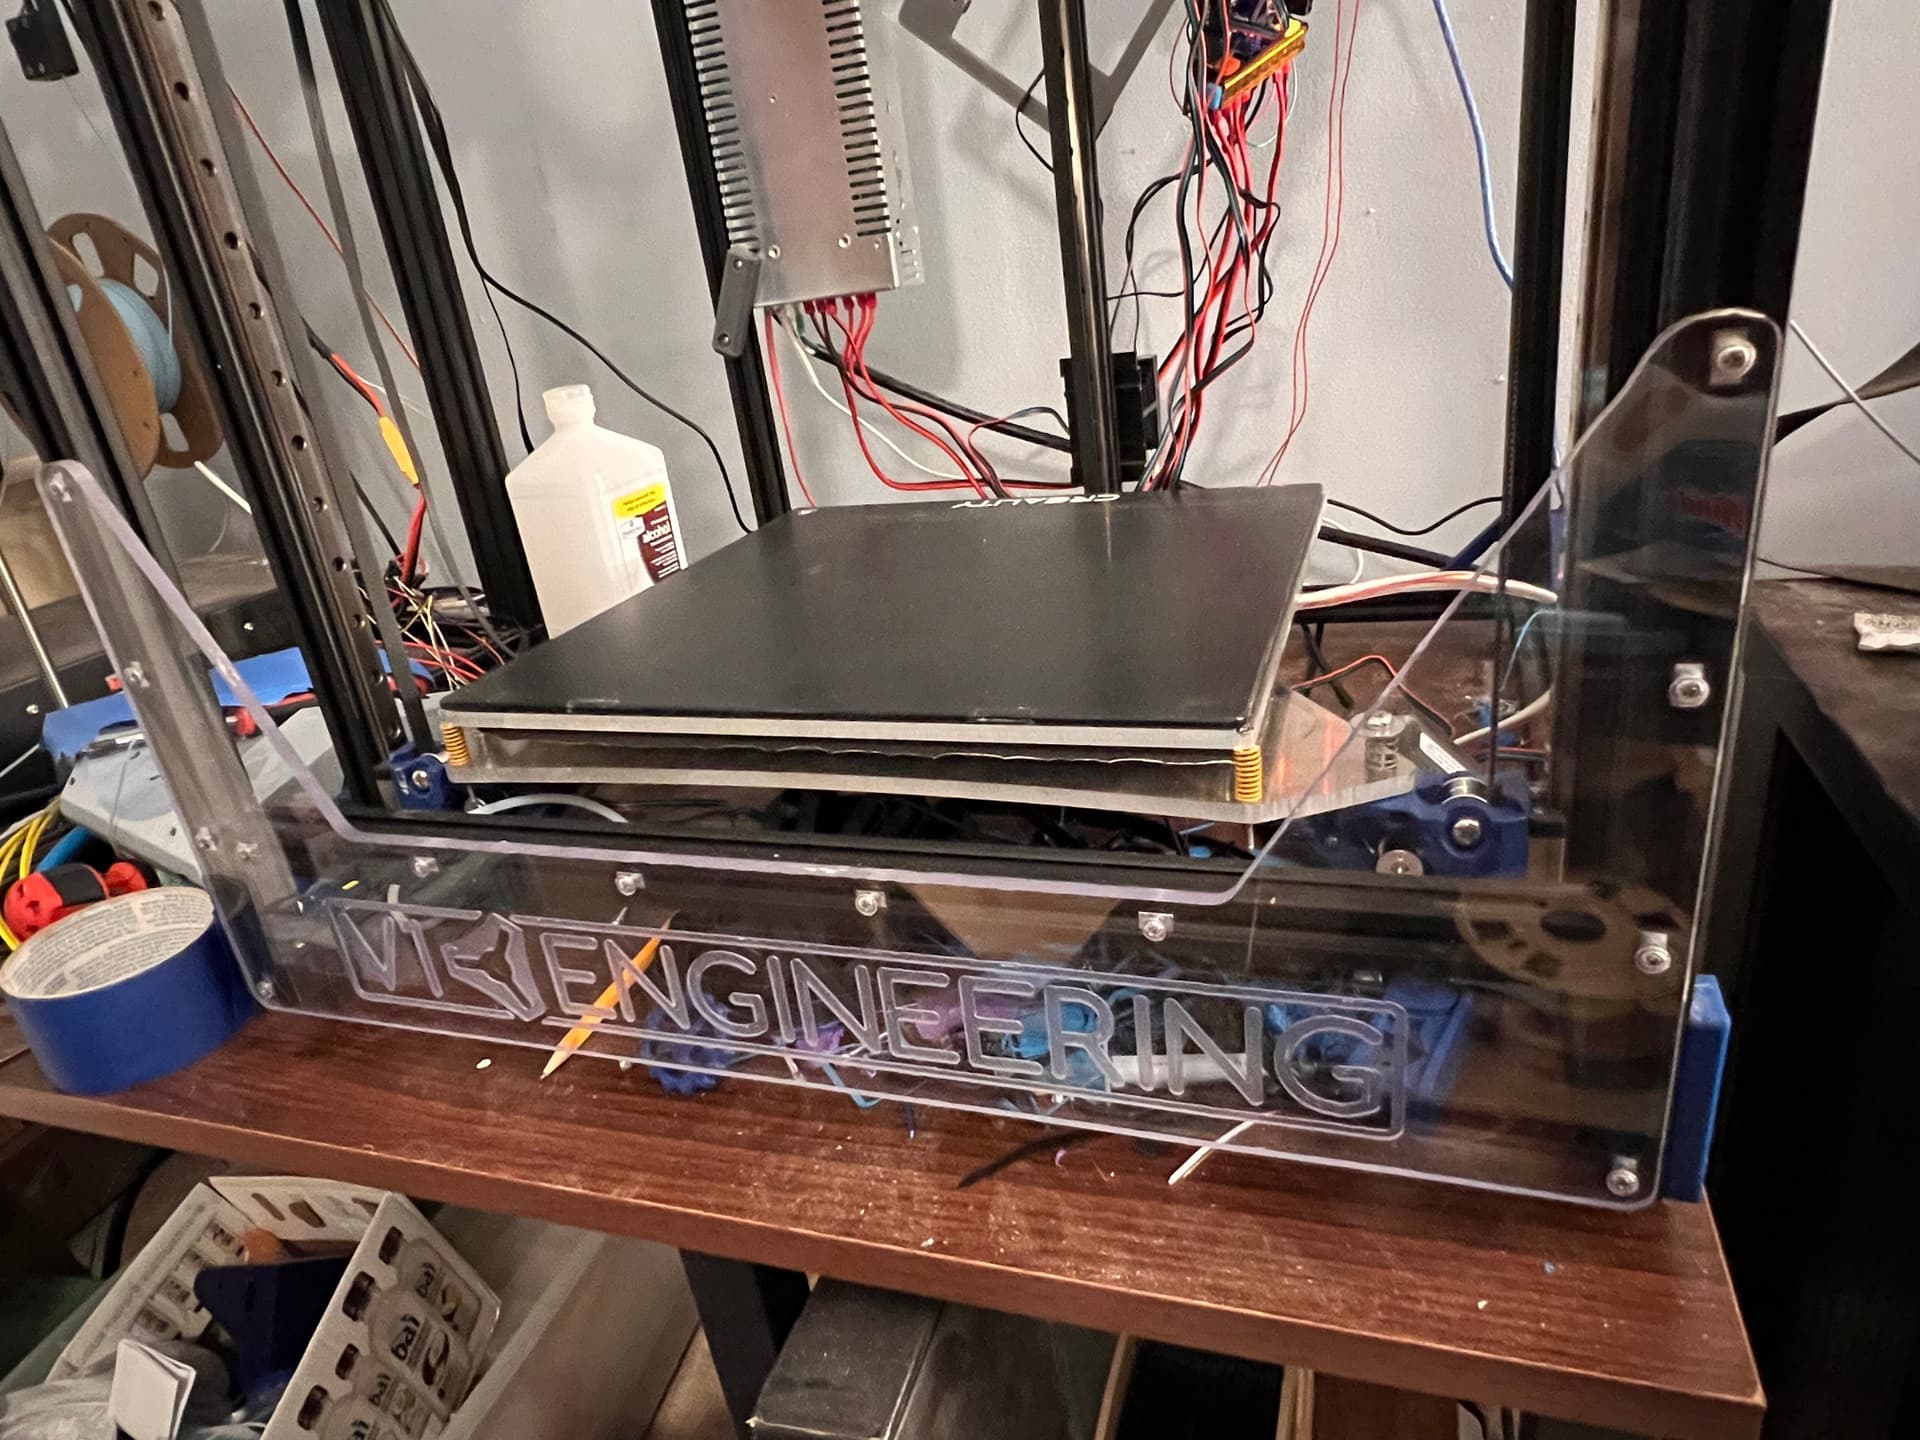
Anyone want to help me with a little project? I have done some edge lit panels before here. But what I’m wanting to do here is a little out of my ball park. I’m cutting the panels for my MP3DP out of 1/4" polycarbonate (originally thought it was acrylic) and on the front panel it has this awesome V1 logo on it that i think would look awesome lit up. I suck at making anything more than a flat DXF in fusion. So I’m wondering if anyone can help me make a profile that will hold the LED strip and then “clip” or “slide” on the bottom edge of the polycarbonate. Or maybe someone has an even better idea than what I’m thinking. I’m all ears.
2 Likes
I’ll be glad to take a run at it.
-
How long does it need to be? Are you going to run it just under the logo, or across the whole bottom of the polycarbonate?
-
How much distance do you want between the LEDs and the polycarbonate?
-
What is the exact width of the polycarbonate (caliper measurement if you have one).
-
Which place do you want the wires to come in (left, right, center…)?
-
How big is the bed on whatever printer you will be printing this on (I’m thinking it will be printed in two pieces)? I’m assuming you are going to 3D print this piece.
-
Affixing it with a bit of contact cement okay or do you want to plan other Fastners? If you run it across the whole bottom, you can take advantage of the screws you already have.
1 Like
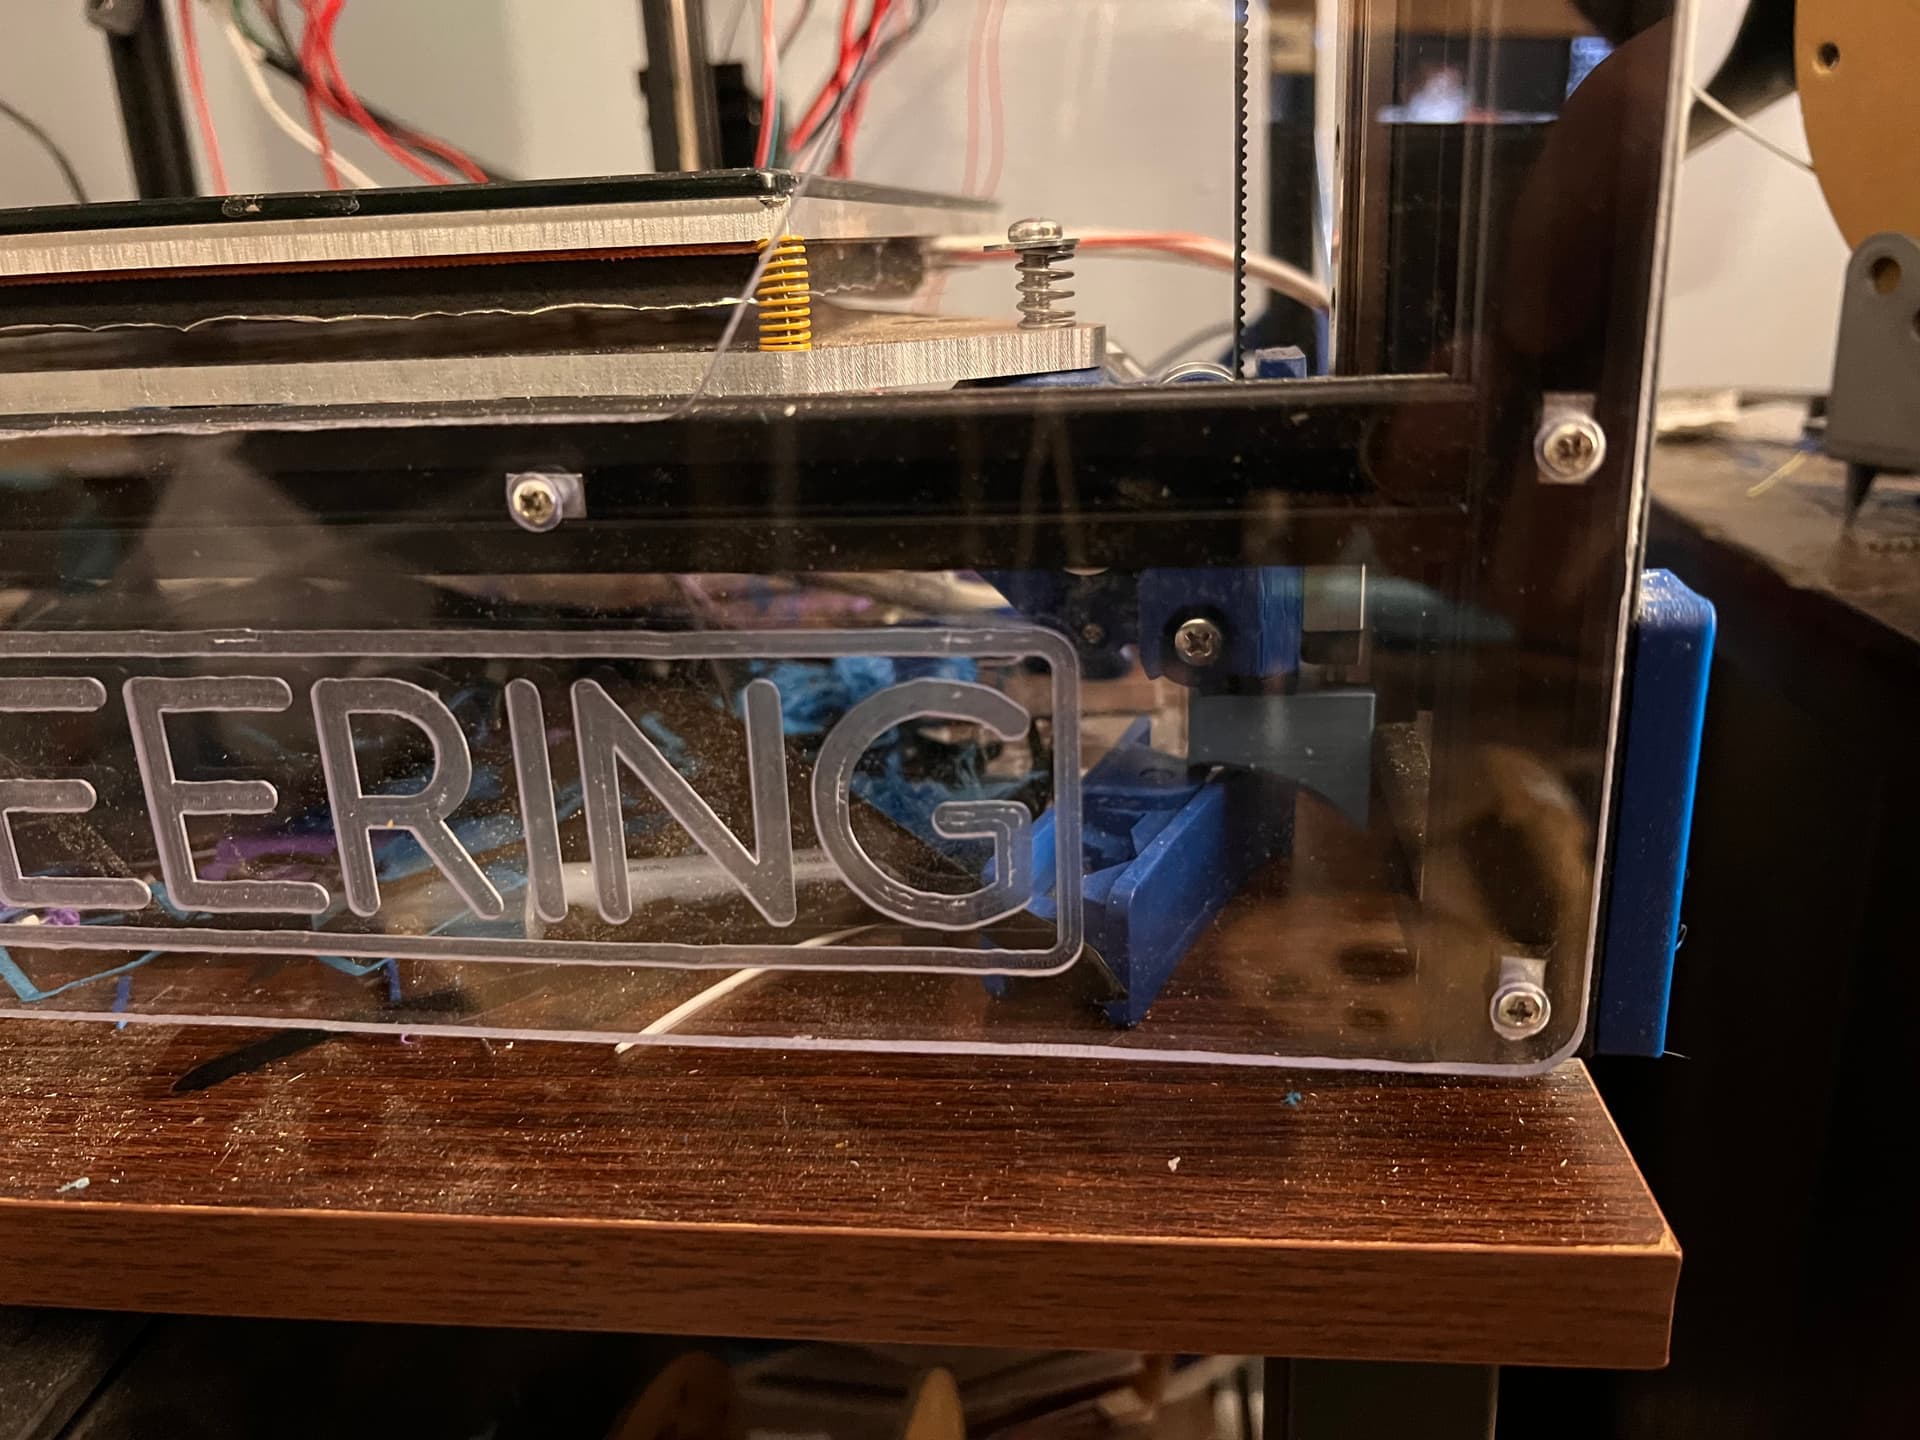
This panel is 505mm outside to outside. I would “like” to be able to run it full length with possibly adding it to the additional panels as well as they get built/installed. They wont have the logo but still will provide some lighting. I might put a logo in the back panel but haven’t gotten that far yet.
Honestly not sure. Usually I set them right on the edge but I’m open to suggestions here for sure.
The SKR Pro will be mounted on the Right side panel if looking at it from the front so i would say the Right
my MP3DP is 300x300 but i do have an Ender 5 Plus with a 350x350 bed
In my mind i thought friction would be enough but i could be very wrong. If we are able to do the side panels as well those should be easy to use the screws on. this front one only has 1 screw on each end at the bottom so I’m not sure on that one. I would like to be able to remove them later if ever needed to repair/replace the LED strip.
1 Like
Already have LEDs on hand? What LED width are you wanting to use? Most flexible strips seem to be ~10mm but you can get them much thinner, e.g. 5mm or 3mm even.
If you decide against fasteners and/or friction, and are looking to use an adhesive… Am personally thinking about silicone or E6000 to pimp mine, sticks to almost anything but can be removed without damaging the Polycarbonate.
1 Like
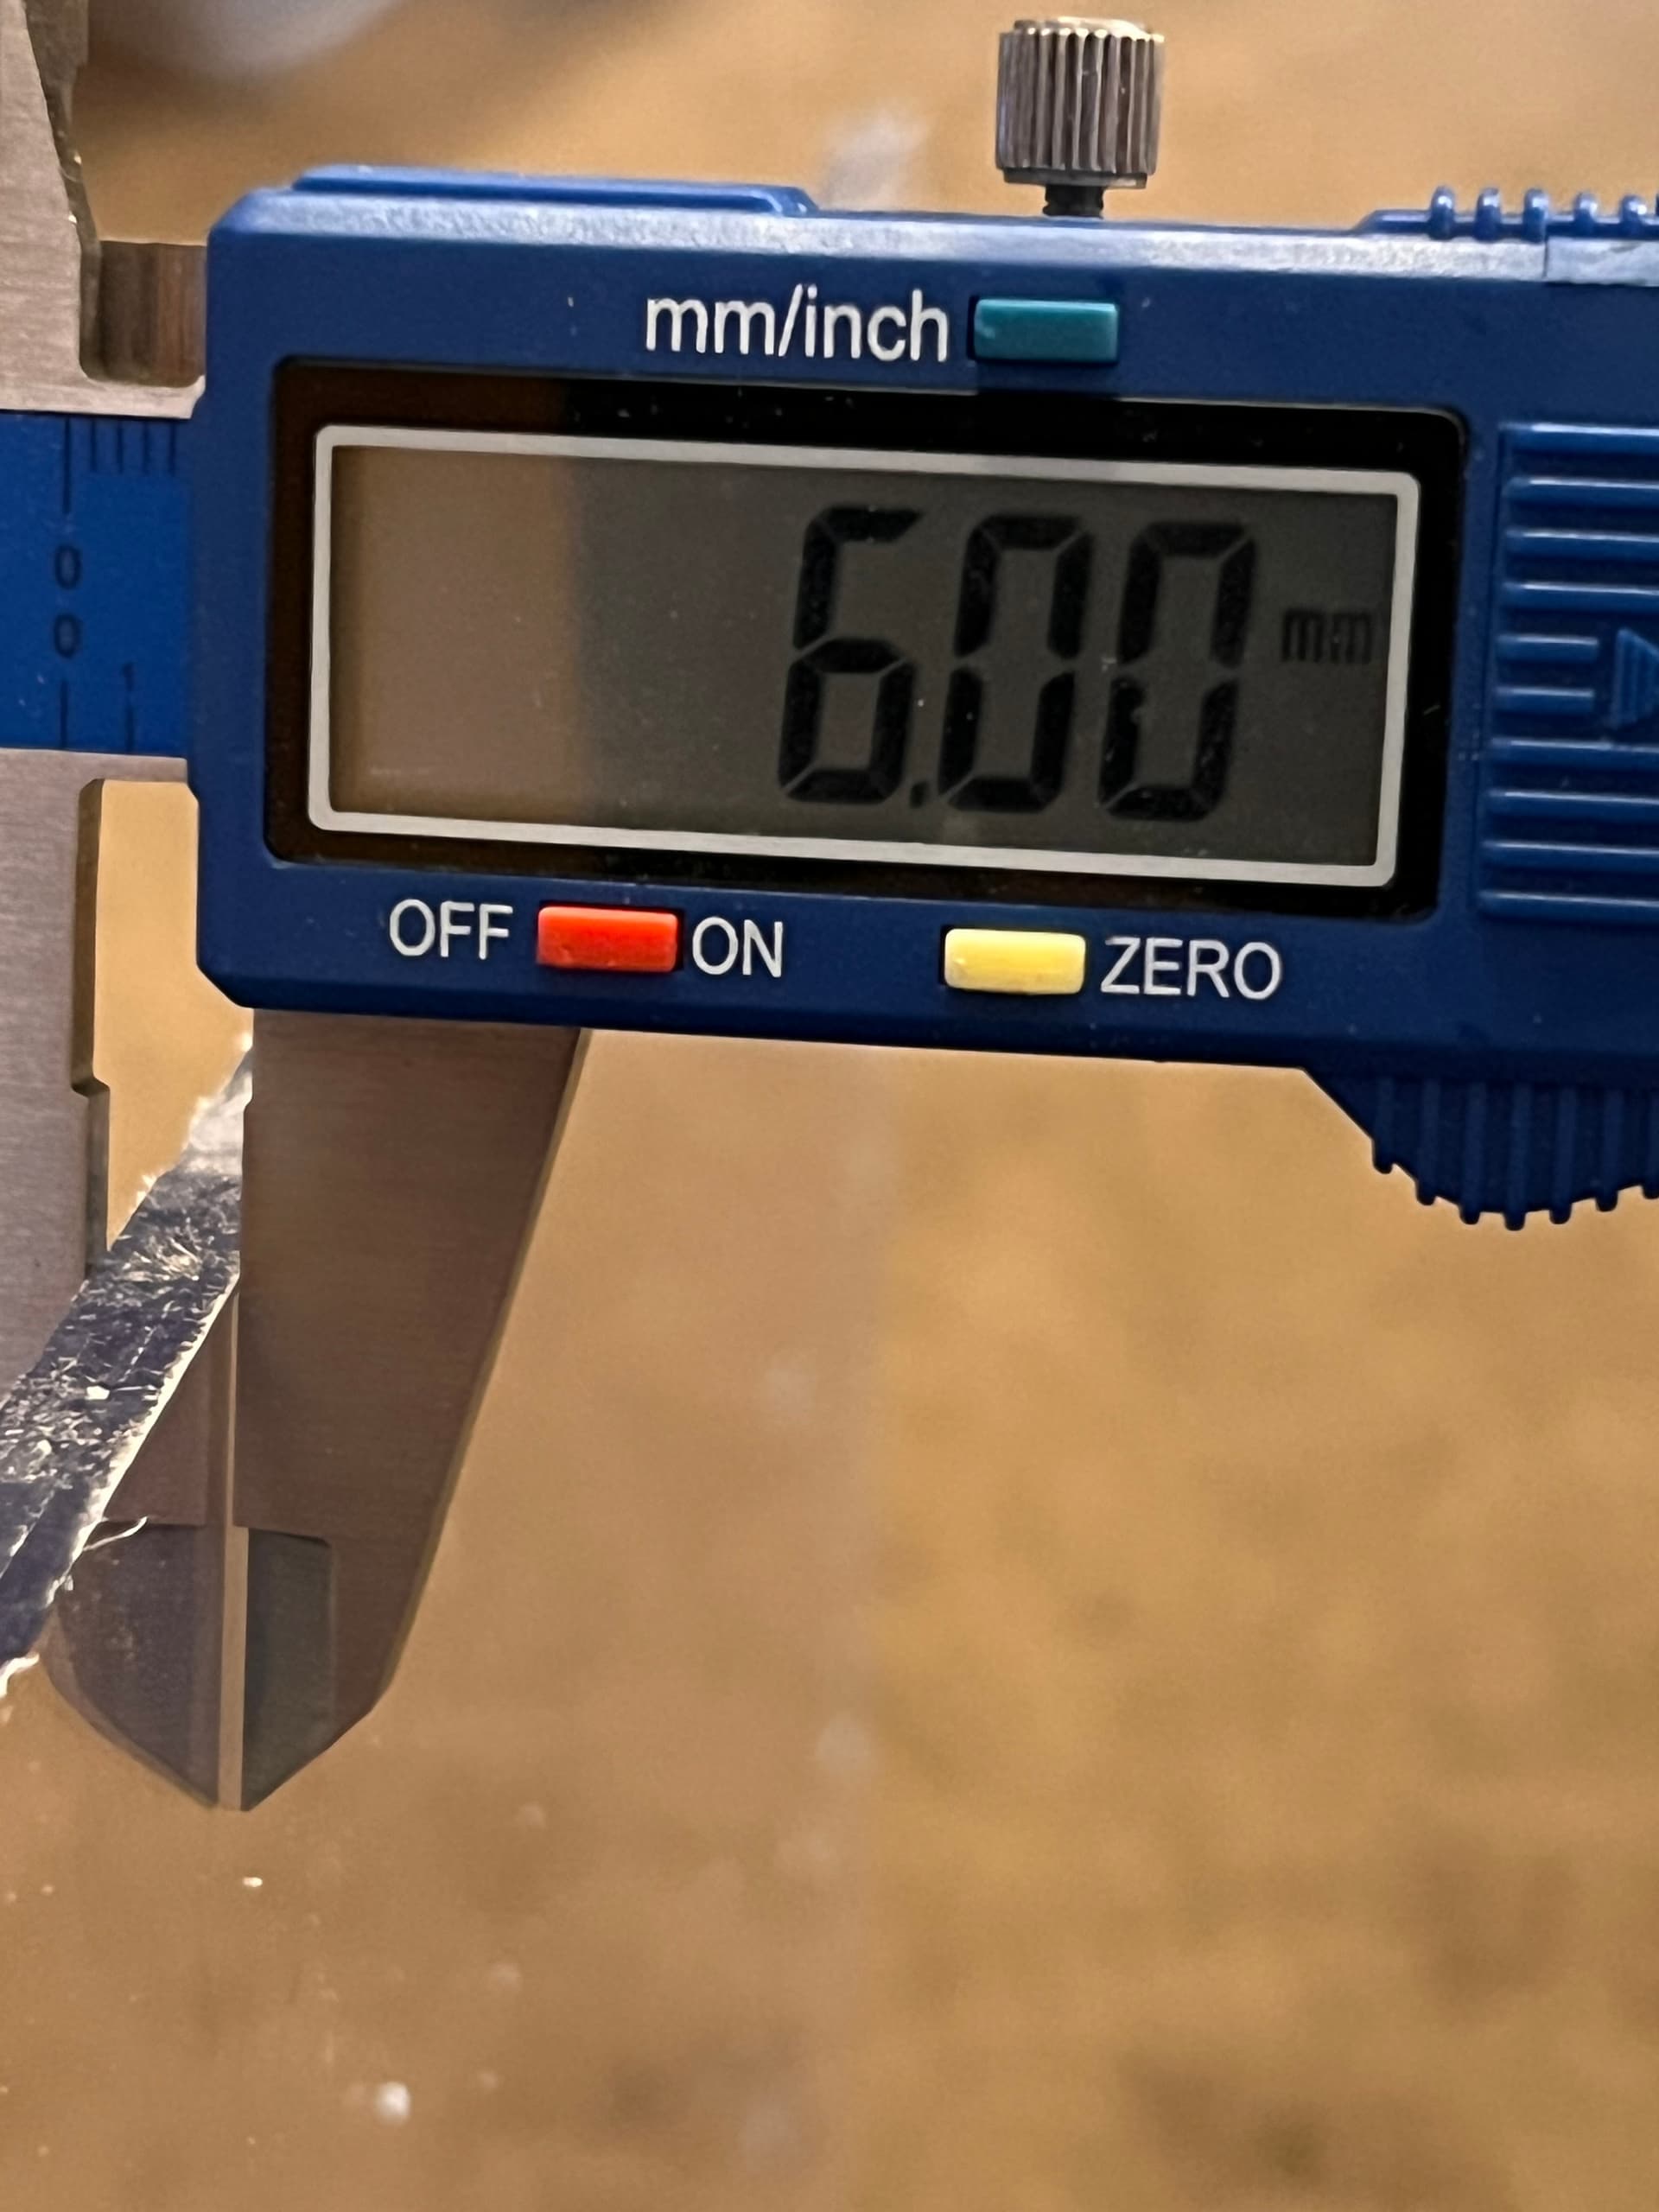
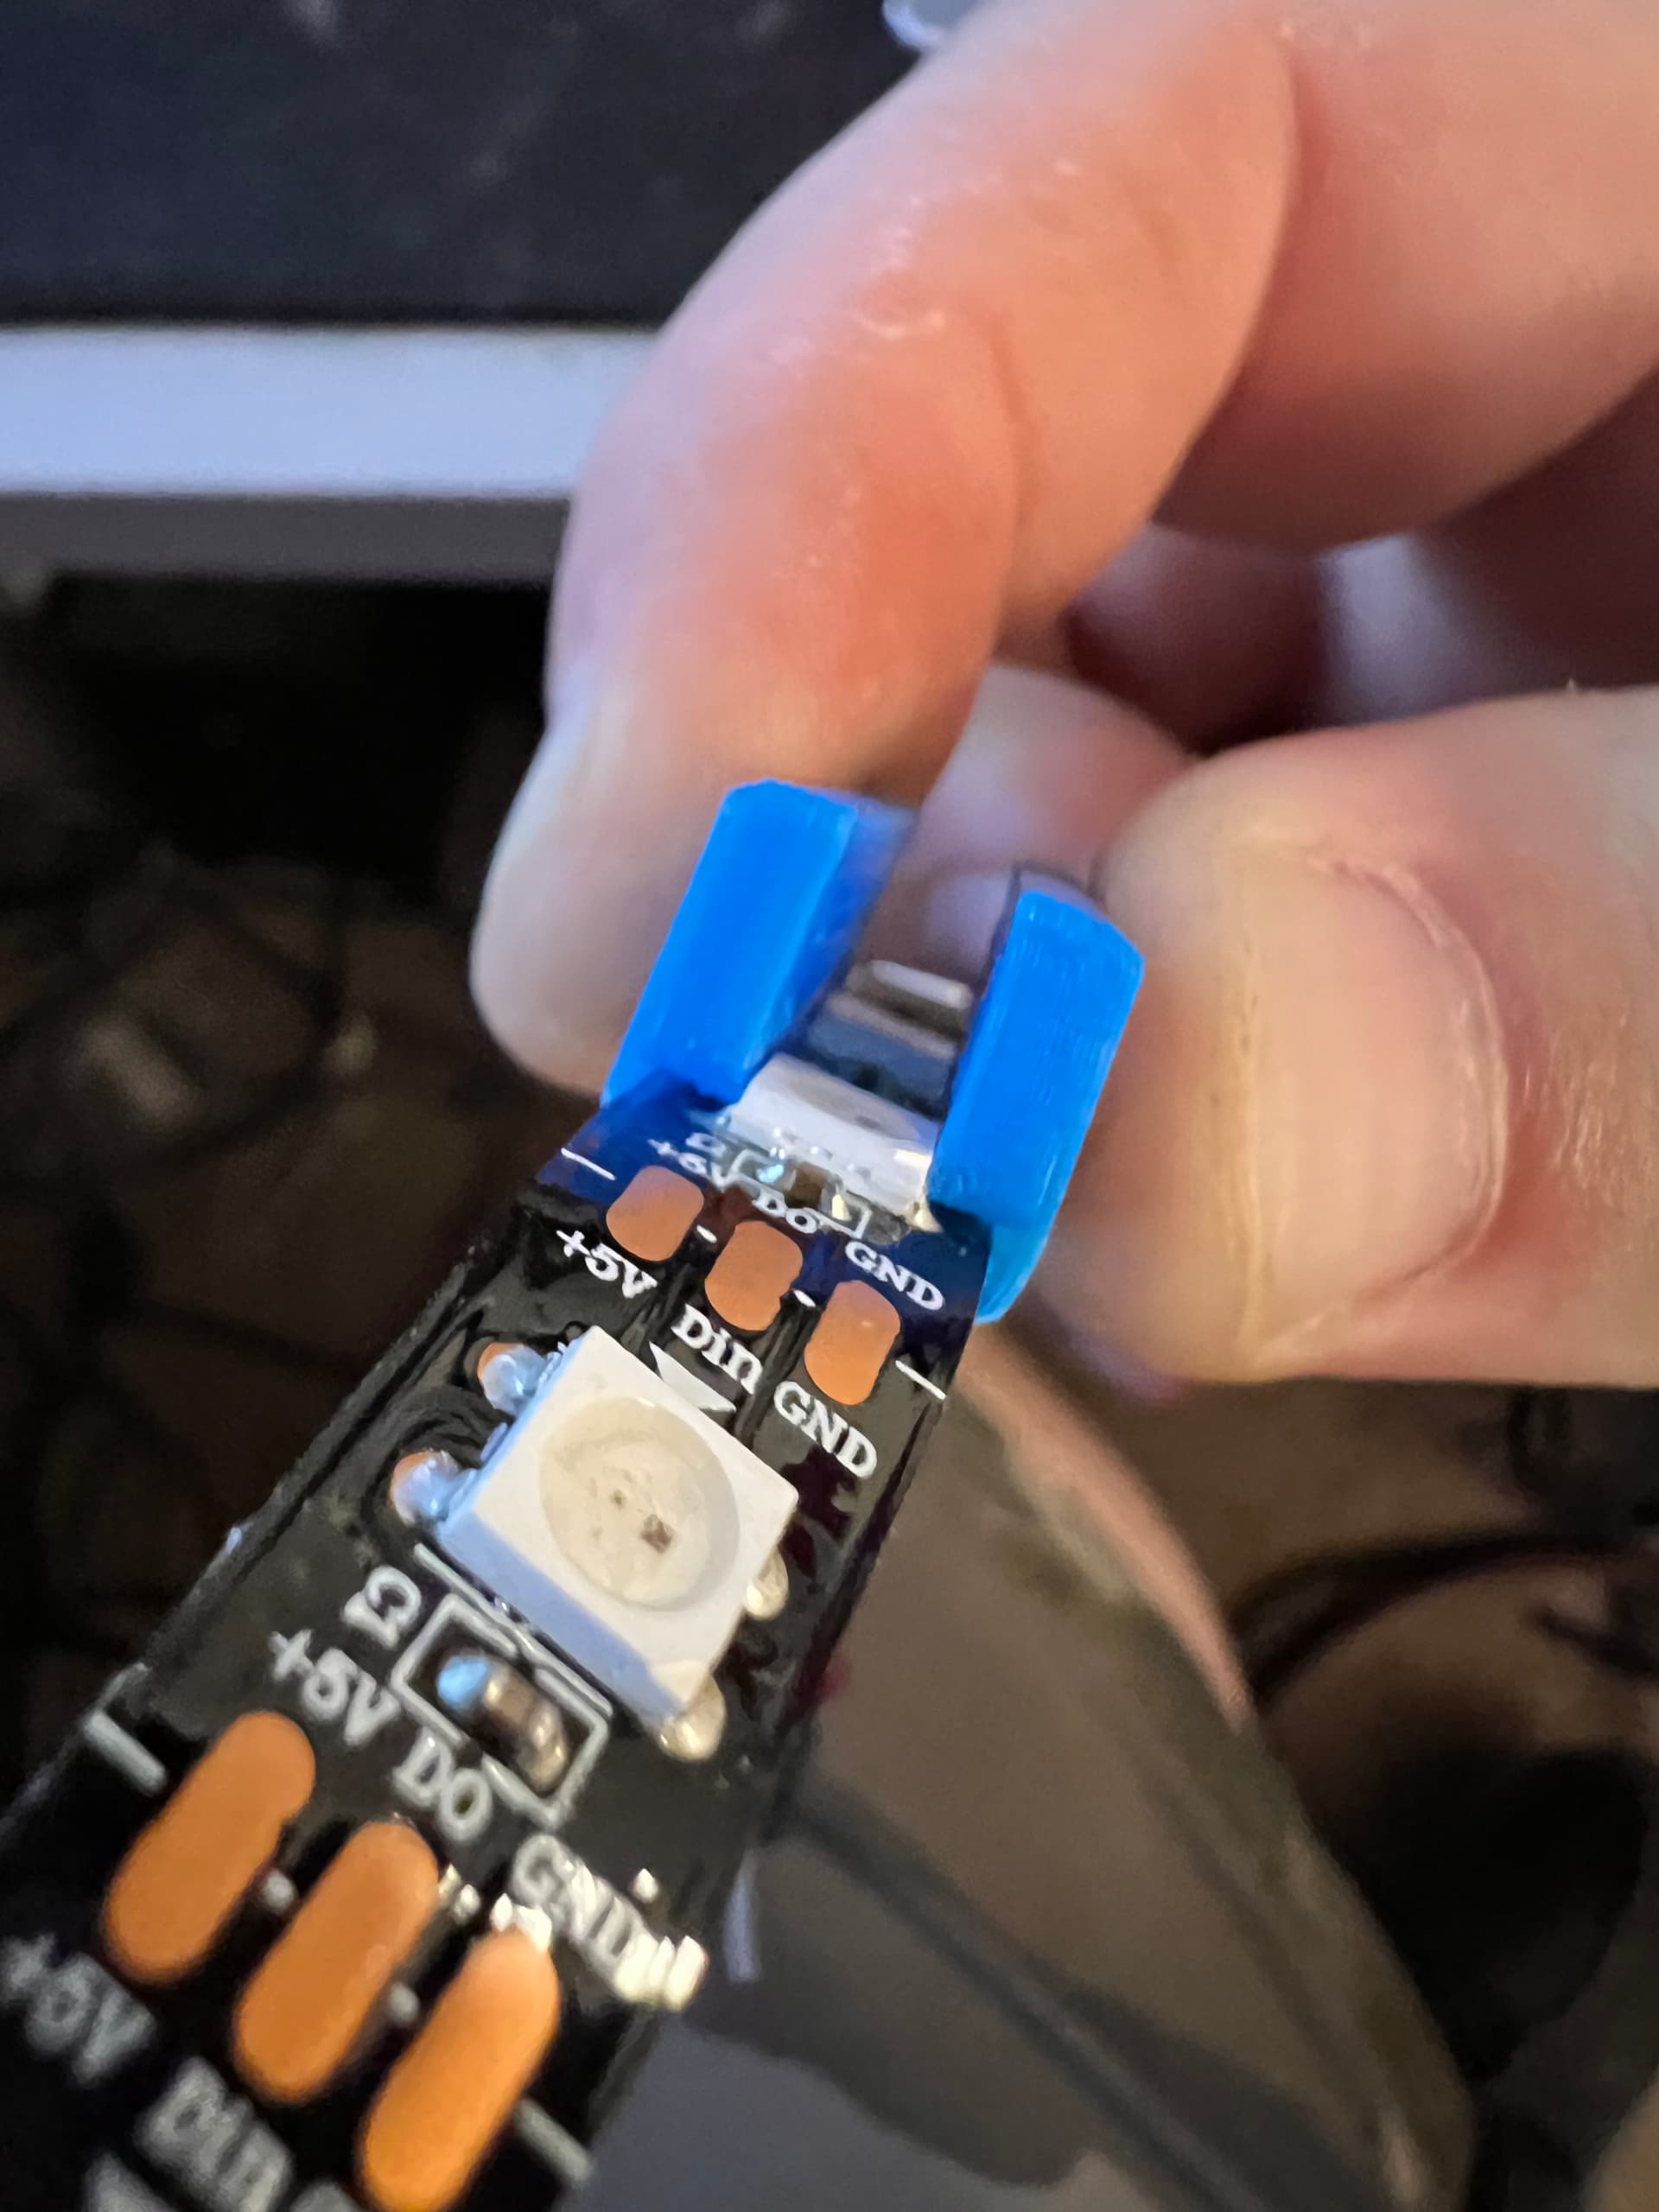
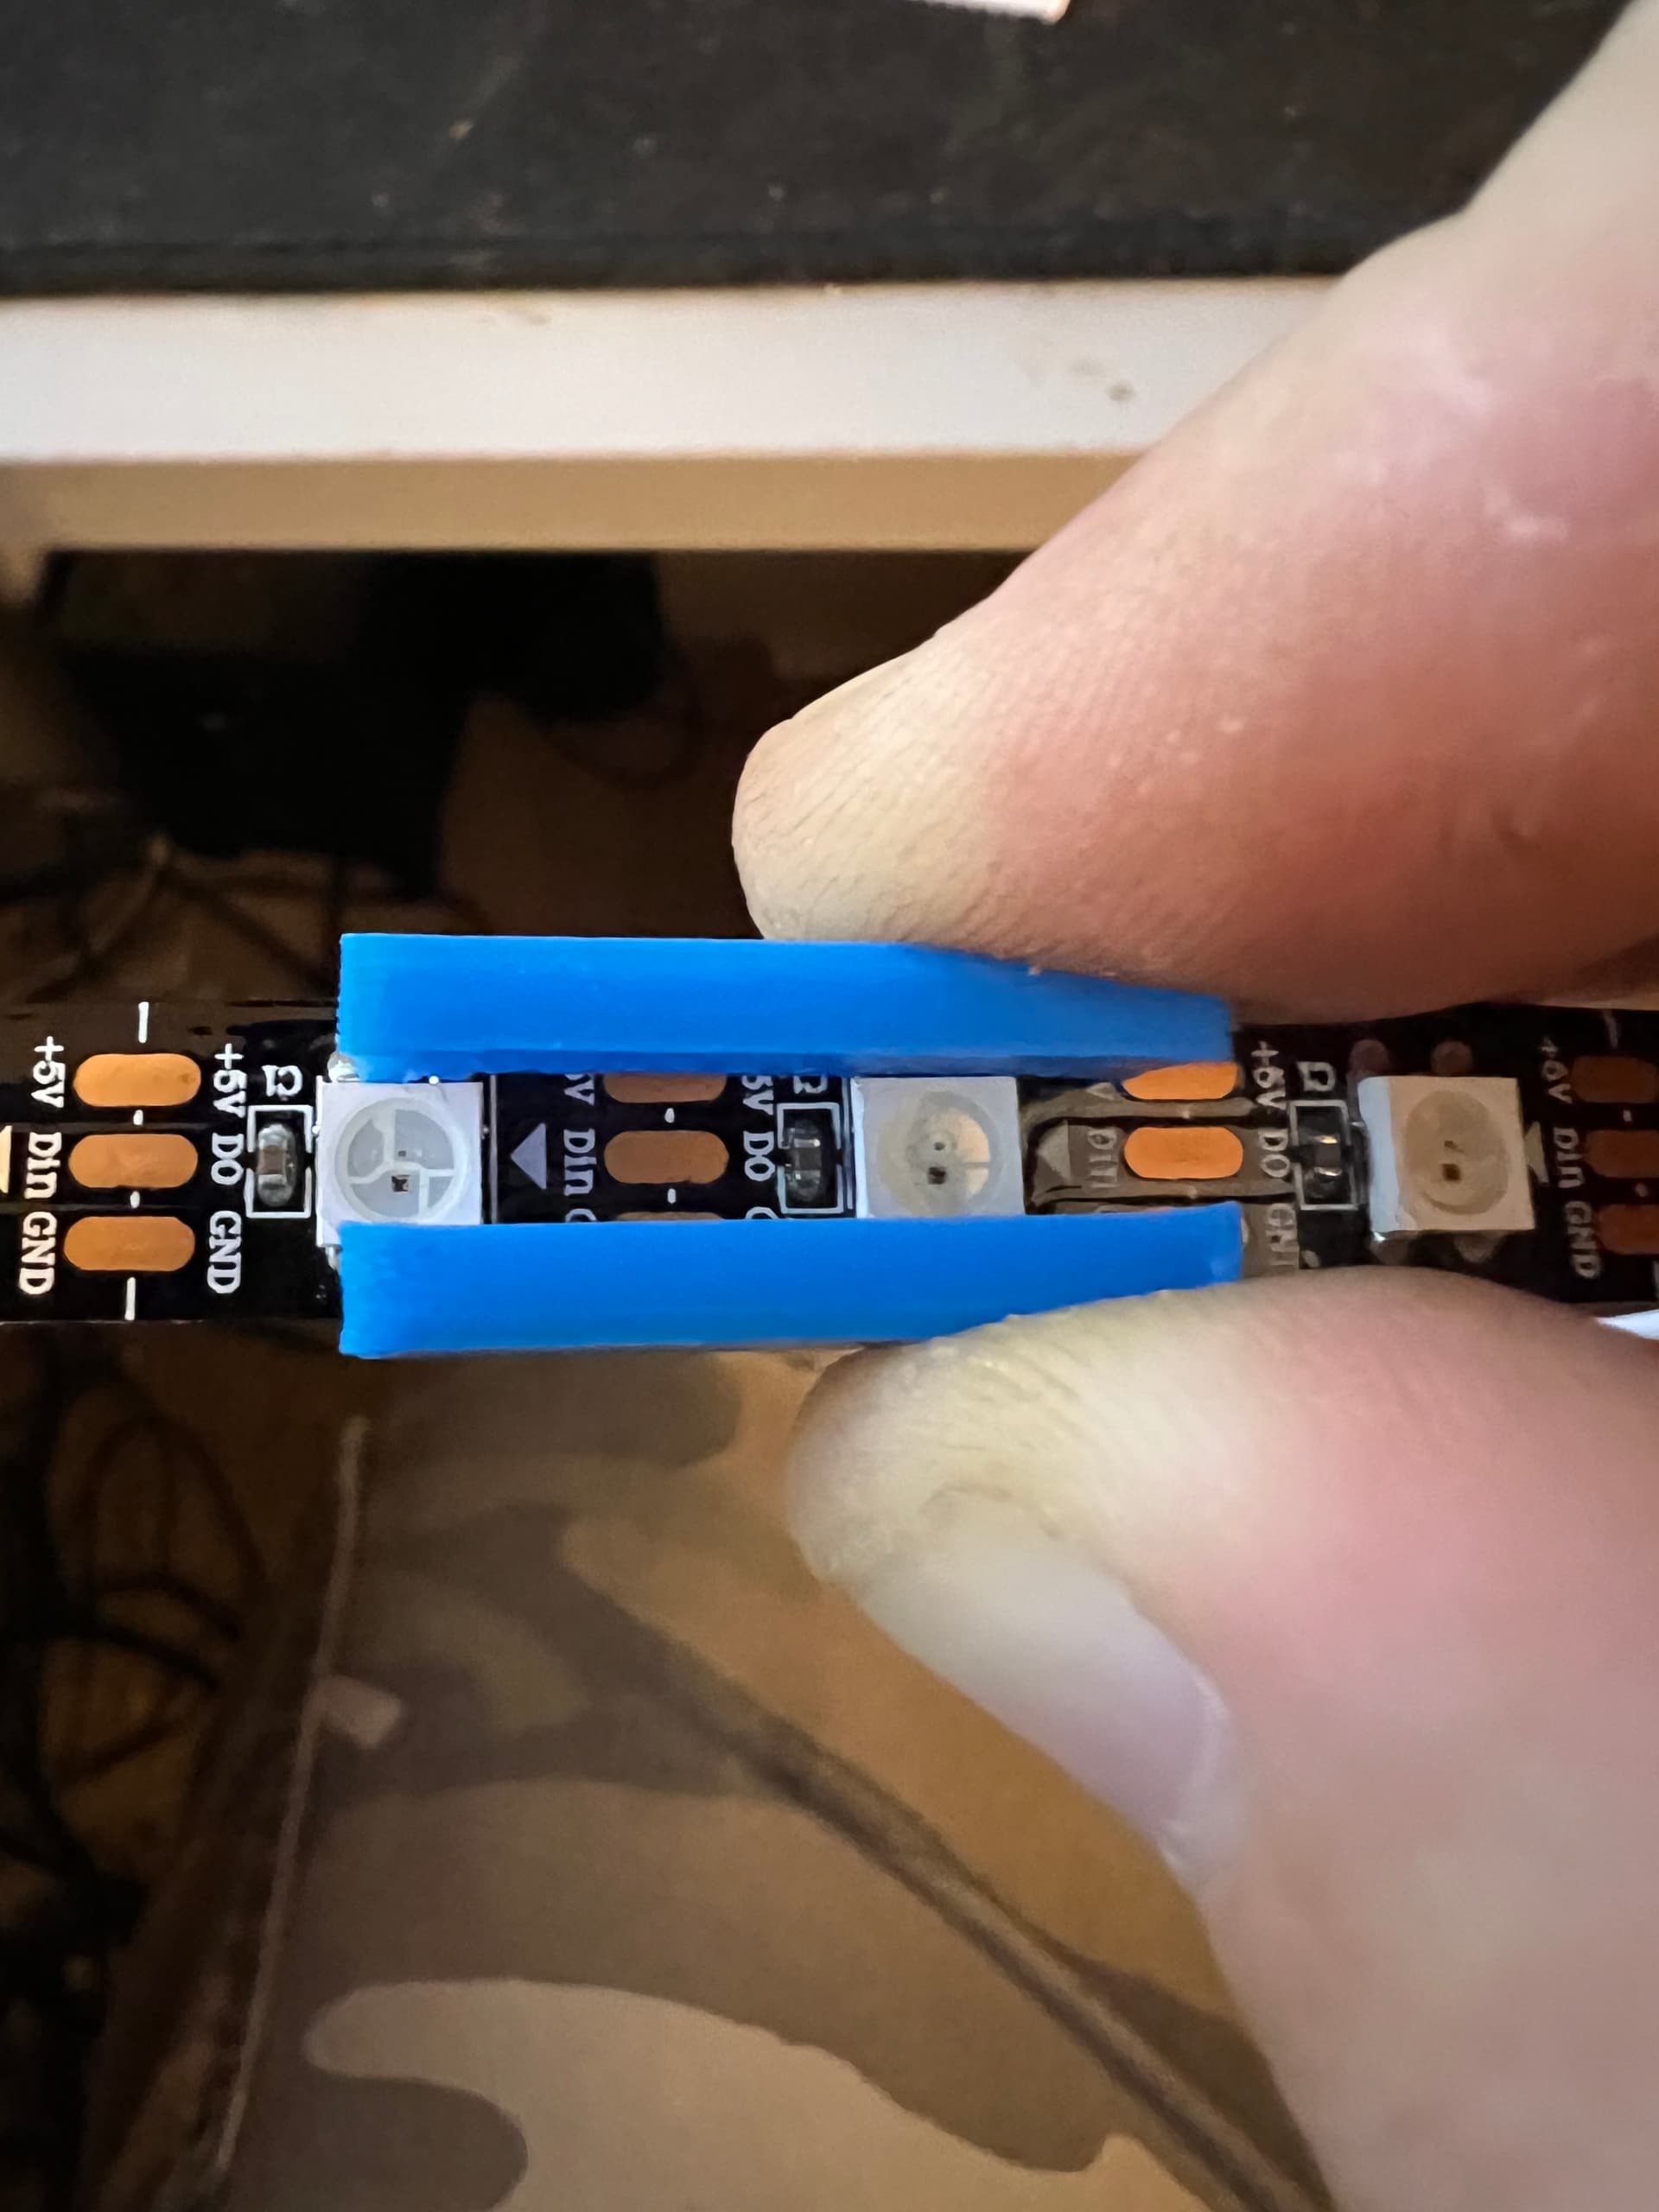
I was planning to use these unless there is something different that anyone suggests would be better for this application.
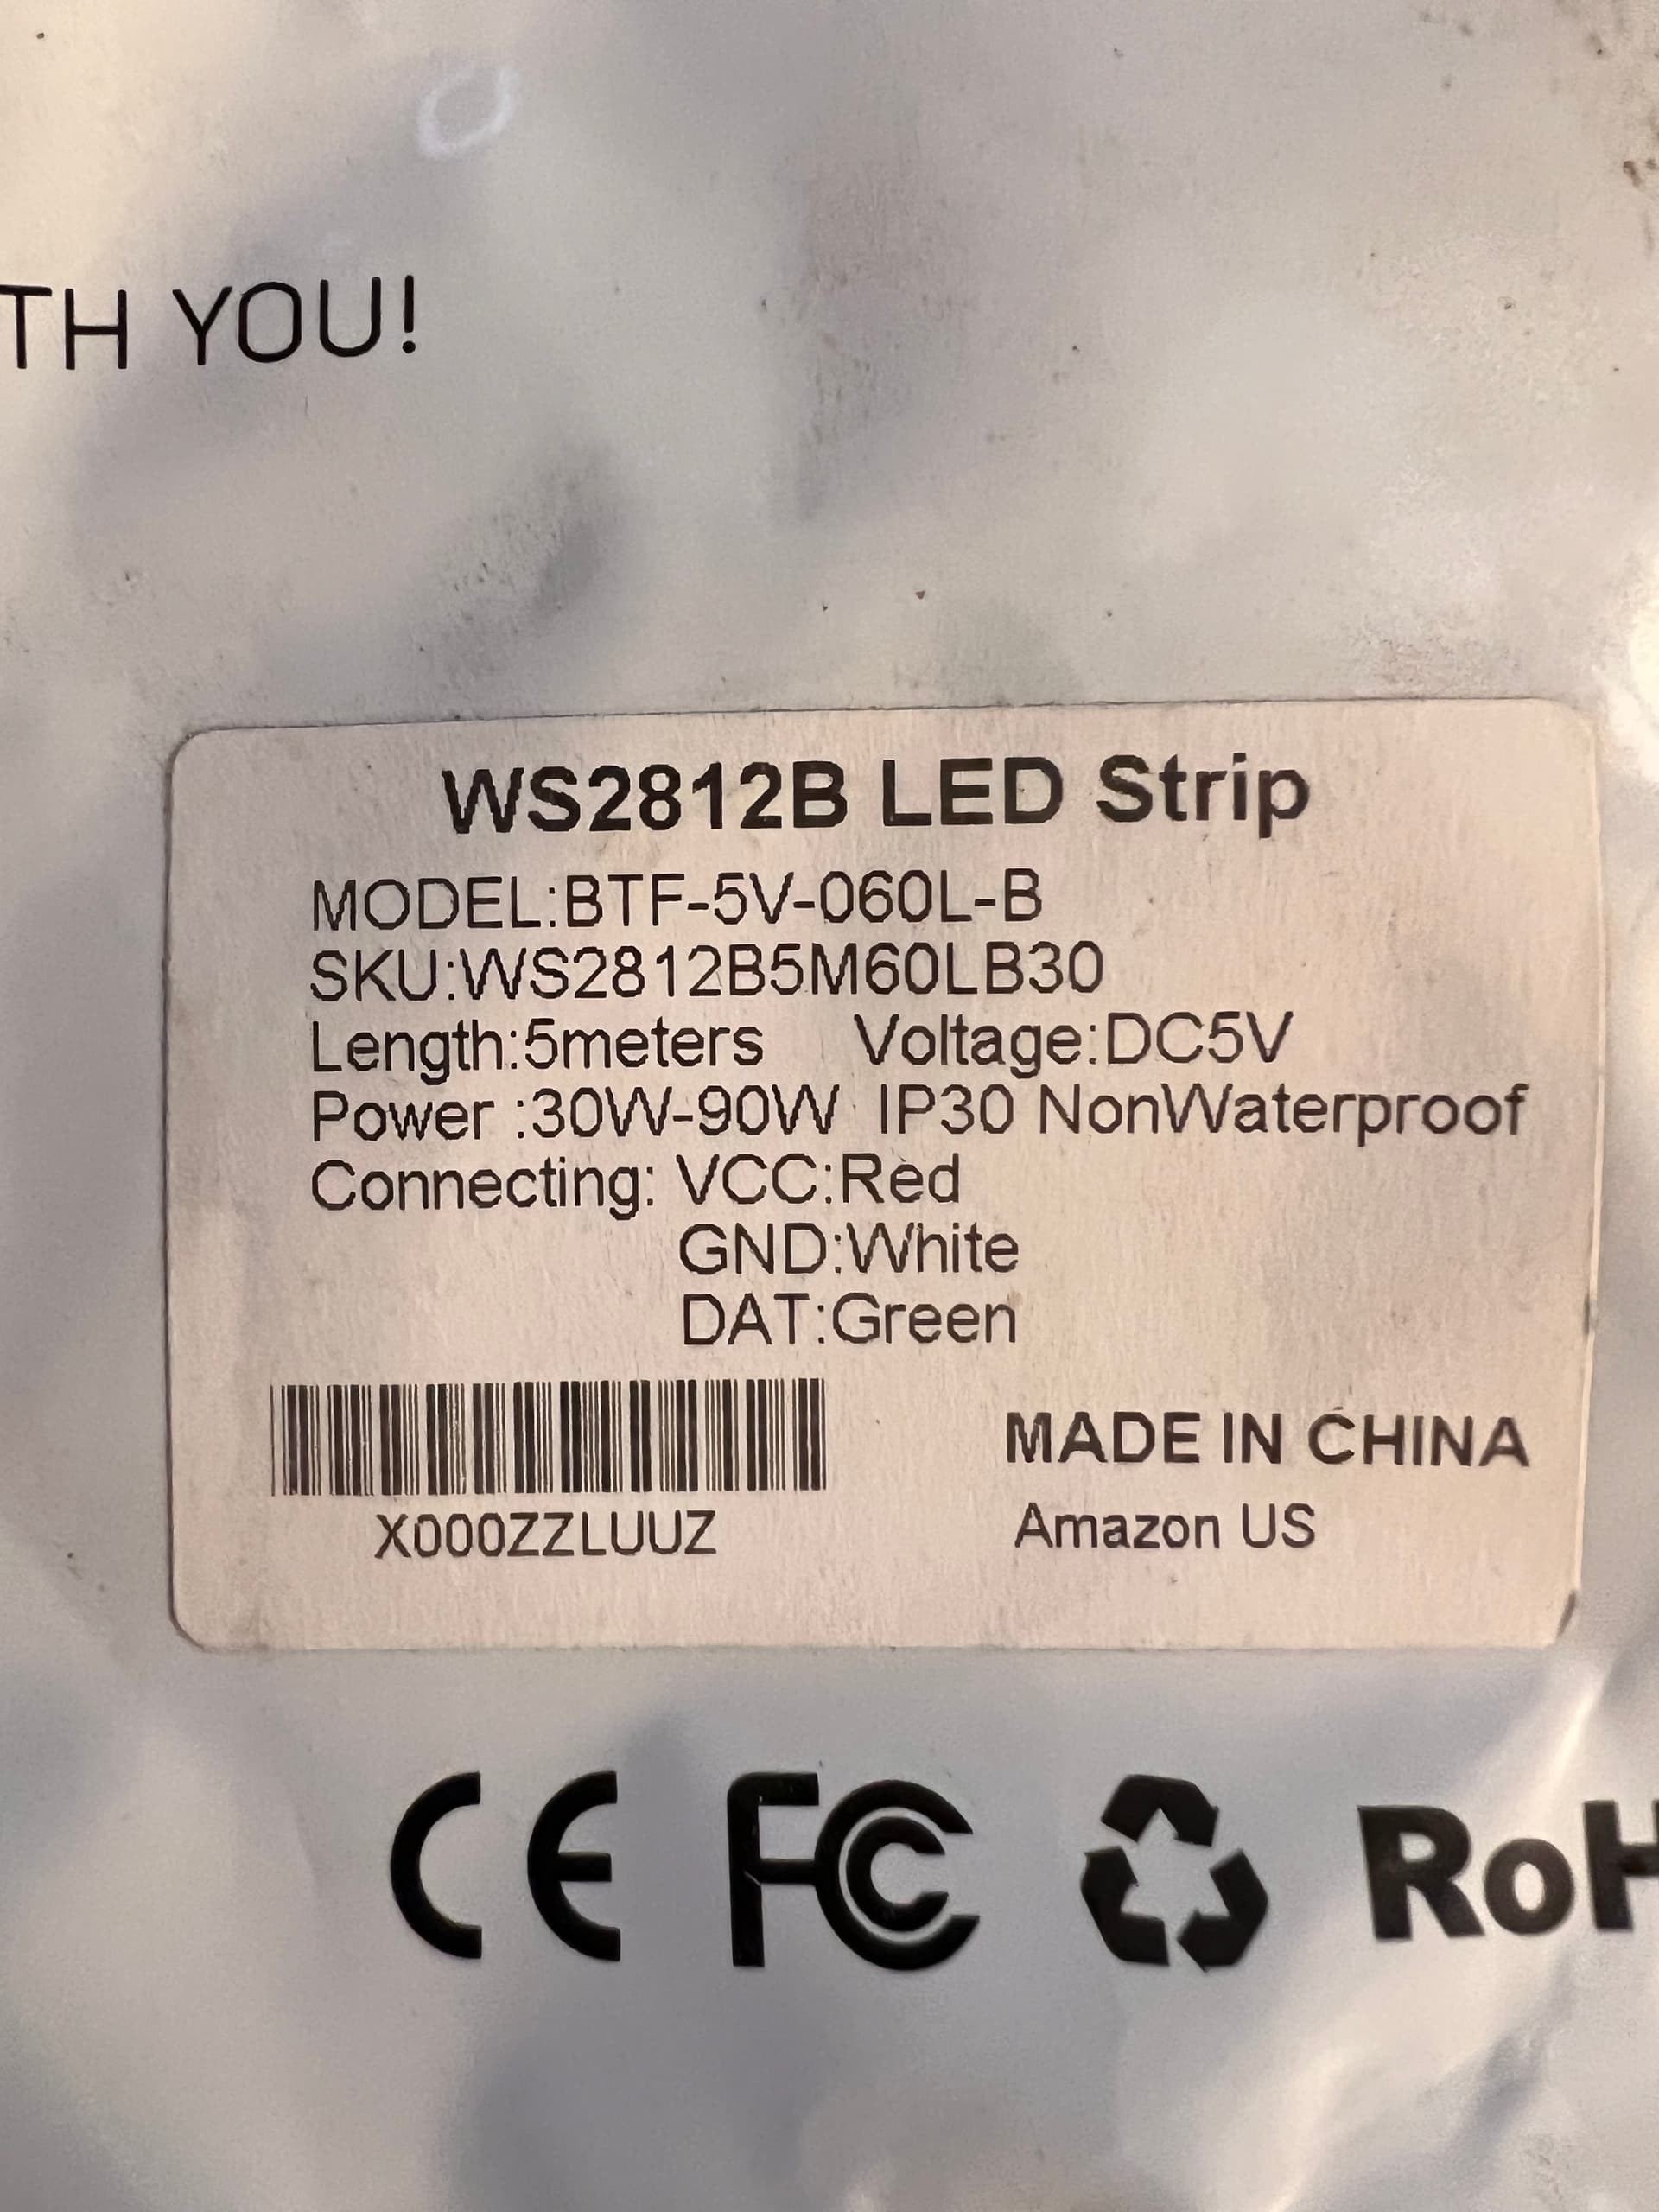
These measured at 10mm wide and 2.1mm high
My panels are only 3mm, so am planning to use some 5mm strips I have, if/when I stumble across them.
1 Like
I’ll post a couple of designs by tomorrow morning.
2 Likes
Awesome Thank you!!!
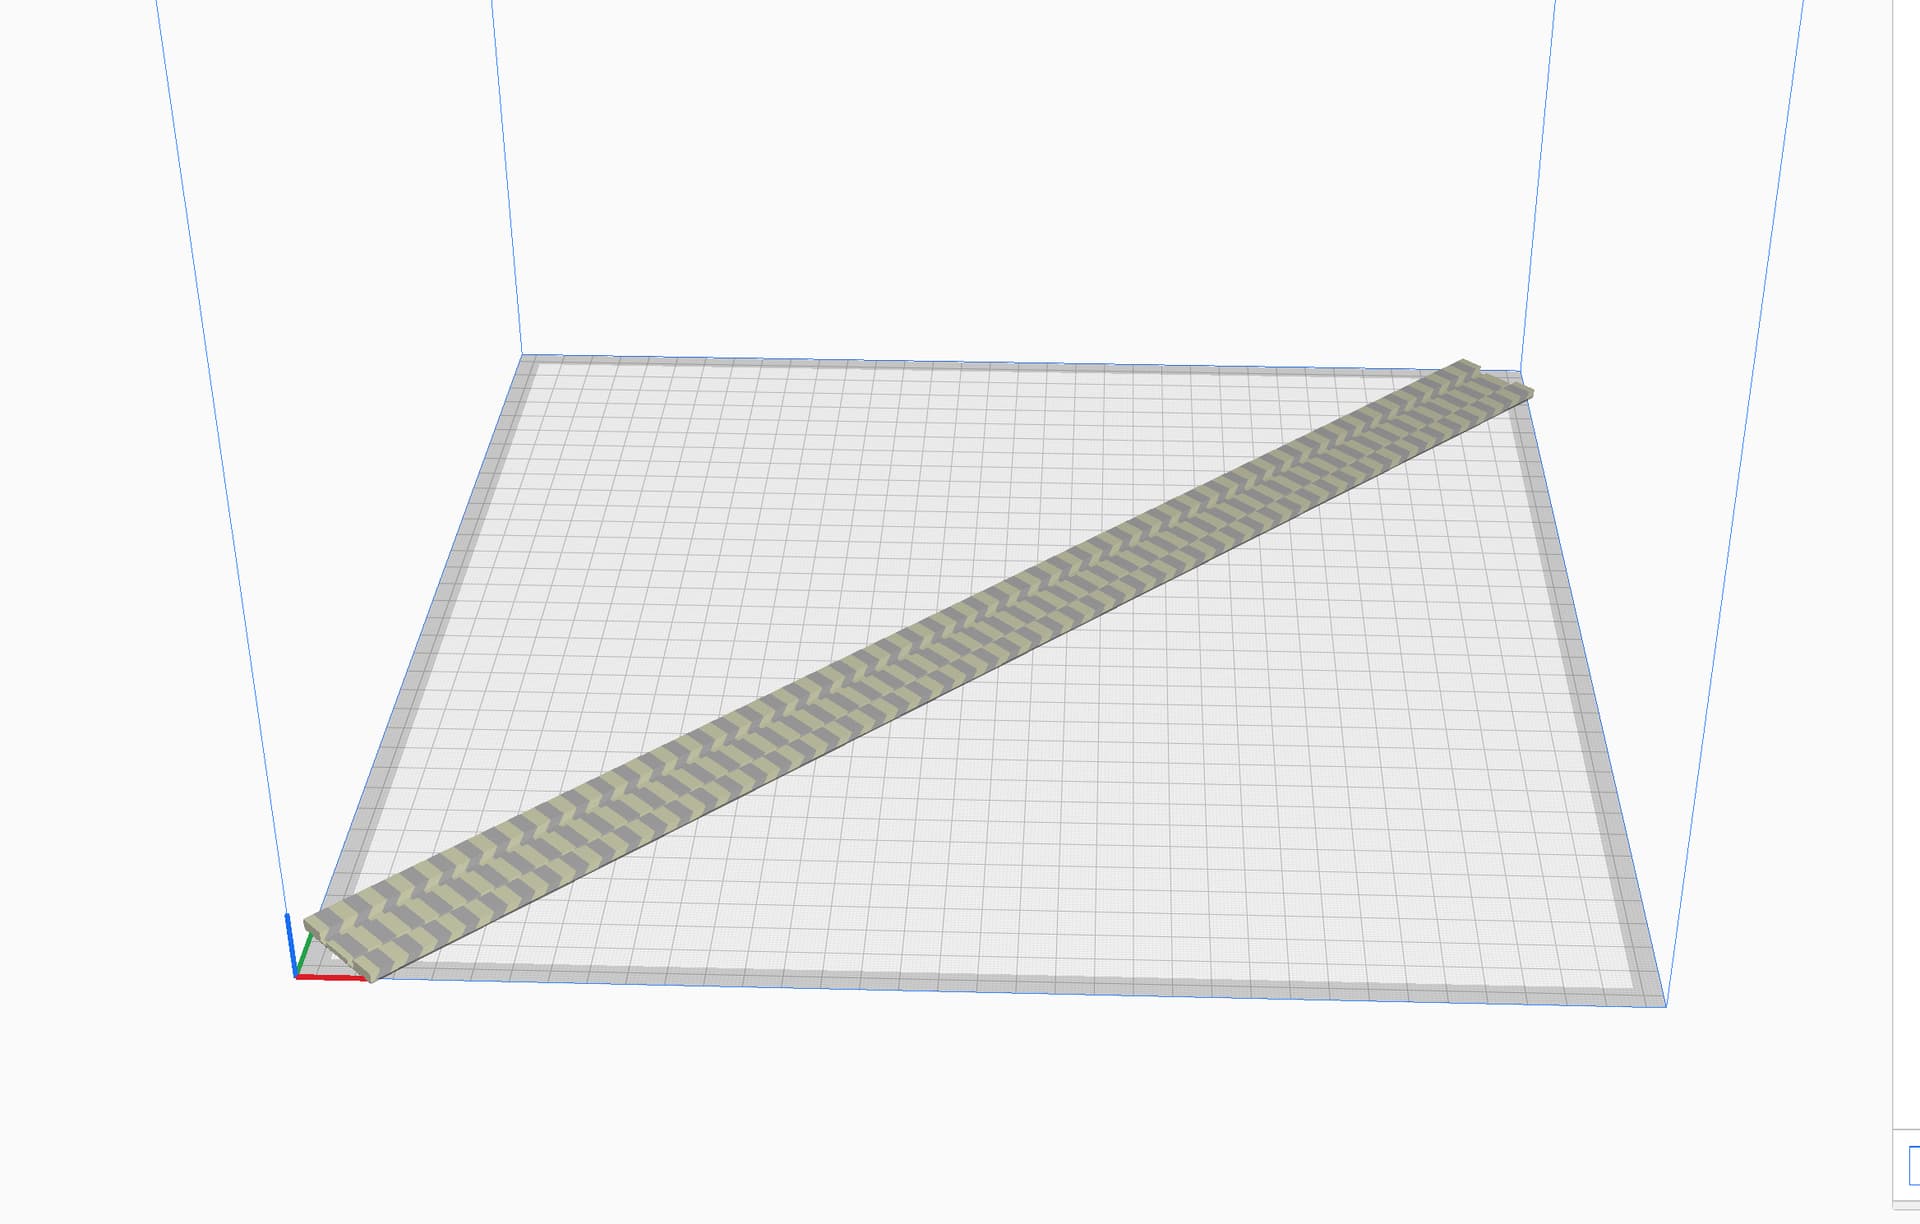
My thinking is to model it flat and have it fold to create the channel. The model will print faster, be stronger, and the outside will be whatever texture is on the build plate rather than layer lines. The main downside is that it will need to be glued rather than friction fit. Personally, I would use rubber cement or contact cement to attach it. These glues allow you to cleanly remove the channel if you ever need to replace it with a new design, or move it to a different panel. This is what I suggest:

The fold is 0.45mm, so it should print two layers if using 0.2mm layer height.
I printed a short sample, and it folds like this:
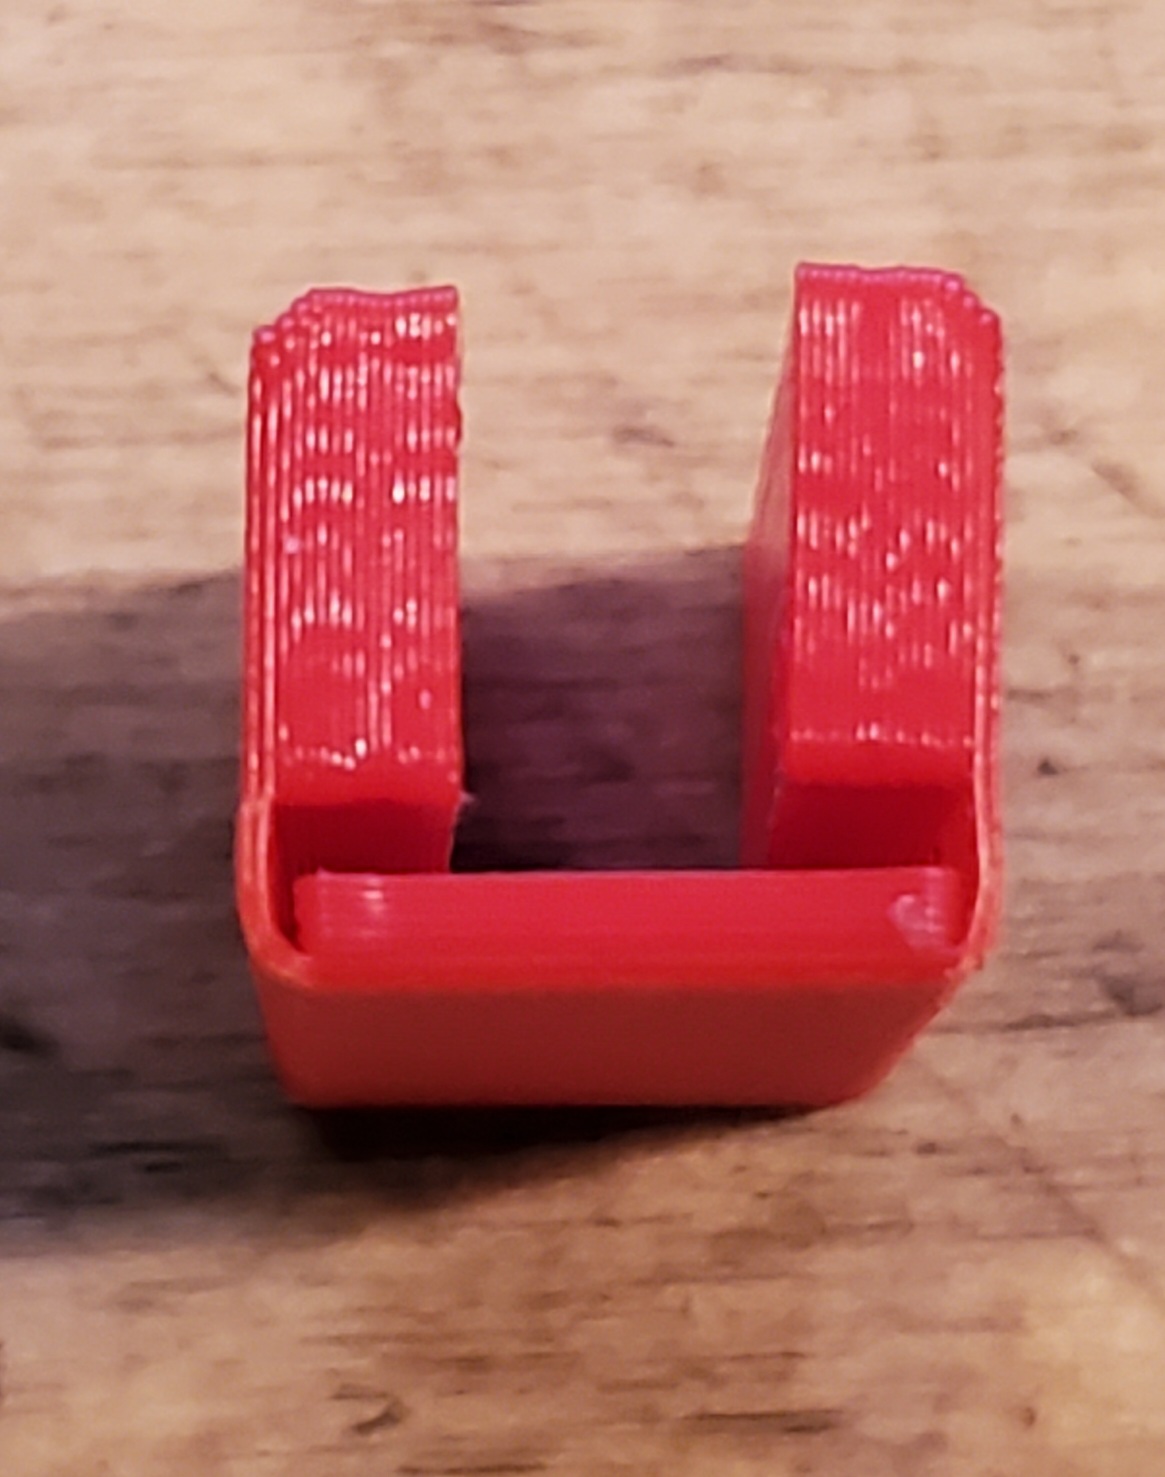
If you reopen it a bit, the LED strip snaps in:
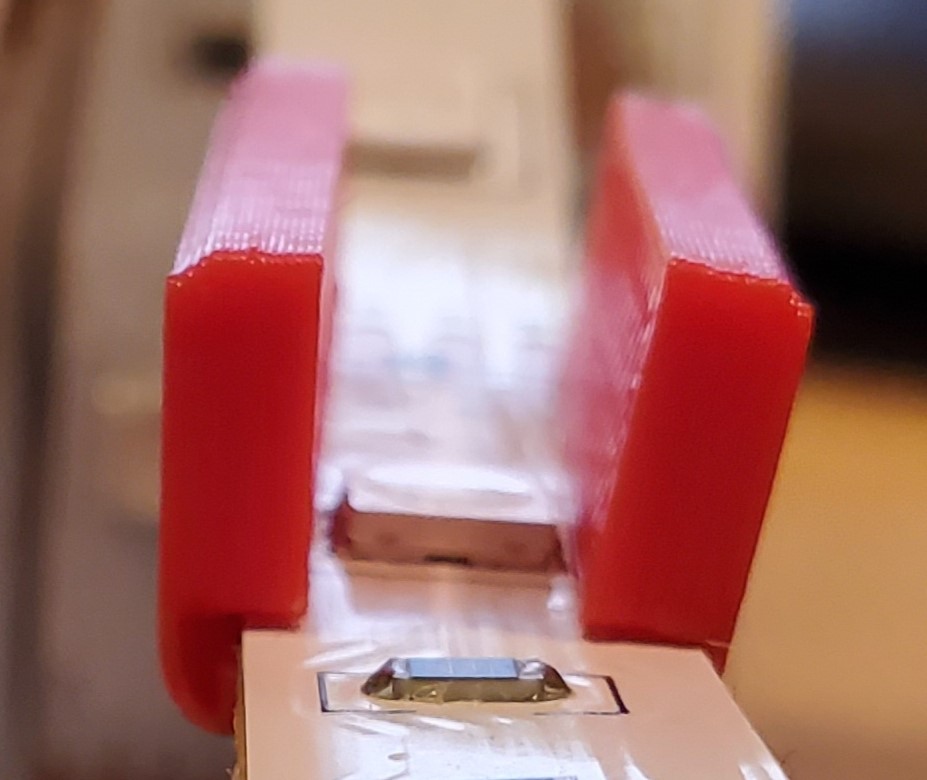
Note I suggest you fold the channel against a hard surface to get a sharp, clean corner.
Attached is a ZIP file with this model. You can print out this sample and see if it will work for you. You can scale the length to whatever you want for the test. If you want something that does not require folding and has the potential for a friction fit, I’m fine with designing that model instead.
LED Edge Channel.zip (754 Bytes)
8 Likes
I have it downloaded and will give it a shot in the morning. Hopefully with me running .6mm nozzle the .2mm layer heights wont be a problem. I tend to print with .3mm but I don’t see why it wouldn’t work. Thank you so much for the help! I will be sure to report back how it works out.
Neat design @robertbu, cheers for creating and sharing! Am planning to try with PETG. Thoughts on printing in TPU? Want to try TPU once I figure out decent settings.
1 Like
I’ve used less than a box of TPU in all the years I’ve been 3D printing, so no thoughts. Note that if the design is acceptable, I flush it out so that it can be printed in two pieces and light won’t escape at the connection point.
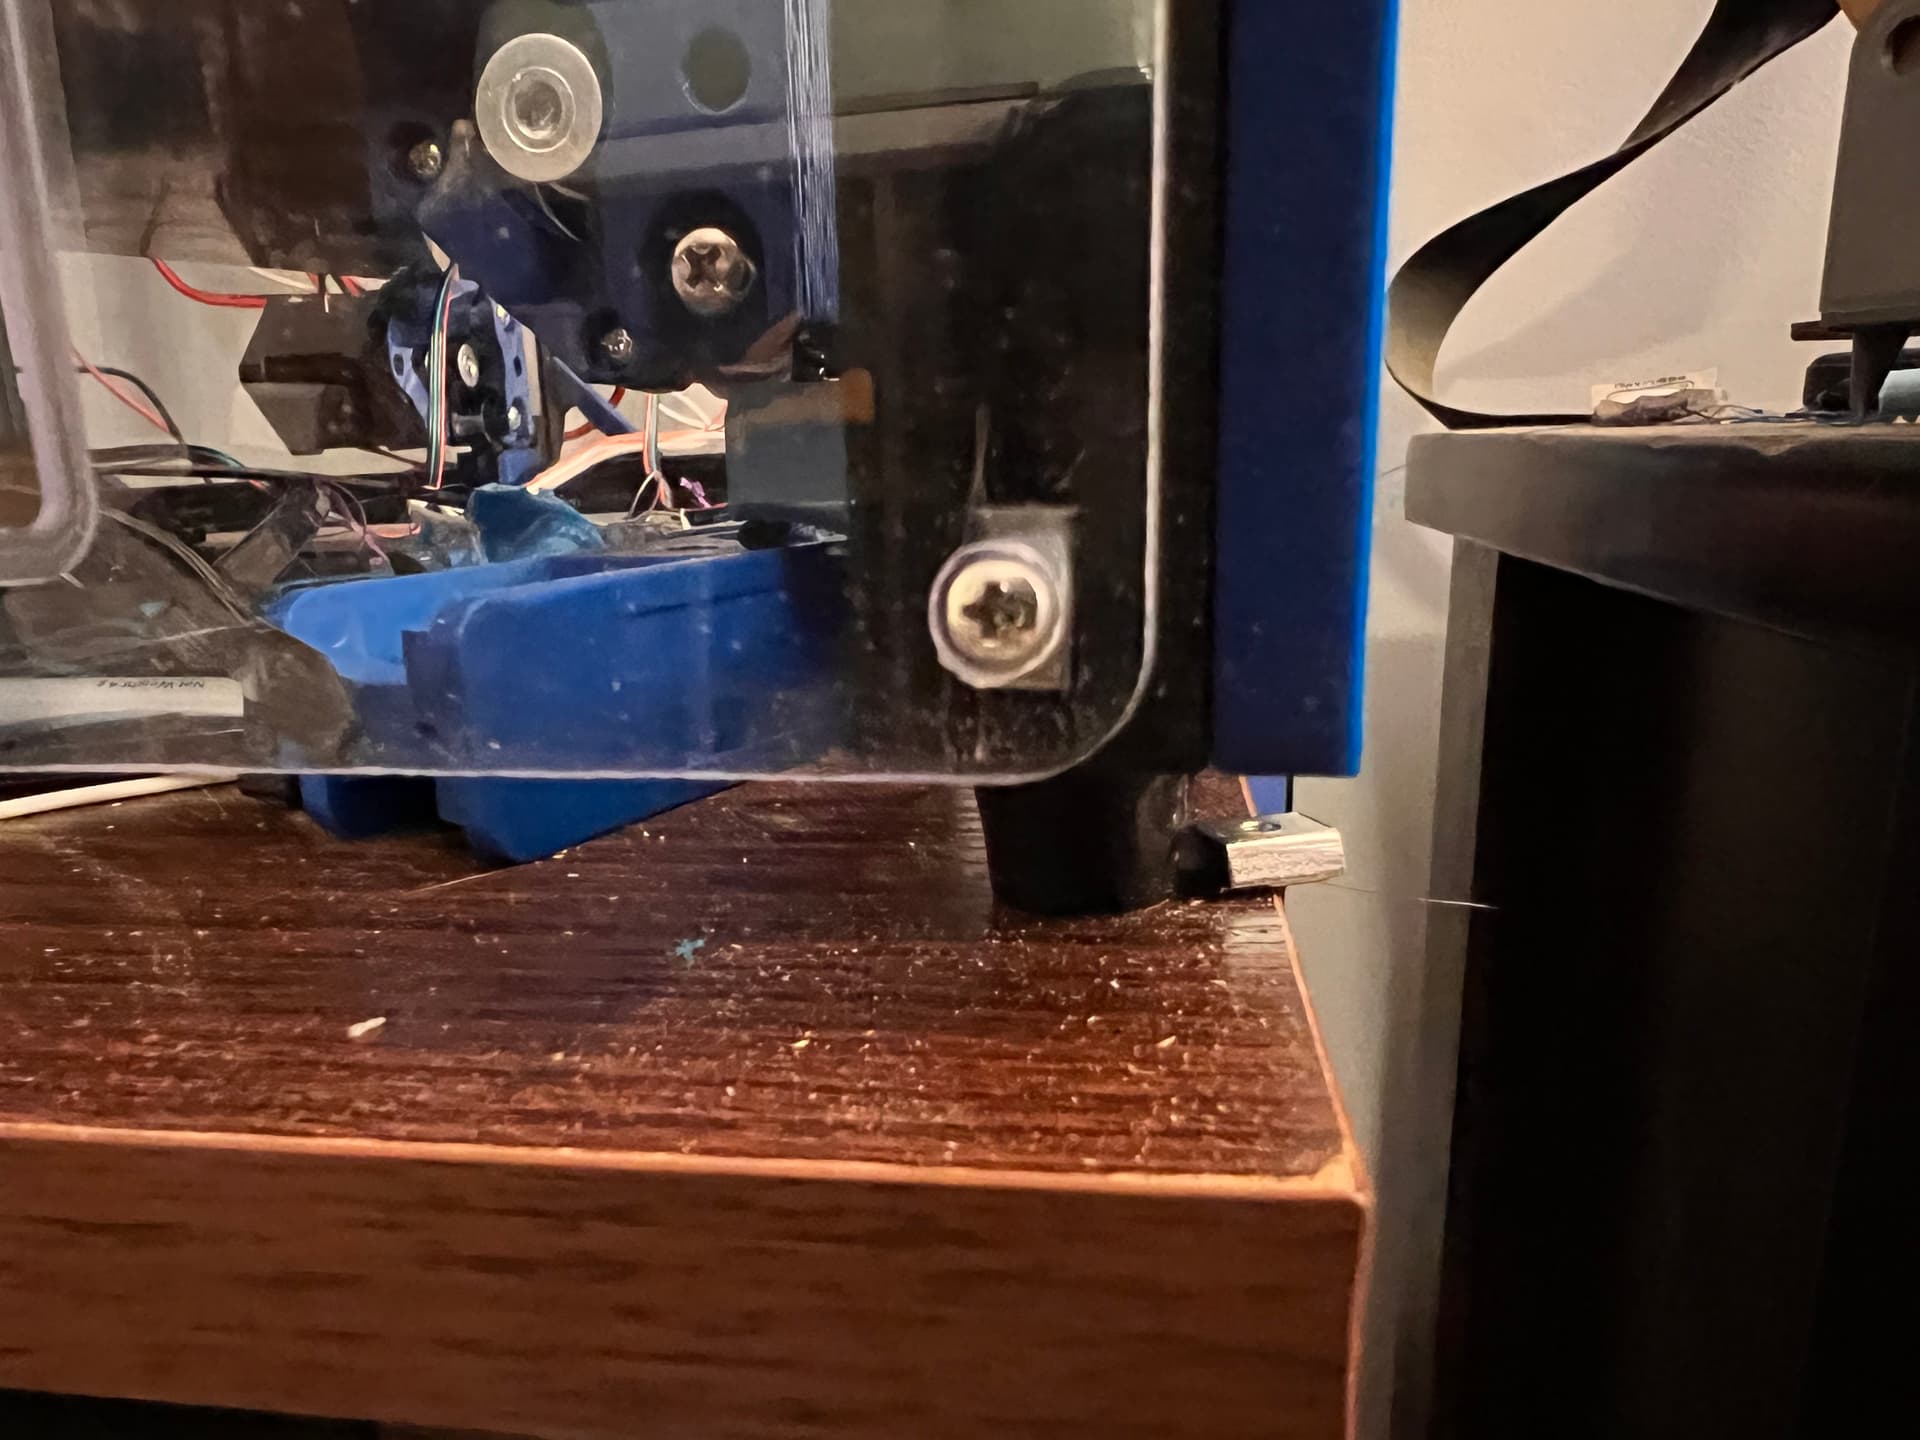
I JUST finished printing the test. Been a busy morning. Waiting on the bed to cool now so i can take it off and check it out. I was thinking that while this should work great for the front, I don’t see it working for the sides or the back since those all have a 2020 extrusion even with the bottom. Not sure the best action for those. In my head I see it bolting to the bottom of the 2020 with M3 tnuts and stick out to hold the LED and then a lip up just a little over the side of the panel. Hopefully that all came out right and made some sort of sense lol.
I have 3 spools of it here…still haven’t had the guts to try it LOL.
I think it will work great for the front panel. I think i have some clear silicone. Pretty sure i dont have any contact cement other than some spray stuff that will just make a huge mess with this. Ill look around and see what i can come up with.

I have 470 mm between the rails on the front. Cura says that wont fit on my ender 5 plus so I guess I will have to split it.
1 Like
Since this design will work for you, I’ll give you a two-part solution late today (my time). I’ll cut the junction at an angle to reduce/eliminate light seeping through.
Silicone caulk/glue should work, though you will need to clip/clamp the channel while the silicone cures. Contact cement is still my first choice. The cement fully dries before you put the two pieces together, so no clamping is necessary.
1 Like
Thank you and absolutely no rush!
I will be running to Ace here in a little bit. I will pick up some contact cement while I’m there.
Any thoughts on this part?? Again no rush at all. Just picking your brain while I’m thinking about it.
One other thought for attaching the channel. Double-sided tape would work well…the thin clear kind.
As for the 2020 extrusion, I’ll give you a modified sample STL file later today.
1 Like
Just got back with contact cement so ill go that route when its ready.
Awesome!! Thank you!!!