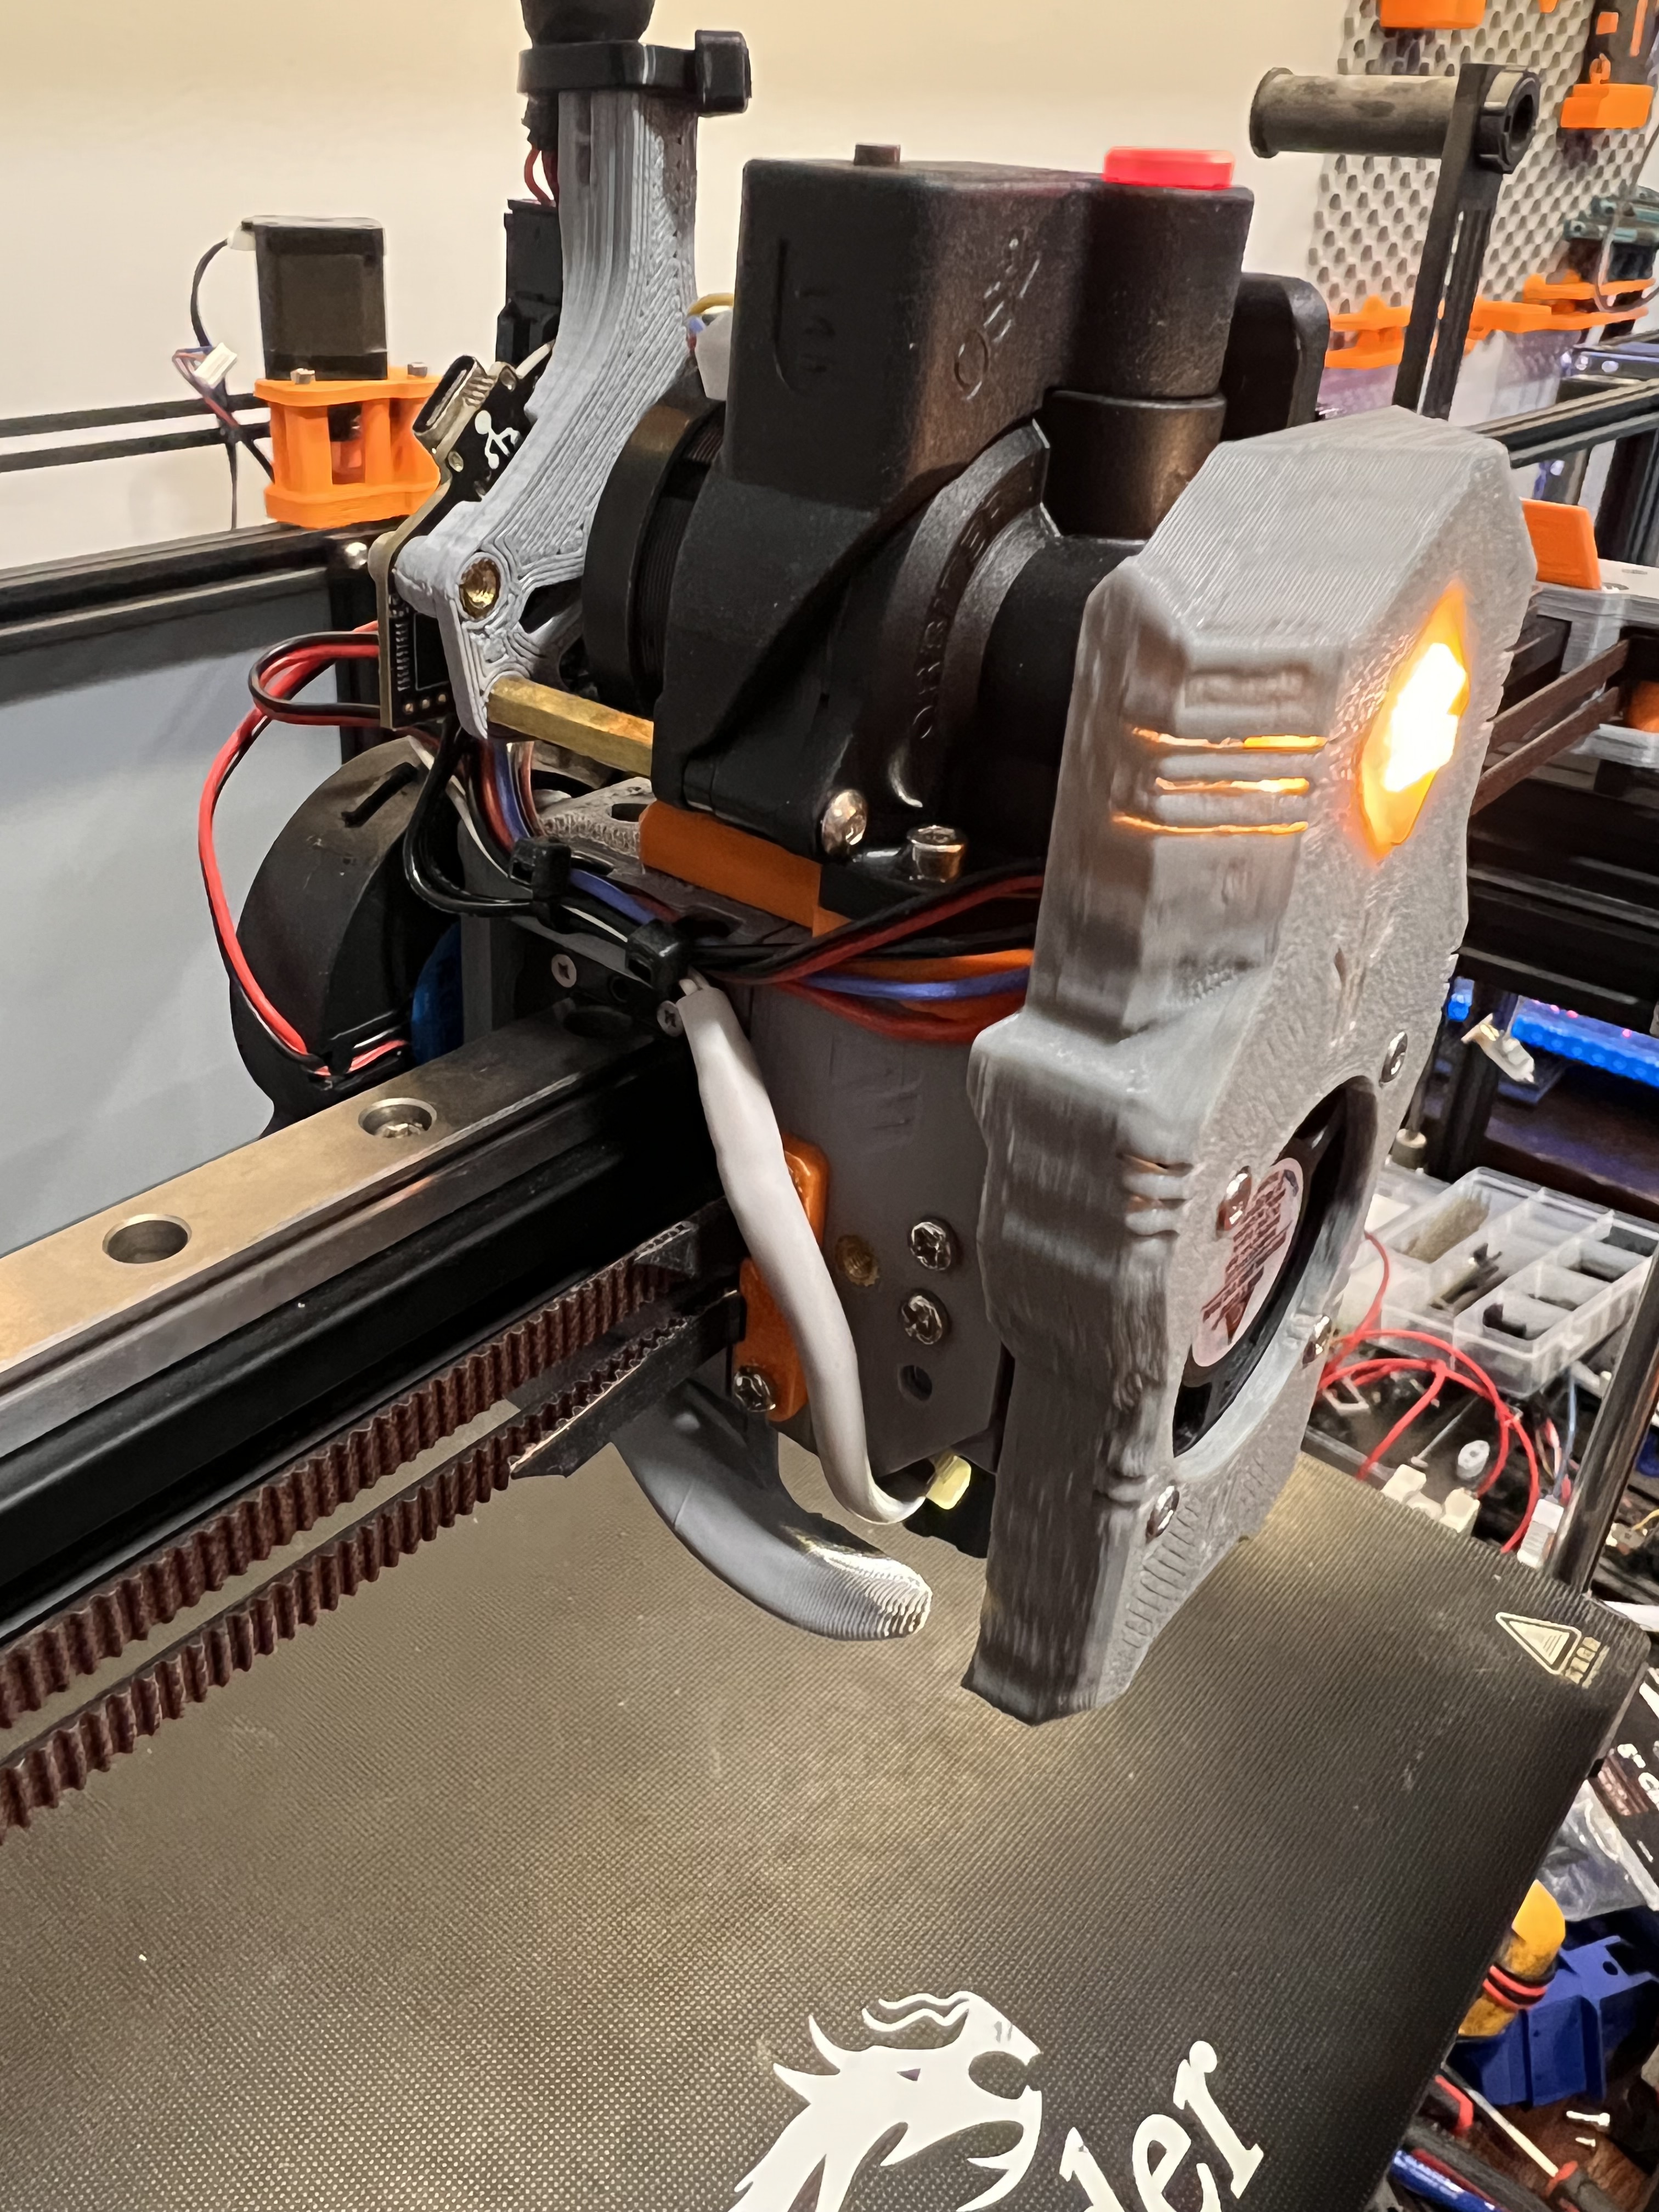
I haven’t actually gotten to print with it yet. But it did light up all the way to the nozzle. When I get back home I hope to get it printing and I can send you some video of it. Those little chips are surprisingly bright. I need to figure out how to separate the control of them and dial the logo one back some it was way too bright even at 50% lol. I know it’s easy to do in klipper I just have to remember how lol
If you can mount the leds far enough out and at the right angle you should be able to light the nozzle easily
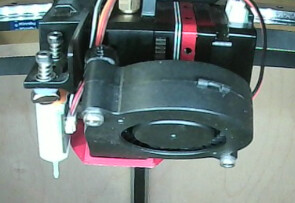
I have the BLtouch already mounted right there (at 90 degrees with the cables on the right instead of up front. The mount is a bracket that goes between the fan on the left and the hot end cooling block / heat break just behind where you have it.
EDIT: I mention this because you could use your fan mount and optionally just print the bltouch mount that already exists and you wouldn’t need to add anything to use your mount with it.
I can make it separate. Do you have a link to some BL mounts you like?
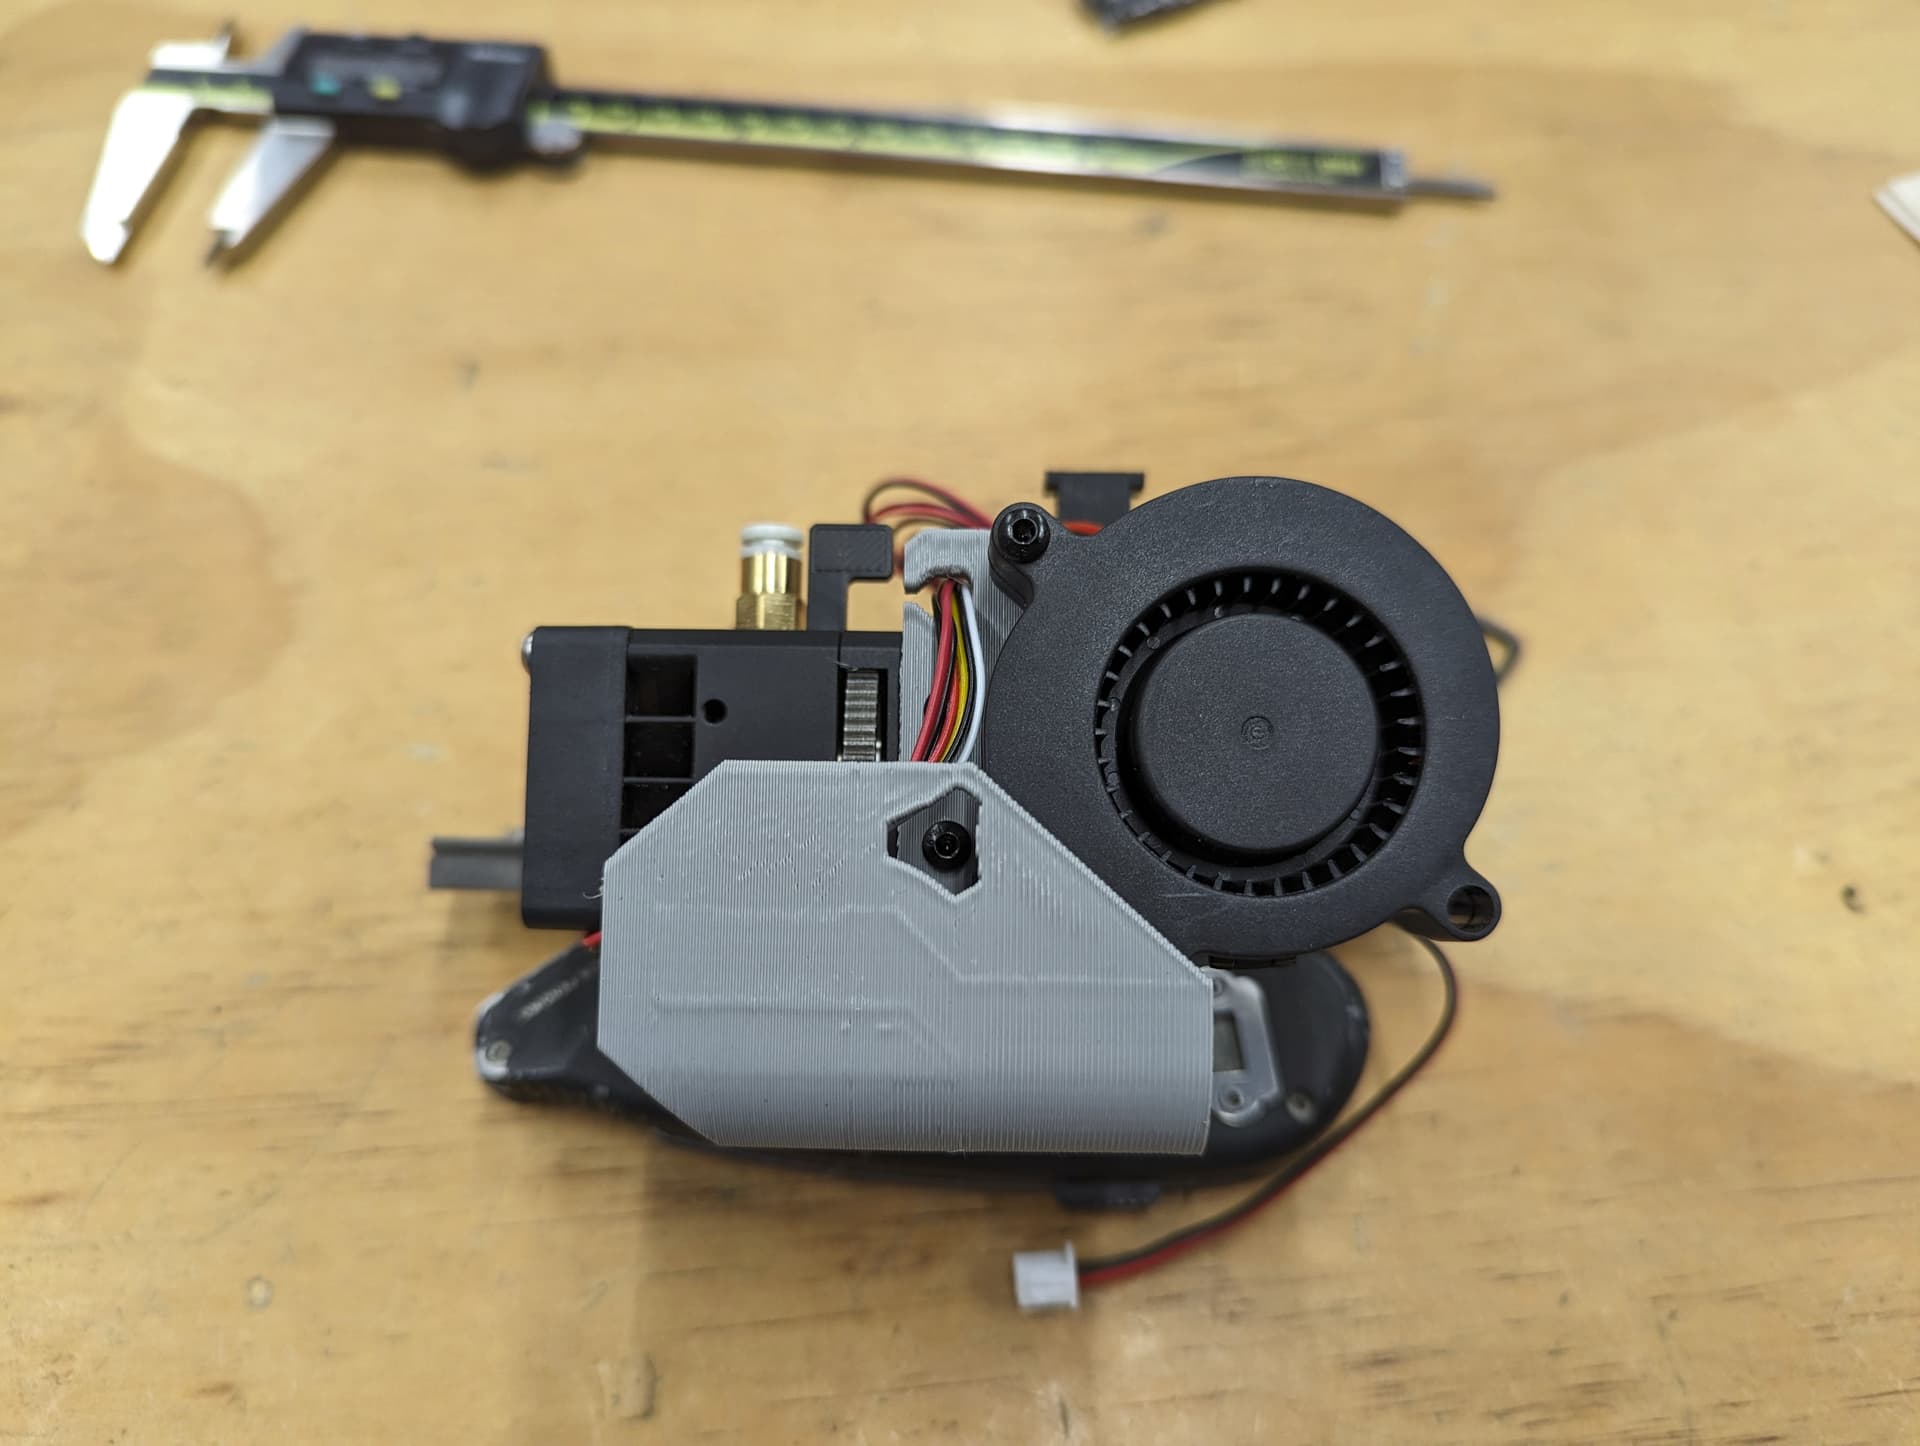
I started making them separate for this reason, but the second set of screw holes are just too close to the vents to really use with a printed part.
This picture seems to have all the cooling vents pretty blocked.
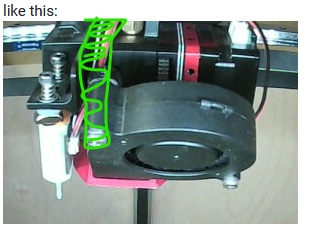
That is a good idea, there is room to add one there, I have a few I can drill into to see where the light actually comes out. I try to design those so it does not blow on the heat block though so I still think it will be a nozzle shadow.
This one does add 1.3mm. Do you think it is worth it or no? I really can’t decide.
The last pieces of this puzzle for me is if I need to add some guide channels internally to evenly divide the airflow. Hard to tell but I think a majority comes out the far side. That might actually be a good thing.
I did a quick tally, it looks like this printer is costing me so far just under $800. I think if anyone were to make one from scratch that is a good ballpark. That price can be dropped a bit cutting your own parts but then you factor in a lot of time. (the first one is costing me faaaar more but I bought a lot of things to look at and some extras).
Bambu is doing one heck of a job shipping fully assembled printers with advanced capabilities for far less than that, and full color changing for a bit more.
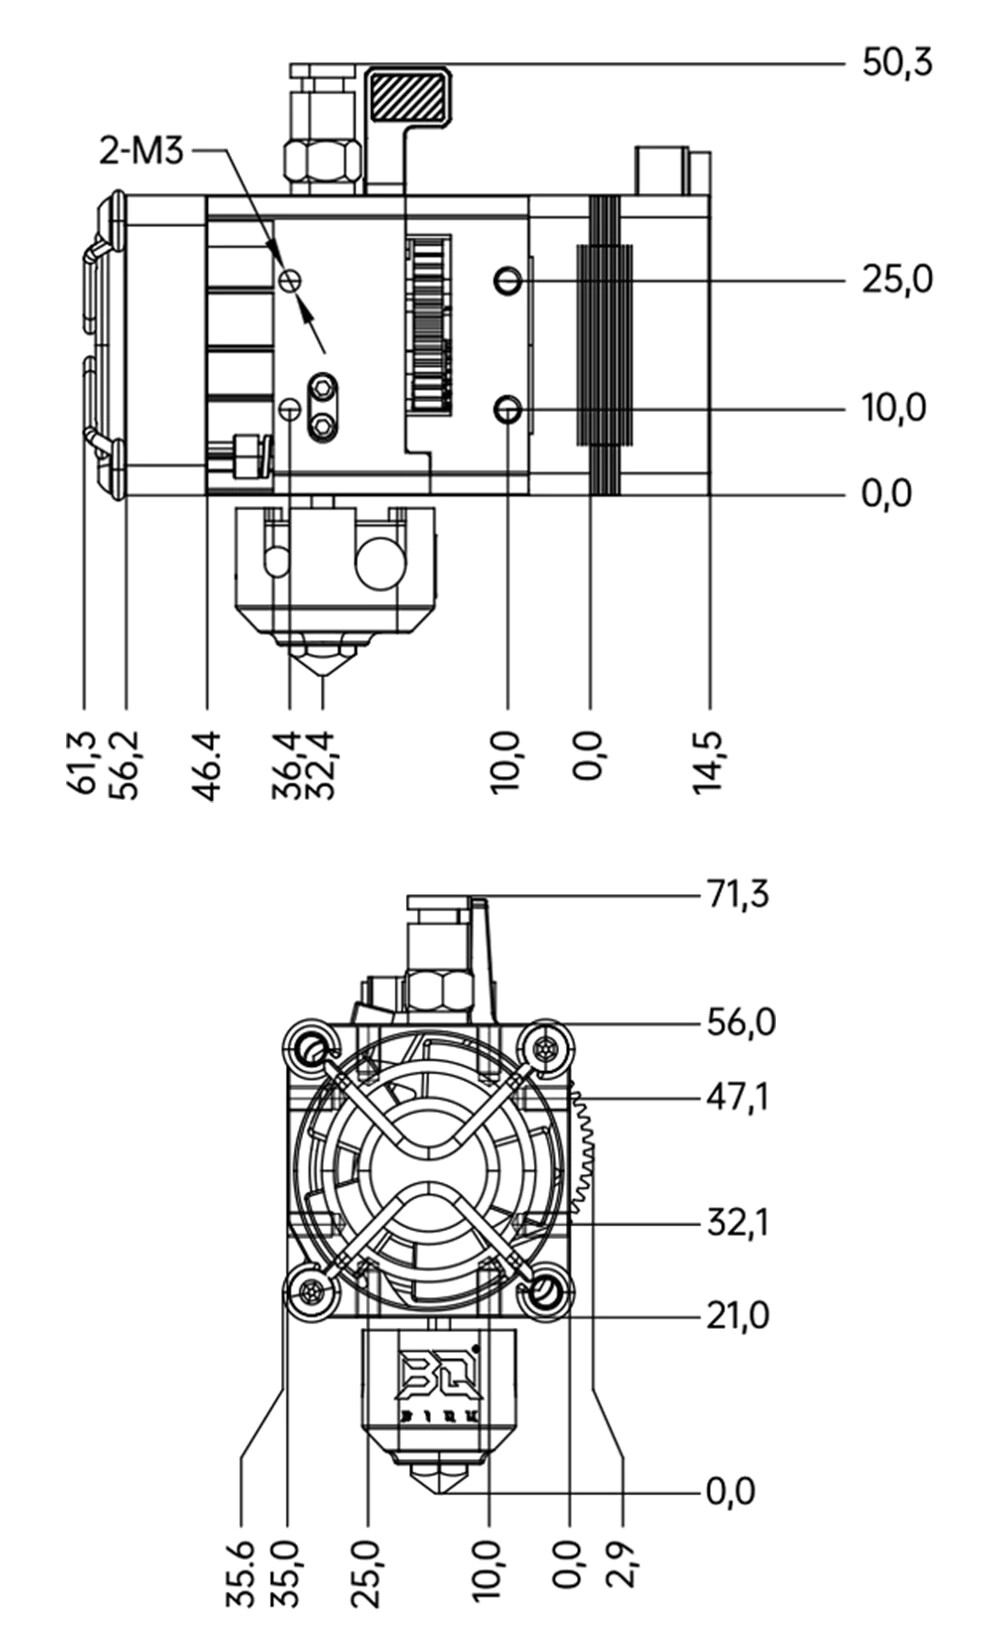
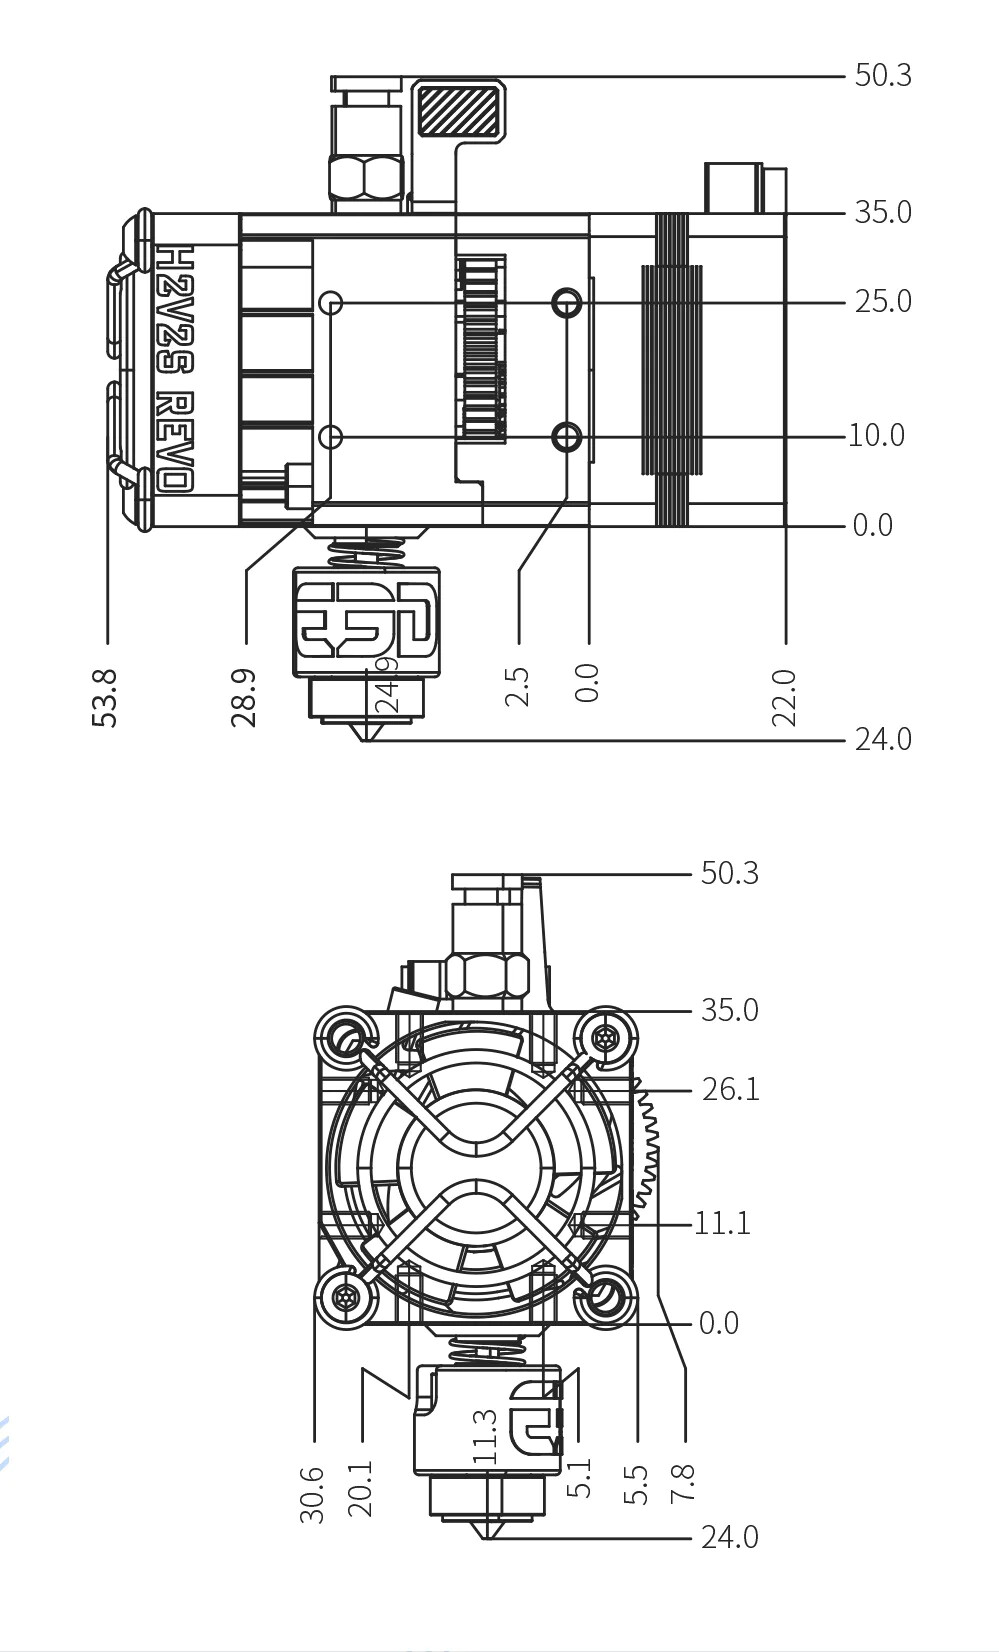
Is there any notable difference between accommodating the H2 V2S and the H2 V2S Revo?
The Revo version is far preferable from my perspective, and it’s only $119 so not even a major price hit.
Yeah, nozzles are in slightly different locations for REVO…
Beyond nozzle size options, to minimize dealing with clogs or quality issues caused by partial clogs… Are you thinking REVO provides a convenient way to have nozzles dedicated for materials with very different extrude temperatures? E.g. 0.6 noz for PLA, and a separate 0.6 noz for ASA or Nylon?
It should be fairly easy to edit the CAD for my fan setup, but the printer mount itself should be the same, so you are able to use other fan mounts and stuff if you would prefer.
It is higher than the Lite version though, in terms of the printer itself no changes, you lose or gain a few mm. The fan mount is where work is needed to change those 3mm for the probe, and a easy tweak for the duct…or use a premade one.
@vicious1Printables
Mount for a bl touch that sandwiches between the fan and heat sink.
Make the mount holes on the fan to be slots and then you should be able to get the 3mm difference just in where you tighten them up.
Are you concerned about losing the travel on the right side of the machine with the fan stick past the extruder? I find that I never use the gear on the front on H2’s Plan to cover it with the fan when I figure out how to design a damn duct.
As far as control board my suggestion is the Manta M8P. Plenty of power, 8 drivers as needed. Add the CB1/CM4 to it and has a single board solution. If you want to add CAN bus and an EBB on the carriage you can use the Manta M5P instead. I am super happy with the Manta Board I have installed. I have an M4 on the Hypercube, the E3EZ on my Ender and the M8 on my V4. The CB1 is more available it seems and a much better price than the Pi’s these days. I actually removed Pi’s from my Ender and Hypercube to replace them. Actually now I think about it you can use the E3EZ with CAN also as it runs 5 drivers.