My goal is to set this up with a 3 into 1, which I have done previously on a GEEETECH i3 (Chinese Prusa clone that I treated as a big experiment). I wanted to do this in the first place because I wanted to print out a multicolor 3d Settlers of Catan Board. I got my first one done, which will be for me, and now all my friends want one… So gotta get on that eventually. My build will be a 300 x 300 because filling up the bed is more efficient with the waste block using a 3 into 1.
A few pictures below of the old printer and a random picture of the completed gameboard:
I won’t be including any pictures of how I left my board because I’m pretty sure @Ryan will ban me from using his designs I’m not proud of how I left the wires…
Anyway, so with those goals in mind I am curious Ryan if you can share the changes you made to the firmware for Repeat v2? I have done plenty of firmware changing up with a 3 into 1, BlTouch, speeds and homing changes, etc. I have not done CoreXY or 3 z motors for sure. Just curious what changes you had to make and where they might be in Marlin. If it’s more complicated than can be listed out then no big deal, I’ll start trying to figure it out on my own, but I’m hoping since you’ve been there I can get it figured with a little help.
Finally if anyone has questions on multicolor I can probably help and don’t hesitate to ask!
That seems like a really fun project. Is it like 3 bowden extruders?
You can grab the release, and do a git diff (if you’re into that kind of thing). You can also get the code from Marlin for the same release and do a meld between the release and the “vanilla” marlin to see everything that was changed.
But the main changes are done by scripts. This is the main one for v4:
Which also calls some of the other scripts, like this v4 config:
And auto filament change:
From those scripts, you could figure out every change that was made. It isn’t super clear, because of the reuse. But it is all there.
I already have the Octopus in the first pic there! Upper left of the table. Will let you know how that goes.
Thanks for the board compliment, I was really happy to get it all done as nicely as it turned out.
It is exactly like 3 bowdens, then you just need to get your “Tool Change” gcode situated so that it retracts the first color, loads the second, and prints into the waste block to get the first color removed. I want a bigger bed because whether you’re printing 1 or 12 you print the same waste block.
I really wish I knew a bit more about software development… I am barely familiar with git and didn’t know about a git diff till right here, I will need to take more advantage of these things in the future. I think based on what you posted here I can figure out how I need to change up my firmware to get my printer going once it’s actually built, so thank you very much for that!
Next thing I need to get figured is how you wrote those scripts so I can make quicker changes to my firmware and actually save it all nicely… I did a lot of firmware changes trying to get the first printer there up and running and looking at what you have here I think I could have done it a lot easier…
Thank you! There is no mixing going on in this, in fact the way this particular hot end is built it would jam if you tried to mix. It really is just 1 nozzle and heater block that can be fed by three different extruder motors, just one at a time.
No competence will go unpunished . If you sound like you know what you’re doing, I will talk to you like you do. If you have questions, don’t be afraid to ask.
I started coding before git (we used CVS, not the pharmacy). Git was such a game changer. That was a long time ago and I still learn things about it from time to time.
They aren’t hard, but they are tricky. Anttix didn’t write them to be reused by a lot of people. He wrote them to be similar to the way Marlin writes its own test suite. That would make them harder for Marlin to break.
It is really nice. The biggest benefit is the integration with github actions. Any changes to the scripts, and also each night with the latest marlin bugfix code, the server builds all the configurations. If the builds are successful, it even makes the zip file with the edited source and bin files. If it fails, we get emails telling us what happened.
You could fork the repo, make your own changes, and your github actions would be able to automatically build marlin for you.
Dang I didn’t know we were here to complain about work . Just kidding, but does feel that way more often than it should. Anyway, I try to at least come prepared to have someone who knows more than me solve the problems, if it’s too easy a problem then I didn’t do my part.
I’m just in it enough to be dangerous with all the programming stuff. I’m really a Chemical Engineer who went into materials, I know enough to attempt to make my job easier and that’s it. Plus I like messing with the printers which requires just a touch of know how.
This made me laugh because it sounds like something my dad would say to me. I get it though with it’s better to make it harder to break than easier to re-use. I like the thought of automatically updating with Marlin bugfix but I can’t see myself keeping up on the bleeding edge like that, what I really need is a way to make quick changes to my firmware, get it on the printer to run test prints, and then go make more quick changes again, re-test, but then I can do that again very easily a few months down the road. I think what you said about forking the repo and doing my own changes would be the way to go, then all my changes will remain until I come in and change it again.
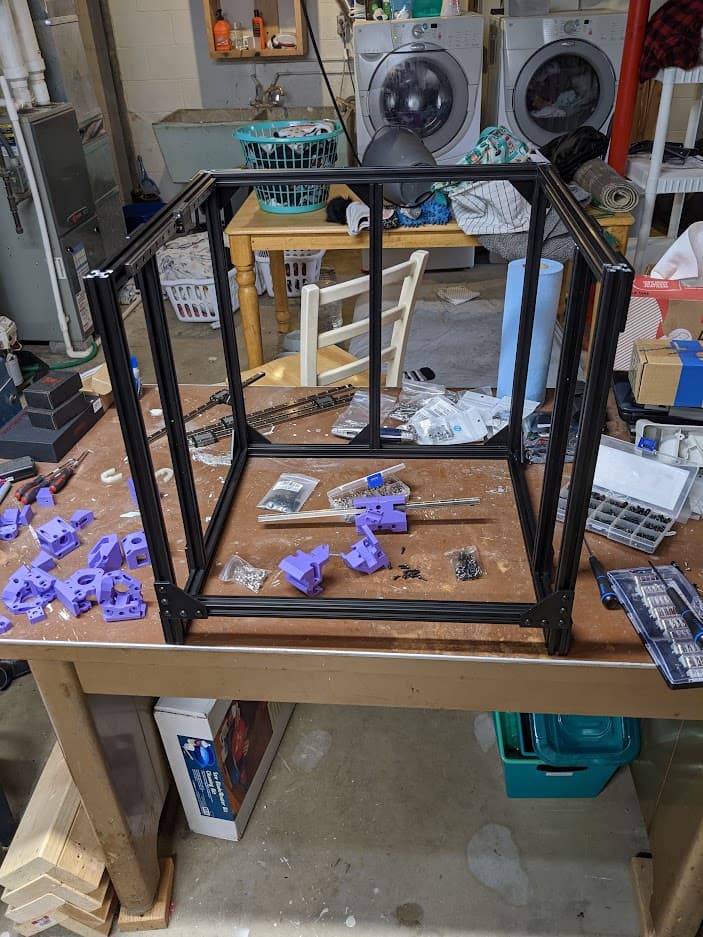
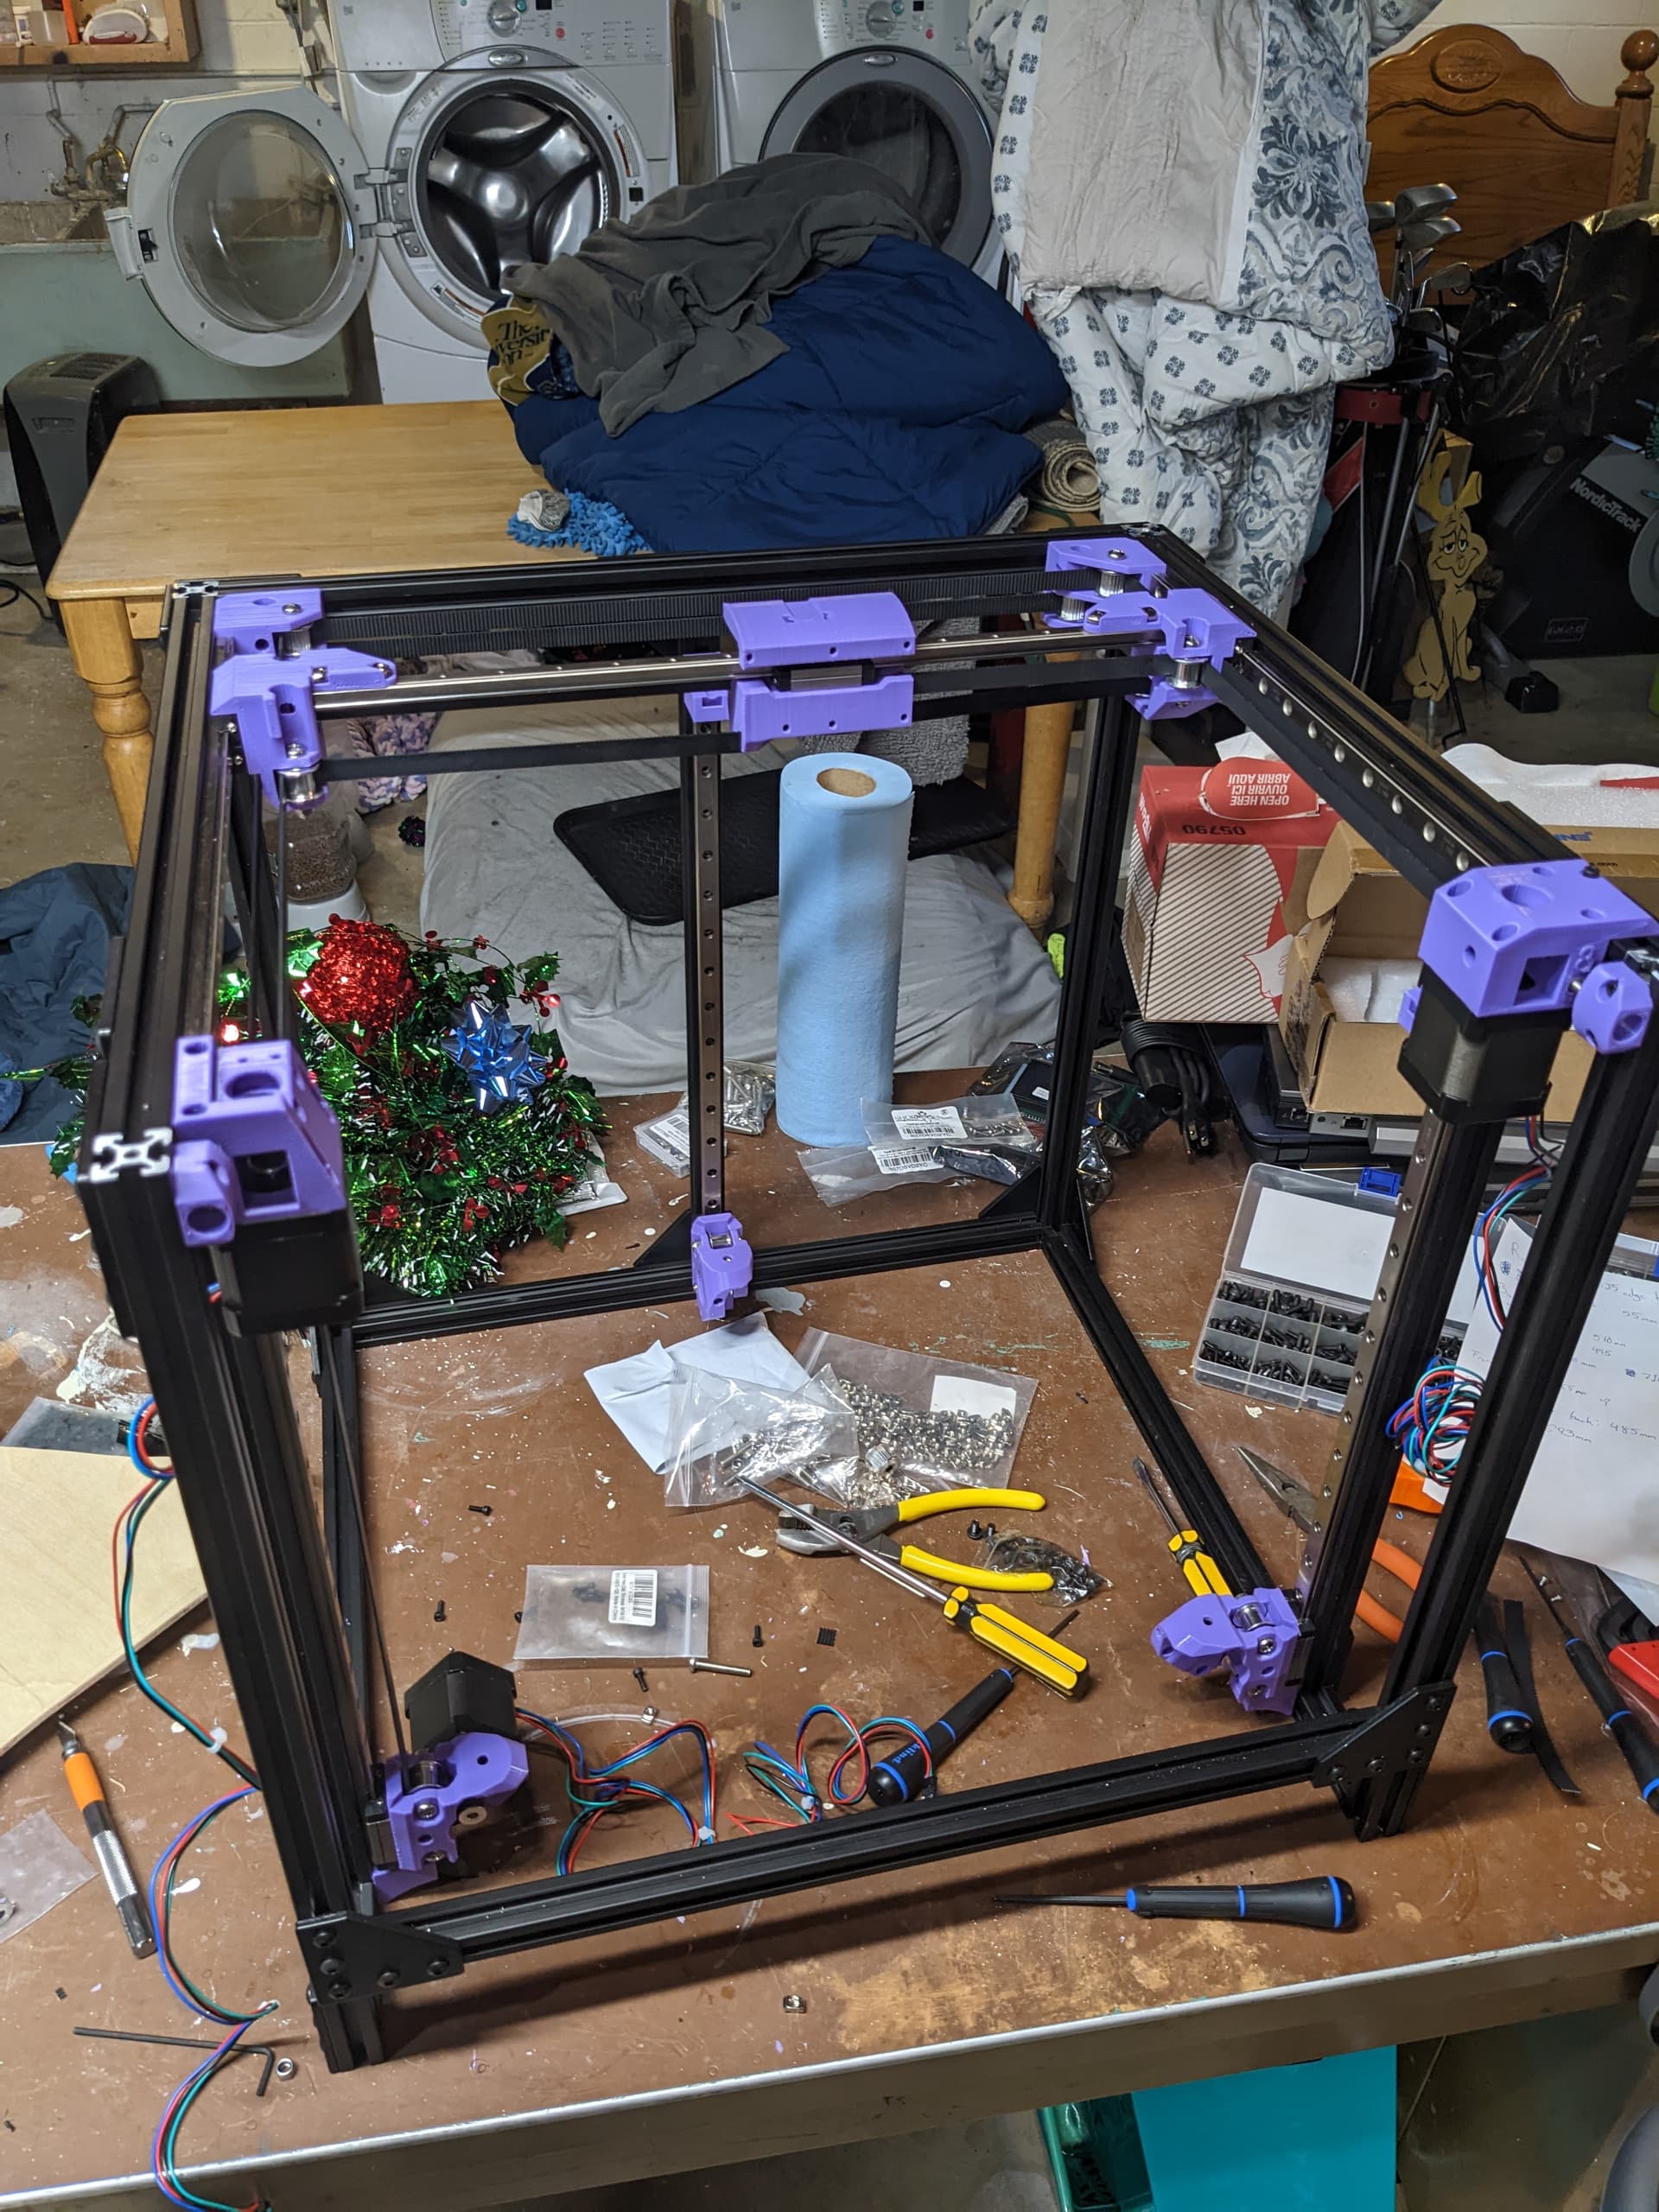
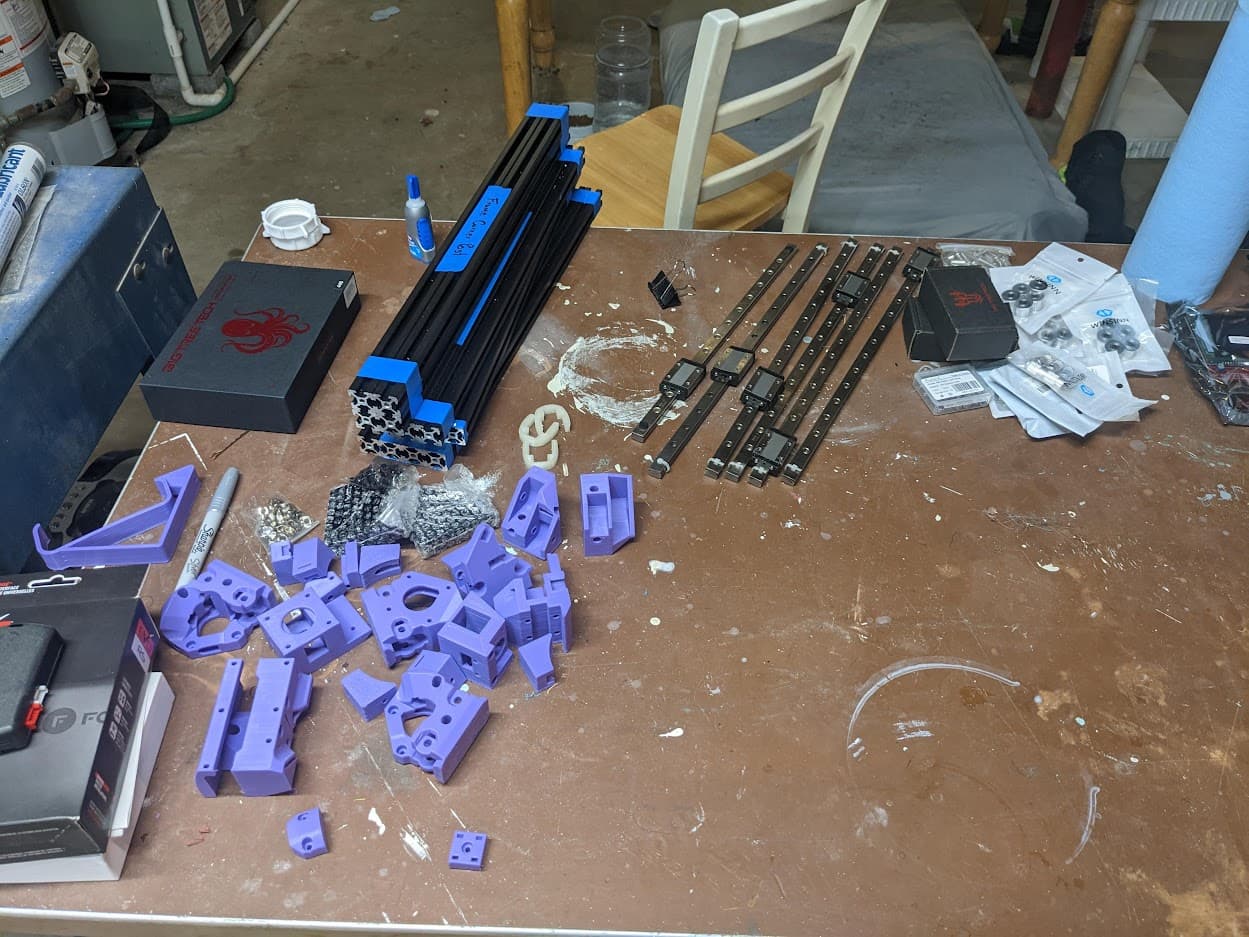
Frame is pretty much put together, need to square things up and adjust distances everywhere, but it’s at least in place just about everywhere, also started to make sure rails would go in and whatnot nicely.
Please excuse the mess, my wife would probably be very upset if she knew people saw our basement.
A couple of questions:
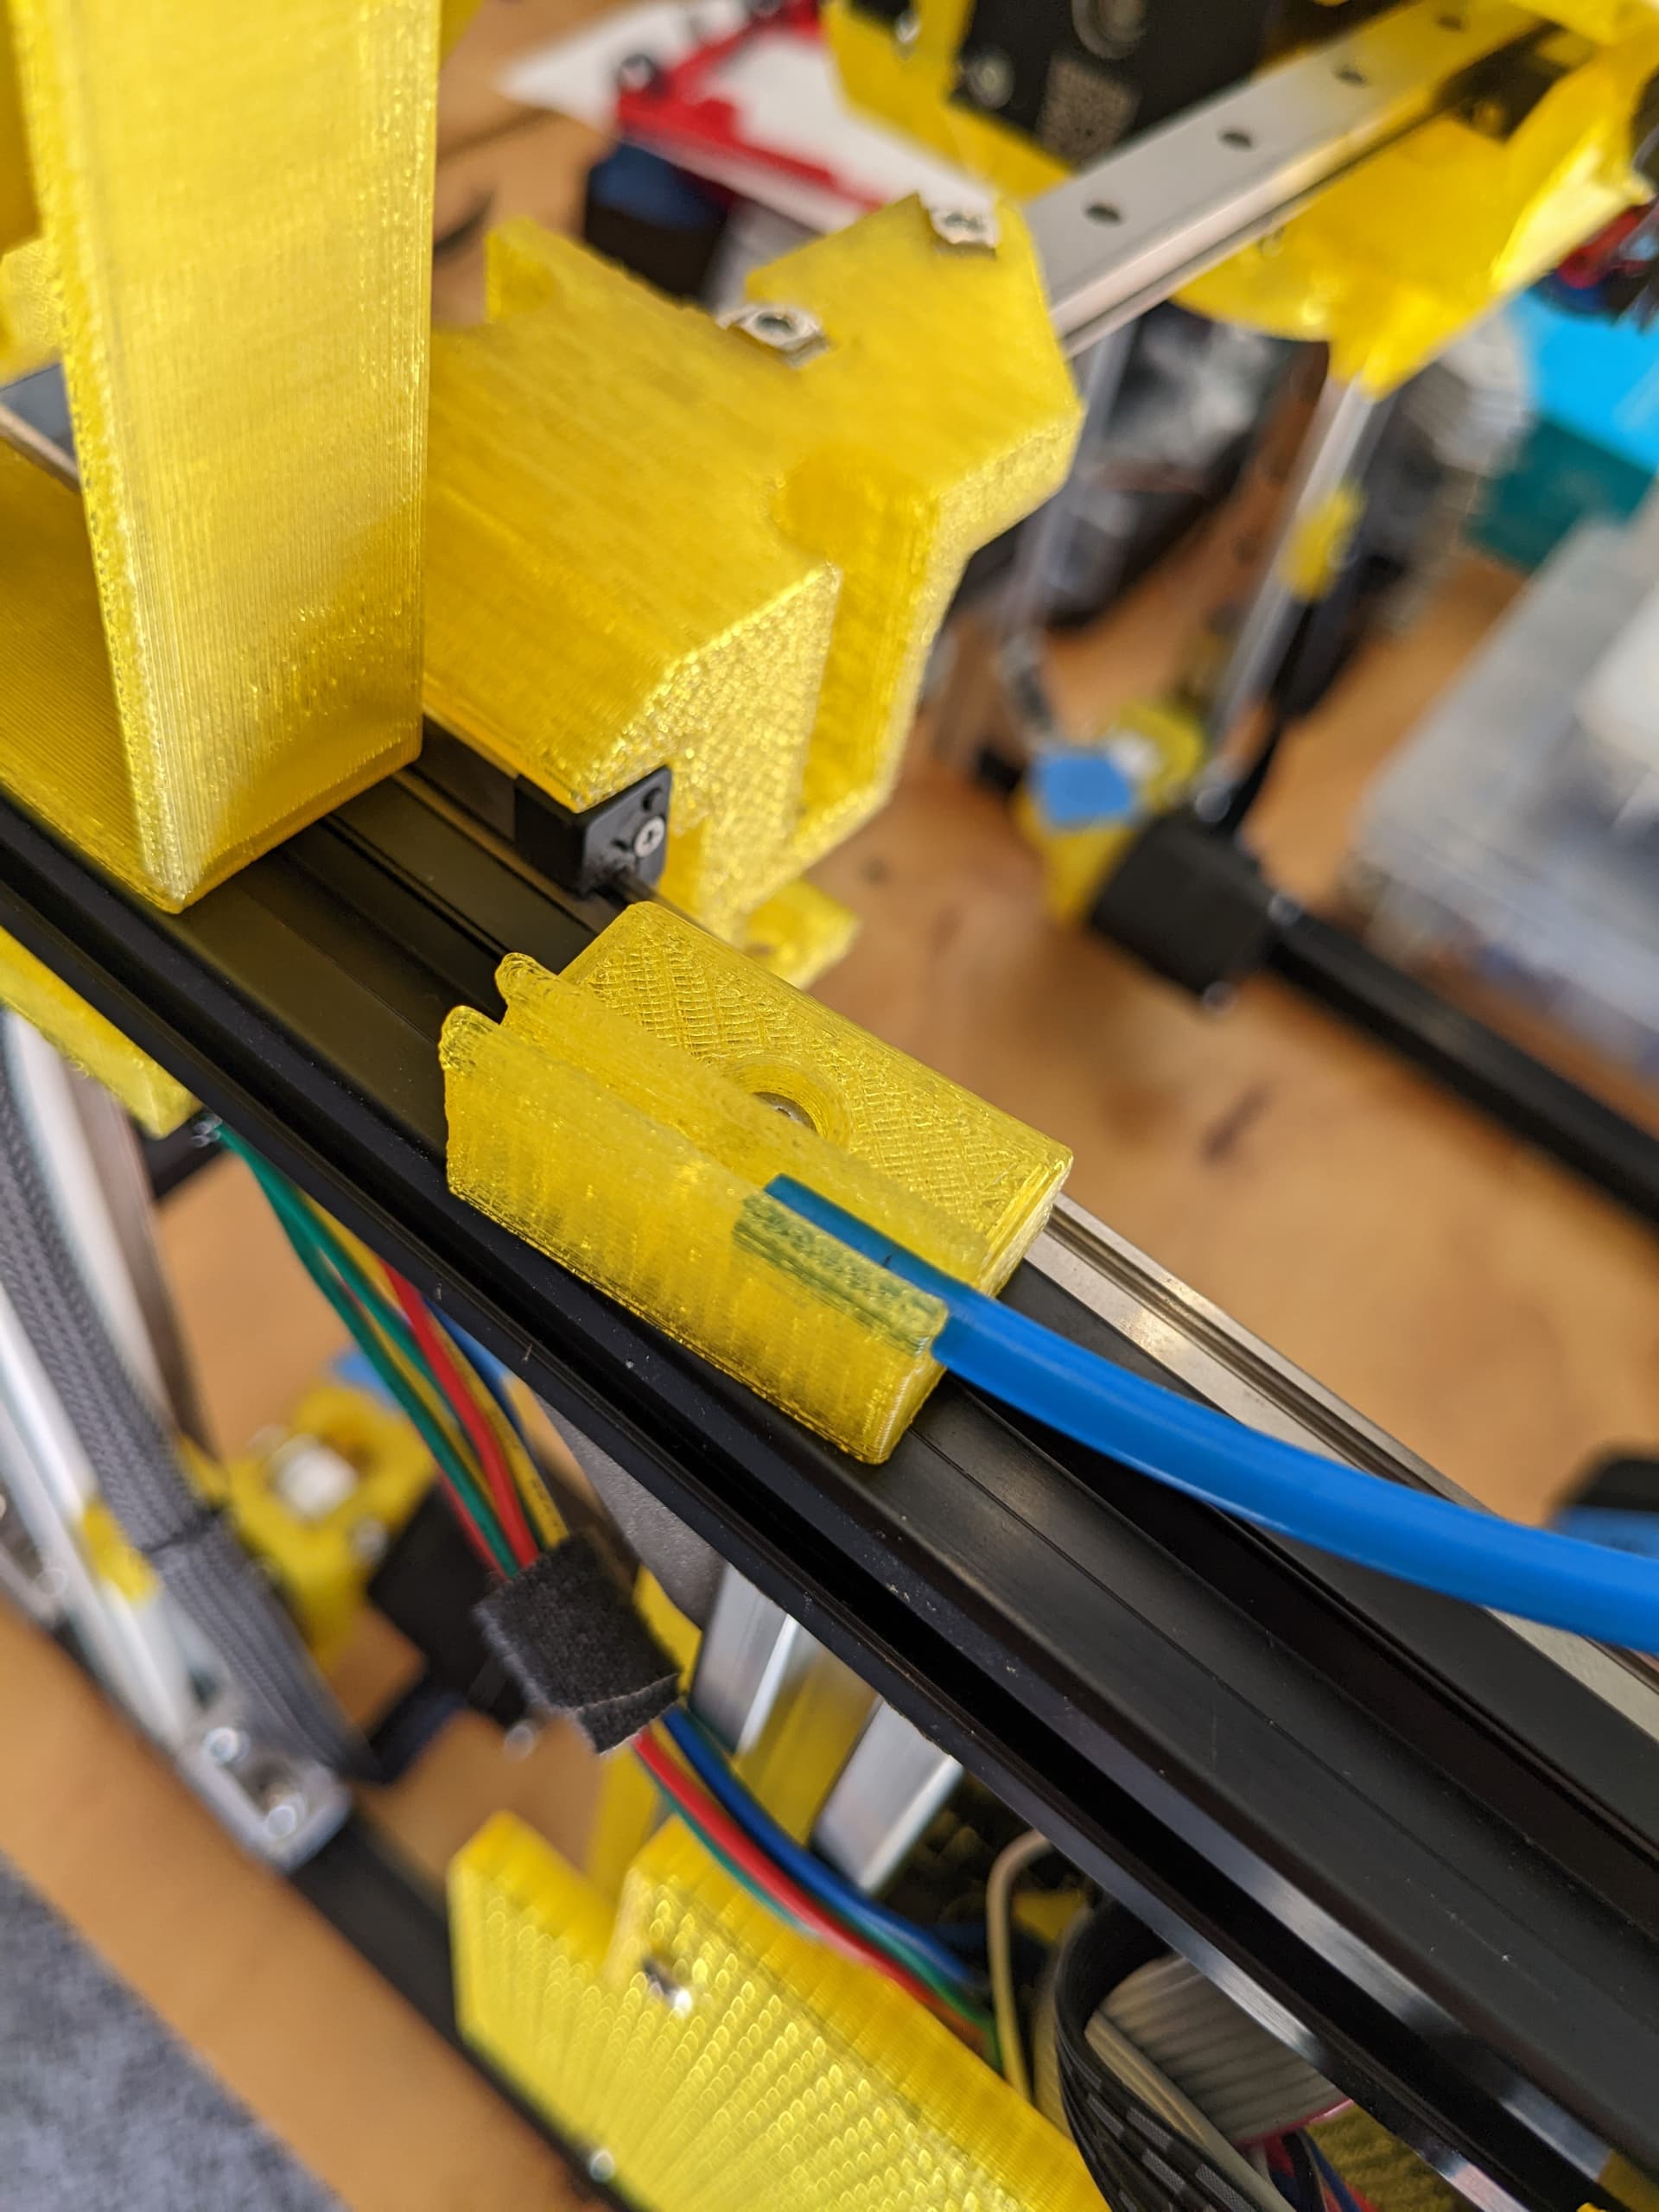
What are the wire hanger and wire hanger tube holder parts for? These aren’t in the Fusion model so I’m a little confused
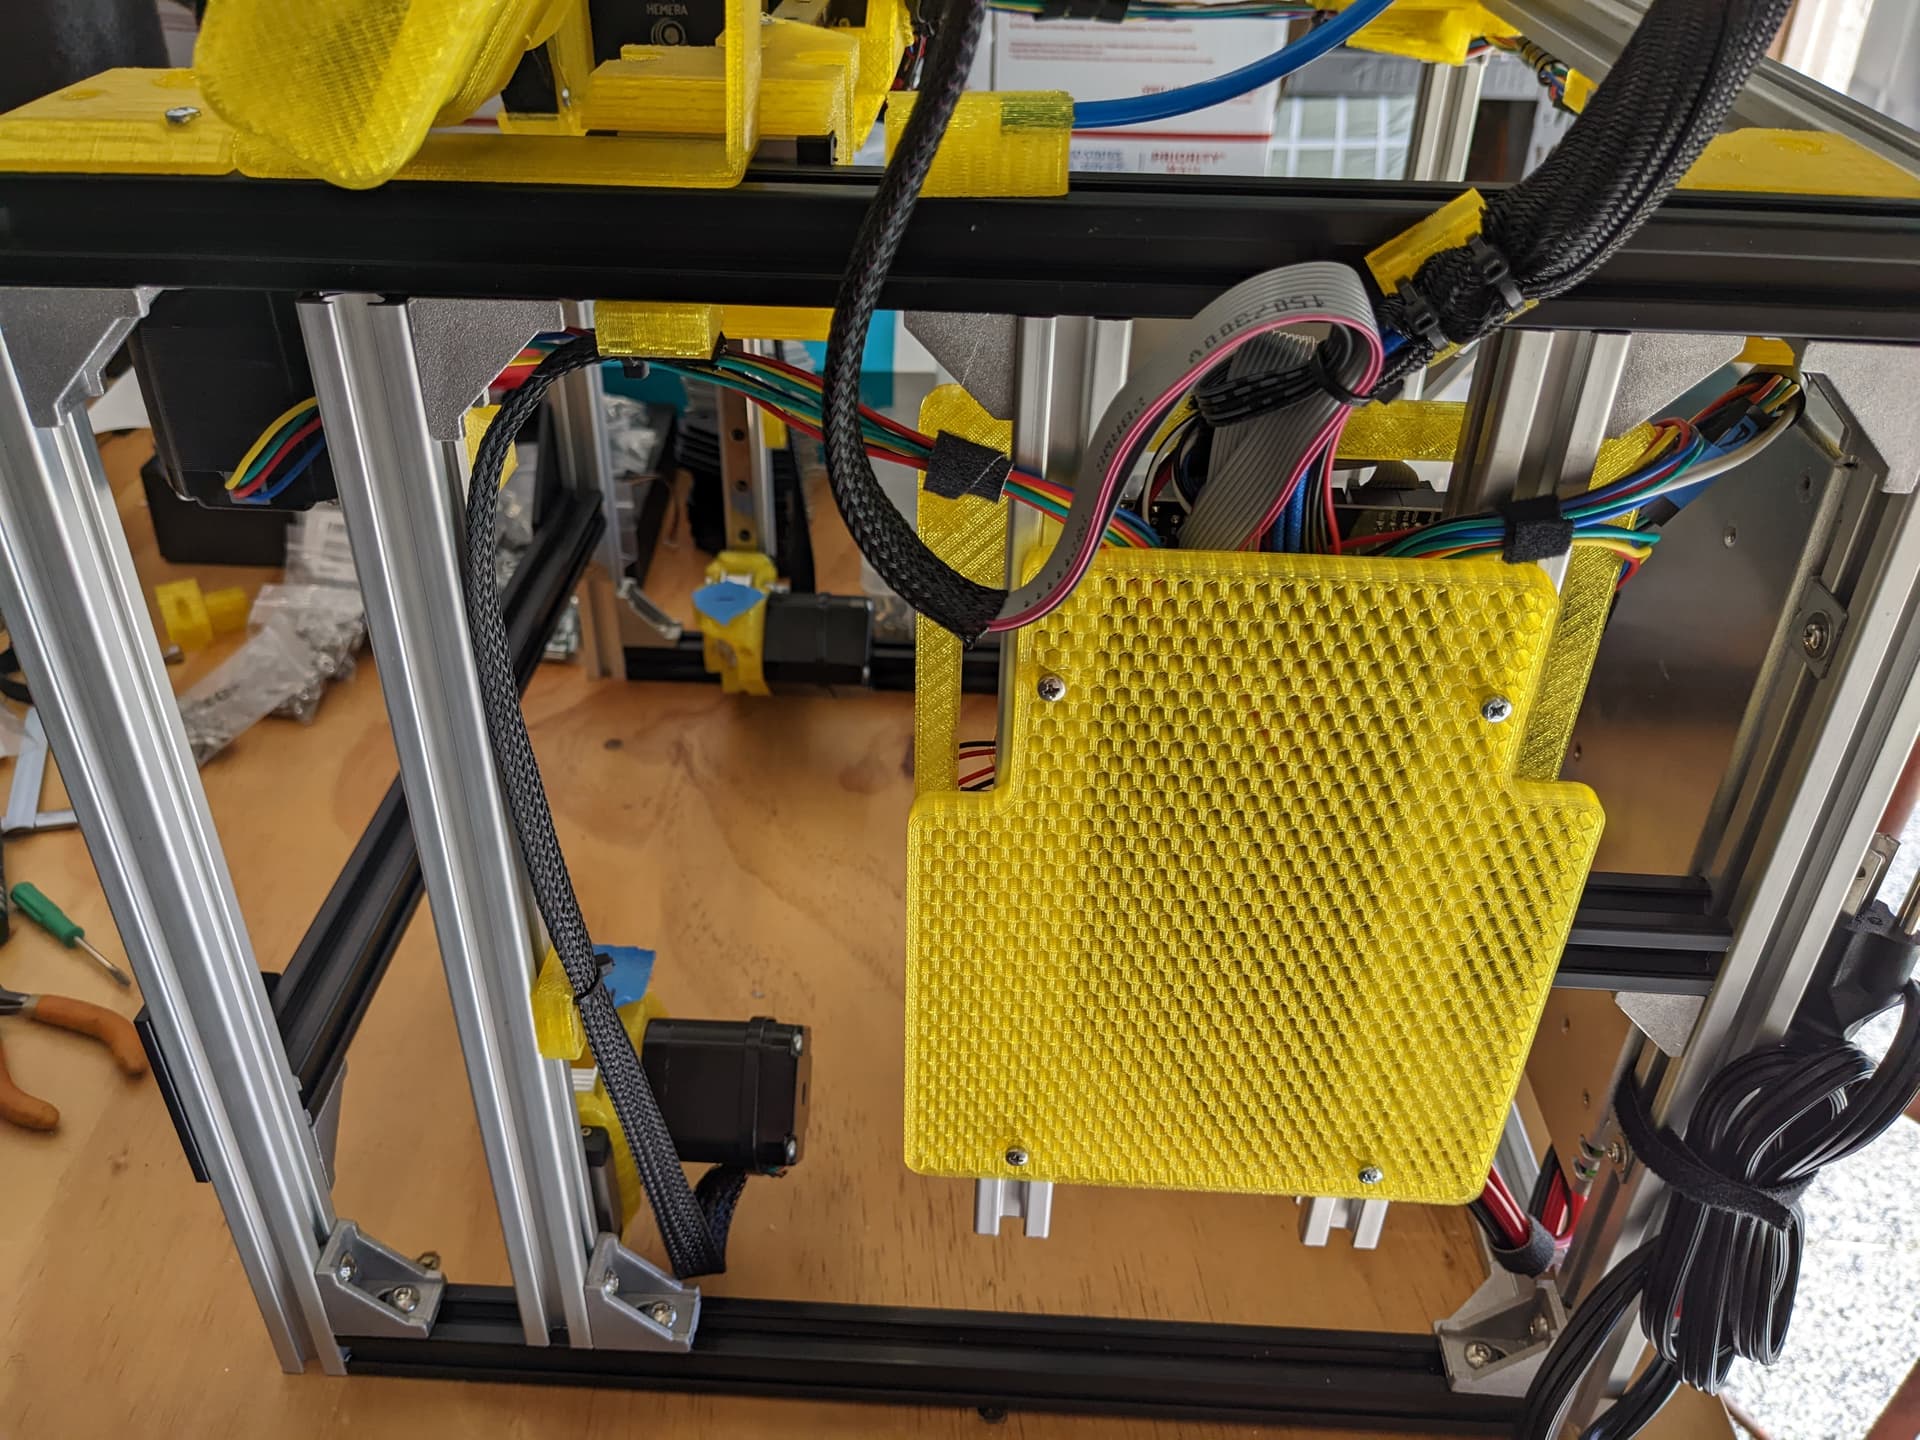
Same with the back plate, though this appears to be how you’re holding your board?
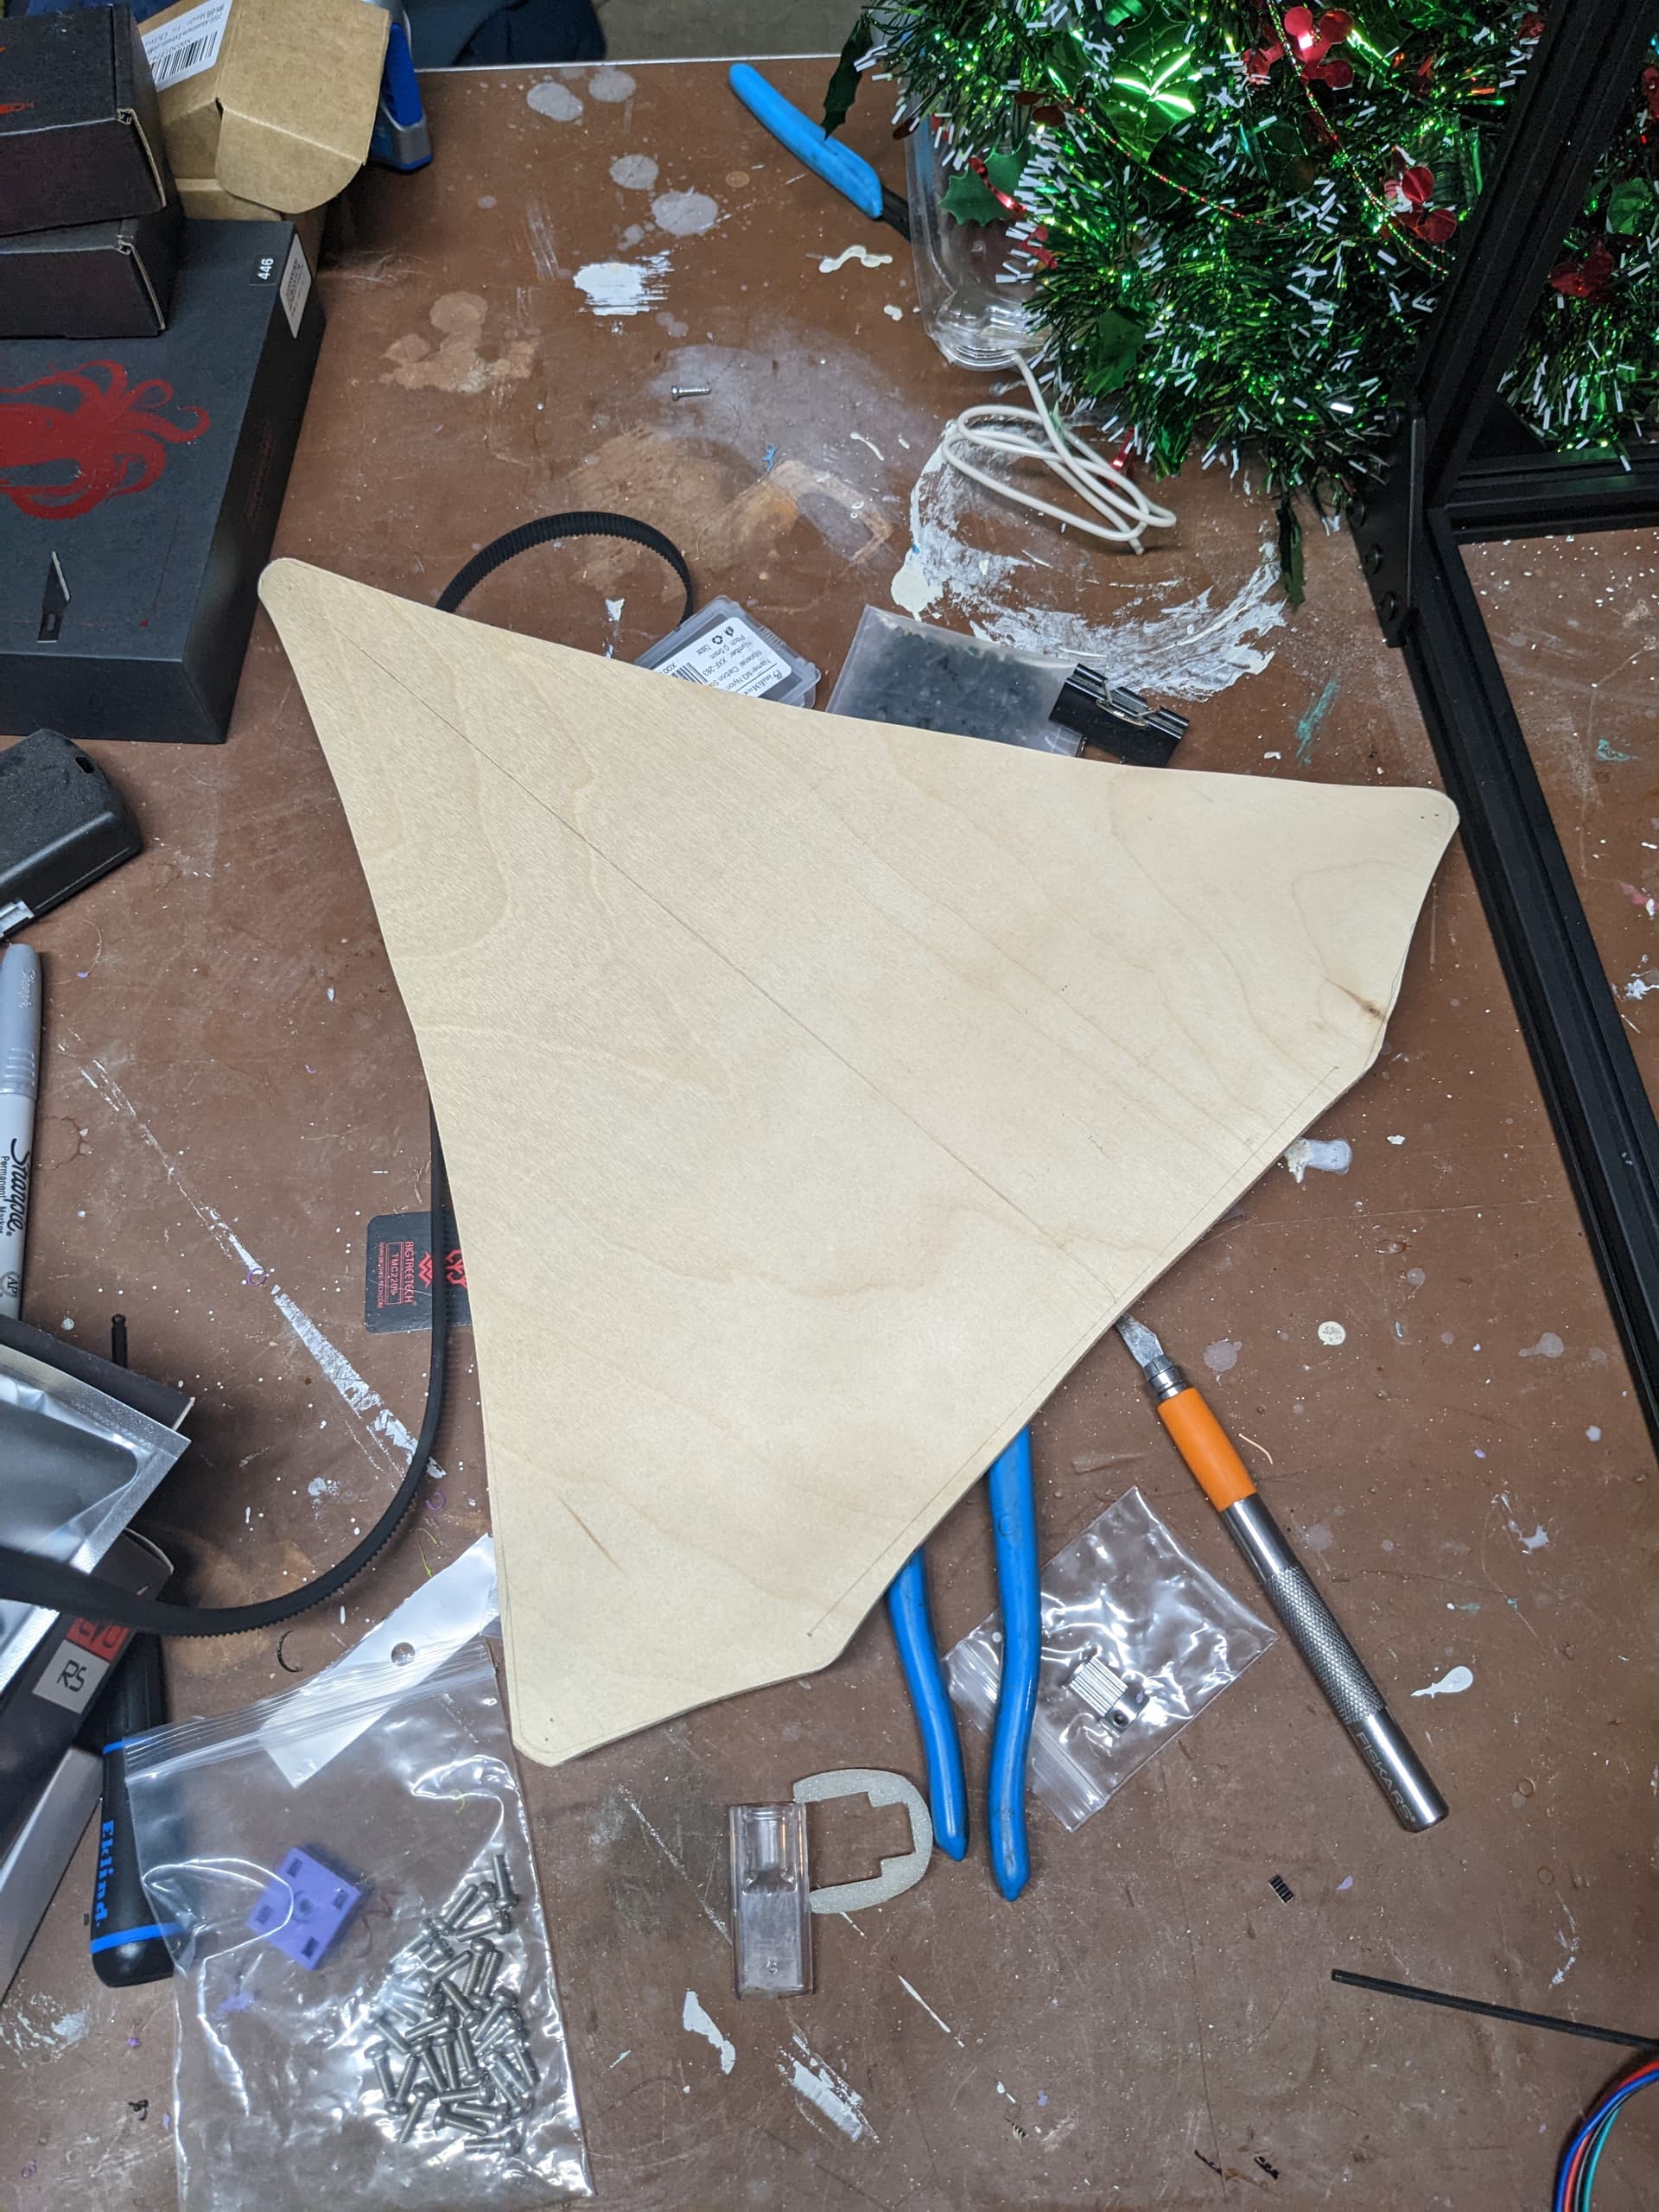
Does anyone know of an easy way to print a dxf out in 1:1 scale? I may start another topic on this but the methods I have found lately are not working so well for me.
Spend a lot of time doing this. The better all the diagonals are the easier and more accurate from the get go. Make sure each side matches exactly, left/right, top/bottom, front/back. Including the diagonals of each. Your back plate is your reference for everything.
Make sure the top bottom are the exact width you are supposed to have to assure the rail fits perfectly.
My 4th build I spent a ton of time getting this perfect. I was able to get the prints XY square in one iteration, and the XY/Z dims were within 0.1mm over 170mm diagonals with no adjustments!!!
To hold the feeder tube and any misc wires.
just hiding wires.
convert to PDF, then you should be able to specify your printer print at no scaling.
Actually, I was thinking Bruins… Don’t know why I was stuck on UCLA, rather than UCB (one of my early IT bosses was a Bruin)… I’ve been building and rebuilding a Raspberry Pi cluster all week, and the brain is getting a little mushified… Mea Culpa!
We are not worthy of your wire management Ryan… I’m impressed every time I look at it.
Makes sense now on the parts, thank you for that.
I will take your advice on getting the squares and distances and such as correct as possible, your numbers sound great on the build where you put that effort in.
That yellow filament looks great imo, but agreed with everyone else on this feed that it feels wrong for you…
Is the mounting hole pattern for the hotend carriage available? I’m trying to look ahead as I will need to design something to fit the 3 into 1 head I want to use.


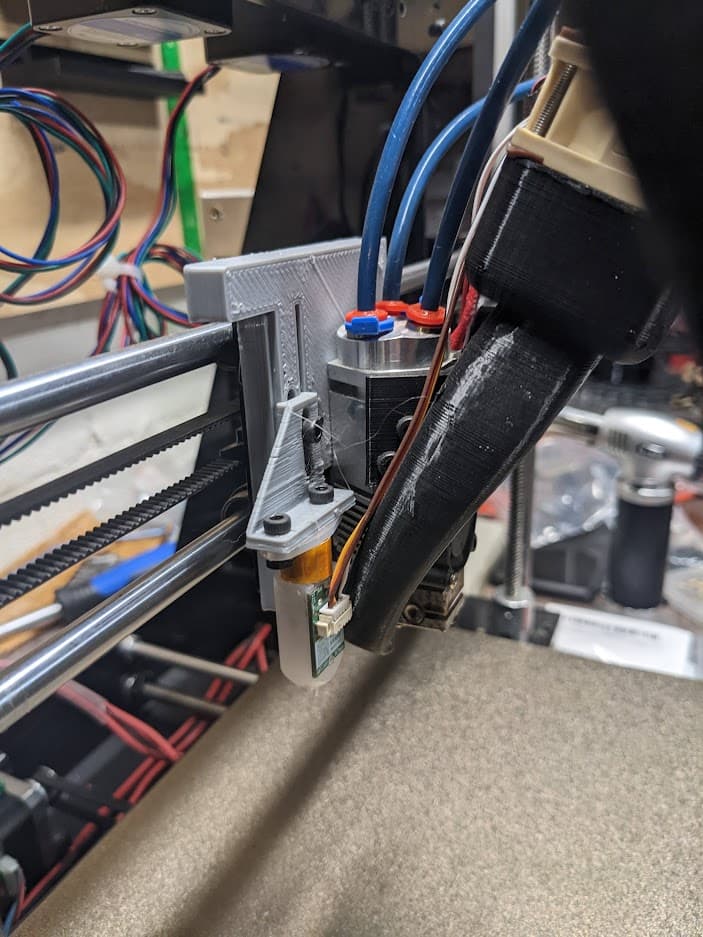

 I’m not proud of how I left the wires…