I did all 3. The length of the final one, each segment is bigger than the temporary strut, so it’s not like I could leave one on. I also really did not want to do this more than once. (In my video, you can see that there are 3 strut pieces.)
I also stretched the recommendations, and did not cut all 3 close to the side, I cut them in the locations you see there.
DOC of 3.5mm, that’s 1/8" nominal MDF with a melamine coat. That’s the same DOC I use for the Primo. – Same speed for the 1/8" single flute, too, though this is a double flute bit.
I started by undoing the Y belts, so that I could get to stuff. I removed the temporary plates, which for me involved removing the rear rail slider. (With a shorter screw driver, I could have left it on, but my ratcheting screwdriver is too long, and I wanted to be straight onto the screw head.)
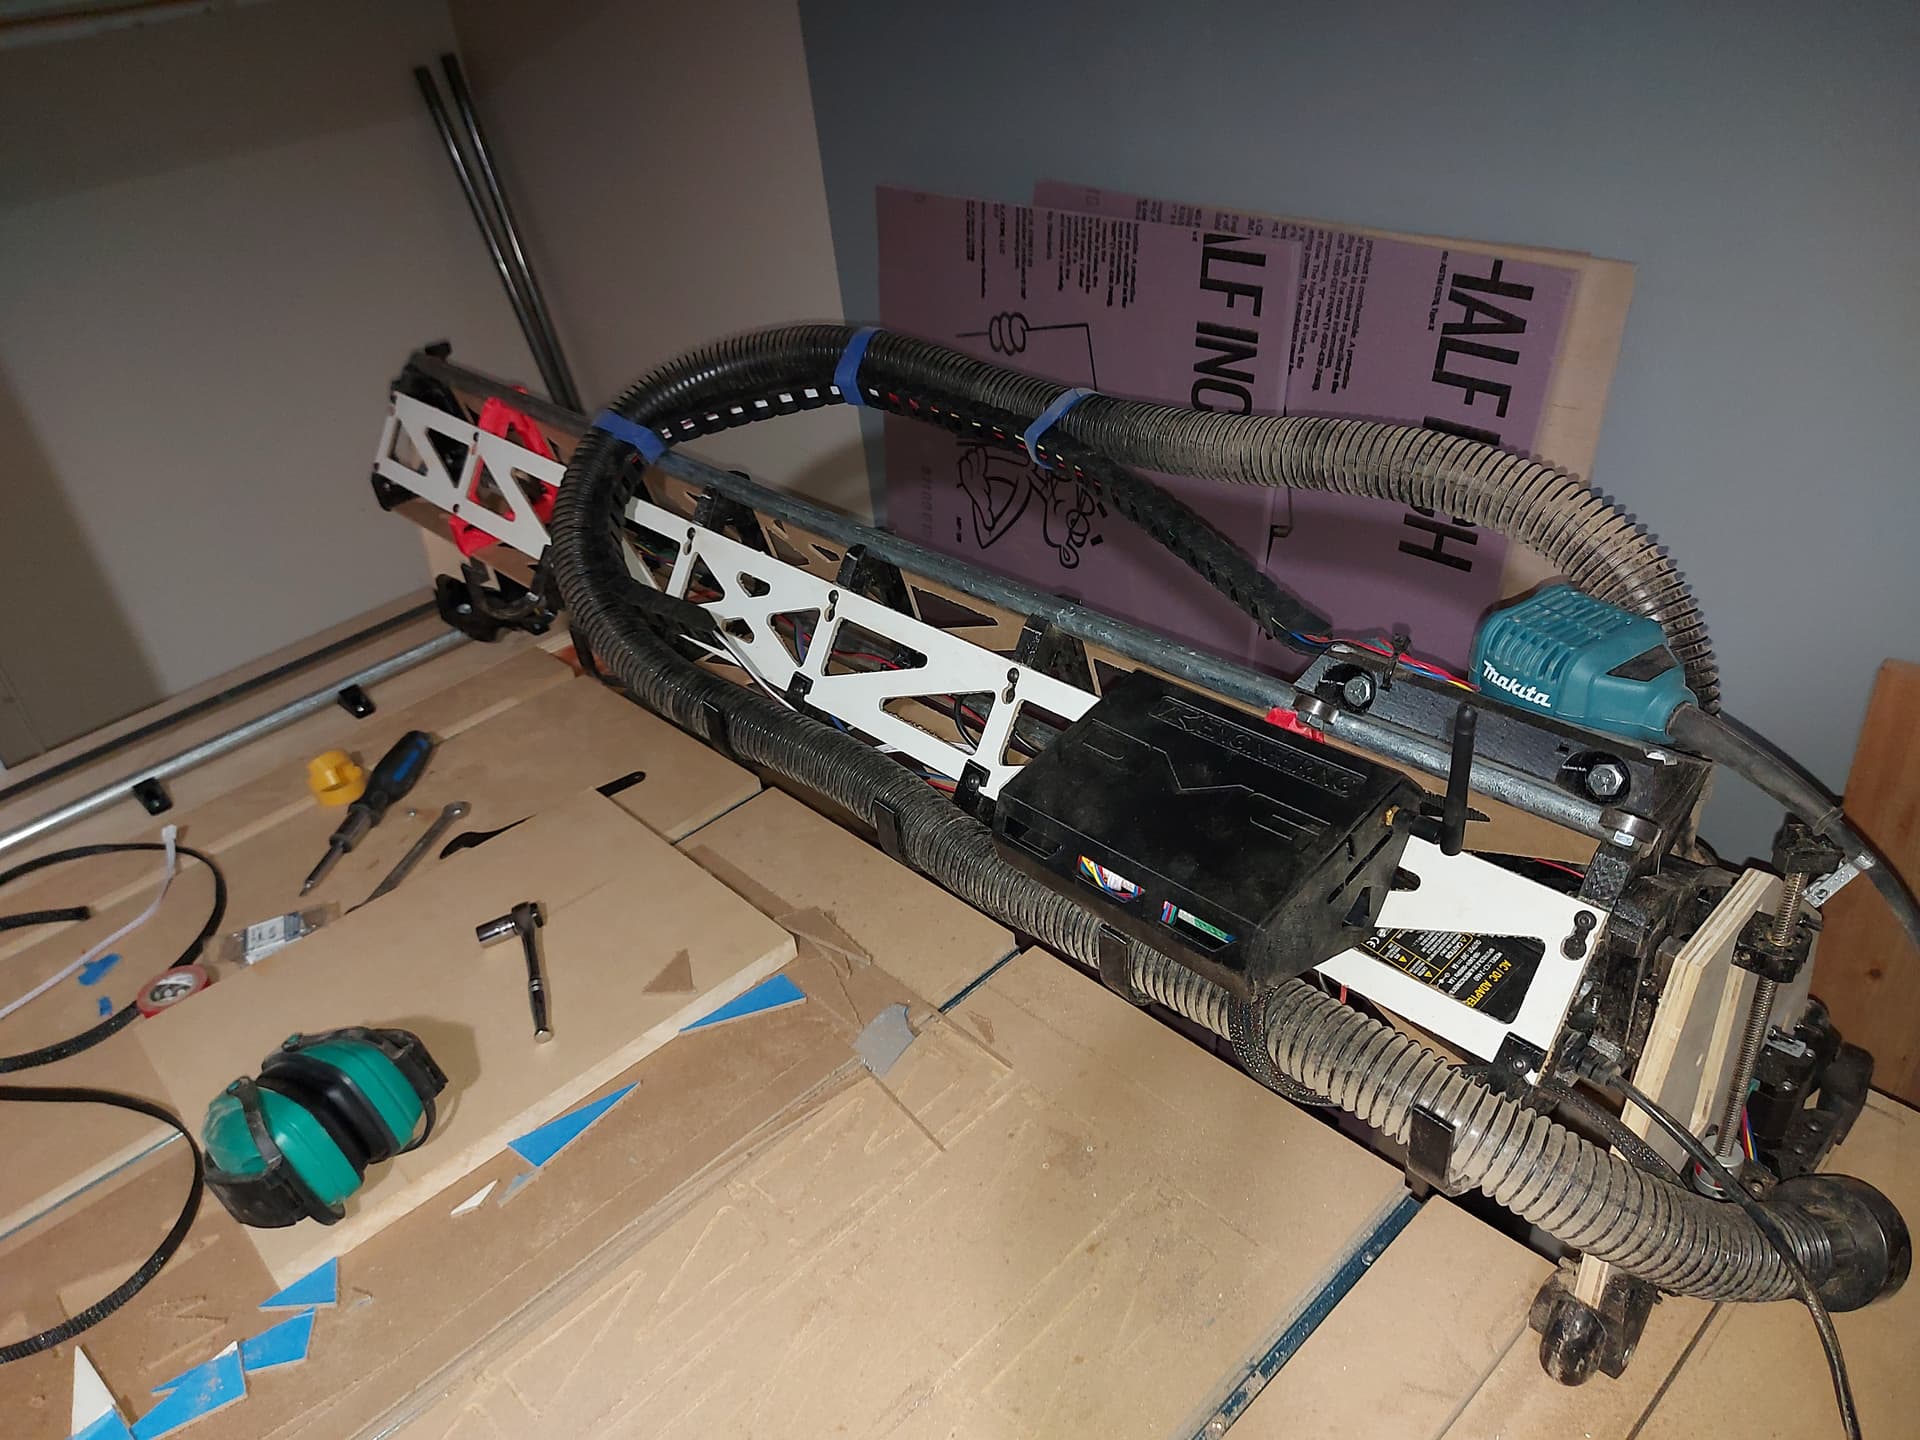
Then I started looking at the front strut plate, and removed the core, and the X belt tensioner. Then took a break when the end braces let go of the conduit and everything fell apart. I had to re-run the wiring from the Y1 and Z1 motors and endstops, because I needed to move the Duet enclosure from the second space to over the brace. (I should have put it there in the first place, I did notice that Ryan’s enclosure had that space in the hook at the same distance as the temporary strut, but I was hoping I could get there.) The first strut was by far the most tricky, the conduit kept wanting to pop out, and nothing wanted to remain square.
Once the front strut was on and tight, the conduit was clamped in securely. I put the core back on, and the X belt tensioner, then flipped it around to but the bottom strut on. At this point I should have bundled up the extra wiring, but I thought I’d wait to do that when I had all of the laser wiring in place. So the wiring is still a bit of a hot mess. Then I reattached the rear rail roller.
With the bottom strut in place, I put it back up on its feet, to put the back plate on.
At ot’s most complete disassembly, it certainly LOOKED as though I’d taken it completely apart, but with wiring in place.
So observations so far:
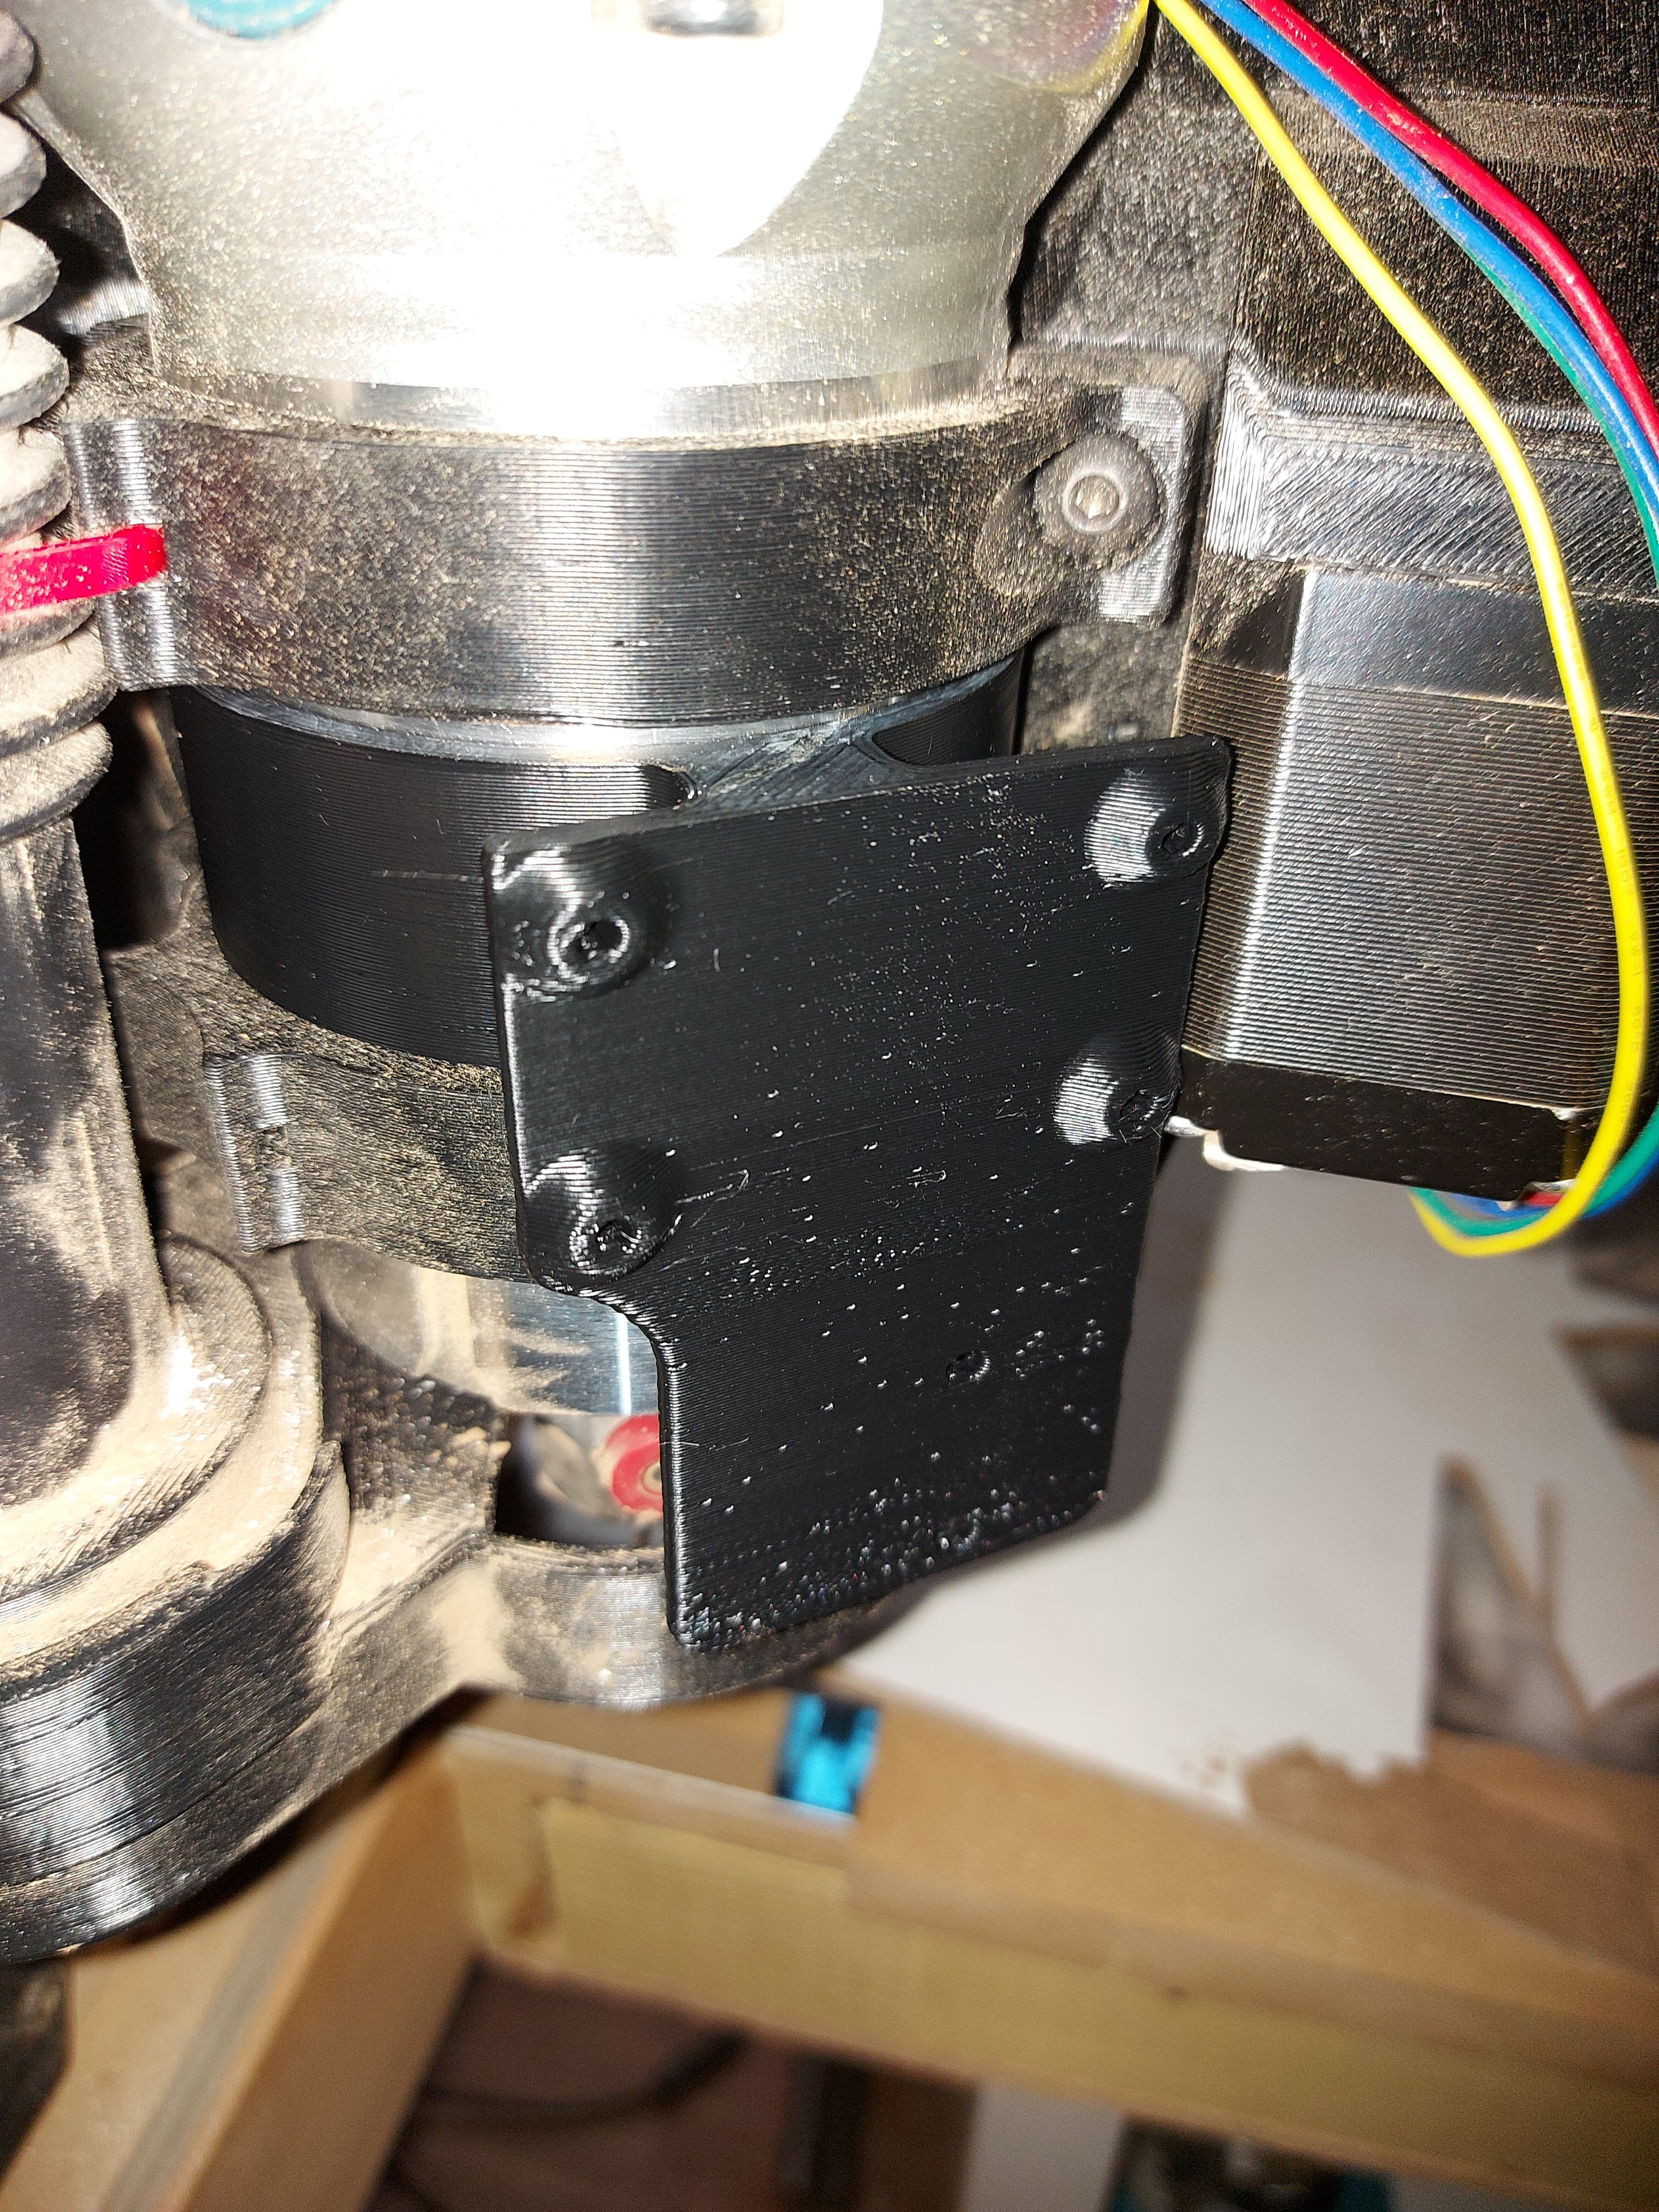
The issue I was having with the front rail roller creeping in is still there. It’s not as bad, but still noticeable that it does not want to sit in there. Something isn’t sitting square there. I don’t think that the wood is warped. I may need to tighten screws into the linear rails again. I had a bigger issue there on the other side, which resulted in the Z screw binding because the drive and the nut weren’t aligned well enough. That isn’t happening, but the misalignment is a bit worrying.
I haven’t checked diagonals of cuts yet for square, just sighted along the gantry with a framing square on the rail, and it looks good. The diagonals on the struts are as close to dead on as I can see on the tape, but that’s not a lot of X, so it could be off by a bit and not easily seen.