Mirrored and cut other side. (Mirroring was optional, but I didnt cut the pilot holes for the MGN12 rails all the way through) those are really tiny, so I may enlarge them on the drill press.
MDF is really nasty, bit at least tends not to have nasty voids in it. This plywood has a void that went all the way across the bottom of both plates along the X axis.
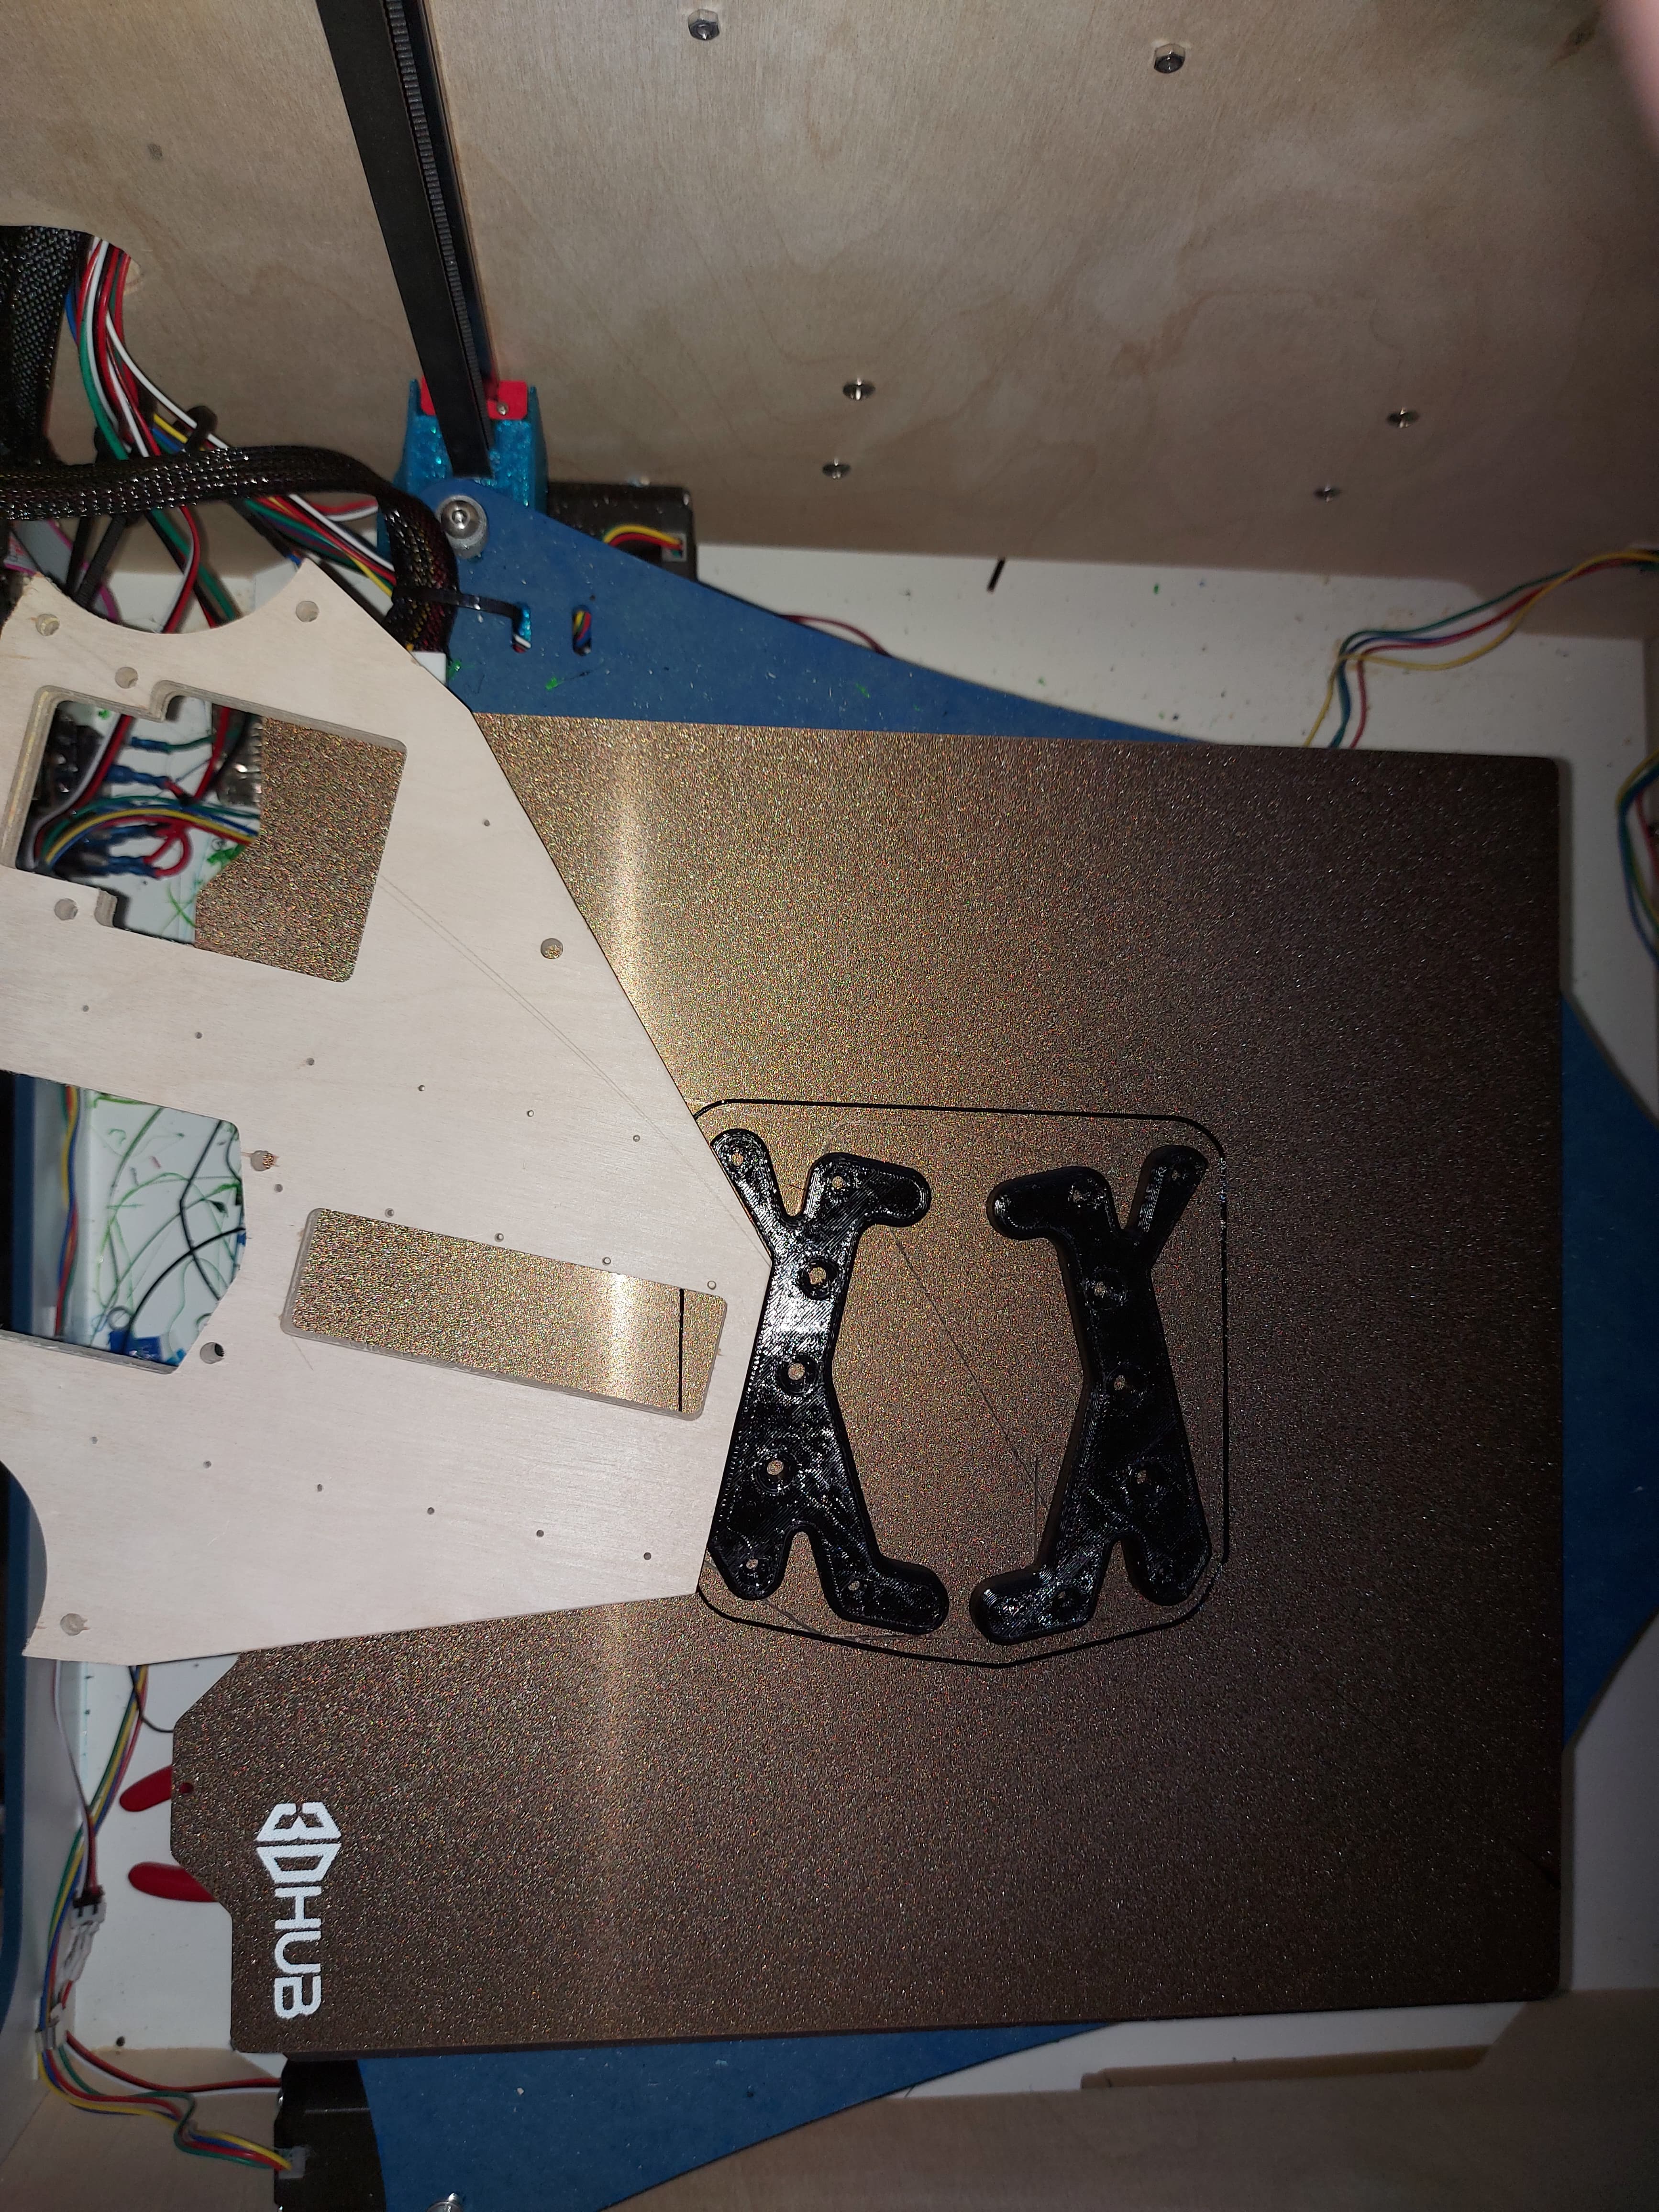
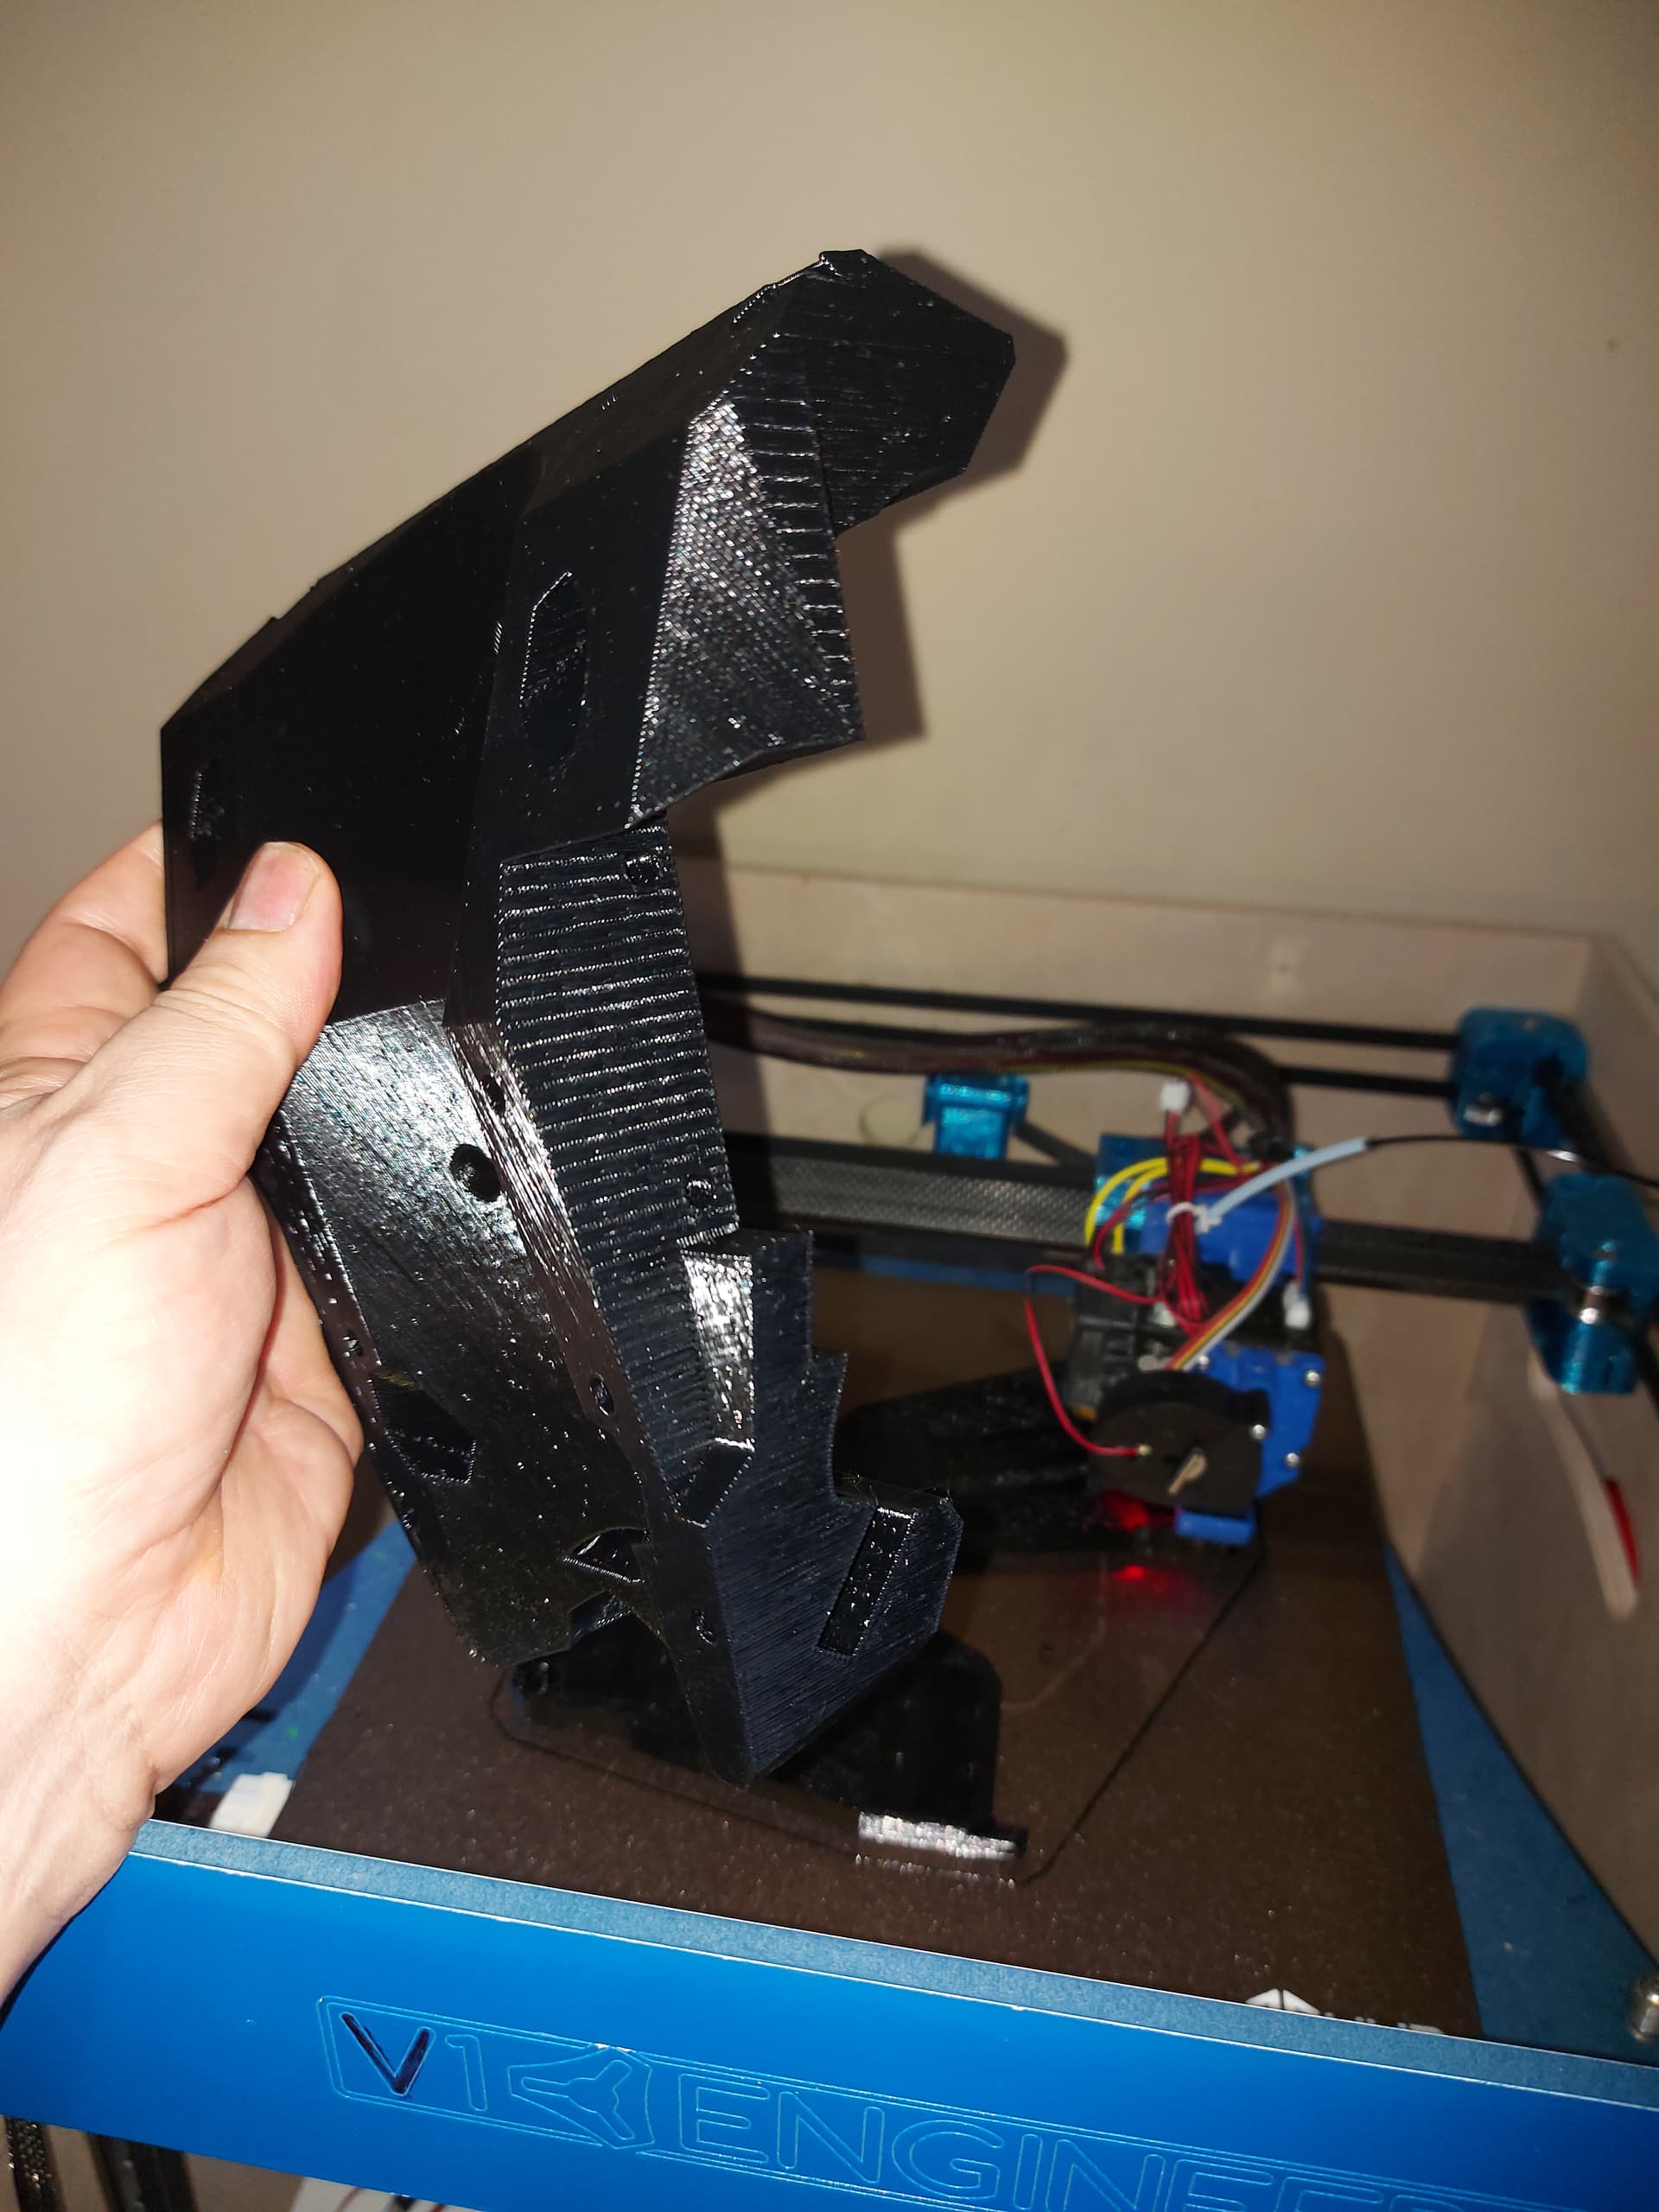
And these are absolutely unnecessary but a self-designed accessory because my linear rails are going to be a little long. These will bolt onto the rails using M3x10 screws and nuts captured in the part. A picture to show sparse (20%, IIRC) infill
I have always viewed the thermistors in the hot ends as relatively correct (a difference of 5C is actually 5C) but absolutely wrong (a temperature of 200C might actually be 190C or 210C). So tuning is critical.
The manufacturer’s recommendations are also all over the place. How can you set the temps if they say 190C-240C?
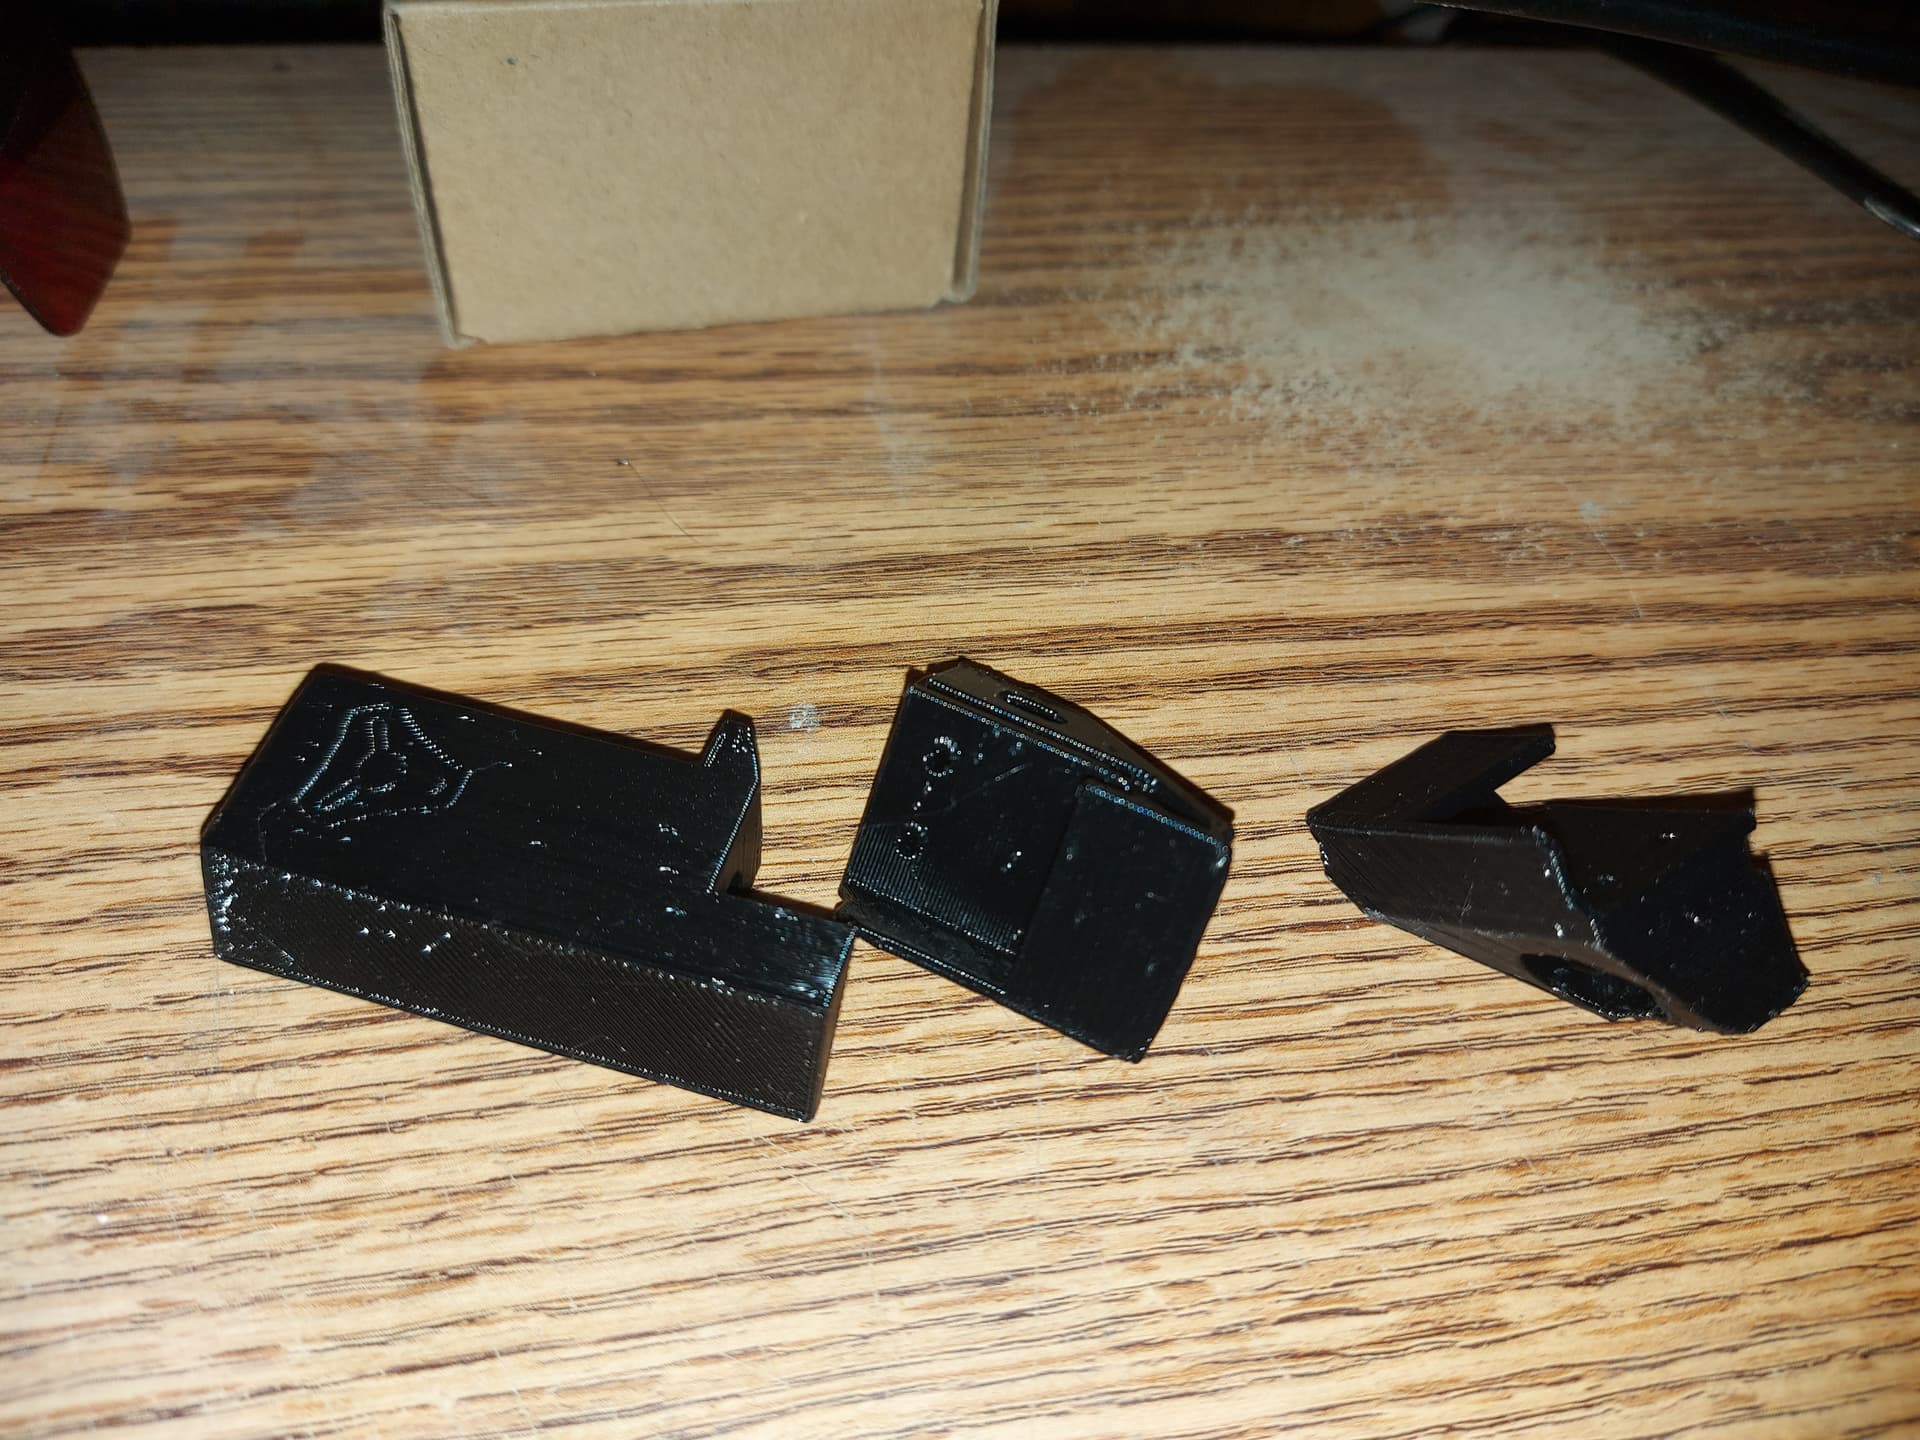
Those parts look like they will work though. And they came out fast!
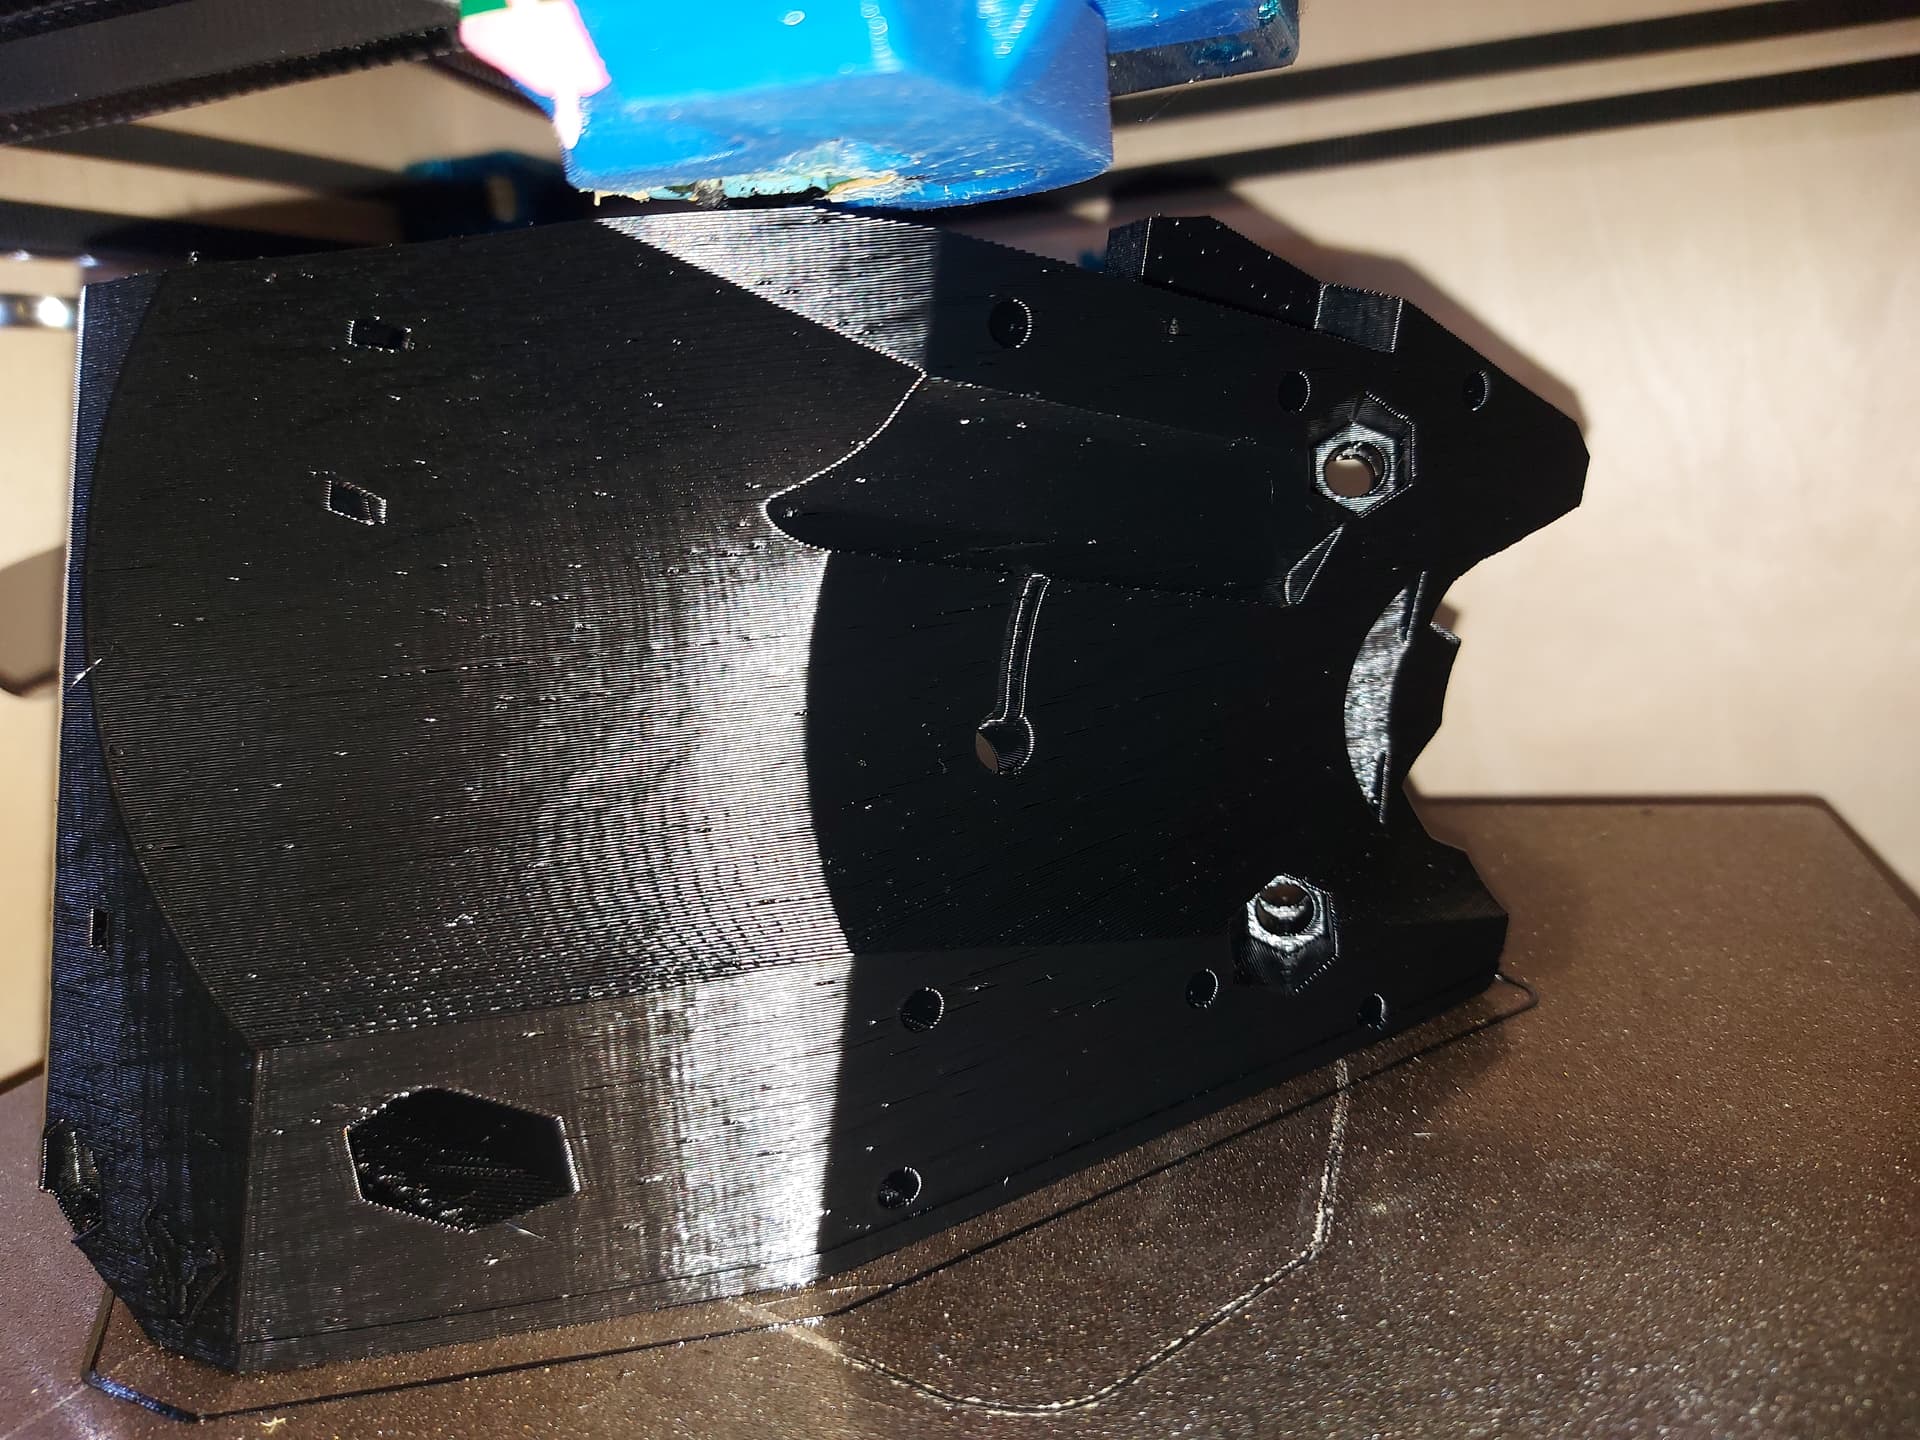
Z drives fit in the YZ plates, super tight, but they fit. A touch of sandpaper wouldn’t have been a bad idea. If Im going to paint them, it should definitely be done.
I tend to set up my slicer in layers/mm. That’s three. 0.3333333 mm per layer, first layer 0.3333334. Four and Five are easy, six is 0.1666667. I skip 7 and 9 because they’re headaches, and have eight and ten set up. (I have only ever used 10 once and not on the Repeat. Not enough patience for the difference it makes in surface.) Both eight and ten use double for the first layer, because too thin first layers are also trouble.
It was printing beautifully… Then I dropped my light into one of the printer’s belts and it skipped steps.
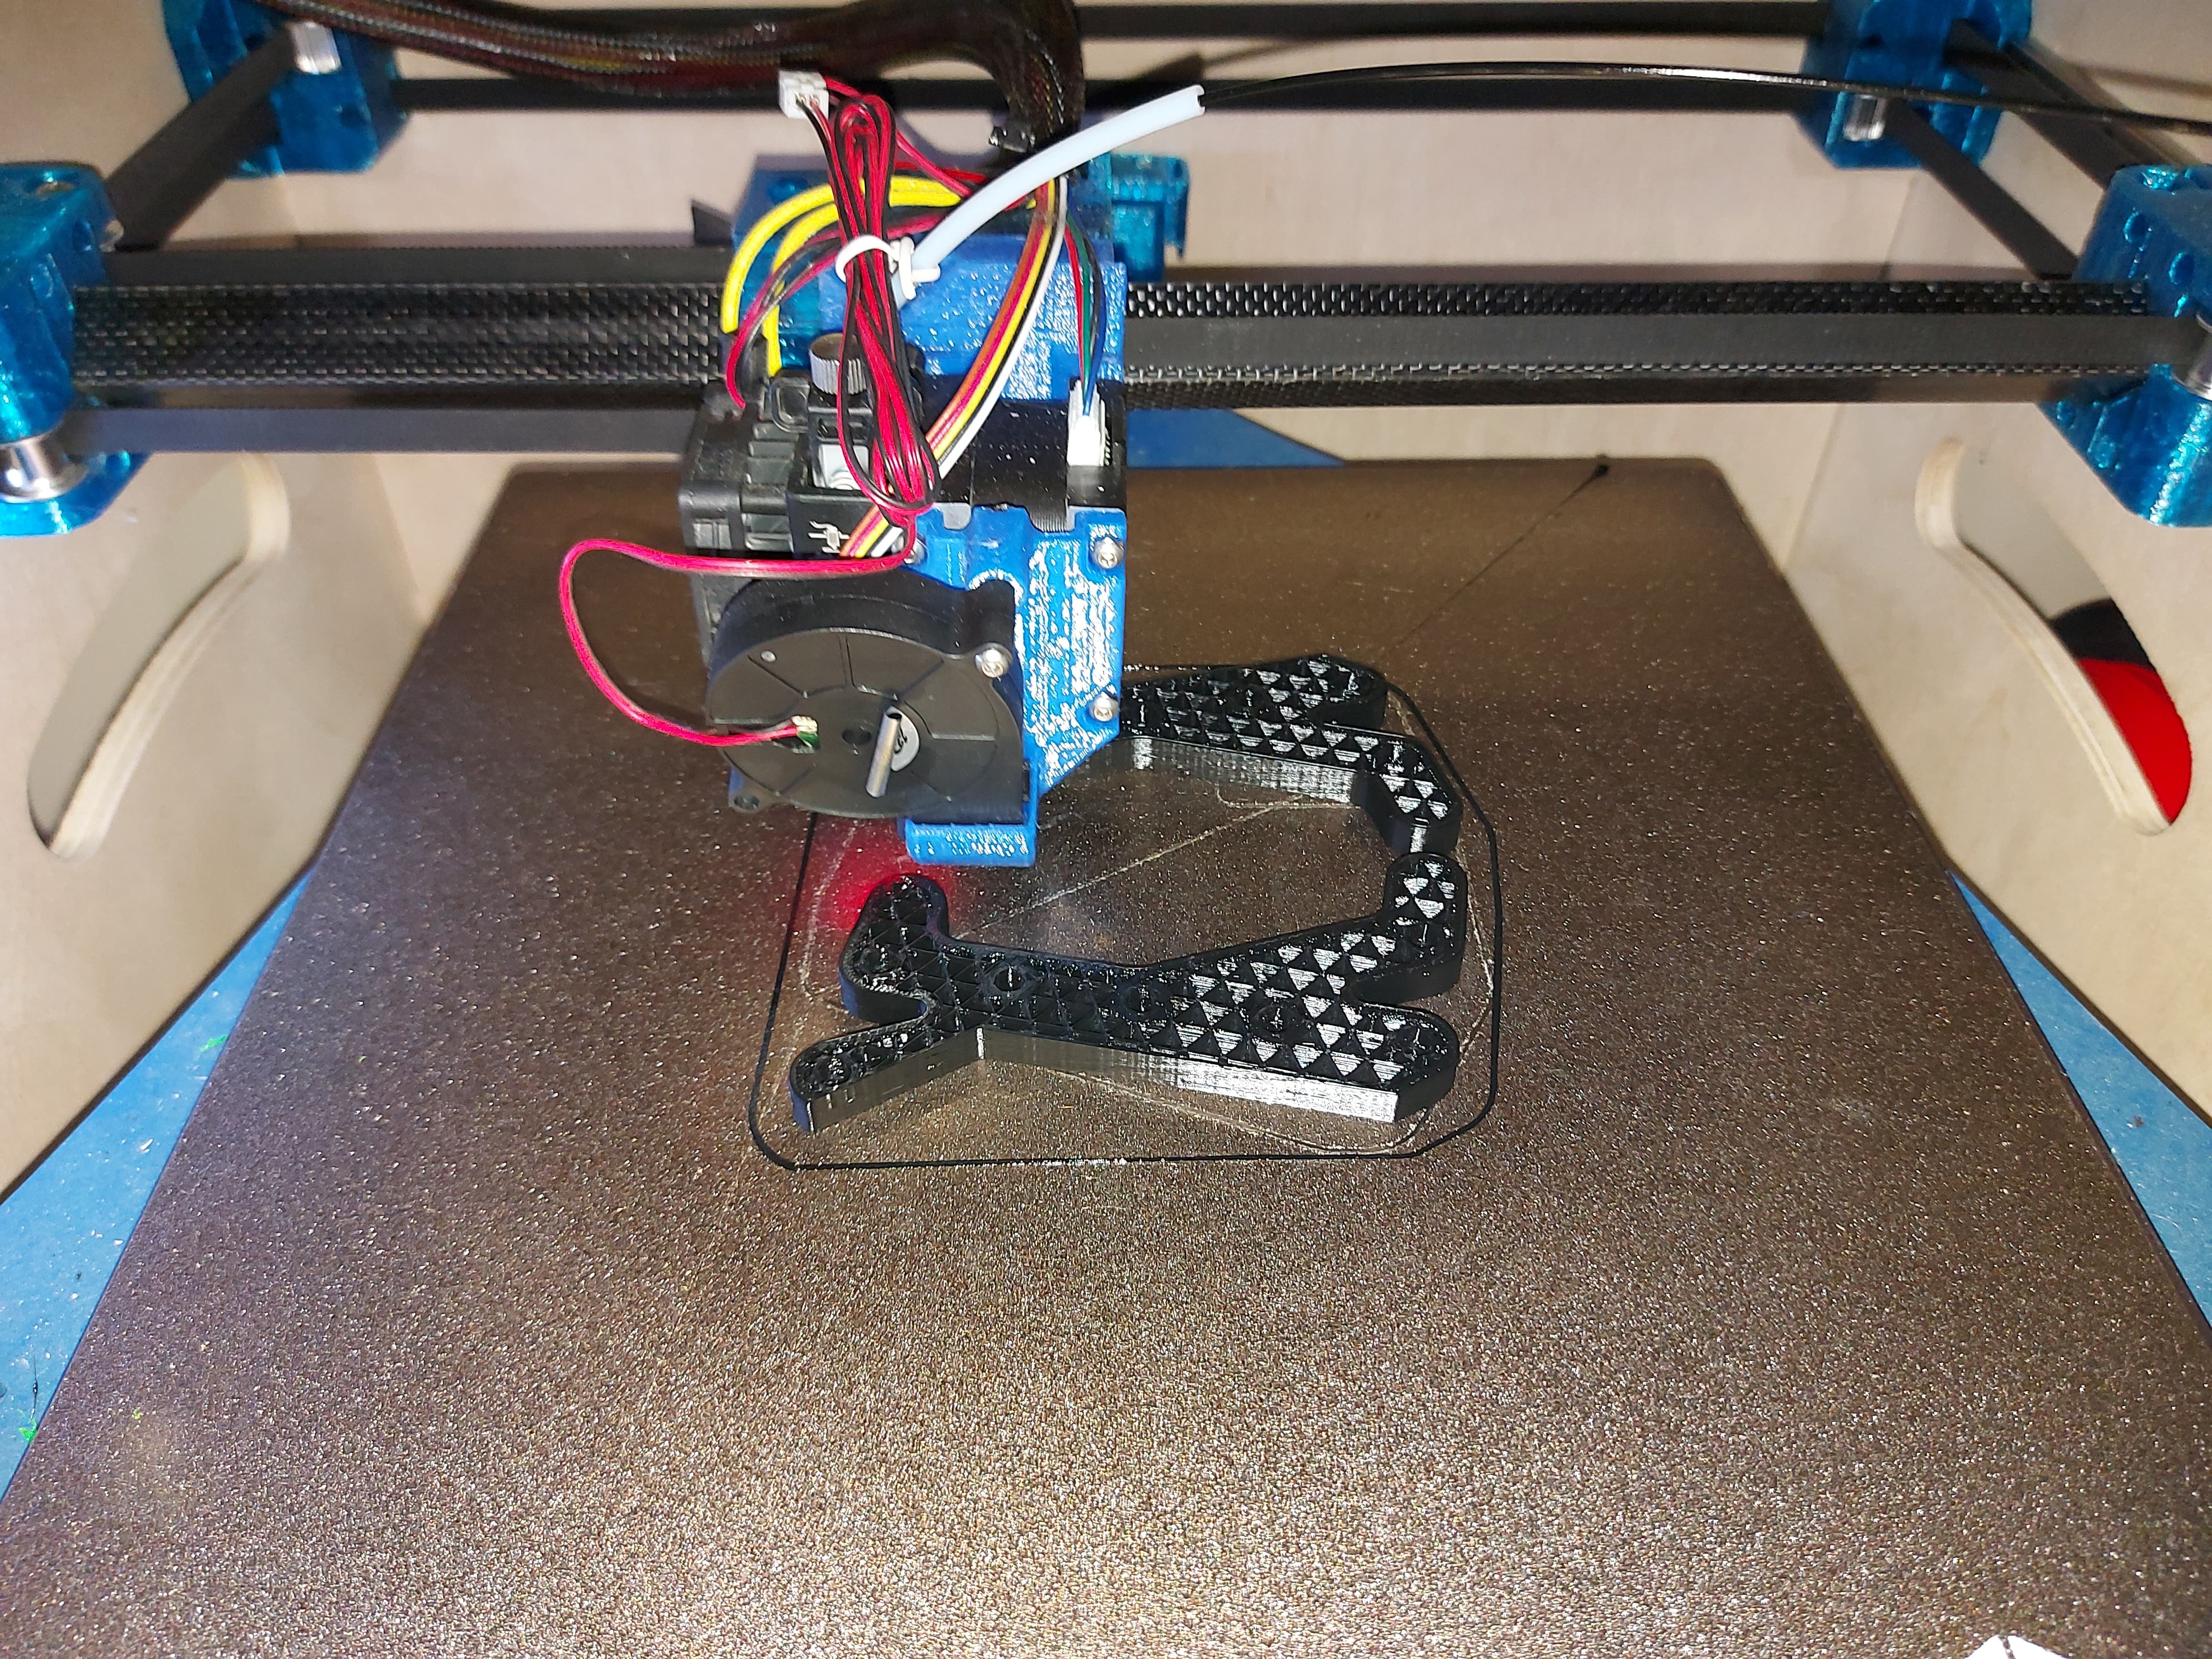
I’m confident in my print configuration. At this speed, there’s the slightest hint of ringing at the sharp corners, a ridge that I can just feel with a fingertip and maybe one visible ripple that I can see past that with just the right light. Overhangs in this print look great, right until I made that dumb mistake with the worklight. (My ESP32 camera needs more than the LEDs I installed in the printer, I can barely see what the print looks like, and black filament doesn’t help…)
Anyway, I started the Z lift plates. They should be done before bedtime tonight, and I’ll re-start the core then.
Nice. Barry’s fast core print shows the tough spots really well. No hint on yours, so far 50/50 on this core.
It took me a long time to get it printable, but we have yet to see if this will be more of an issue with the other’s prints, and if Barry can get his dialed in a bit more, hopefully just a fan or speed issue. It is a tough print with a ton of steep walls and overhangs. Way more than I every used to do, but it is kinda holding us back, making such “simple” parts.
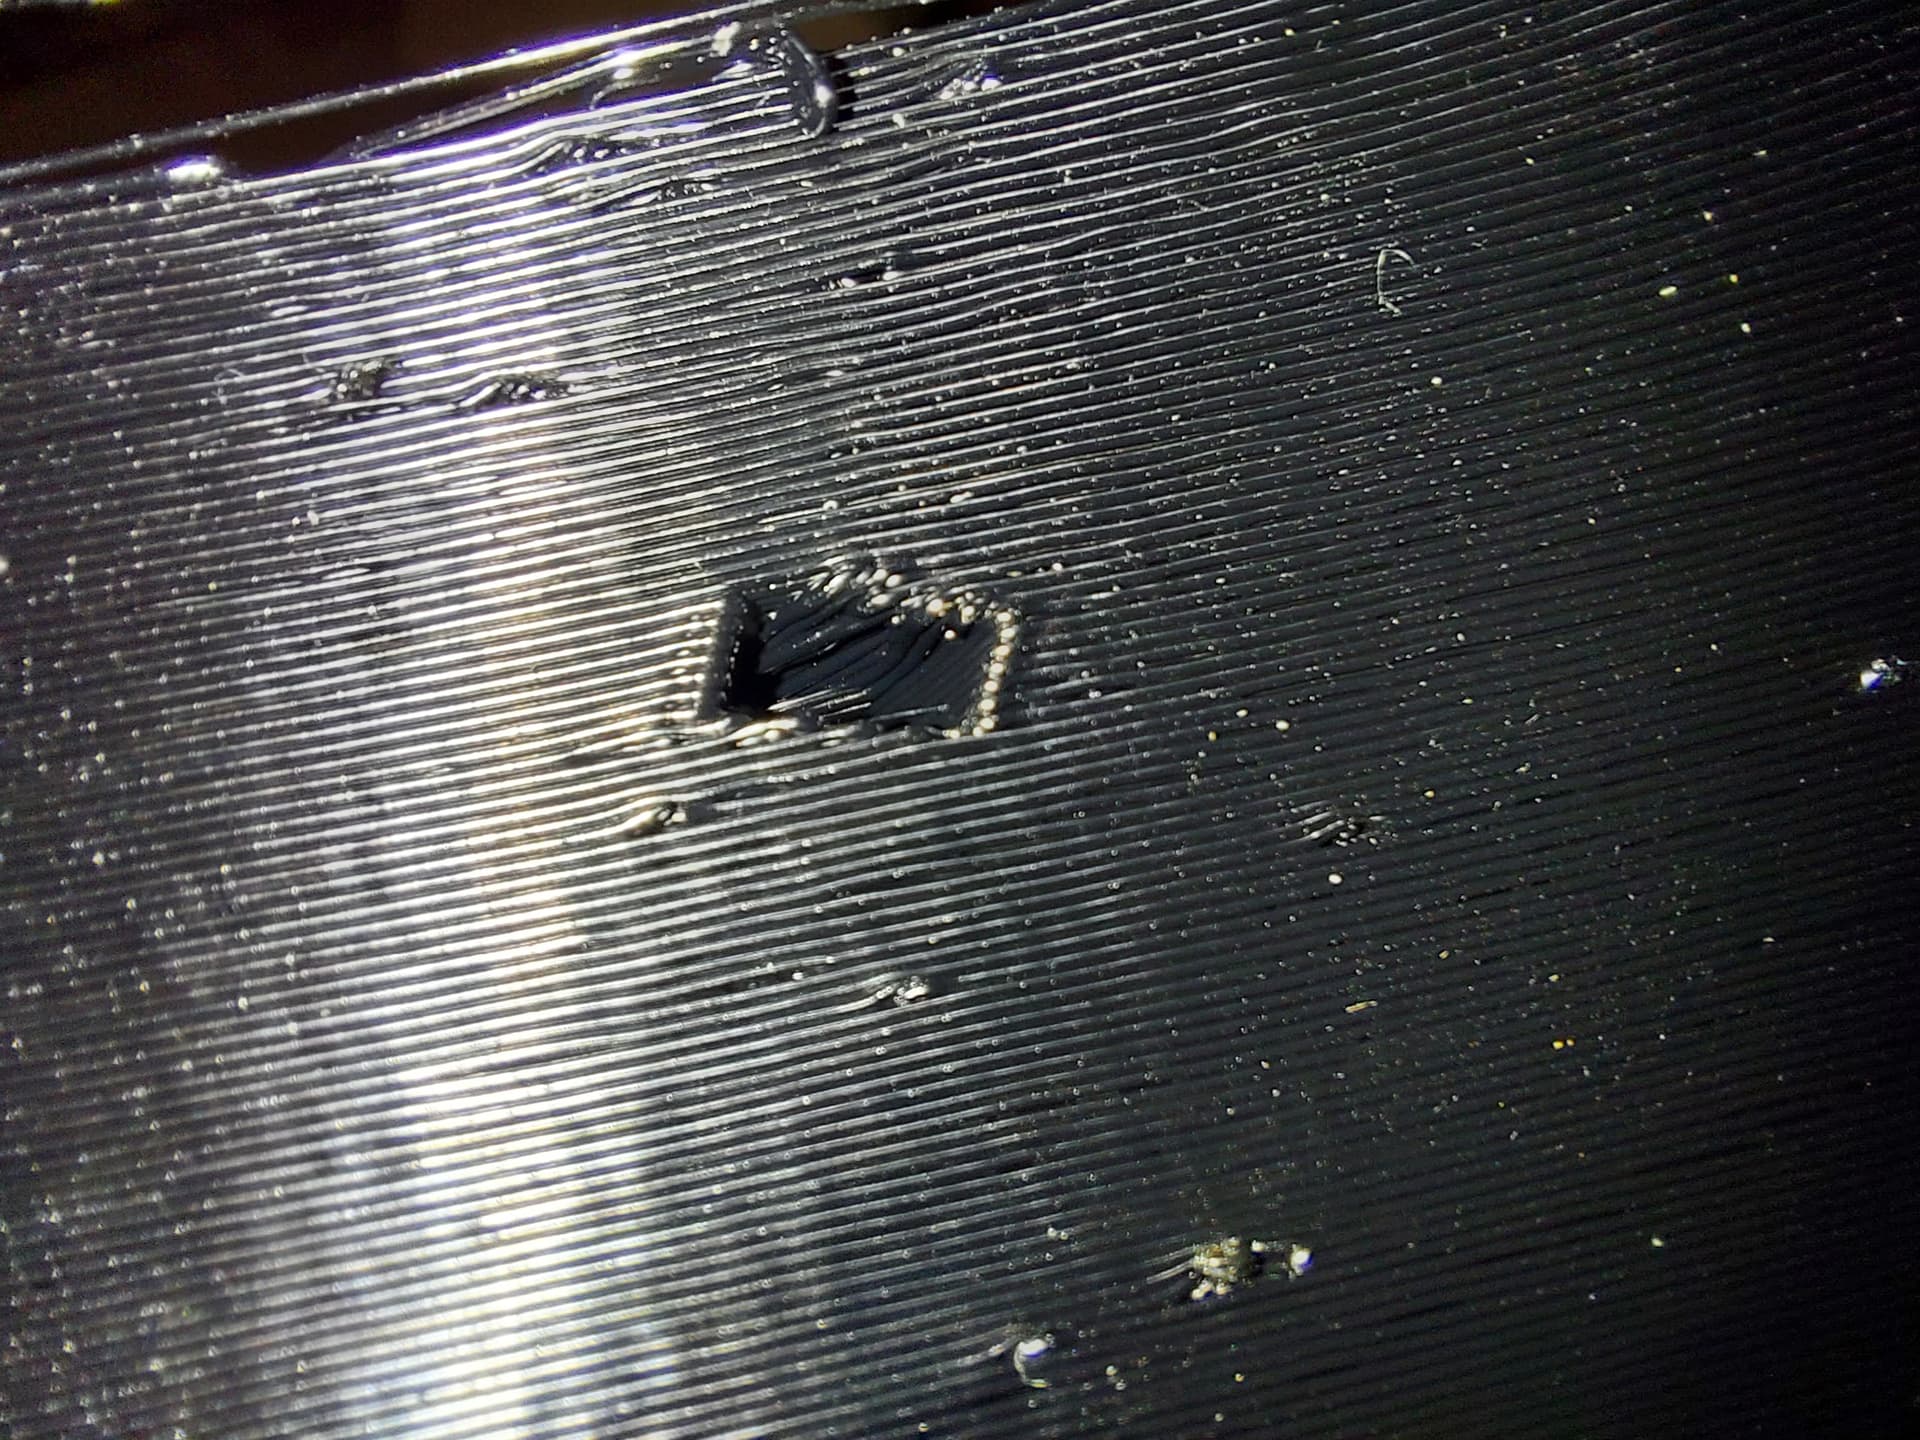
This corner nut trap at the bottom was the worst one that I found. It’s a more complex facet in the bottom rail nut traps. I think it looks entirely serviceable still.
Wow, the macro photographs make that overshoot lip look huge, but it really isn’t.
I have angered the 3D print gods. The extruder stopped on the Z plates. I might need to adjust temperatures a bit on the 70% fill. I’m going to give it some thought, and just restart the core print again.
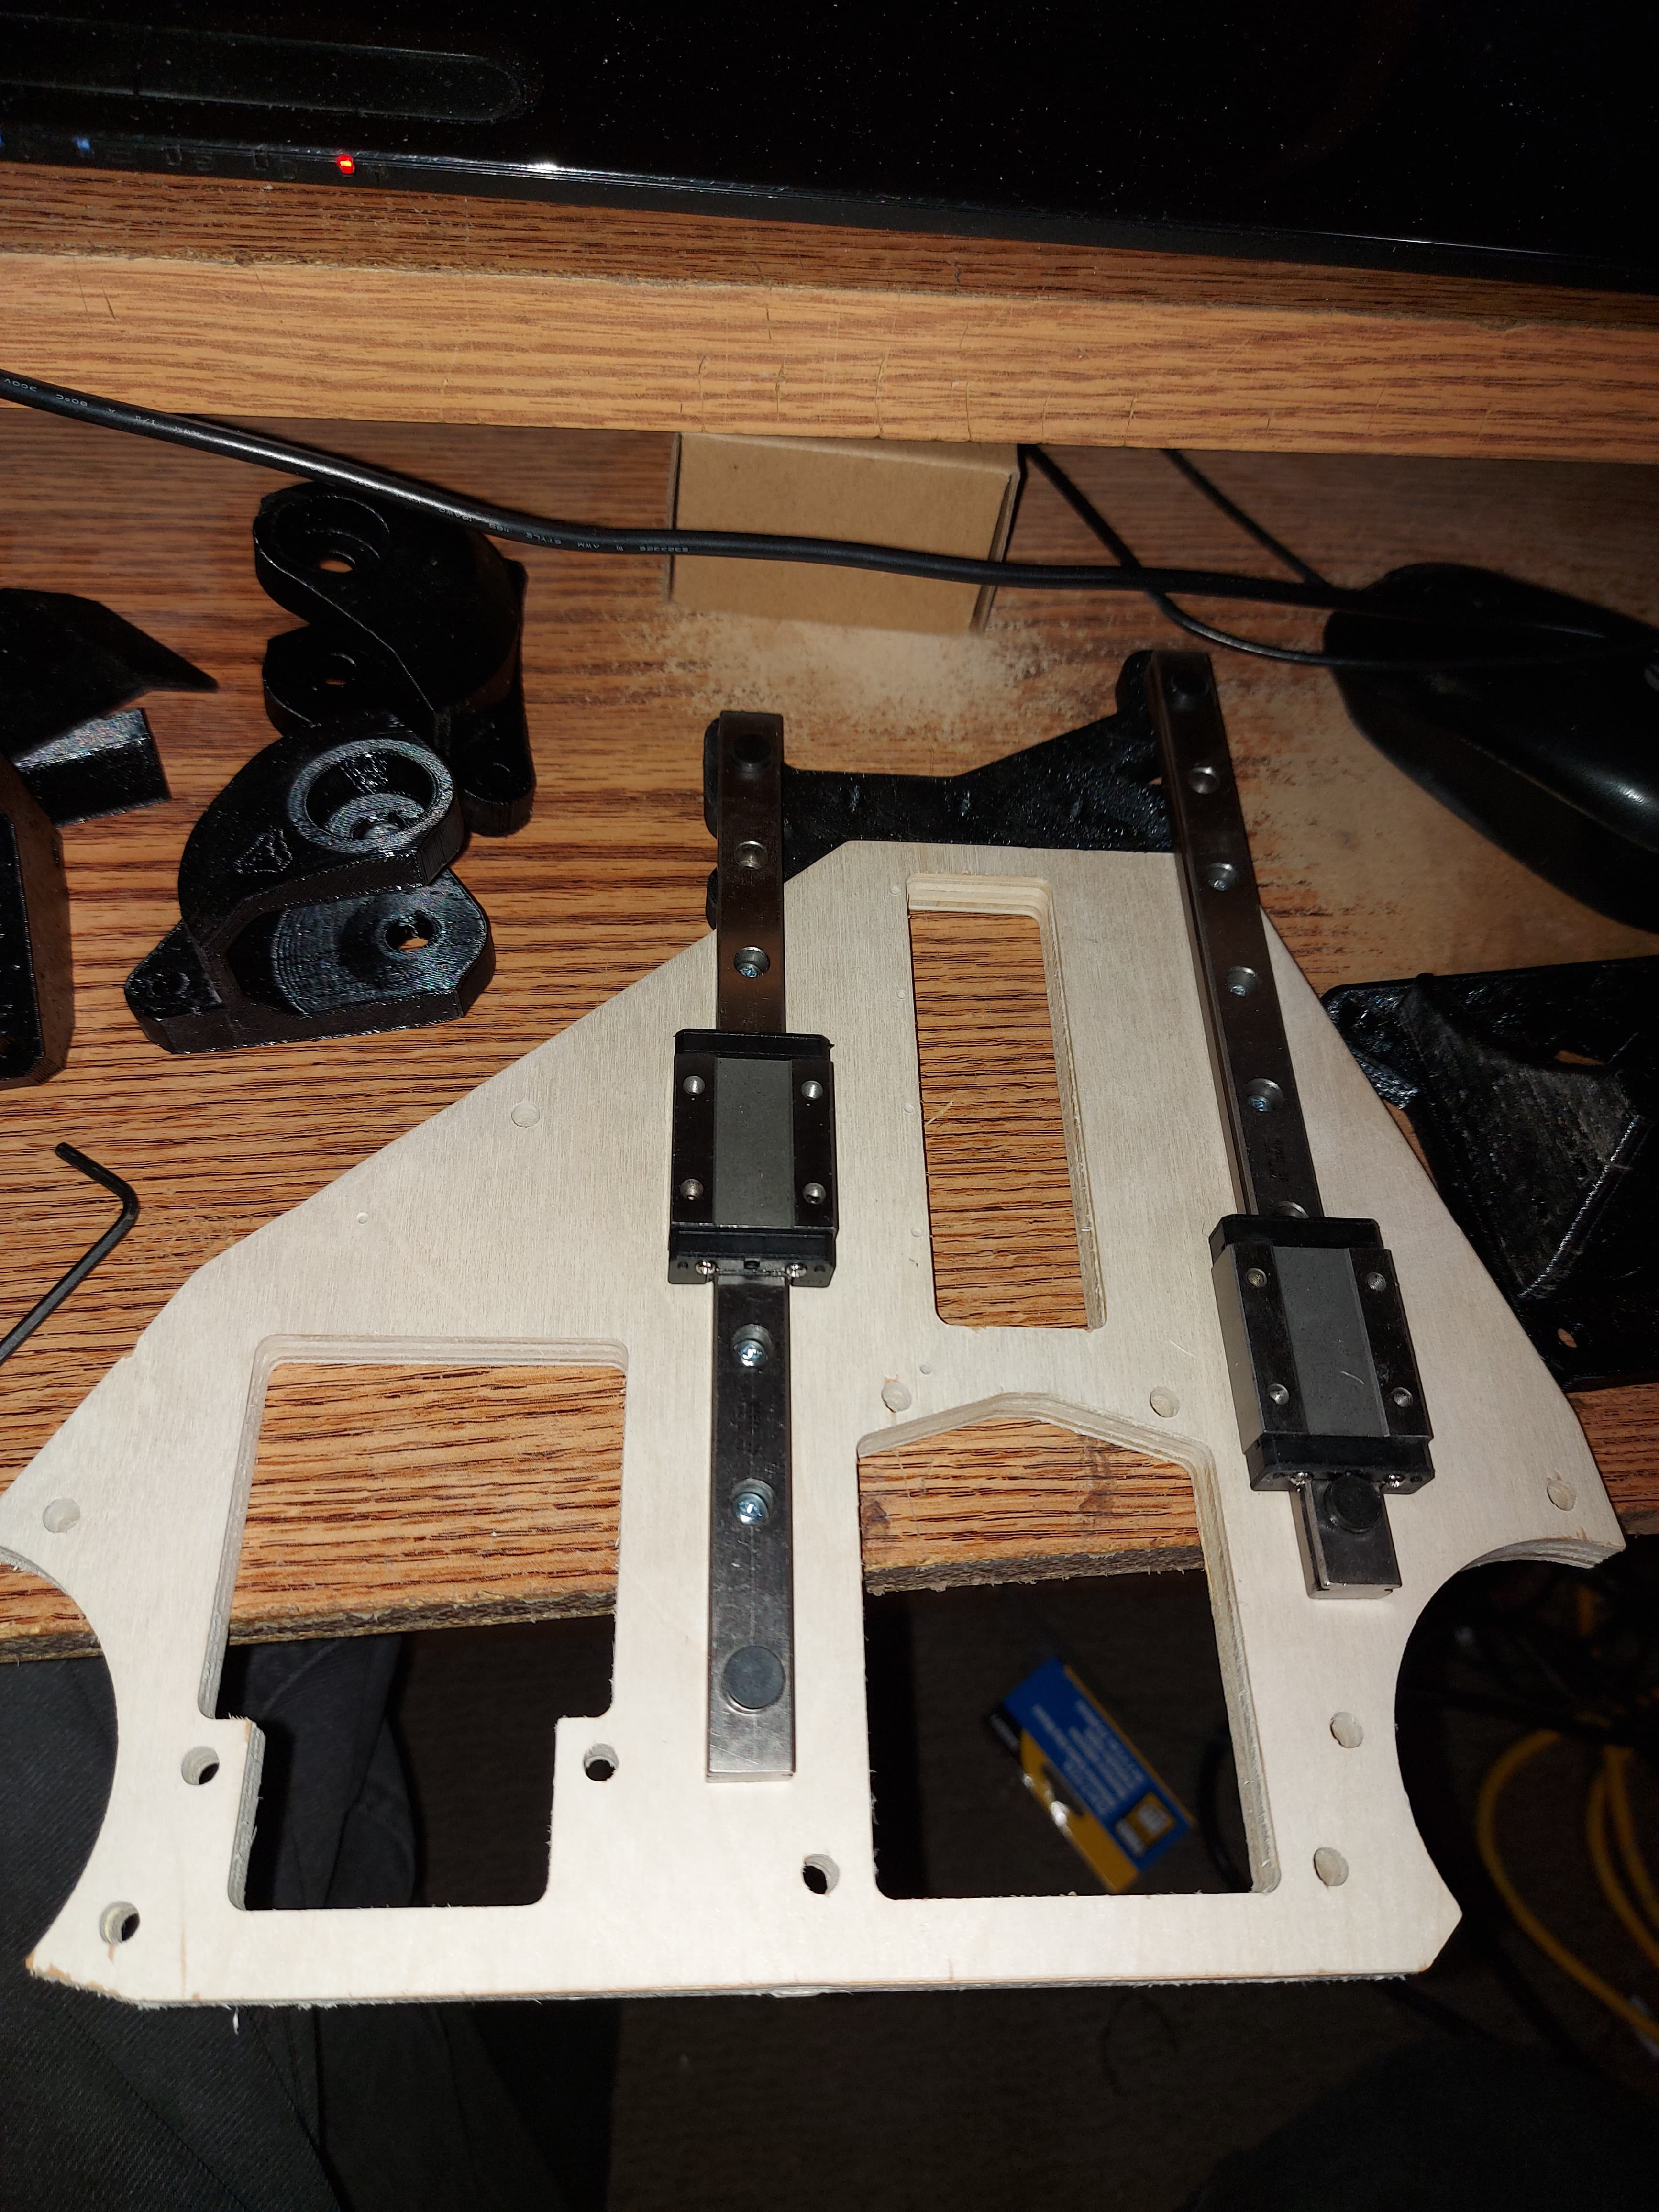
Amazon finally delivered my rails (Only a week late. “Get it tomorrow” indeed.) I figure that I could just cut these, not like I don’t have at least 4 tools that can do it, but I’ll leave them at 200mm for the time being. (I have my decorative printed caps anyway.) I also found a 400mm TR8 leadscrew in a parts drawer that I can cut in half. (Still get to use the metal cutting tools.) I’ll print up a couple of end caps for that.
I’ll bet. It’s the only place that I can see any sagging at all, and it’s so minor I almost missed it. I actually don’t think that I would have got a very good print out of my old printer. There are some tricky spots in this print for sure.
I suspect the high infill and low temperature. I dropped the temperature quite a bit. It seems to be sticky enough at the lower temperature to get good layer adhesion, but it seemed to jam. I think that the infill being faster overran the ability of the extruder to run the filament through. I managed to get it going by heating up the hot end to a higher temperature and pushing through past the stripped spot on the filament. The 30% fill for the core and other pieces seemed OK, so I’ll try a little hotter for the plates. I wanted to look at the parts to see if there was a clue, but given that it quit after only a couple mm (And I didn’t see it until it was at about 7mm) the clues weren’t easy to find. I suppose it’s also possible that there was some leftover PETg or something that didn’t like the lower temperature in there. Funny that it didn’t show up sooner if so.
For the Duet based printer, I had those surface zits showing up, too. That was solved with a pressure advance setting, I guess Marlin calls it “linear advance” I guess I’ll need to see about turning that on in the firmware. I thought it listed as being unstable for some reason…
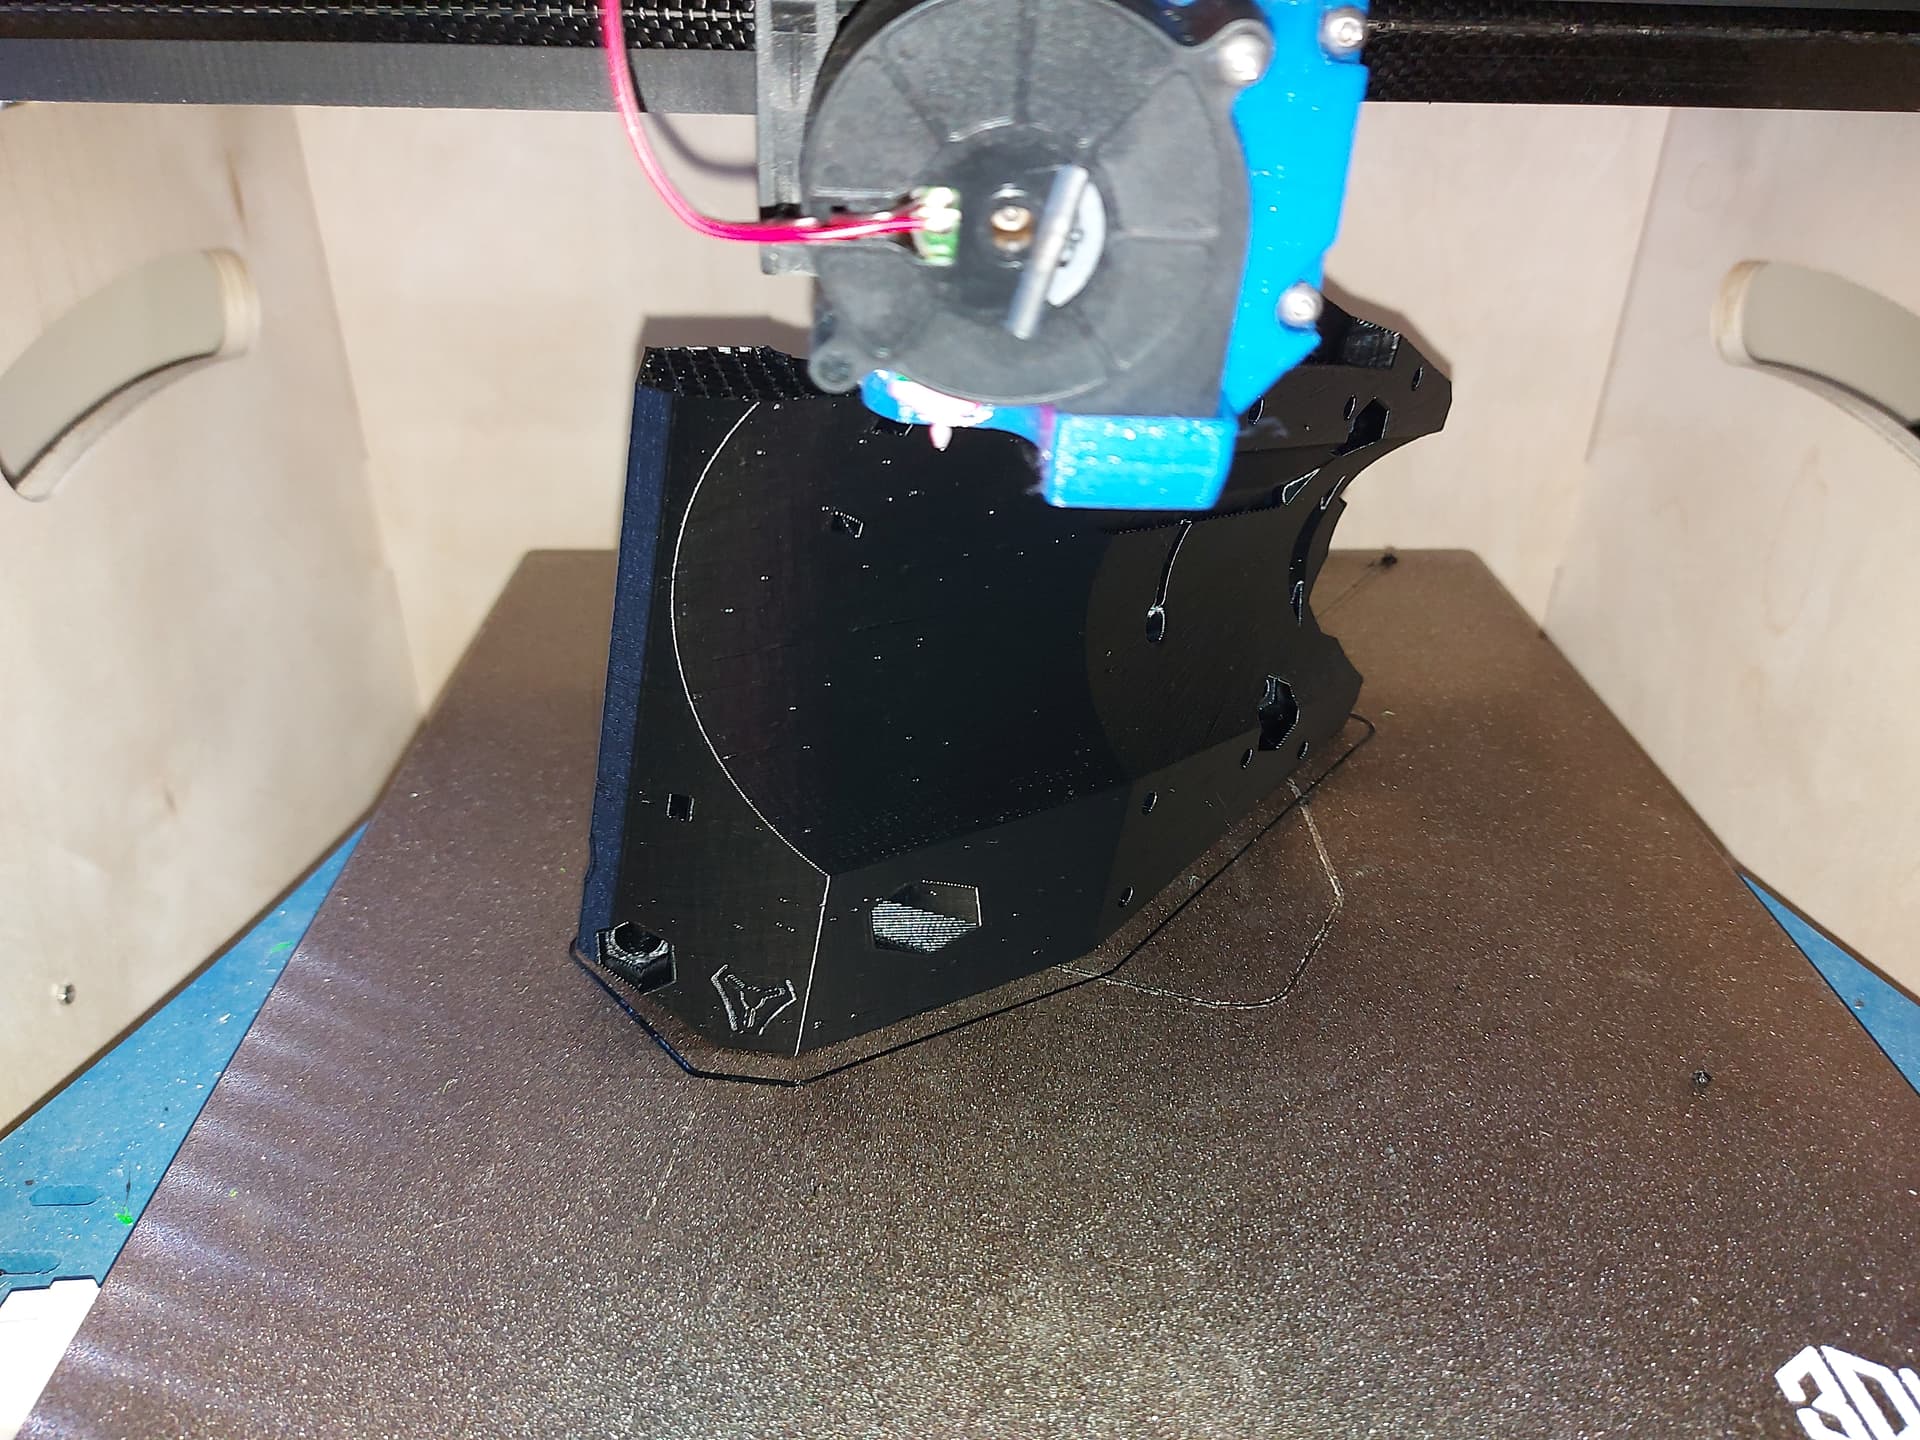
Core print came out fine. Overhangs all look good, holes are nice and clean too. 10:13 print time. At 30% infill. Slicer estimates 11:40 or so, so wont complain.
The Z plates are almost 8 hours in and at 10mm. 70% infill is brutal…
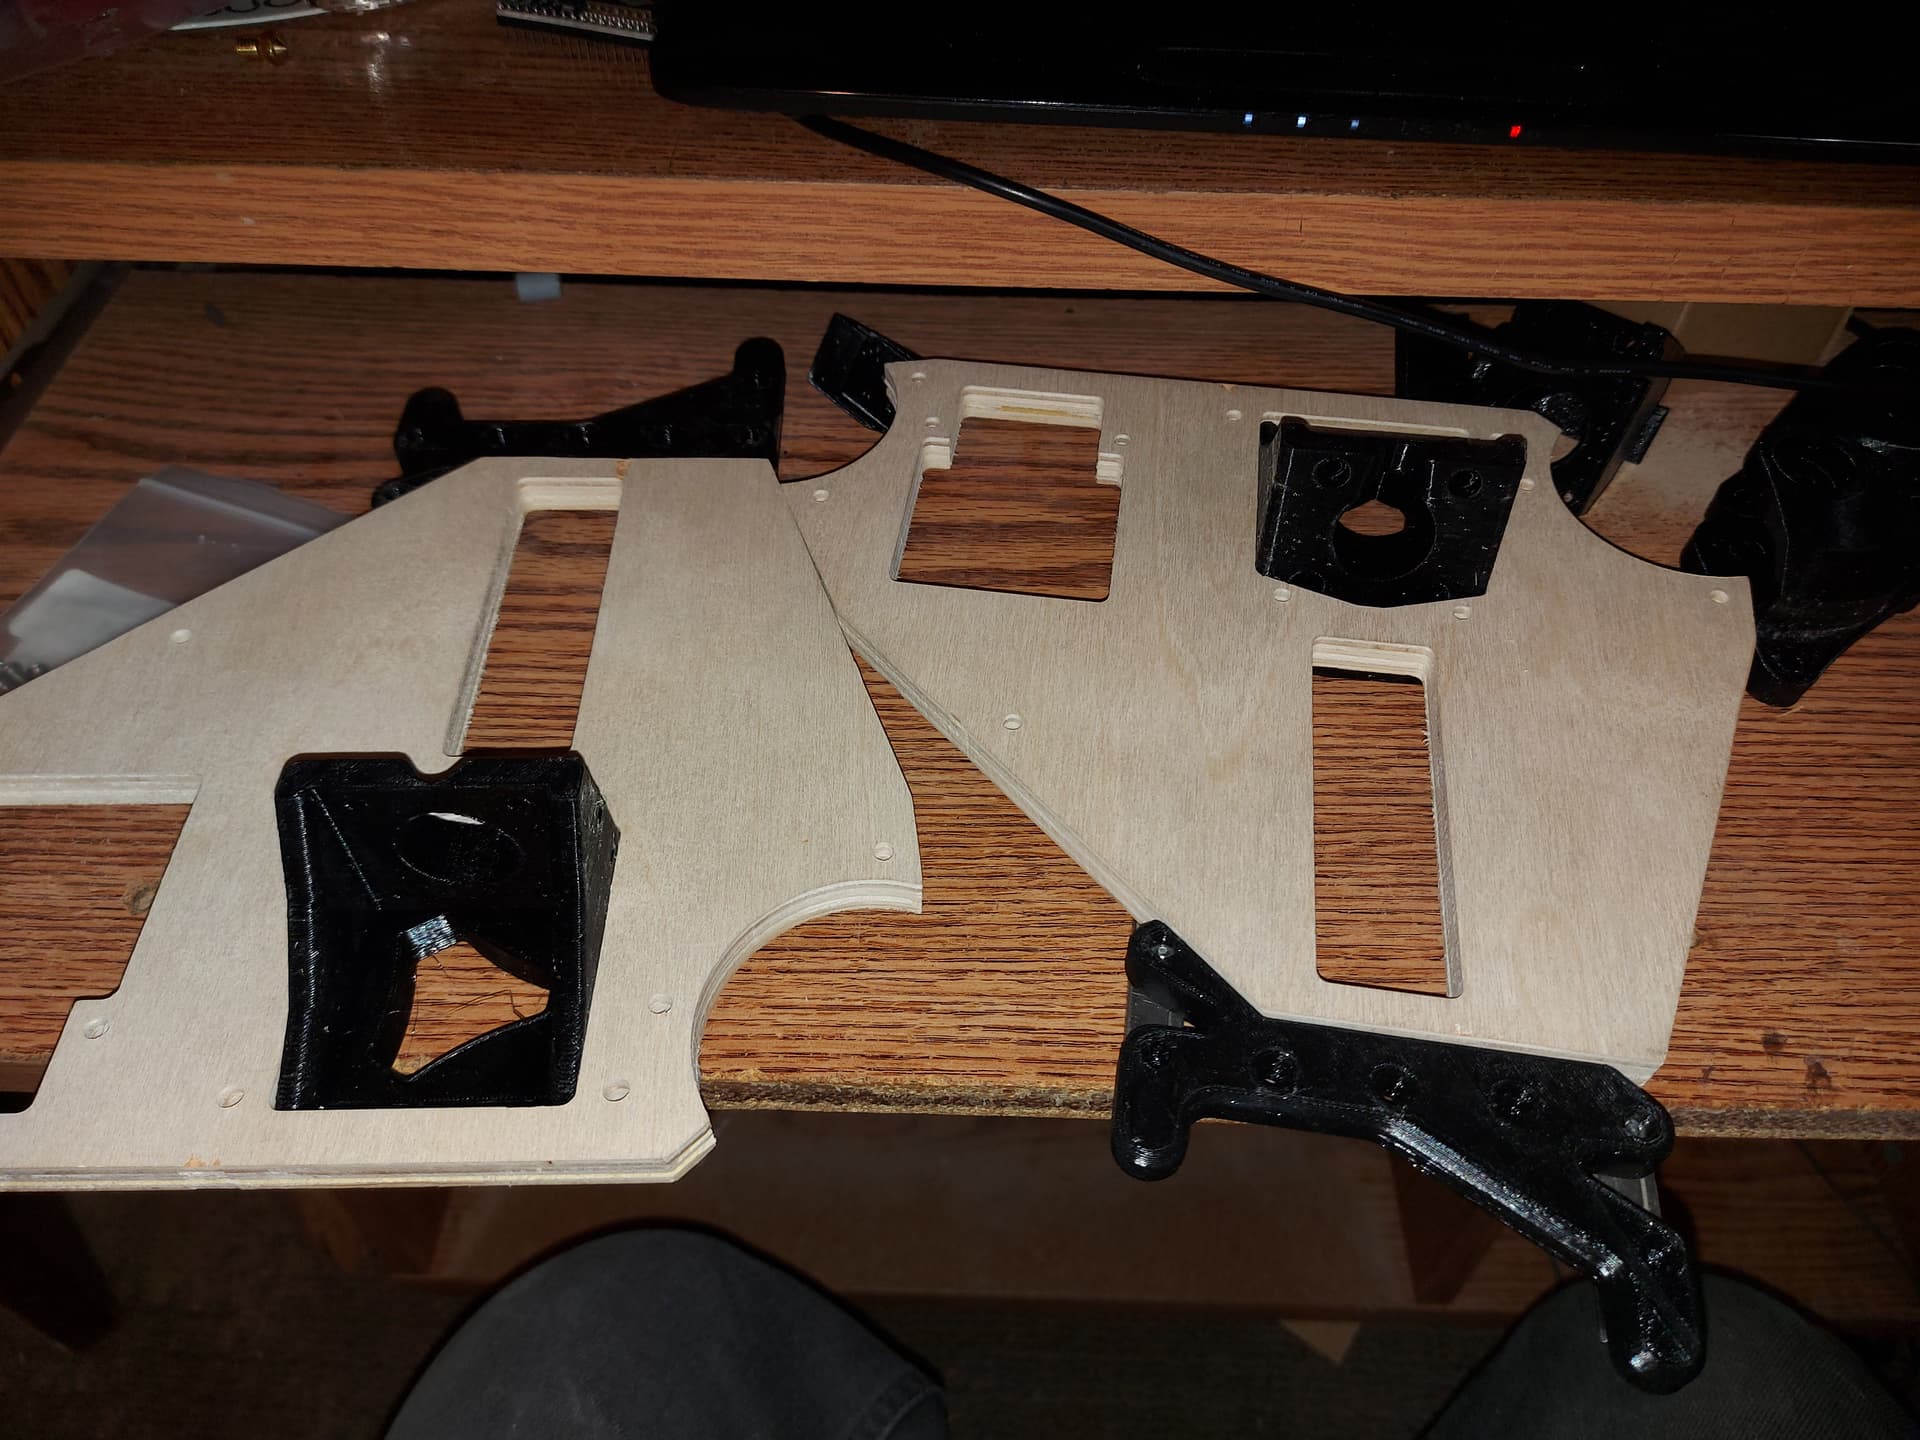
Those wire channels can be router behind the core, but I think in front is safer. You just need to make sure you don’t pinch them when mounting a tool. In the back they could snag if not careful.
Yeah those plates are tricky. The rest of the parts could probably go lighter than 30% honestly but I figured a little extra time is worth a little extra security.