I’ll give the magic eraser a try, since I have those. I miss having glassy smooth bottom layers.
1 Like
Also hot off the printer

The Repeat is still giving me issues, I’m sure I need to replace the heat break, or at least get it cleaned out, but I can keep going still.
1 Like
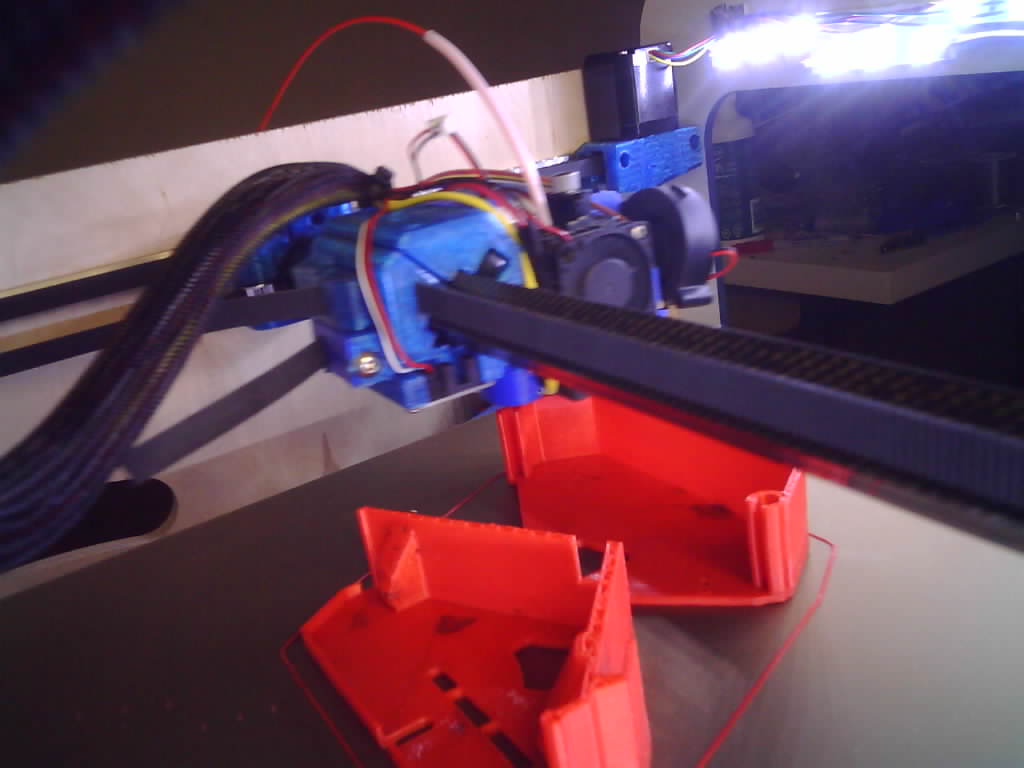
Houston, we have a problem…
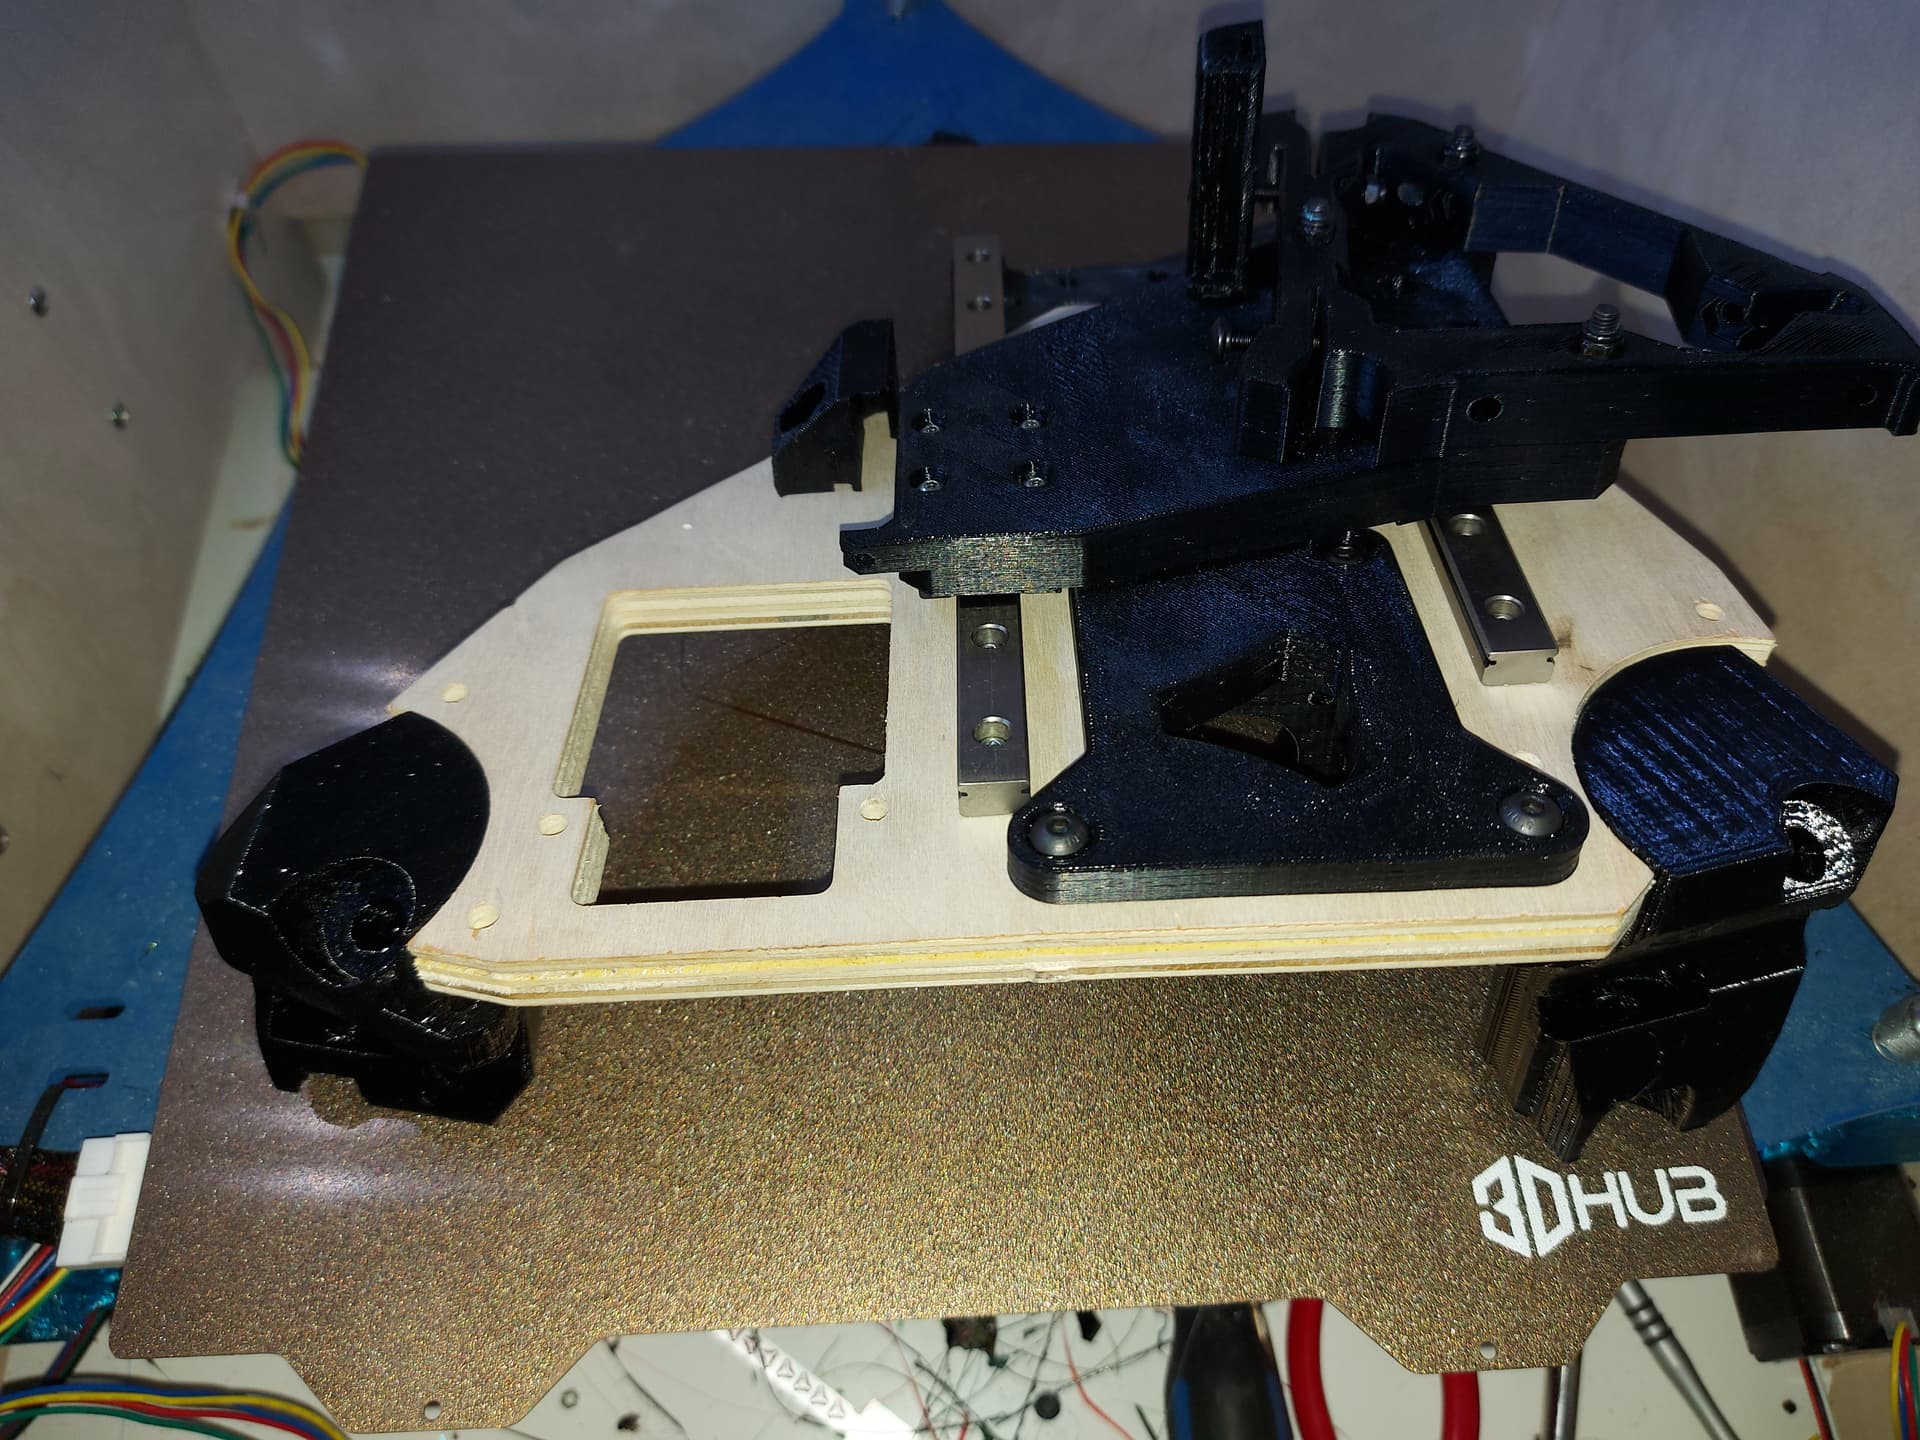
I have the x max side of the machine closer to the wall, so I will need to mirror image these parts and print them again, or else deal with the rail being closer to the insude edge of the table.
…
Or have the home corner on the other side, I guess… Or am I just doing stuff backwards? I might have had the wrong idea when I started assembly…
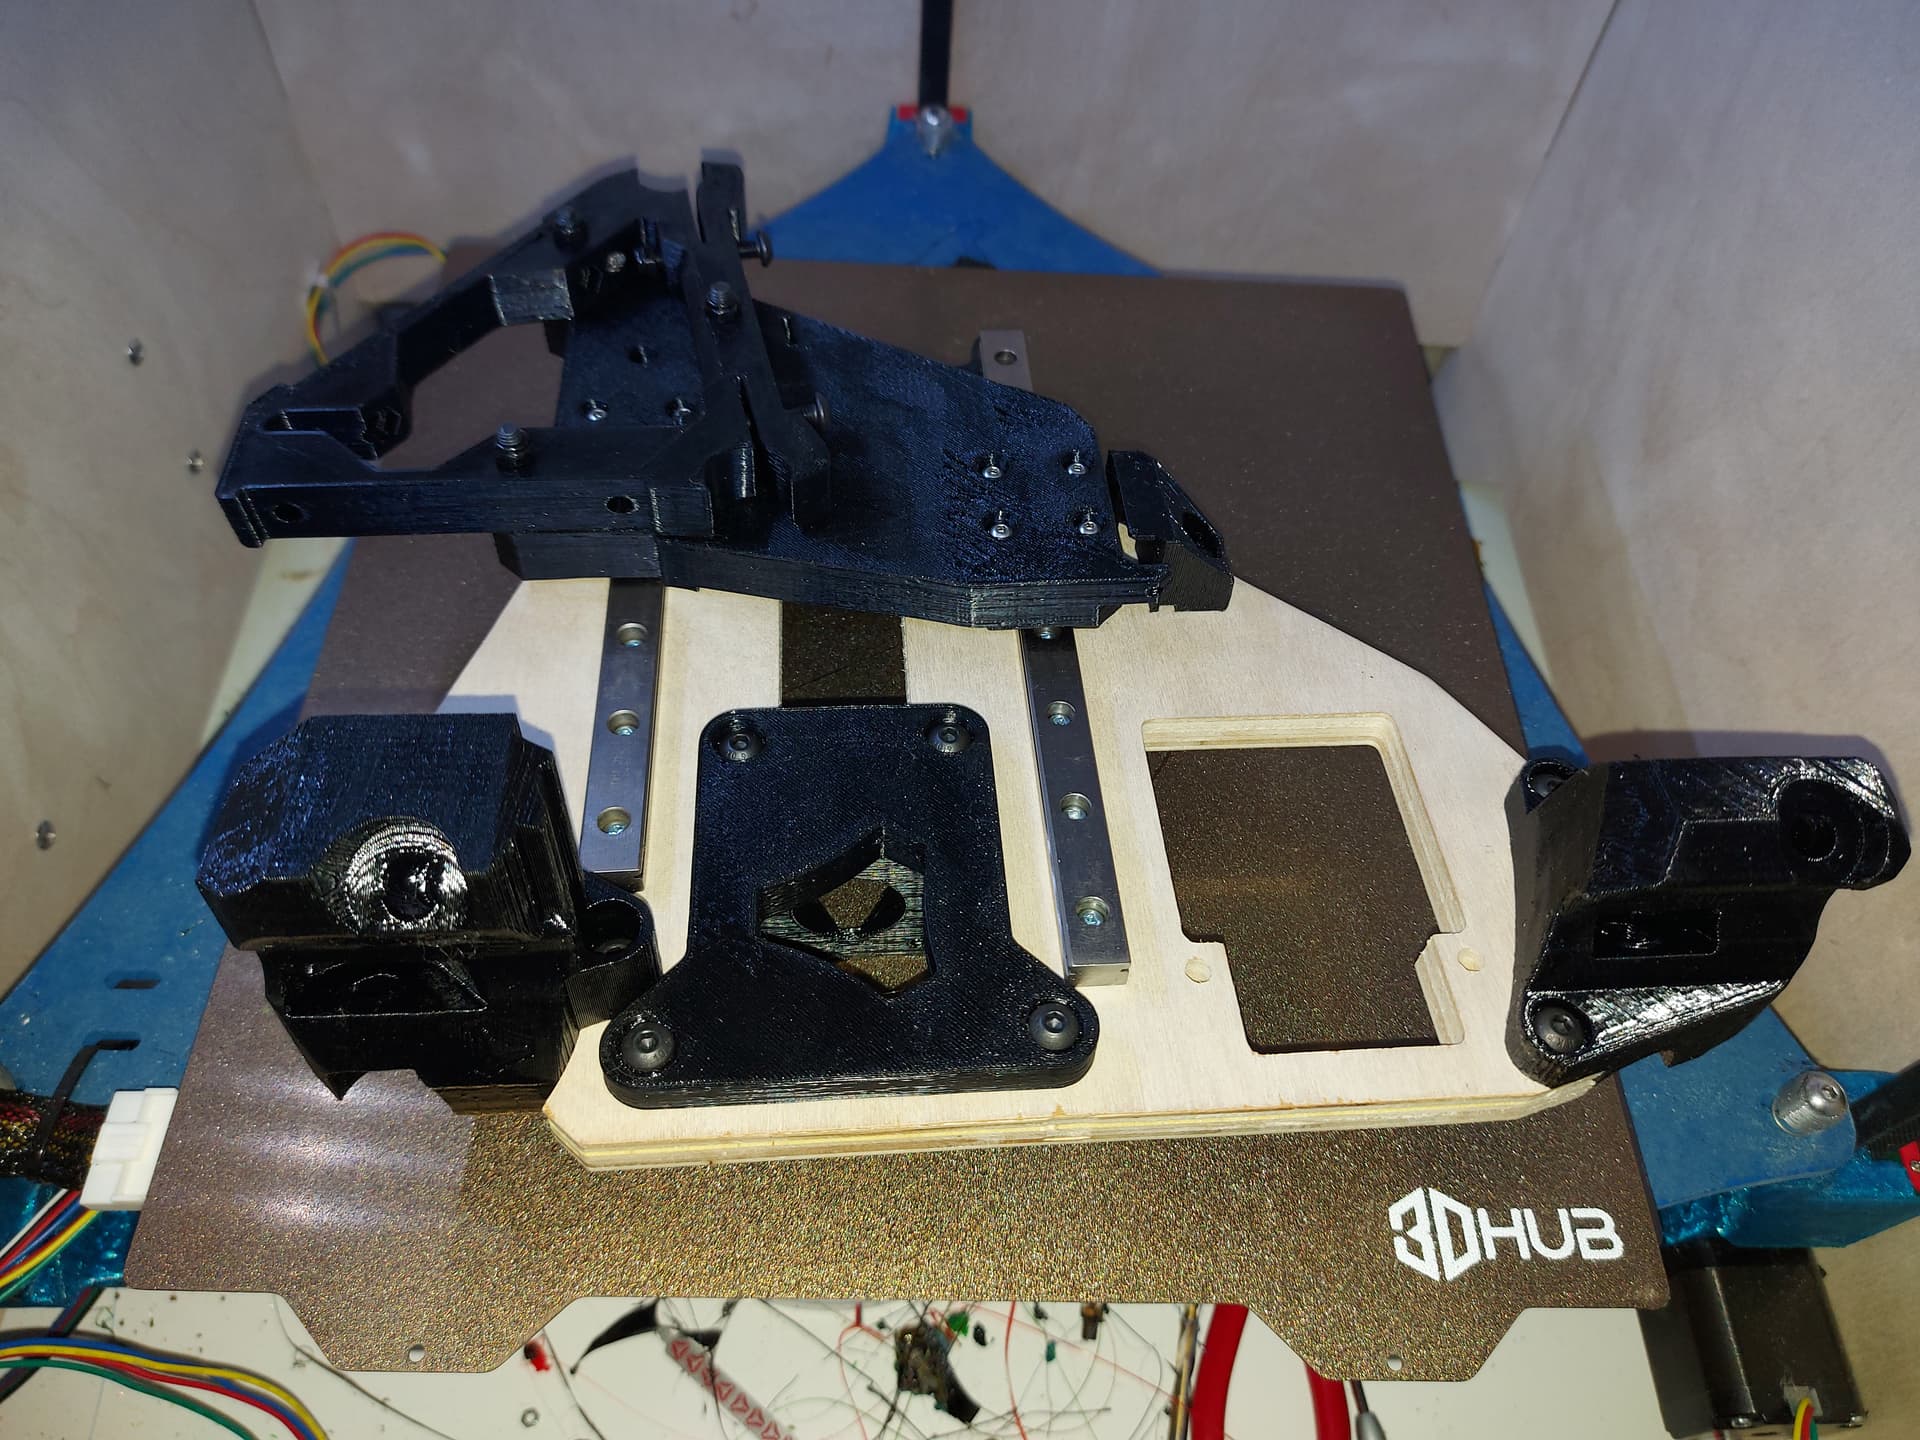
Move along folks… nuthin’ ta see here…
In my defense, I didnt get much sleep last night, because I was stewing over the botched delivery. Thank heaven for reasonable neighbors.
Hahahah, don’t feel to bad i initially printed the mirrored version and put it on facing bearings up!!
1 Like
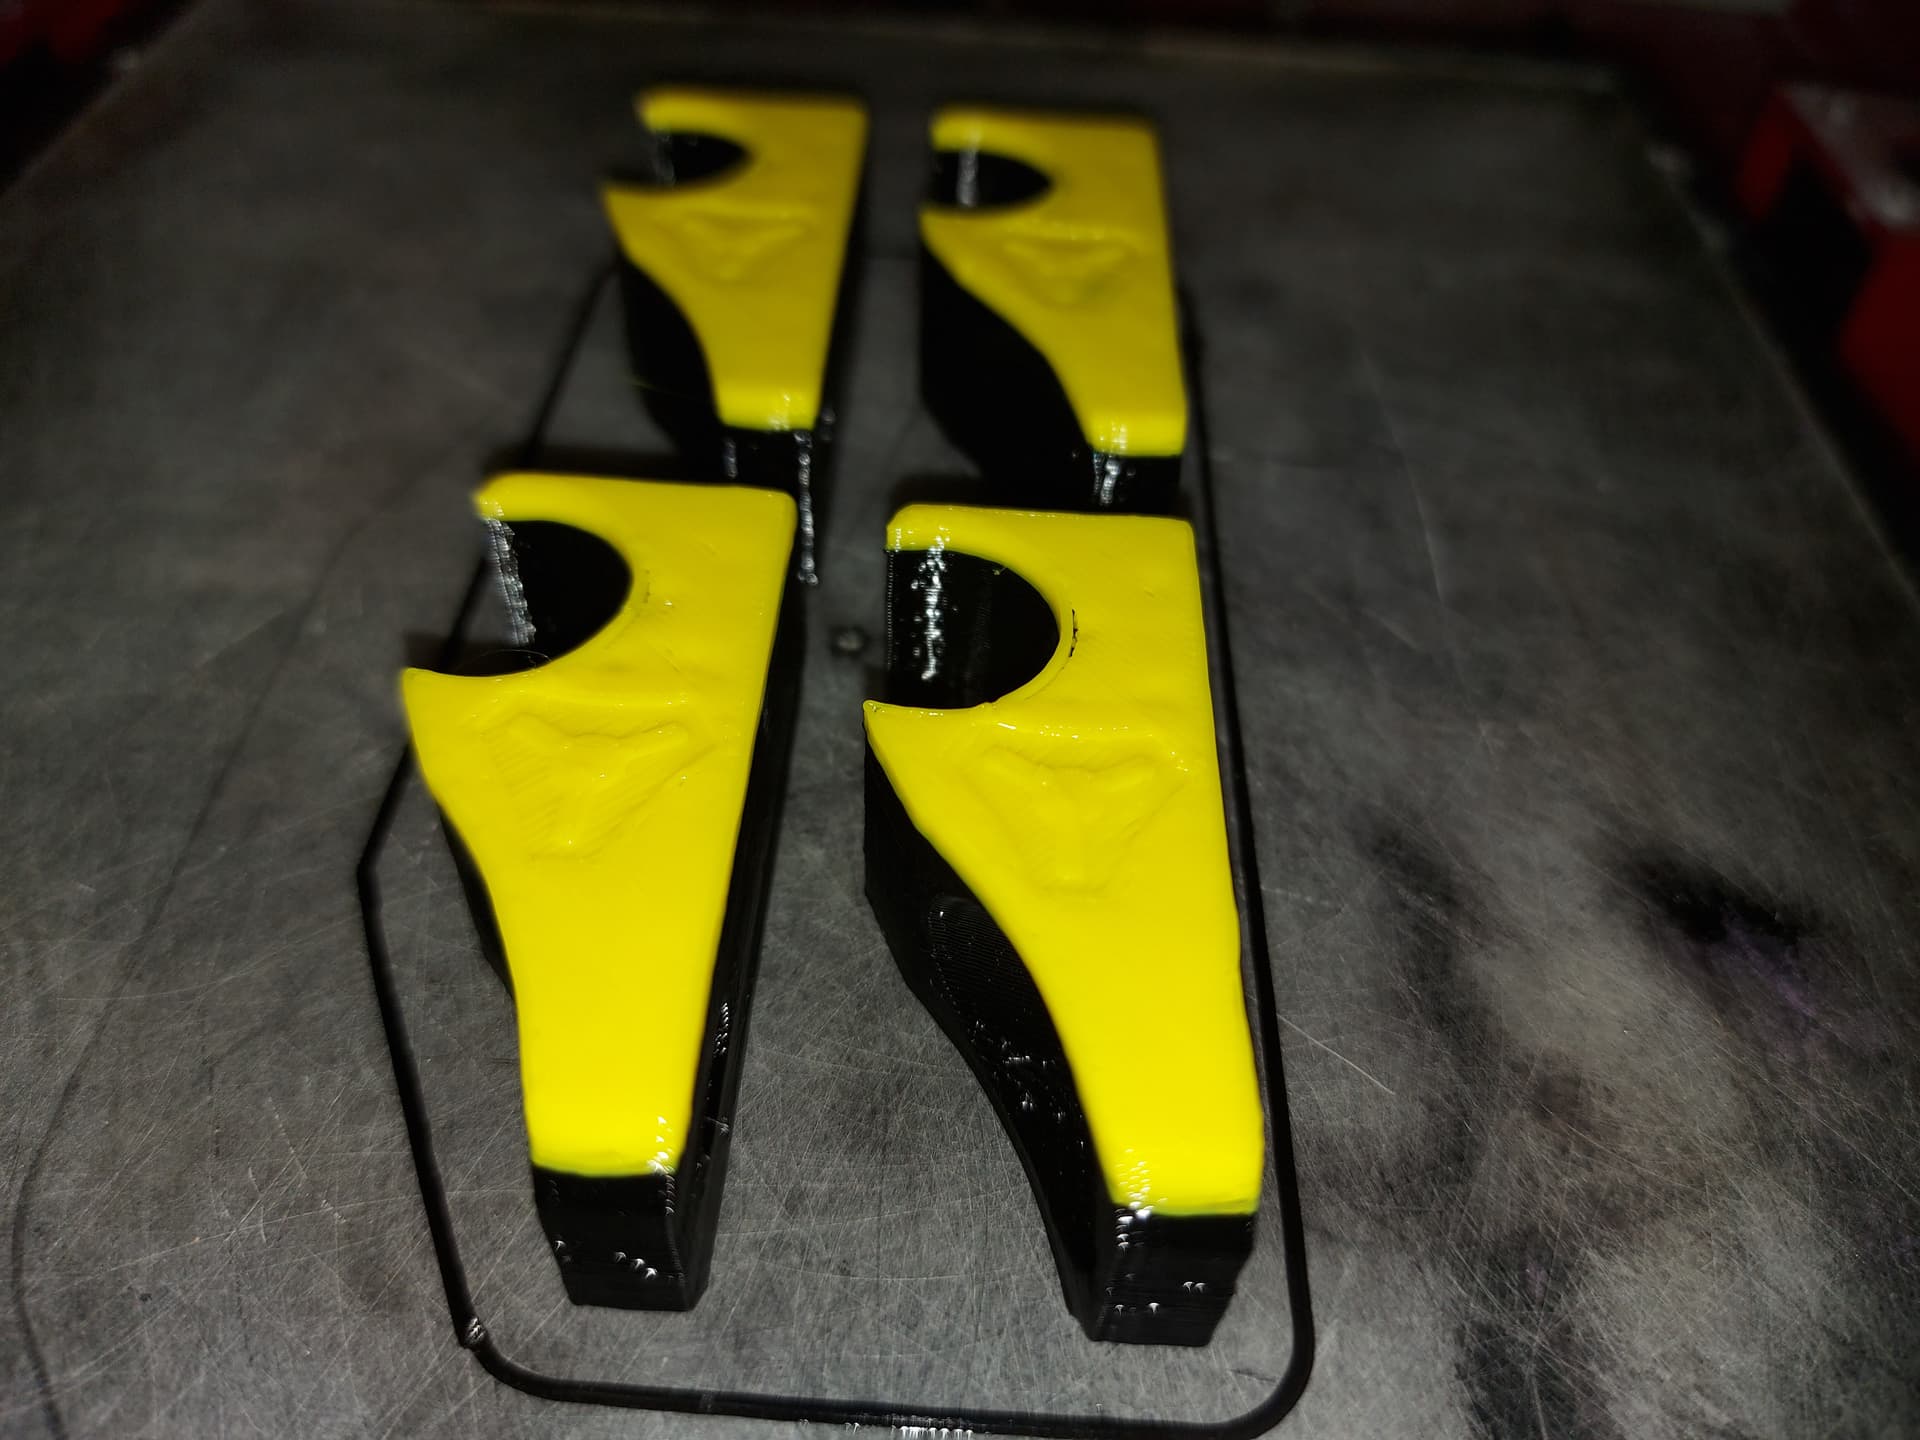
Some days nothing comes out right. Should have only printed 3… well, the bumblebee colour scheme isn’t that bad…
3 Likes
I have 6’ of Y axis rail, so if I put a block every 8" I should need 10. Now I have 12, including the 4 bumblebee ones, so I’m covered.
This sboukd have me all caught up, except the Duet case which I mangled Ryan’s CAD for. It needs a cooling solution, but I’ll try printing it and see what that gets me. Honestly, Im not sure I trust my judgement today for how things will be oriented when it’s on the back of the machine. I am probably backwards and inside out.
1 Like
On the one hand, I’m glad that I got it figured out. On the other…  Seems like a really dumb thing to get wrong.
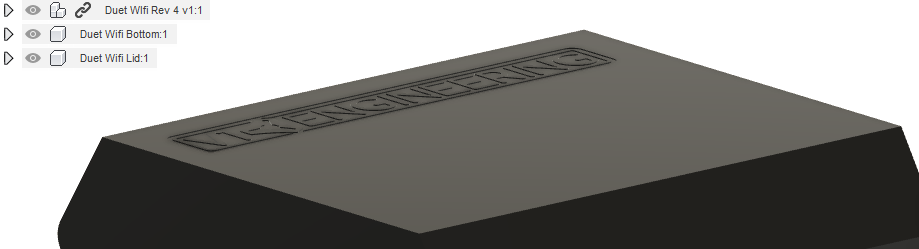
Duet Wifi case prototype printing. I want to play with this a bit, then I’ll make something more permanent with airflow options.
It’s printing well though, so far. Just about bed time though. I’m actually already working on the a better version of this case, since I know the Duet likes to have the drivers cooled.
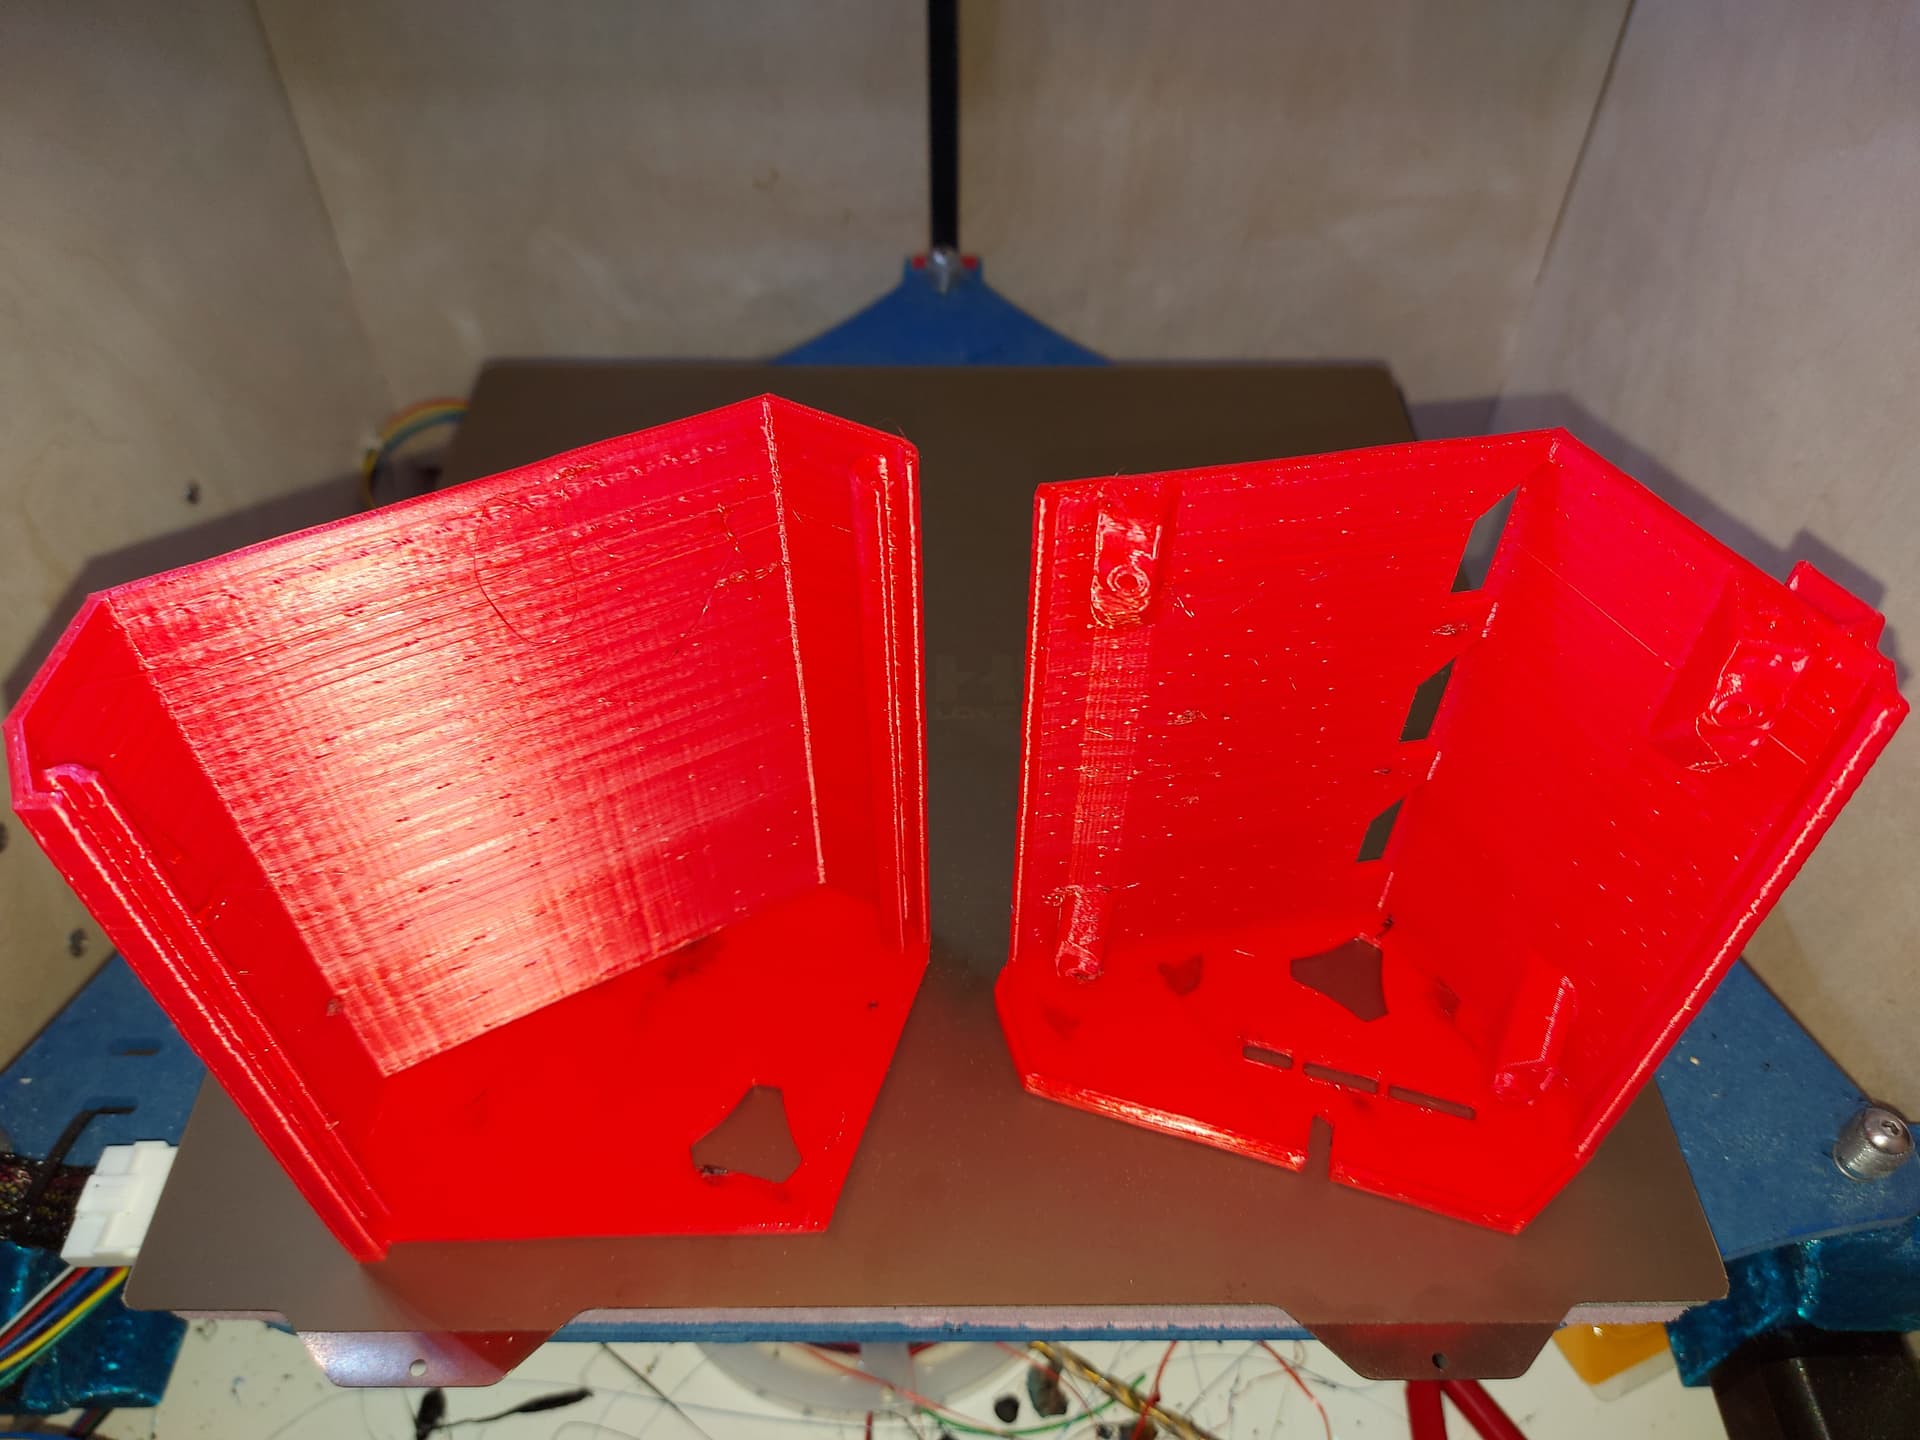
That is where I am at. Lots of holes on the bottom, just need some sort of venting on top. I think I have an idea for a little louver thing. Maybe convection will be enough???
My duet wifi is convection cooled for the most part. The power supply fan blows out the enclosure, so that’s the only powered airflow in the electronics box.
1 Like
I figure if I print the box in PLA and it starts to sag or deform, I need to add some sort of fan. Built in Thermal indicator!
2 Likes
Convection cooling should be enough, but at the very least I want to add this detail to the lid
The case will hold the Duet now, at least.
The Duet should be able to be convection cooled, but they do recommend a vertical orientation to allow convection air to pass beneath the surface underneath the drivers, as that’s meant to be the cooling surface. I don’t think that will work with this orientation, so some active cooling is probably a good idea, particularly with higher current used for the motors. The Duet on my Primo is vertical, and I have a fan blowing under the driver area of the board additionally.
I don’t think it will actually need much, maybe a 4cm fan blowing across the board under the drivers.
4 Likes
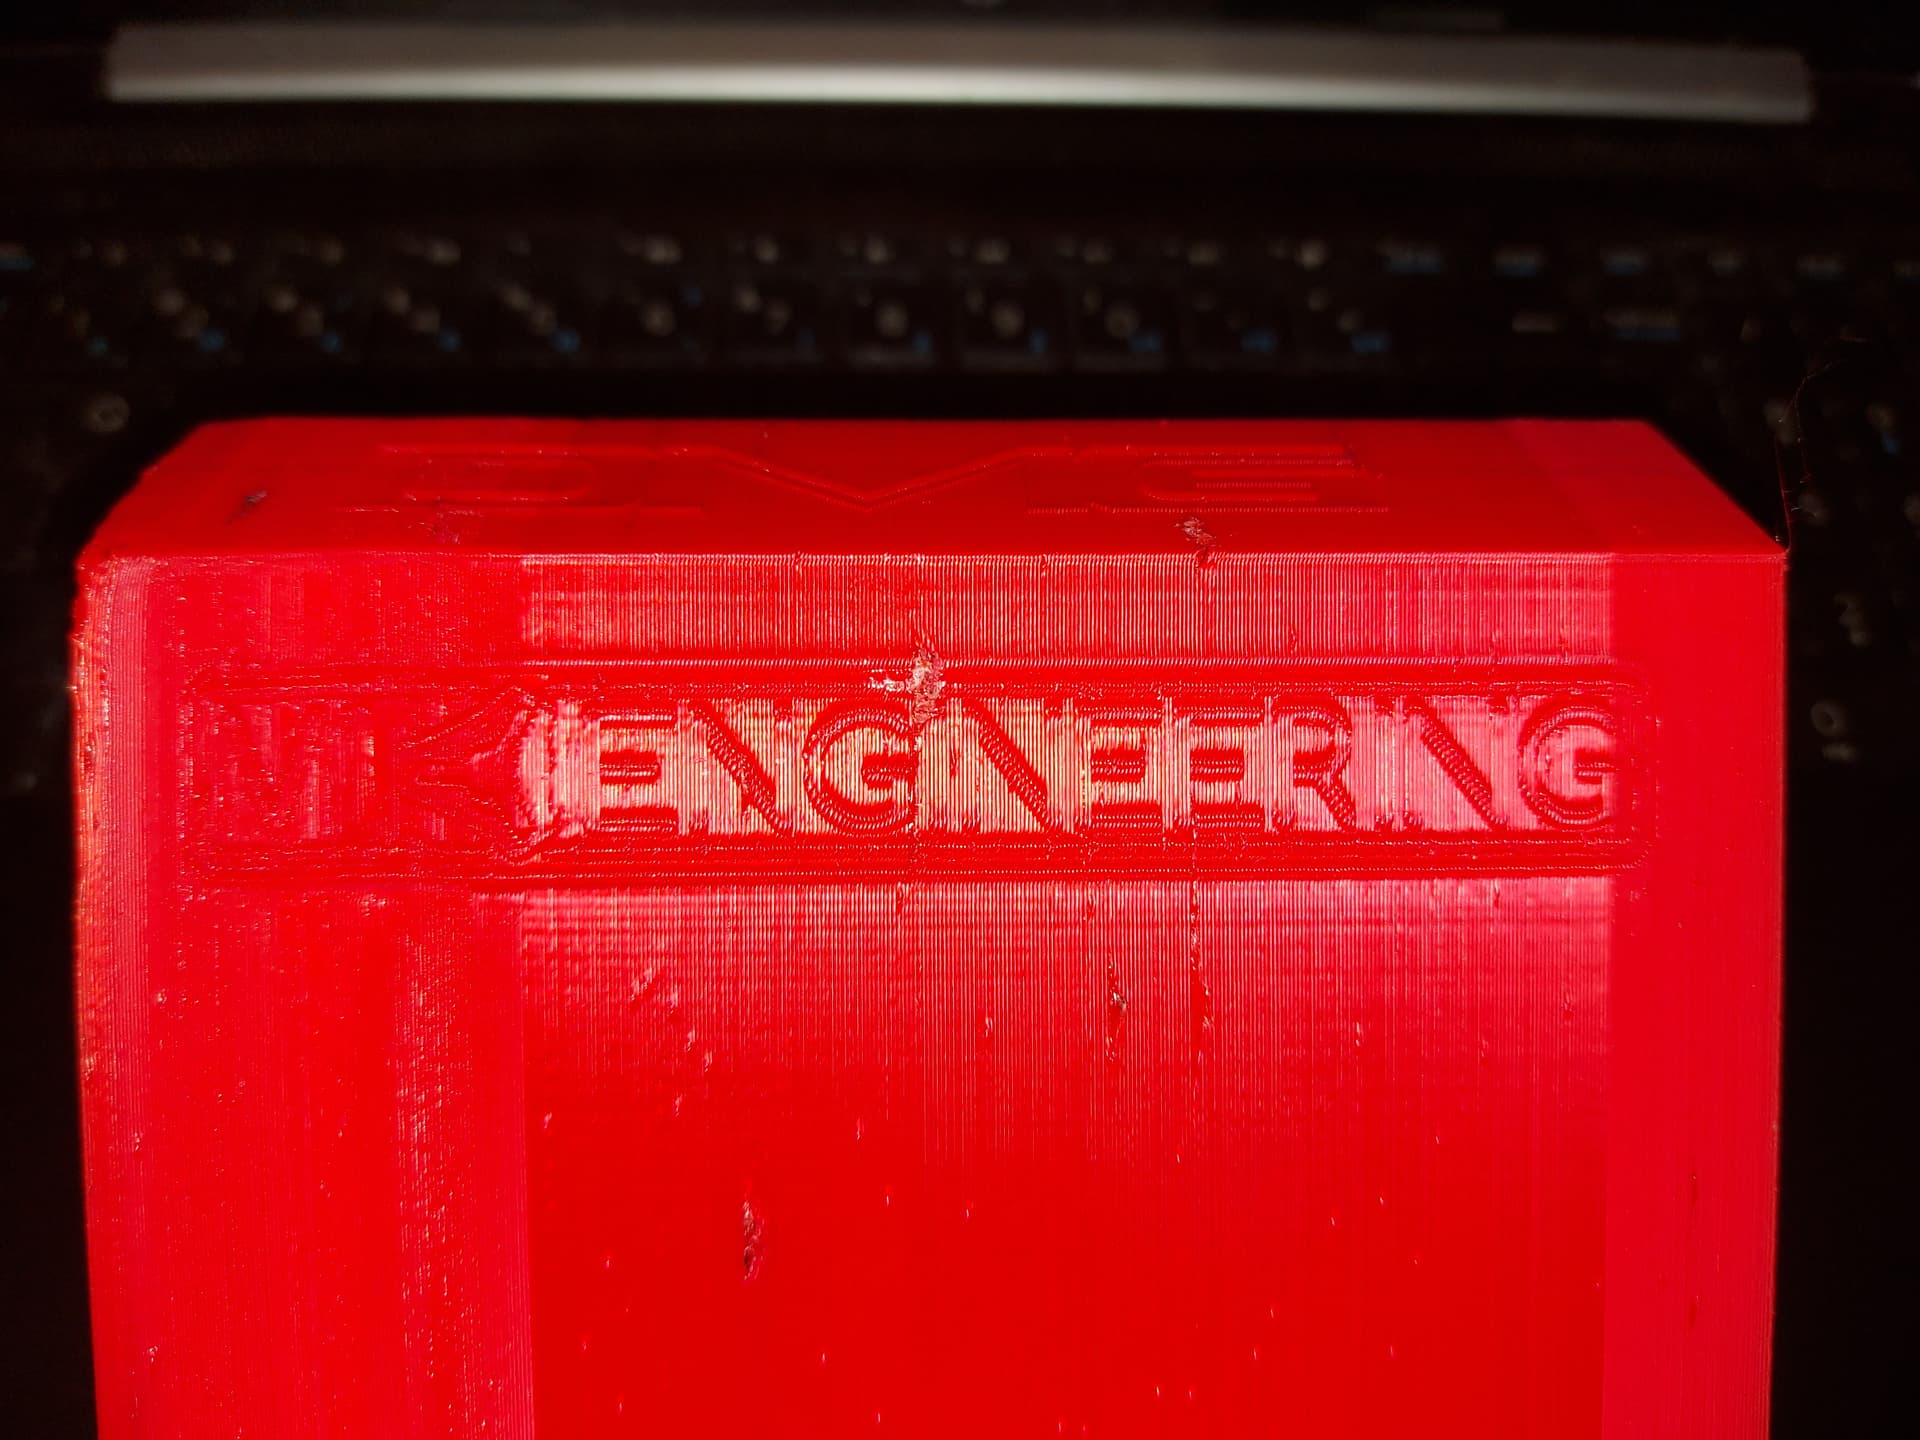
Ohhhhh I love the logo! Doing that to my next one for sure.
2 Likes
Not the best print Ive ever done, but it finished.
Adding the driver cooling options to the bottom now, we’ll see how it looks then. This will work for testing.
3 Likes
Well, that could have gone better. Apparently after a cooldown cycle, my nozzle to heatbrwak seal lost its integrity… but this is why we test.
Still looks kind of cool, and still works as a test piece. Printing Y drive pieces now, after tightening the nozzle to heat break.
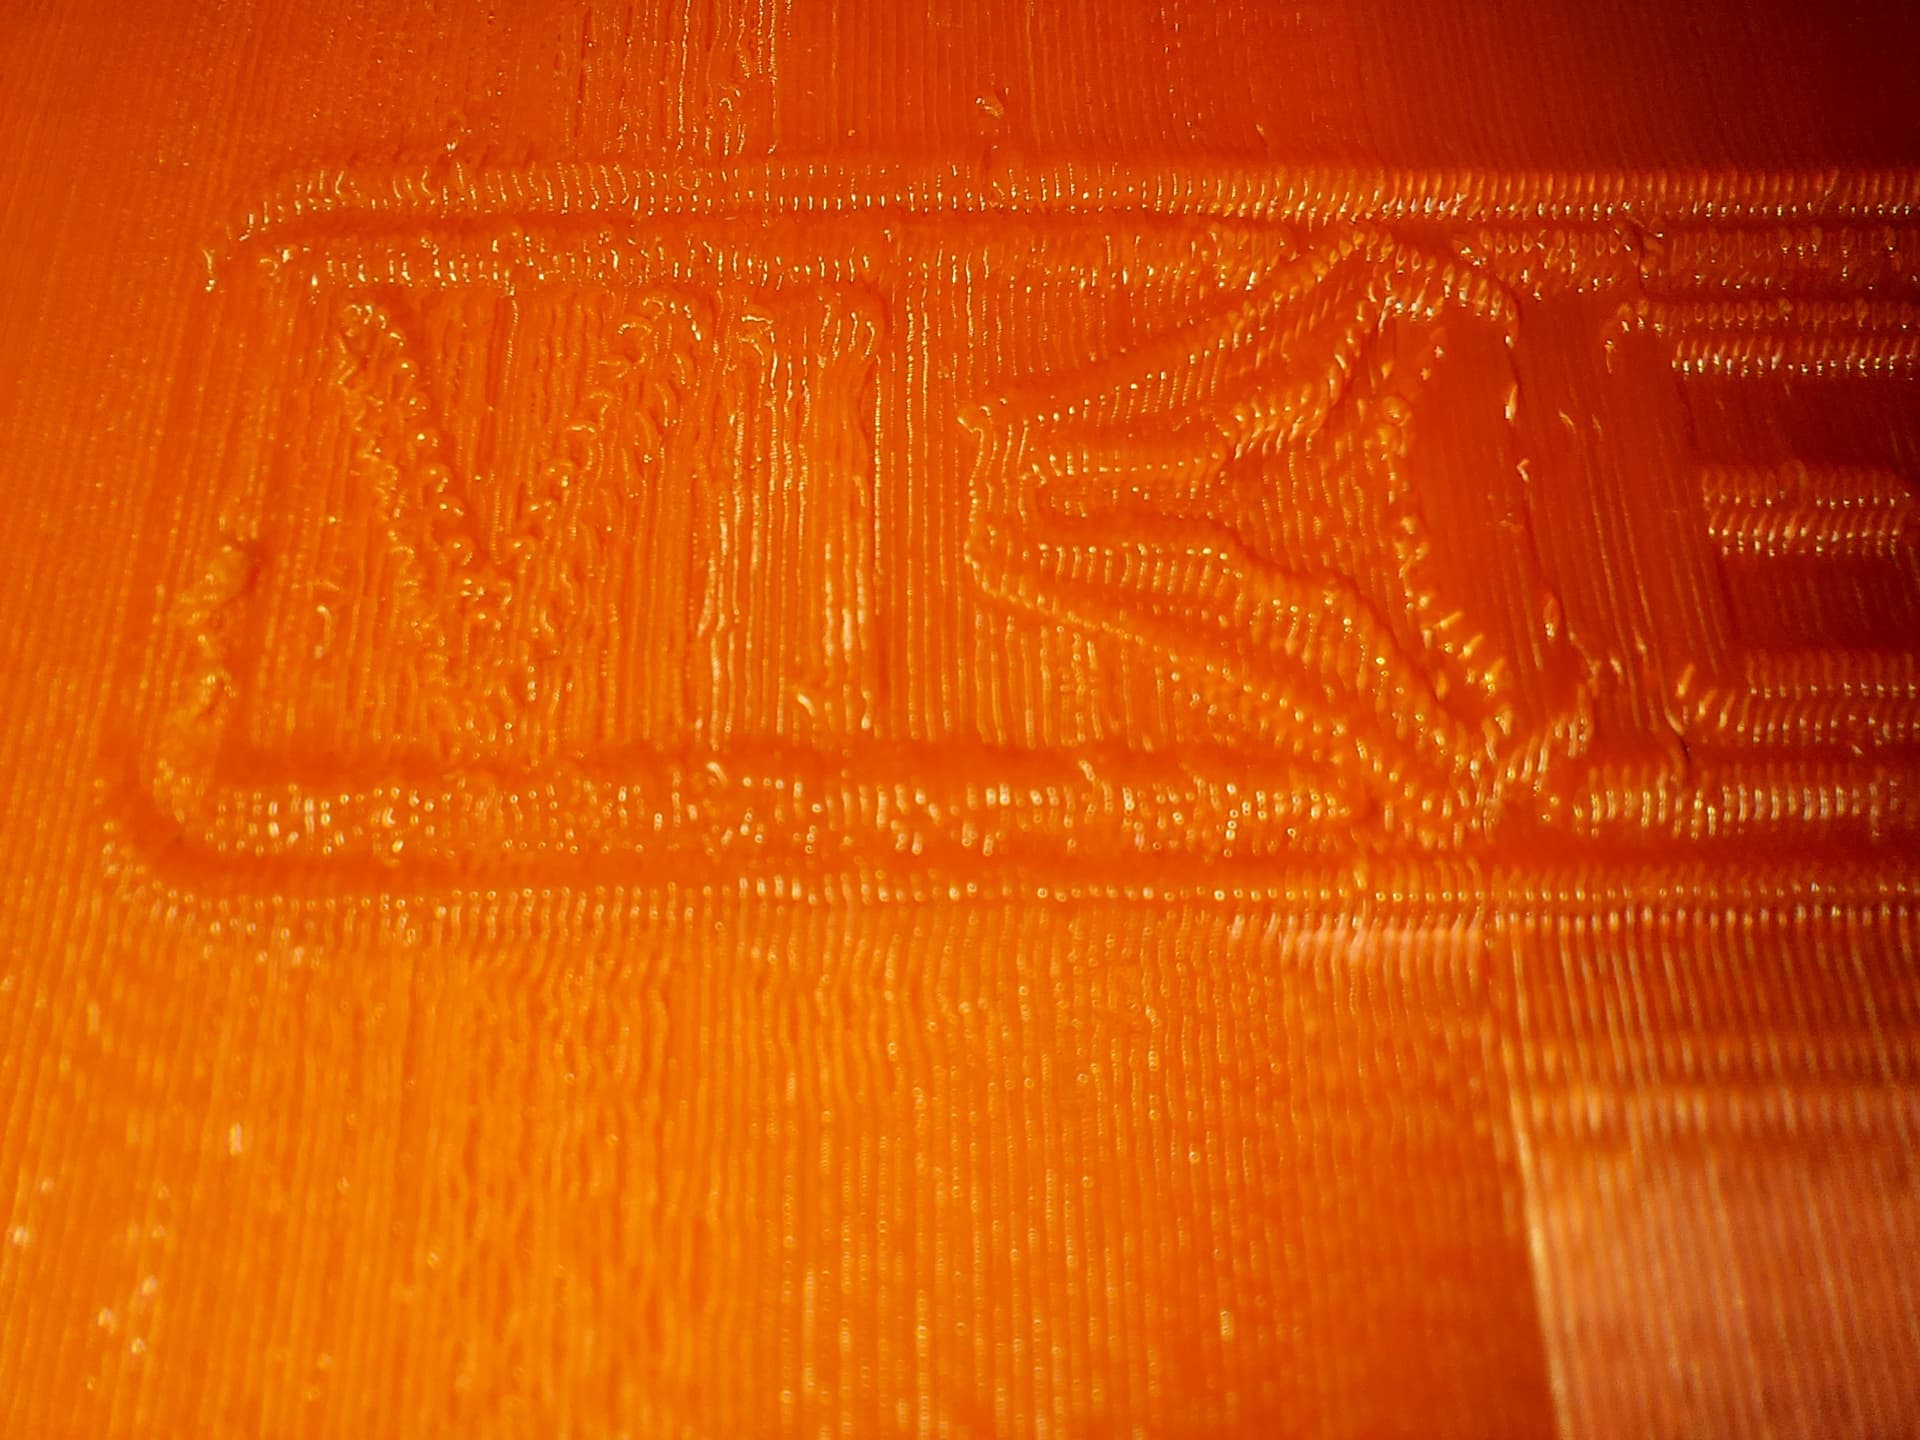
Some weird surface texture artefacts too, but could well be from that same leak causing under extrusion. If I end up with lemon yellow or red Y drive parts… then it was something else and I needed to reprint. I ordered another spool of black. Black is the most commonly “out of stock” colour, it seems. Or else it’s $60 a spool…
1 Like
Found the problem, it was another clogged nozzle, partially clogged, so that it caused the extruder to skip steps and under extrude. This time, with good filament tension, it skipped steps, then tried again, rather than just stopping outright, with the result as you see.
I caught it doing the same thing with the Y drive parts. Well, I’m out of 0.4mm nozzles, so I have a 0.5mm nozzle on there. I kind of meant to do that anyway at some point, so… Now I have.
Not sure what’s causing the nozzle to clog like that, and that kind of worries me, because I can’t tell if it’s going to happen again. It might be the red filament. I think it wants a lower temperature than I’ve been printing the black at, so maybe it’s getting overcooked? The weird part is that it seemed to clear up for a bit with the case lid, then it got bad again.
Extruder current?
Was set to 500. I tried bumping it to 650, but that didn’t make a difference, so I put it back.
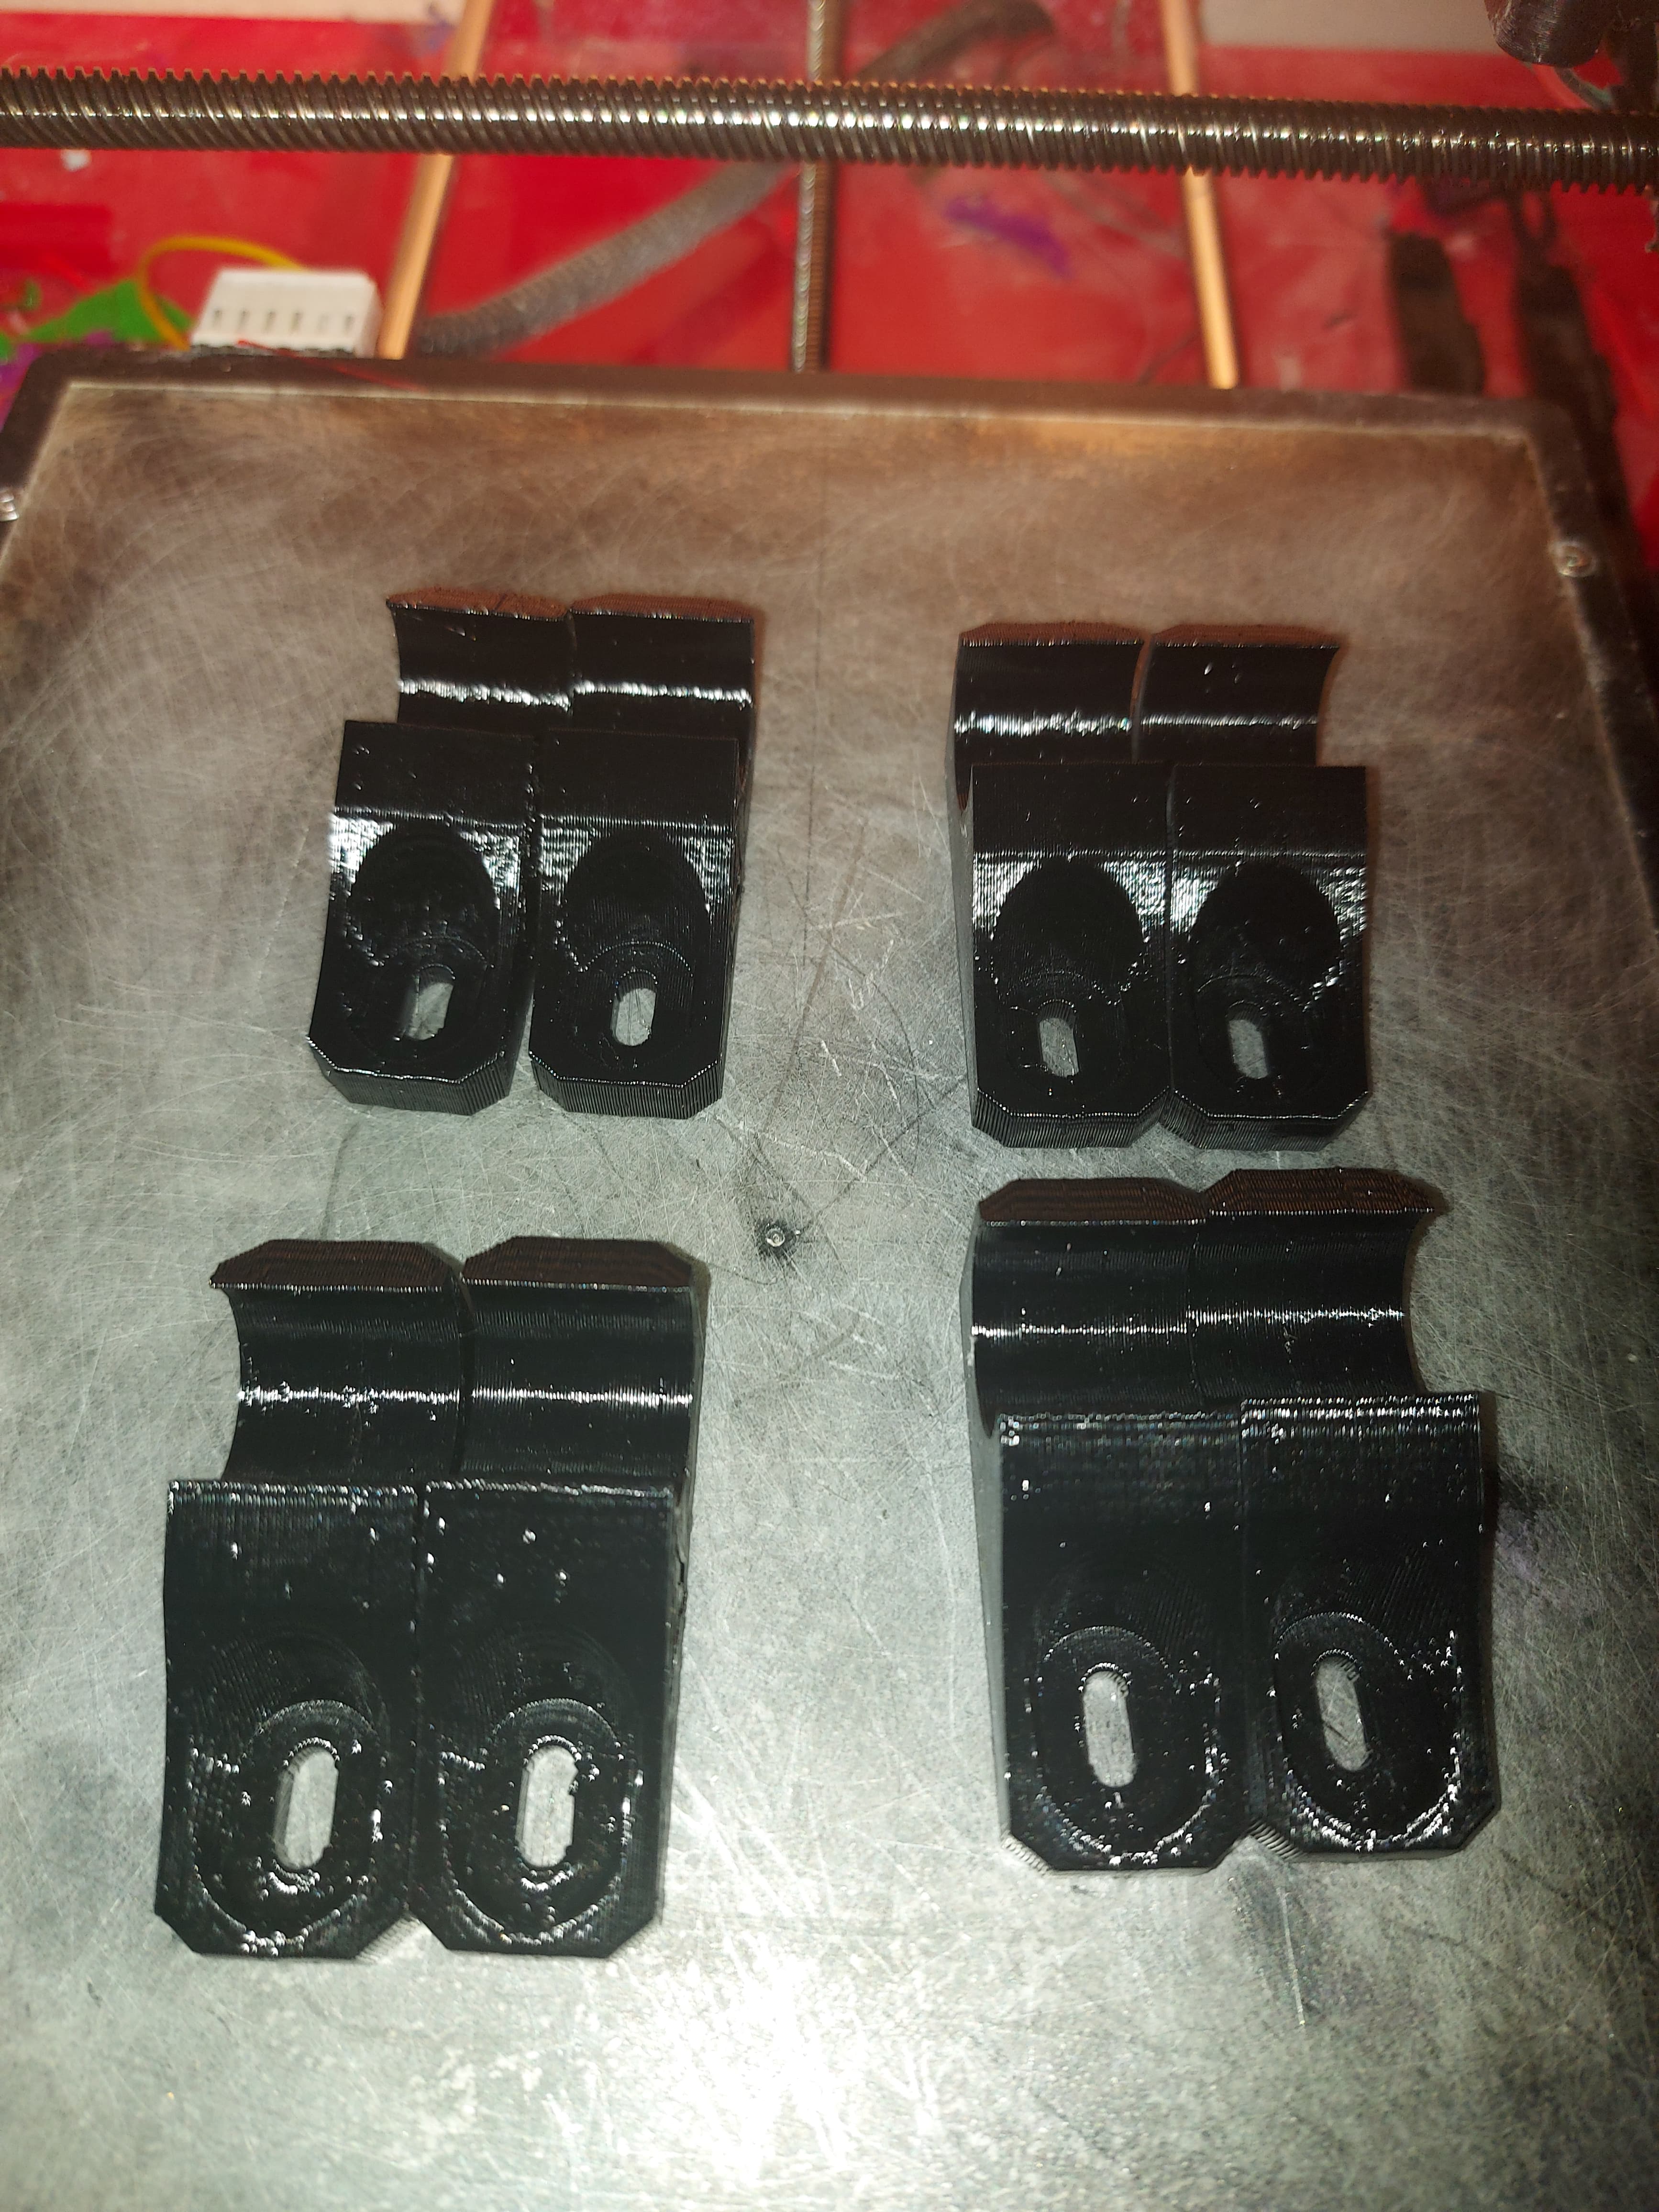
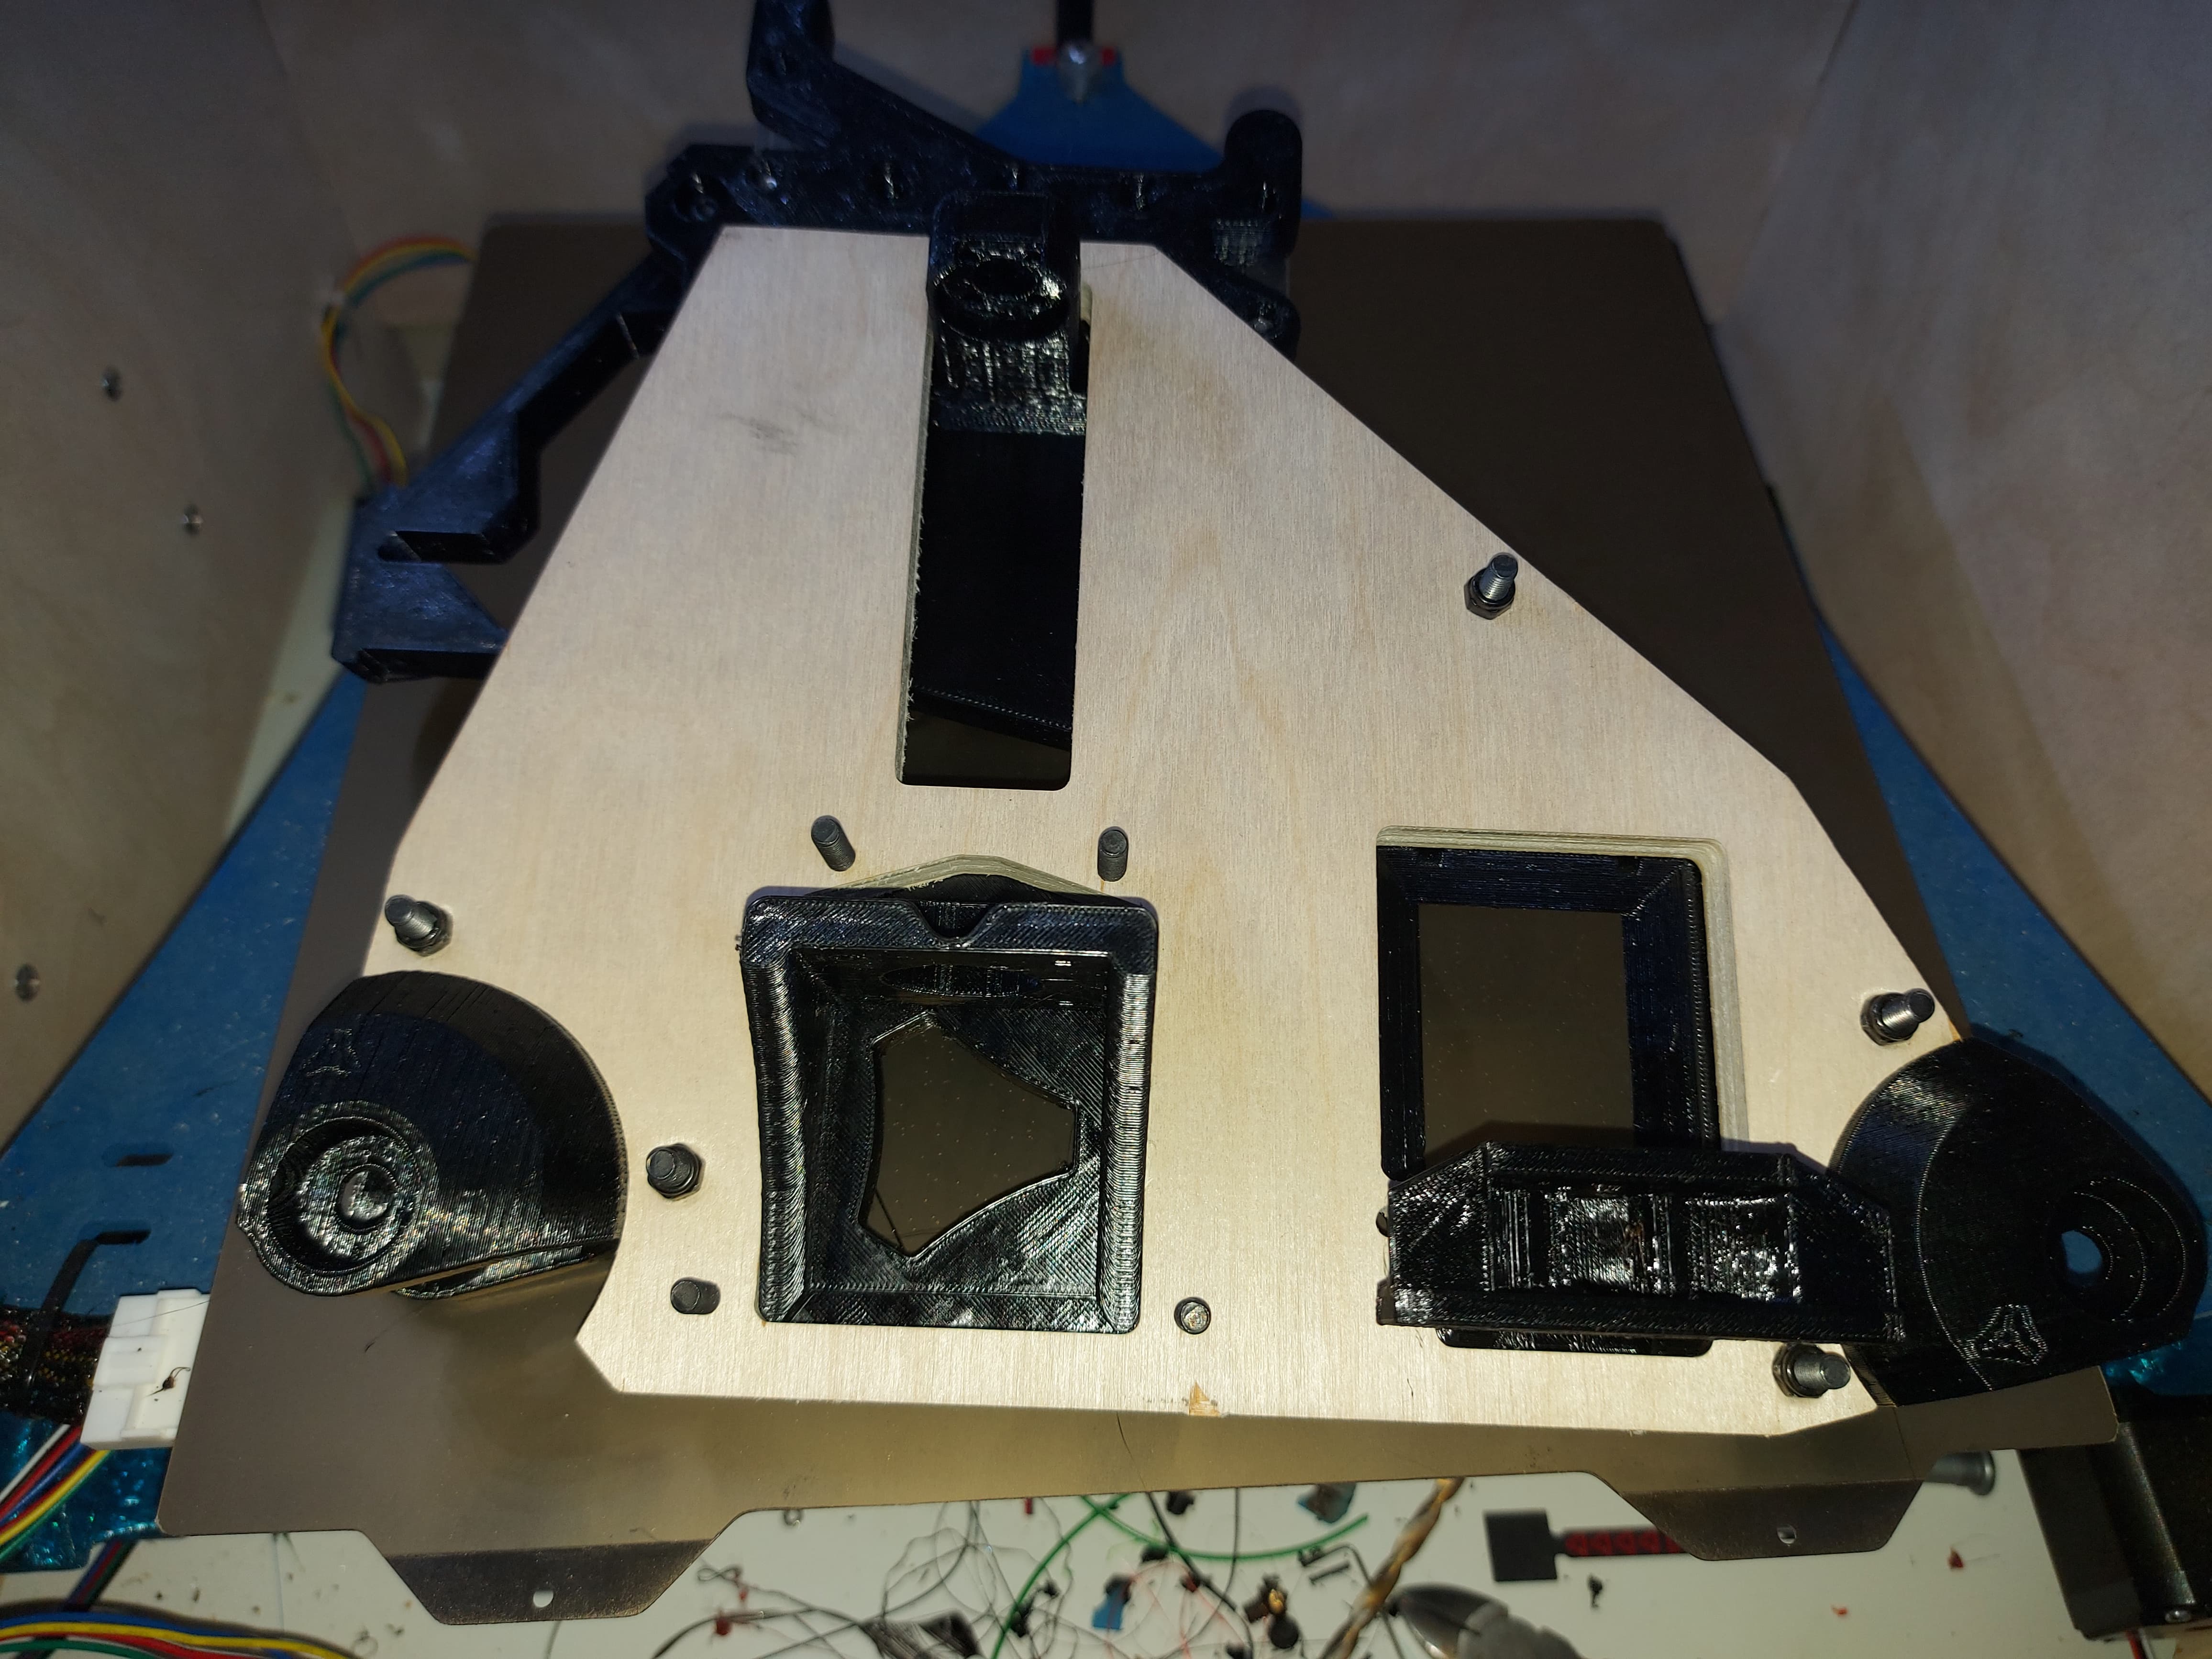
With the new nozzle, the Y drive.parts came out beautiful. I have the smooth PEI sheet working, got a beautiful glass smooth surface. Looks weird next to the Z drive parts, which definitely are not so smooth.
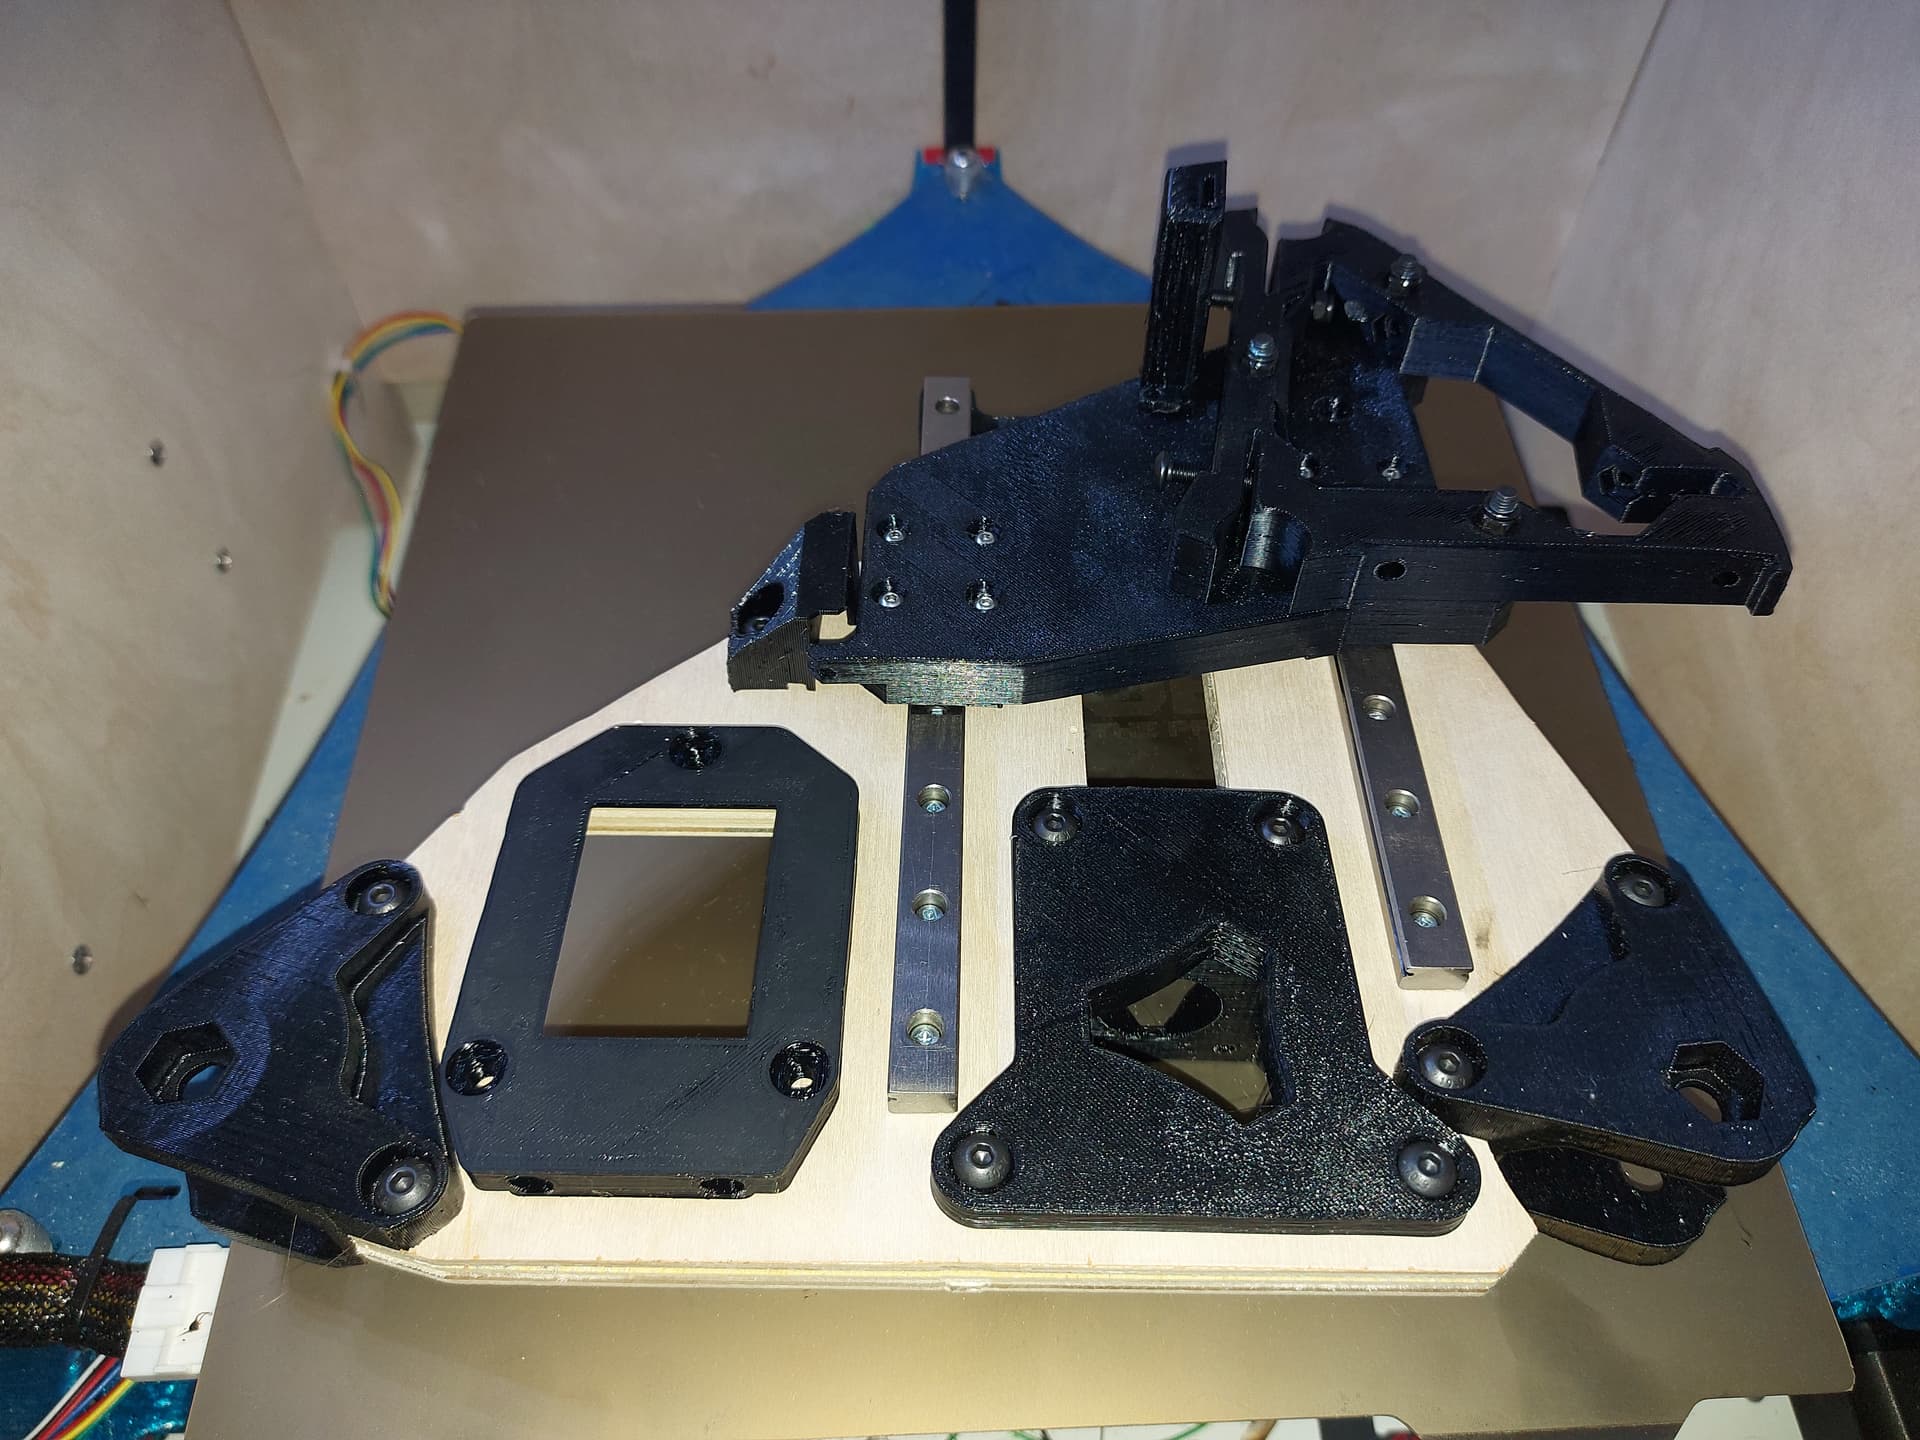
3:47 print time
3 Likes
Accidental leak…
Parts to test the printer. Printing hose hangars now. I wired up the stop switches and installed them. I don’t have the third bolts for the Y drive installed yet. I might just use a 1/2" #10 wood screw instead of drilling through.
I’m deciding what I’m going to use for the X span… But the piece that I got to make the strut plate from is 4’ long, so that’s pretty much the max, unless I’m going to go spend a lot more…
1 Like
Good-looking parts!
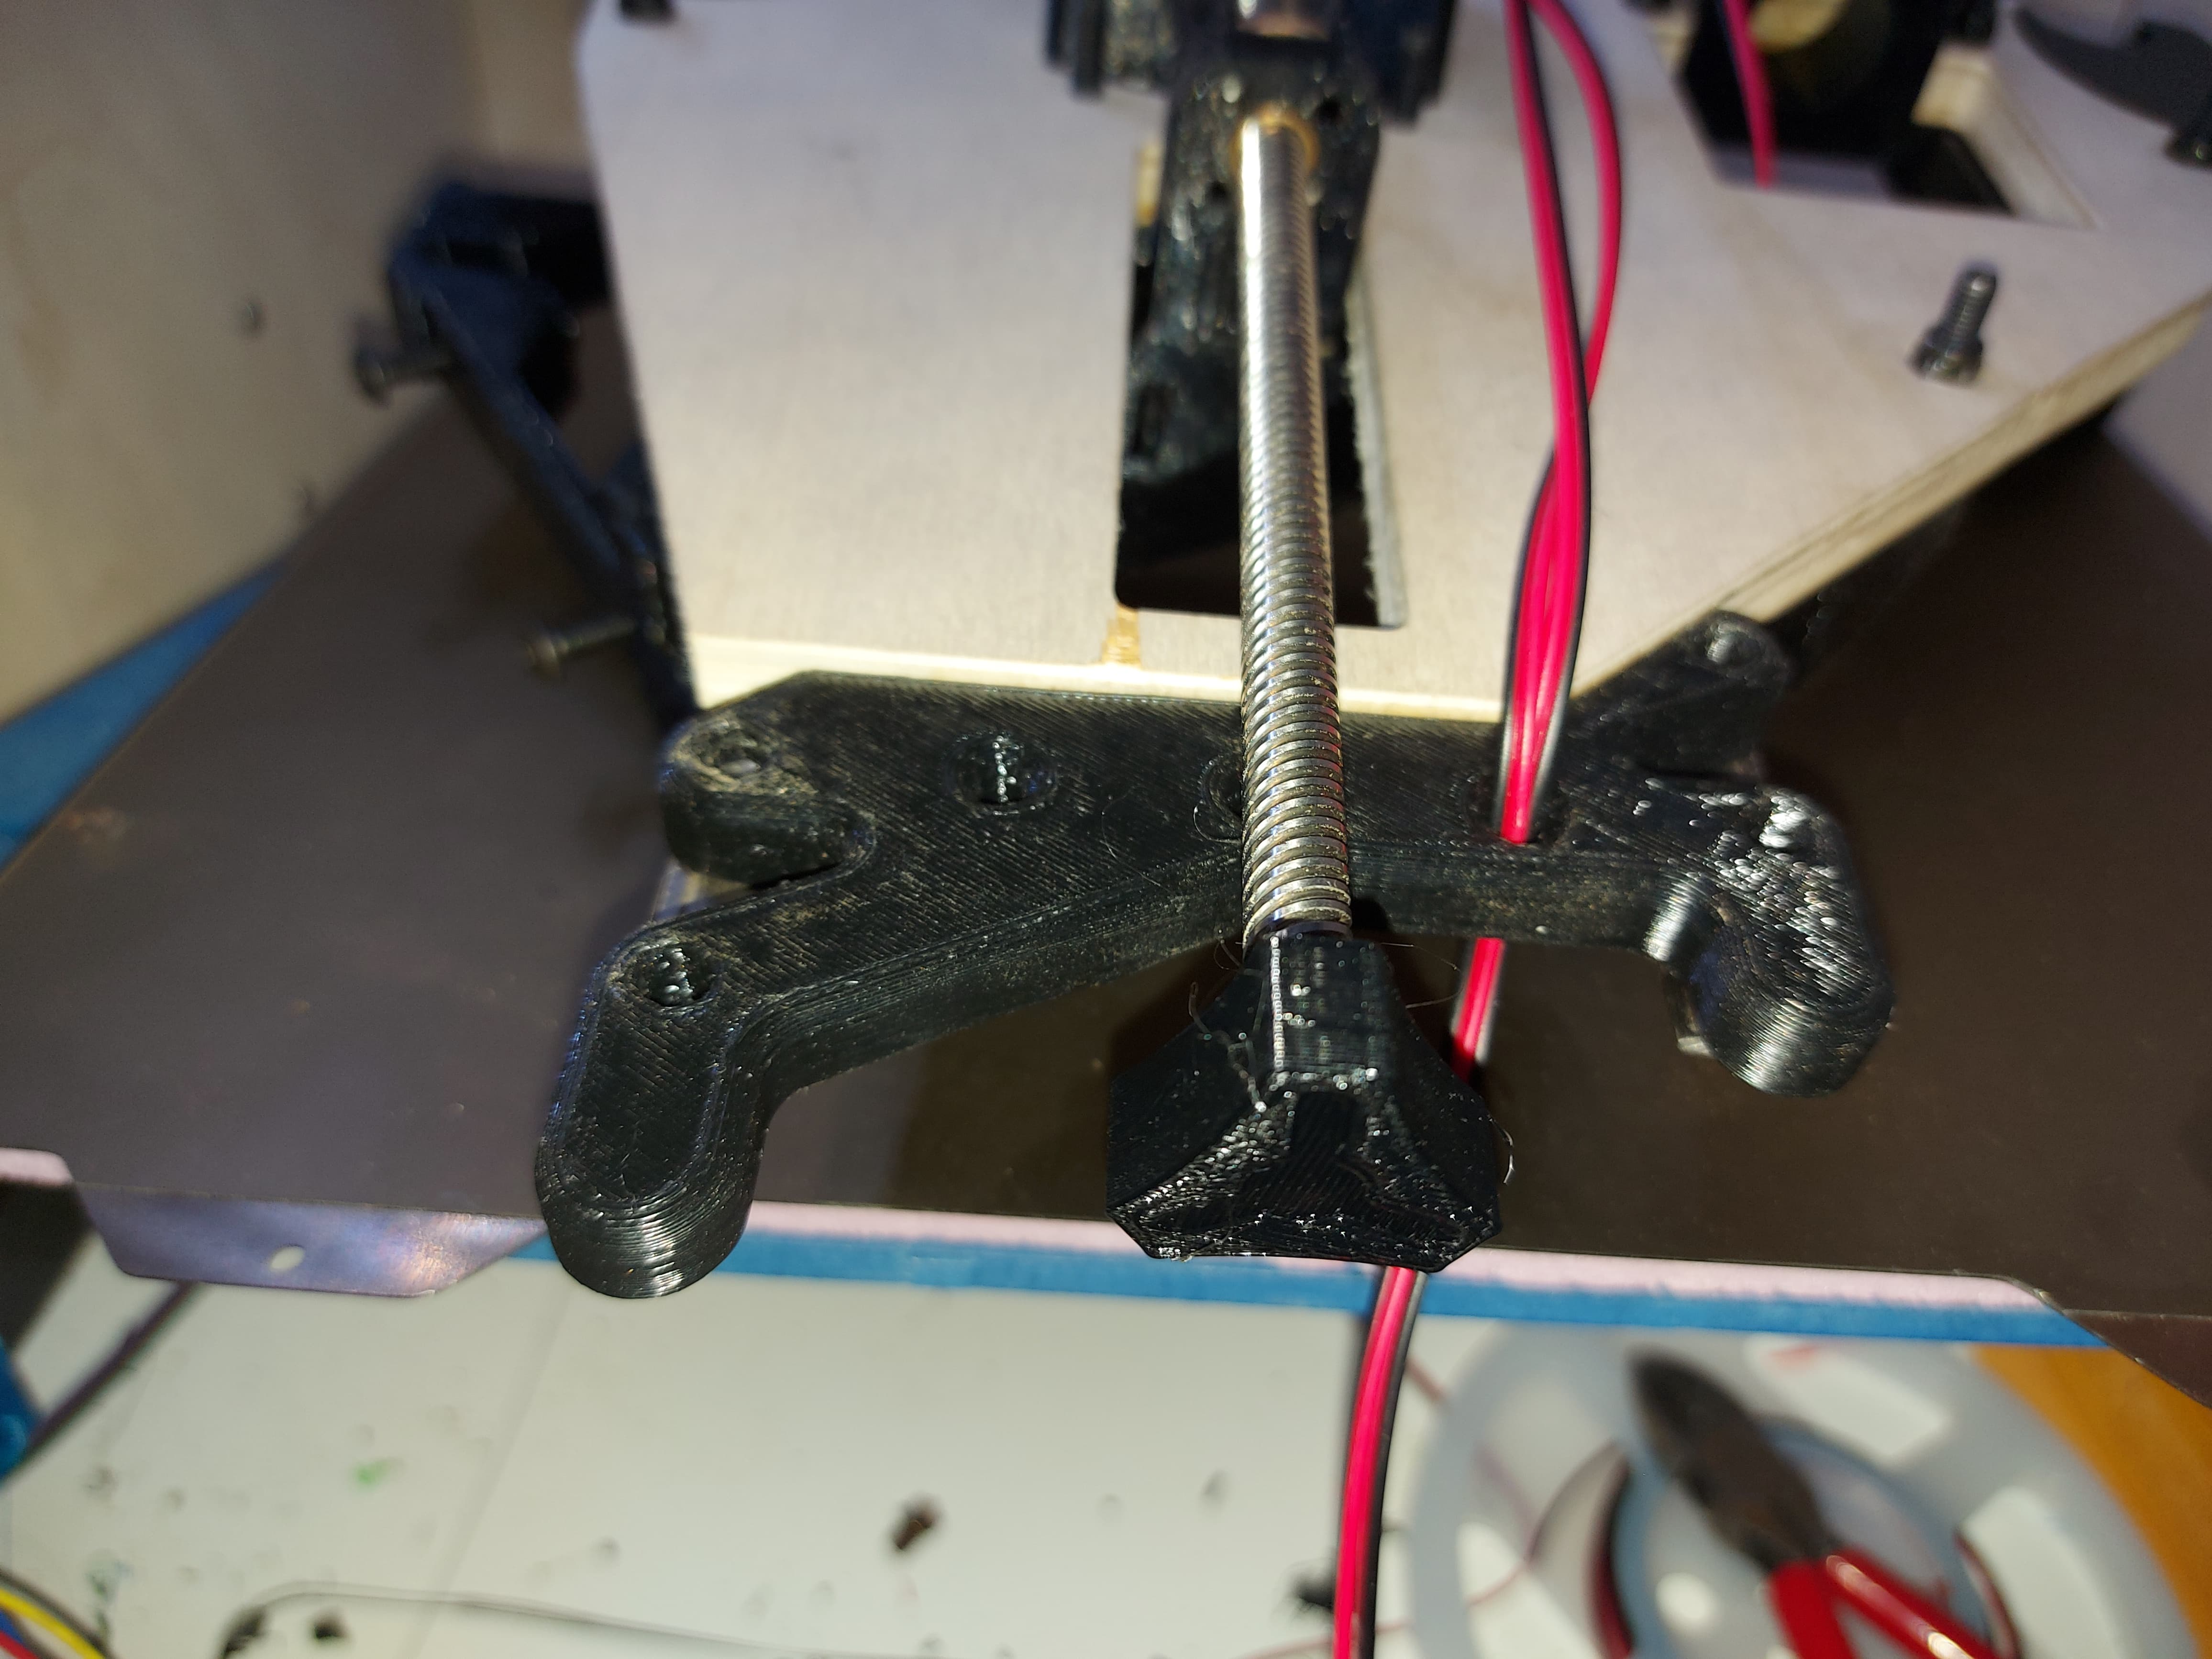
I like the little nob over the Z screw, nice touch!
1 Like