Once I have the Glow Rider up and operational I’d be happy to send you the JP3 to “examine” just send me an address and I’ll be happy to send it to you.
I have it out now and have been trying different ESP tools on both a Mac and my Office PC to see if I can resurrect it.
At times I can see it but it won’t flash the memory to factory settings. At times I get past that and flash it to factory settings but then FluidNC web installer says it cand determine the MCU type and won’t install FluidNC
Fluid Web Installer does show me the contents of the flash storage and I can see the V! default files Config, Preferences, Etc.
At times I can use Fluid Terminal and see the start-up messages etc.
But the ESP chip gets extremely hot in the process
Well, I feel like the boy who cried wolf too many times…
I finally got a good erase and flash of the ESP32 and a fresh install of FluidNC and uploading of V1 JP3-LR4 config files…
So now the machine is functioning, and homing, and the touch probe works … all is good…
But it’s 1:00 am, and I really want to test the Fluid Dial before I go to sleep…do I risk it or do I go to sleep knowing I’m back to where I started at least?
Well as the saying goes curiosity killed the cat….
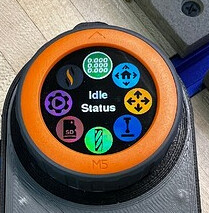
But this time he lived to see another day. Modified the config file and got the Fluid Dial working.
Mostly I need to remember how I set it up to be able to see the files on the sd card and then to load my macros…but that can wait till I’ve had my morning coffee.
I ordered some z-motor brakes to see if I can prevent the gantry from dropping when power goes out. I’ll let you all know how that works out.
Once I have the “mostly stock” Low Rider up and running then I’ll modify the config file and add the z-independent dust shoe with it’s slave stepper motor to keep the dust shoe at the top of the work surface. <<< that’s still top of mind for me but on the back burner till the stock machin has made some dust.
I need to update mine. That screen looks a little bit different. I seem to remember the SD card button at the bottom of the screen and I don’t remember a bit looking button.
Still such a pansy. I ain’t scared! Plus I have extra boards if I screw up Hard part for this will be remembering to actually do it when I get home in 2 weeks
OK this is really good news. For now I’m going to stand down investigating why there appeared to be a lethal incompatibility with Bart’s kits and the JP3 board.
I’m super excited to see that your machine is back running, and this is a reminder to me that I should update y own FluidDial pendants to the latest software releases.
I’ve modified the stock “fixed” dust shoe to have the bottom plate attached with magnets (Easier). IMHO, I’ll test this out and see if there is even a need to continue revisions on the independent z-axis dust shoe.
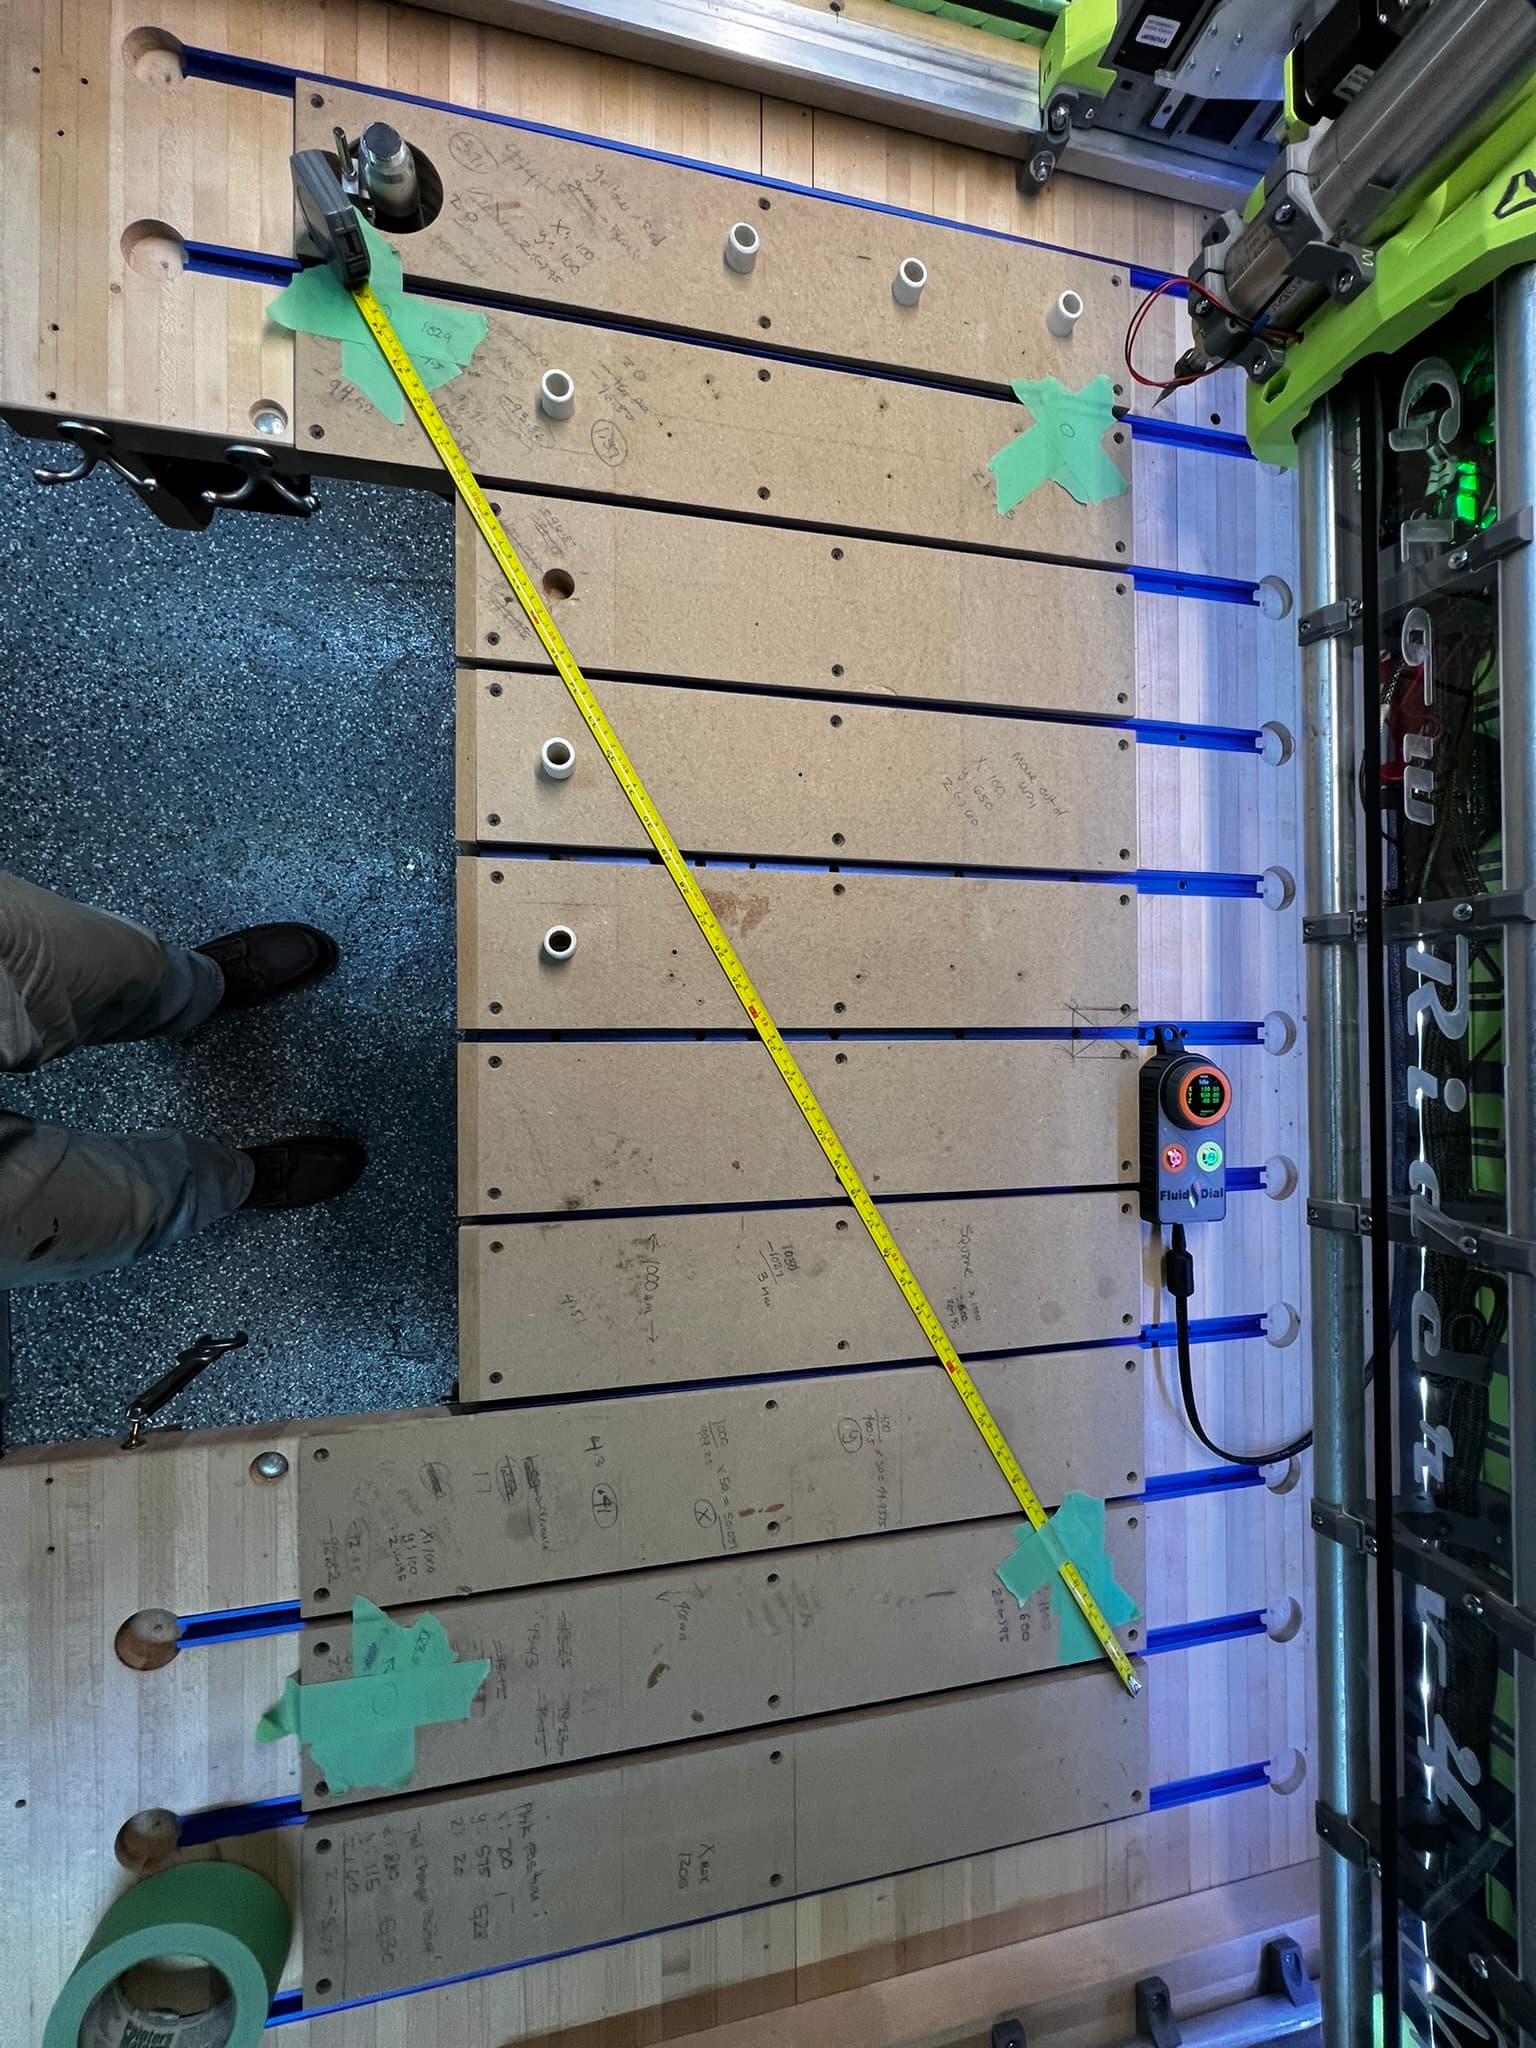
I found that the gantry was super easy to push up in the YZ(Min) and YZ(Max) sides, i.e., the gantry was not held down by gravity, or the force to lift it was minimal, so I designed some brackets with bearings to help prevent “uplift” of the YZ (MIN) and YZ (MAX) assemblies
I’m still unable to get the Fluid Dial to read the contents of the SD card or to load macros.
I may need some help getting this last piece of the puzzle working.
I can read the contents of the SD card in the WebUI version 3 and edic macros and save the config preferences.json file so I know that FluidNC can see the sd card and can run macros.
I just can’t see them on the fluid dial which is my prefered user interface IE: it’s how I communicate with the machine.
Like others in the forum when I upload a file to the SD card I get errors and am forced to restart the board.
Something isn’t right but I’m not sure where to start isolating the issue.
Are there know issues with the SD card with the latest FluidNC build?
Are there know issues with reading the SD card and Macros on the latest release of the Fluid Dial M5Stack version?
I thought the same thing, but then I loosened everything and let the entire gantry “find level.”
I checked the (z) level and squared the y-axis; no matter what I did, the YZ plates were easy to lift.
The bearings on the yz (Min) side both touch and ride along the surface the entire y distance, and the bearings on the yz max side also run along the EMT for the entire Y travel distance, so it’s not that the gantry is skewed, which is what I thought.
Anyway, my solution is just a belt and suspenders if the upward force wants to move the YZ plates up.
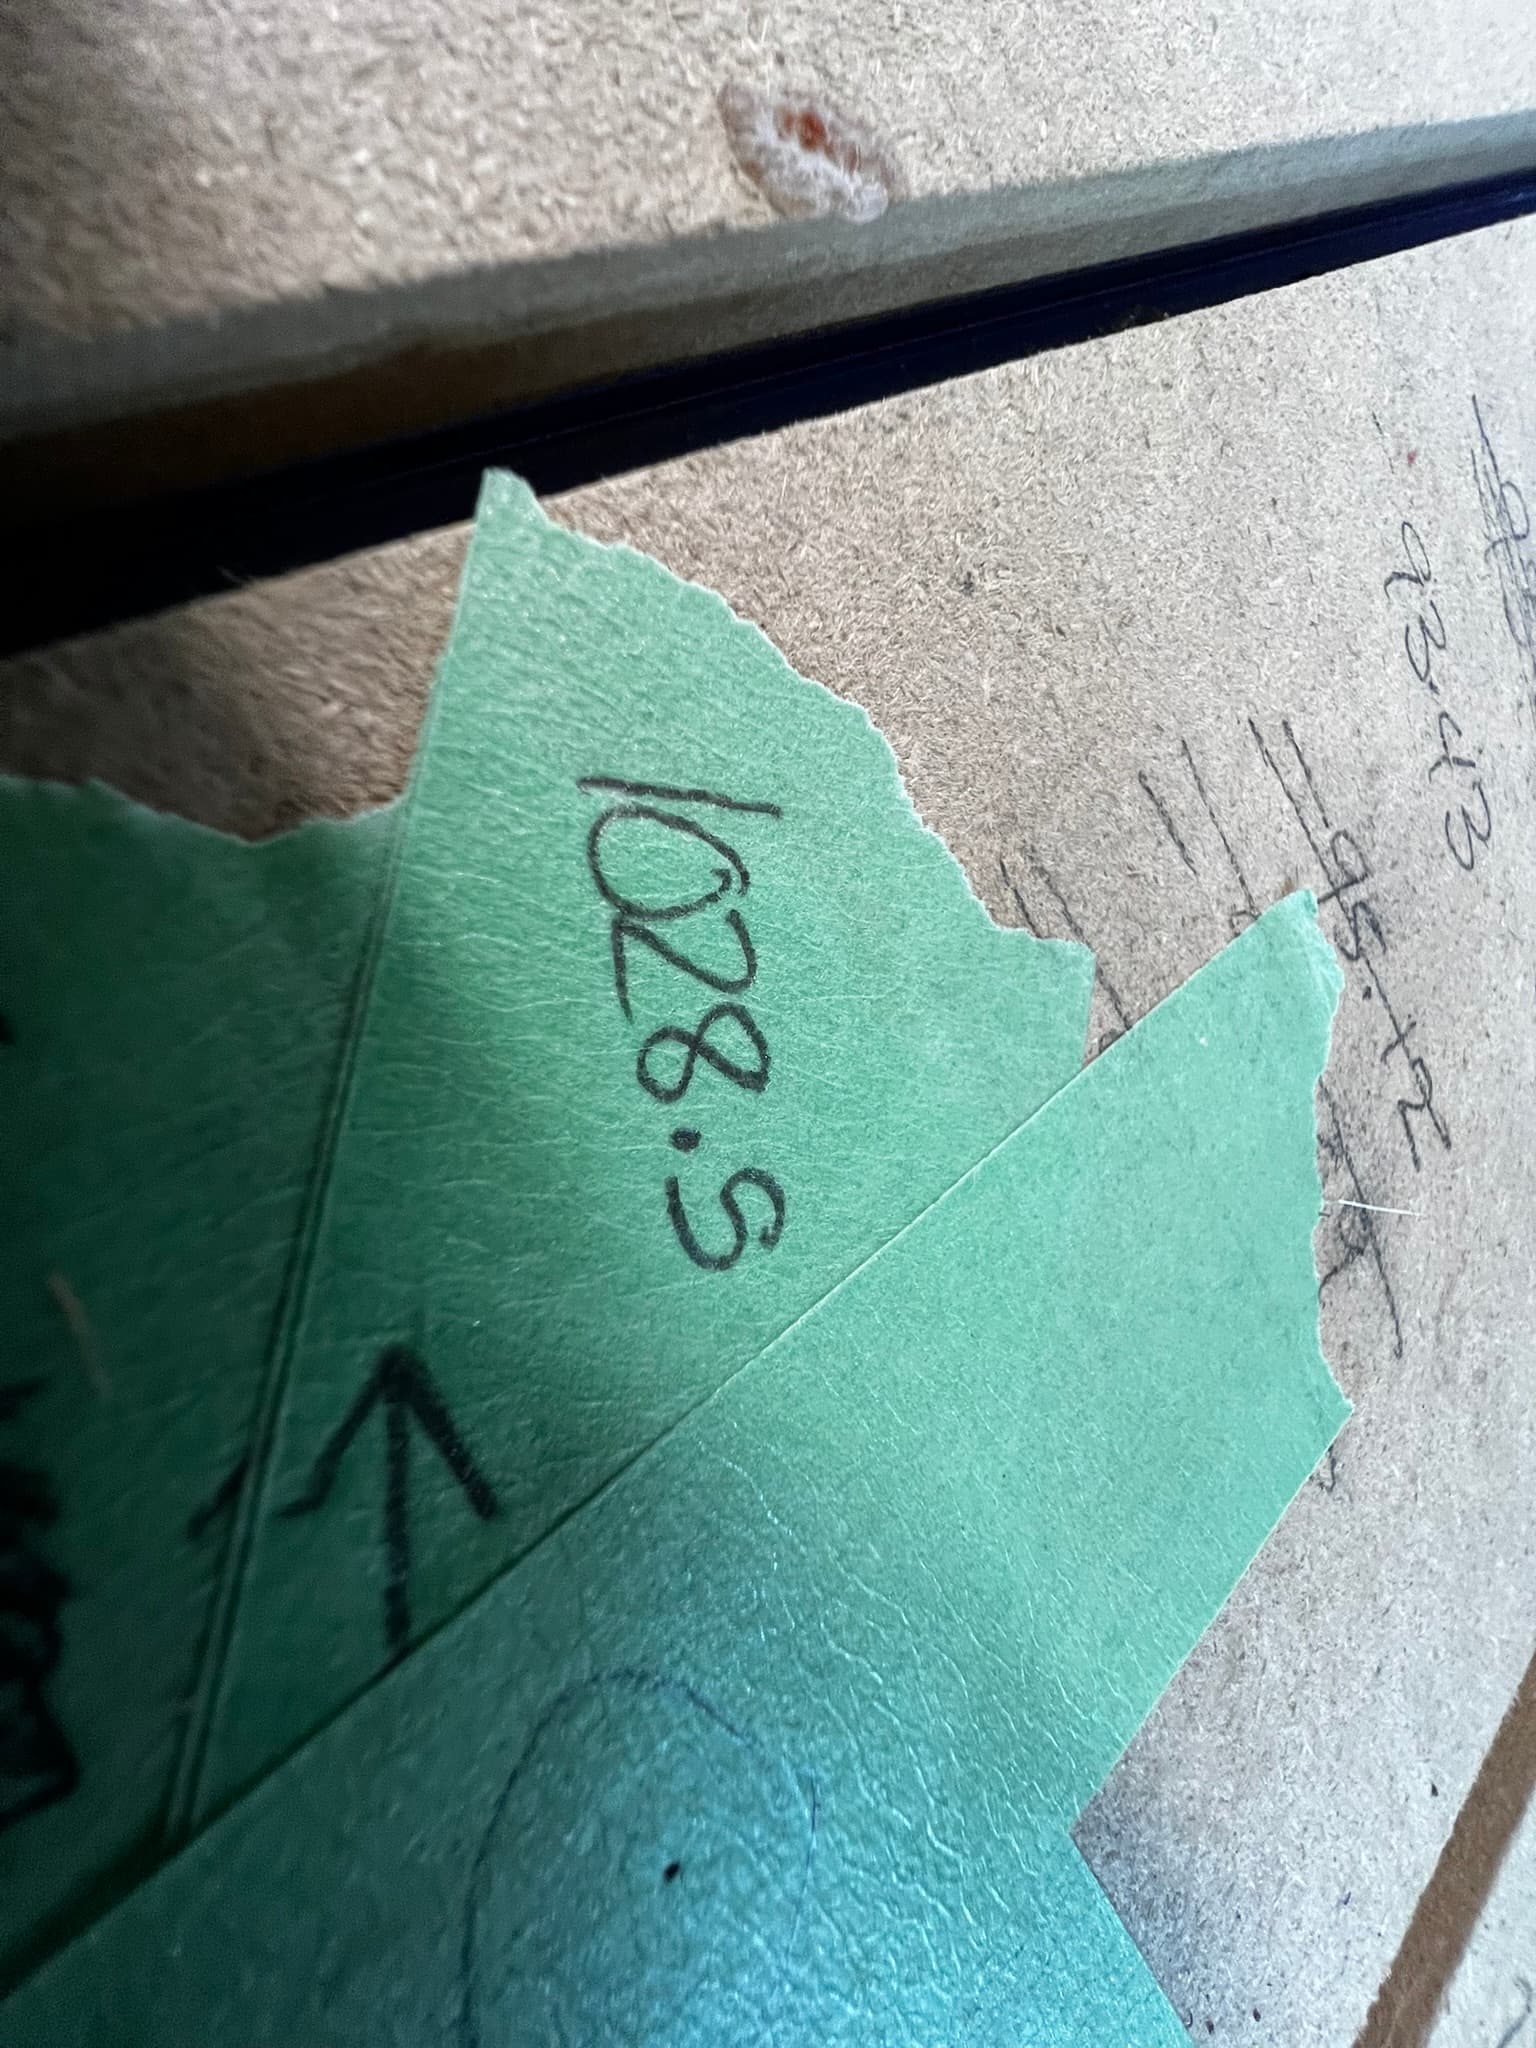
I believe my y0 pull-off distance is at 5.5 mm, while the Y1 pull-off is at the default 4mm, and over 1000mm, I was able to get the 4 corners square to .5mm
I loosened the core bearings and loosened the belt.
I ran the job a second time, and the same thing randomly the x-motor just went dead.
Checked the wires from the motor to the board, and all was good.
The heat sink on the driver was loose (IE: the adhesive was like jello)
I noticed the X TMC2226 driver was fairly hot.
I have (2) 40mm fans blowing on the board, and my workshop is fairly cold (Minnesota unheated garage)
Reset everyting and I ran a third time and again randomly the X-Motor just went dead.
Each time the machine made it farther in the job but I also had most of the board surfaced by the third time so the load on the X-Axis was decreased since it was cutting less material.
So is there a failsafe override or thermal break that is getting tripped and if so could a fella change that to a higher temp to verify if the issue goes away?
Right now the JP3 (my second one) does not seem as reliable as I would want so I may switch back to the JP1 that I had up and running for over a year. and made dozens of inlay cutting boards with.
I really want to get the JP3 dialed in but I’m reaching the limits of my ability.
I had a similar symptom on my LR3 (with an SKR Pro v1.2). I finally traced the issue to a very intermittent loose connection where the motor and the extension cable joined. An “S-Bend” on the wiring fixed the problem permanently.
I’m not saying that you don’t have an issue with the Jackpot board, and I know you said you checked the wires (I did too, and they worked fine when they worked), but you may want to test the connection again. I tested by issuing a long no-load X move command (from XMin to XMax, and back again), and then manipulated the wiring harness back and forth, and was able to replicate the failure.
I did use electrical tape on all of the 4-pin male to female connections but it’s possible that one of the connectors itself is a problem.
For my Primo I had double shielded wires with a direct continuous un-interrupted wire from the board to motor I may bring one of those out and re-wire the x motor to eliminate the multiple connections.