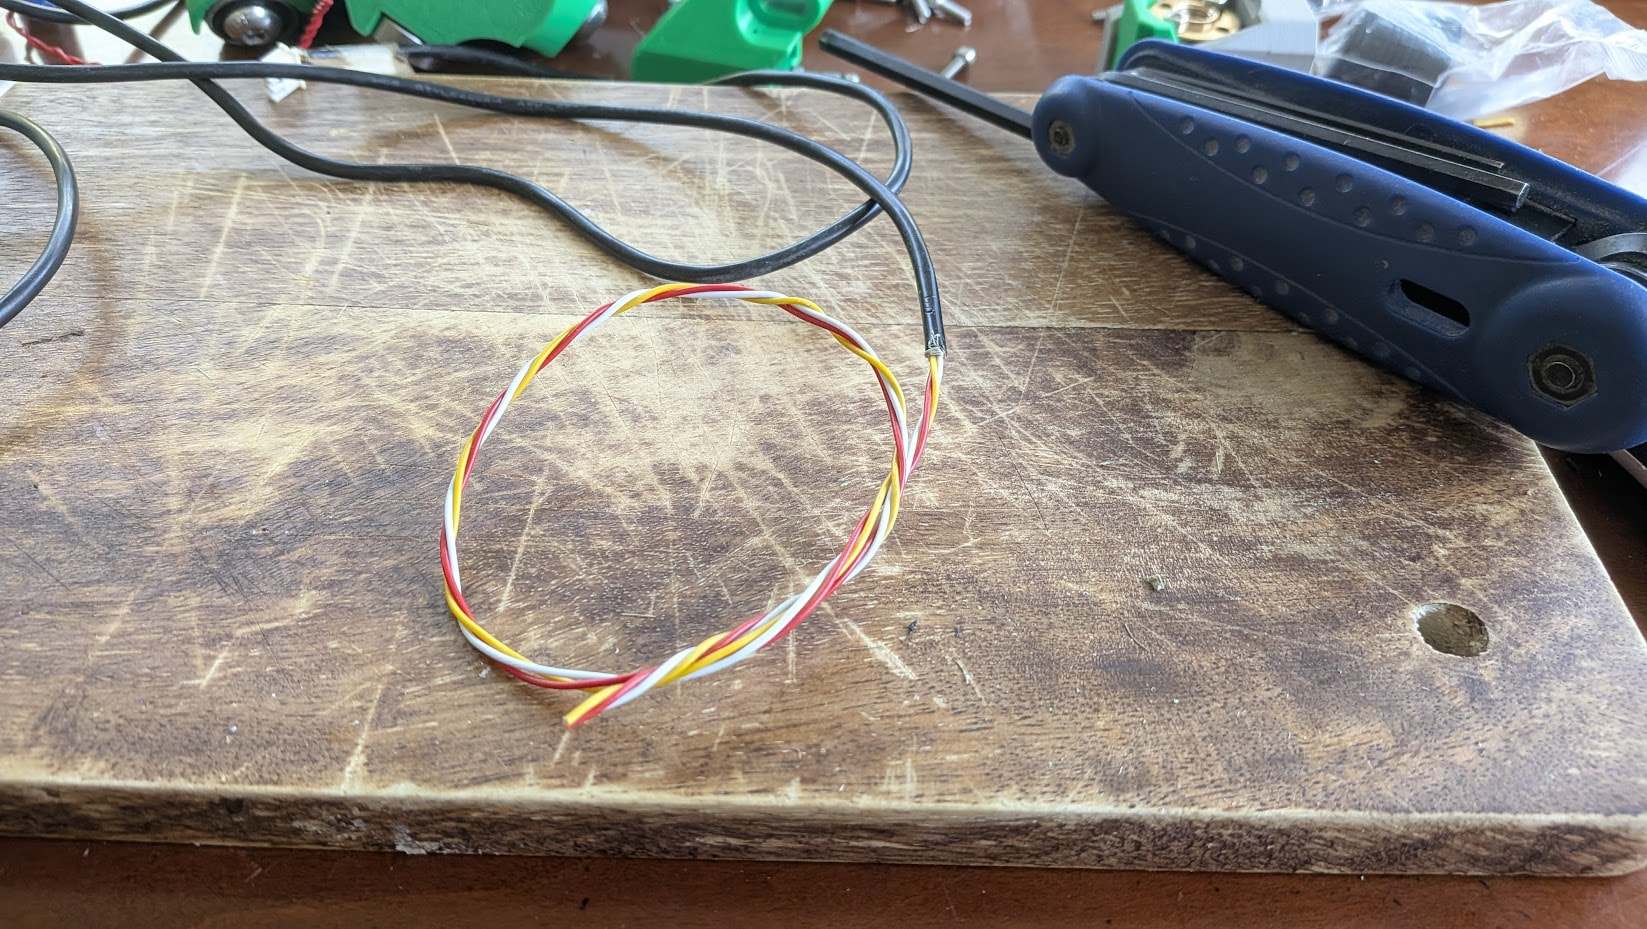
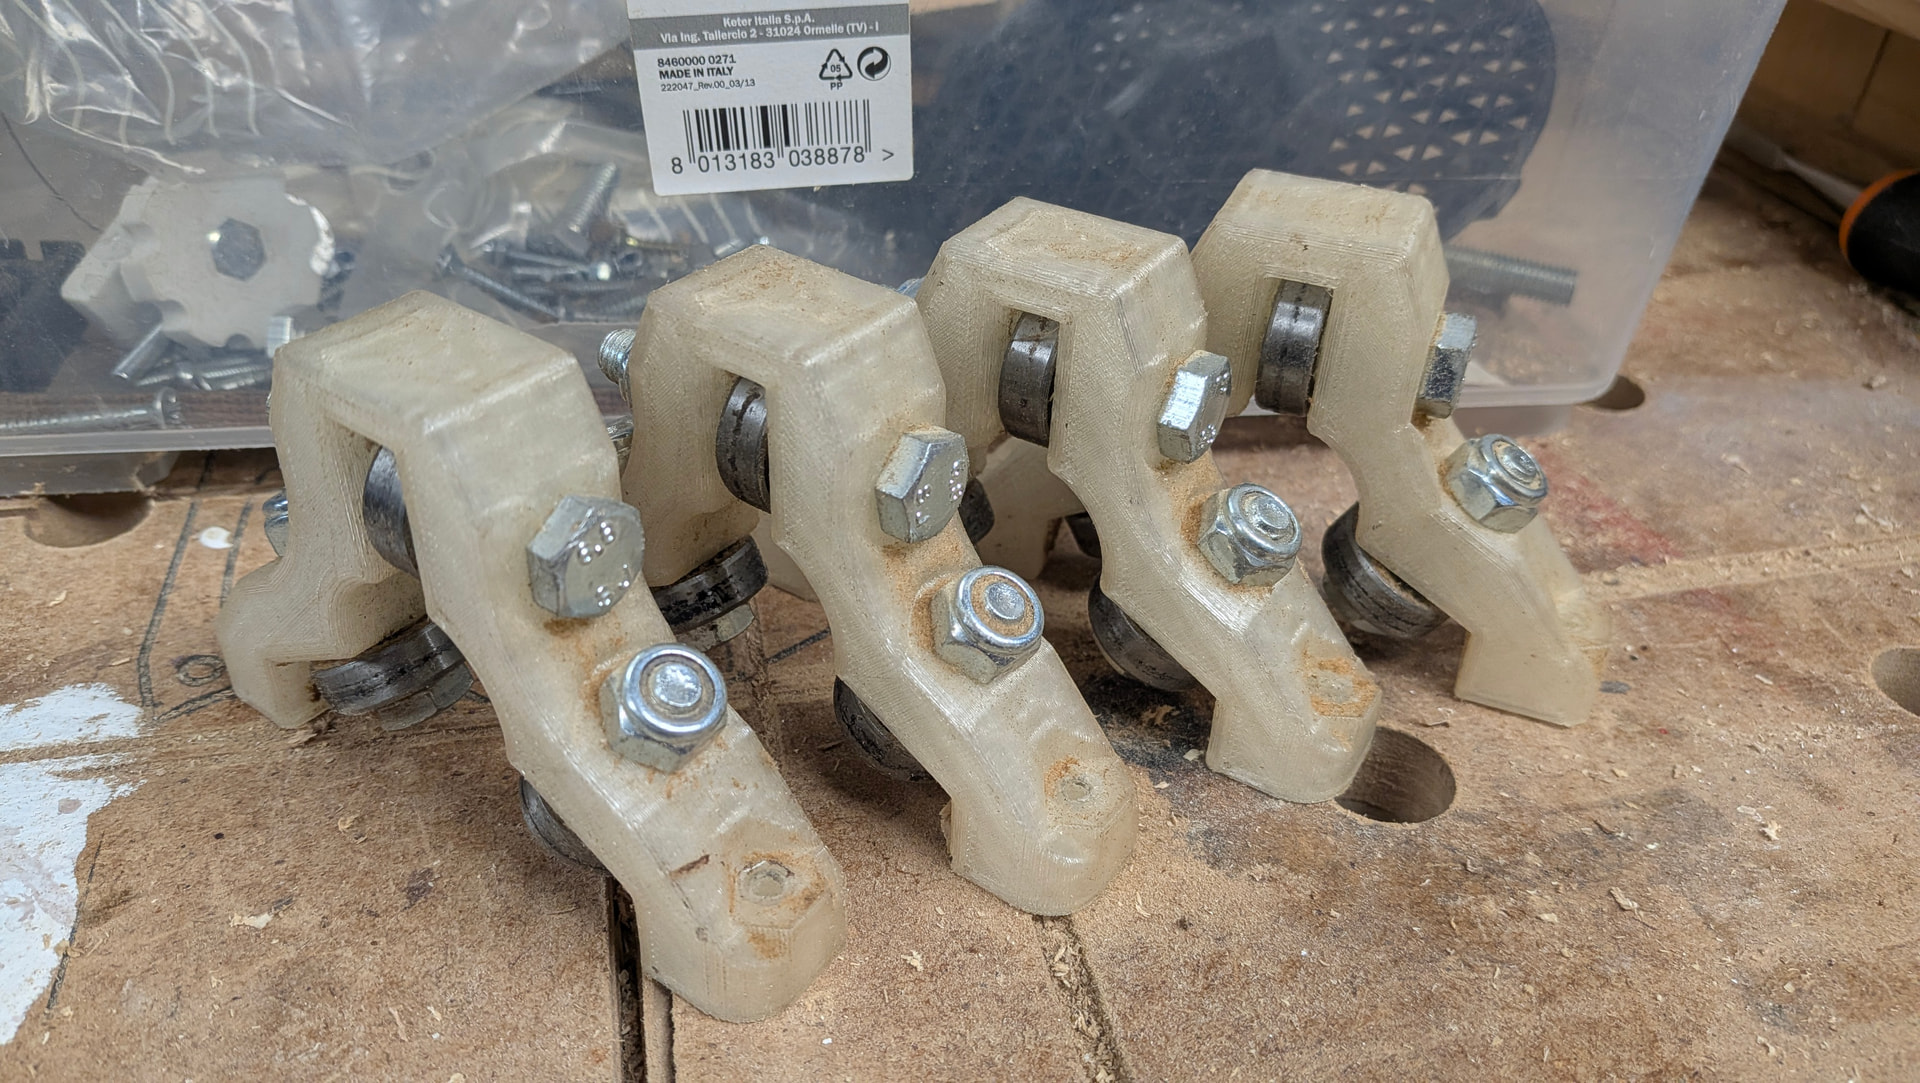
Crimps
New crimp tool received.
I bought the SN-025 as suggested by @jamiek Crimpers: avoid SN-28B, use SN-025!
Thanks @azab2c for the link to the thread and quick responses of all members in chat!
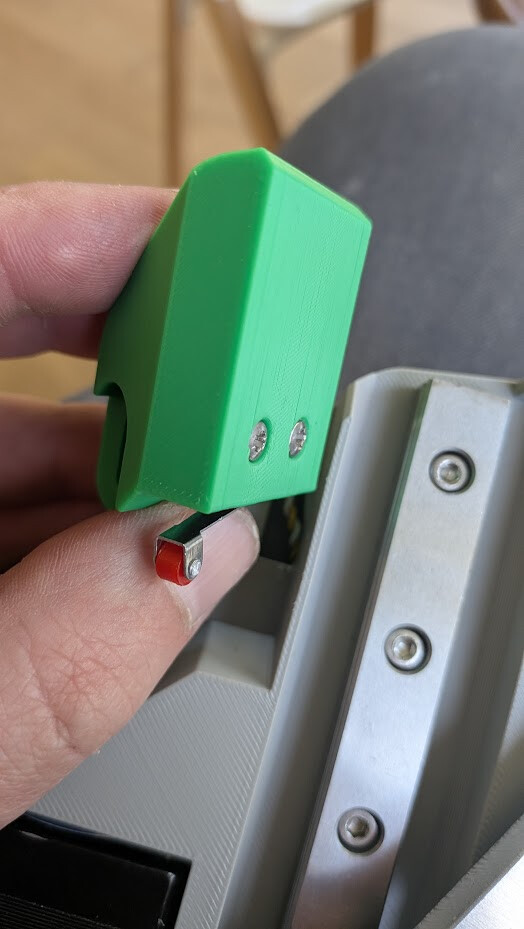
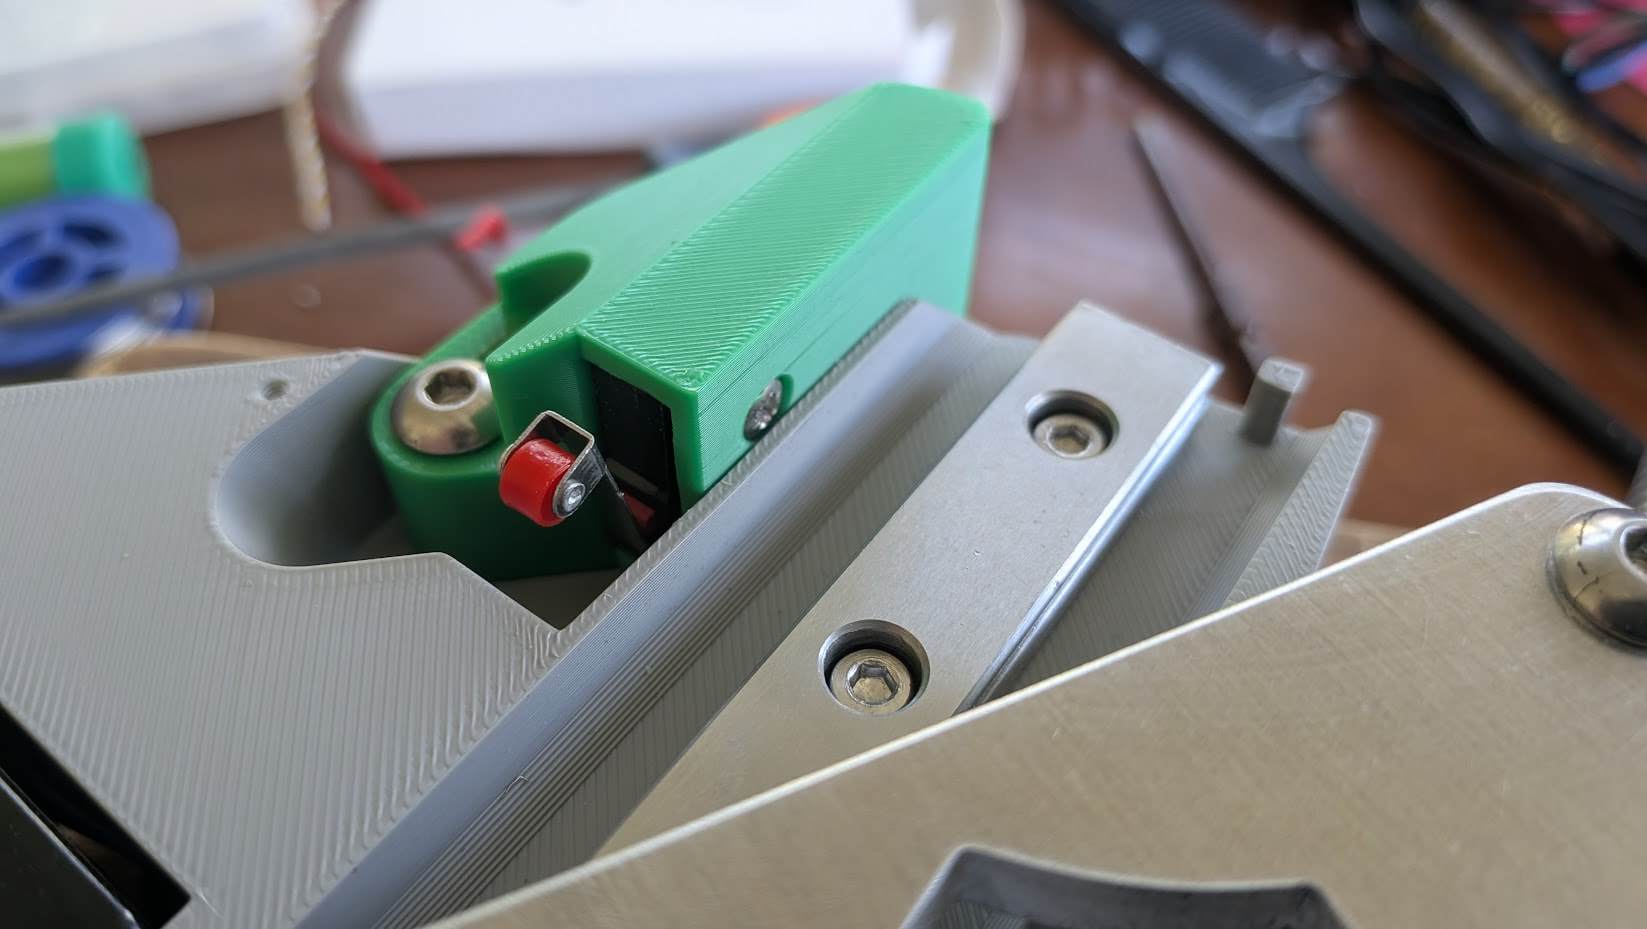
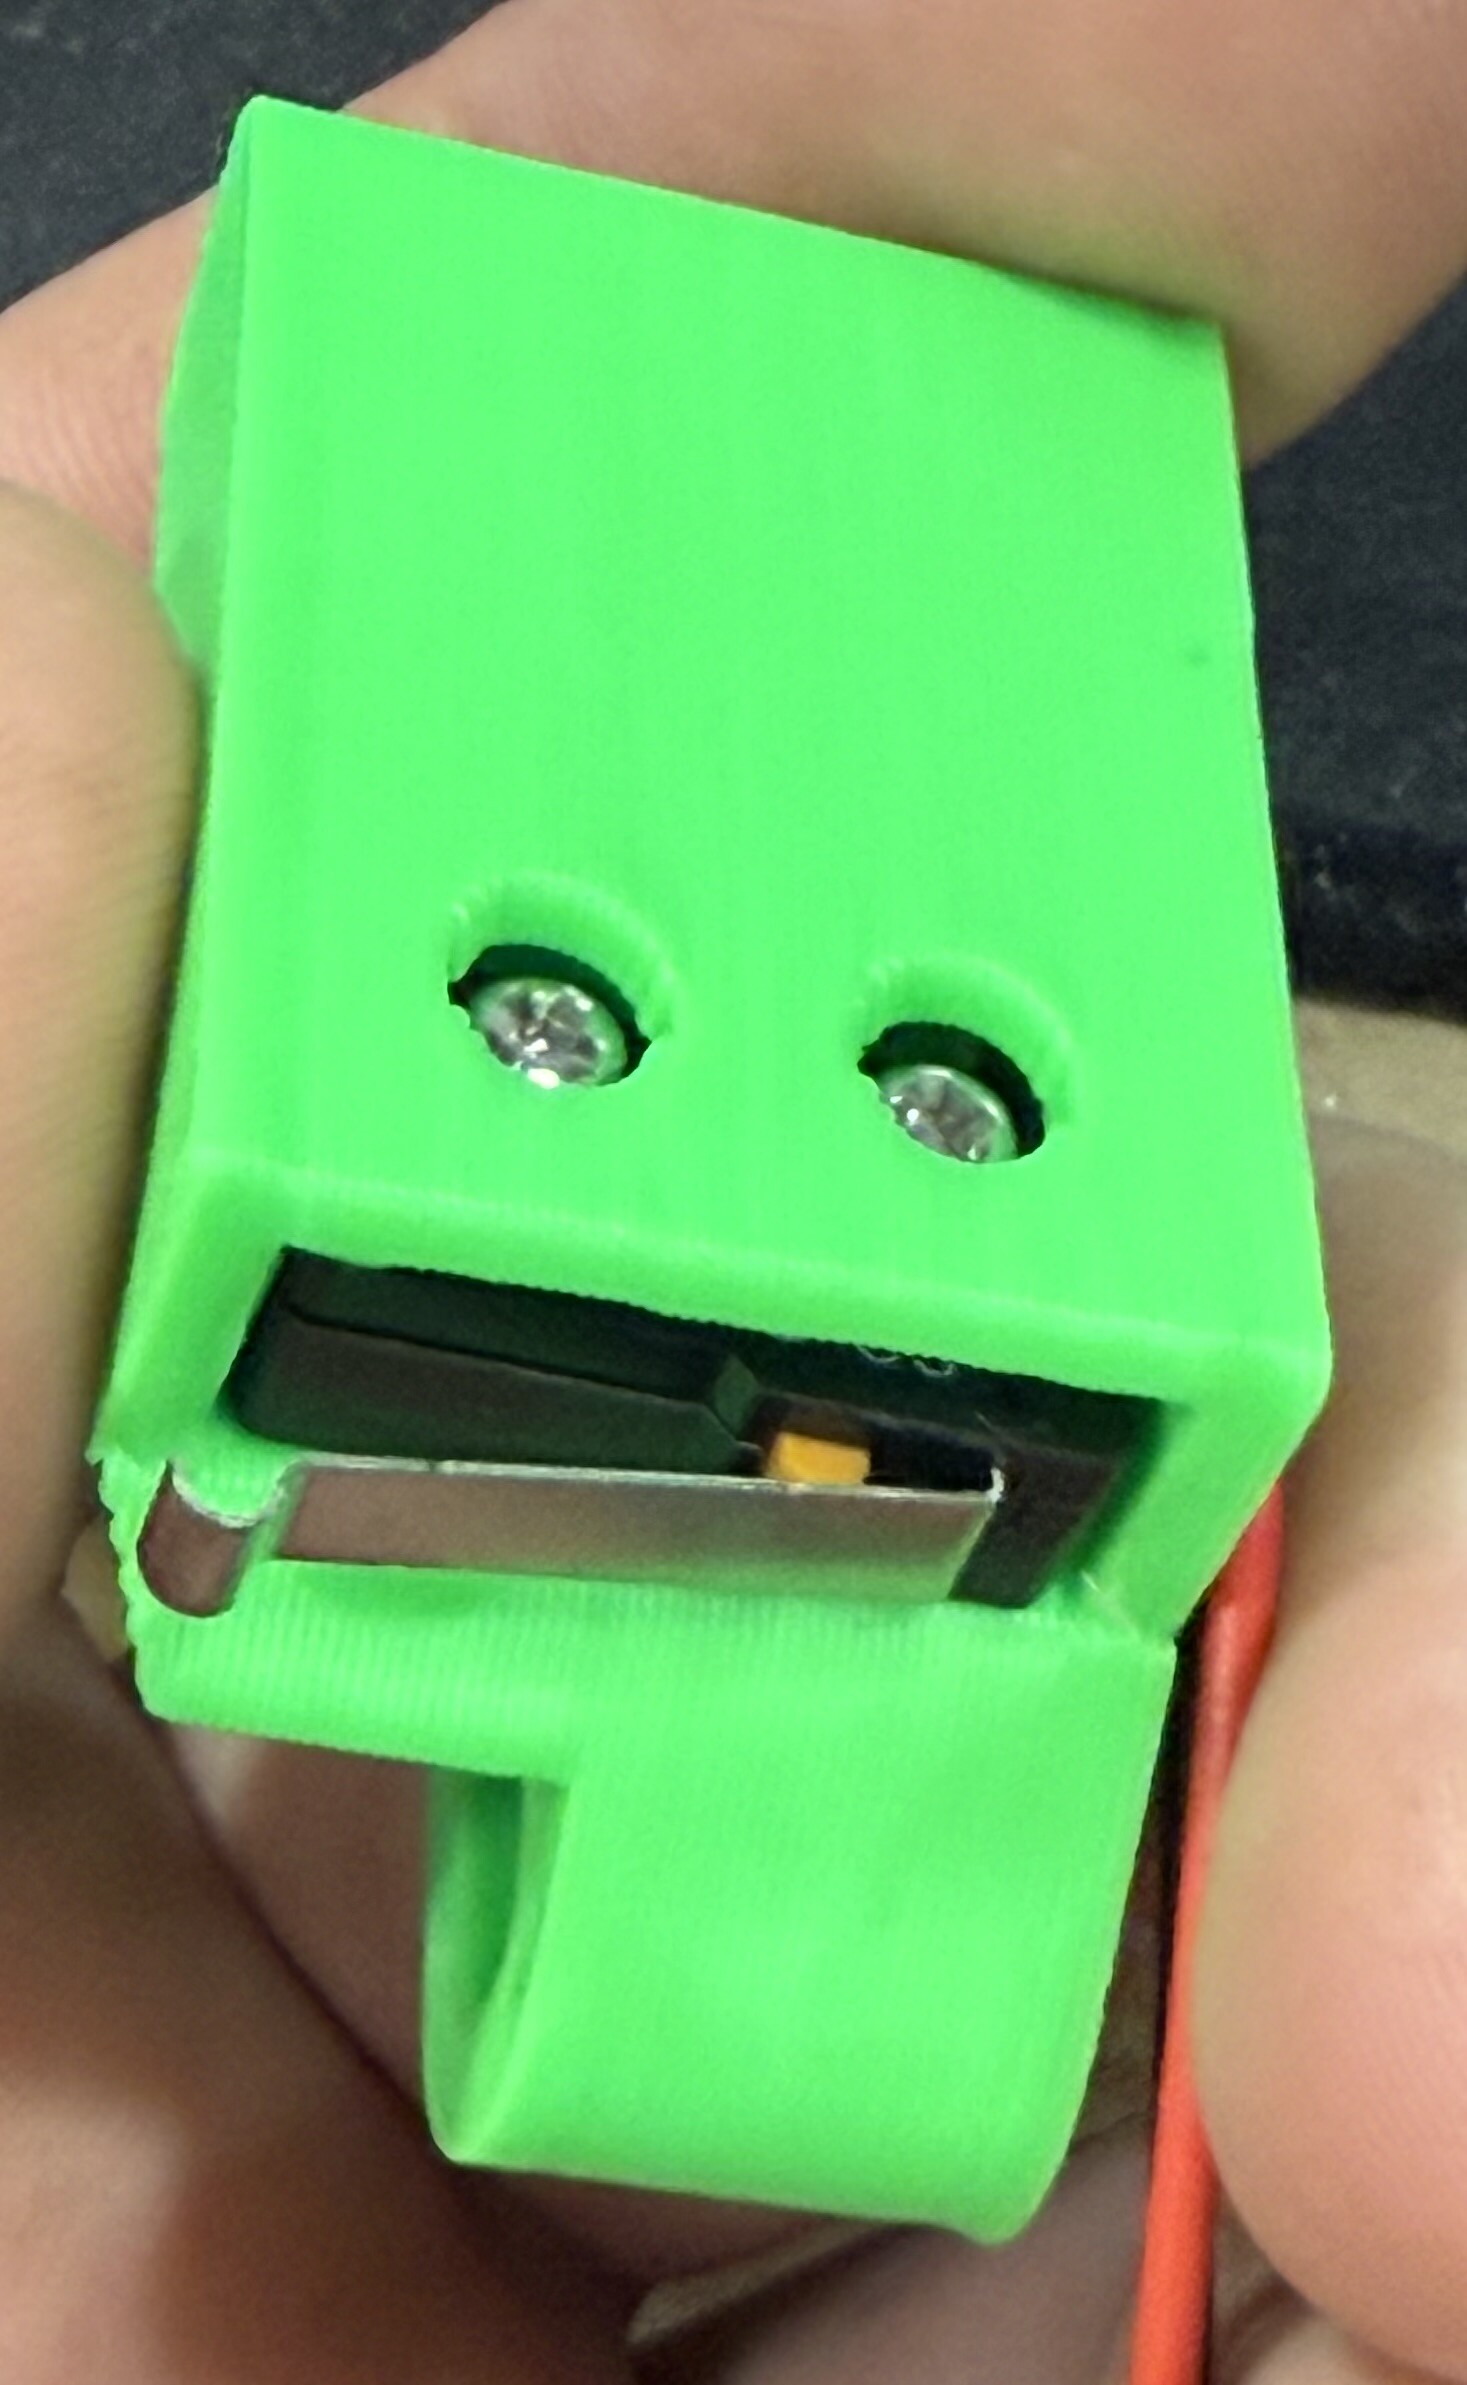
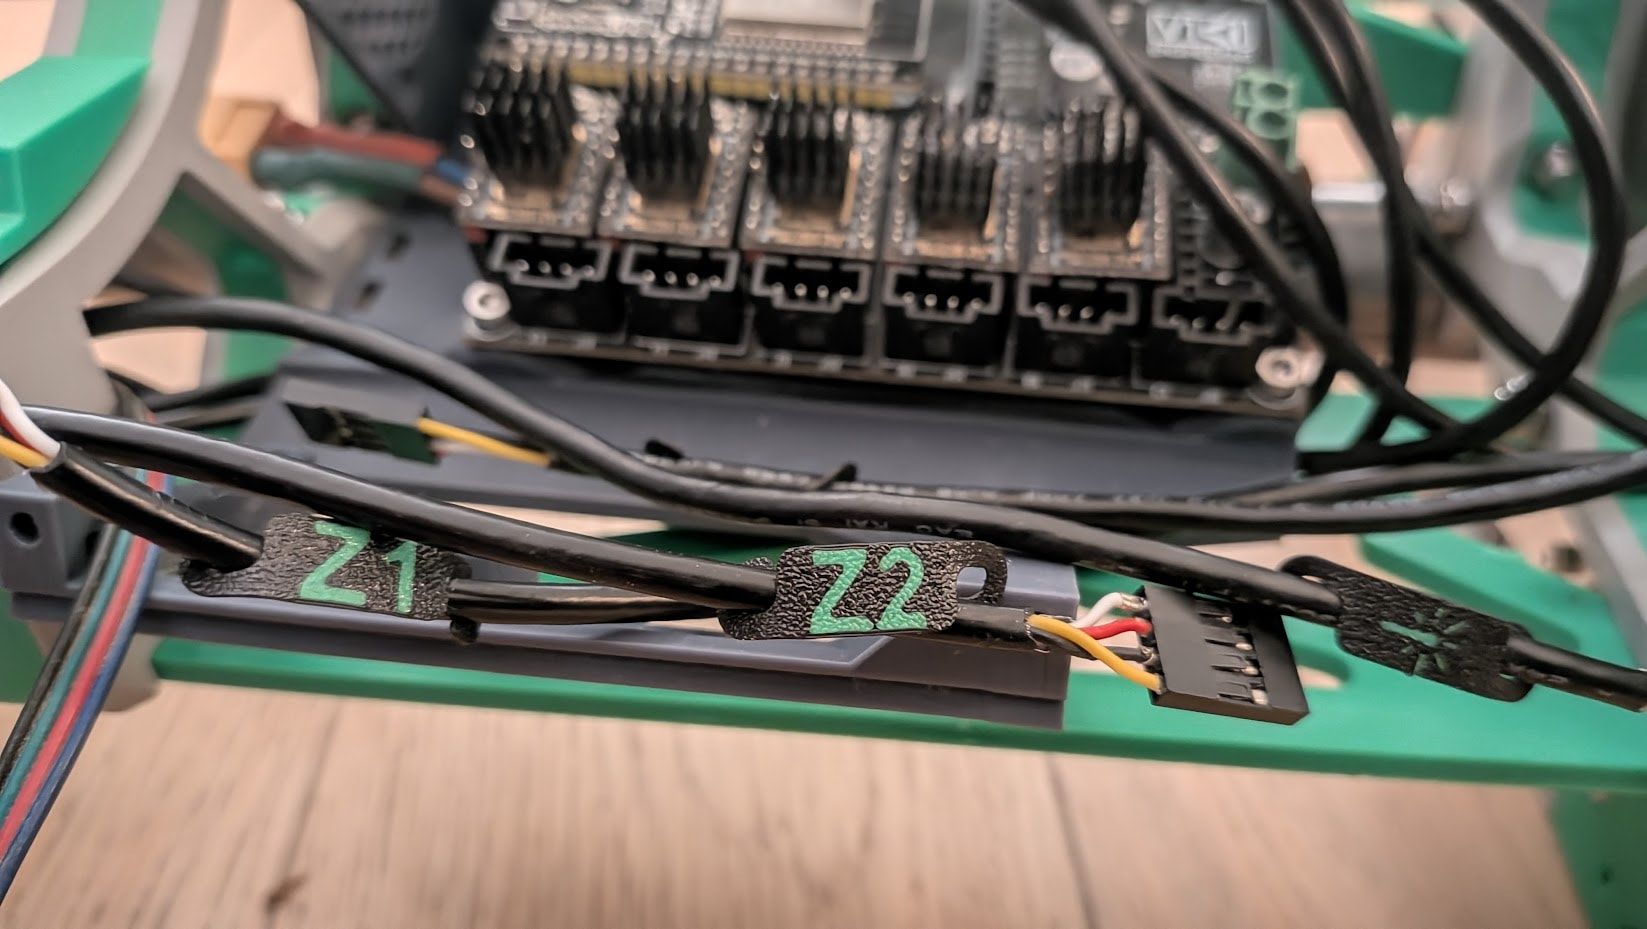
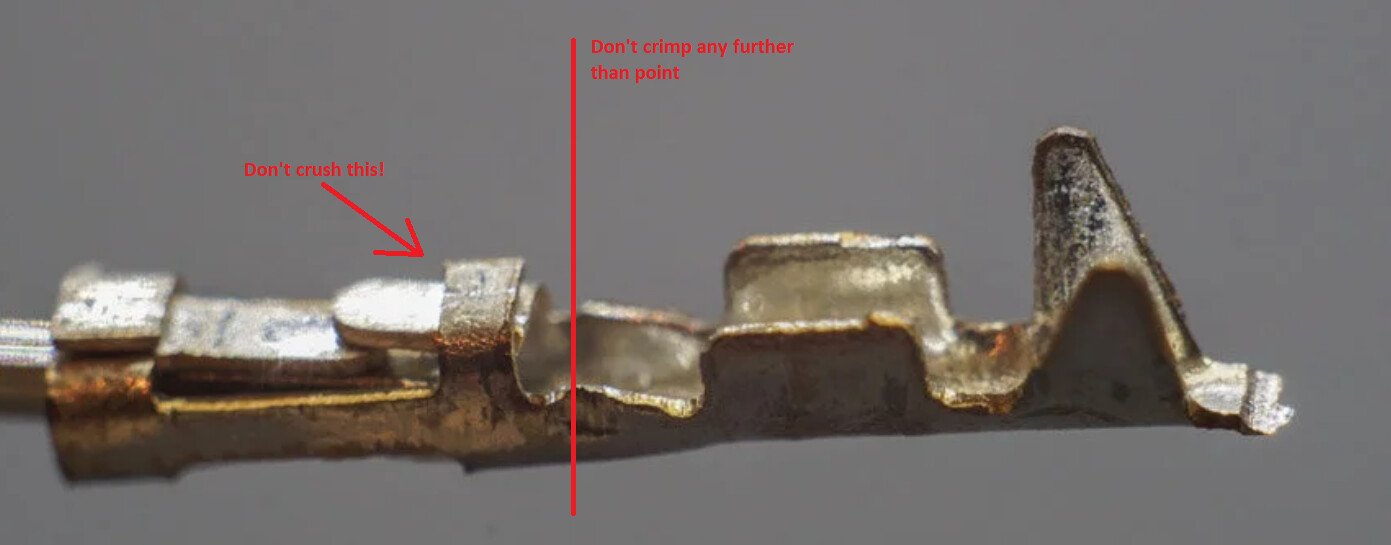
It took a few tries, but I finally managed to get a good crimp on those endstop connectors.
The problem I had was that I crimped the terminal “too far”, and it just crushed the part that goes on the pin…
Then the plug just wouldn’t fit, and the pin would push the terminal back in the casing…
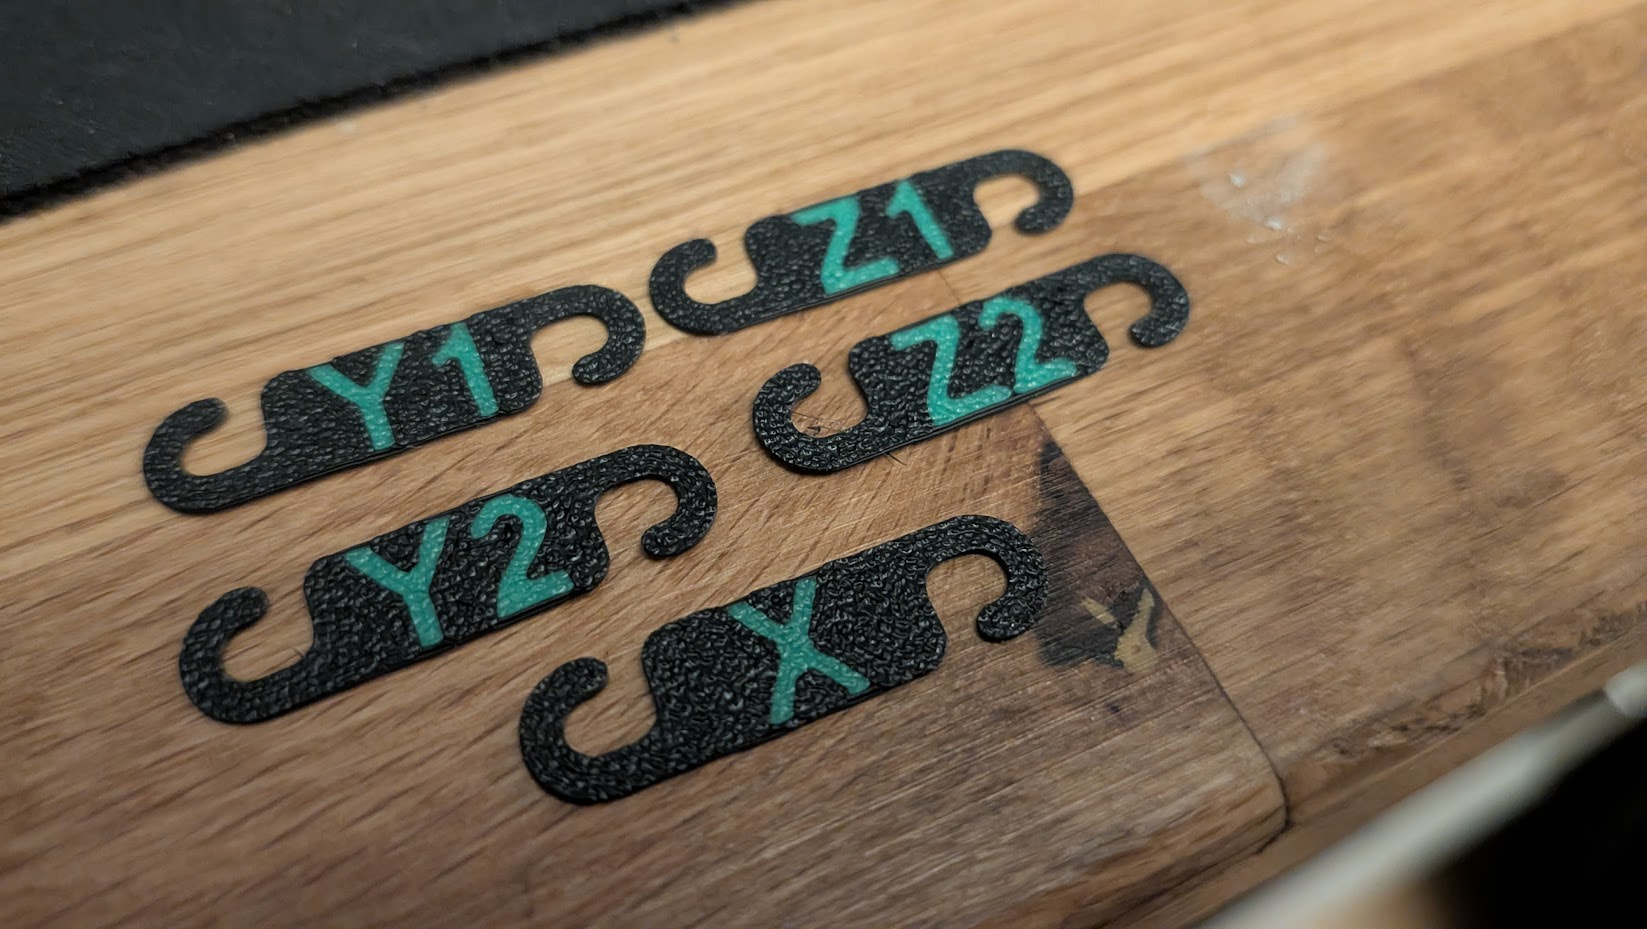
Re-did all of the endstop plugs, used 2x2 housings on the Y1/Z1 and Y2/Z2 plugs, added the custom 3d printed labels and voilà…
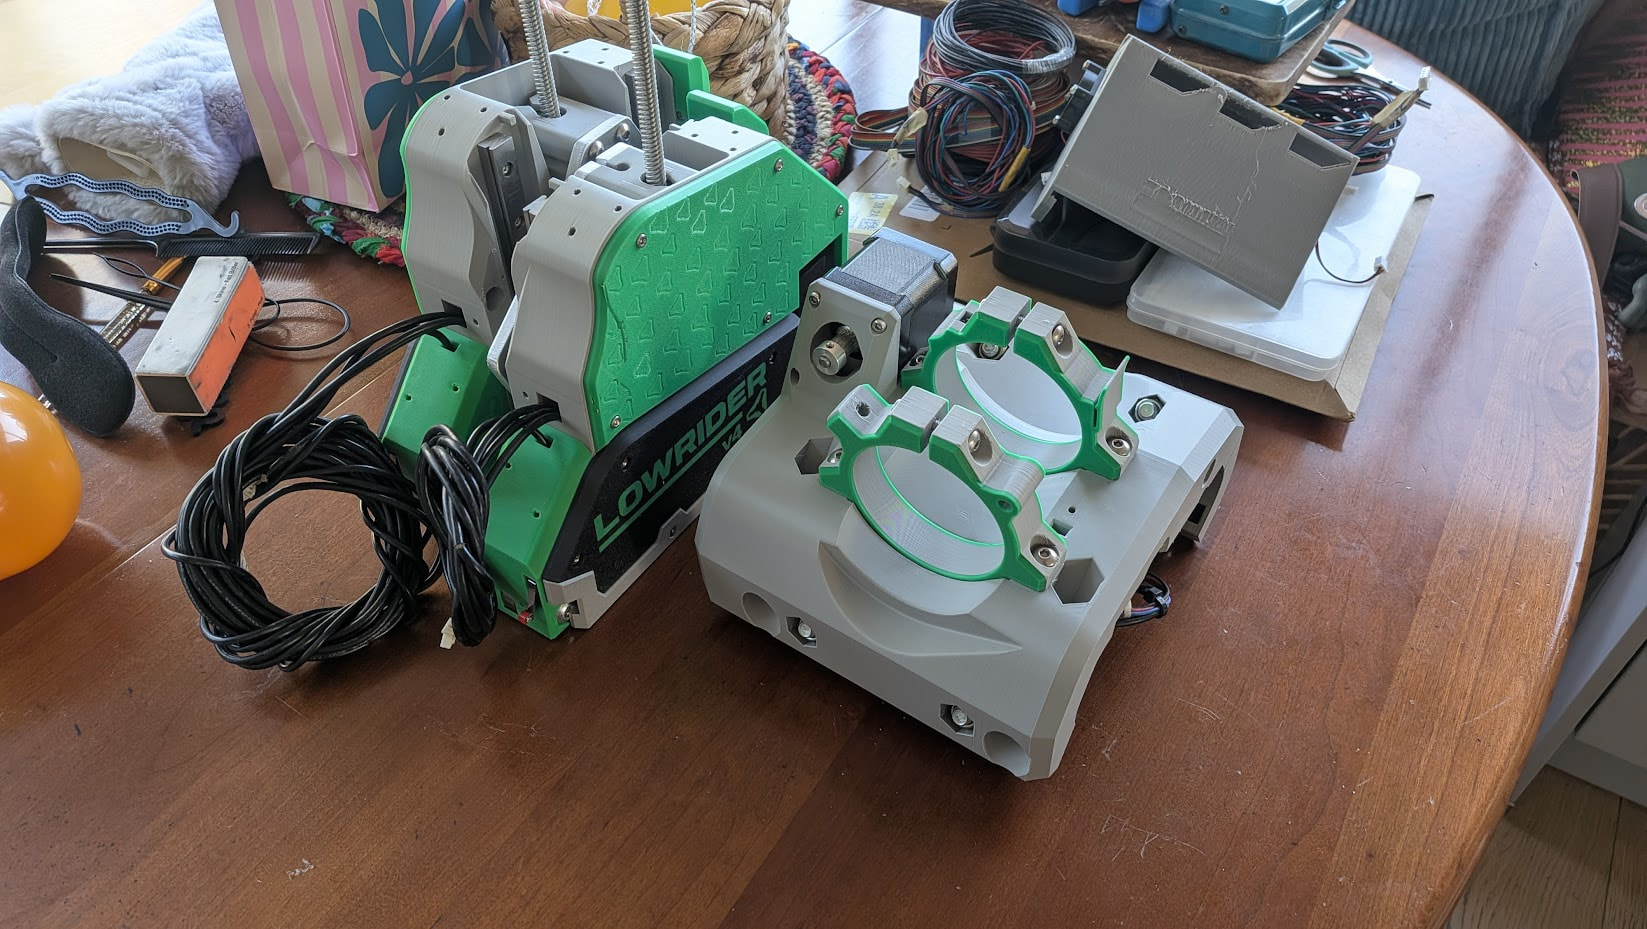
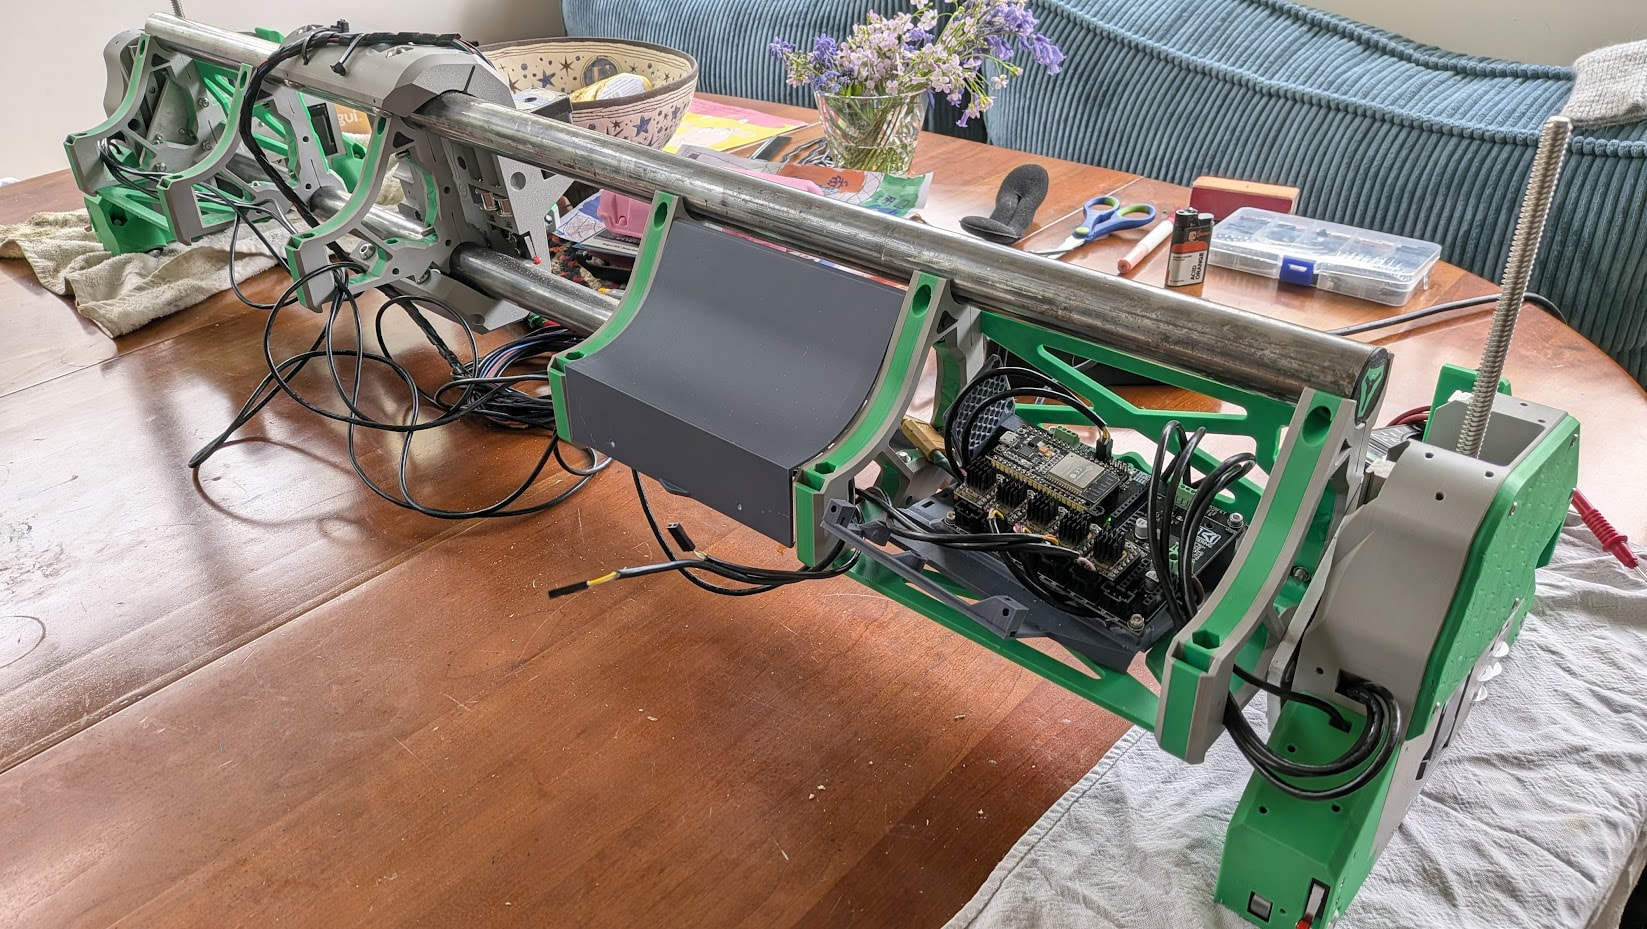
Drag chain
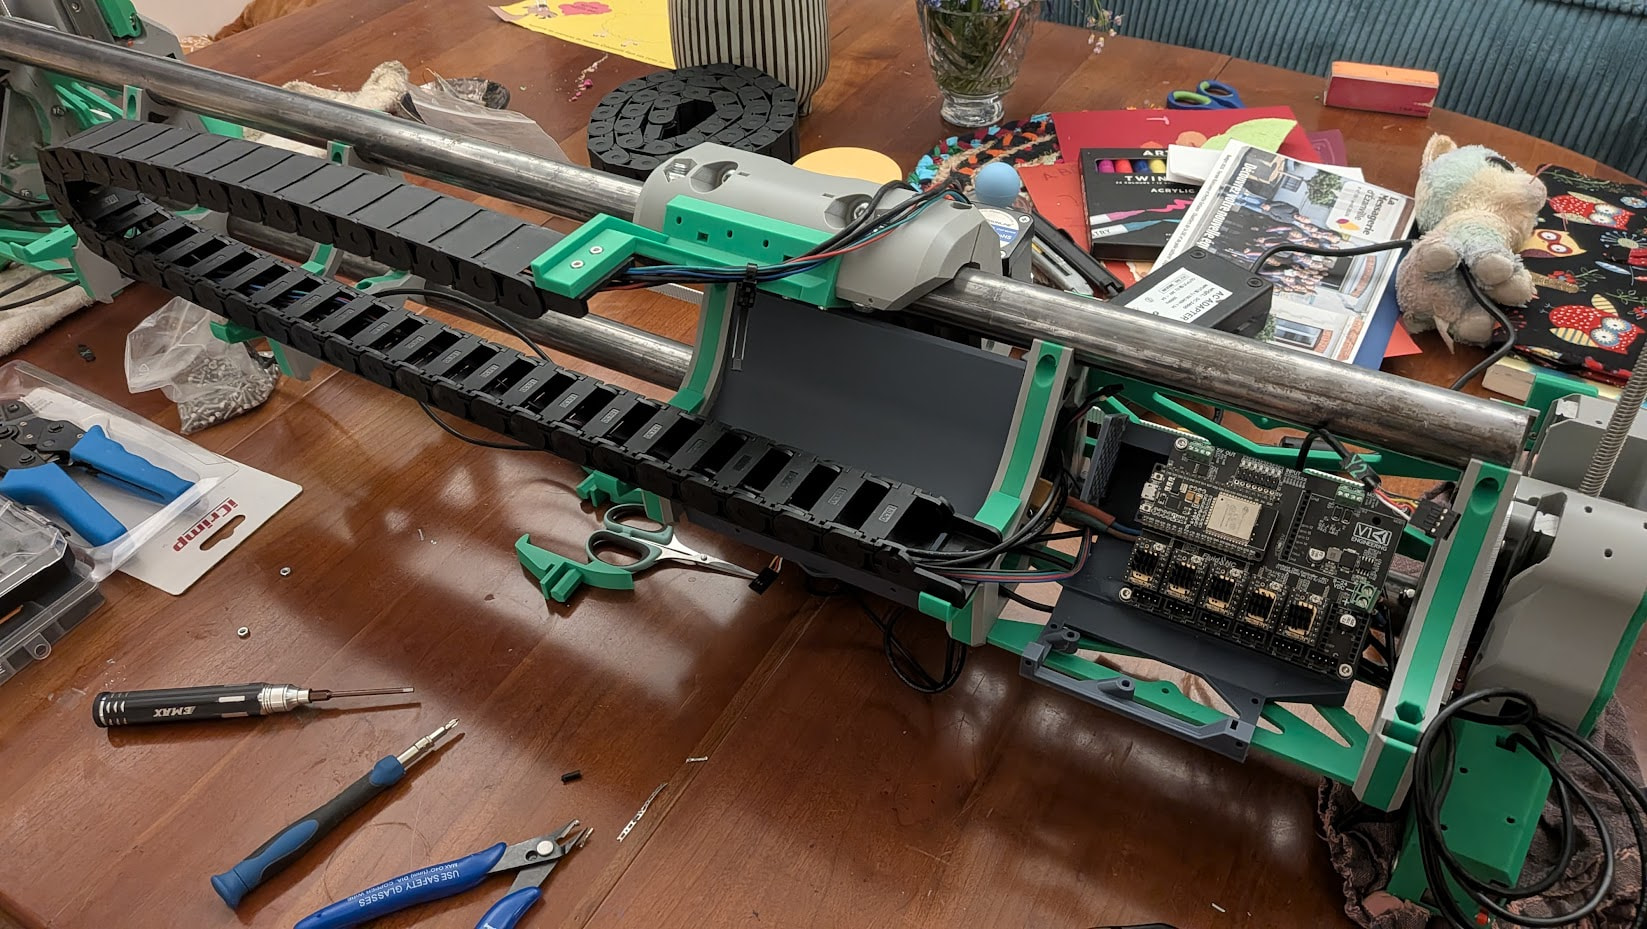
I also received the 15x30 dragchain, and printed @Tylas mount
The core mount is perfect, fitting on the braces support was very tight, had to re-print at 99%; but in the end it just looks fantastic, clean, and it works like a charm
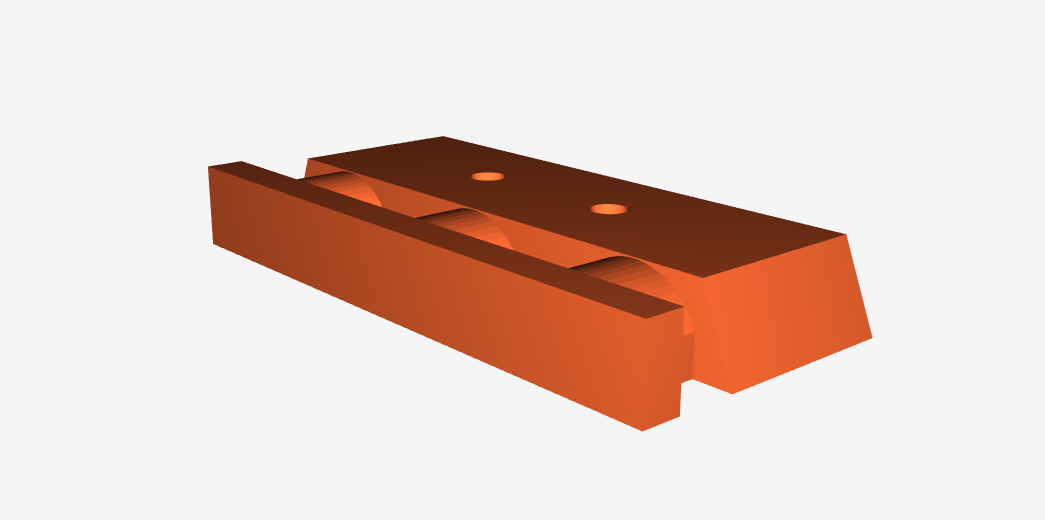
I’m a bit unsure what those “ziptie brackets” are supposed to be?
Still have to put the spindle cable through the chain too…
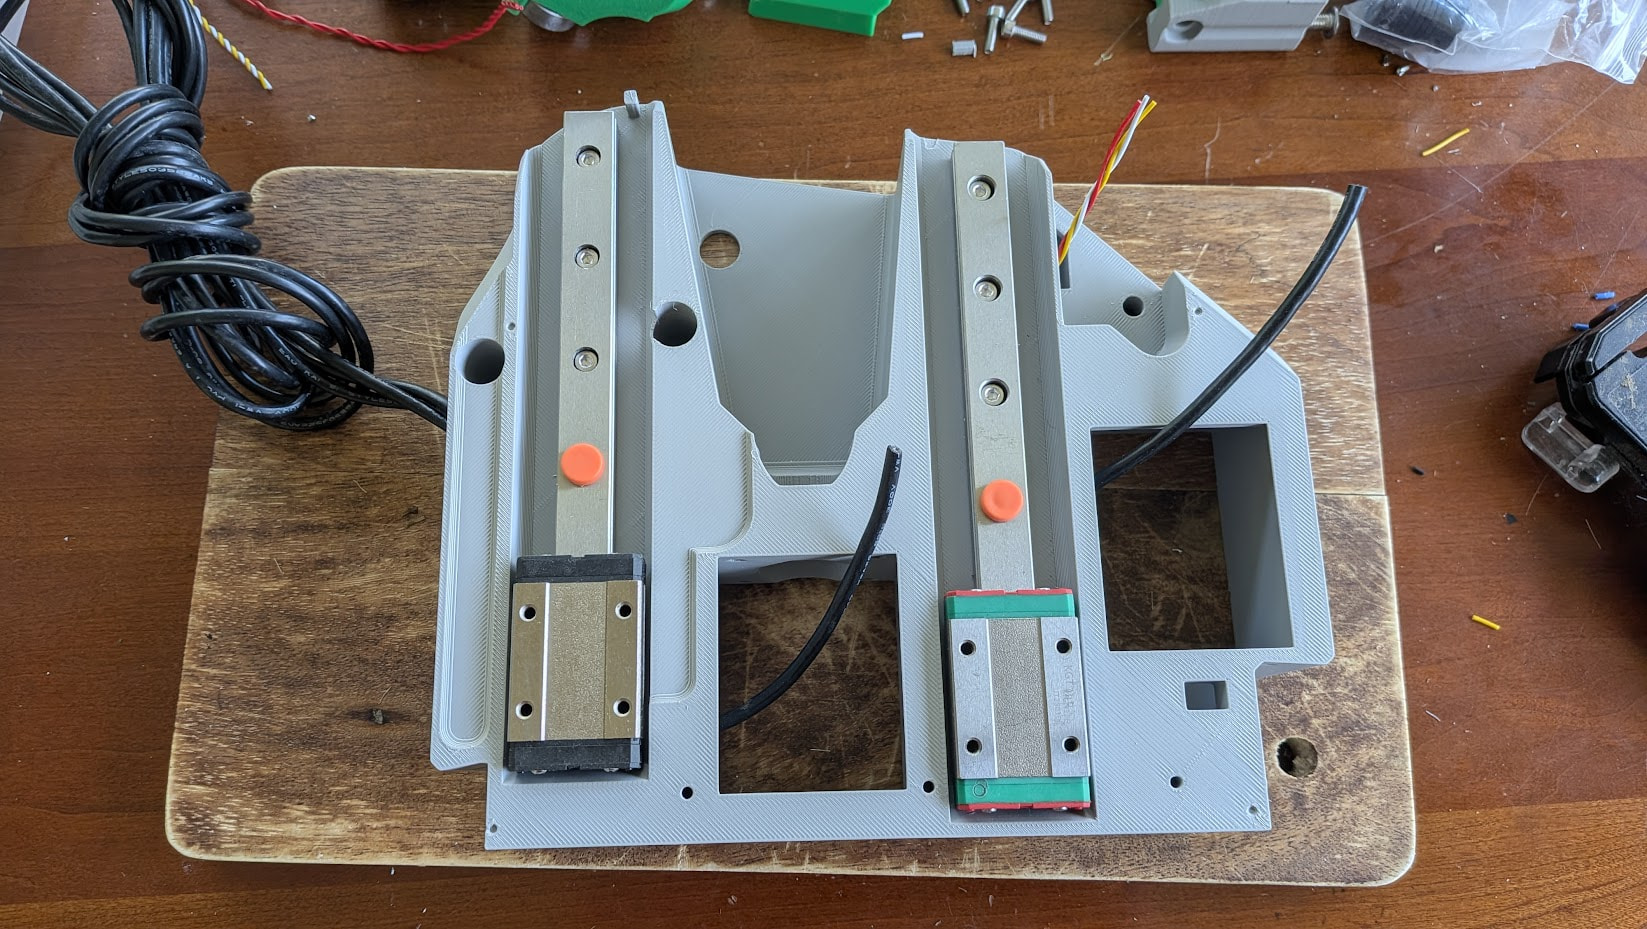
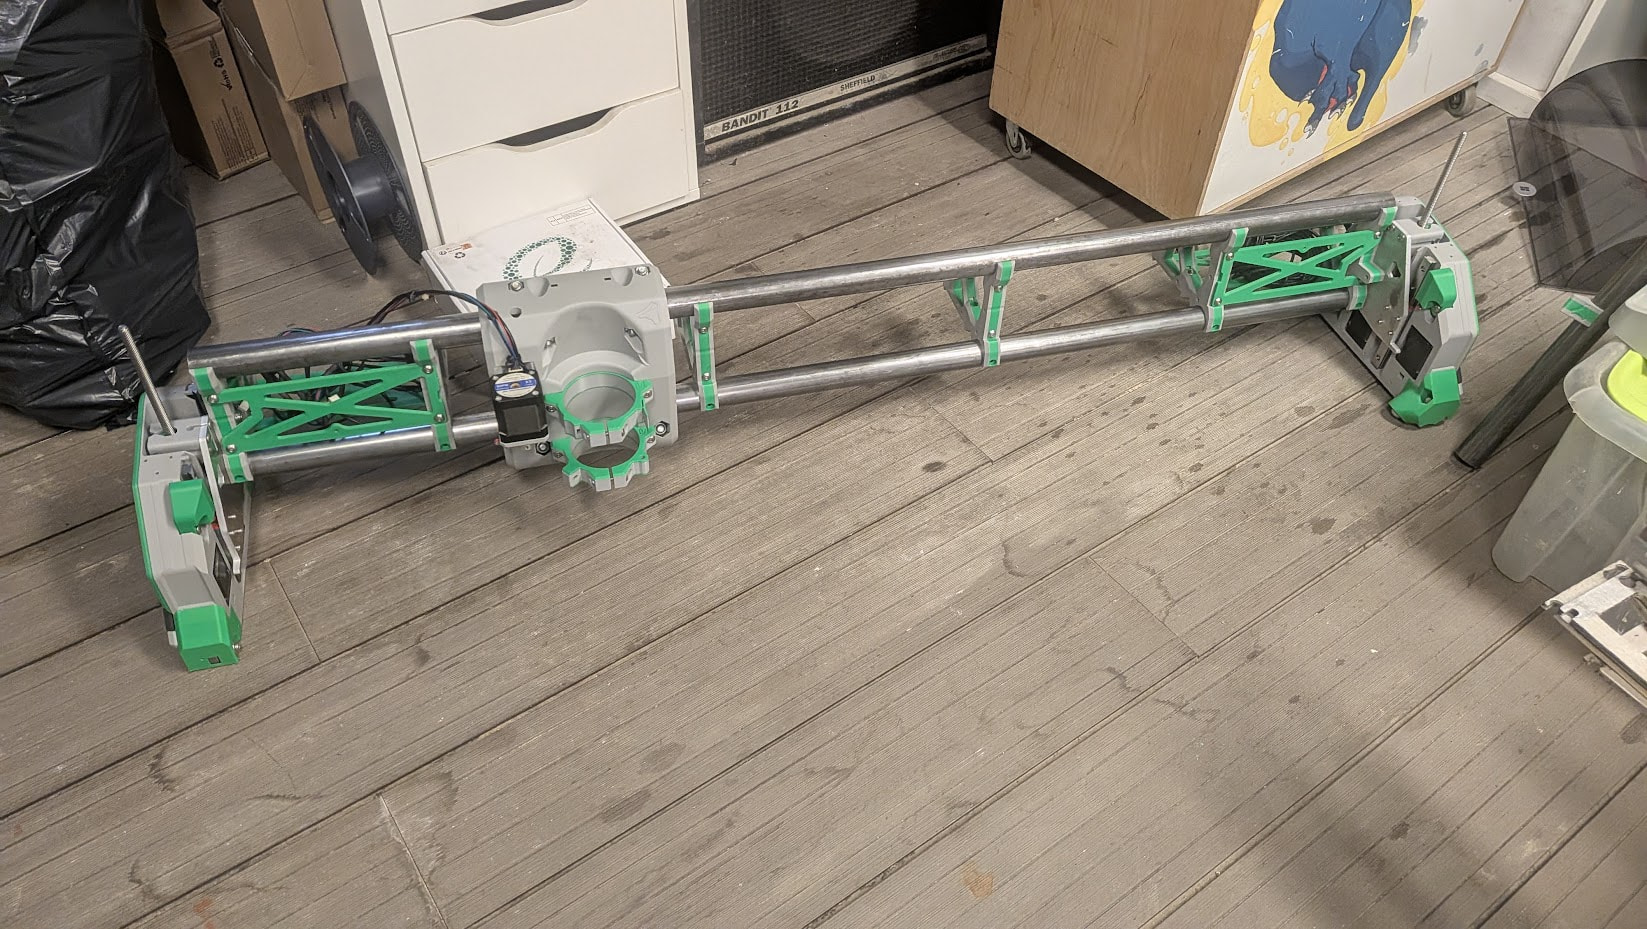
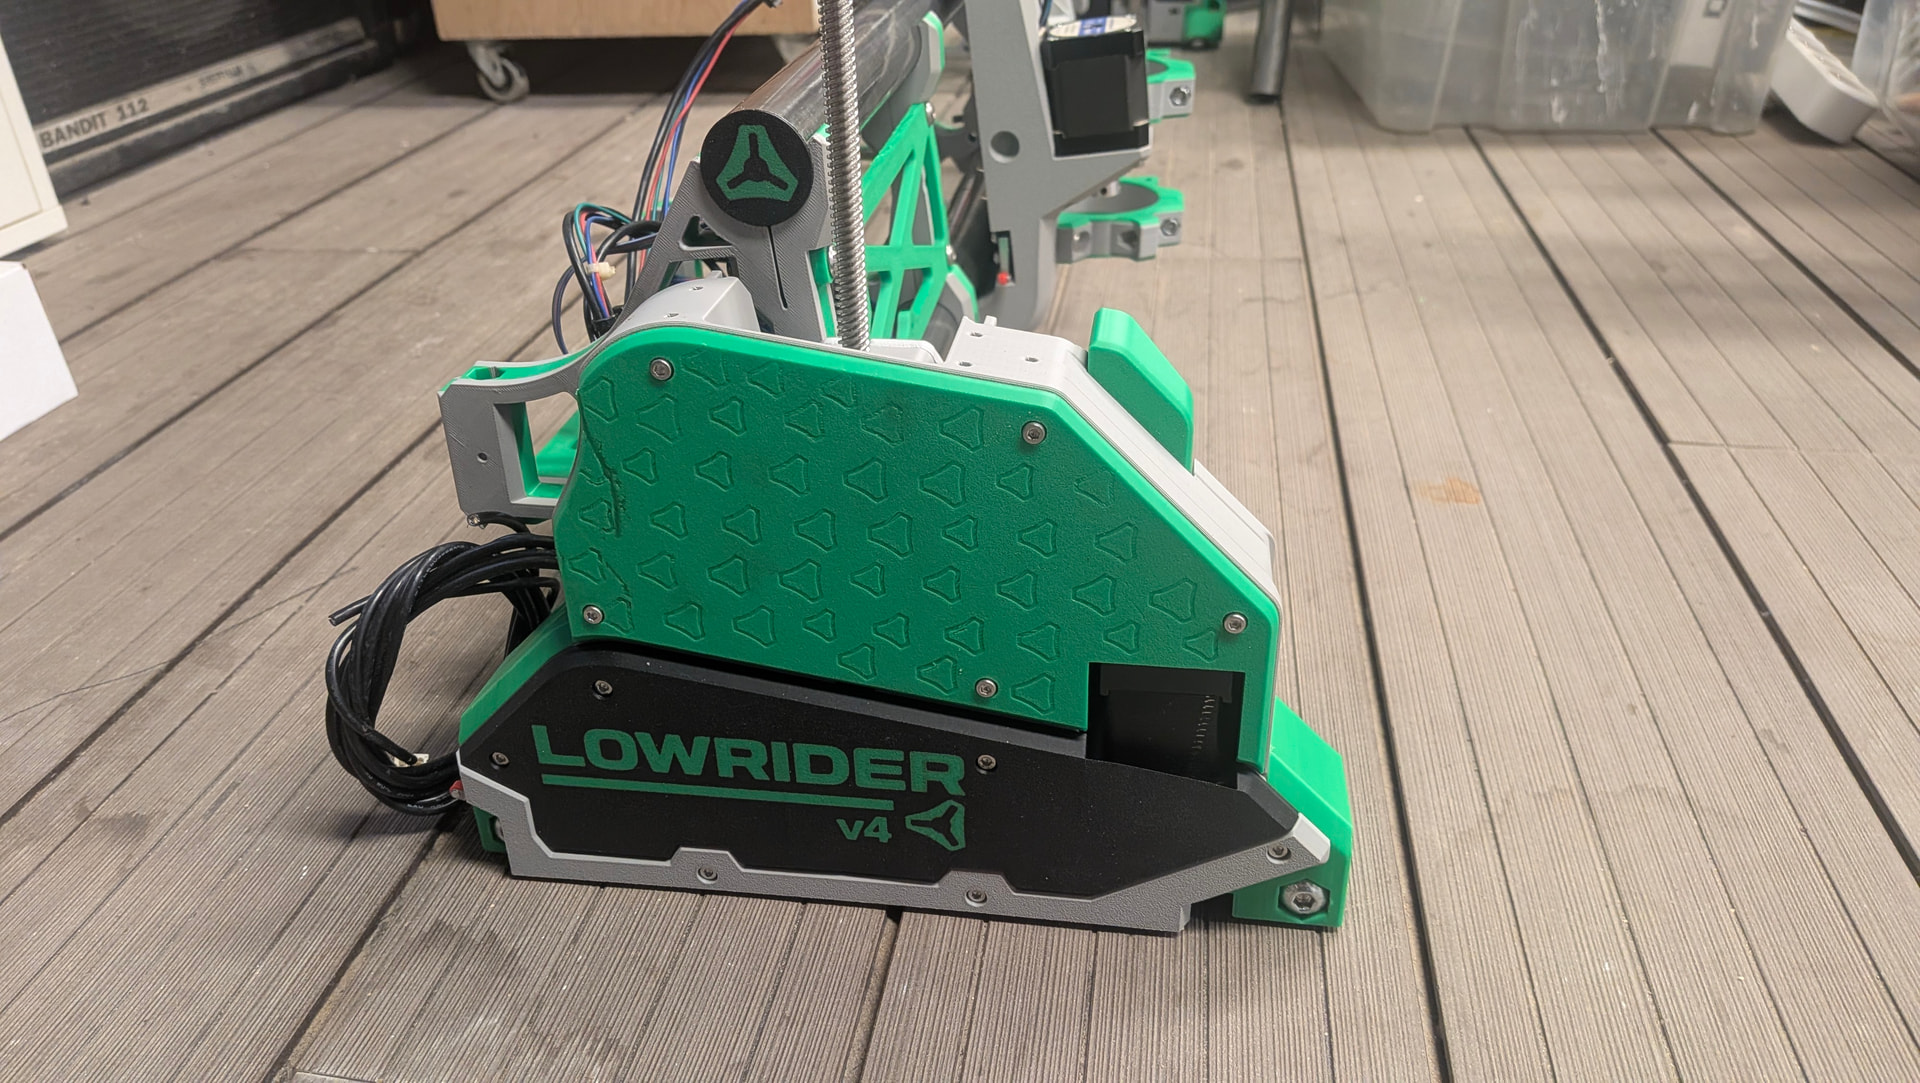
Board config
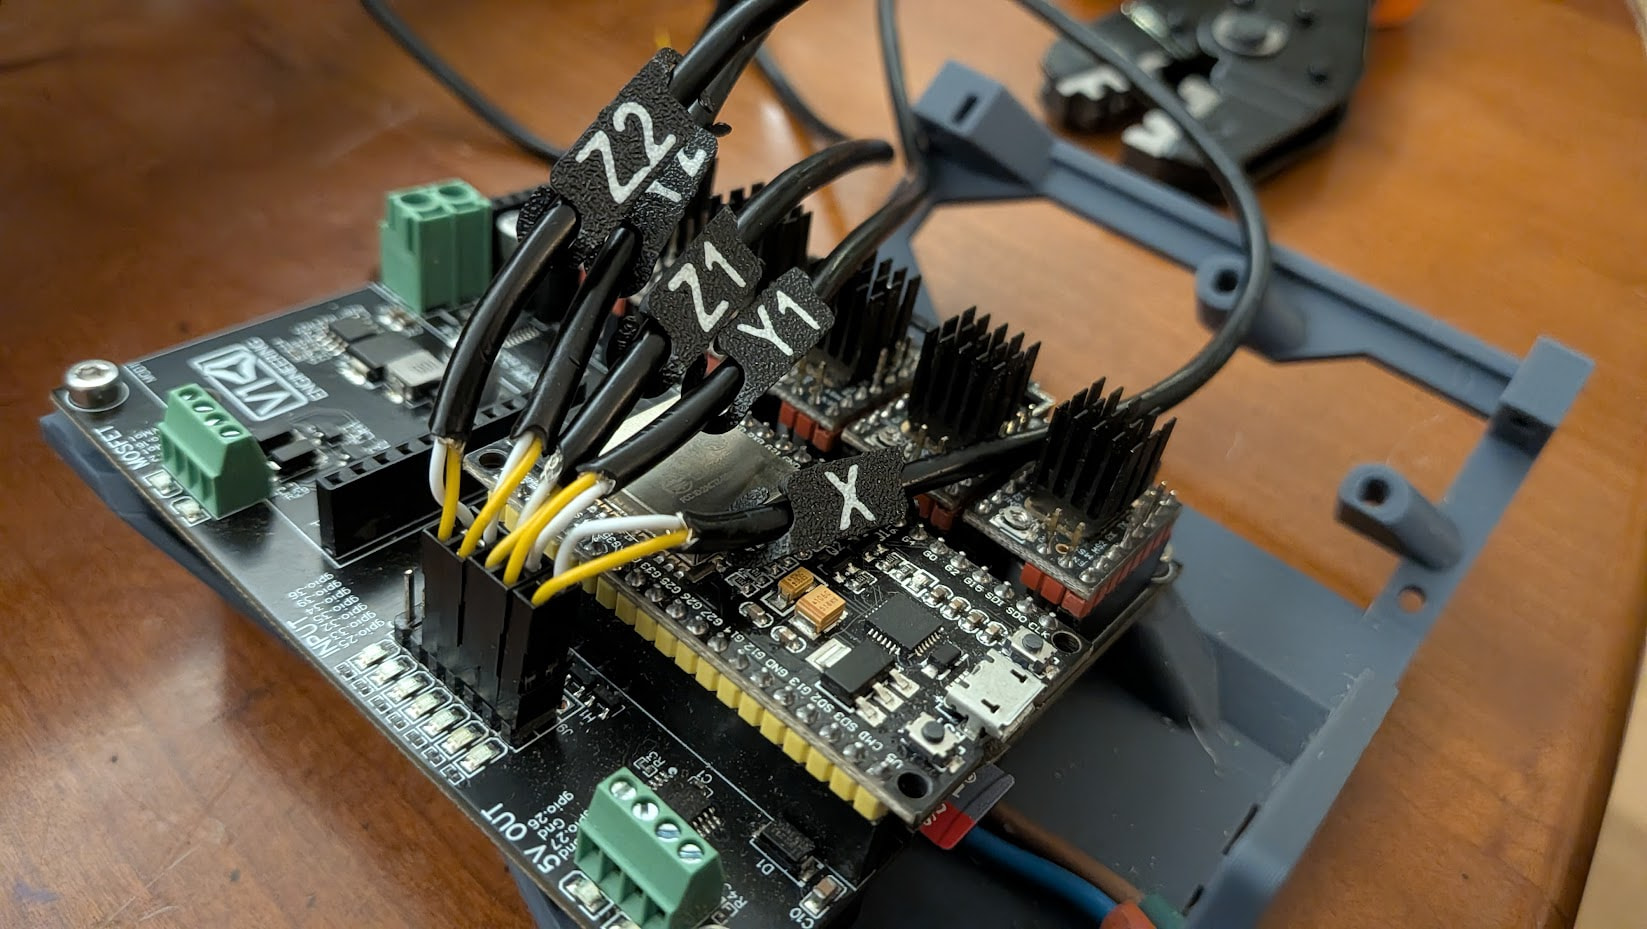
On the electronic and config side, now that endstops are correctly triggering, homing works, and I have a fully functionnal X and Z axis.
Still have to install it on the table to check Y… I’ll be using Y-max homing to begin with, so I have a little bit of customization to do…
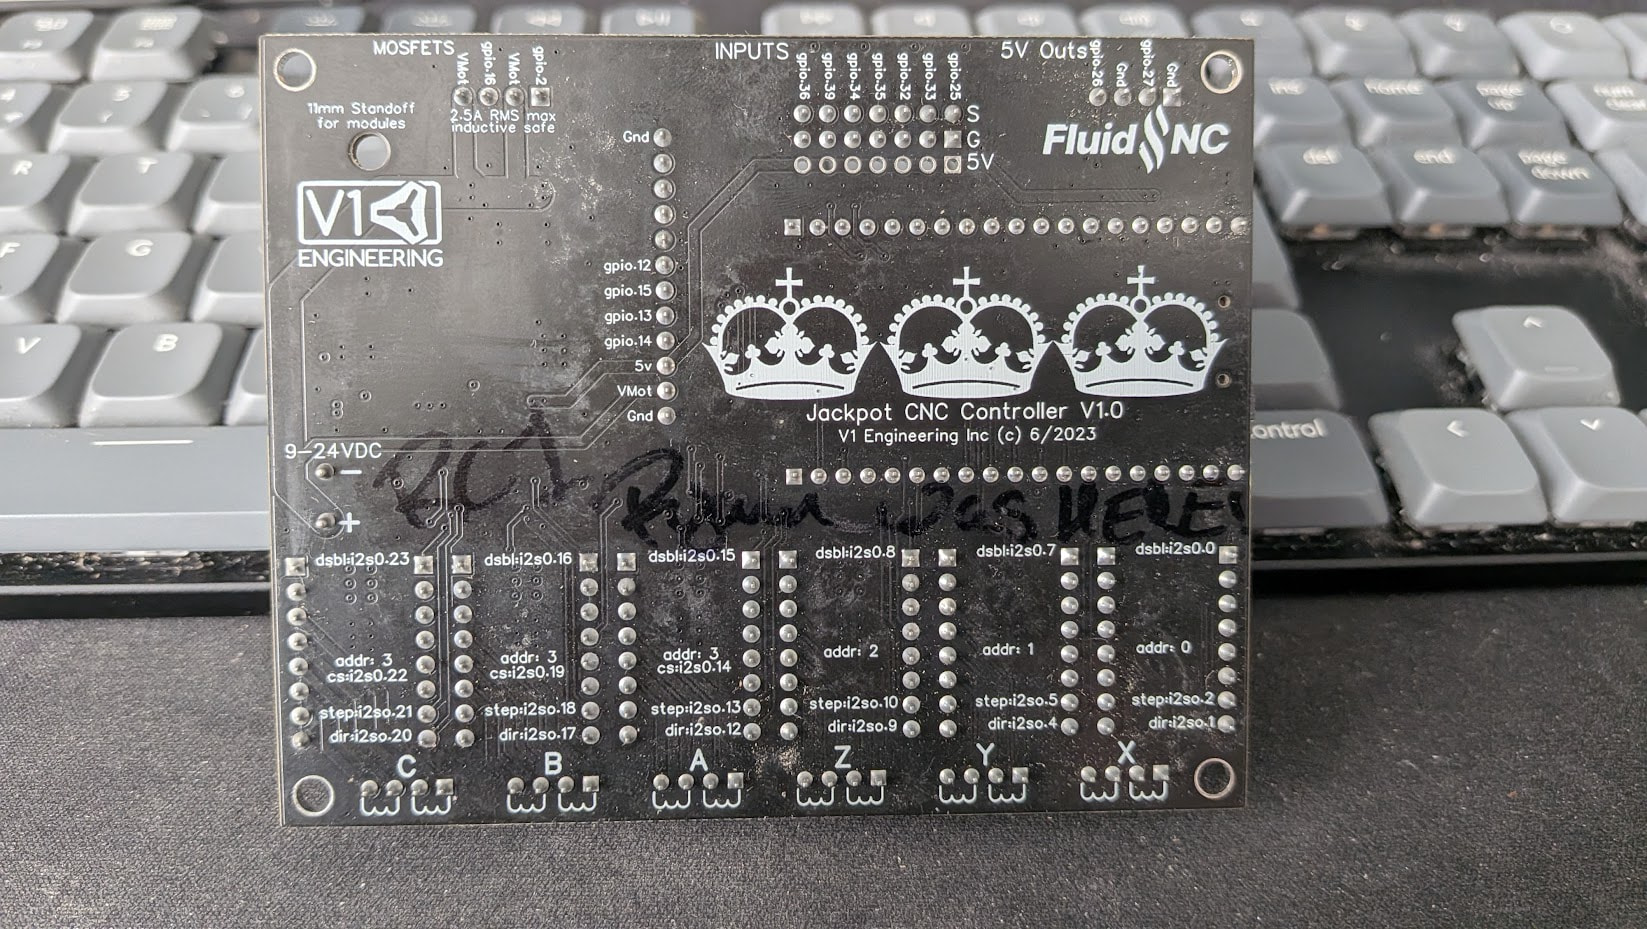
Laser installation
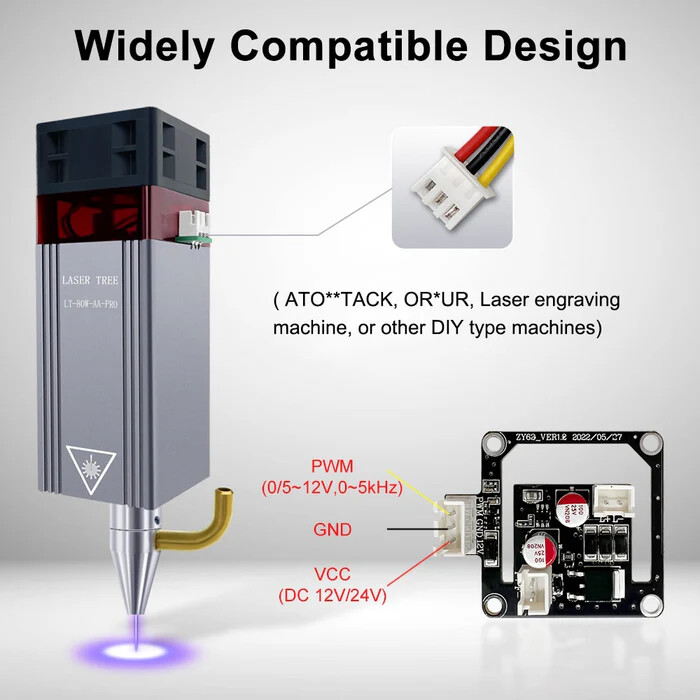
Still a bit unsure about how I need to plug the laser…
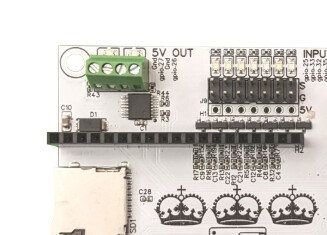
I can see GND and GPIO27 on the jackpot board, but my laser also requirez a 12-24V input
Where do I get this ?
Do I need to re-install the adapter board?