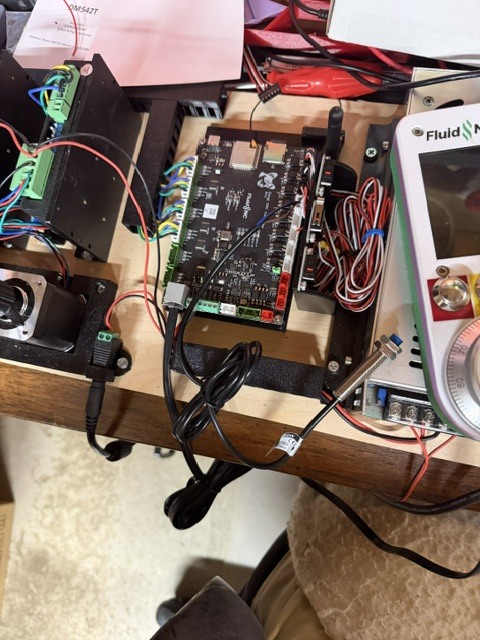
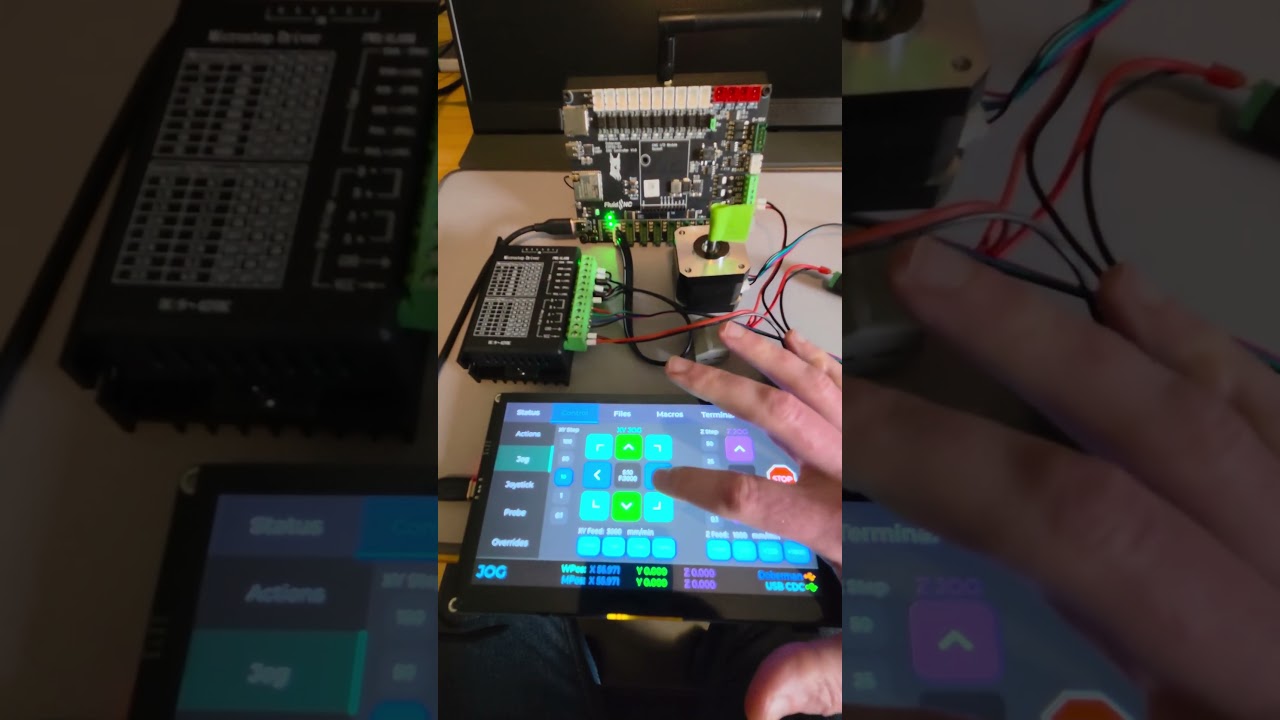
After a few weeks of using the FluidNC controller, the LR4 feels soooo much nicer to use, best “upgrade” I can recommend, definitely…
Thank you a lot for this work, using this controller feels great
Just some little nags/suggestions if I may, coming from FluidNC 2 tabley UI, I miss only a few things:
When entering a work position (clicking on one of the XYZ coordinates), I think the value should be auto-selected. I usually enter the absolute coordinate I want rather than edit the existing one
On that same screen, when entering a value, I liked it a lot that clicking the “minus” button would “invert” the current value rather than just adding a minus after the value
Still on the same screen, when inputing a value, I’d really like to be able to “set” the value rather than “moving to” this value (eg: for setting the Z value without moving it)
Very minor, maybe it’s just me, but I don’t really see the point in the “diagonals” jog buttons, I’d probably rather have a “Goto 0,0” shortcut here
Those are all just minor snags or “old habits” I had/liked with the fluinc tablet interface, but I wanted to kindly let you know about these suggestions
Just to be clear, it works just fine as is
It’s just that I find myself almost always clicking the “Clear” button when I acces this menu.
Auto-selecting the value would skip a step (while still being able to click the value to select/edit)
Exactly
Default button would move the machine to the desired poosition (as it already does), “set” button would define the current position as the entered value
I used that quite often to define a “z offset” by zeroing Z on the top of the part, and then defining that position as eg “Z=0.5”
Or when I’m a bit too fast,already bolted the stock to the table and I cannot access the spoilboard anymore… so I zero on the stock top and define Z as the stock thickness (eg 18mm)
Can’t find a good screenshot of the old UI, I’ll try and boot my MKS tinybee if I can
Maybe have them linked to 4 macros defined by the user?
Lots of flexibility, users can use these to override speed, set spindle speed, goto 0;0, zero all axis, etc…maybe even going diagonals if they really want to
This would address a vast majority of people wanting this or that function on the jog screen rather than a separate one
DISCULPA @jeyeager HAY ALGUN DISPOSITIVO DENTRO DE ALIEXPRESS QUE SEA COMPATIBLE CON TU PROYECTO , LA VERDAD ME INTERESA MUCHISIMO INTENTAR INSTALARLO Y COLABORAR
Got the Doberman setup for working on USB CDC support. Wow, wiring up external stepper motors is a pain and I only have one. I have a new appreciation of the onboard TMC drivers on the Jackpot.
Haha, I started with a board with external drivers… My first Jackpot installation felt sooo much easier compare to that. I wrote the comparison with the Jackpot down here:
Now imagine you have a closed loop stepper with even more cables. Friendly tip: Don’t wire the enable. It’s just there to mess up your programs etc.
Yep. I’m using a cheap driver so I could run it at 12v, same as the board. But chances are on real machine, you’d run the steppers at a higher voltage so you’d need a second power supply. Then there are dip switches to set amps and microstepping, instead of it being set in the config. Blah.
You need to set the switches and the config. Double the fun.
My first one used 24V, the one now uses 36V for the drivers (though I could fo 48V) and 24V for the board, so yeah, I need two power supplies now. -_-
I’ve got some things to sort out but I’ve got it working. I needed to make some FluidNC changes because it was falling back to CDC ACM instead of using the CH340 VCP. (I didn’t know what that meant either before today.)
Hi Jason! This is amazing. I was wondering if the Elecro CrowPanel 5.0 Panel would work?
By the looks of it, the hardware is the same (ESP32 S3 WROOM module 800 x 480 display)
I have a very particular use case / small desktop CNC that I designed and was about to do this very same thing with the “CYD‘ (cheap yellow display) and then I came across your project that just looks amazing.
I love the look of your UI kind of reminds me of the MainsailOS webui for those of us who also experiment with Klipper based 3D Printers.
Anyway… I’m rambling. Look forward to your response.


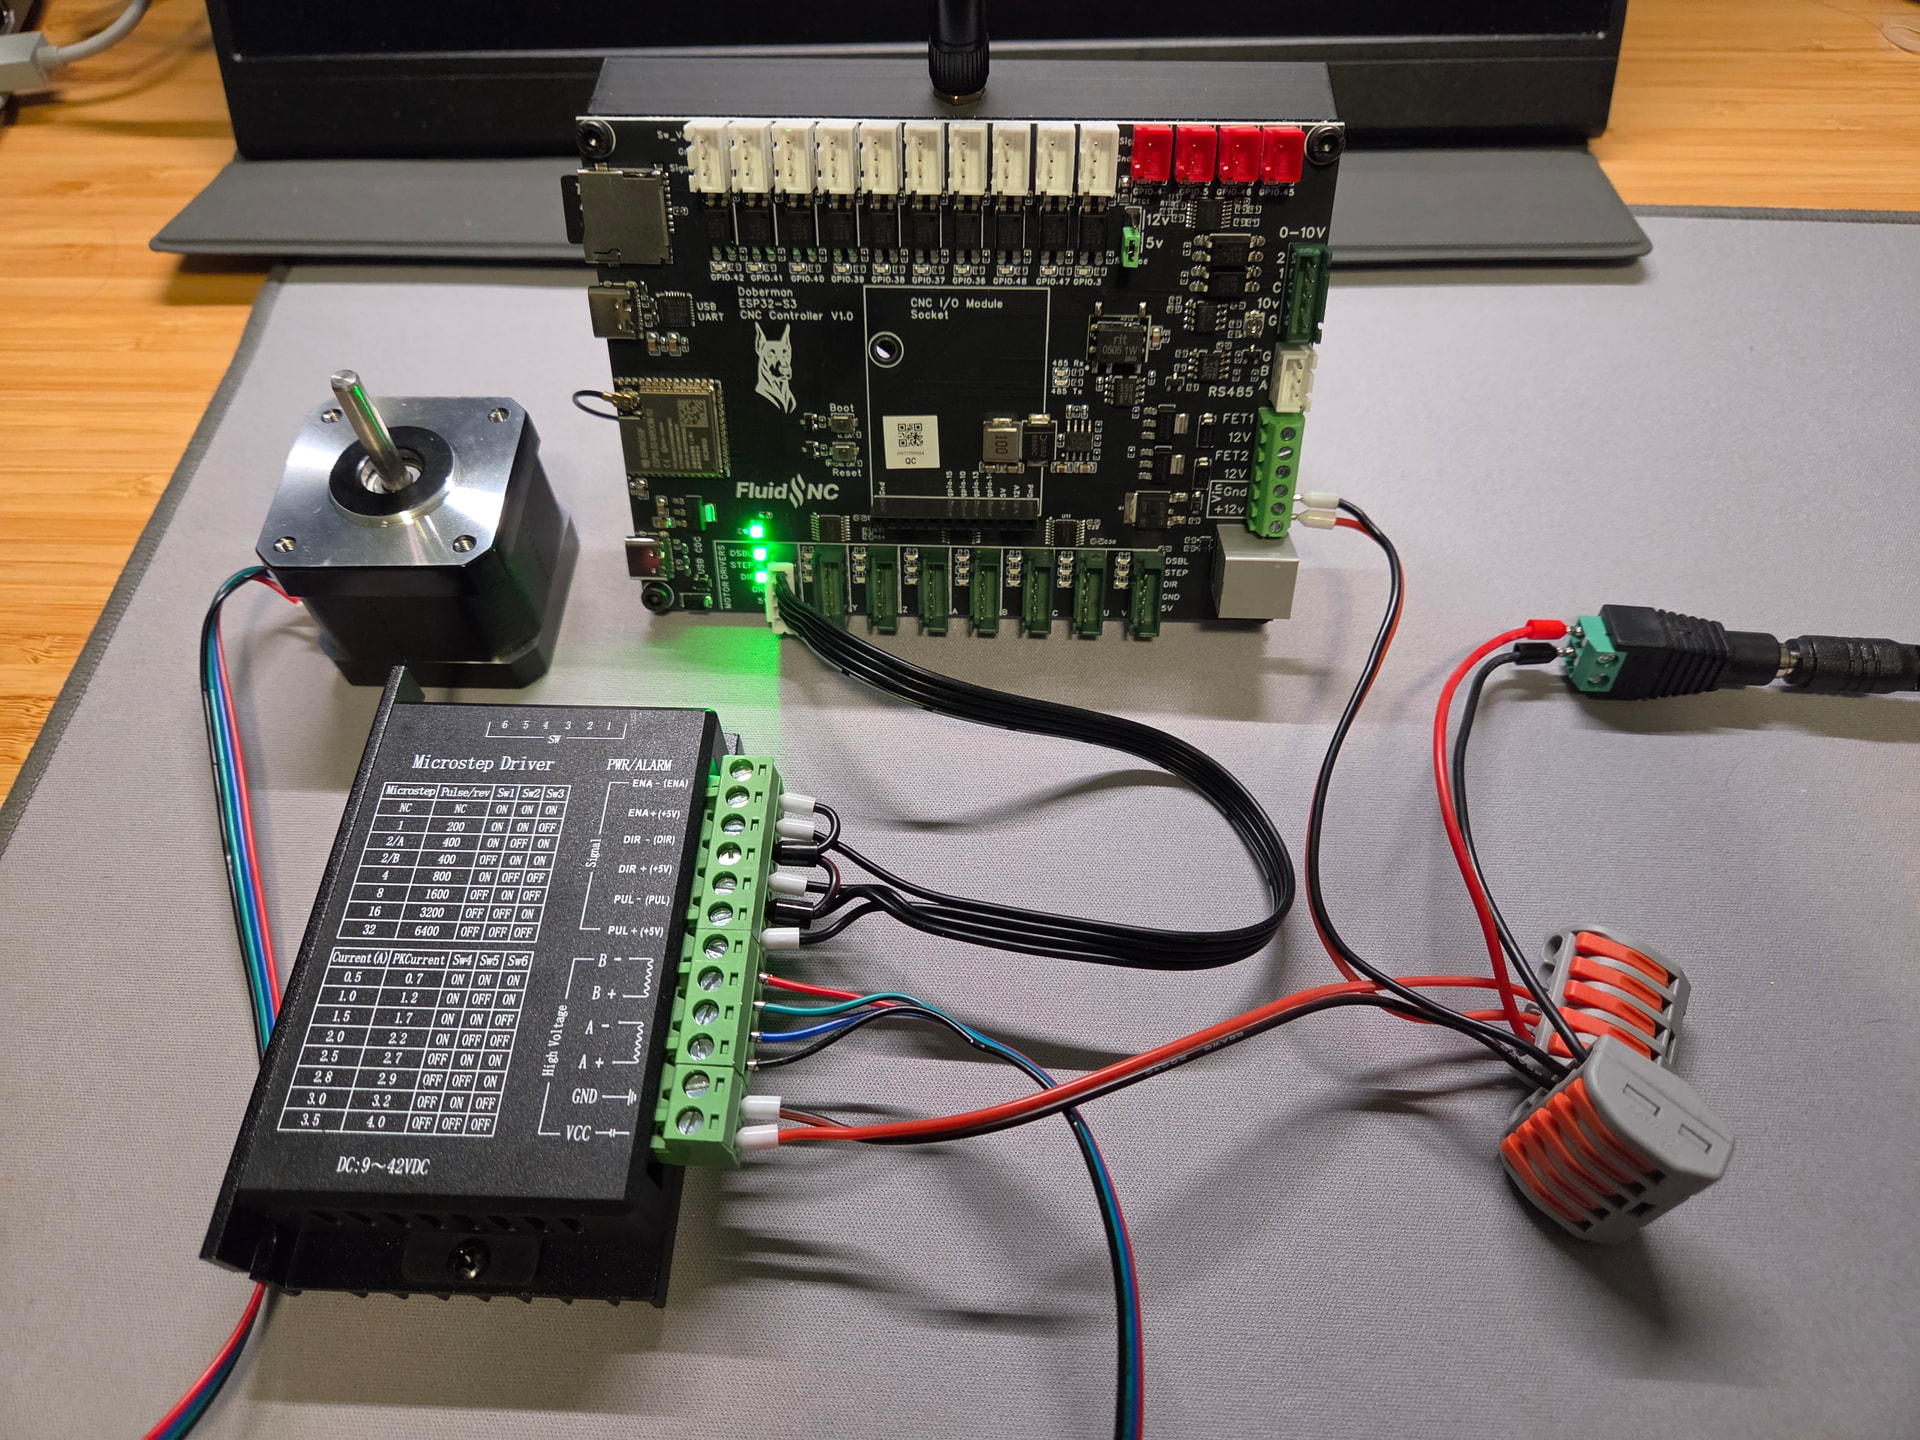
 Friendly tip: Don’t wire the enable. It’s just there to mess up your programs etc.