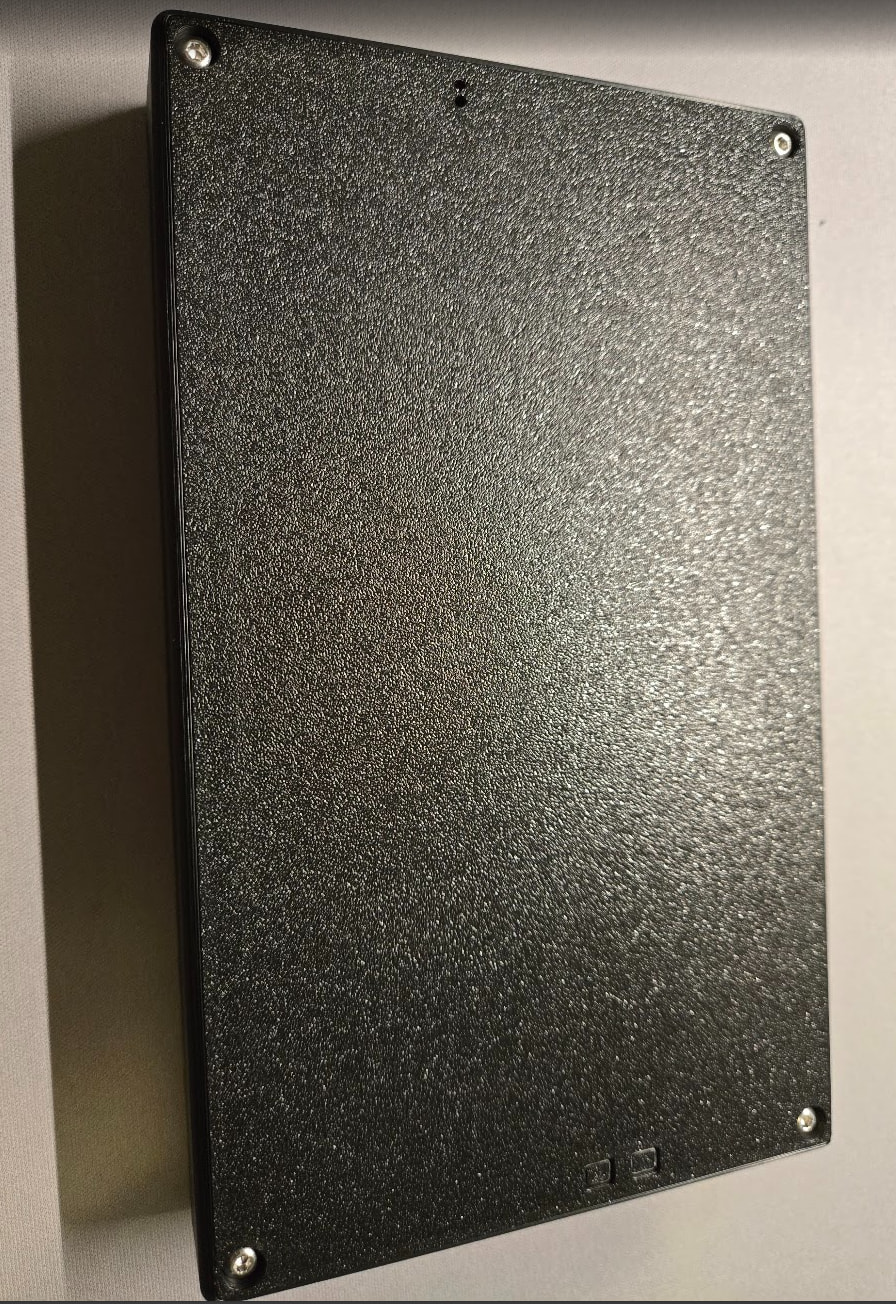
Here’s the current version of the case. Everything is fitting well for me. This only works with the Advance version of the display.
Here are .3mf files and the FreeCAD project (done in v1.1.0 RC2):
ElecrowAdvance7Case.zip (3.9 MB)
Here’s some rough documentation for now:
General Notes:
- Nothing needs supports. The bottom has a single layer where the countersink is so you can just poke through that.
- I printed everything on a Bambu P1S with PLA with a 0.4mm nozzle, 0.20mm layers, with 3 walls and 30% infill.
There are 4 parts to print:
- Bottom - Print flat side down
- Top - Print top side down
- Button - Print x2 with the top of the button down - Needs a brim - May need to clean up with a razor
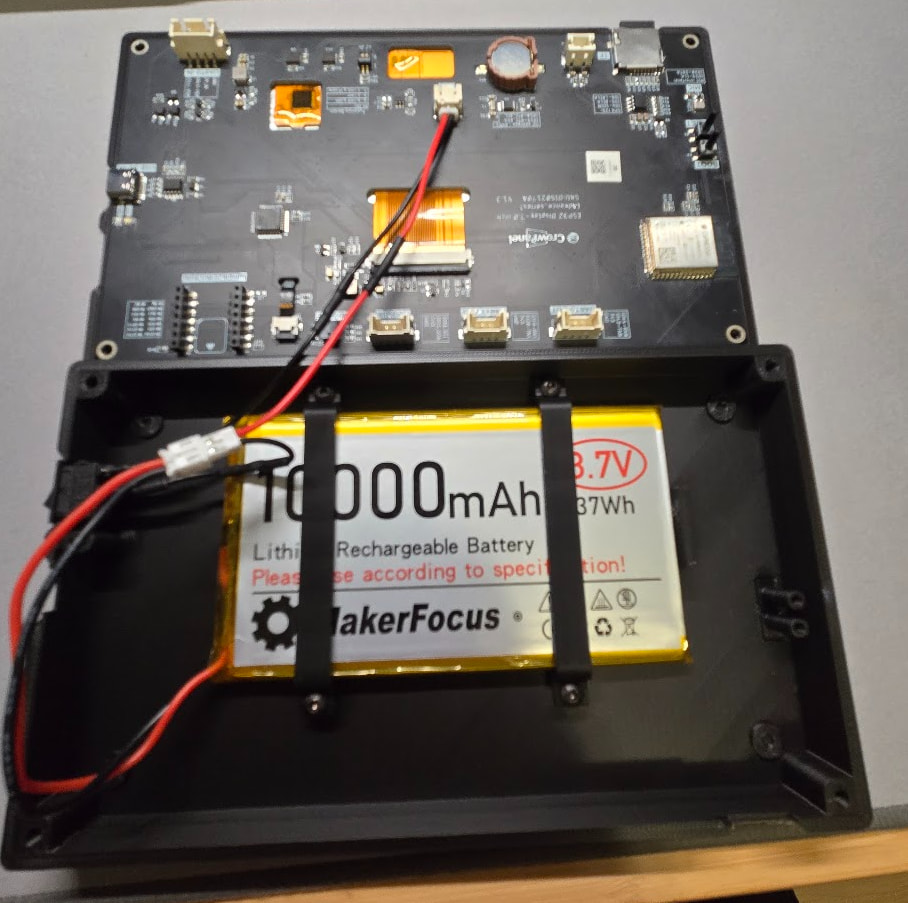
- Battery Bracket - Print x2 sideways - Tested with 8000 mah 126090 and 10000 mah batteries.
Screws (button or socket head works)
- 4 - M3 x 20mm to attach top and bottom of case together
- 4 - M3 x 6mm to attach battery brackets
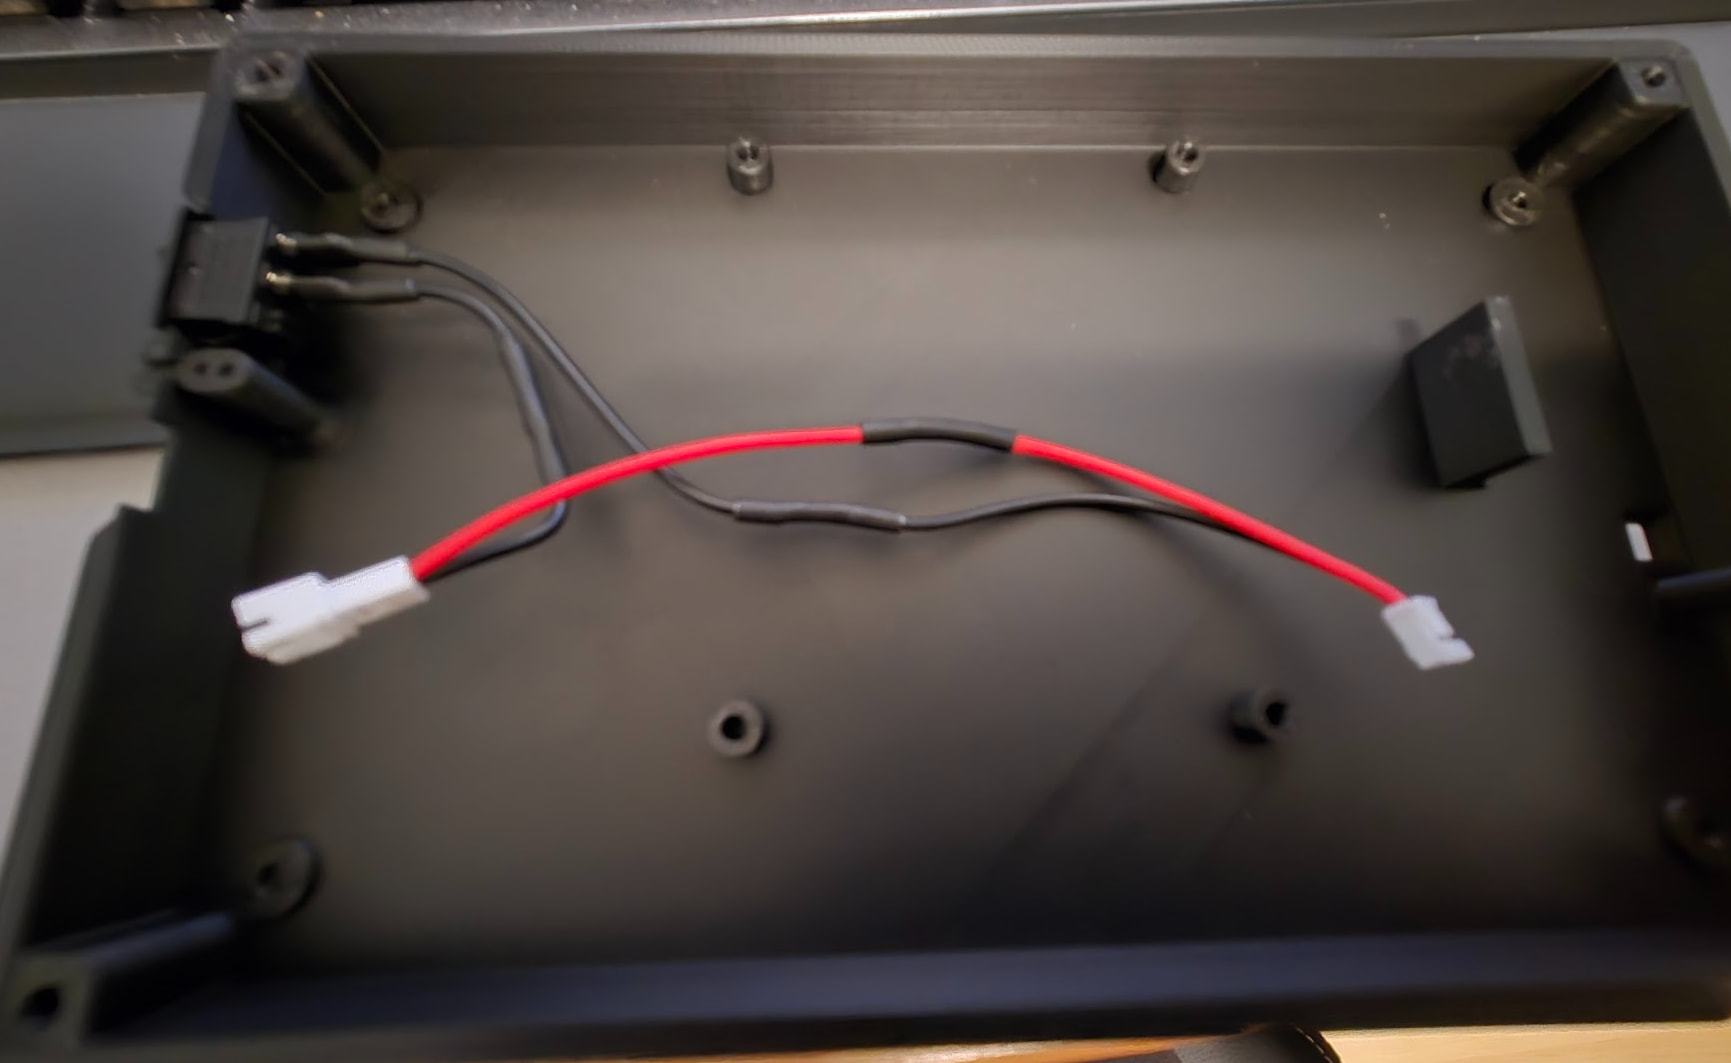
Switch Wiring (you need the switch but the rest can be done multiple ways - I’m still sorting out the easiest way to do this)
*** MAKE SURE THE POLARITY IS CORRECT - ALL BATTERIES AND WIRE COLORS ARE BACKWARD TO DISPLAY BATTERY PLUG ***
- 1 - 15x10mm rocker switch
- heat shrink tubing
- 2 - 0.187" spade terminals – these crimp to the wire and plug into the switch terminals — or just solder wires to the switch
- JST PH2.0 male and female connectors – or you could cut the wires on the battery and use that connector and splice wires – or if you hate yourself you can crimp the JST PH2.0 connectors yourself)
- 22 awg wire
I plan to put an assembly video together, probably this weekend.
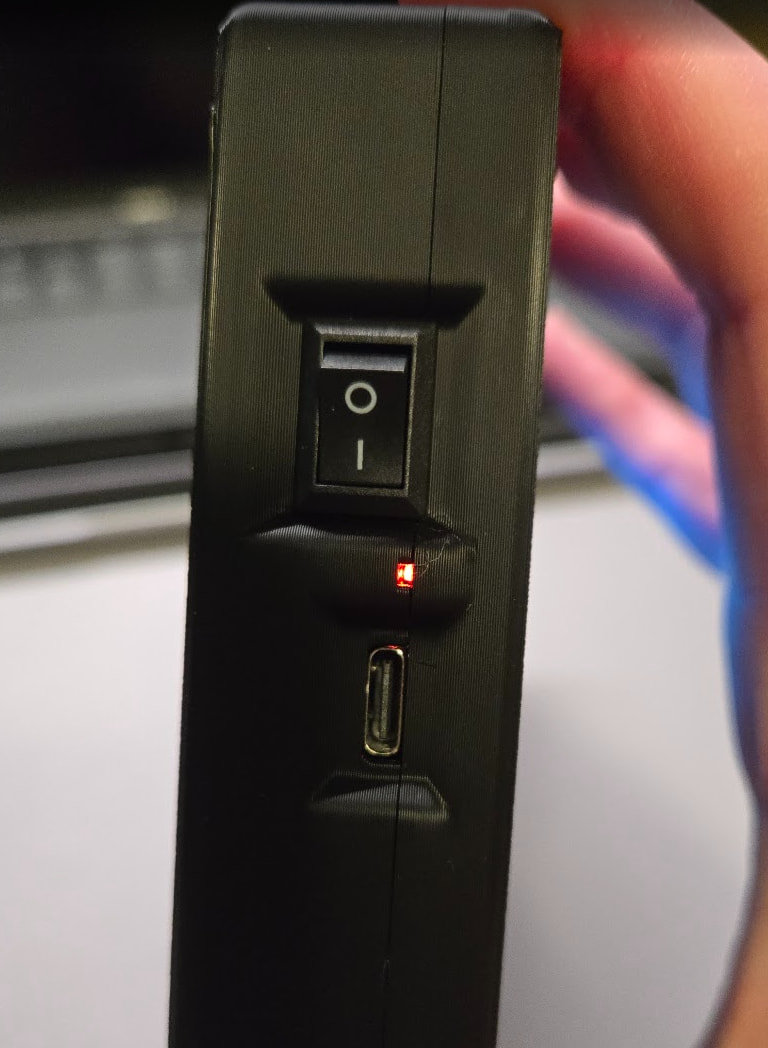
The main visible difference from before is a little hole on the side so you can see the power LED from the side.