While getting setup to start a new project, I thought it would be a good time to get into Fluidnc and using Work Coordinate System (WSC).
Fusion requires the part to be duplicated on the build page and then there are a number of steps required to make it know what is what and where they are located.
Fusion Free version does not allow you to Post-Process WCS work.
With a little effort and thinking, it is easy to setup a single gcode to make as many of the same part as long as you have the space available on your CNC table.
First you need to locate where you want each part to be.
Second you need to decide if your going to setup your work from a top corner, top center, bottom corner, or bottom center.
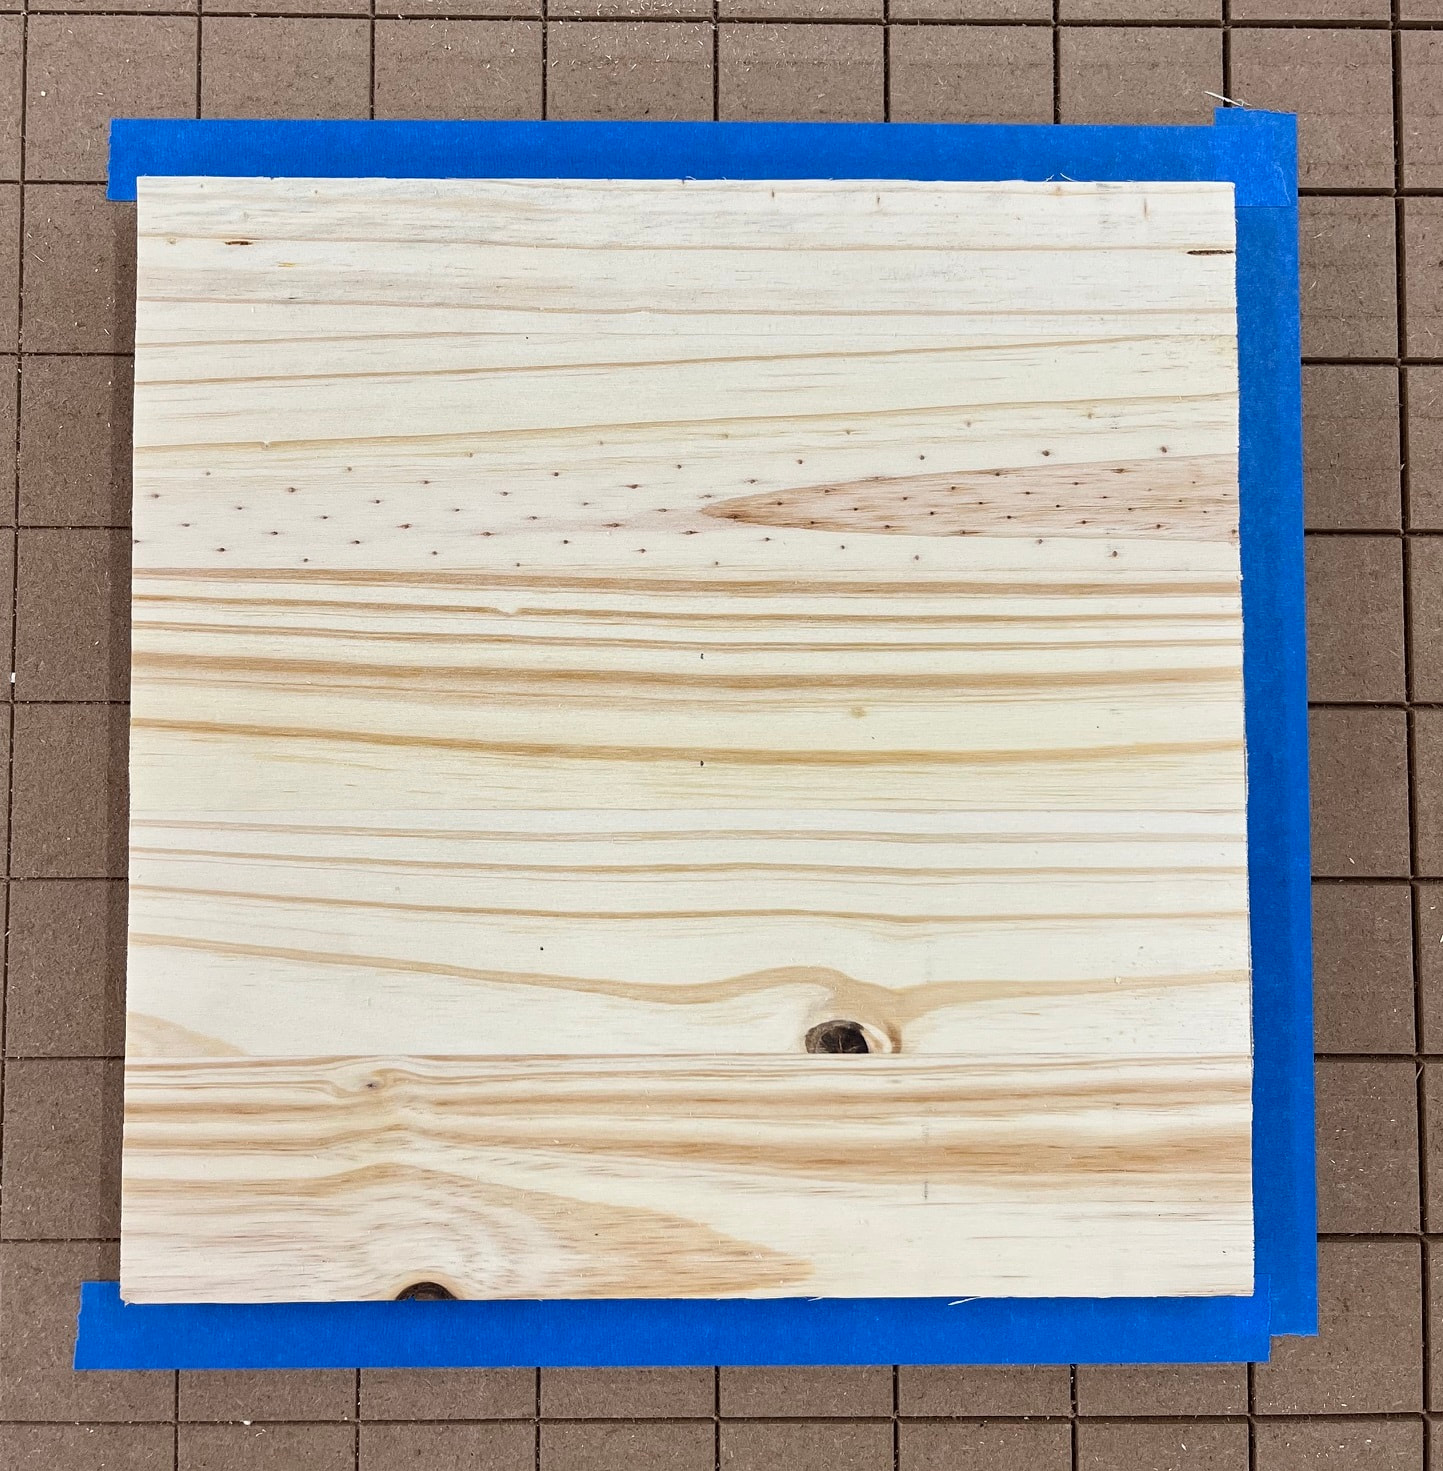
With this one, I am using Bottom Center as my Zero Z is at the corner of my CNC Table.
Third I would recommend putting painters tape on at least 3 sides of your work so you can flip the part over if needed, or replace the part if something goes wrong and you need to start over.
Also very helpful if you want to create even more of the same part.
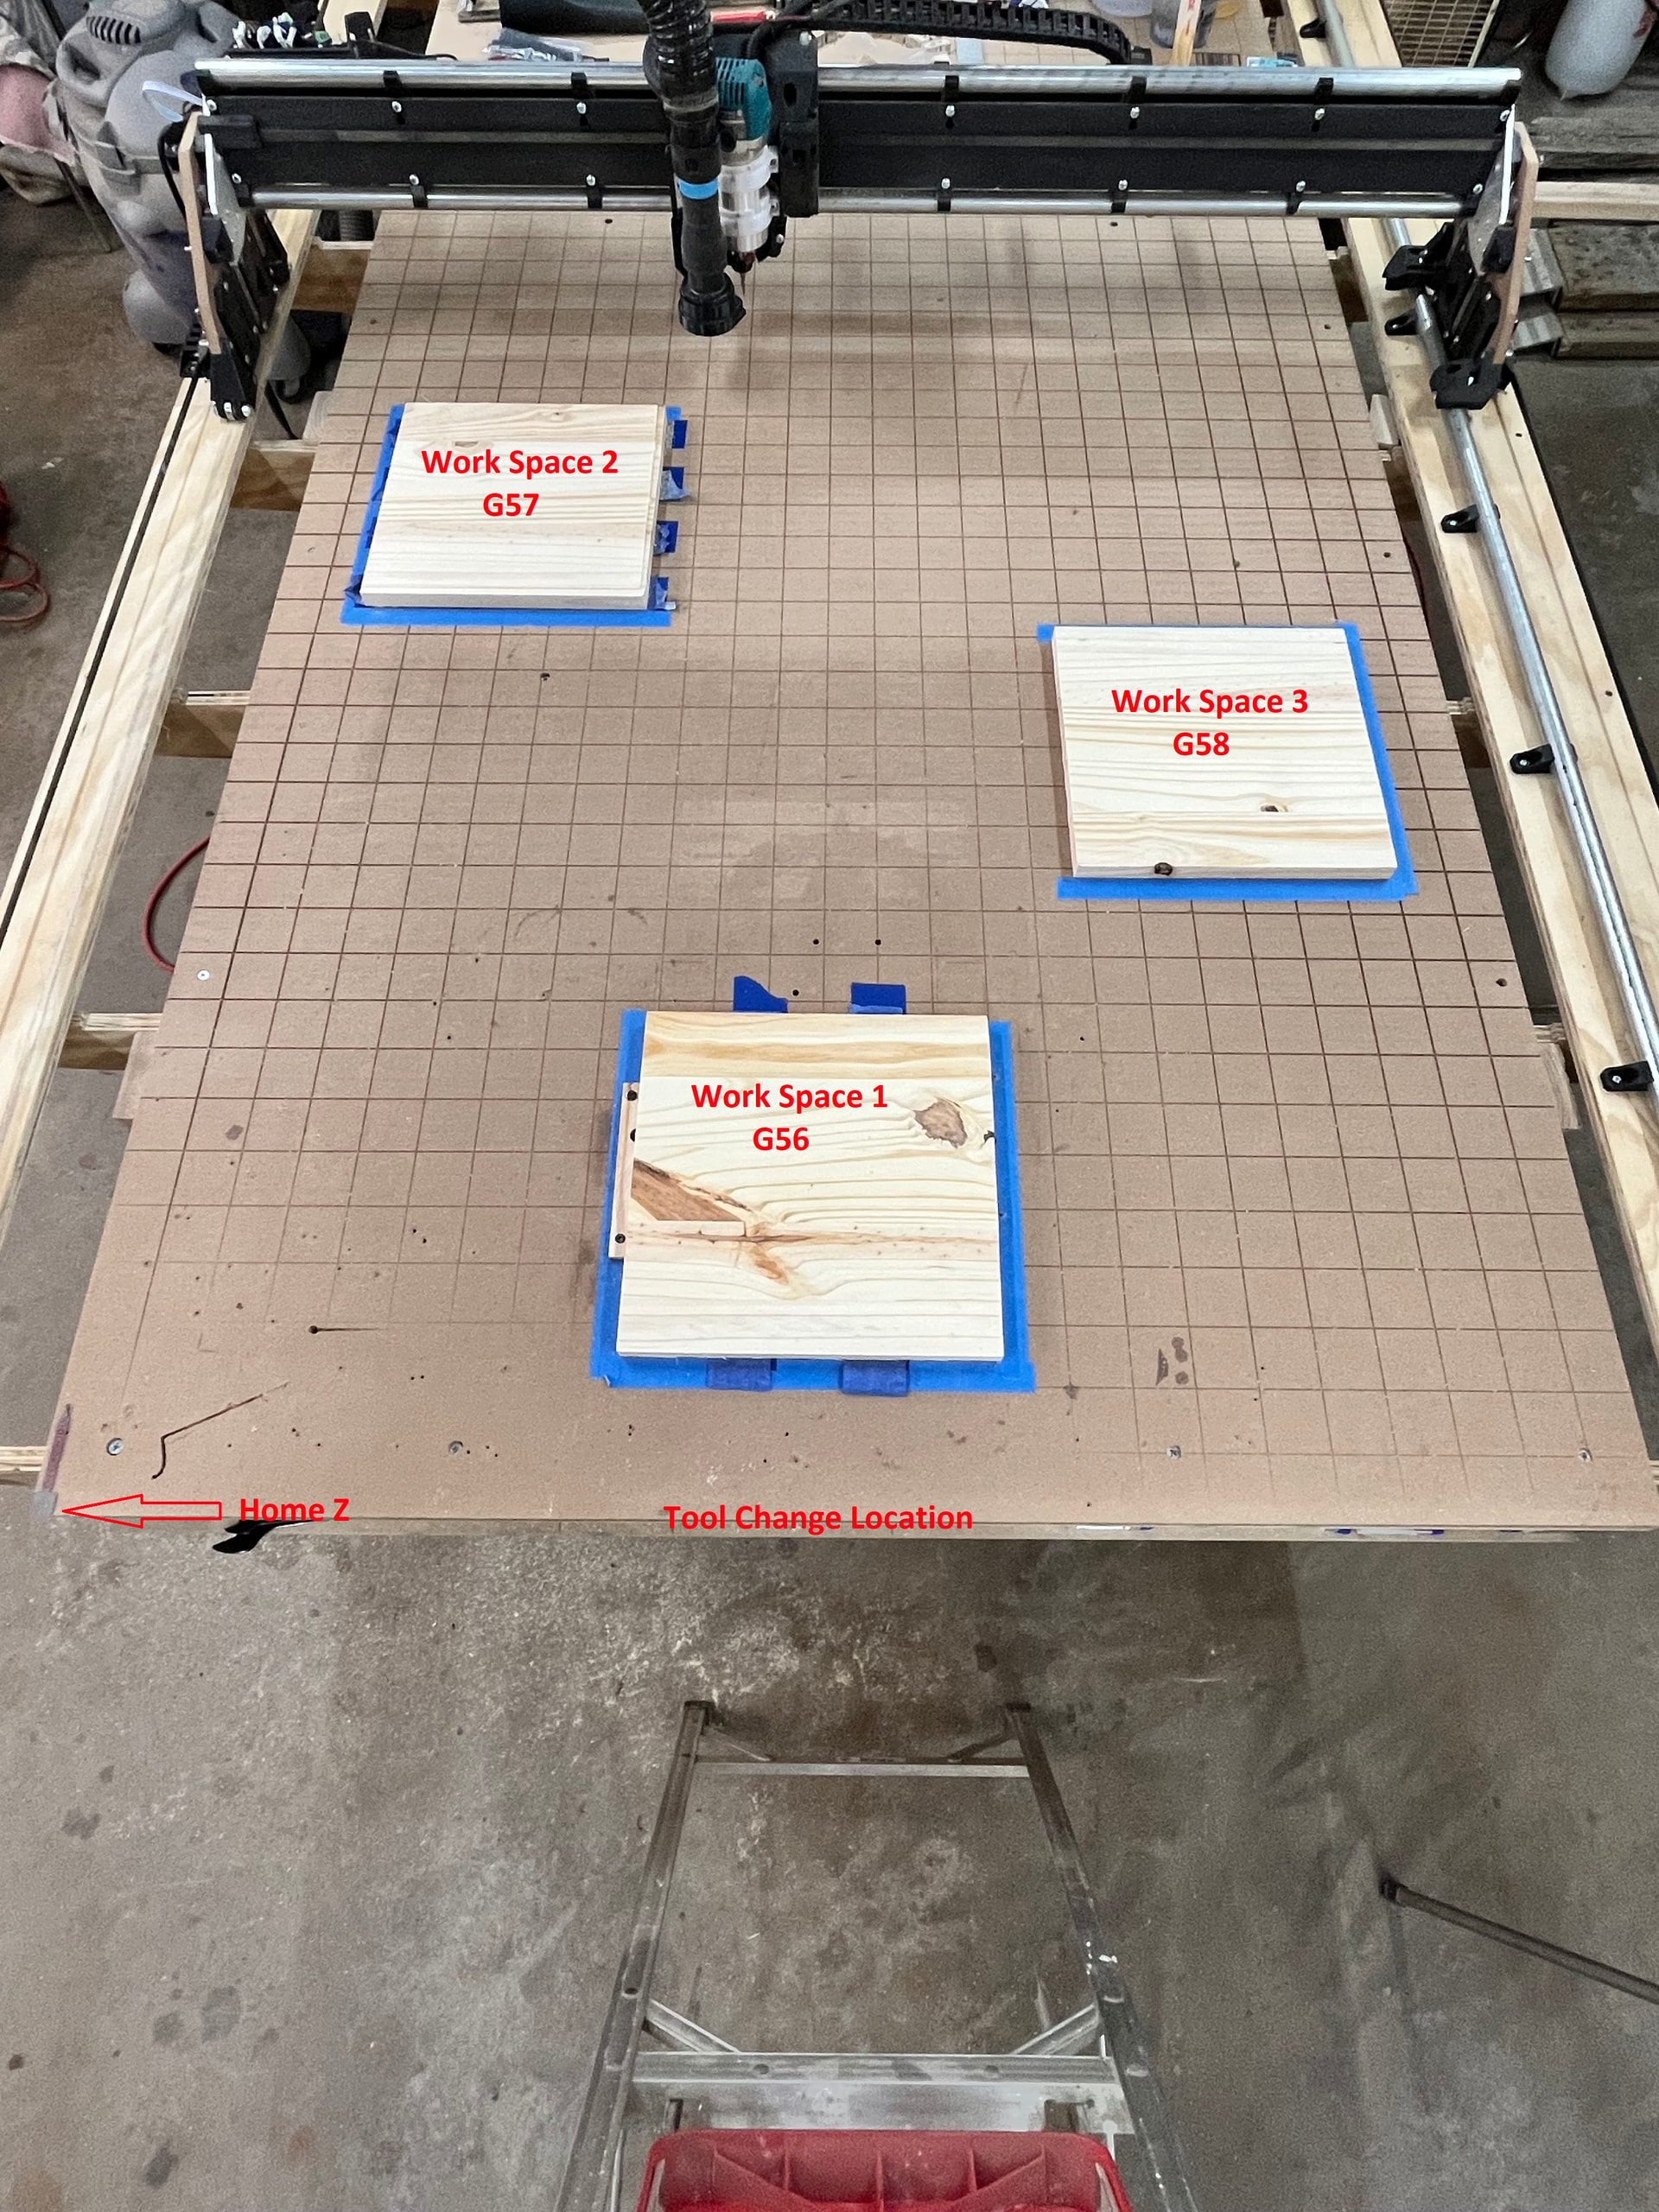
Forth is to setup your G54-G59 locations.
Home your table, move the router/spindle to the first location (be accurate).
I always use locations that do not include .000
Pause: Let me dig into this a little deeper first. ![]()
When setting up the Non-volatile locations in Fluidnc, you must use the Machine Coordinates (MPos) not the current Work Coordinates (WPos).
Writing the MPos is done with:
G10 L2 PX Xx Yx Zx
Lets break this down.
G10 L2 (command lets you define the exact distance (offset) from your machine’s home position)
Px (Defines witch G54 thru G59 location to be used)
Xx Yx Zx (specifies the Mpos locations to be stored)
$# (in the command line will show what Z,Y, and Z locations are assigned to each Px)
For my current setup I have 5 locations and I write them down for quick reference.
You will only see things like G54:7.000,20.000,-15.000
My Reference:
P1 Zero Probe G54:7.000,20.000,-15.000]
P2 Tool Change [G55:507.000,3.000,3.000]
P3 Work 1 [G56:600.000,283.000,3.000]
P4 Work 2 [G57:253.000,1100.000,3.000]
P5 Work 3[G58:1003.000,753.000,-15.000]
Lets breakdown the Gcode. I will be running my WCSTestCode.gcode and will be including a video.
(NOTE: The gcode Must Start and End with the %. If there is one anywhere else, the gcode will fail. Also, you cannot put a Note (ABCD) directly in-line with the %)
(You can add notes almost anywhere else by using the () ).
%
(Test run of WSC locations)
G90 (Absolute distance mode)
G21 (Set to MM)
G94 (Default units per minute mode)
M0 (MSG Pause for tool change, at G55)
(Move to Home Probe Location)
(Table Corner X7.000,Y20.000,Z-15.000)
G54
G0 X0 Y0 Z0
M0 (Simulate Probe)
Z-30.0
Z0
Z-25
(Move to First Work Location)
(X600.000,Y283.000,Z3.000)
G56
x0 Y0 Z0
(Simulate work one)
Z-15.0
Z0
(Move to Second Work Location)
(X253.000,Y1100.000,Z3.000)
G57
X0 Y0 Z0
(Simulate work two)
Z-15.0
Z0
(Move to Third Work Location)
(x1003.000,y753.000,z-15.000)
G58
X0 Y0 Z0
(Simulate work three)
Z-20.0
Z0
(Move to Tool Change Location where we started and Pause)
(X507.000,Y3.000,Z3.000)
G55
X0 Y0 Z0
M0 (Pause)
(End of Test)
%
I always start my projects by Homing then issuing a G55 ENTER and a G0 X0 Y0 Z0 Enter to put my router/spindle in the Tool Change location.
When this WCSTestCode.gcode is run it does the following.
Sets the Absolute distance mode, Set to MM (G20 for Inches), Default units per minute mode, and Pauses.
On Resume, it moves to G54 (probe location) and probes.
Next it moves to the First Work Location and starts the Job.
(Everything between "Simulate work one, or two, or three, to Move to XX Work Location can be replaced with the actual work gcode)
Once the last (third) job is done, it moves the tool back to G55 (tool change) location and Pauses.
One Resume is clicked, the program ends.
The included video is a quick sample of what the WCS code can do. The up/down motion is a representation of That job starting and ending.