Maybe this helps? I saw an eggbot somewhere that was using it.
Interesting…I had found another GRBL build with servo support but this one might be simpler. Honestly one of the big problems is there are so many options I just start looking at them and decide “Meh, I’ll come back to this when I have more energy” 
But…I do plan on building a zenxy soon as well so might be nice to get a newer fluidnc compatible board I can play with and then repurpose for the zenxy. (After seeing the LR4 in action and getting flower and bunnies for her yard my GF has approved me adding a zenxy to her coffee table  )
)
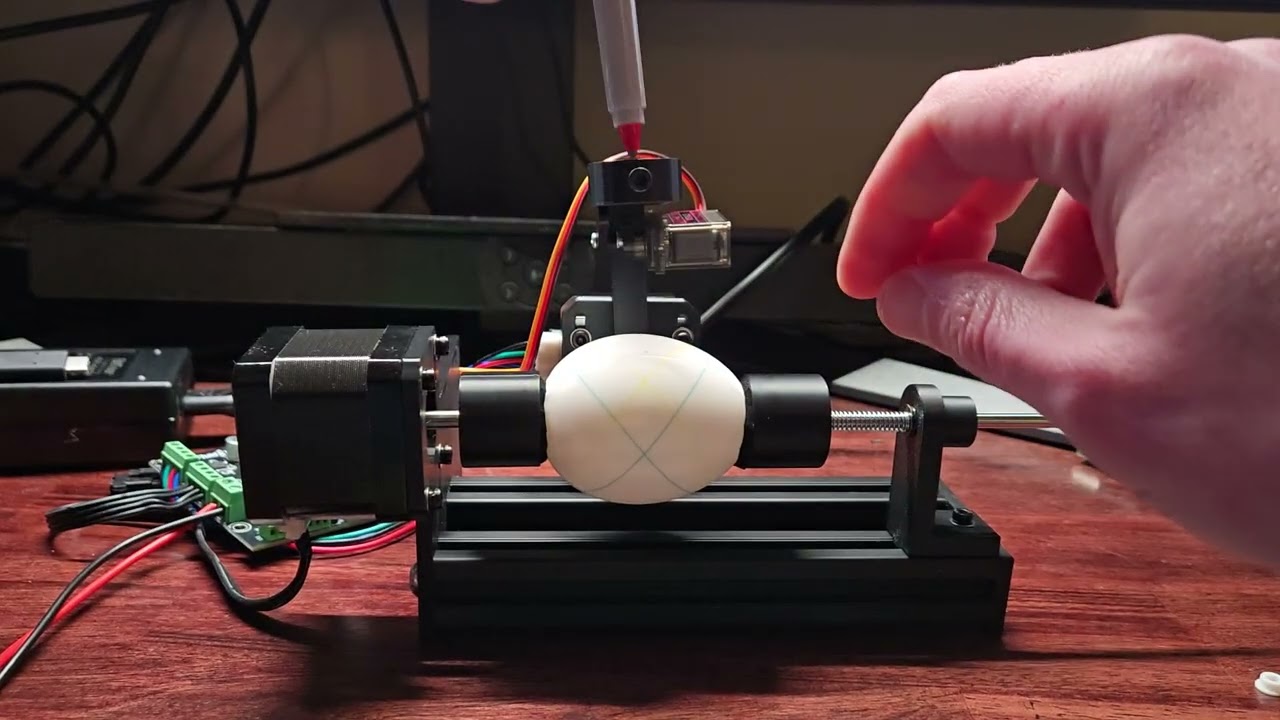
Well, this looks like success to me.
Based on some stuff I was messing with on my pen plotter and some good advice from @Stoli, I created this basic drawing with p5.js that also writes out the gcode.

After some tweaks, I drew on a 3d printed egg.
This is a quote for the time capsule.
Better progress than me
I ran across the parts for my 2nd eggbot last night so started setting it up as well:

It’s all wired - but I had been using the electronics board on an open astro tracker and it’s still flashed with that firmware. I got as far as wiring it up last night and realized I’m still missing the egg cup for the motor side and just didn’t have the energy to dig for it, print a new one, or mess with flashing the firmware.
So they’re both sitting almost usable but needing me to put more time into the firmware than I feel like dealing with right now.
I do like that the simple design of yours…if I had any spare 2040 rail laying around I’d probably find the motivation to build that style up and maybe finally sort out firmware I’m happy with. I do have a few lengths of 2040…but they’re earmarked for a new motion platform on my co2 laser if I ever actually decide to get it going again.
You have inspired me to build one as well but I haven’t built anything besides V1E machines; I have some questions.
I’m following along with the same Instructables @Dreyfus posted. Did you also get the PCBway PCB or just use a breadboard? Anything special necessary to get the servo working properly?
No, I deviated and went with a FluidNC board. It doesn’t fit the design from the instructable but it works fine.
In FluidNC, I have it setup as the Z axis. It’s setup with soft limits and is a little weird so I need to make sure that work and machine coordinates match for Z. It could also be configured as a spindle and control with M3.
I did some other things differently from the instructable, like using 2 pieces of 2020 instead of 1 piece of 2060. And I redesigned a couple parts so I could use what I had on hand. And made those egg holder pieces bigger to hold the egg better. Also, the hole for where the pen holder attached to the stepper was too small so I did some terrible things with my soldering iron to get it on there.
My goal for now is just functional. Later I hope to design some other parts.
It’s handy if you have it already but extrusion is expensive and I’m sure with a CNC and a 3d printer it could be replaced.
Which is a moot point of course because I’m not building one. 
Definitely. There are a lot of options. It does work nicely for adjusting things. And you only need 150mm which I could get on Amazon in 2020 or 2060 for $10.
I’ve not read too closely this thread except to see that 2020 and 2040 extrusions are used in a some of these Eggbot designs. I once found myself short on some 2040 extrusion but had a couple of lengths of 2020… so I printed some simple joiner pieces to make 2040 or wider from what I had. One is for regular extrusion (left), the other is v-slot.
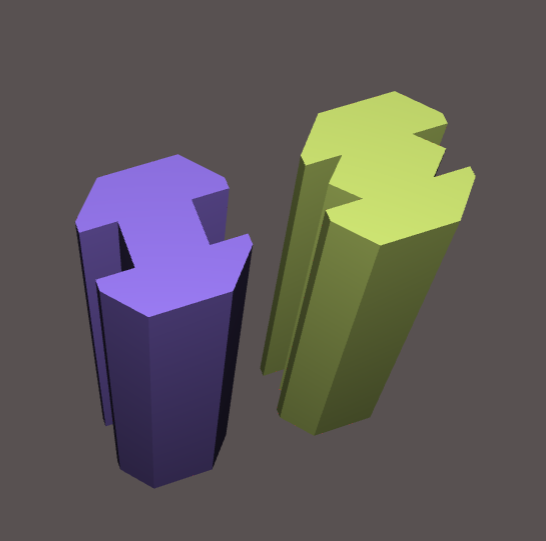
extrusion_joiners.zip (1.4 KB)
Didn’t you actually print some 2020 once @dkj4linux or was that someone else in the FT forums?
It’s an option - at least for something like this that’s fairly small and not under much stress.
But I’d probably still go with a different design unless I had spare extrusion on hand.
Sweet. I bought that same fluidNC board and was having troubles buying the PCB board so I didn’t. Nice to know I don’t need the PCB. Now to get some extrusion and start printing. Thanks for the answers. Its looking pretty good!
Jason,
I think I did once do a printed “extrusion” but it wasn’t anything serious. And it was certainly a more costly print than a few of these little joiners. These joiners really only need to be 1-1/2" to 2" long (print them standing on end for strength) and two or three of them are more than enough to hold two long-ish pieces of 2020 in alignment along their whole length.
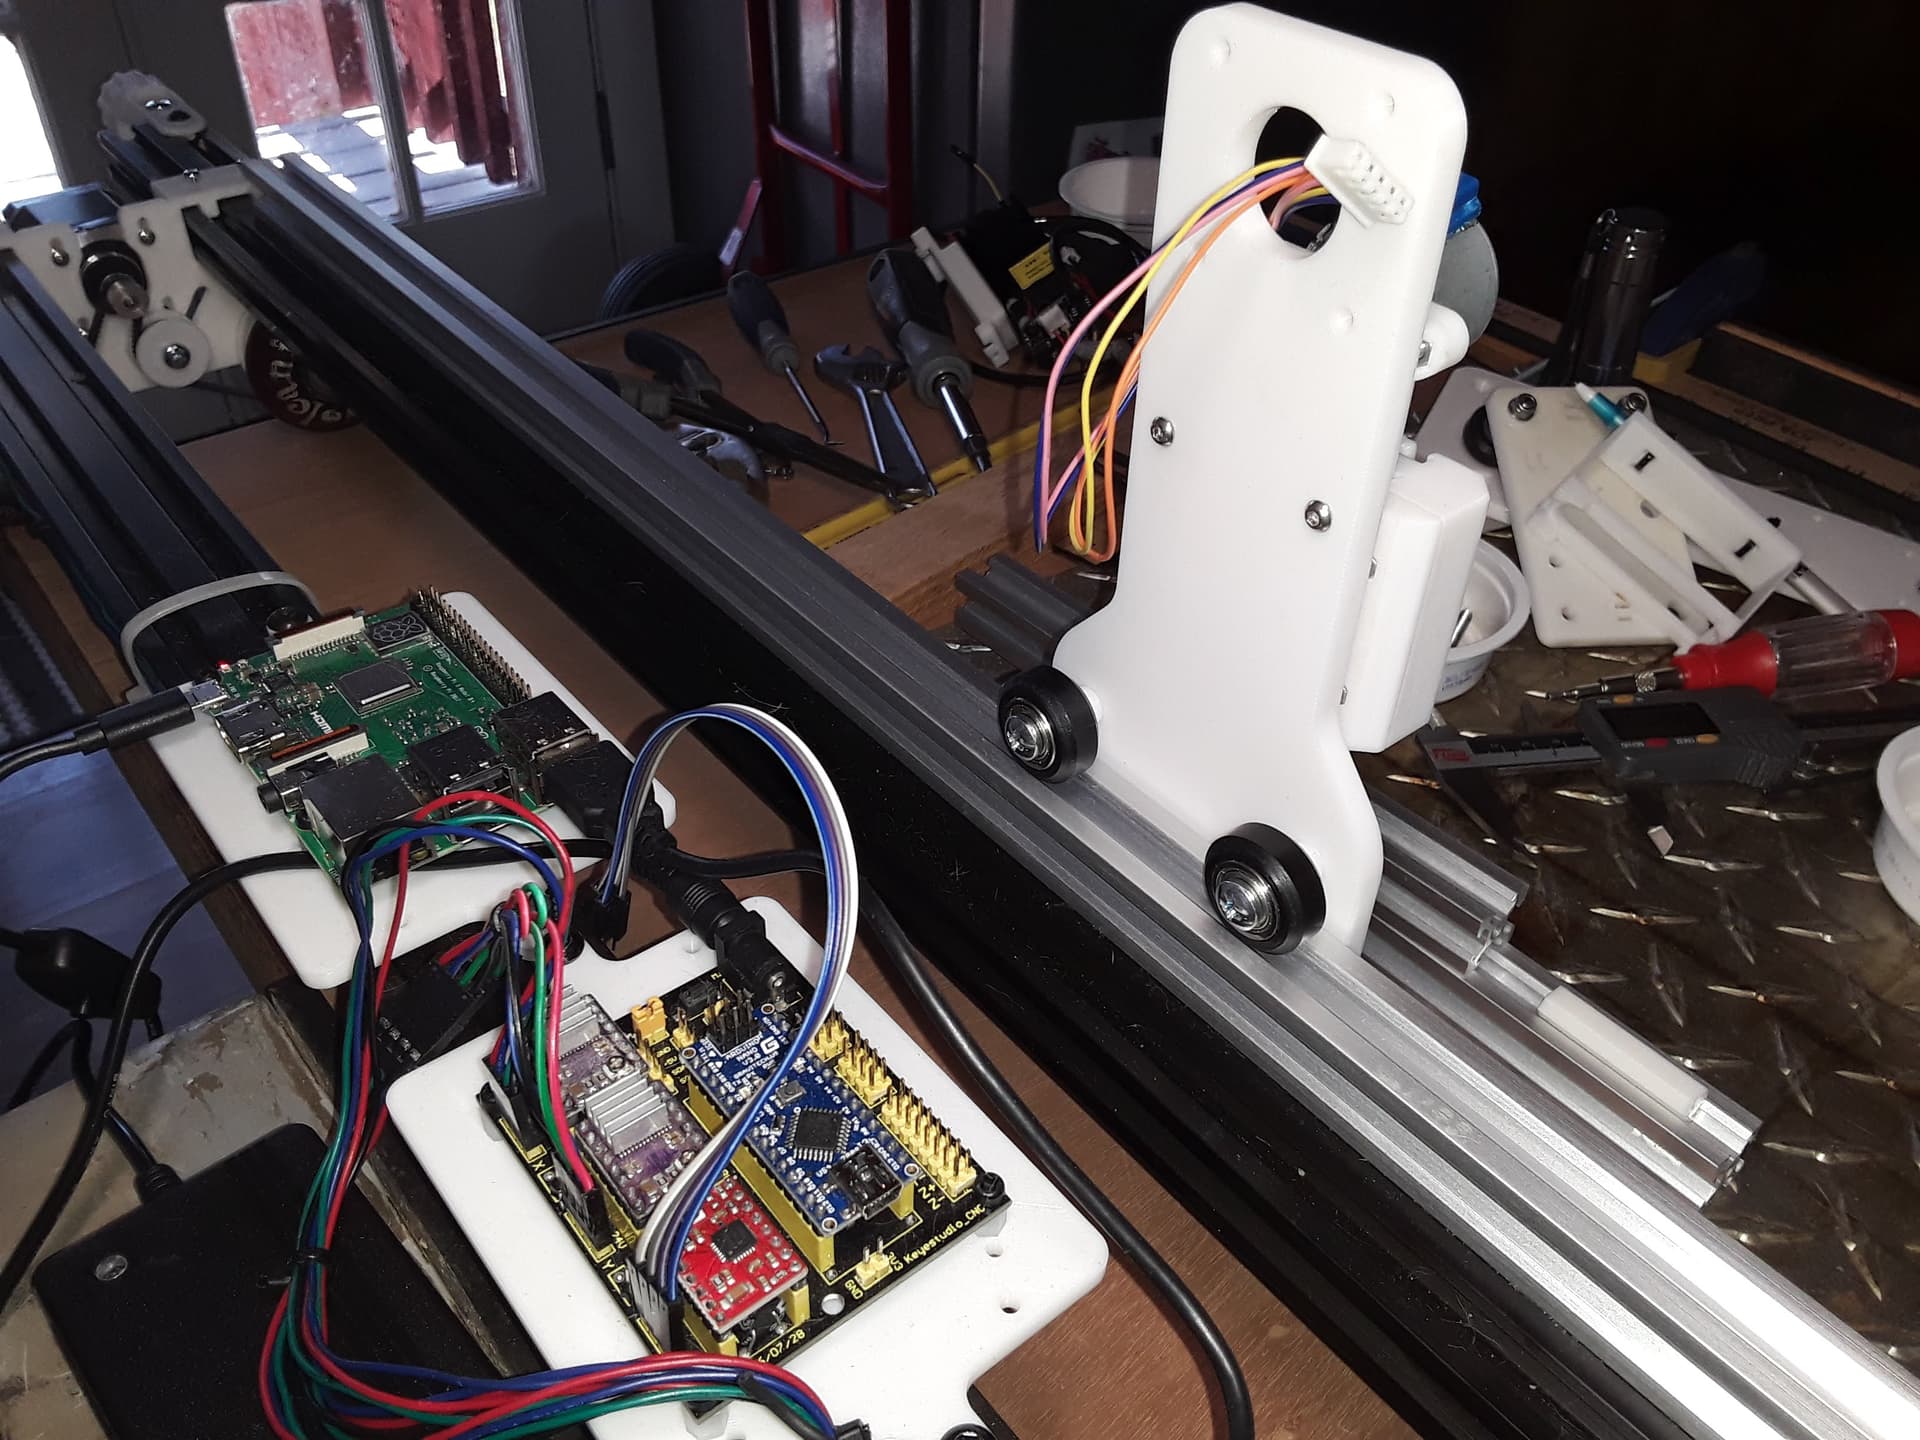
Back when we were doing the “rolling plotter” I needed 2040 in two dimensions… i.e. the silver 2020 in the following photo is joined to the horizontal black 2040 below it with IIRC three joiners and provides a vertical wider 2040 “track” for the carriage to run on…
The short test pieces on the worksurface shown below show one of the printed joiners already in place just prior to sliding the top piece of extrusion in place to form a 2040 segment…
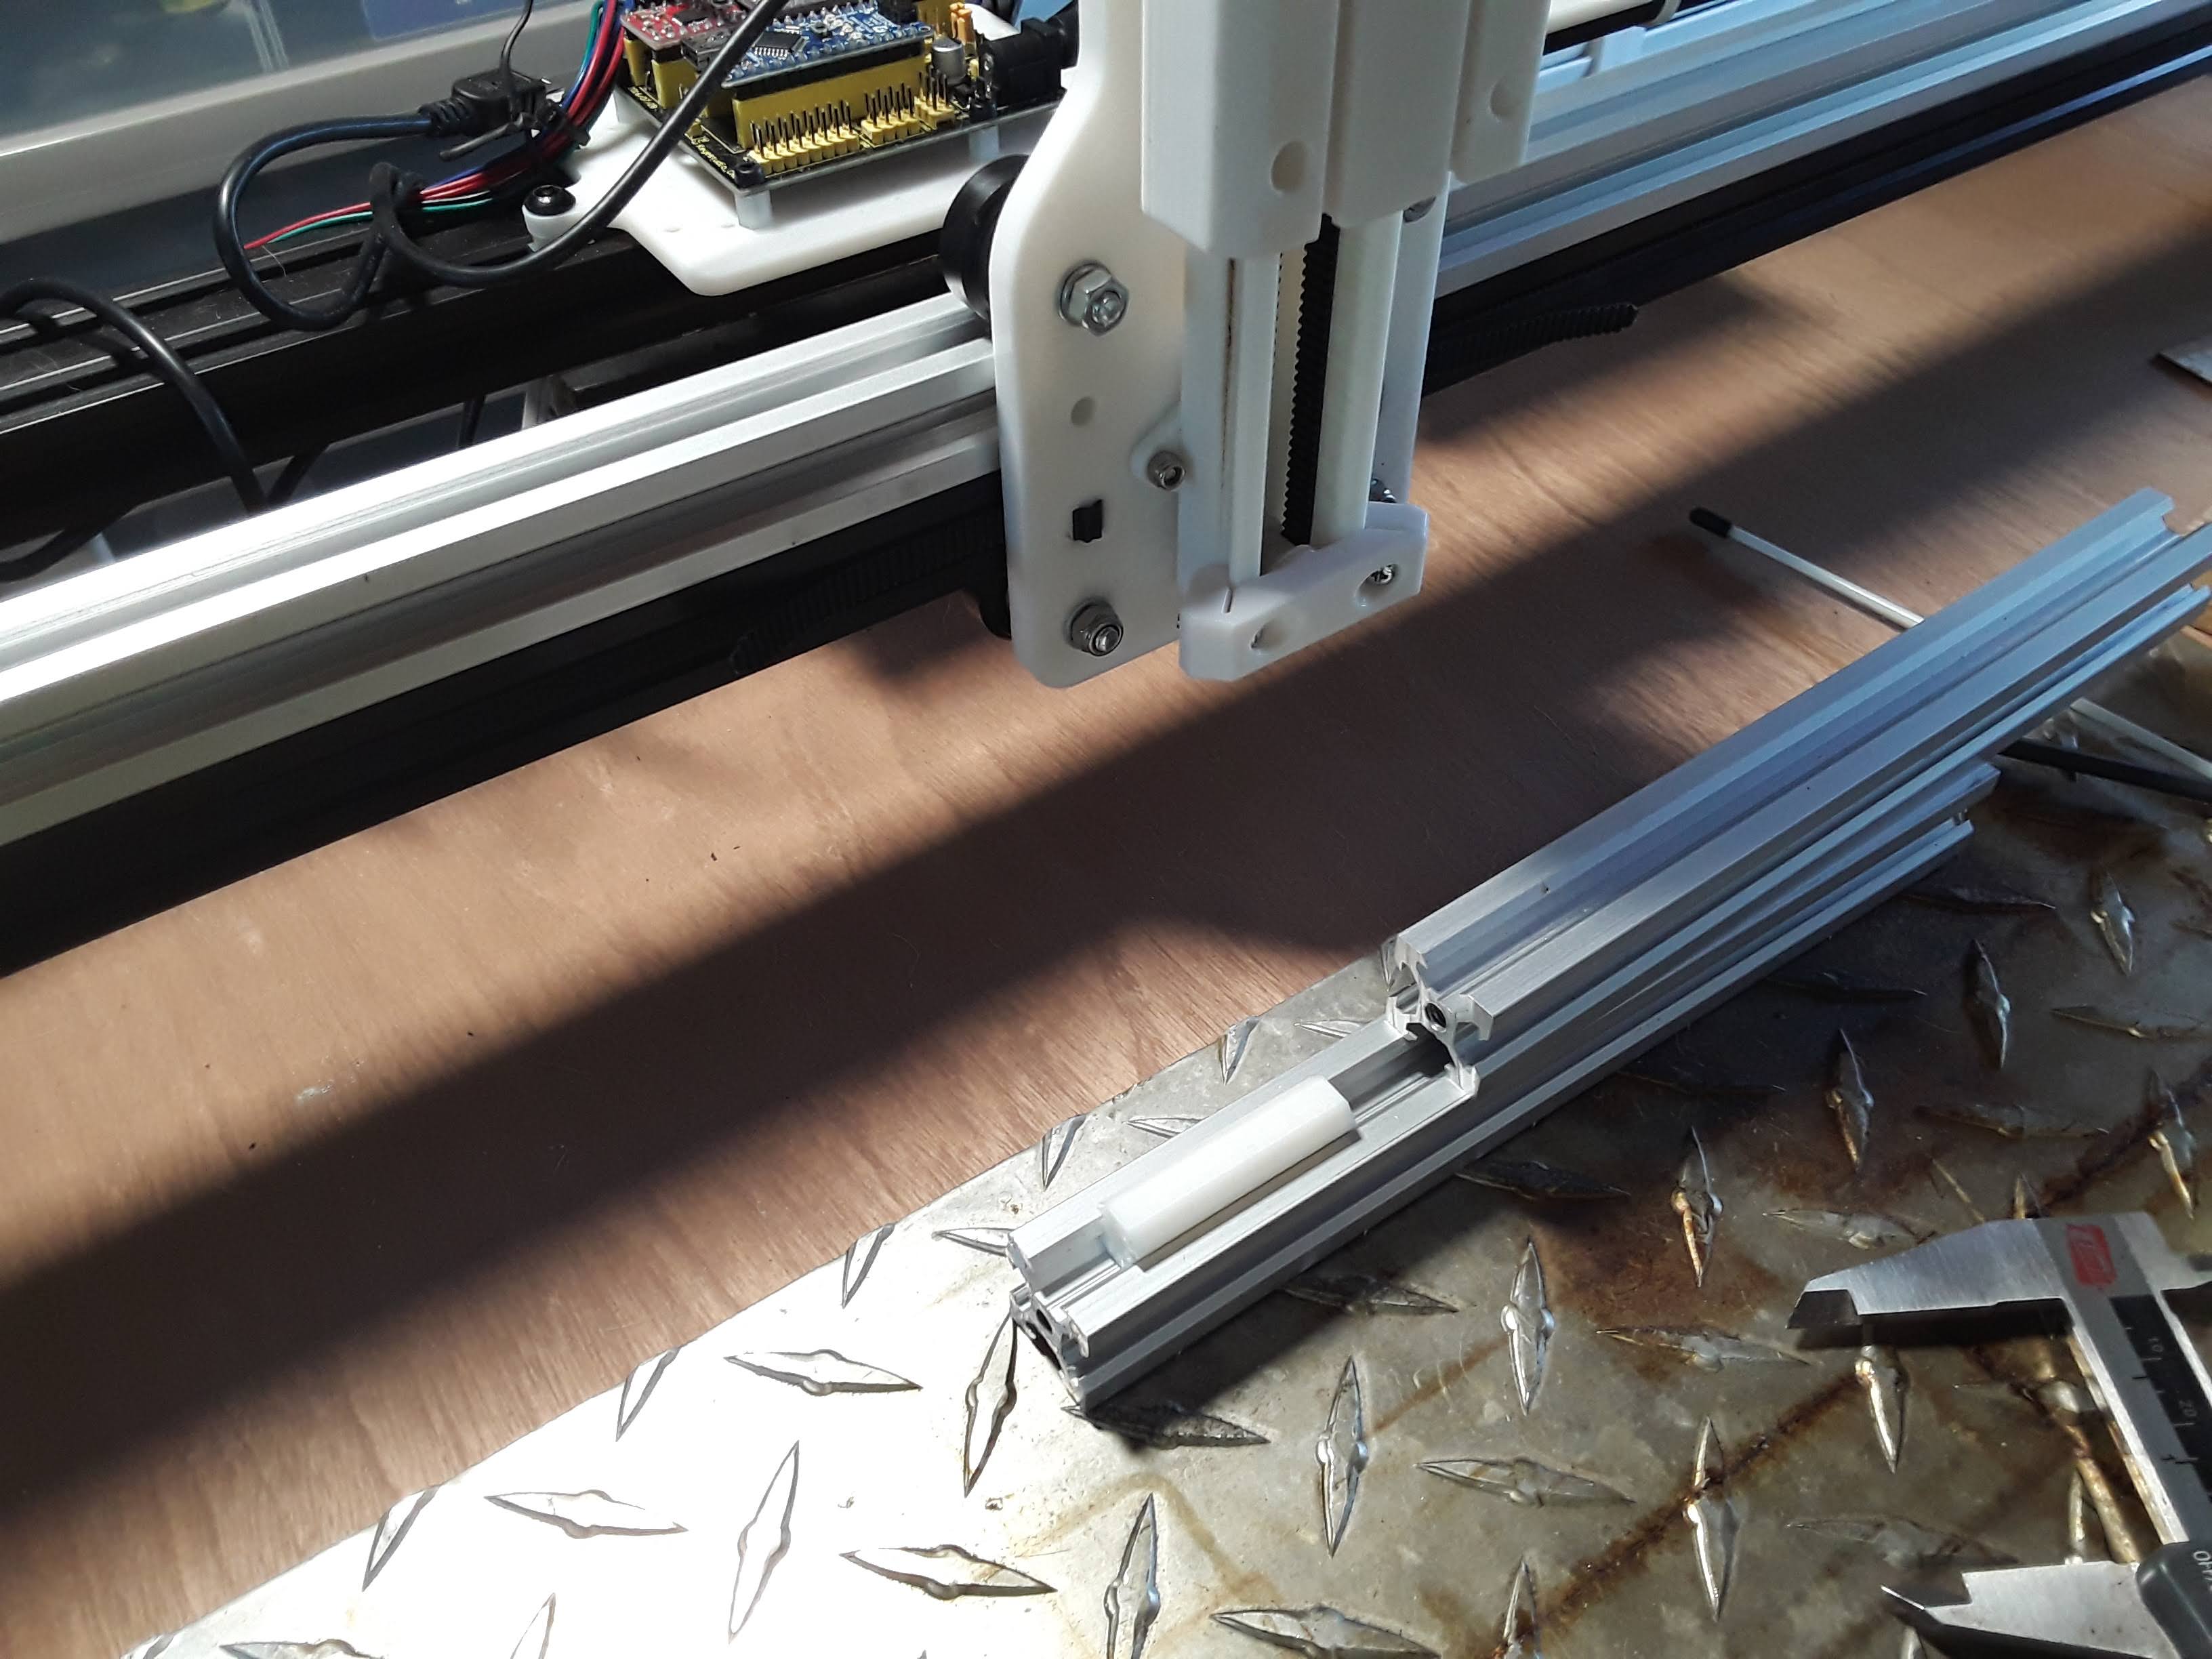
The lighting here is poor but you can see the white plastic joiner flush with the end of the silver 2020 that is secured to the black extrusion below it.
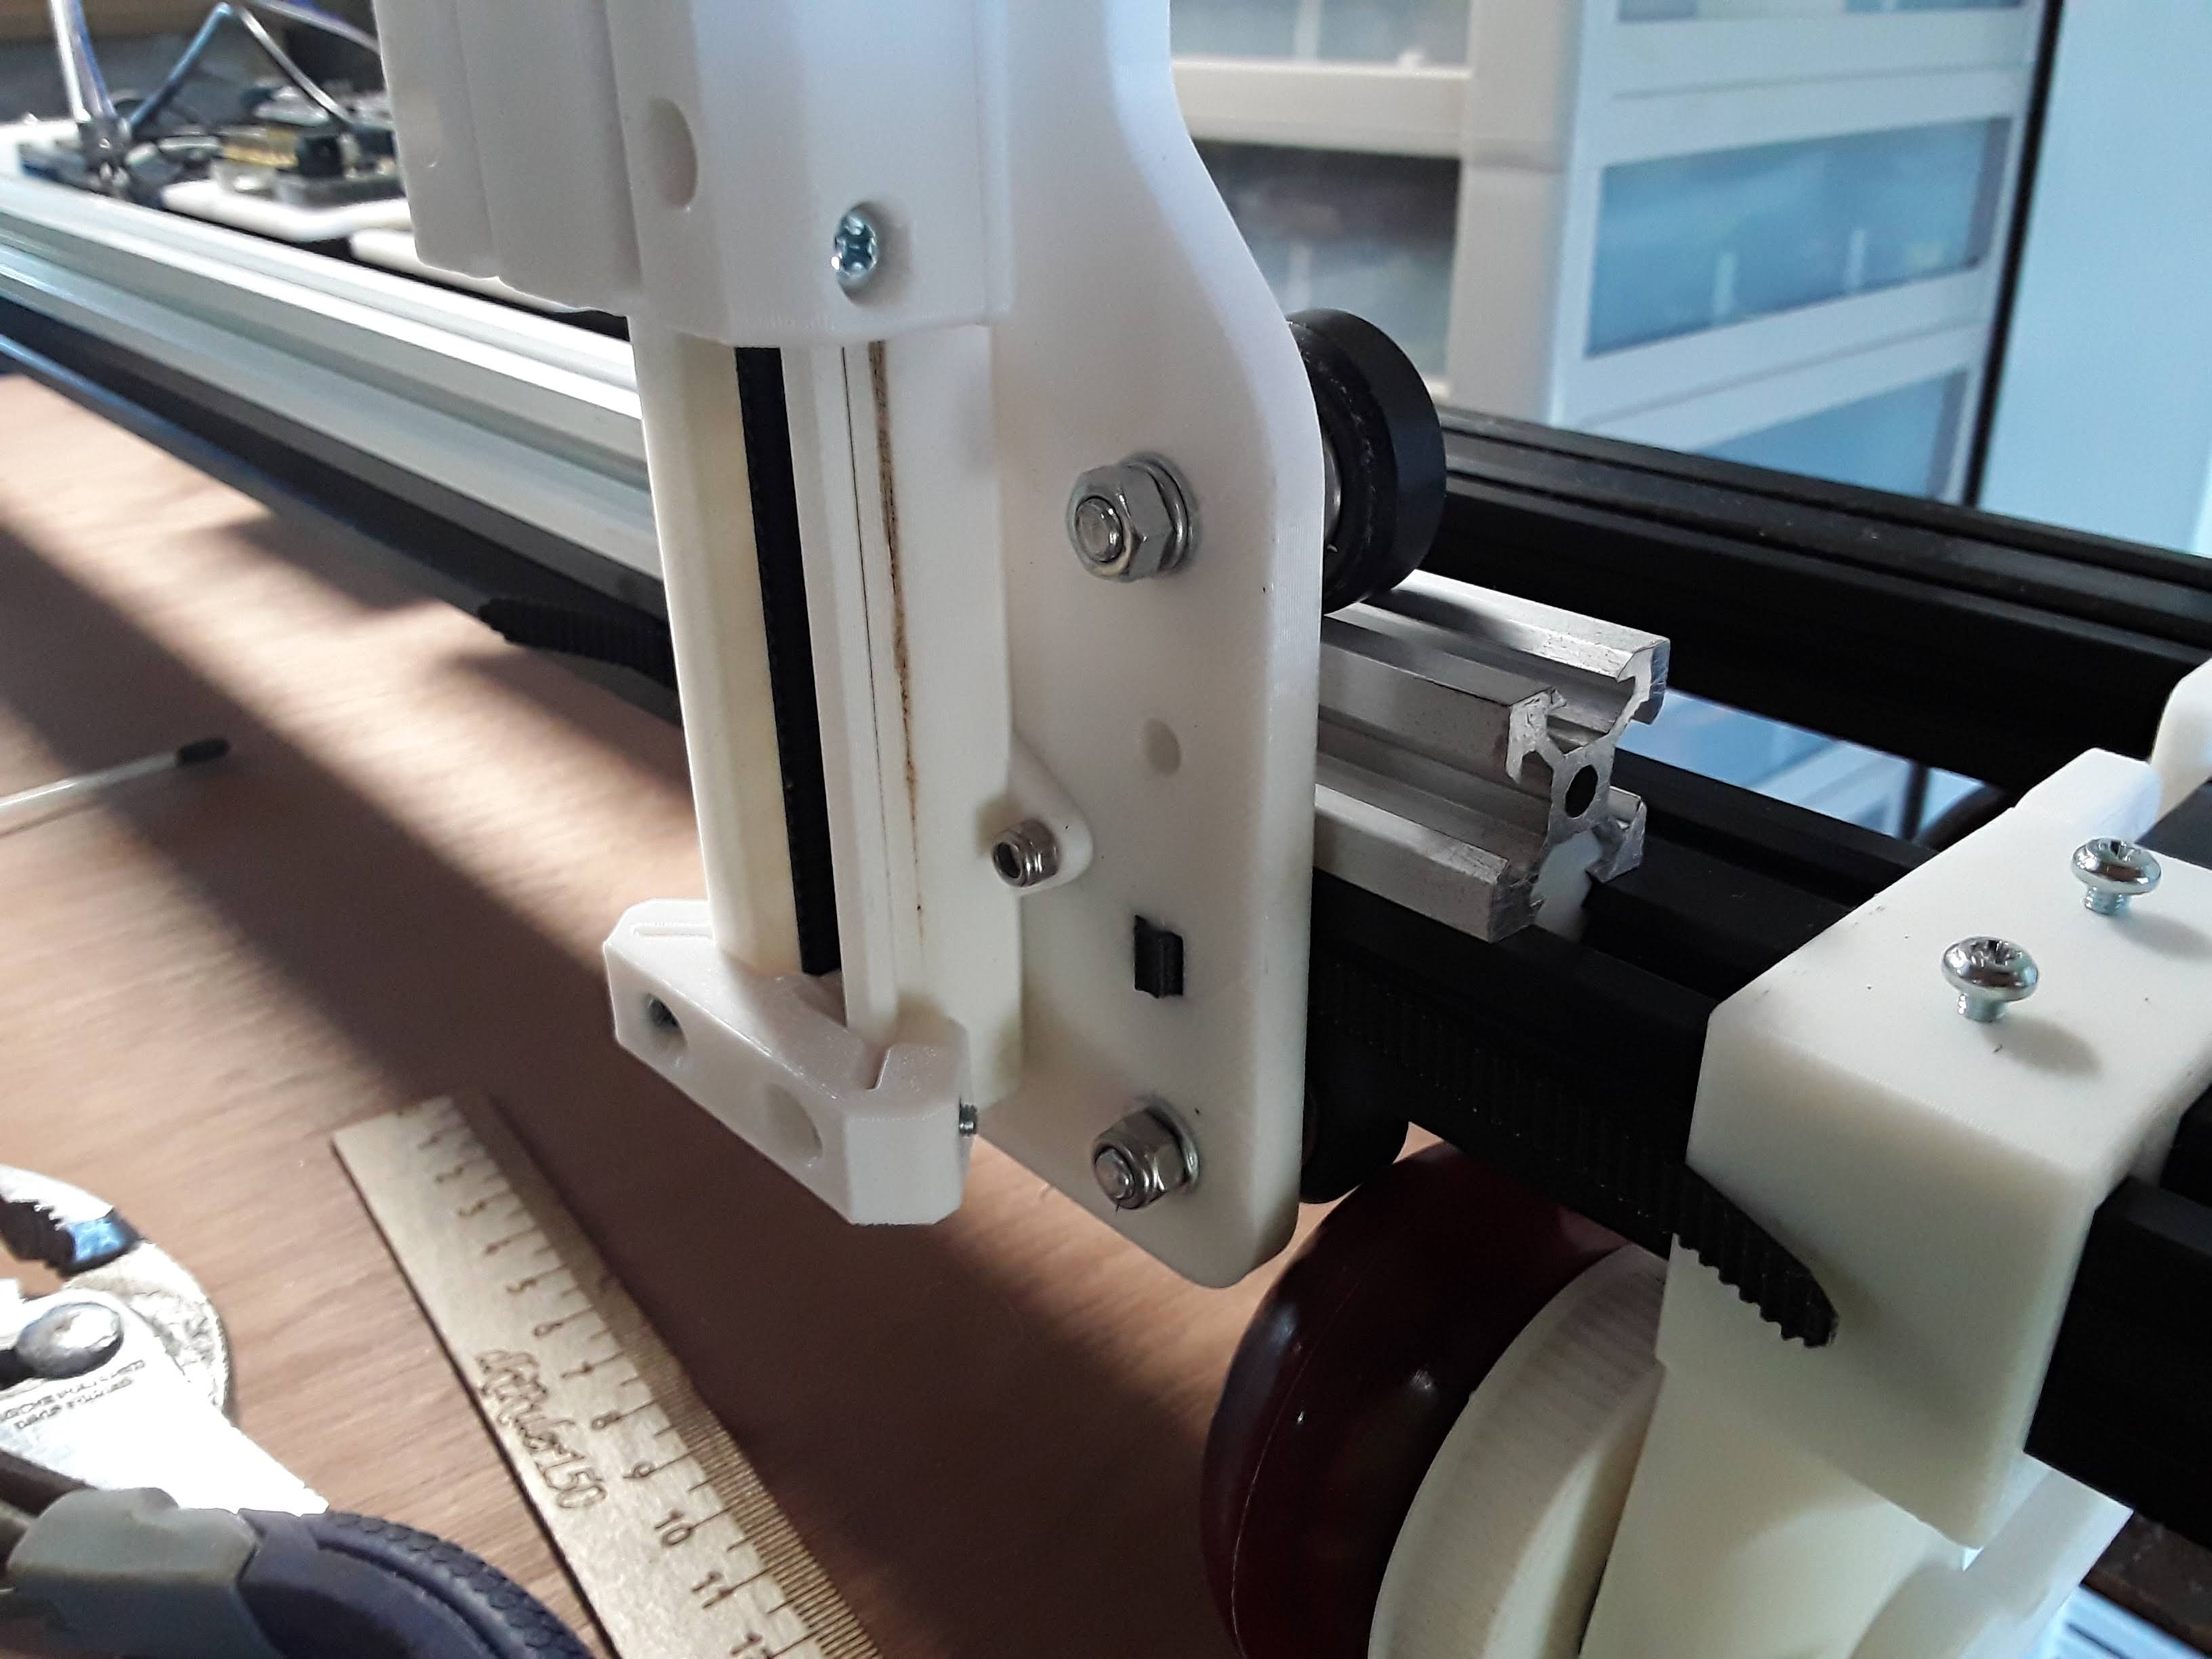
It worked like a champ and I used this particular machine harder and longer than most of my other creations…
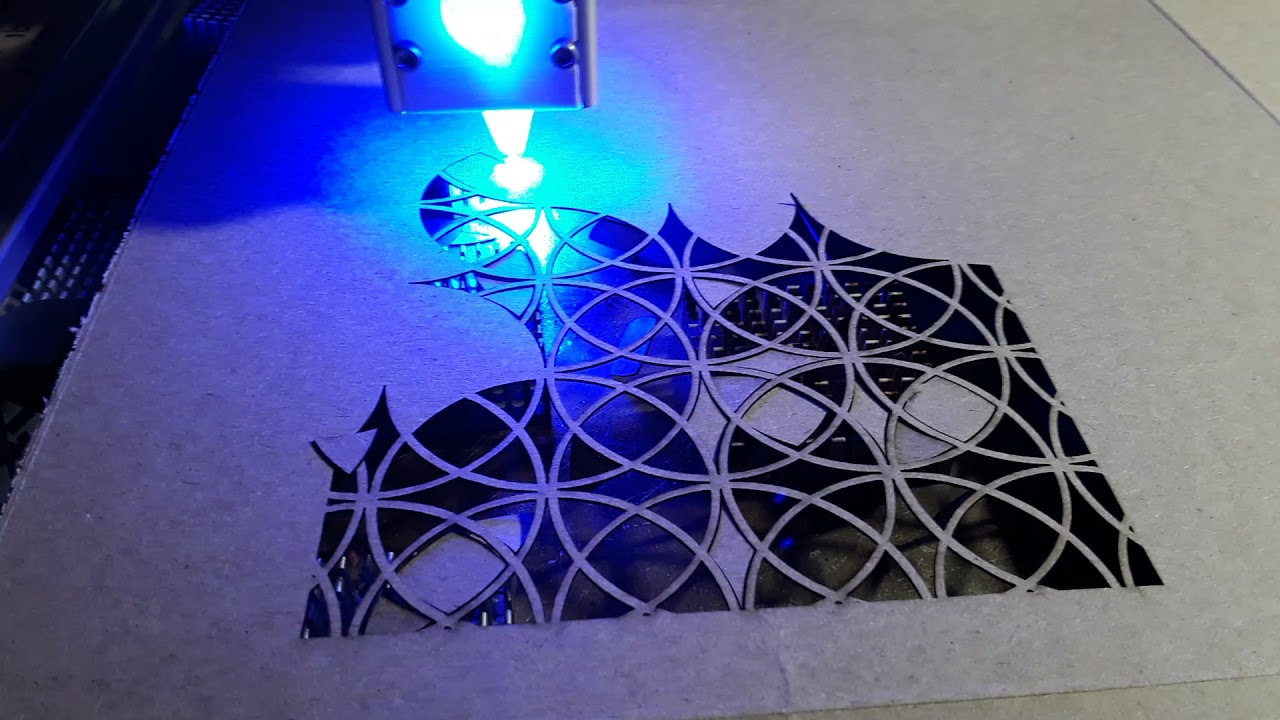
It was just a simple way to use some 2020 that I already had on hand rather than having to buy and wait on some more expensive extrusion to be delivered.
– David
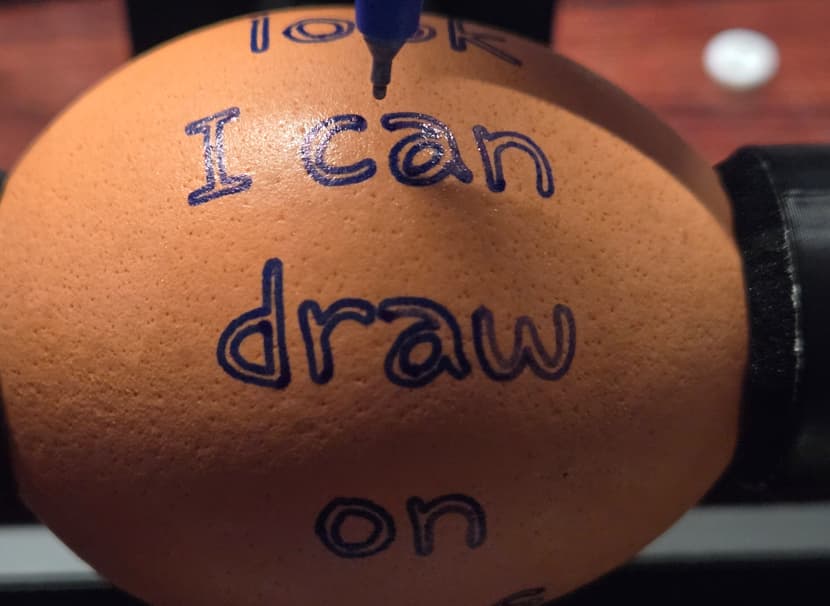
Drew something dumb on a real egg. I’m going to have way too much fun with this. We’ll see if my wife finds this as funny as I do.
You can skip to 2:05 to see the result.
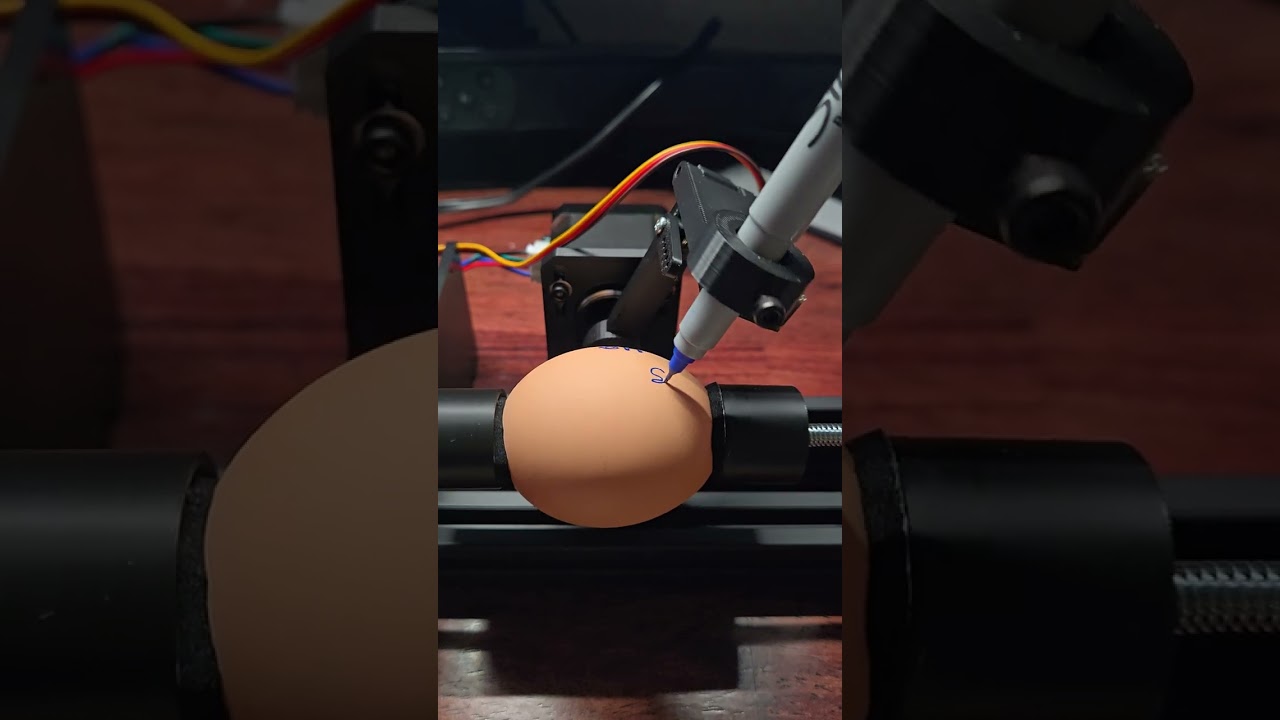
The text is a little wobbly. I might mess with the egg holder/coupler things to see if I can do better. Maybe reduce how far the pen lifts too. I also might add another bearing to keep the rod straight.
Edit: It looks like this is why. The piece that attaches to the stepper is a little loose. The part the pen attaches to also wobbles a little but not too bad. I’ll make a new piece. Still works well enough as is.
I made this in Inkscape quickly. Just added text and converted stroke to path. I couldn’t figure out the gcode tools in Inkscape, so I loaded the SVG into DrawingBotV3 Premium and converted it to gcode there. I had purchased that for my pen plotter. I’m sure there are free ways.
I did have to swap the wires on the egg rotation motor (Y for me, but I think most eggbots have this as X - my setup seems like a closer match to the Lowrider coordinates.
I have a fantastic EggBot using 2 steppers and a servo and I have an extra controller! If anyone wants I can set it up and test any ideas or configs. I haven’t used it in years since the kids were younger, but if I remember I used an Arduino and InkScape with some add in for eggbots to do the designs.
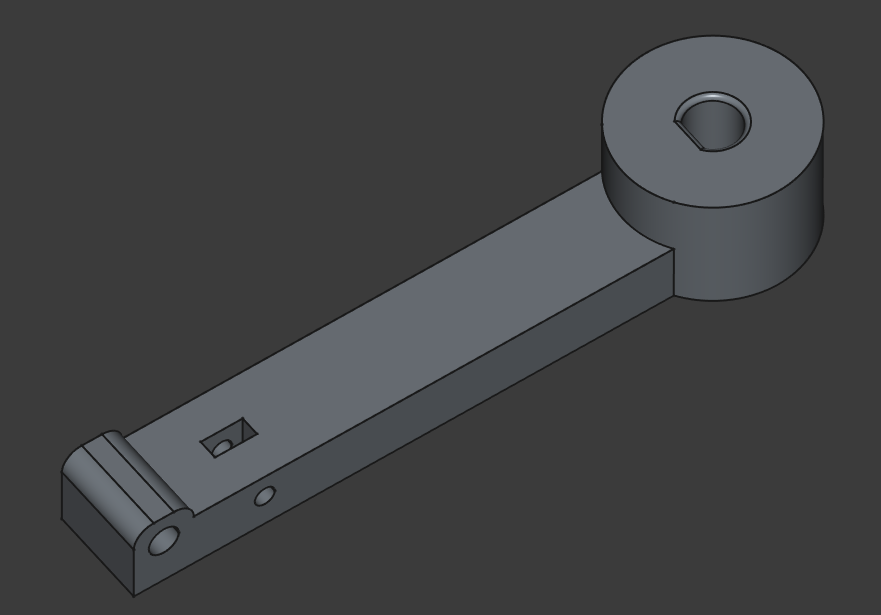
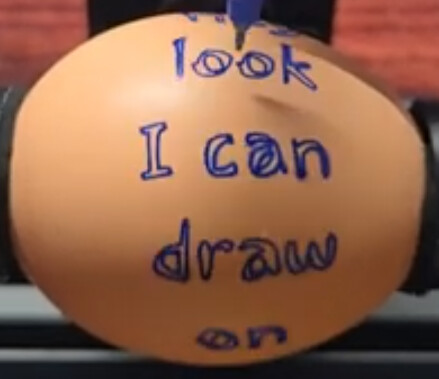
Recreated that one piece in CAD with a better fit. Also, moved the hole where the servo attaches since I had to drill a new hole in the old one. It could still use a couple minor tweaks, but there’s a significant improvement in quality.
Made another dumb egg for comparison.
This was the previous one pulled from the video:
This is looking great. I have been eyeing Bart’s Pen/Laser FluidNC controller for a long time. I would love to put together a ZenXY Table, but the Eggbot was an easier sell with my wife. I pulled the trigger, but had to get it through Elecrow. It’s over the ocean somewhere right now so we will see how much extra I have to spend to get it the rest of the way.
Hopefully, I can get it put together before Easter so we can have some fun with it. I’ll keep watching the progress and gleaning from all of the groups wisdom!
Every time I mess with this, I change something, learn something, and it gets better. I’ve tweaked and reprinted a few parts. Adding a pen collar and a tighter fit on the bearing helped a lot.
I’ve got a little bit of Y (egg spinning) inaccuracy that I’ll try and tweak but I can work around that and it mostly matters for patterns that wrap. But it looks great. I’ve also got a bit of room to draw wider which for most designs is fine but it will warp it a bit more.
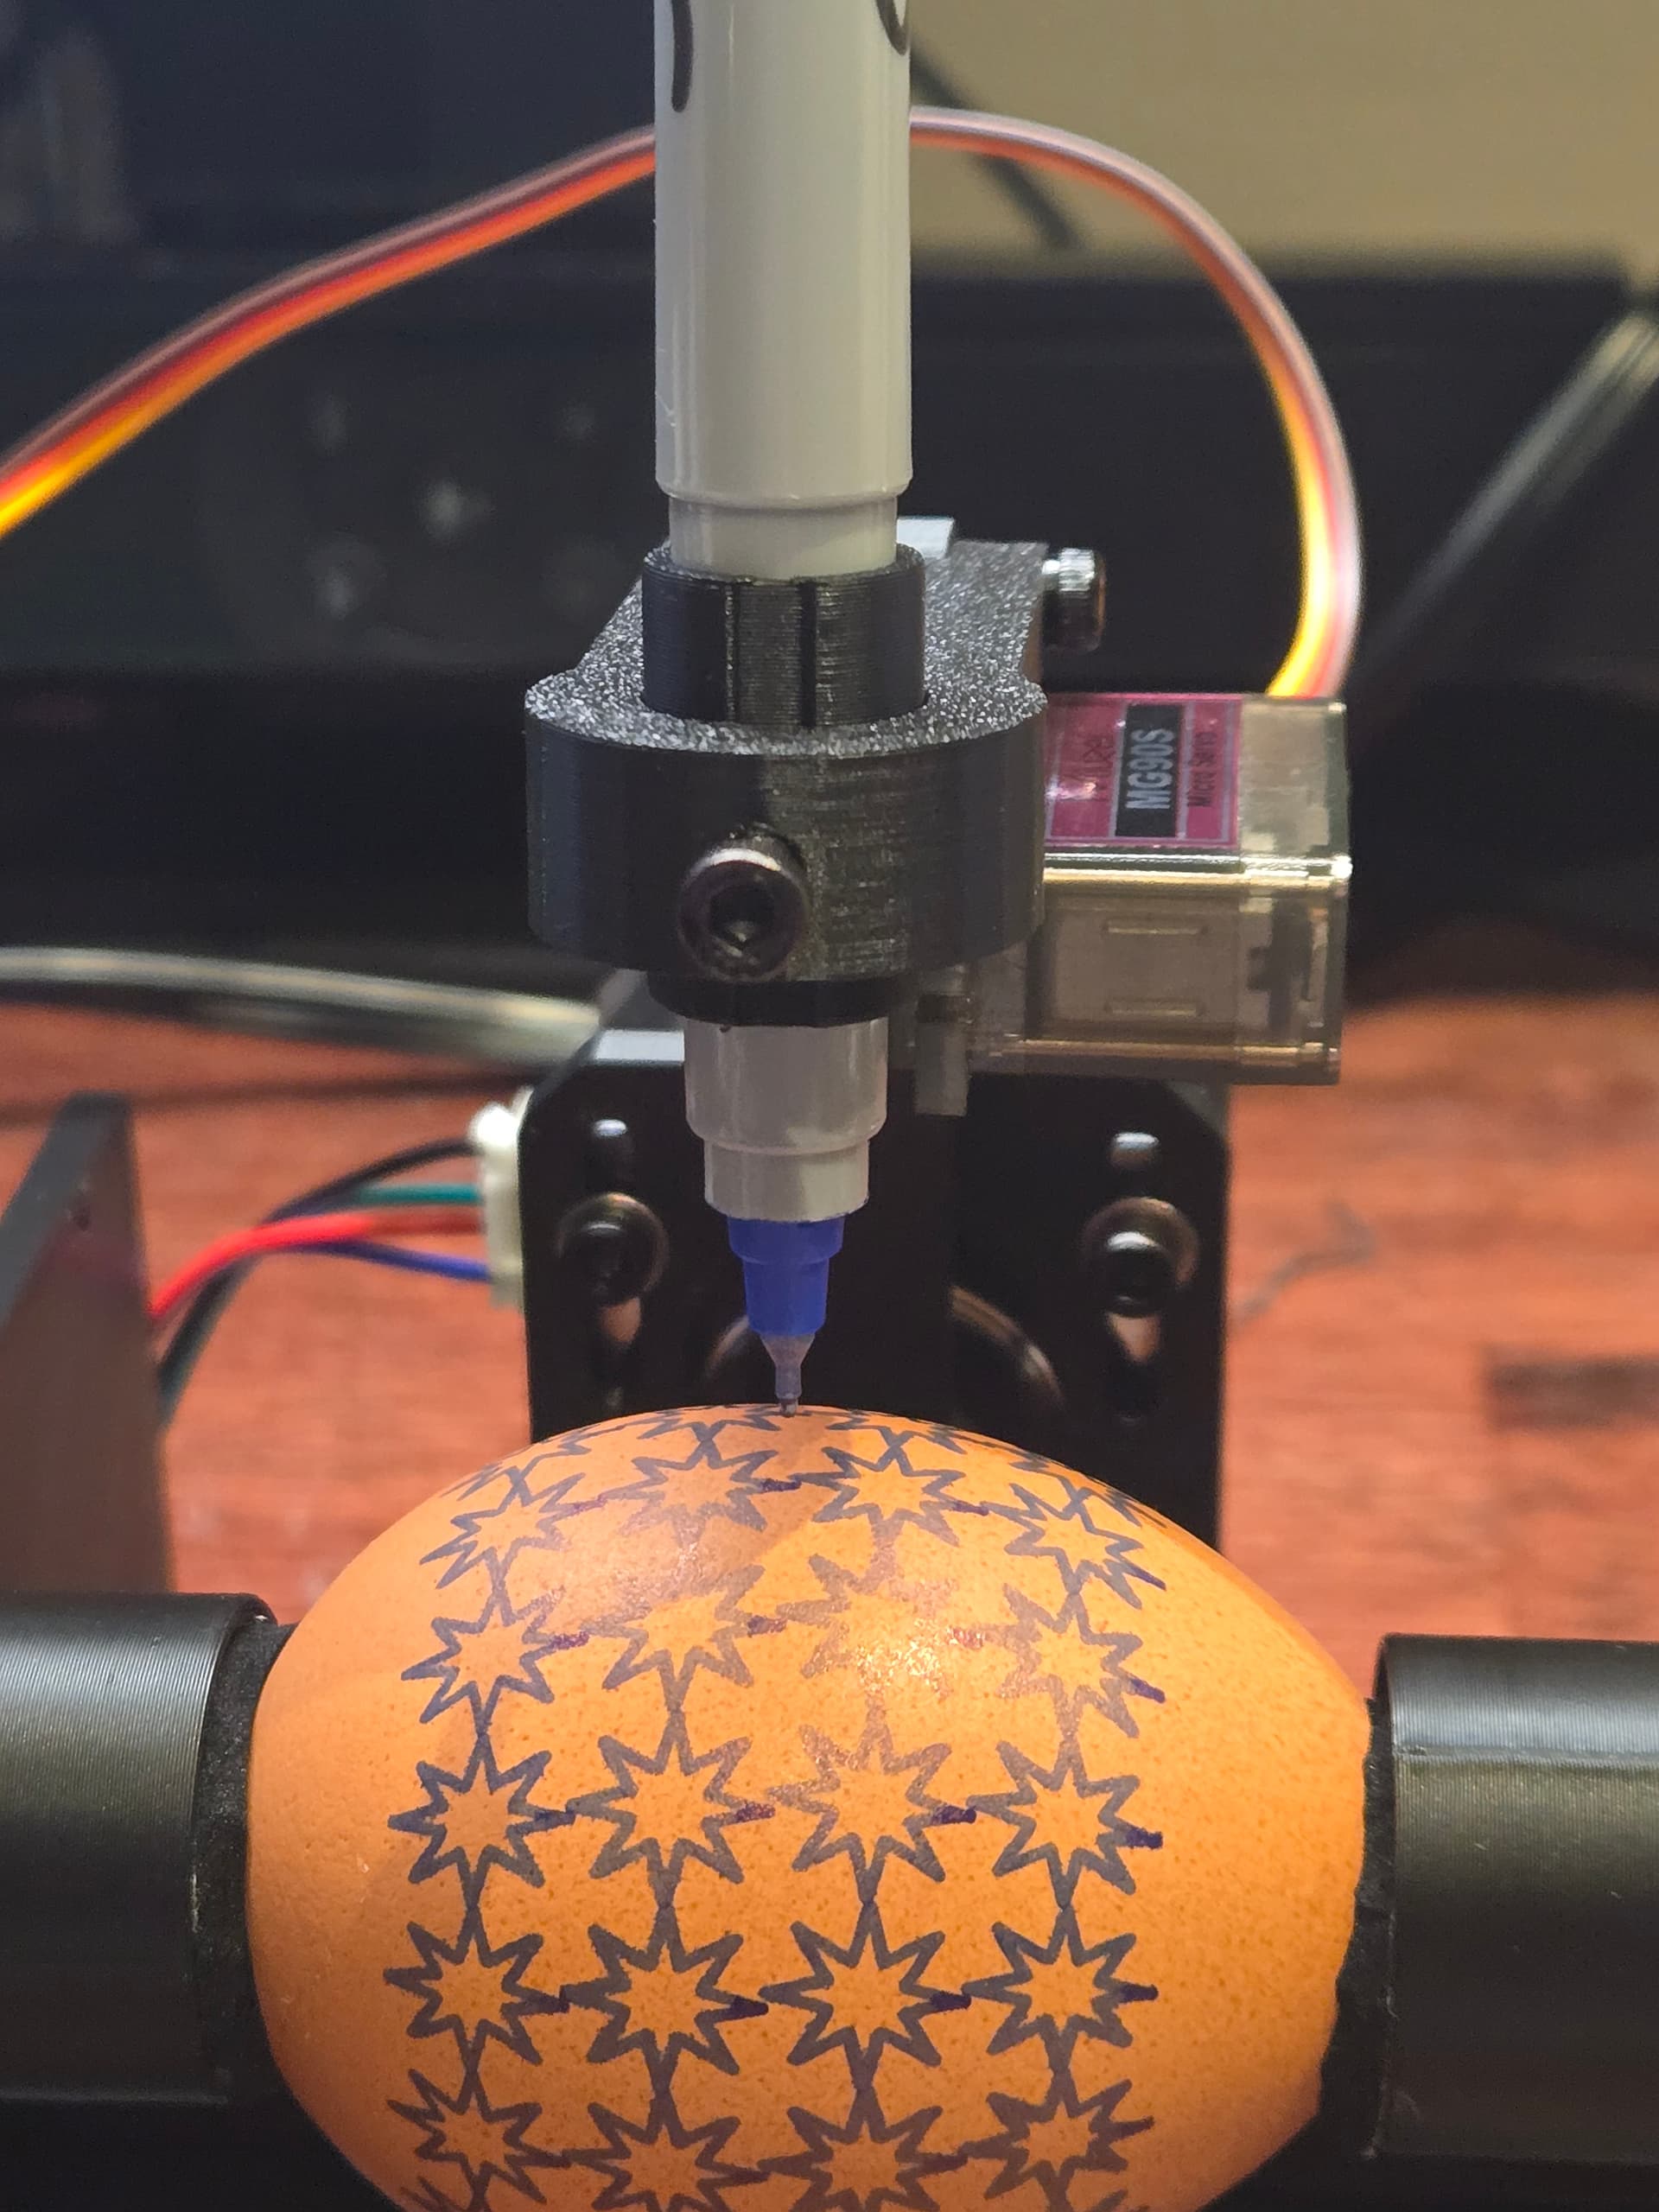
That pattern I did with p5js. I’ll change it to do rows then columns and it will line up better.
I also drew some tiny text making an SVG in Inkscape. The accuracy was amazing but the pen tip was too large to make it clearly readable.
Even though it’s not really made for it, I also tried out Sandify and manually edited the gcode to handle pen lifts and swaps. I had to go back and remove some travel moves. It would be nice if it could put comments in between layers to make manual gcode edits easier.

I should try this again since I’ve made some improvements since then.
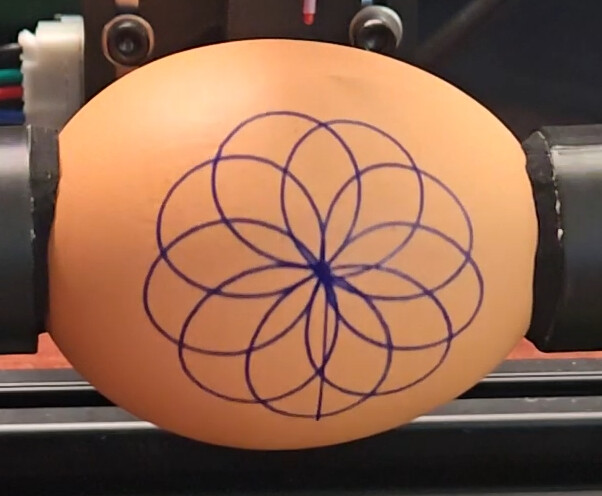
I’ve also found that sometimes condensation on the egg is an issue.
That’s awesome!
Between layer gcodes has been requested before. I should get on that. It won’t be this week though. Taxes and then some other logistics happening this week.
And your point is? 