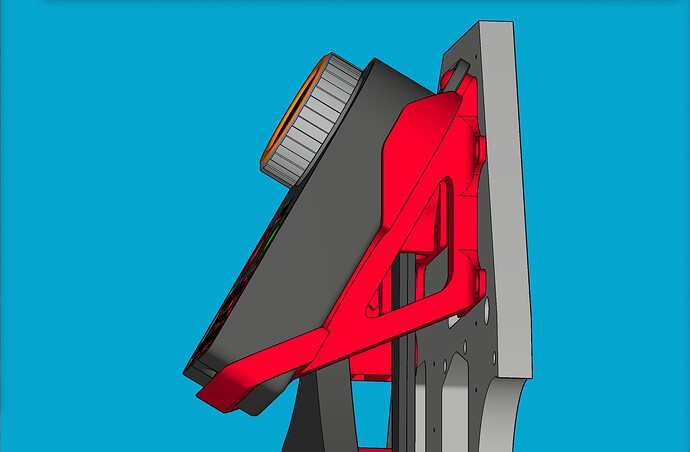
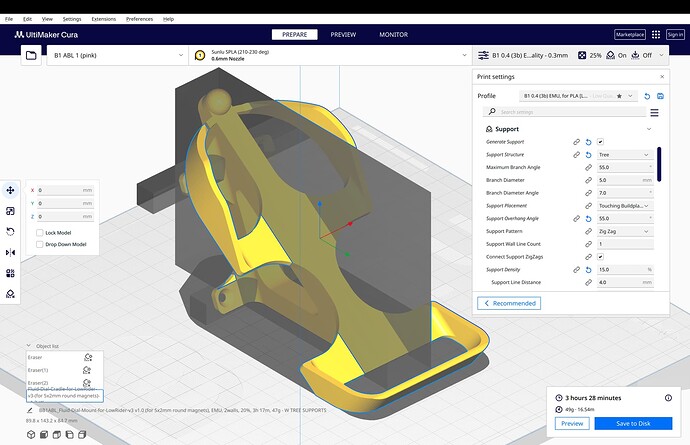
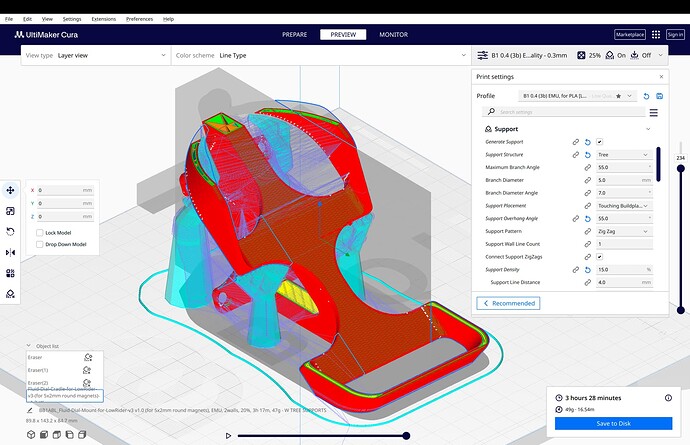
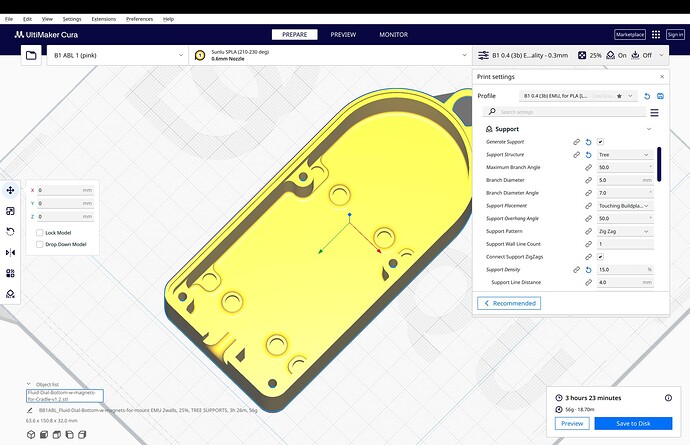
I can try to do that later today
I am reading that differently. Looking at the discord they still seem to be in extremely active development and might actually have bigger PR’s they are dealing with right now. The latest I just read when someone was asking to try it out was “I suggest you wait until it is done. The wiki will then be ready to tell you exactly what to do.”
I am not sure what they are going to be working on but I see a few major projects that just started. Adding a bunch of new users and questions might be a bit of a bummer.
If a new user does want to try it out it is probably best to keep your questions here in the forums and not on the discord until it is in stable release.
Got it.
I’m in no rush. I just found an old phone that’s going to live next to the lr3 as its controller. Hopefully I can disable screen timeouts and lock screens on it which is my biggest niggle with using my own phone.
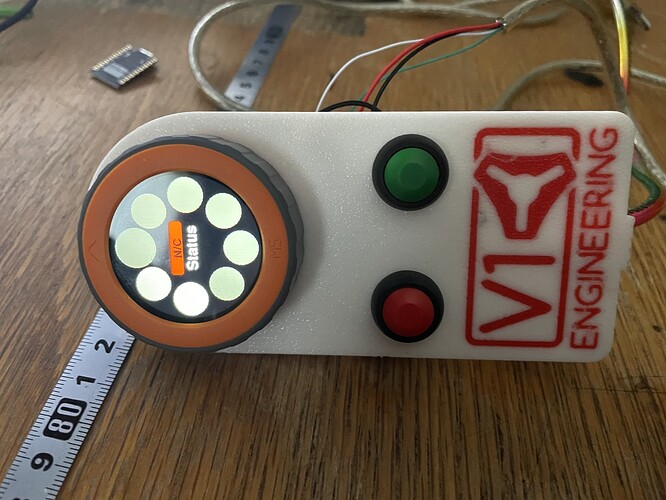
I’ve become convinced I have a wiring flaw/intermittent short in my pendant. Planning to redo the wiring today.
Nice… ![]()
Yeah. I think it will be more stable at RMRRF…
NOTE: As of today, Jan 22, 2024, new versions (v1.2) of both the cradle and case bottom, have been published on the Printables listings, which were modified to have the magnets glued in from the reverse sides, so a magnet’s grip from one side can’t pull out the corresponding magnet from the other side. Both magnets will pull each other “into” their sockets instead of “out of” their sockets. (They pull through thin layers of printed plastic.) The magnetic grip is slightly lessoned, but adequate, providing the magnets are firmly seated into the sockets. Below is a link to the new version:
https://www.printables.com/model/733285-cradle-for-fluidnc-dial-pendant-on-yz-plate-of-low
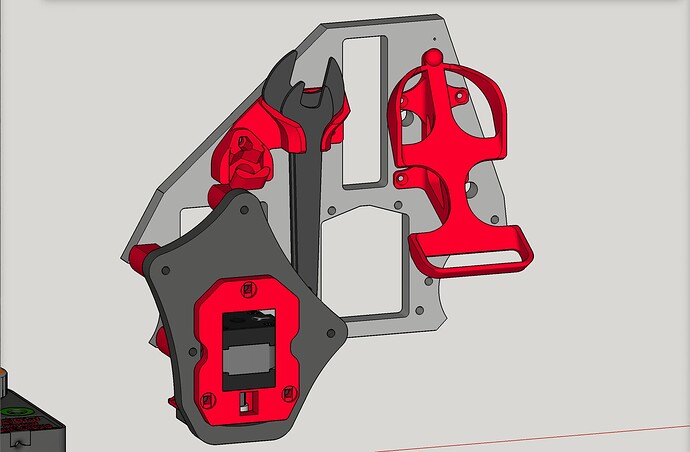
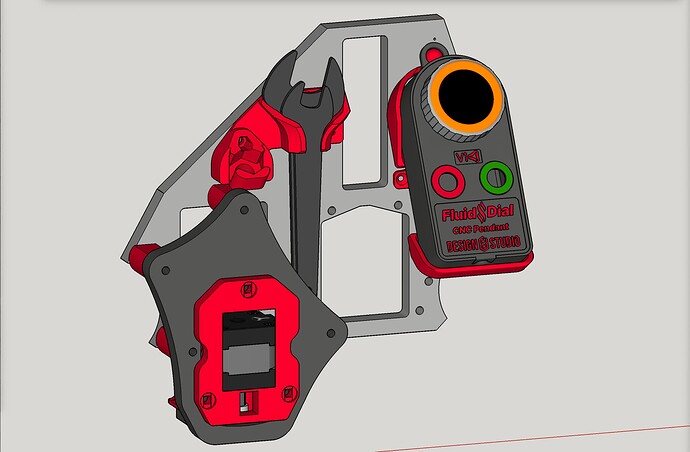
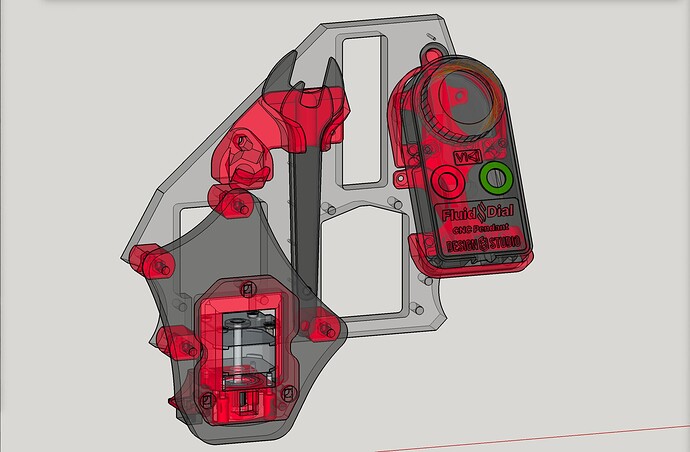
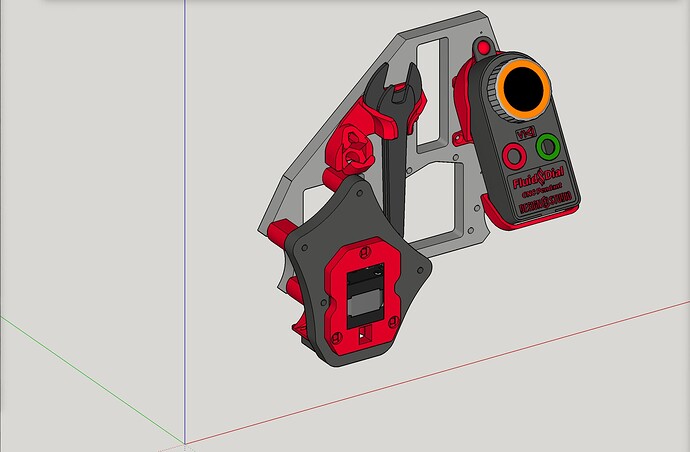
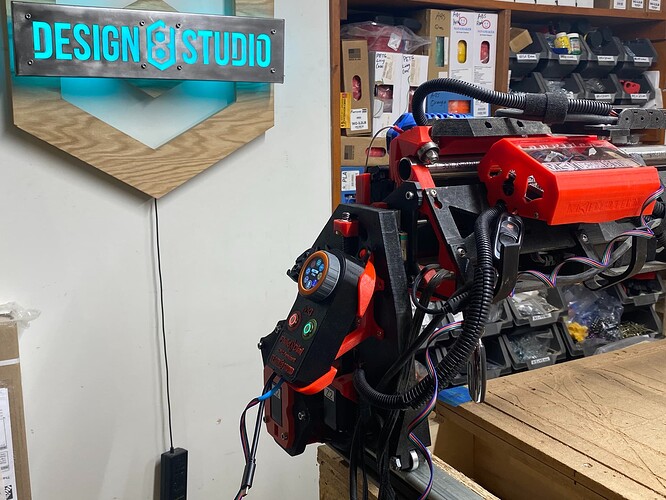
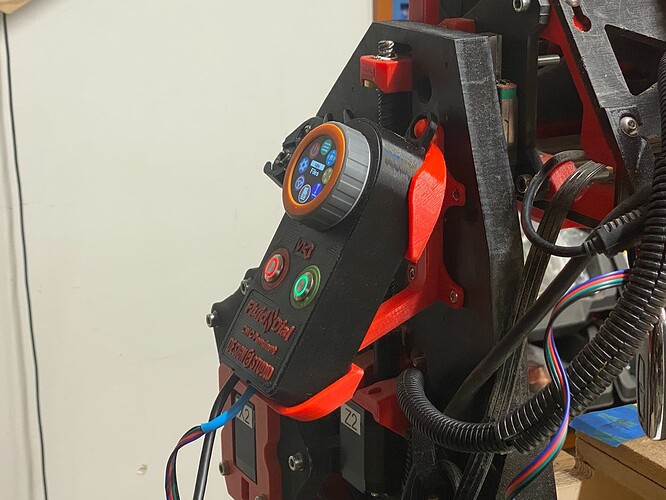
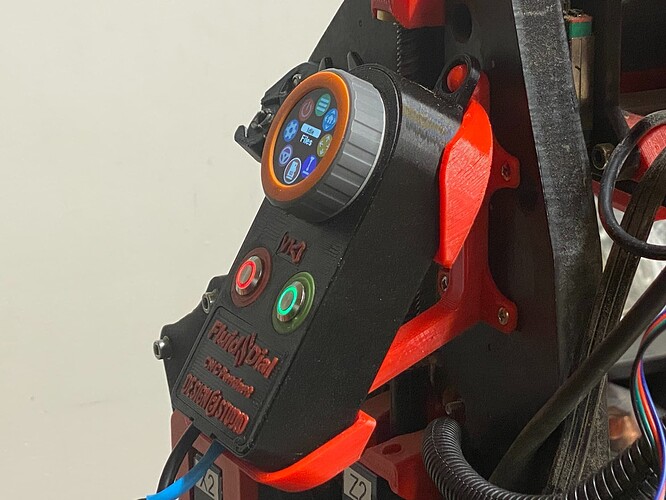
Installation placement:
Good news: my “N/C” (not connected) issue was indeed a wiring fault, not a firmware issue. I opened up the pendant, looked the wires over, saw one solder connection that looked like it might just be a weak point, re-soldered it, and it’s been going great ever since. I’ve used it to run nearly a dozen cut jobs flawlessly.
Regarding my recently shared Printables link to a v1.2 with the magnets being glued in from the reverse sides, please see this new update added to the Change log:
January 22, 2024 (3:50 PM) — revised v1.2 has been uploaded, to fix that the thin layer below the magnets, was not thin, or at least not thin enough. So sorry to the one person who downloaded between this morning and now. Please re-download if you see this, and especially if you have not printed it yet.
Also note these newly added…
INSTALLATION DO’s and DON’Ts:
- For the inside of the case bottom, the magnet sockets near the side wall are the hardest to get to, so do them first, to reduce having an existing nearby magnet fighting you by pulling on the magnet you’re trying to install.
- Although my normal process has been to drop CA glue into the socket and then press a magnet on top of it, for reasons of difficulty of access inside of the case bottom, I switched to pressing the magnet into the dry socket first, and then slathering CA glue on top and all around, and then drop a second magnet onto that first one, to hopefully increase magnetic hold power, and then a bit more CA glue, and then spray accelerant on top all that.
- I eventually found that the perfect tool for pressing the magnets into their sockets (especially on the inside of the case bottom, but probably for the cradle too), was an M5 screw. I would carefully remove one magnet from the stack, and while keeping it’s magnetic orientation correct, position it on the tip of the M5 screw, and use the M5 screw to press it into the socket. Snug fit means the magnet stays put while withdrawing the screw. The is done while the socket is dry, and then a slathering of CA glue is applied over the top and all around, and then accelerant sprayed on.
Slightly off topic, but only slightly - came across this, would be a cool alt to the m5dial maybe
OK so as of yesterday, a little before 6pm Eastern US time, the Fluid Dial firmware dev branch “ReactiveJSON” was renamed to “Main” and I just built from it, and it’s fabulous.
Currently you still need to build your FluidNC firmware from the branch “MSG_JSON”, but they are working to get that branch merged into “Main” on the FluidNC repo. For now, still build from here:
OK, so just now, the FluidNC firmware was updated to 3.7.13 (up from .12) which included merging in the MSG_JSON code needed for the Fluid Dial. So, this means the Fluid Dial firmware update has been “released” and one should be able to build for it from both the Main branch of FluidNC and the Main branch of FluidDial.
That branch really needs to be put through some tests, since they renamed and then merged a branch into main. Please careful on updating, and it is in your best interest to do a test cut first. Consider that a beta test initially.
I built from the new FluidNC Main, and ran homing and cut job from FluidDial, and ran homing and cut job from WebUI. No problems so far. On WebUI I ran jobs from both the main screen and the tablet screen.
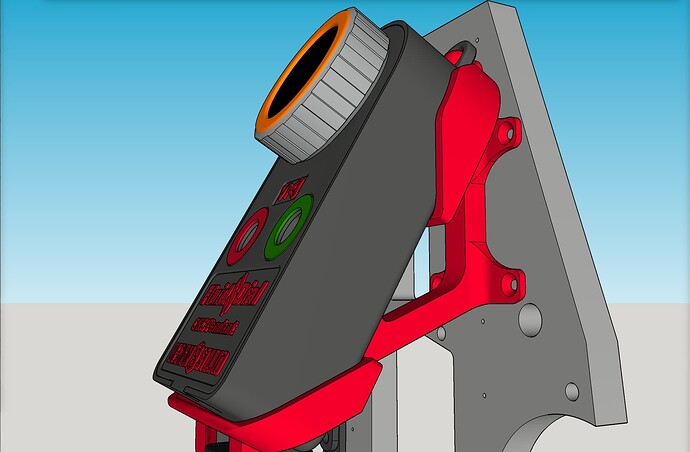
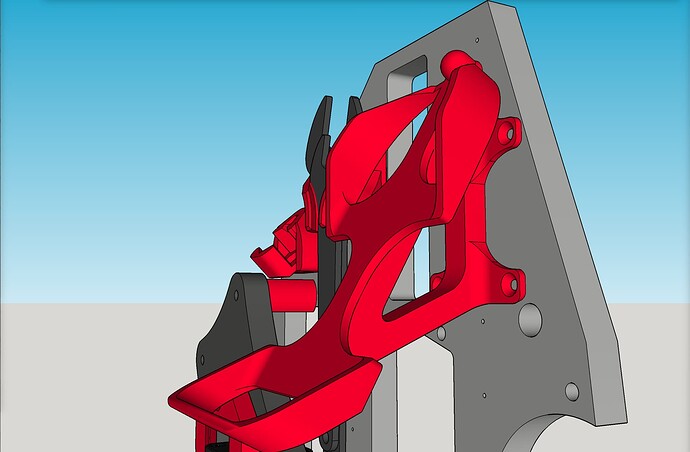
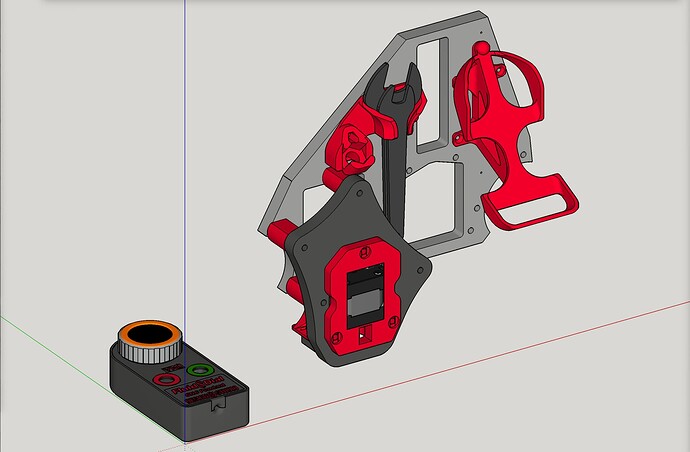
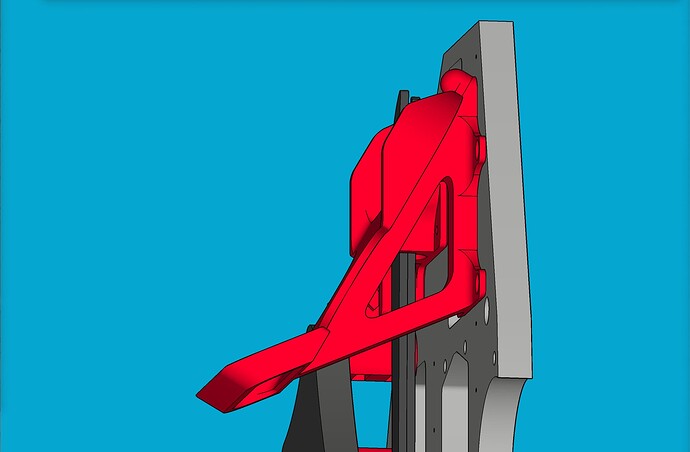
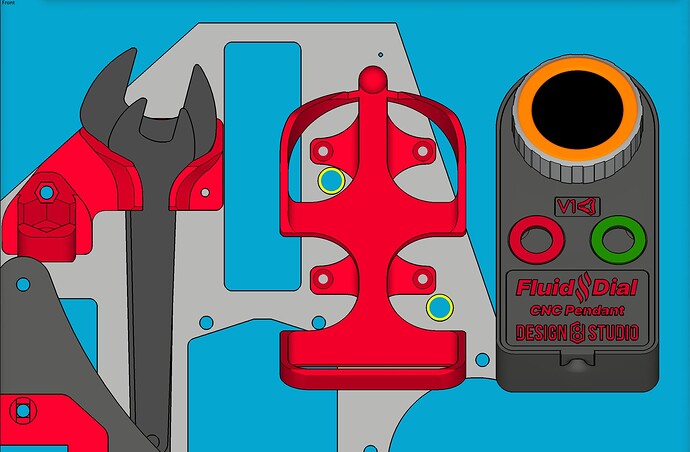
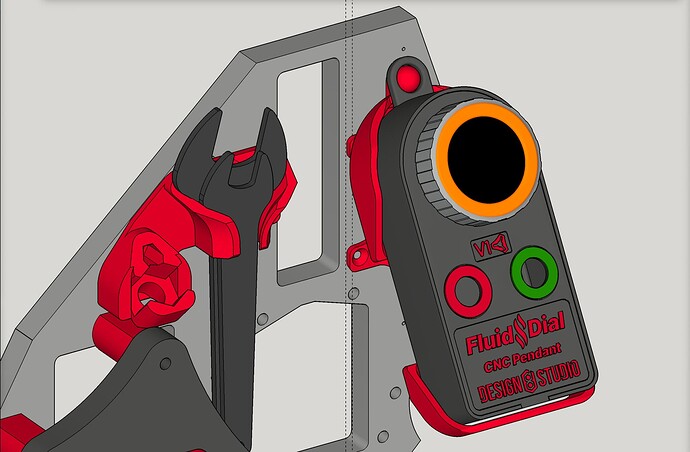
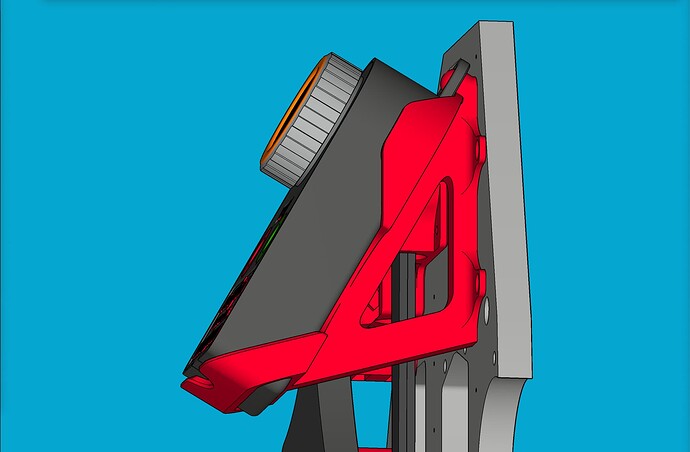
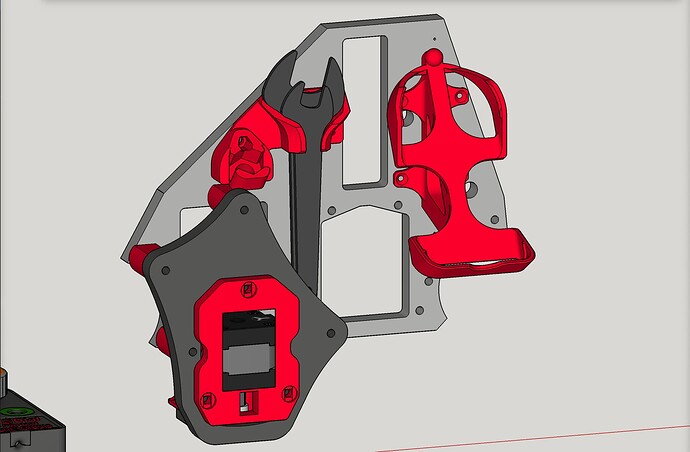
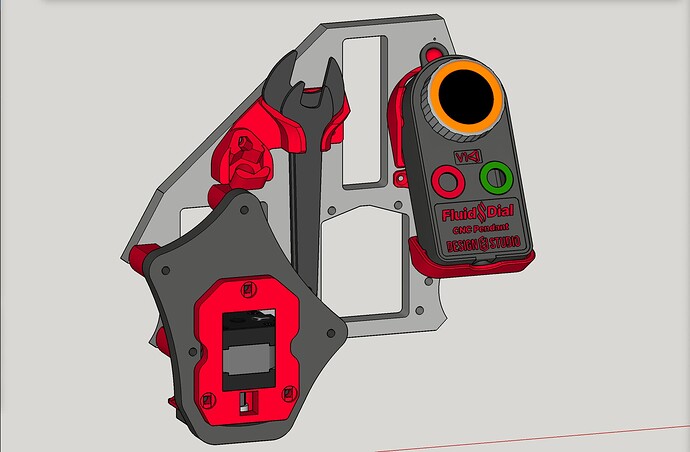
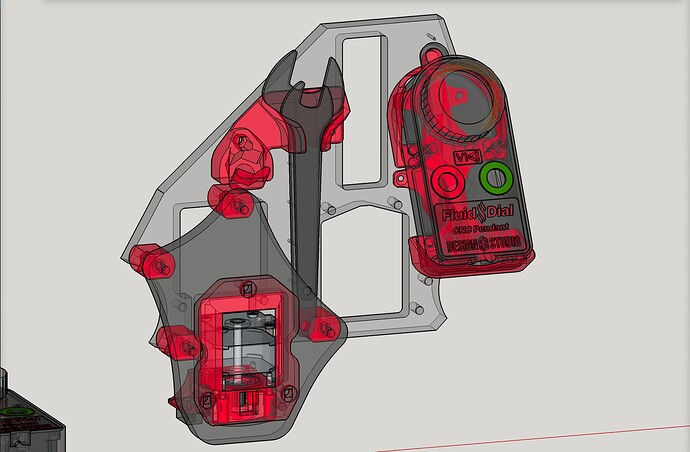
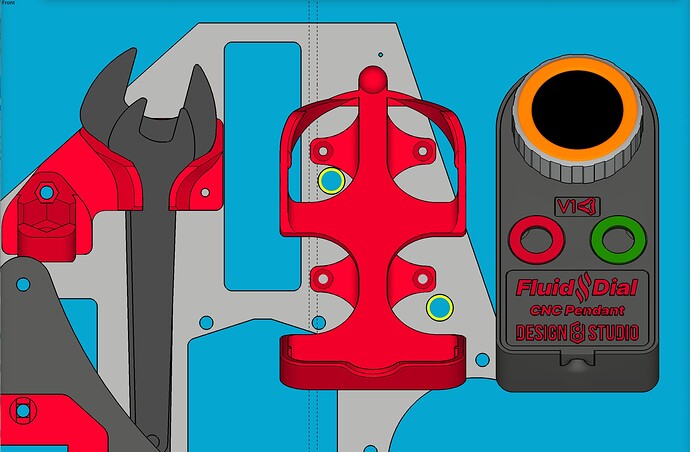
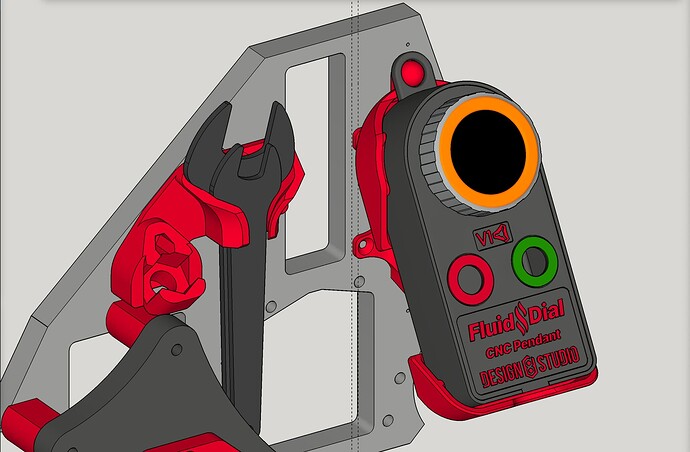
NOTE: As of today, Jan 27, 2024, there are now 3 editions of the cradle design (two with magnets, and a third without magnets):**
- v1.4 - 1st edition - GET IT HERE - magnets on outsides, opposing magnets touching
- v1.5 - 2nd edition - GET IT HERE - magnets on insides, opposing magnets not touching
- v1.6 - 3rd edition - GET IT HERE - no magnets at all, just a press fit insertion & removal
All three versions were redesigned to have less overhang for better print results (overhang extremes split to be 45 degrees each, as much as possible), and were accordingly renumbered in their version number designations. Below are screen shots of the third edition, which uses no magnets, opting instead for a “press fit” method.
Uploaded the firmware to the pendant which platformio says was successful but all the button icons are blank.
Any ideas?
Solved -
pio run -t uploadfs - at the PIO terminal
I had to copy pio.ex to the FluidDial folder for this to work but I now have lovely icons.
