All,
Upfront, this is gonna be very difficult to write because I know some/many of you are doing v-carve inlays very happily and successfully… and I don’t want to disparage the method or enjoyment you receive from it. PLEASE keep this in mind if you choose to read further.
Also, please know that I’m speaking from my own personal recent experiences in this post… and I’m gonna admit I’ve really struggled with the v-carve method so far. It’s probably a combination of factors however… since I apparently refuse to give myself the best chance of success by my choice of machines and materials. But I’m quite probably the only person here who has used BOTH my lasered “easy inlay” method AND actually tried to v-carve inlays as well. So, this is to share my experiences with both techniques and contrast the results.
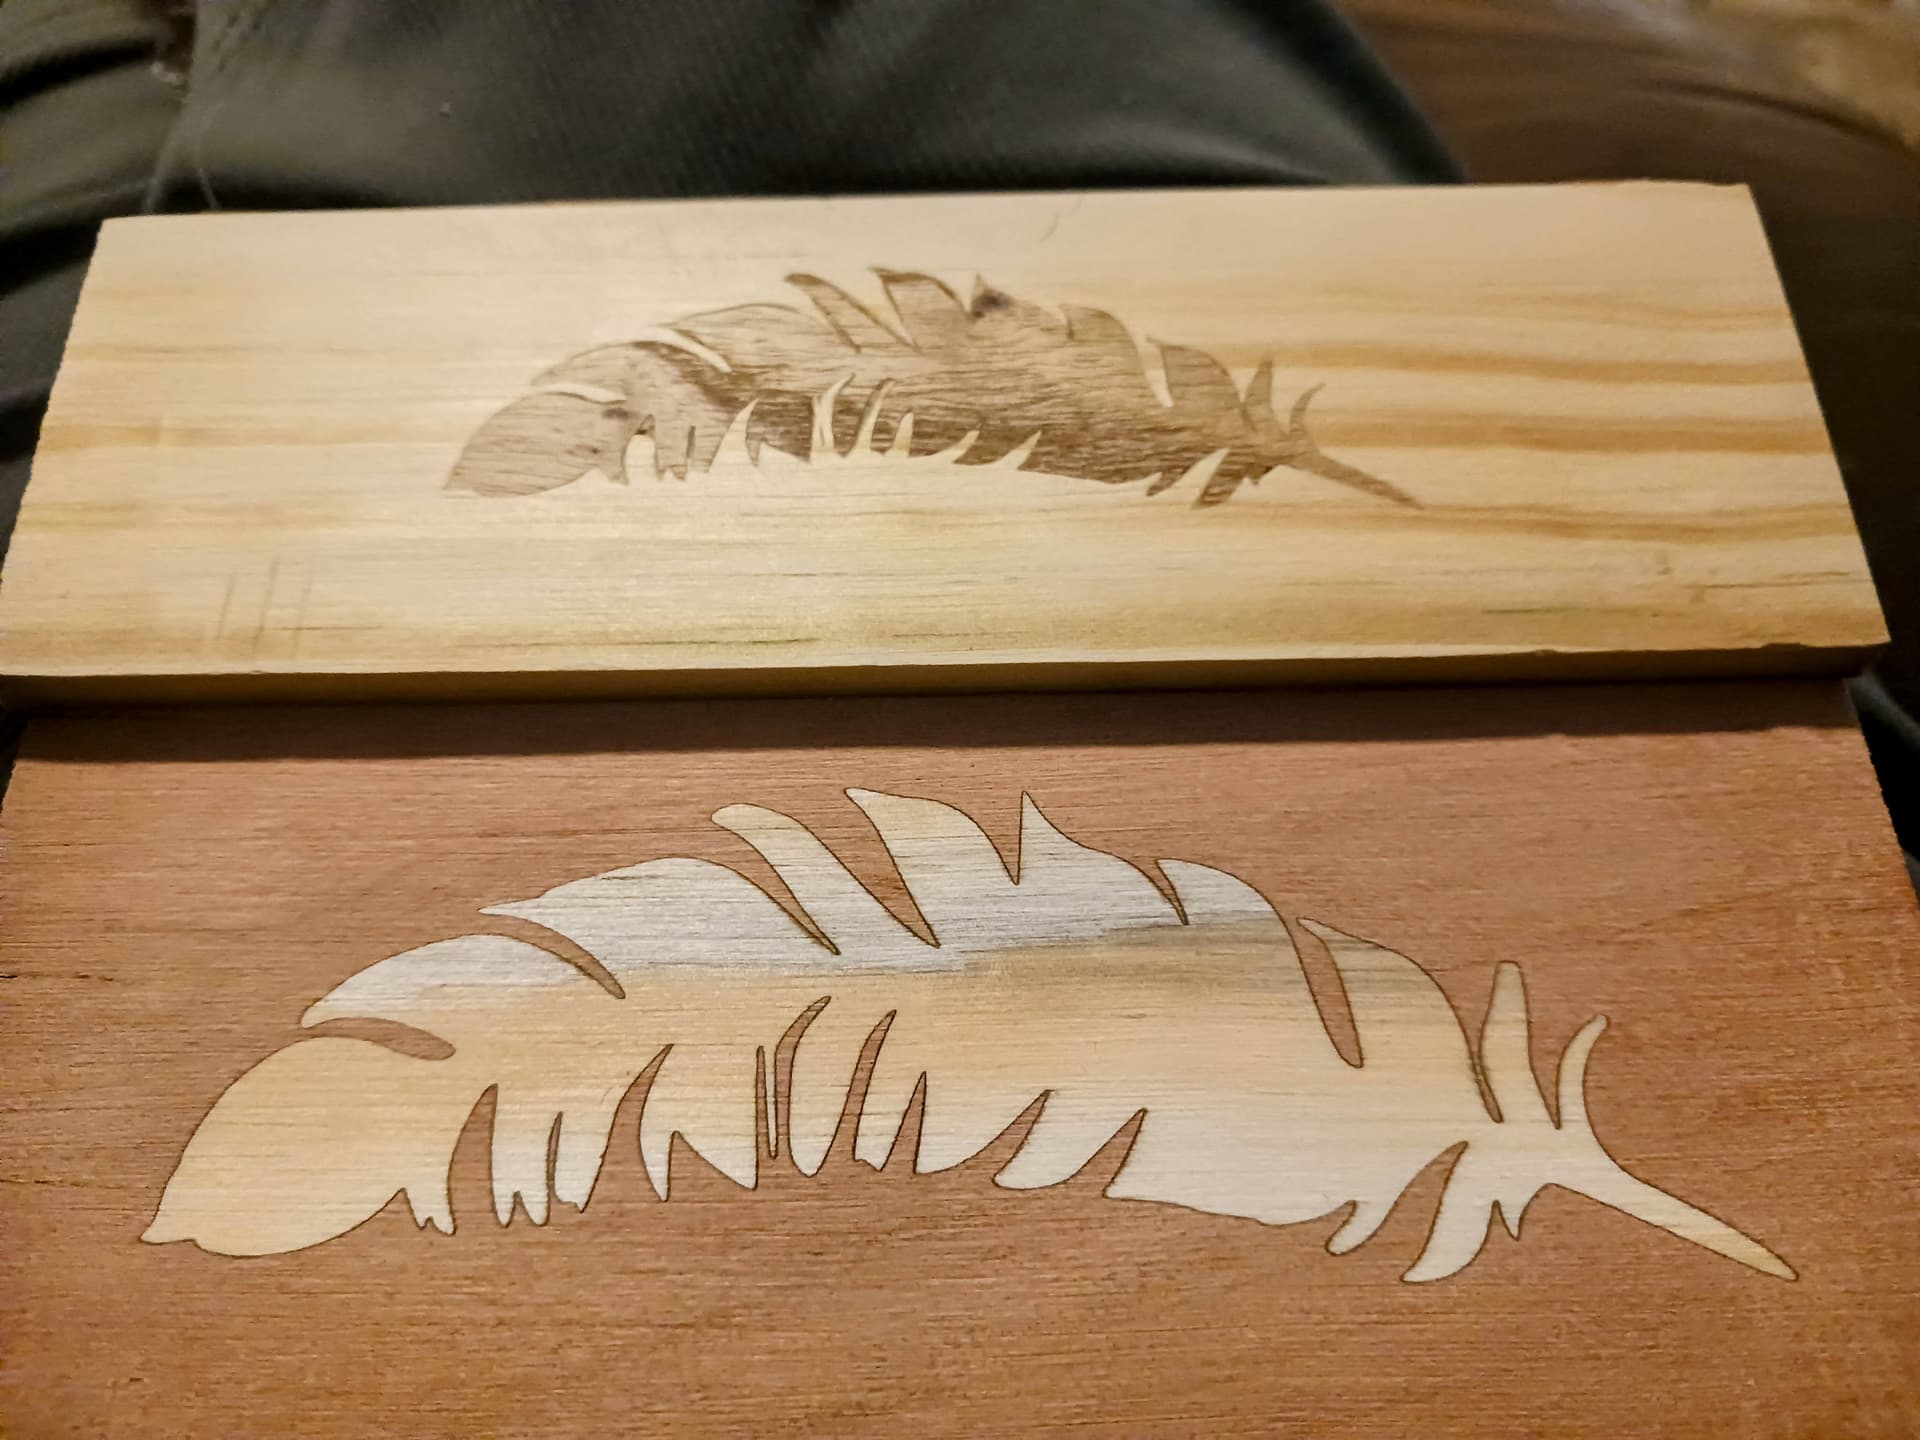
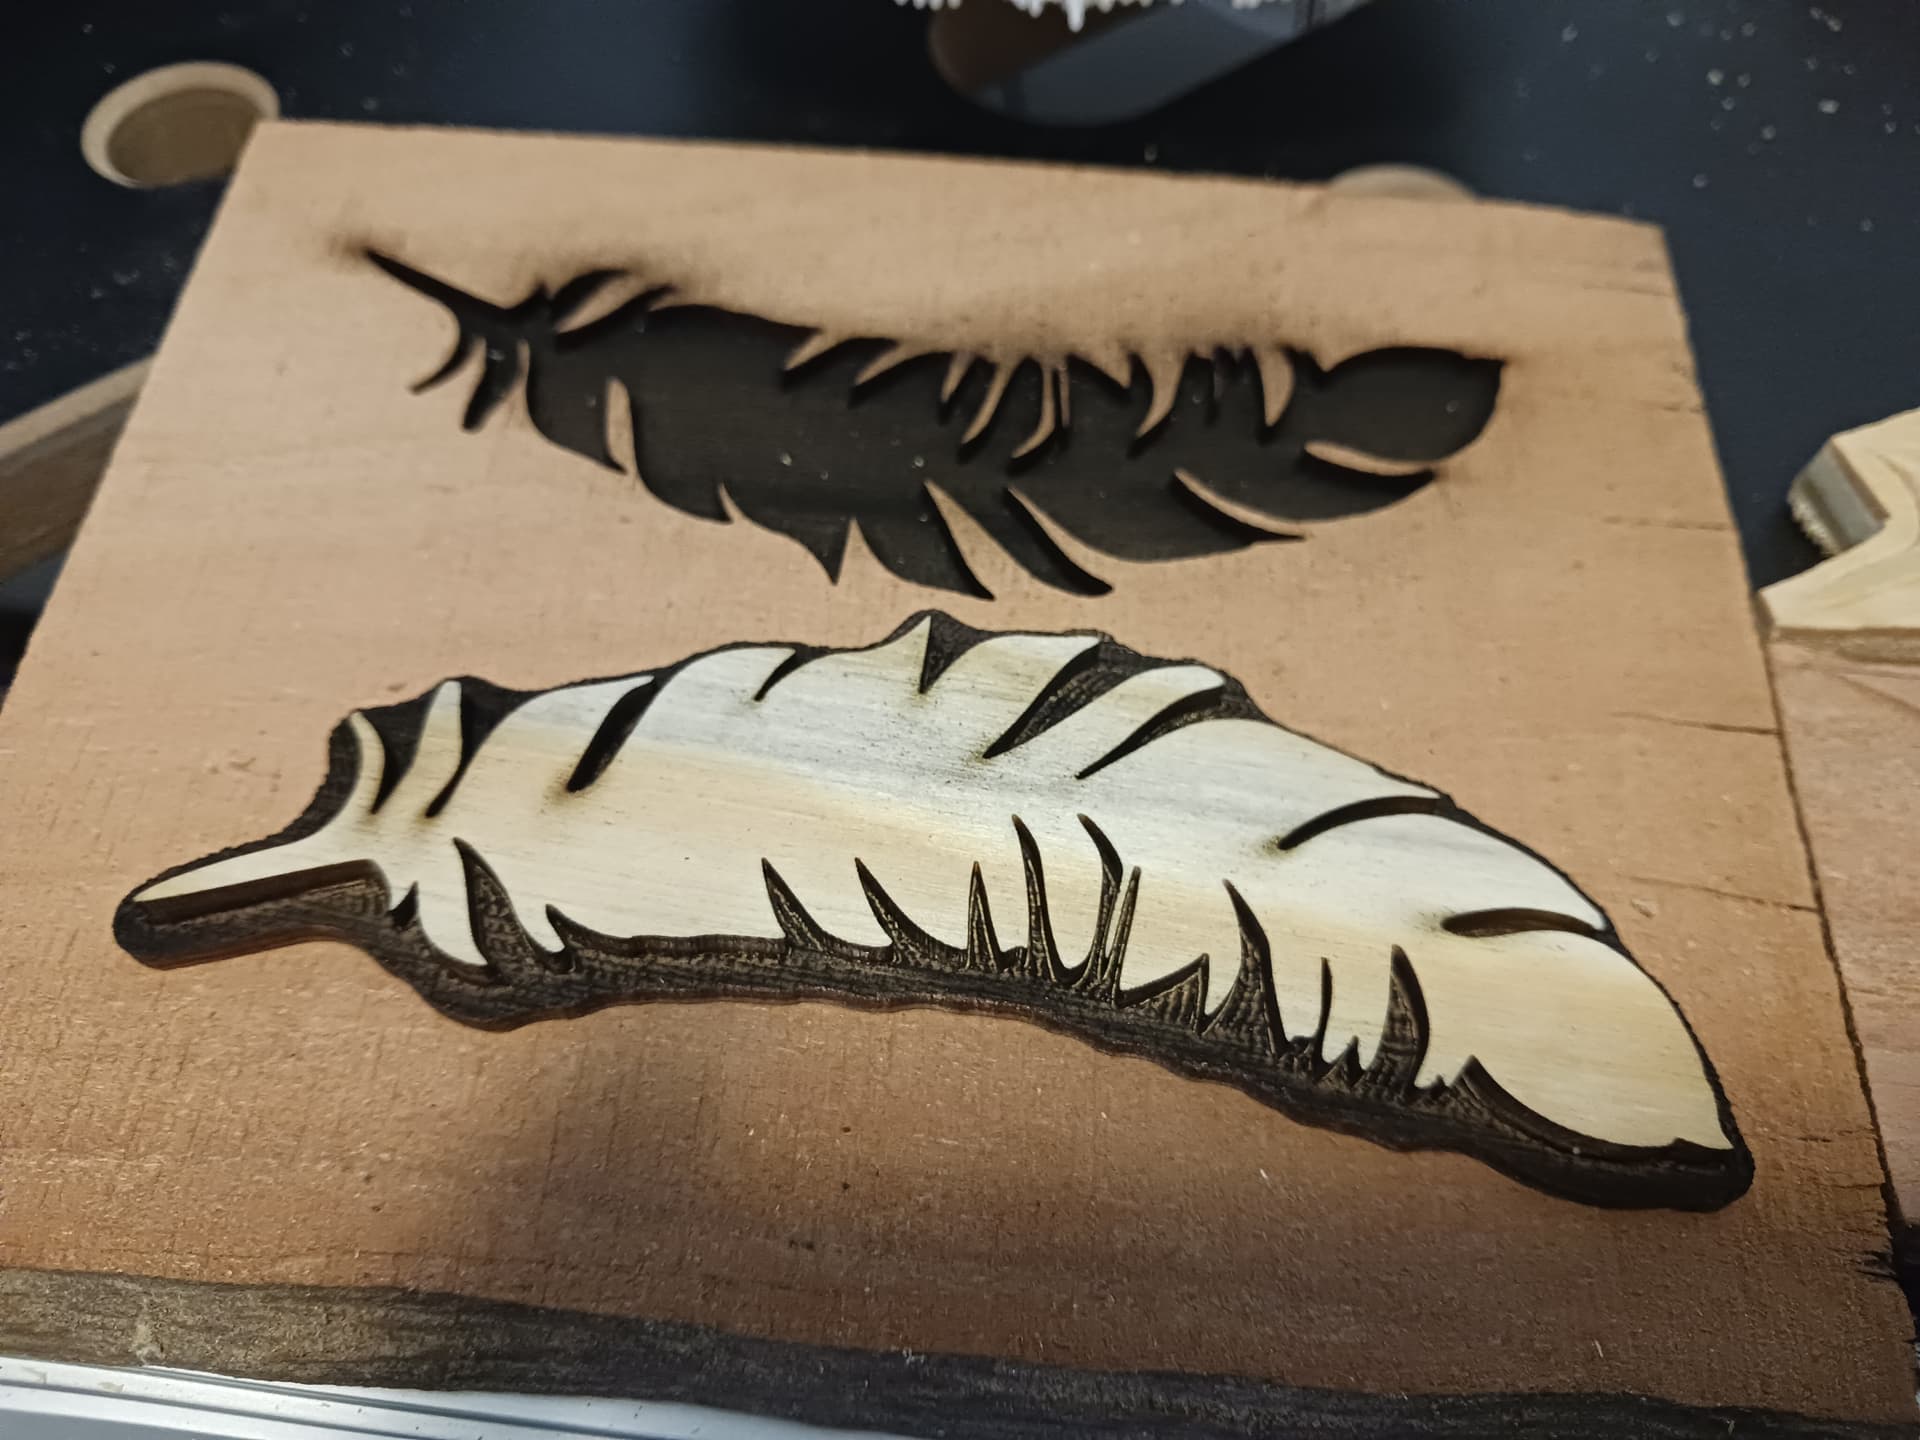
Here are the results of several days of trying both methods… with several attempts at the v-carve feather (top) and only one attempt with the lasered version (below)…
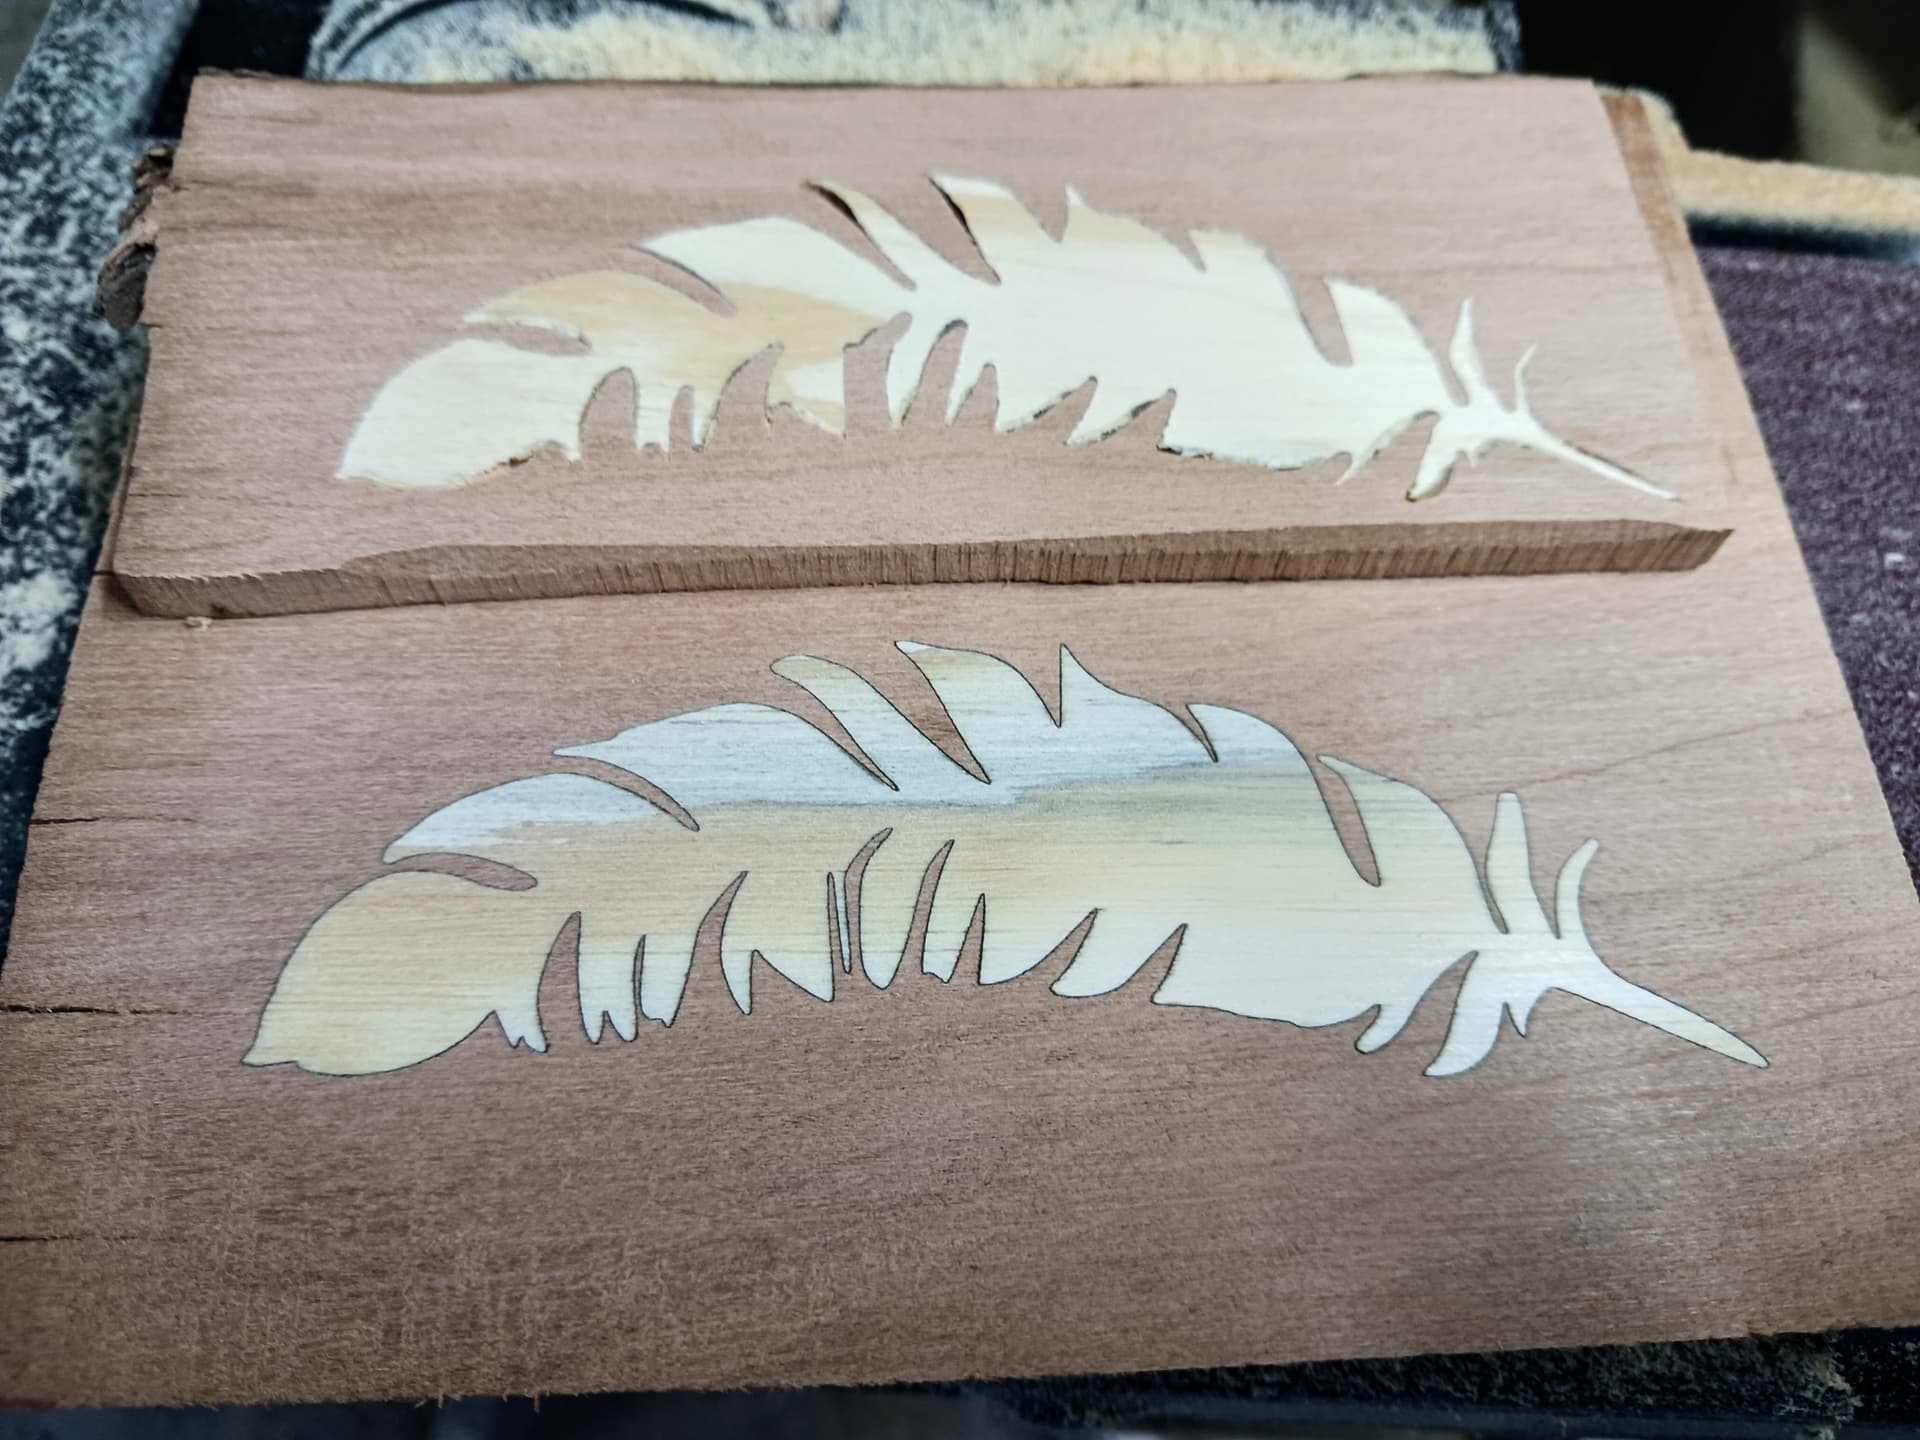
I actually thought (before glue-up) the v-carved version above stood a good chance of being the best I’ve done. For comparison purposes, I also went into Lightburn and processed the same feather image and lasered it using the same cherry and pine…

The v-carved version was disappointing… and not even as good as the first feather attempt I documented earlier in this thread.
So, here’s what I’ve learned (but been unable to successfully do!) about v-carve inlays – and why I admire what Philipp and others here are able to do.
- Use good close grained woods that machine well. Maple and walnut are classic inlay woods… common pine and catalpa are not.
- Surface the material first if it’s not flat… critical for correct depths of cut and proper glue and surface gaps.
- Use quality bits that are in good shape… and take light-ish cuts.
- Adjust feeds and speeds to avoid chatter and tearout. I’ve not been successful at this and MPR&P is unproven yet… so, still suspect.
- Be patient, take your time, and be tolerant of noise, sawdust, bit changes, and often lengthy runs for flattening, v-carving, and clean-out.
- Know and understand the settings in your v-carve program to attain proper feeds, speeds, depths, and gaps.
Lasered “easy inlays” by contrast is simply much more forgiving. Almost any wood and any laser machine (20W-30W laser power is probably best) can be used. Since there’s no physical contact between the “tool”/beam and the material being “machined” there’s little chance of tear-out, regardless of the wood used, and modest machine rigidity should be sufficient. The wood doesn’t need to be perfectly flat (“eyeball flat” is good enough) and no special care is needed for DOC or gaps. There are no bit changes and the relatively straight-sided lasered walls allow for as much or little “engagement” as your laser’s beam power and feedrate has provided… and whatever clamping pressure you bring to bear. Any “engagement” from 1mm to 2mm down to “bottoming out” is close enough to get a nice fit.
Regarding time and effort…
With the v-carve method, a minimum of a couple of hours has been required for the relatively small inlays I’ve been attempting to do. I’ve attentively sat at the noisy machine, done the required bit changes, and initiated separate lengthy runs for flattening, vcarving, and clean-out for EACH of the pocket and inlay pieces. Dust collection helps but there’s still been some house-keeping required. And all with no guarantees of a good inlay… many ways to go wrong.
Even with needing to refresh my memory, I fired up Lightburn and imported the feather SVG into a Lightburn file I had previously used. I processed it using my “easy inlay” method and created both the pocket and inlay pieces… maybe 15 minutes of work. I loaded the pocket wood plank (cherry straight off the bandsaw) into the laser machine and from my recliner (next to the machine) ran the raster burn for the pocket… another 15-20 minutes. Loaded in the inlay wood plank (pine from a common 2x4) and ran the raster burn for the inlay piece… another 15-20 minutes. A little bit of noise from the inline exhaust fan – but not enough to drown out the TV – and all the waste/debris goes out as smoke and soot. A total of maybe 45 minutes… certainly less than an hour.


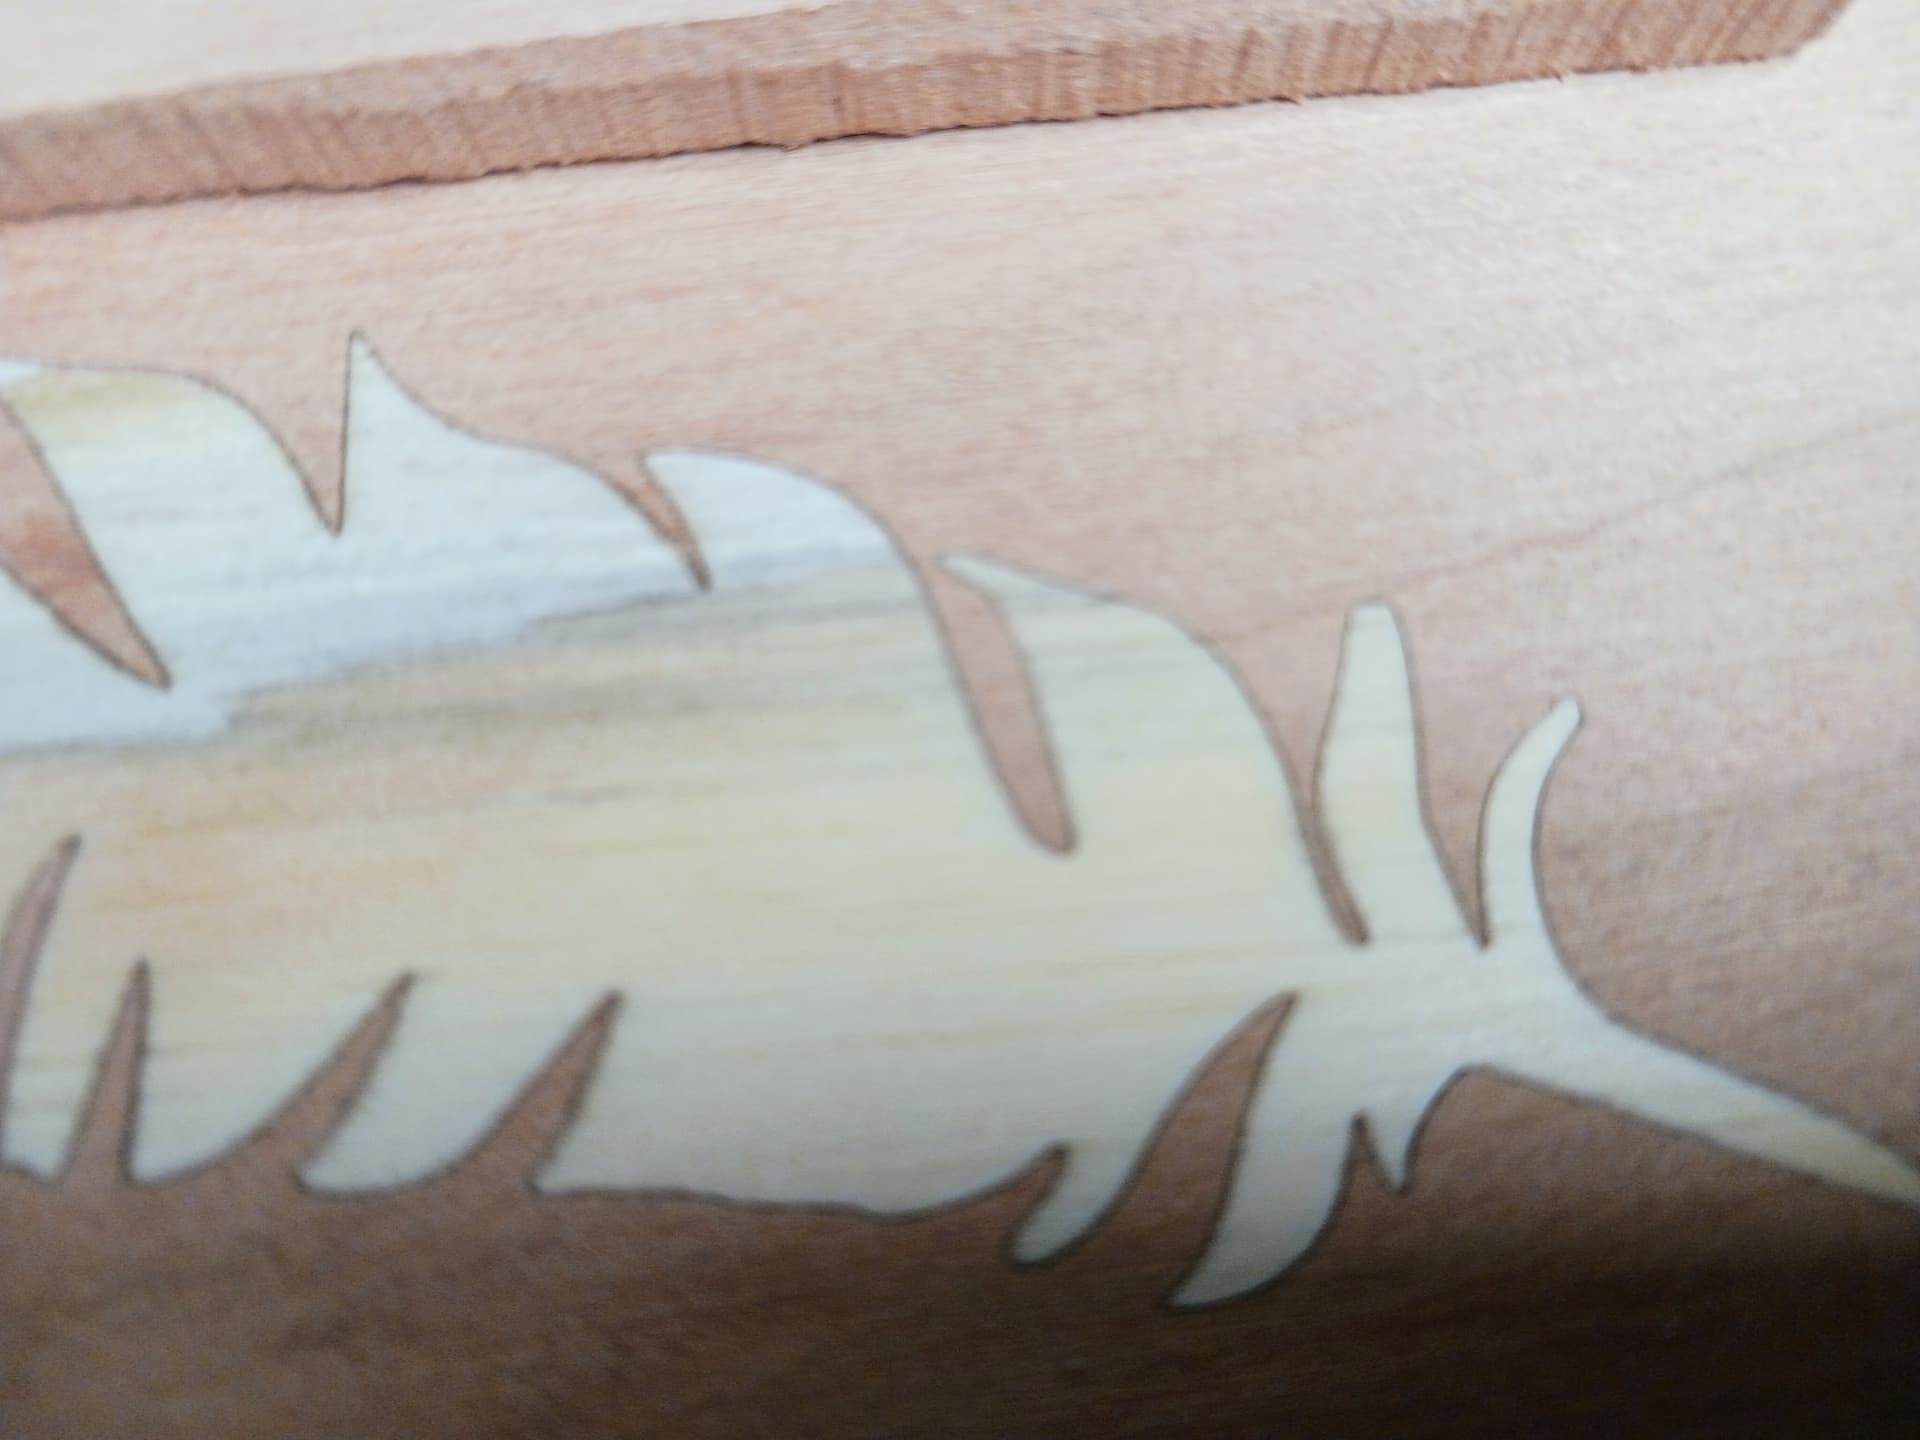
If the pocket and inlay pieces even lightly try to engage when properly aligned… the result is almost guaranteed to be good.
Again, this is not to disparage the v-carve inlay work that so many folks find immense enjoyment in engaging in. Please know that I admire anyone with the patience and skill to turn out beautiful v-carved inlays.
But, as far as “EASY” goes, which is the question mark in the thread title, I’ll personally have to stick with doing them with the laser.
And, of course… YMMV.
– David