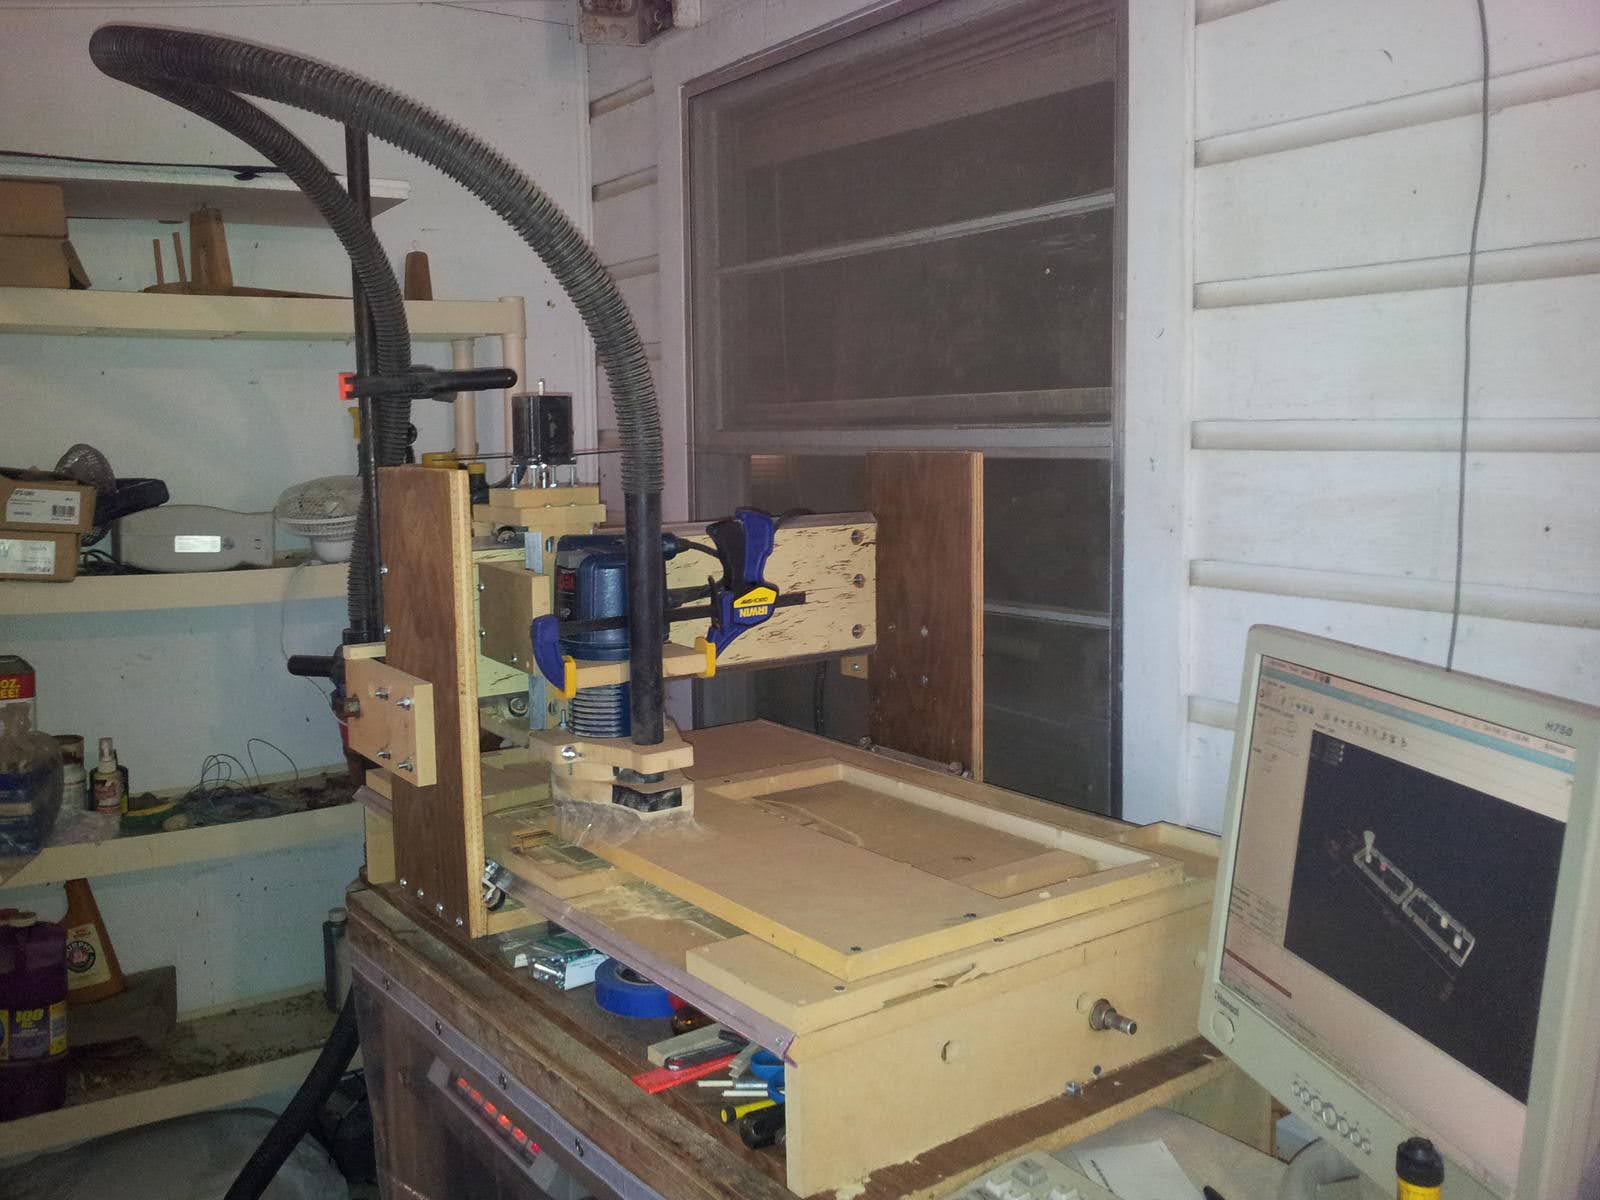
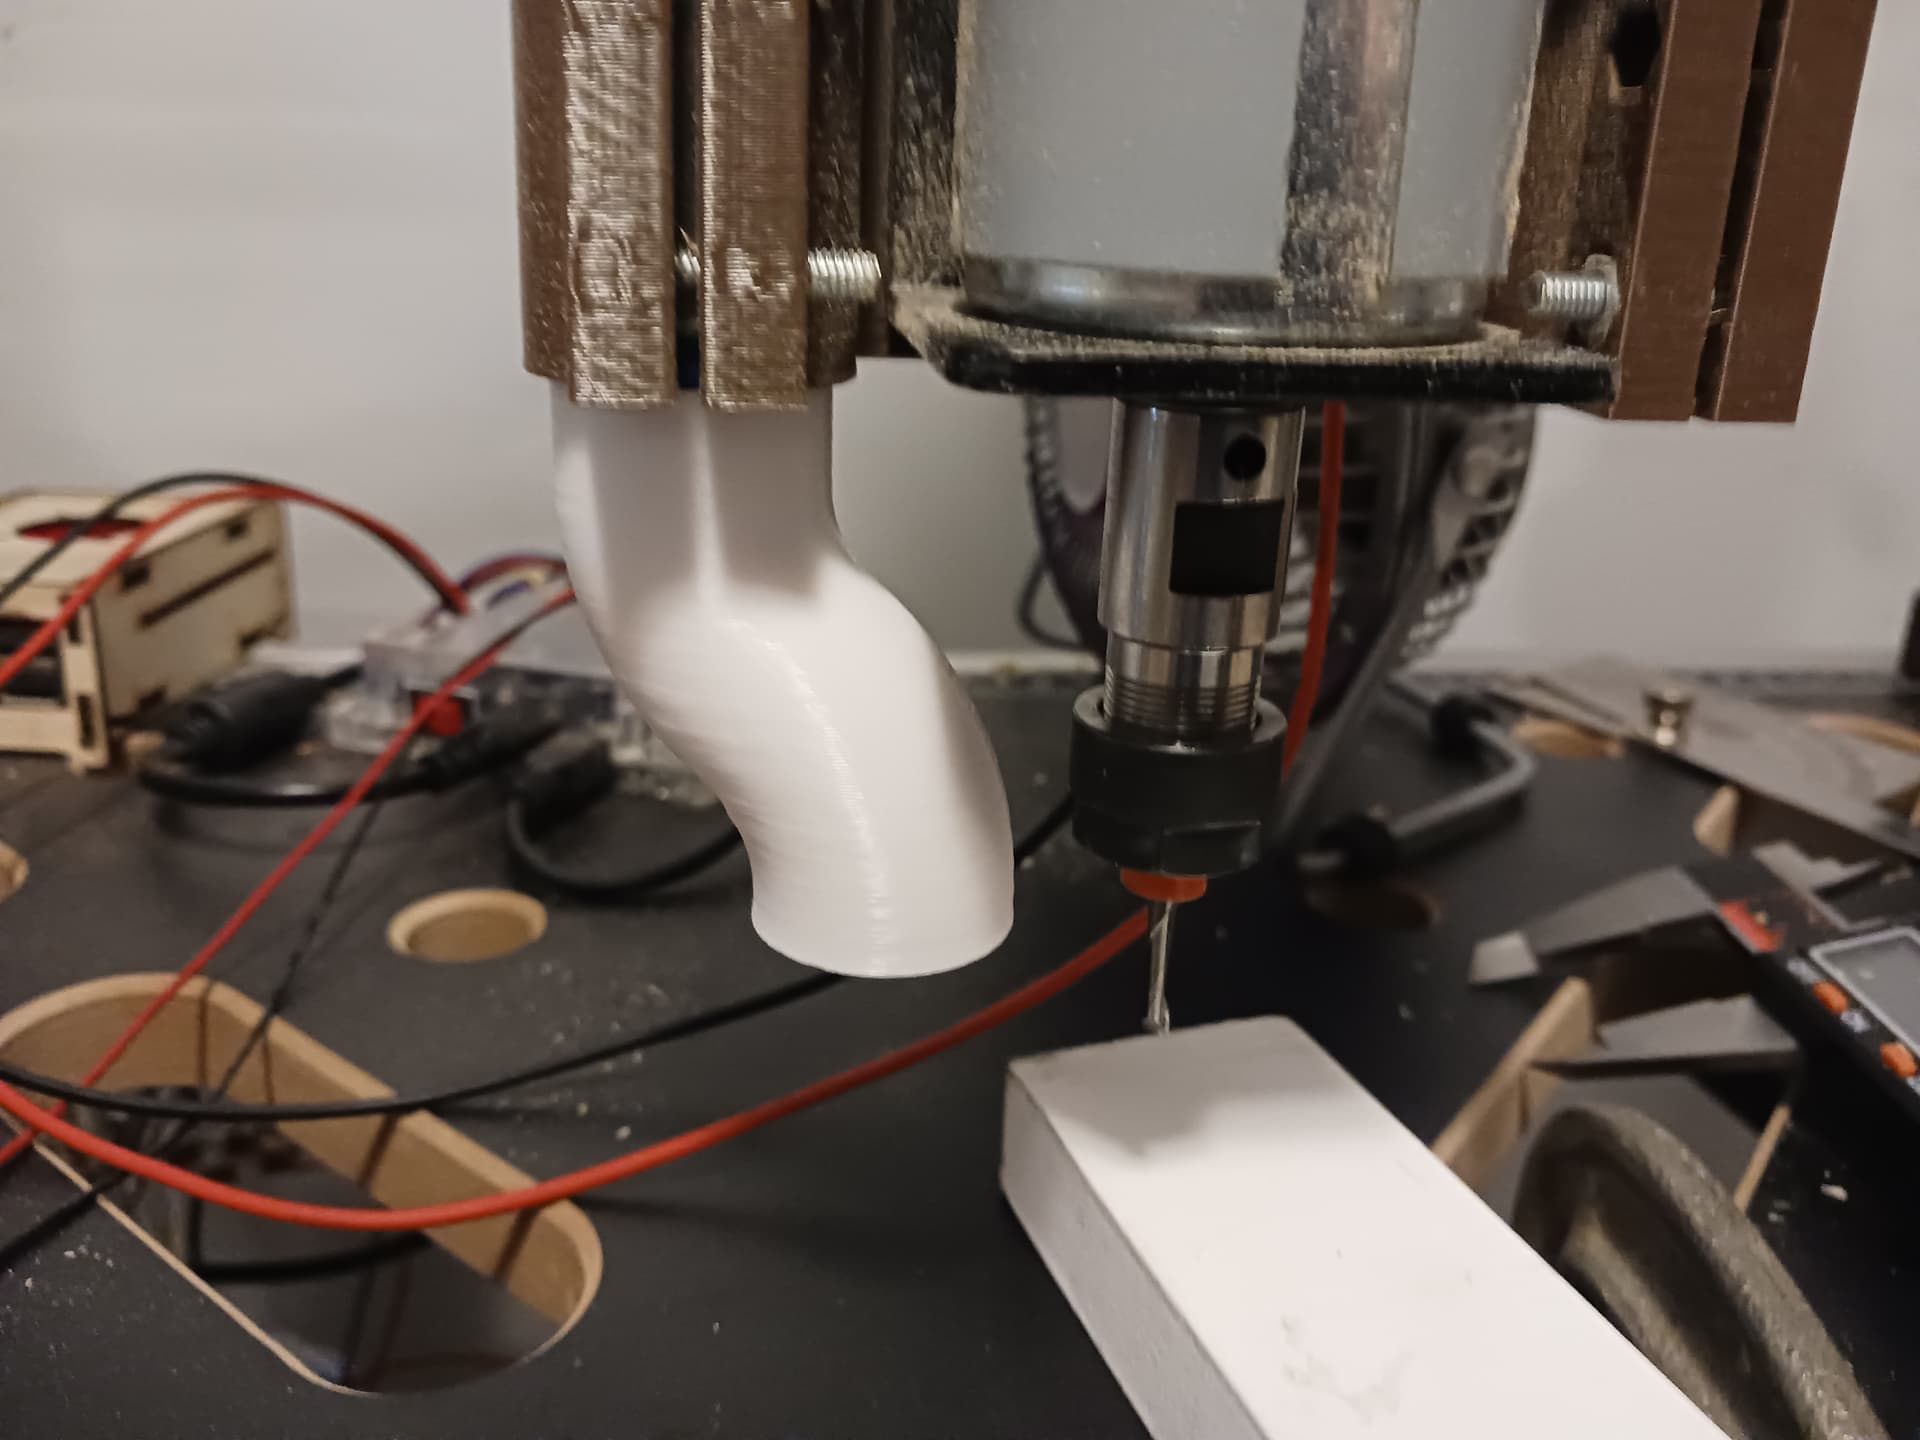
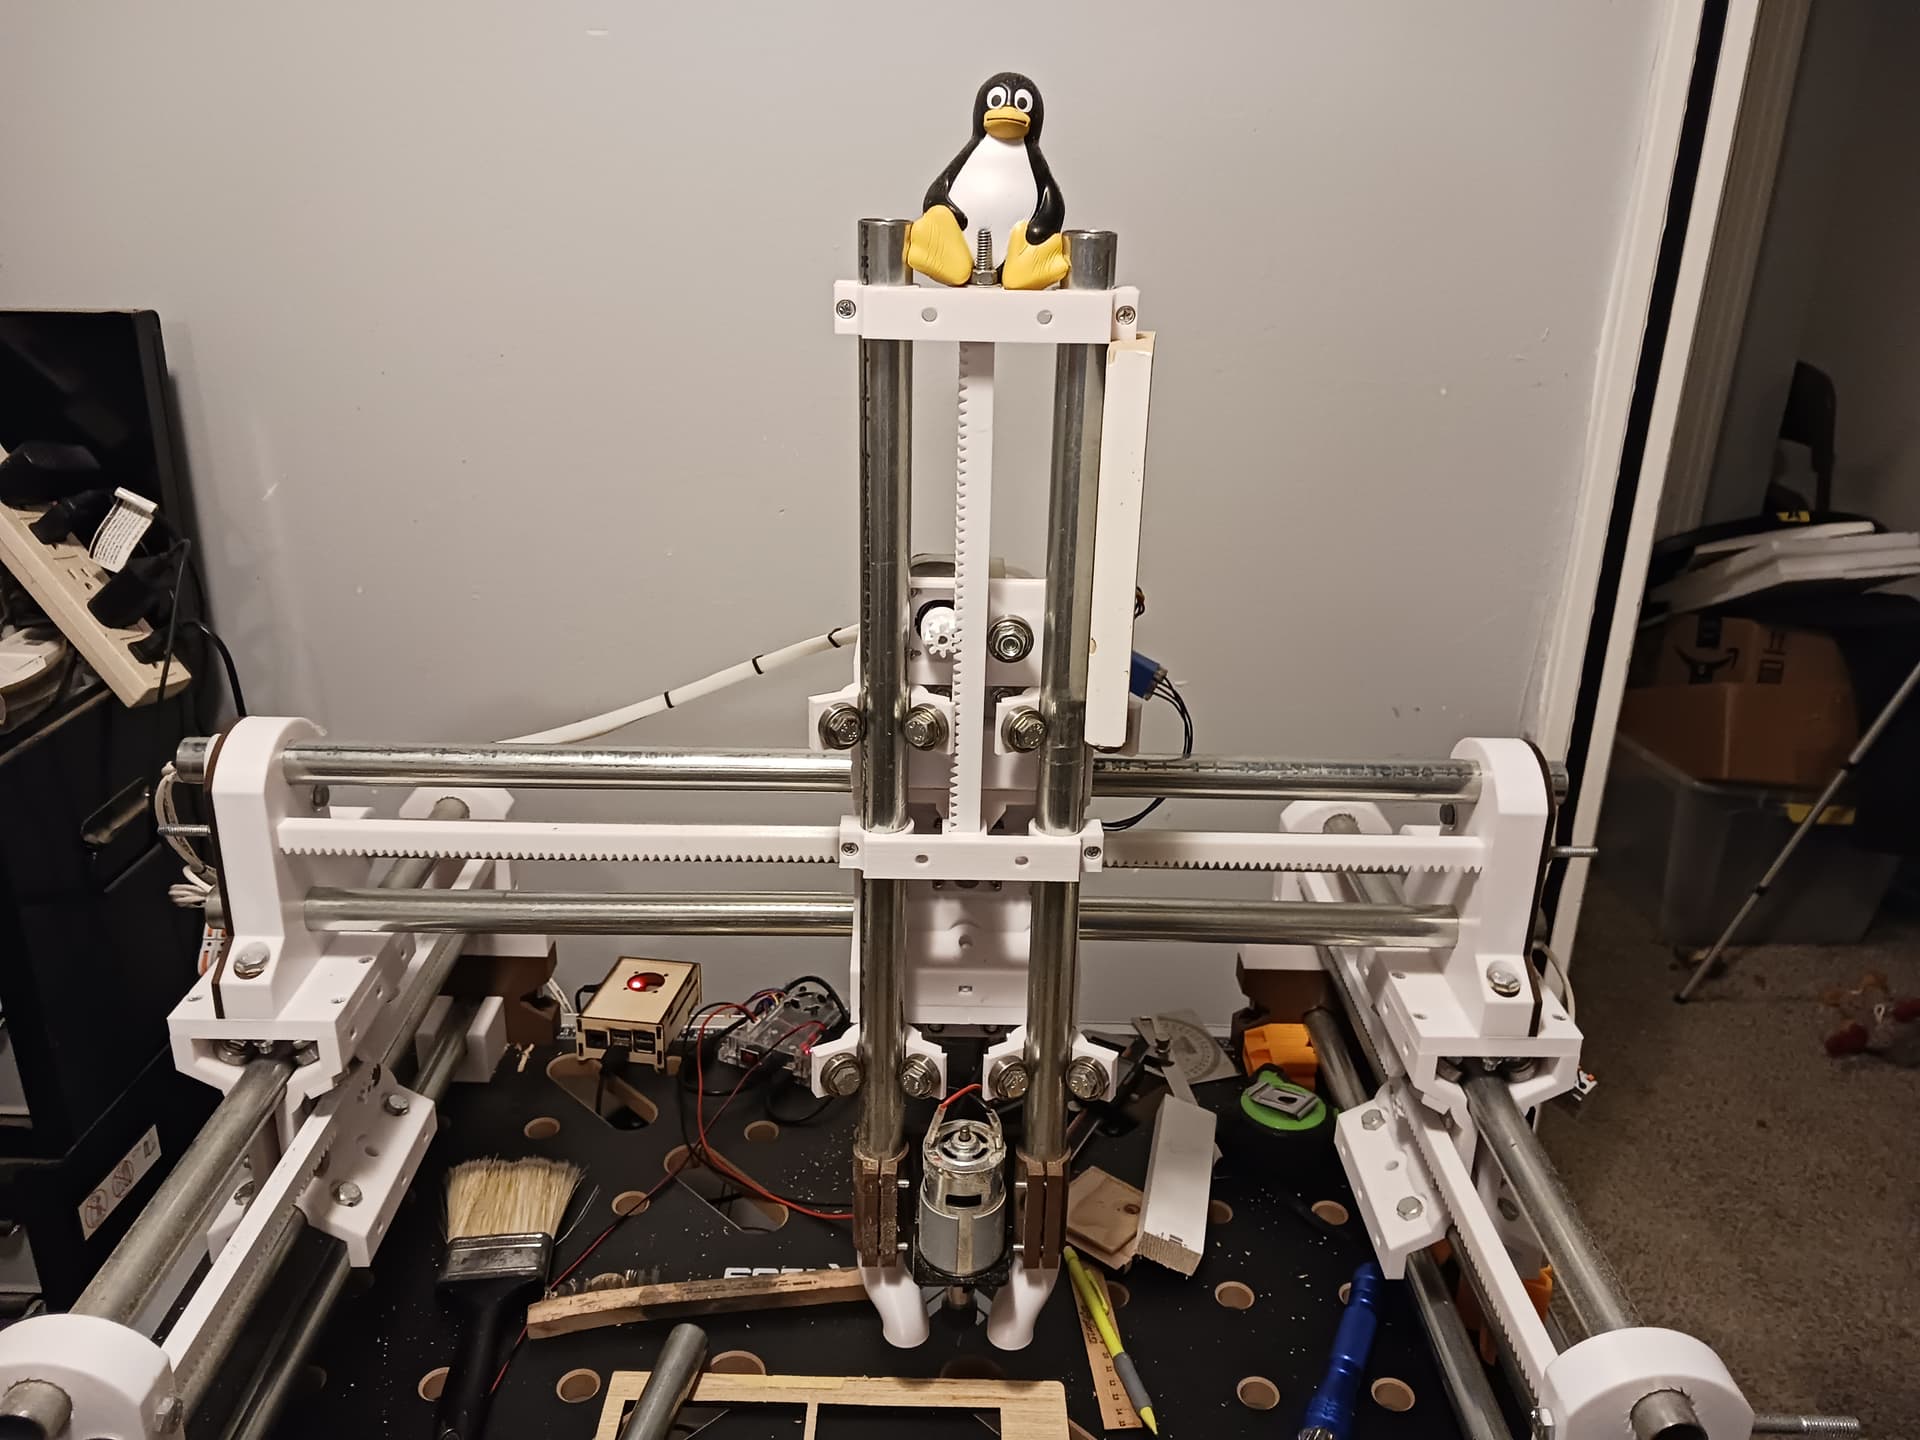
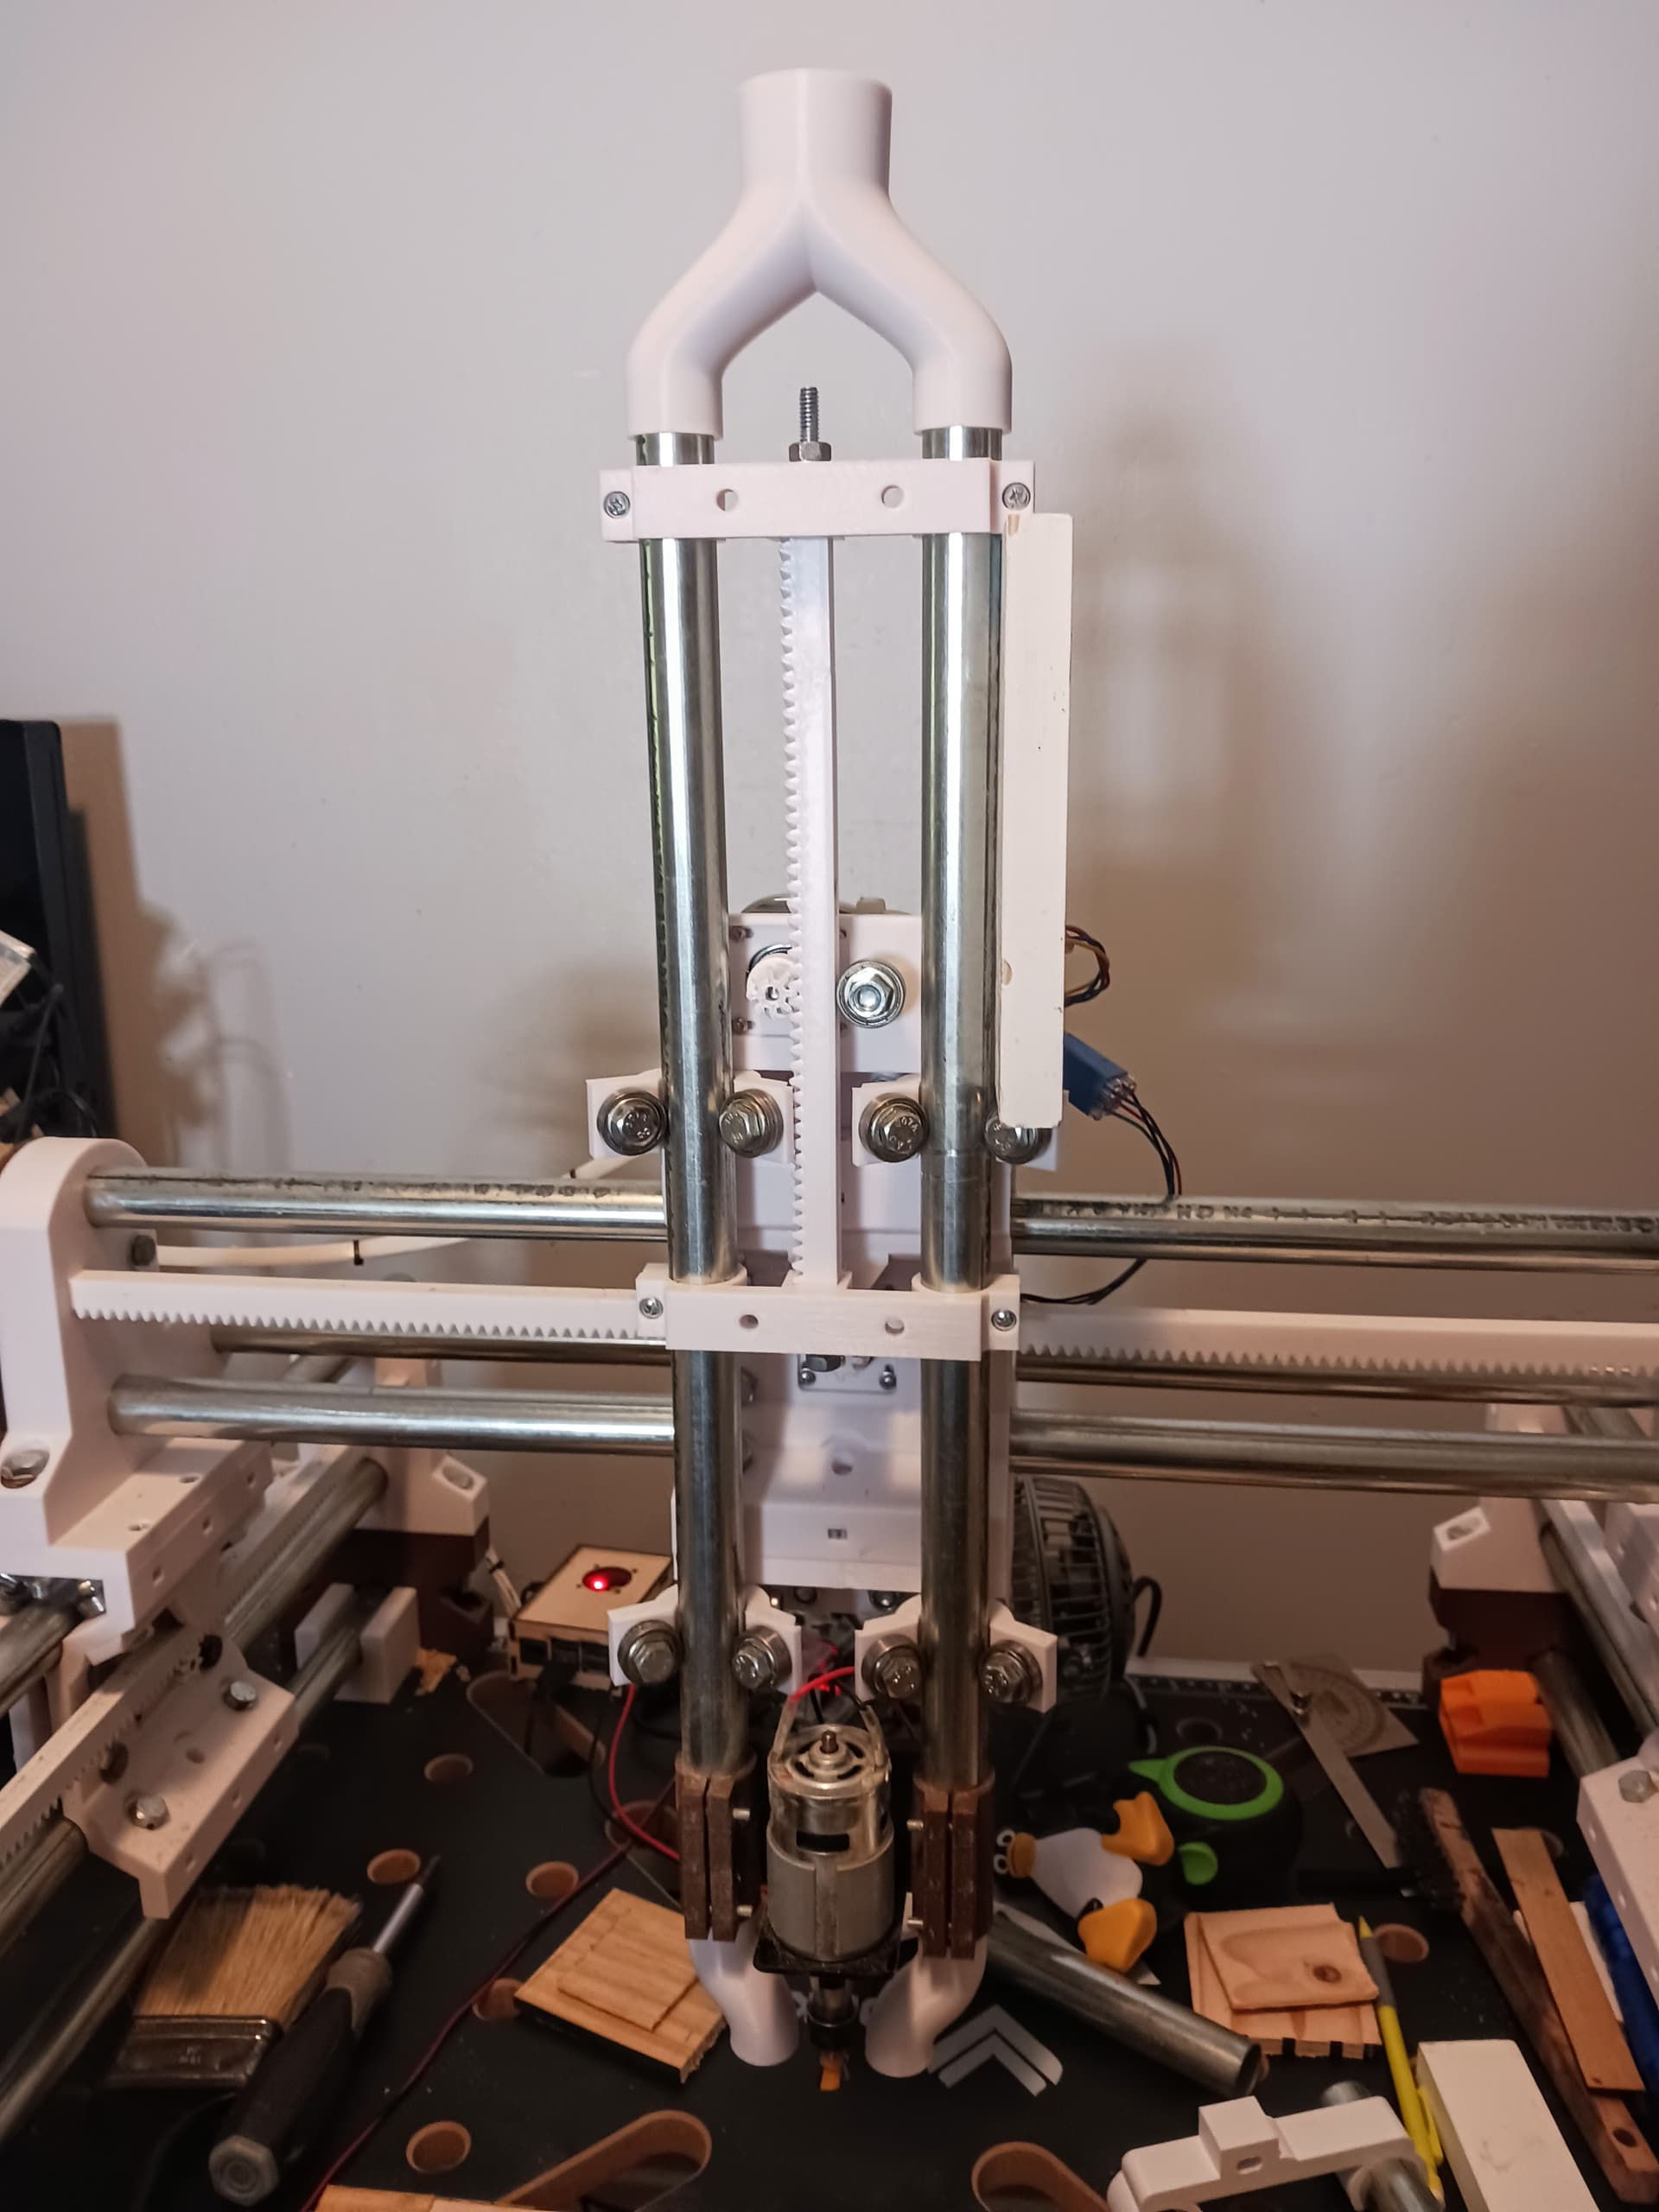
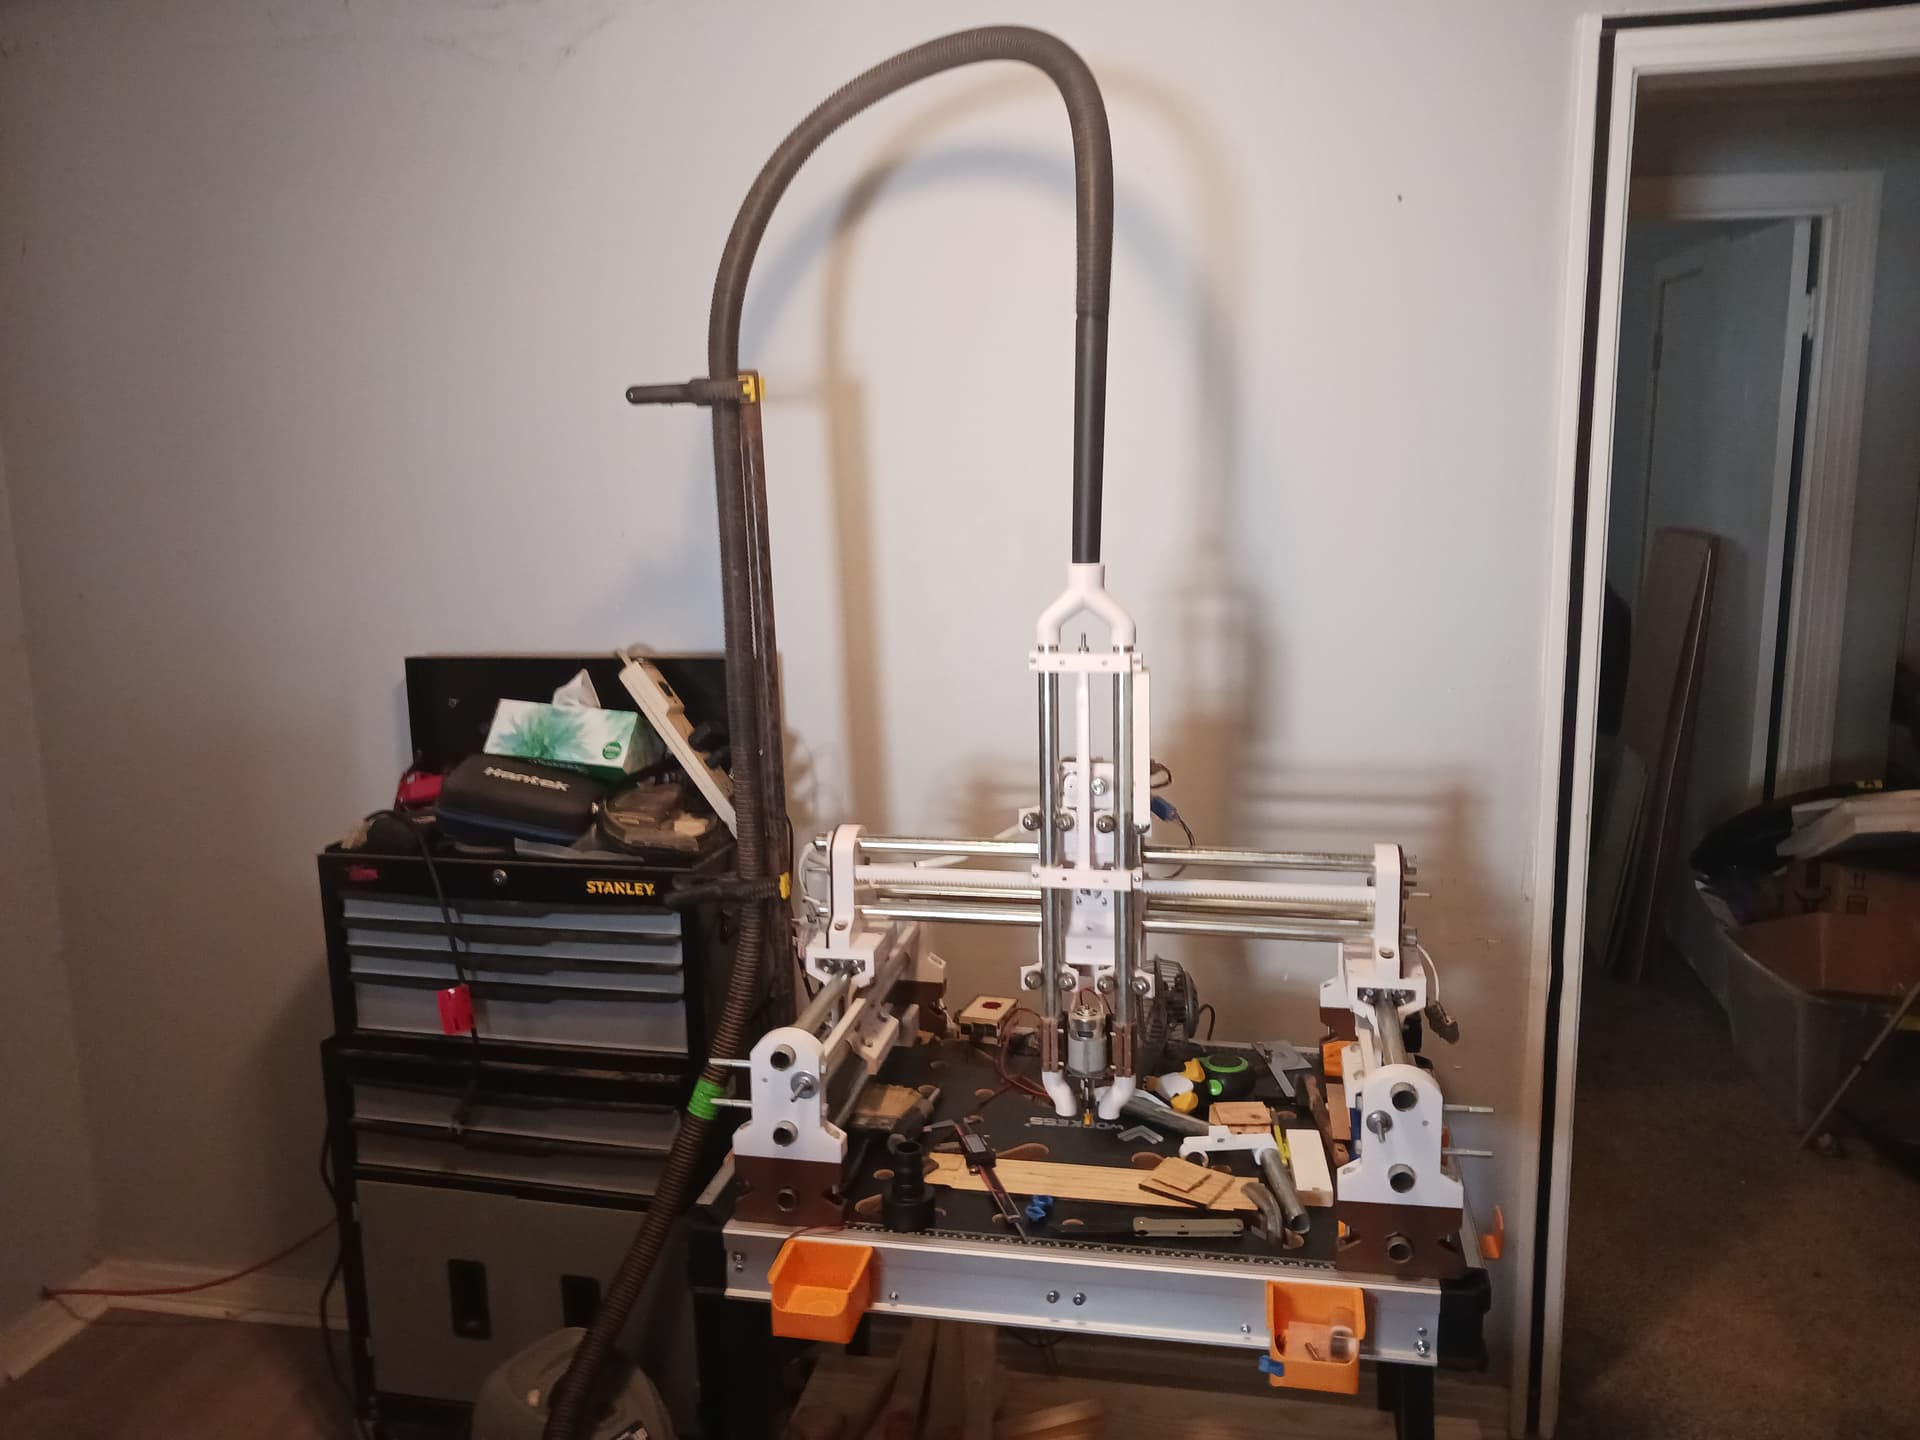
Recently, I’ve been testing my latest machine build – MPR&P – to see just what it can do. I’ve been quite surprised with the spindle testing I’ve done… and am completely shocked that these small 775 motors, used as spindles on many cheap desktop CNC machines, are as capable as they are. They are not toys, as I previously thought, and make IMO a very nice accessory for MPR&P.
I’ve done some faux “drag racing”… patterning some of my testing after the 'CNC drag races" thread that Ryan instigated several years ago. Rather than “unlimited” as those drag races were, however, I limited myself to using just the 775 spindle motors and shrunk the V1 test logo by 50% in all three dimensions. I also used some white pine scraps I had on hand rather than using the standard MDF used in the real drag races… and attained some pretty solid cuts with 6mm DOC and a feedrate of 1000 mm/min with a 3.175mm single-flute end mill. But rather than pushing it further, I’ve decided to move on to other things.
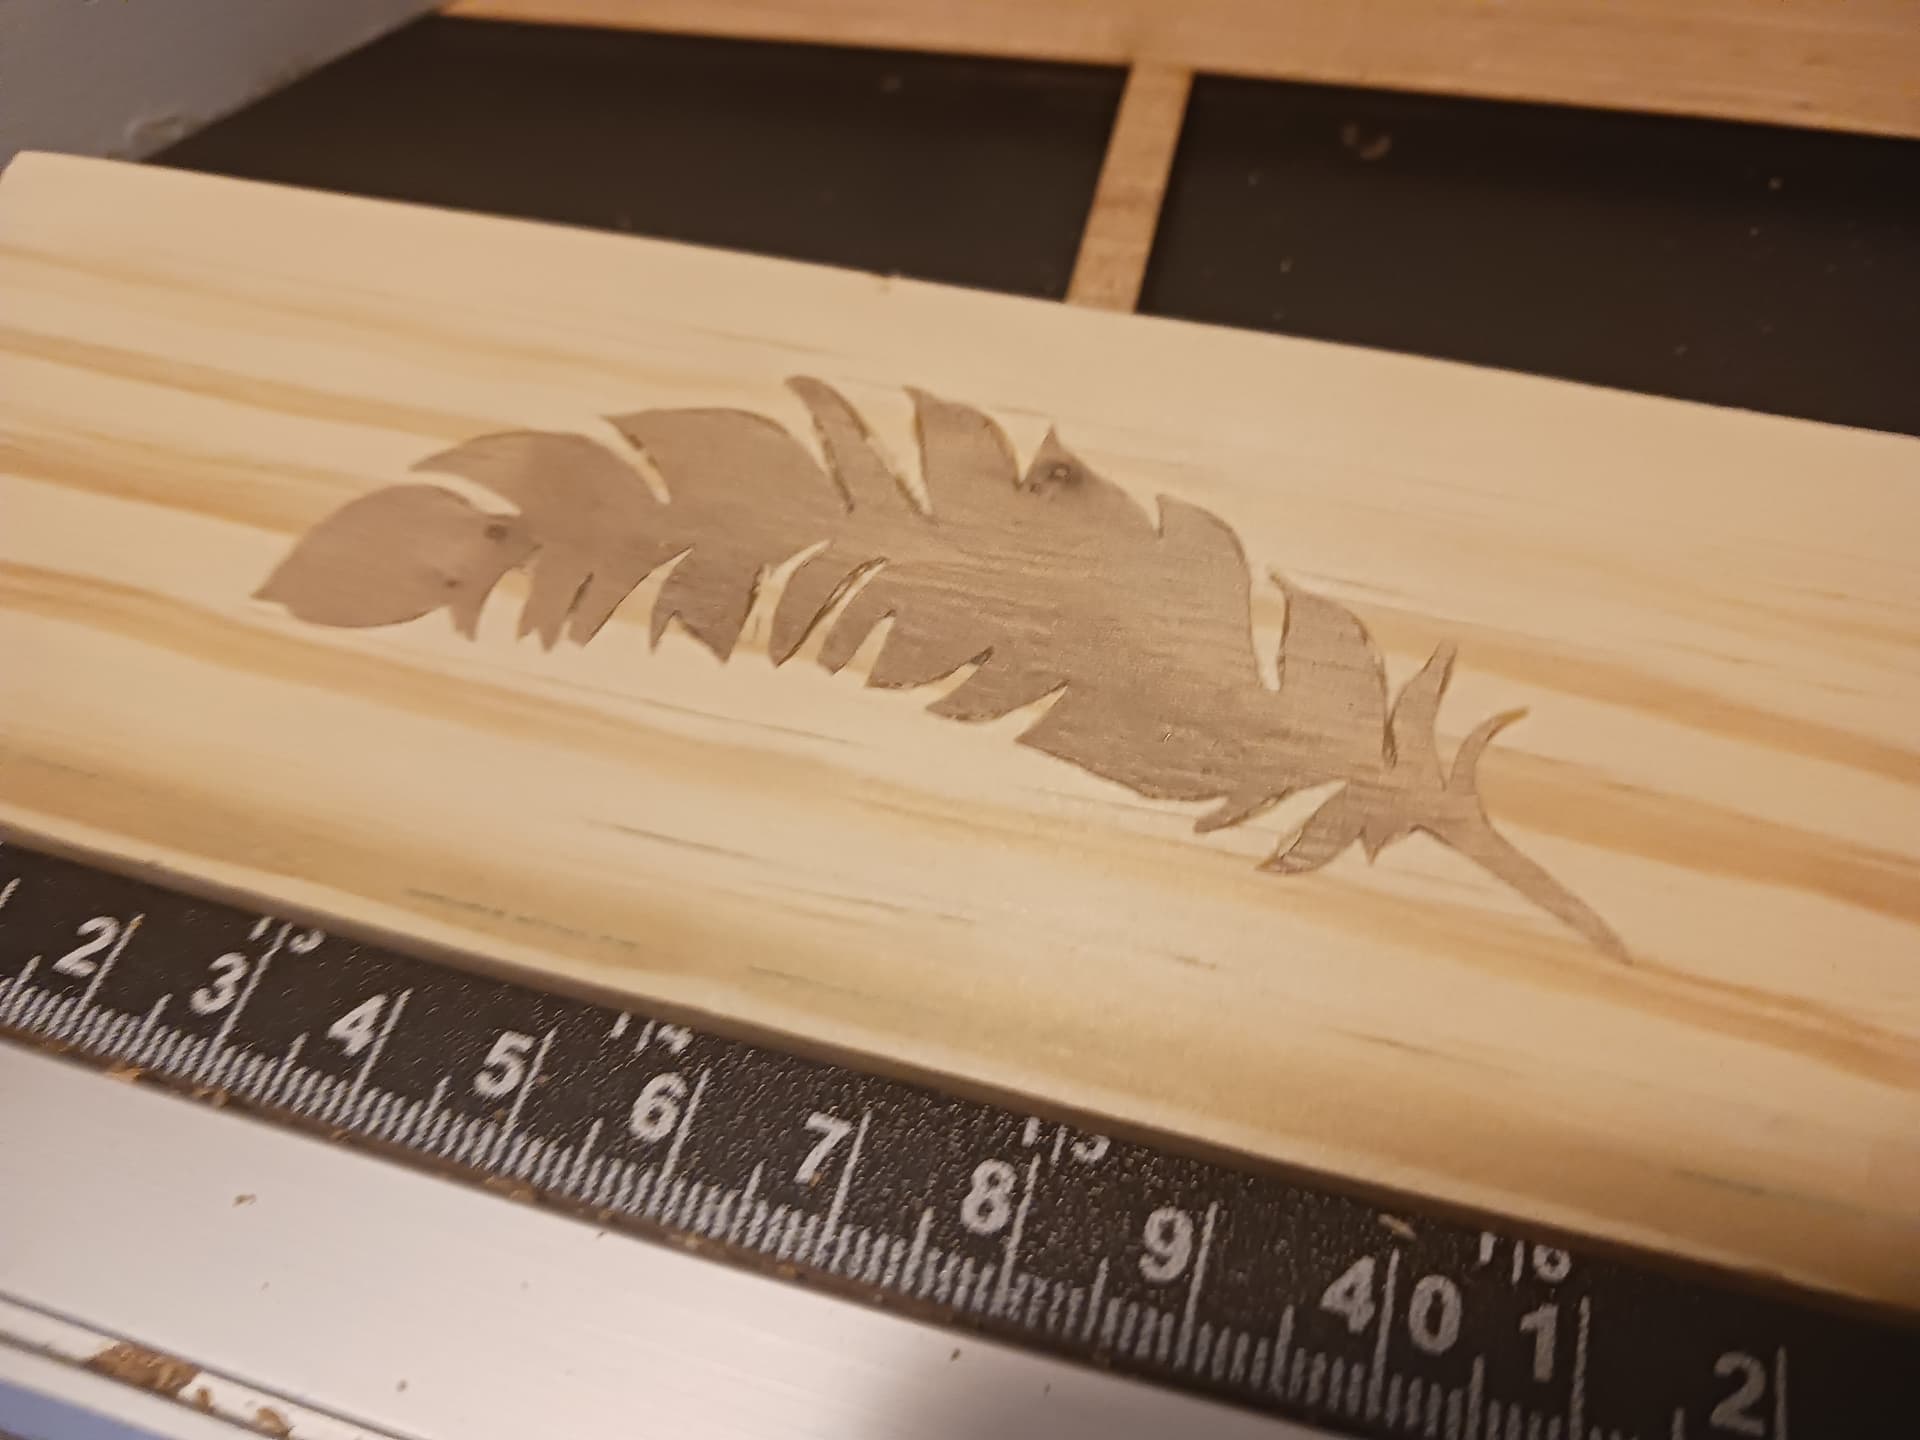
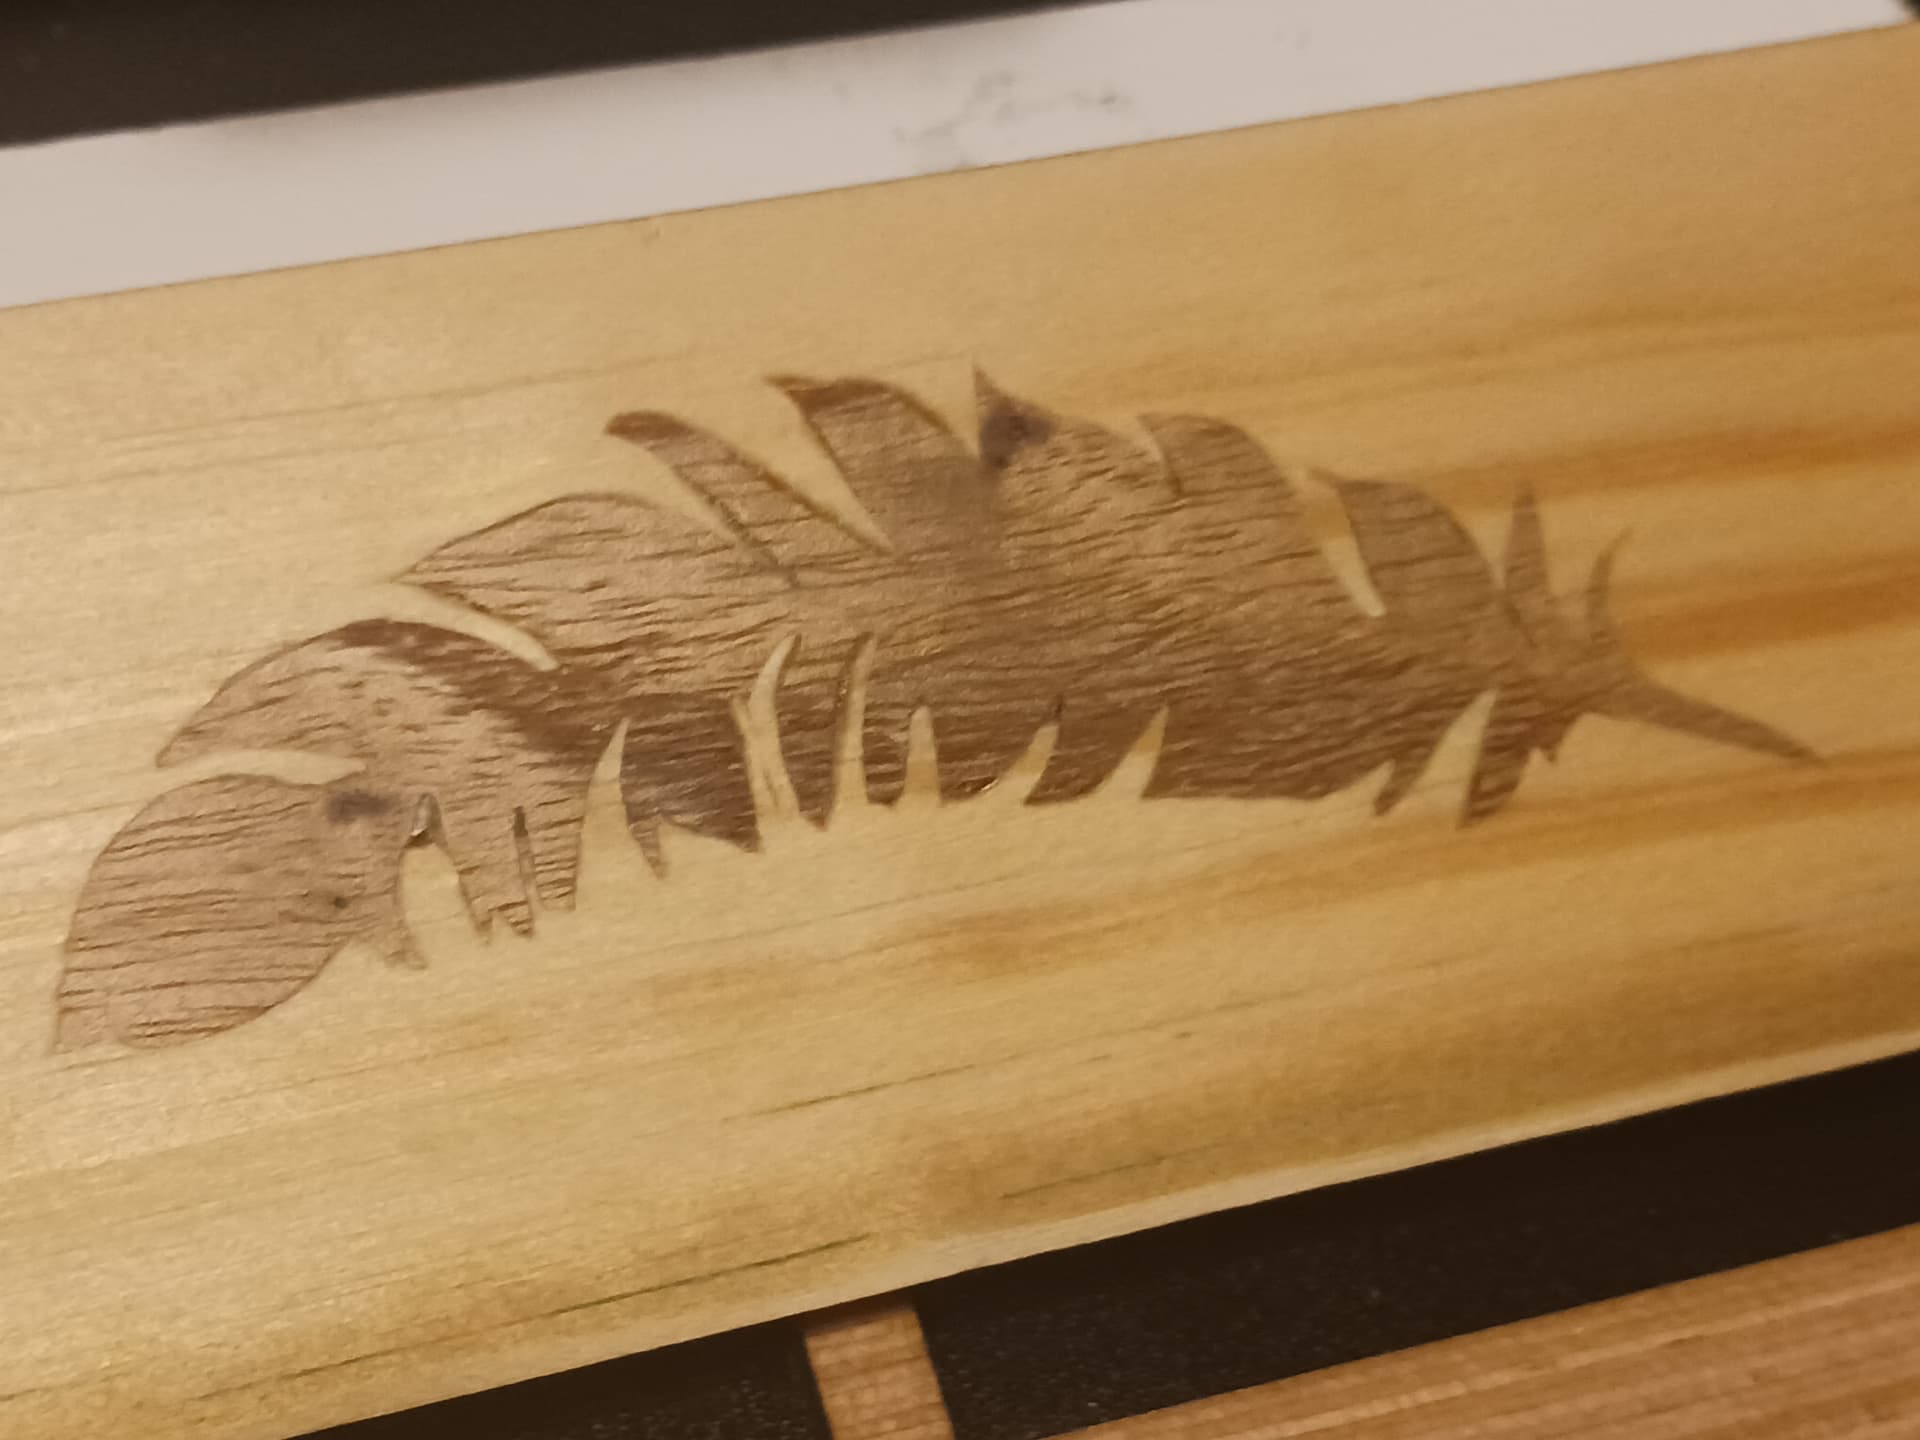
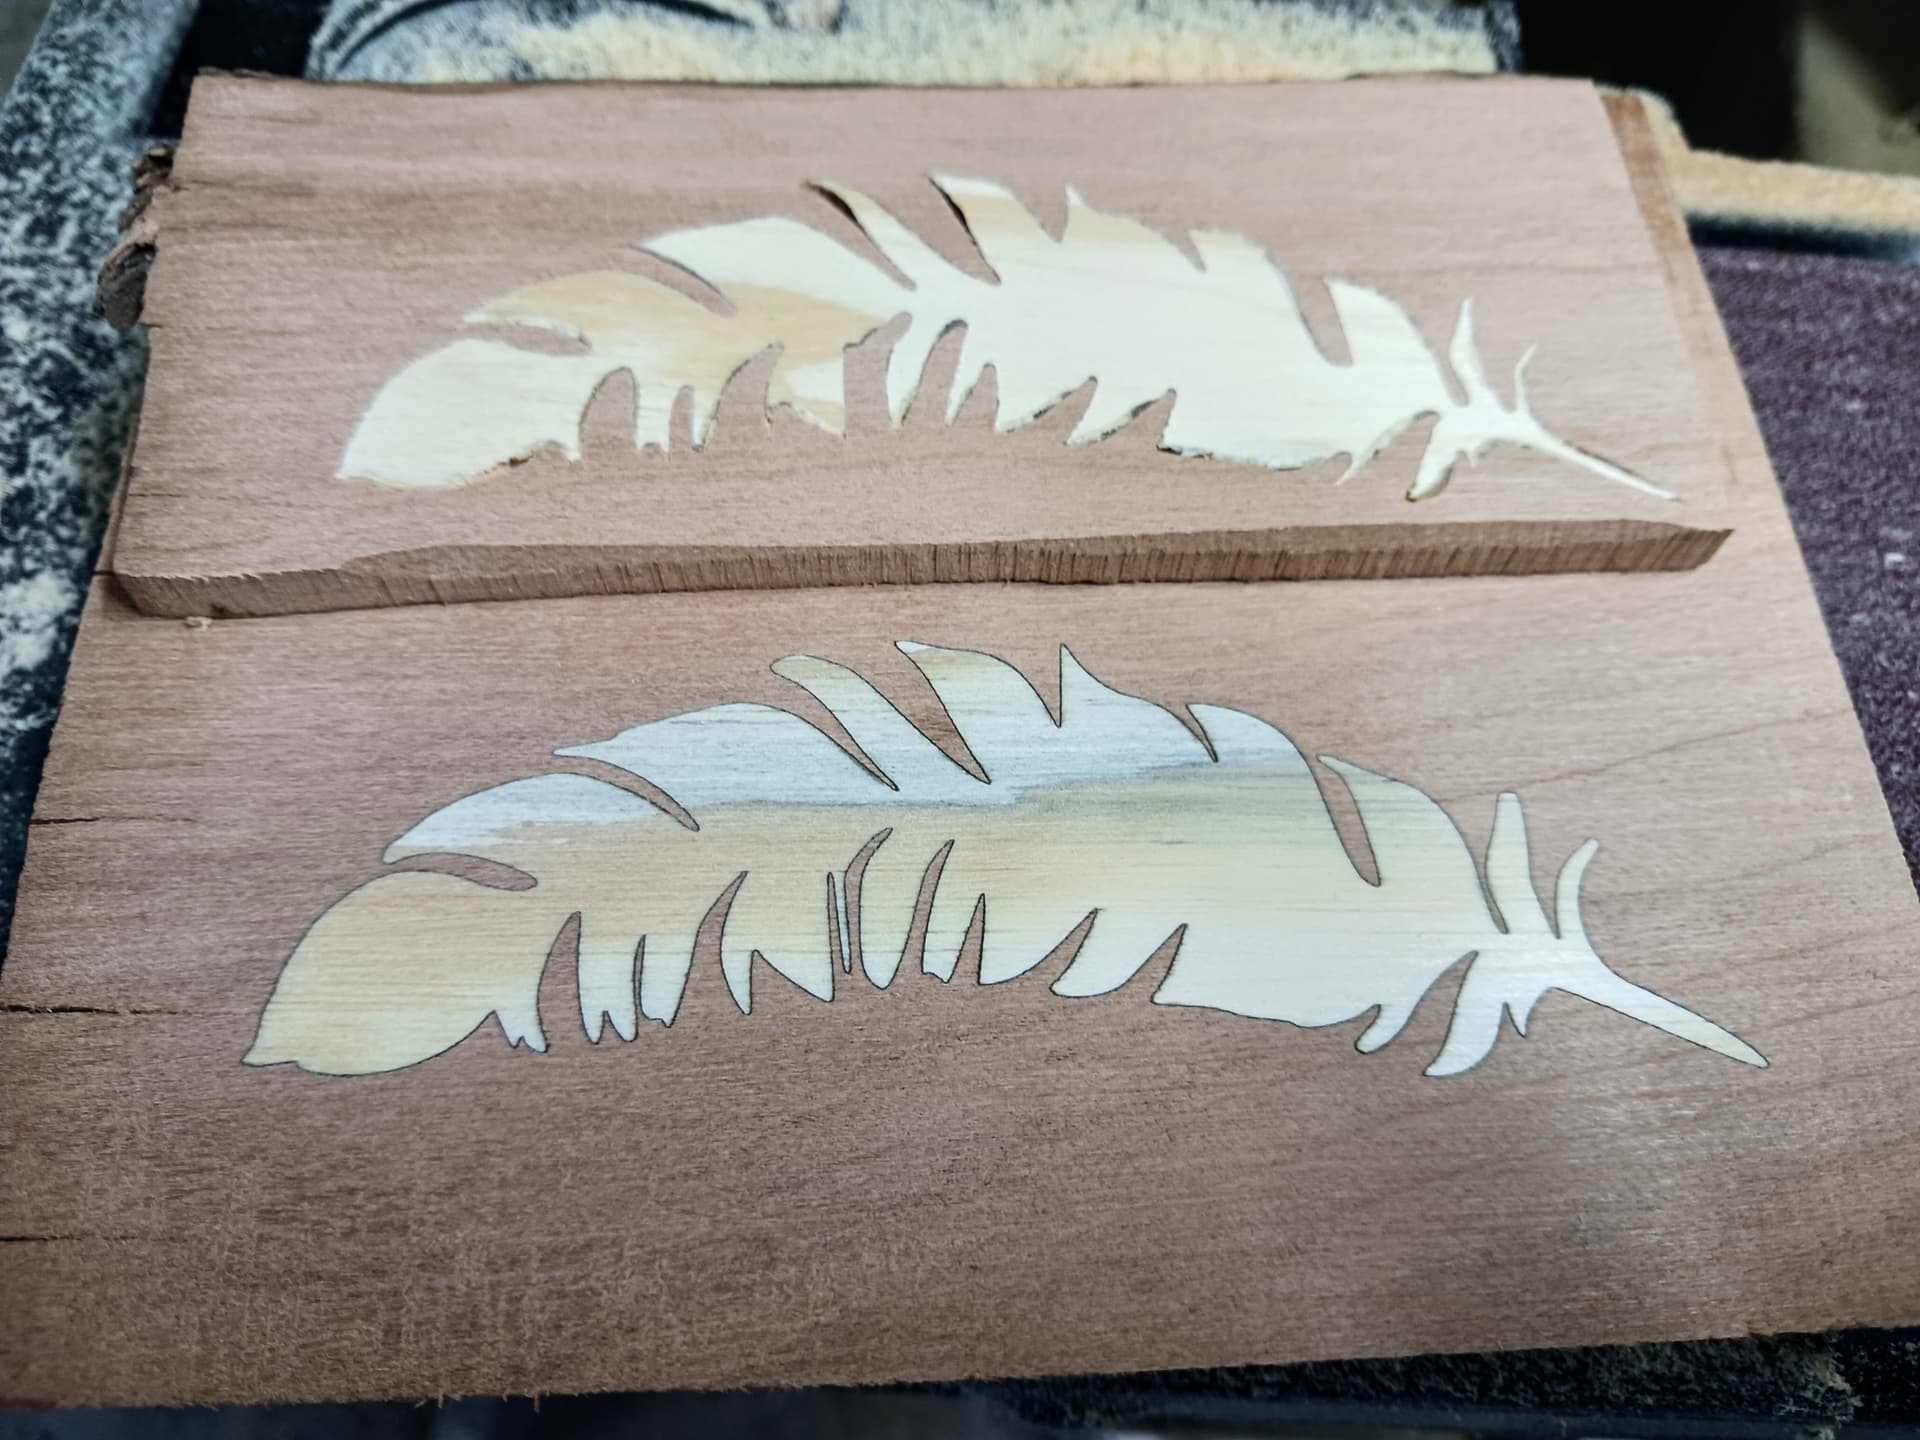
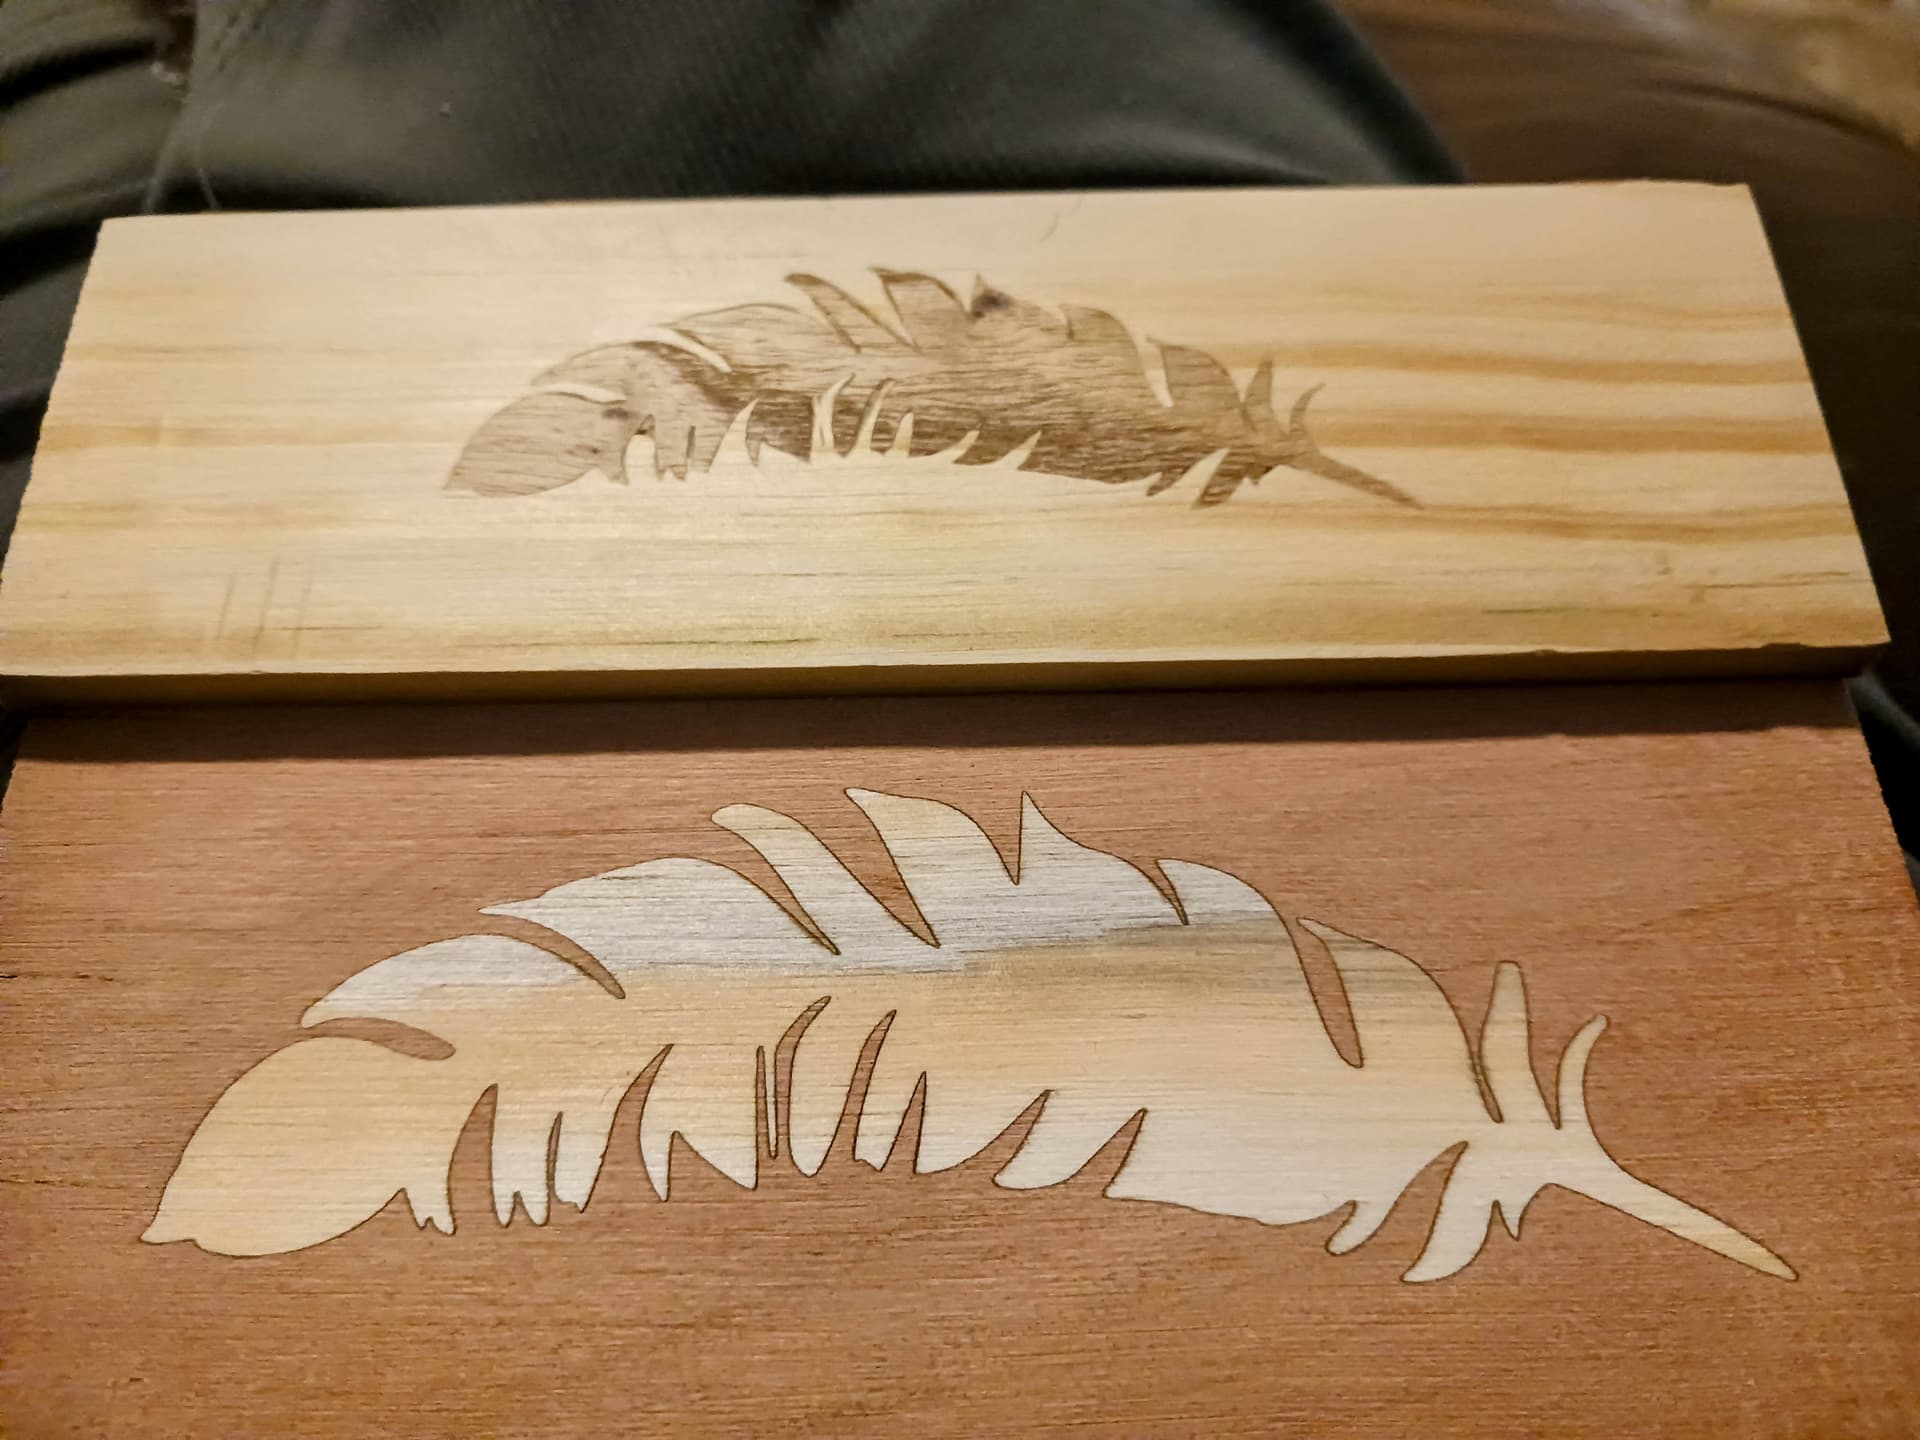
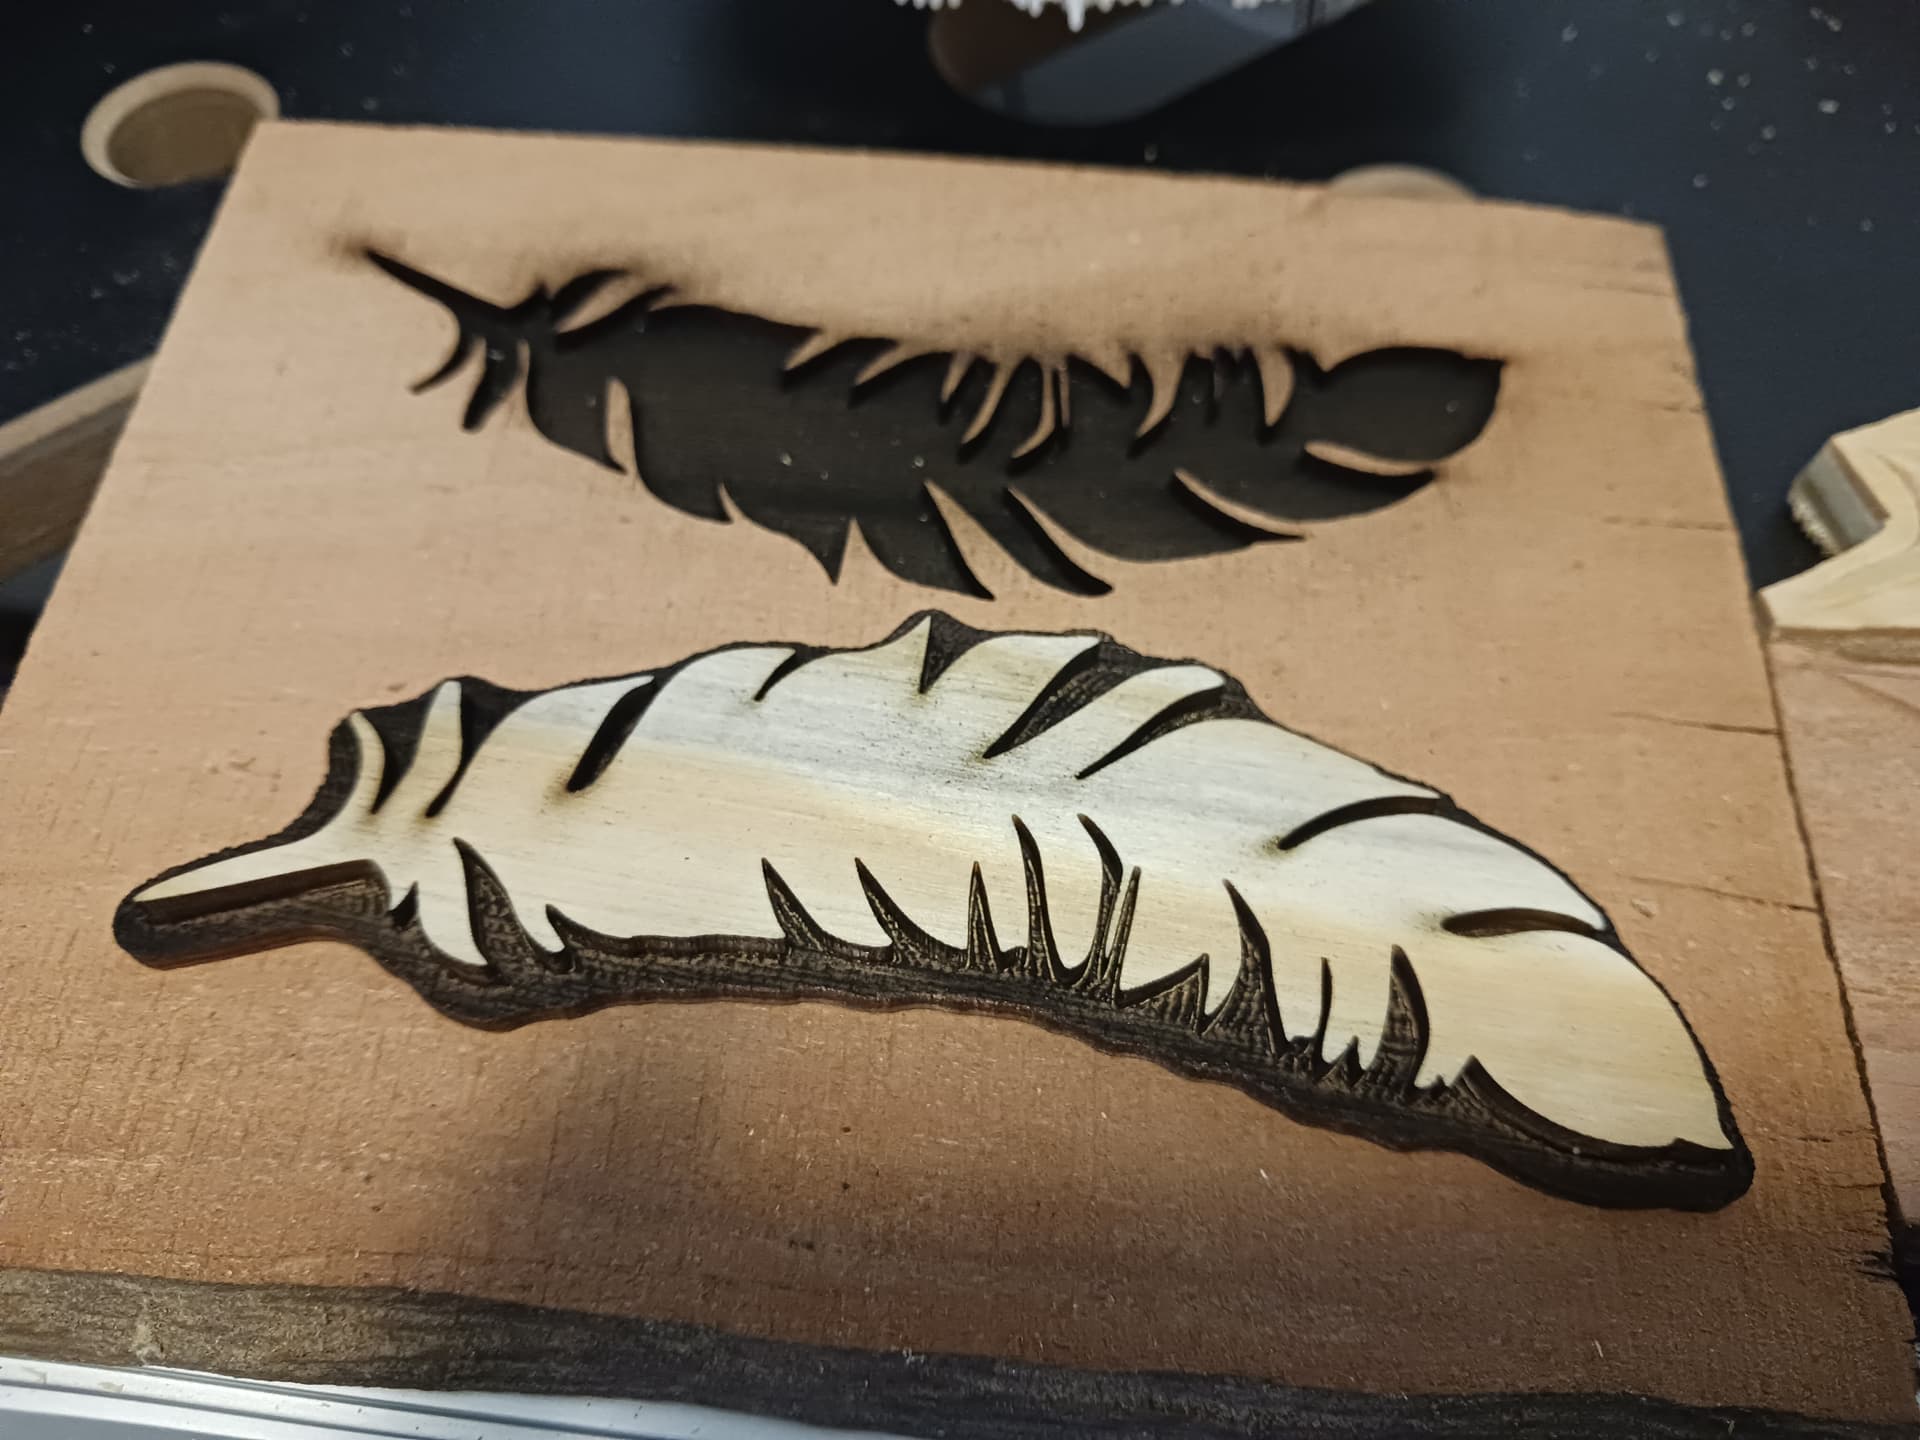
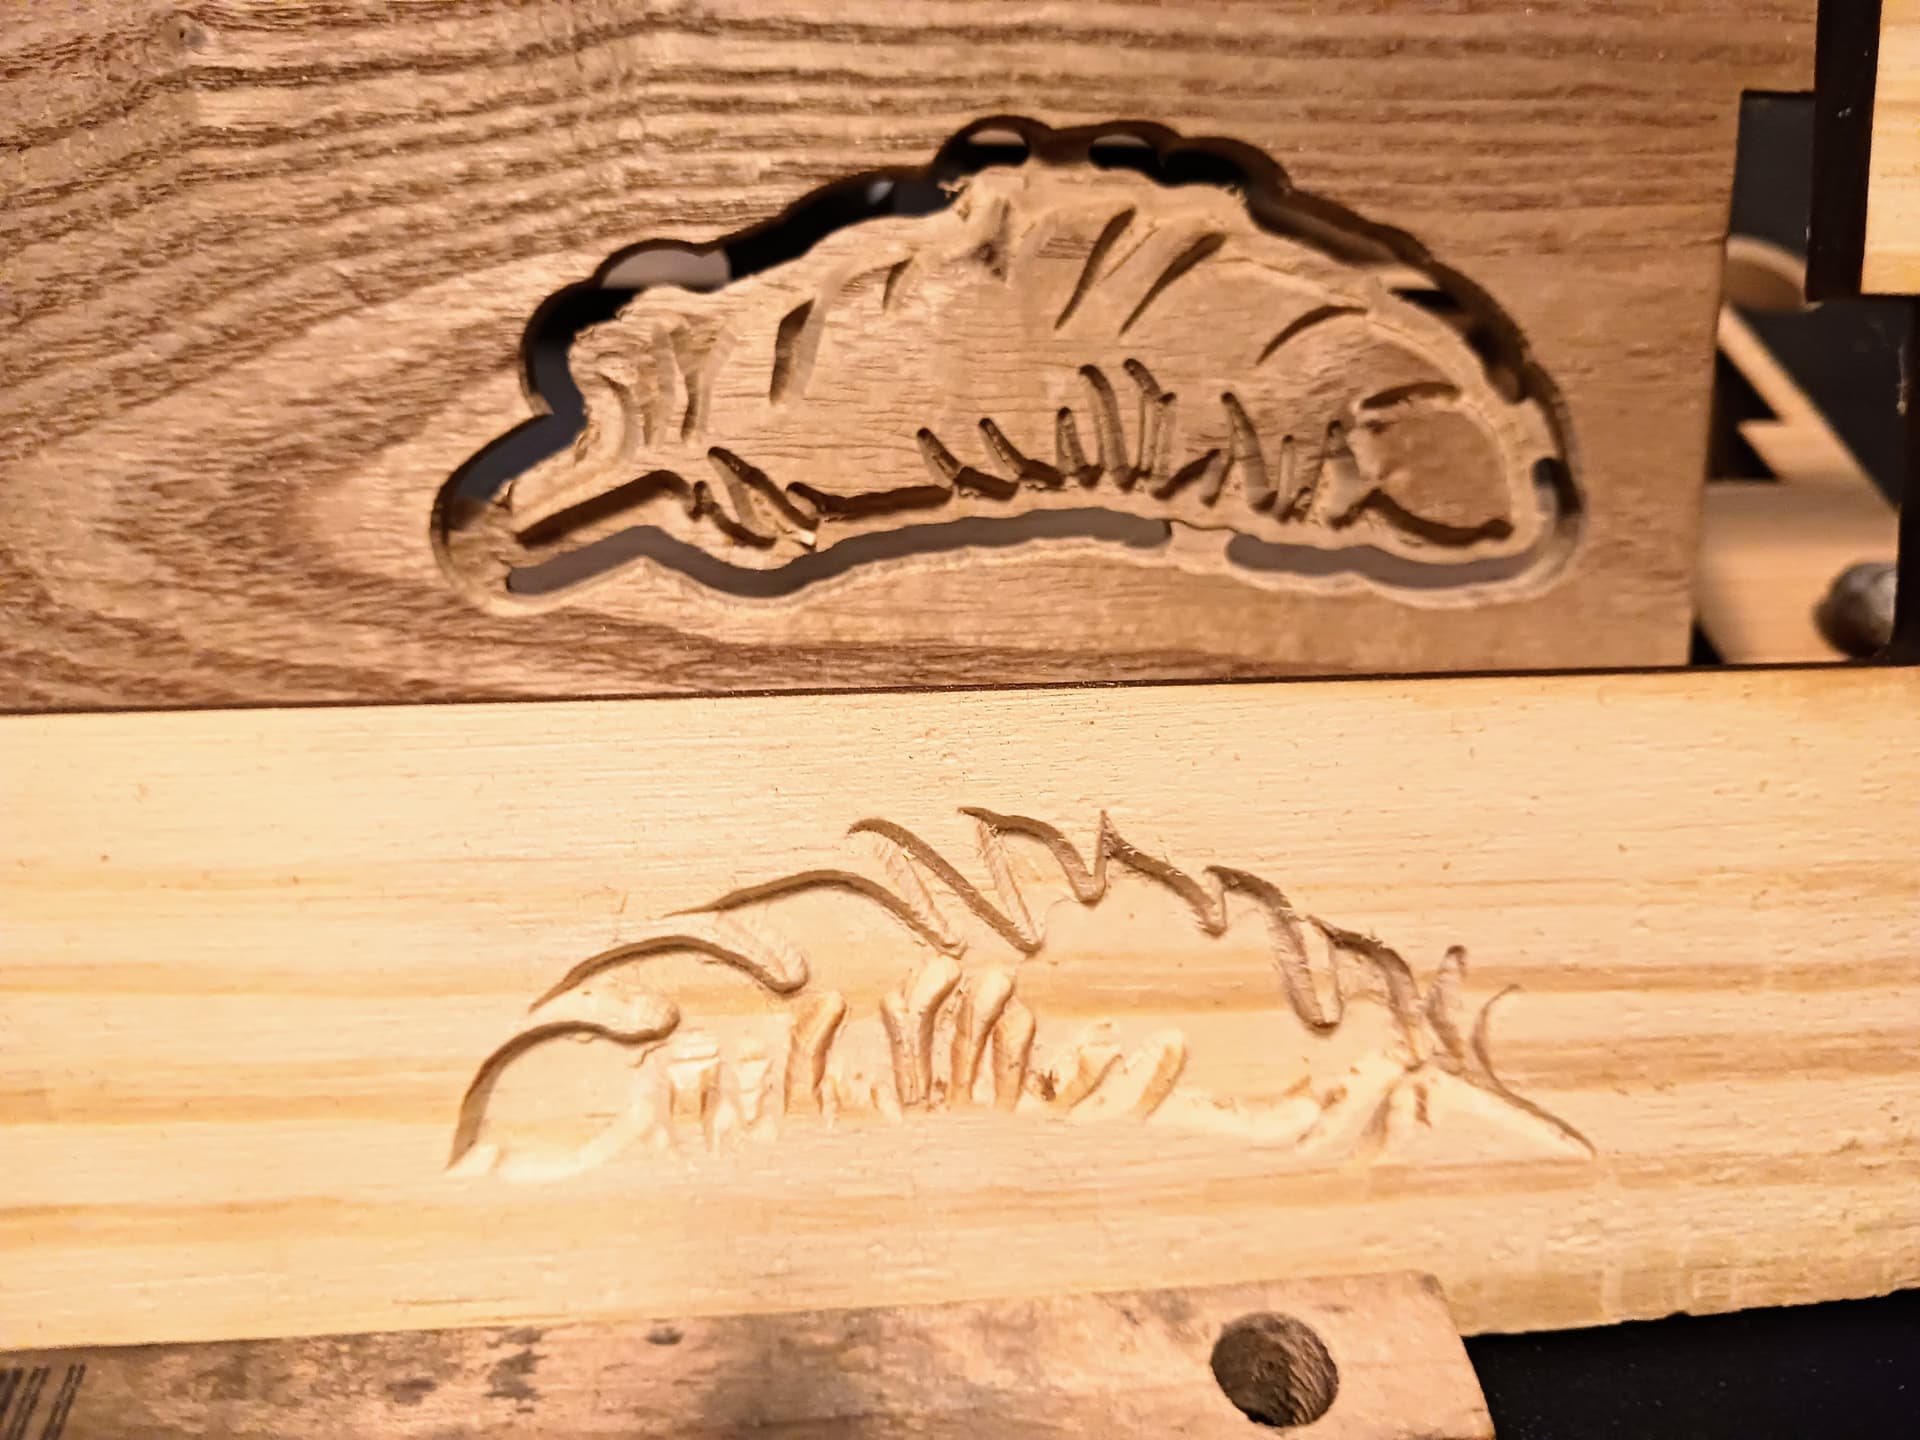
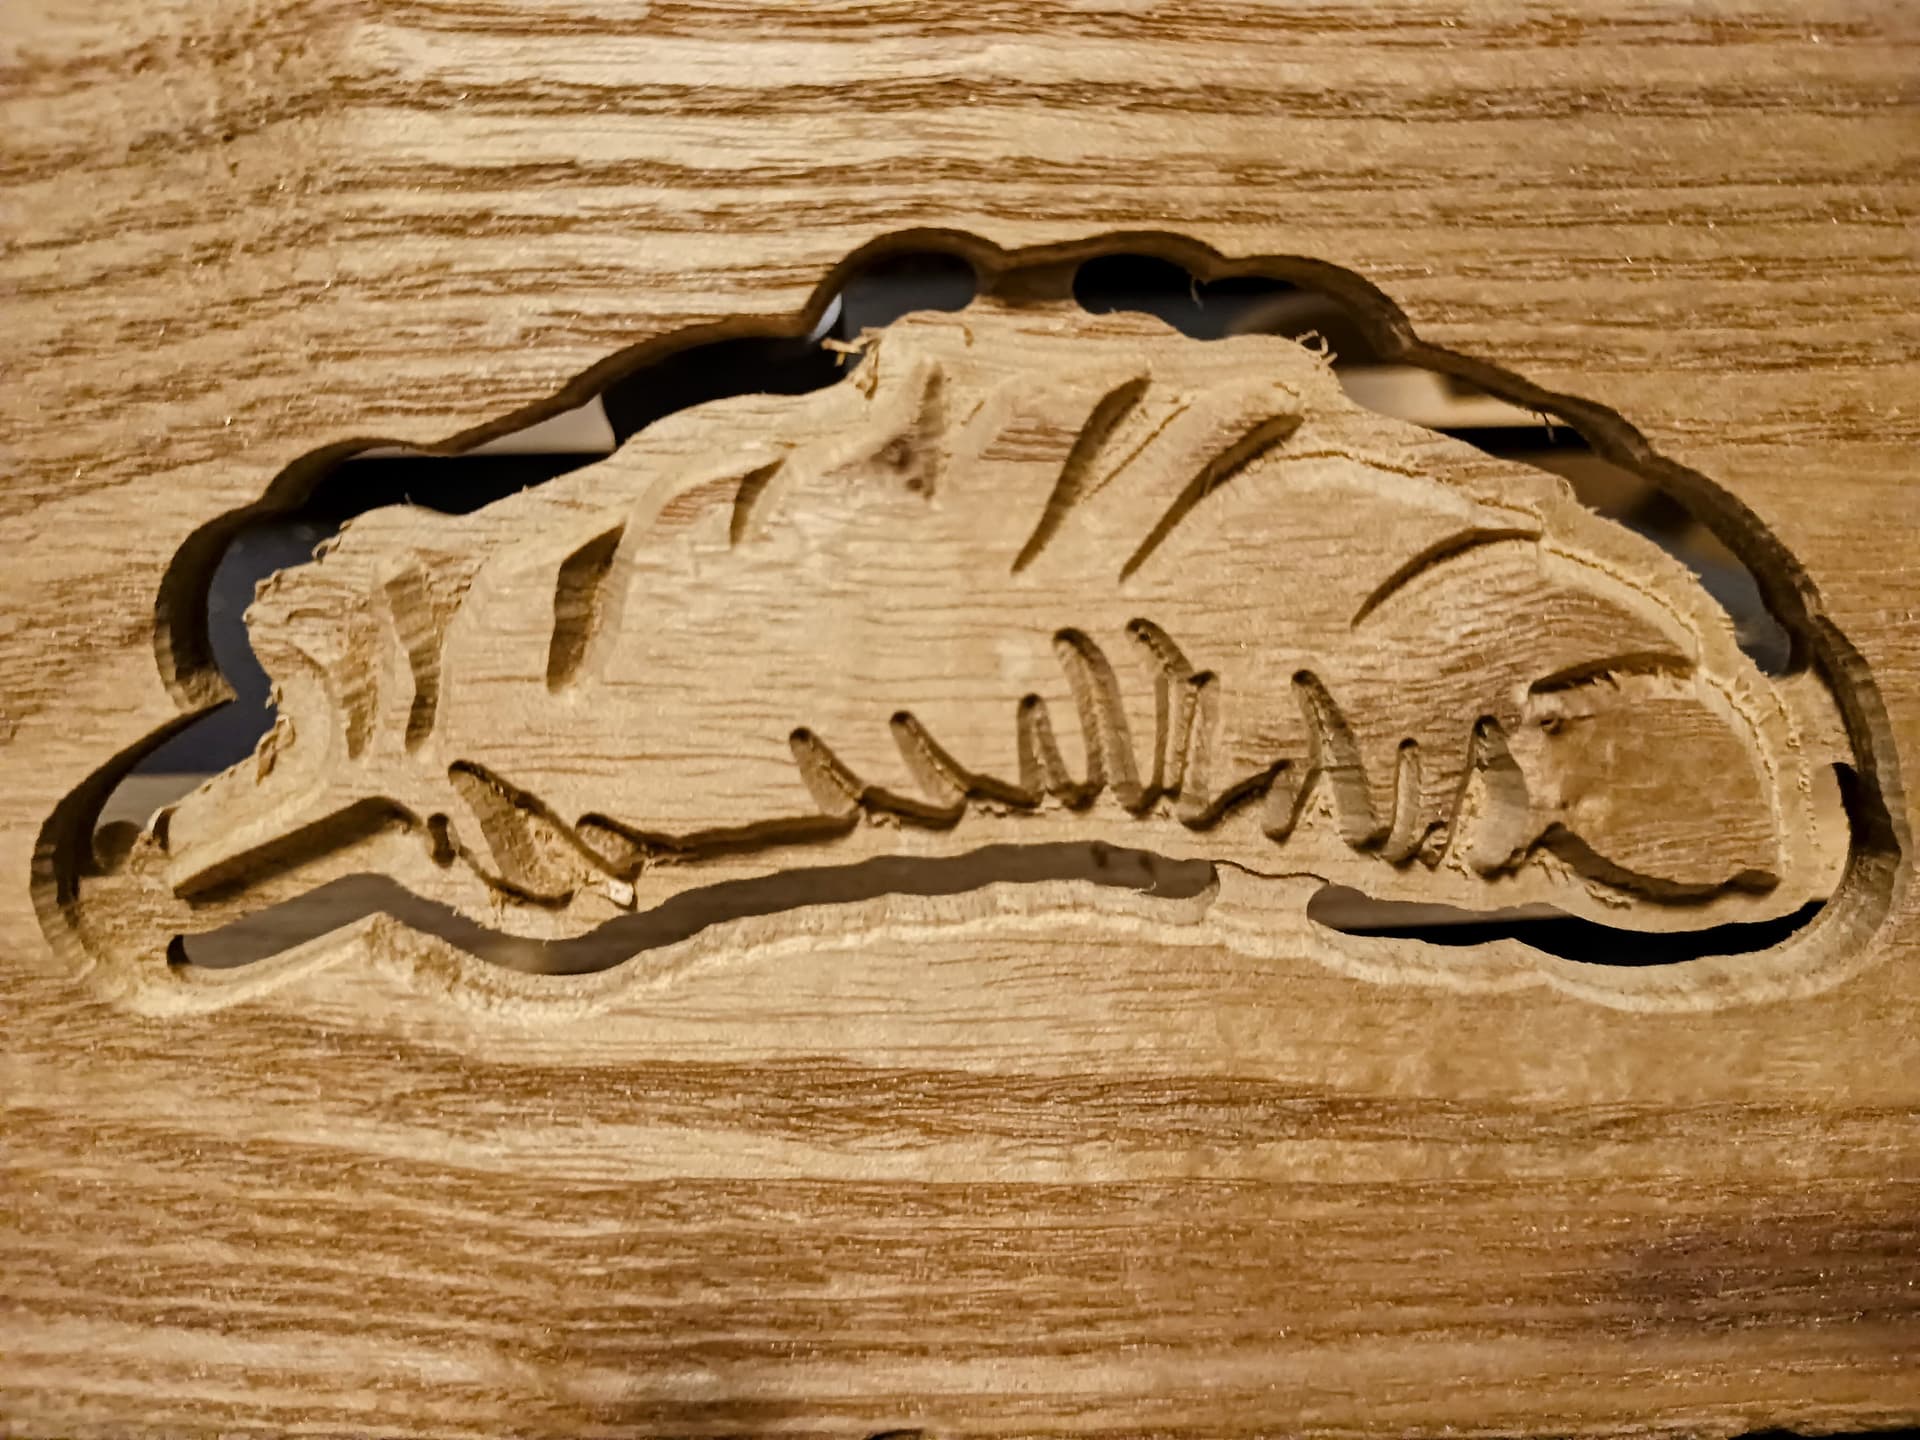
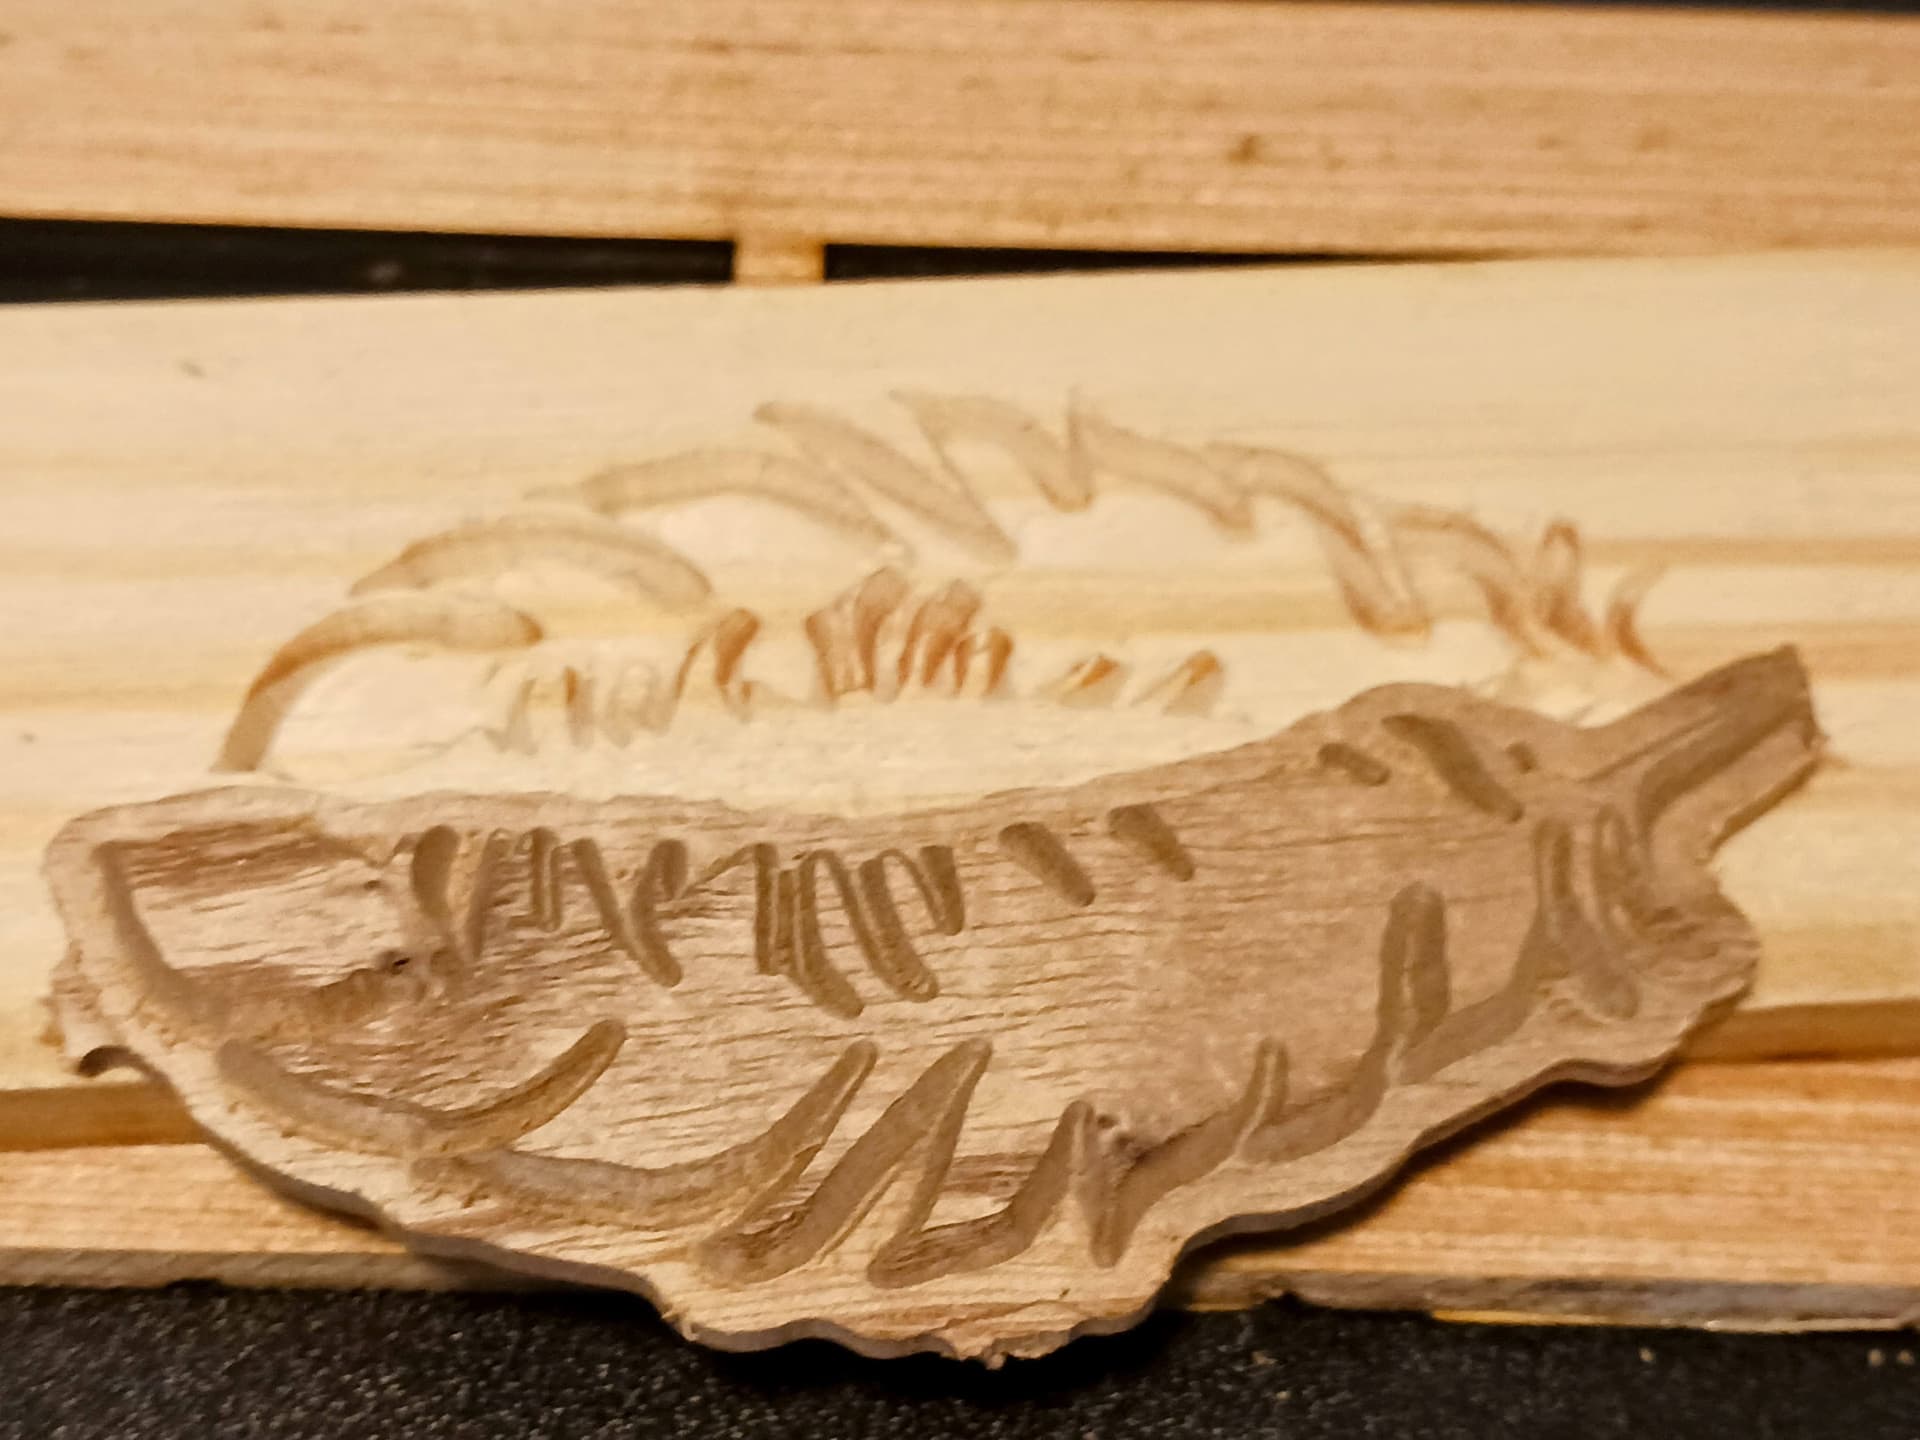
And V-carved inlays have been a topic of discussion recently with the early releases of MillMage. So, with laser cut inlays experience under my belt, I’ve been looking into how accomplish them with MPR&P. I ran across this very well done video put out by IDG Woodcraft and took advantage of the offer of a free instruction kit (and a bunch of emails offering other stuff) for the feather inlay… including the gcode files for the Longmill CNC used in the video.

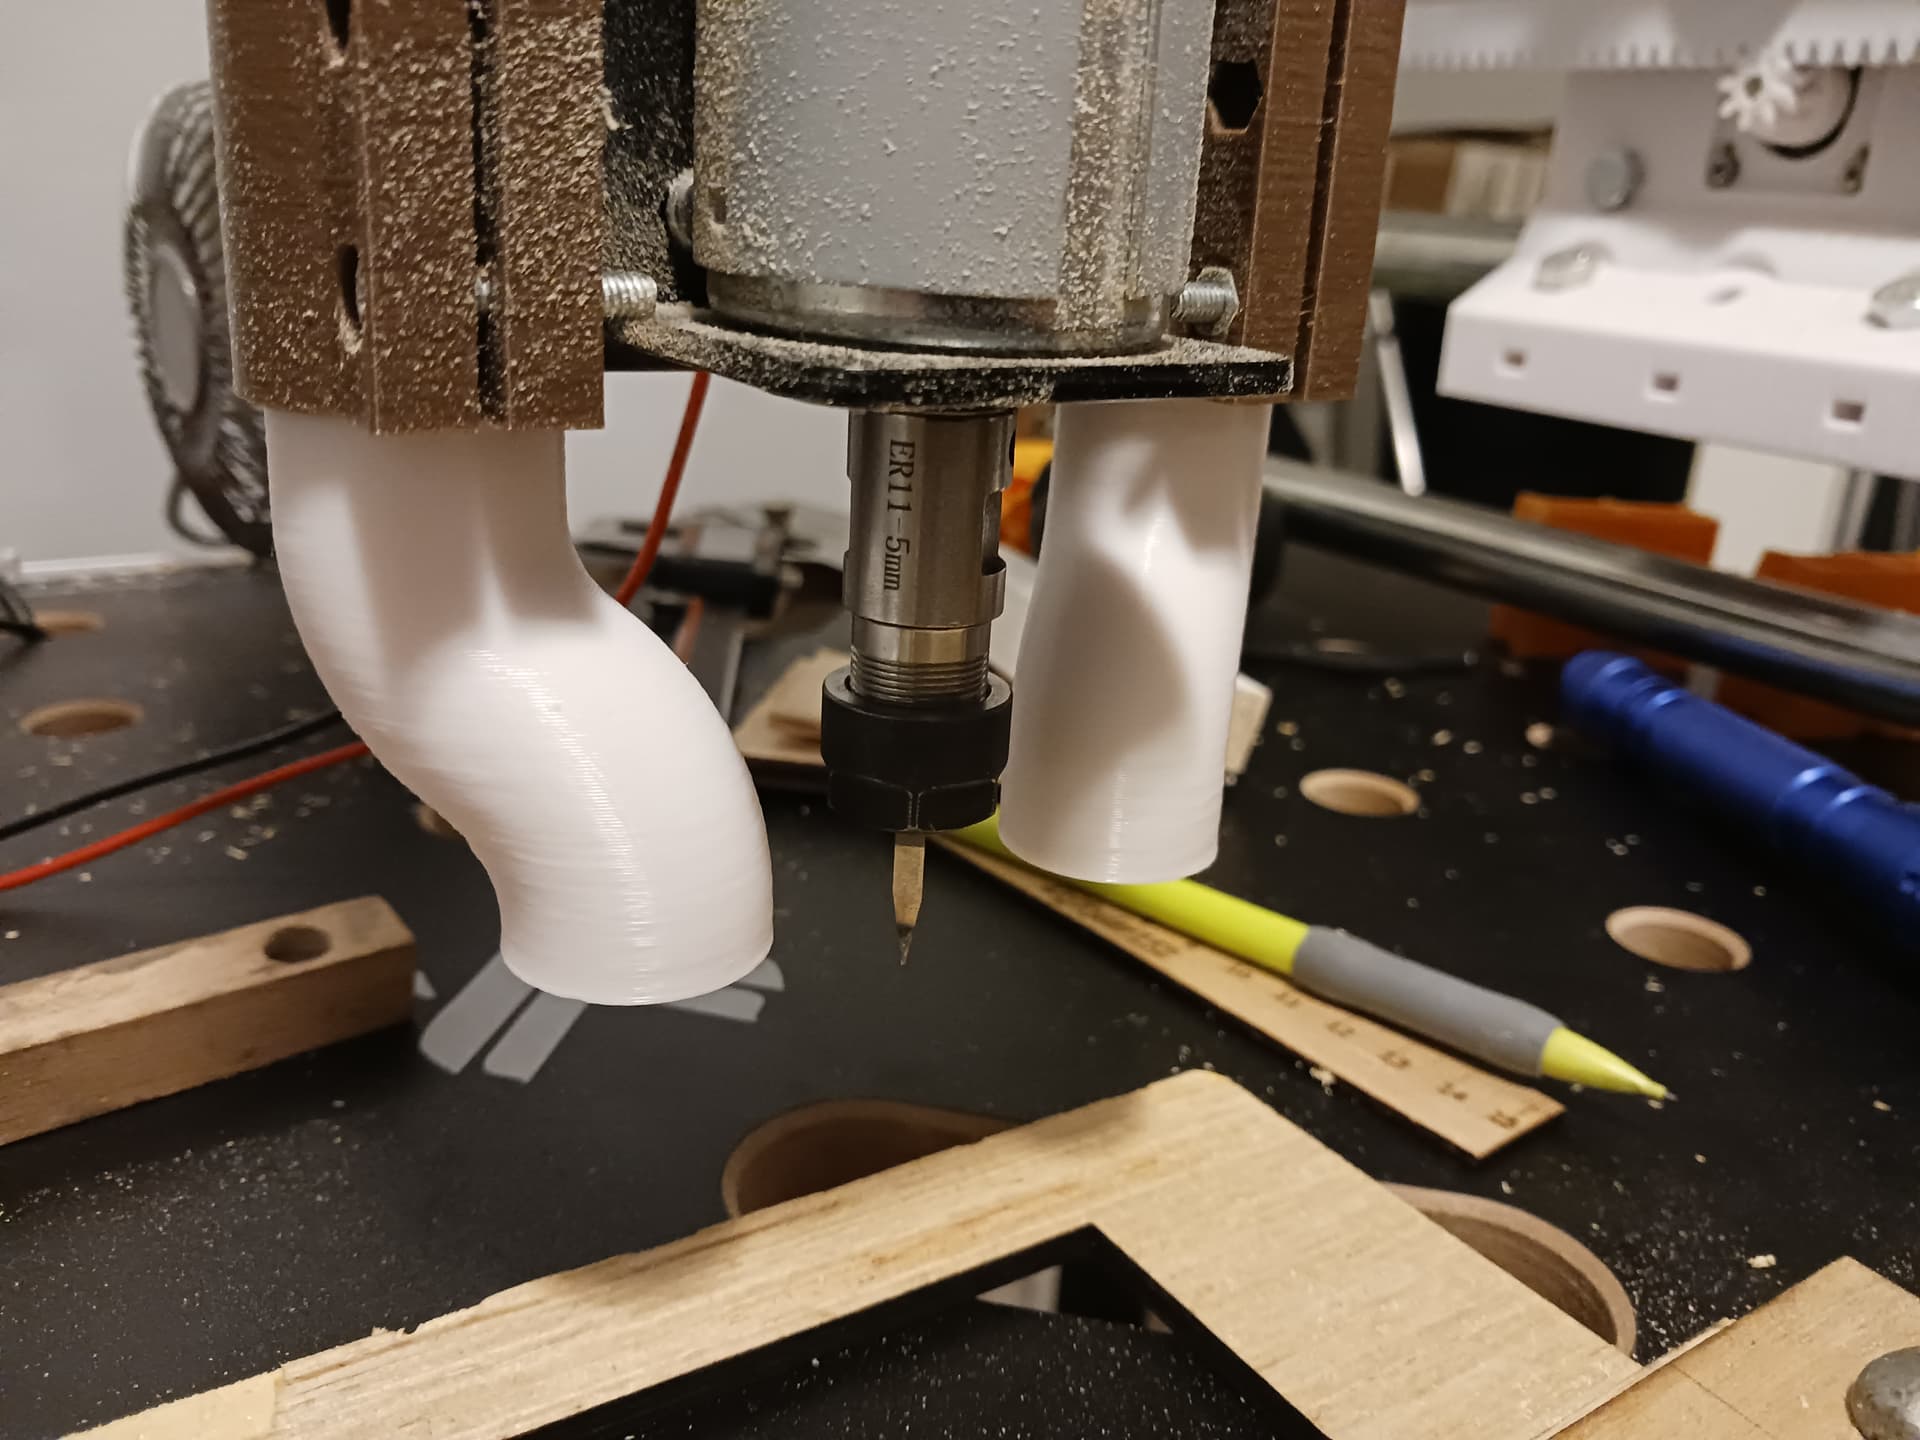
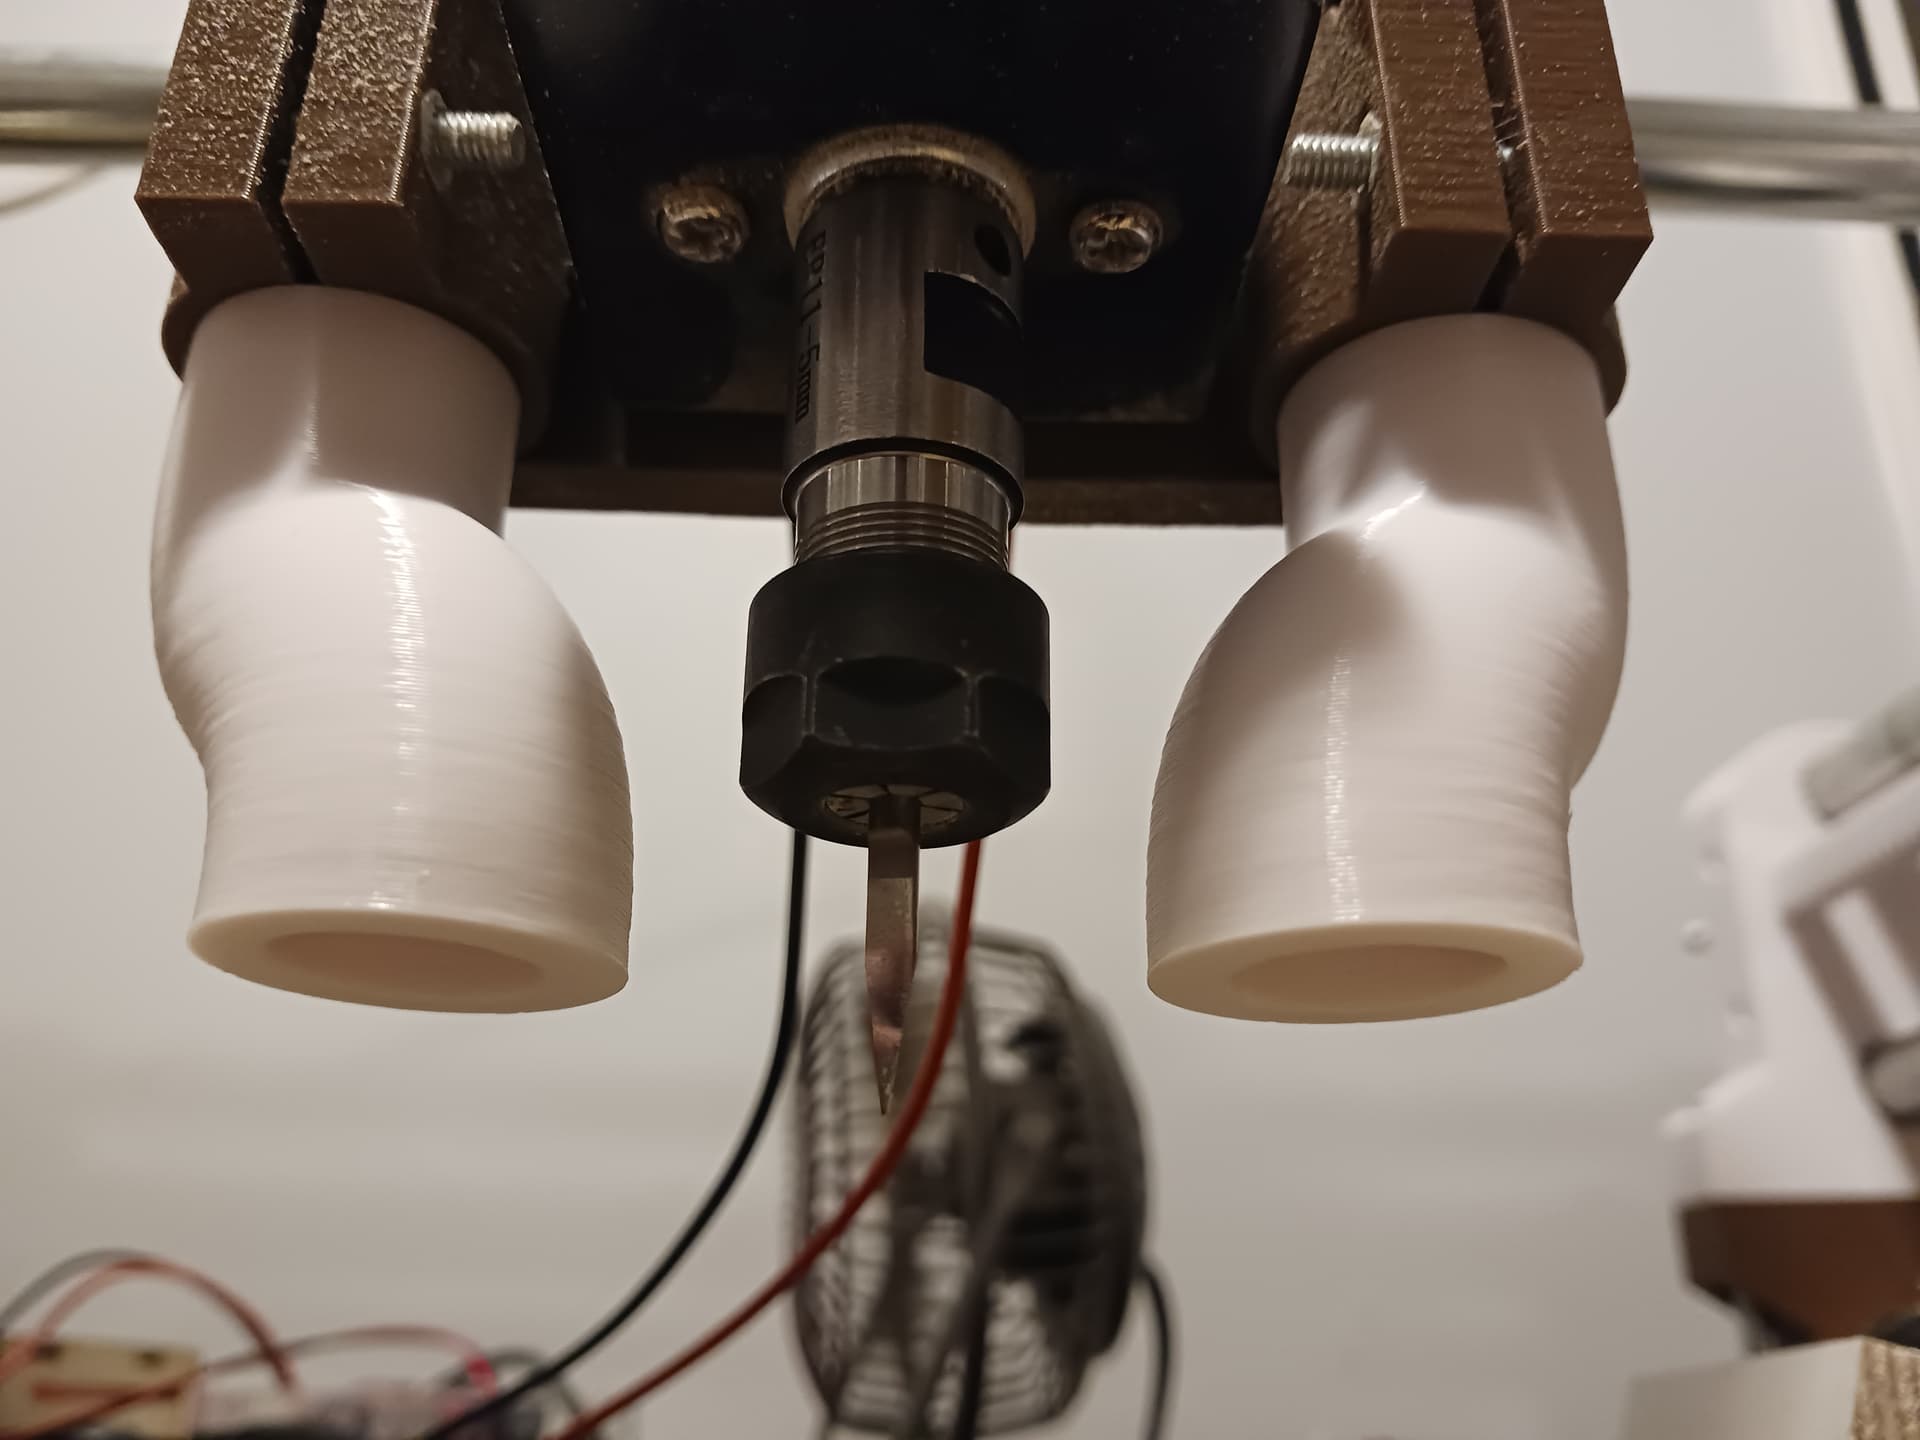
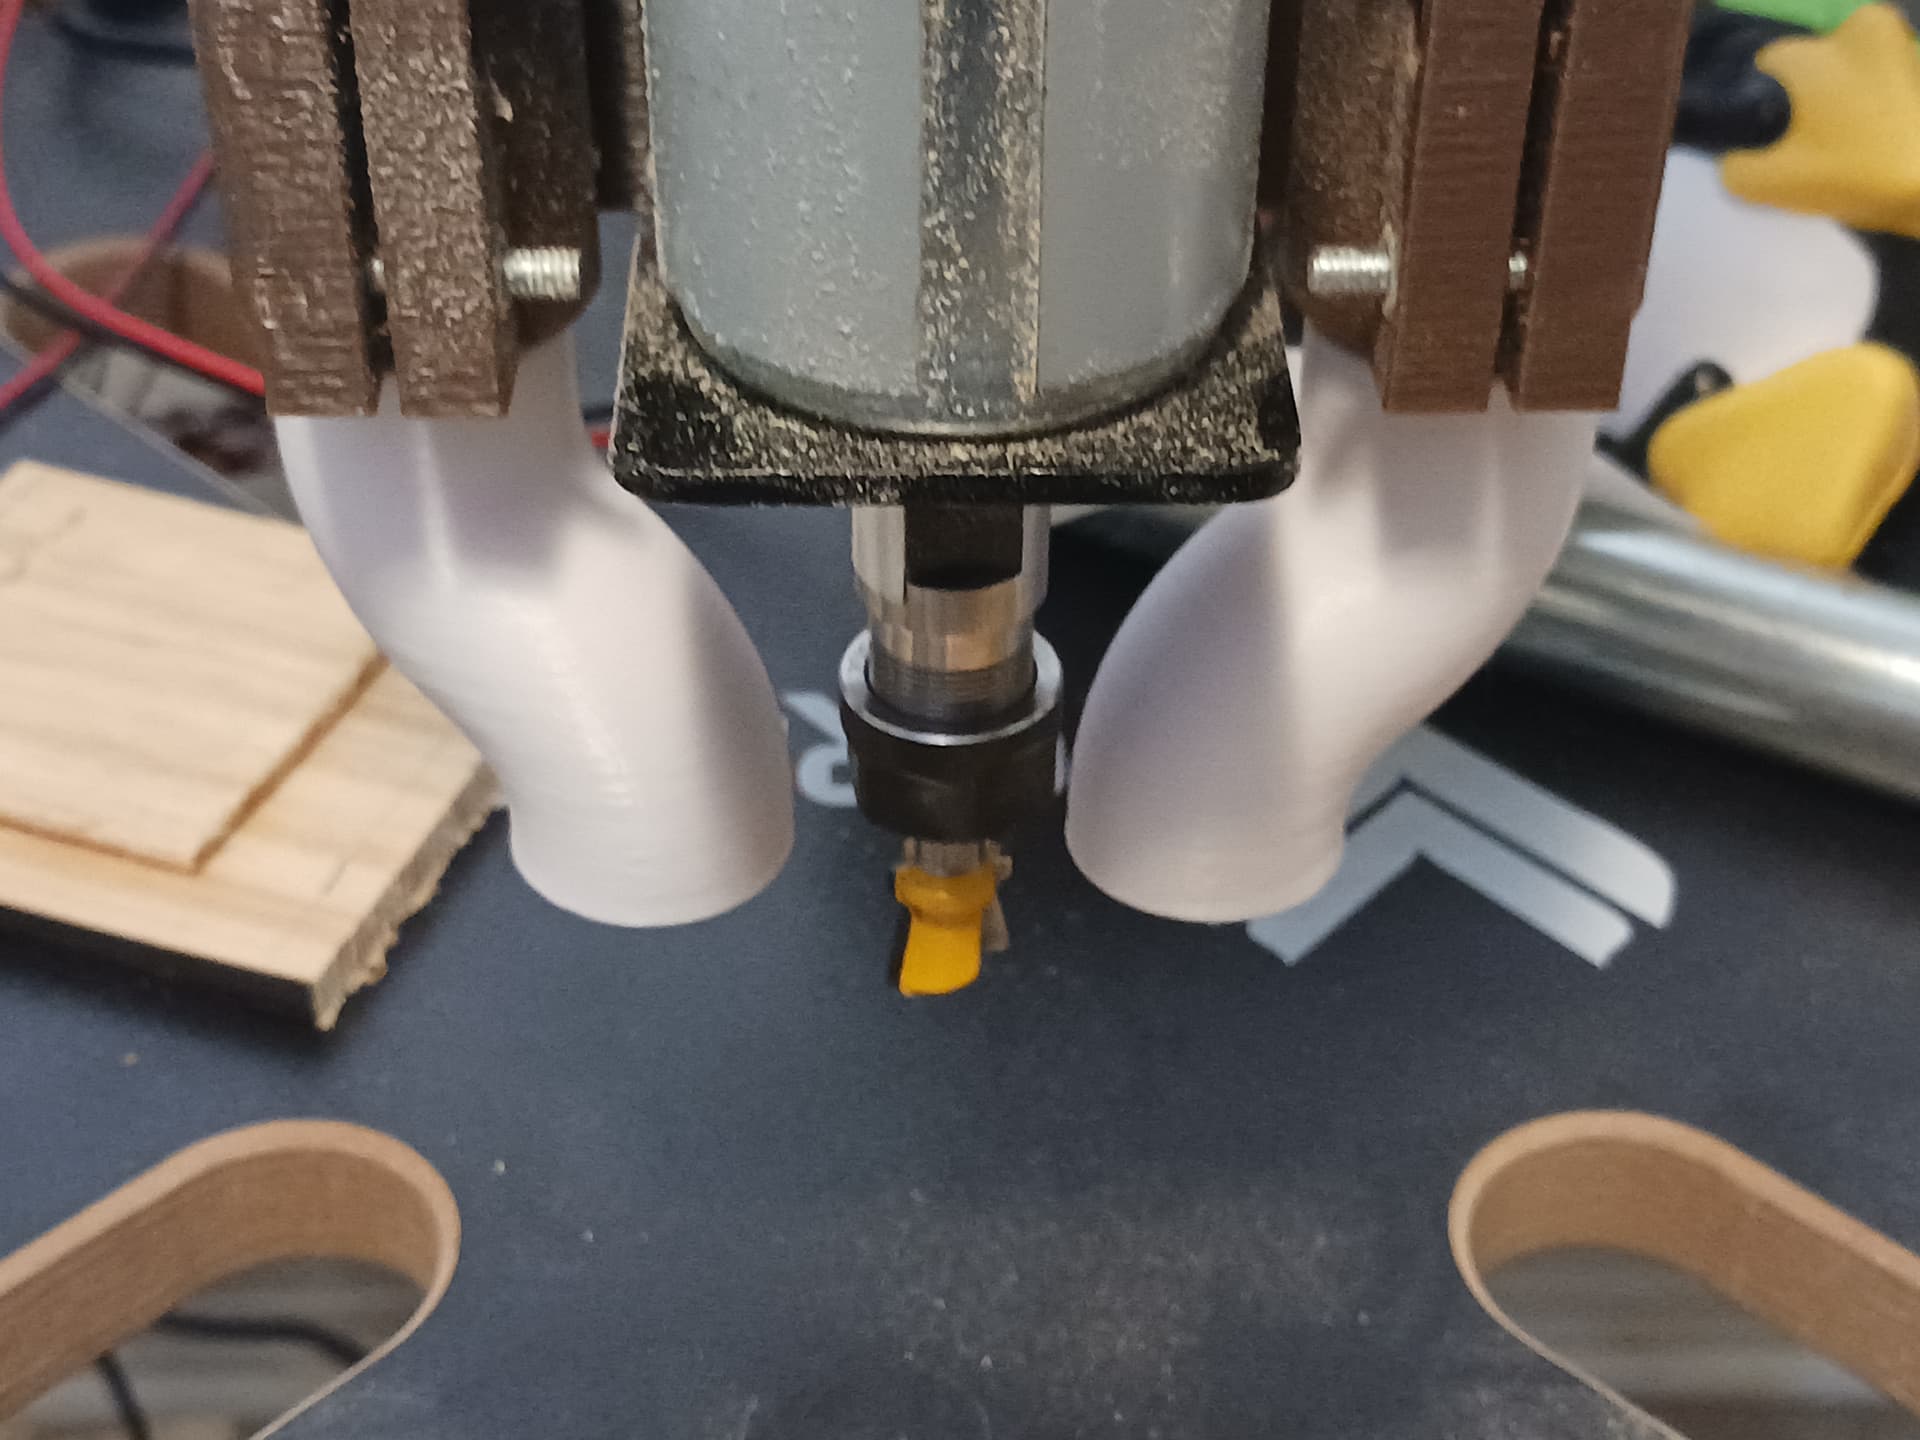
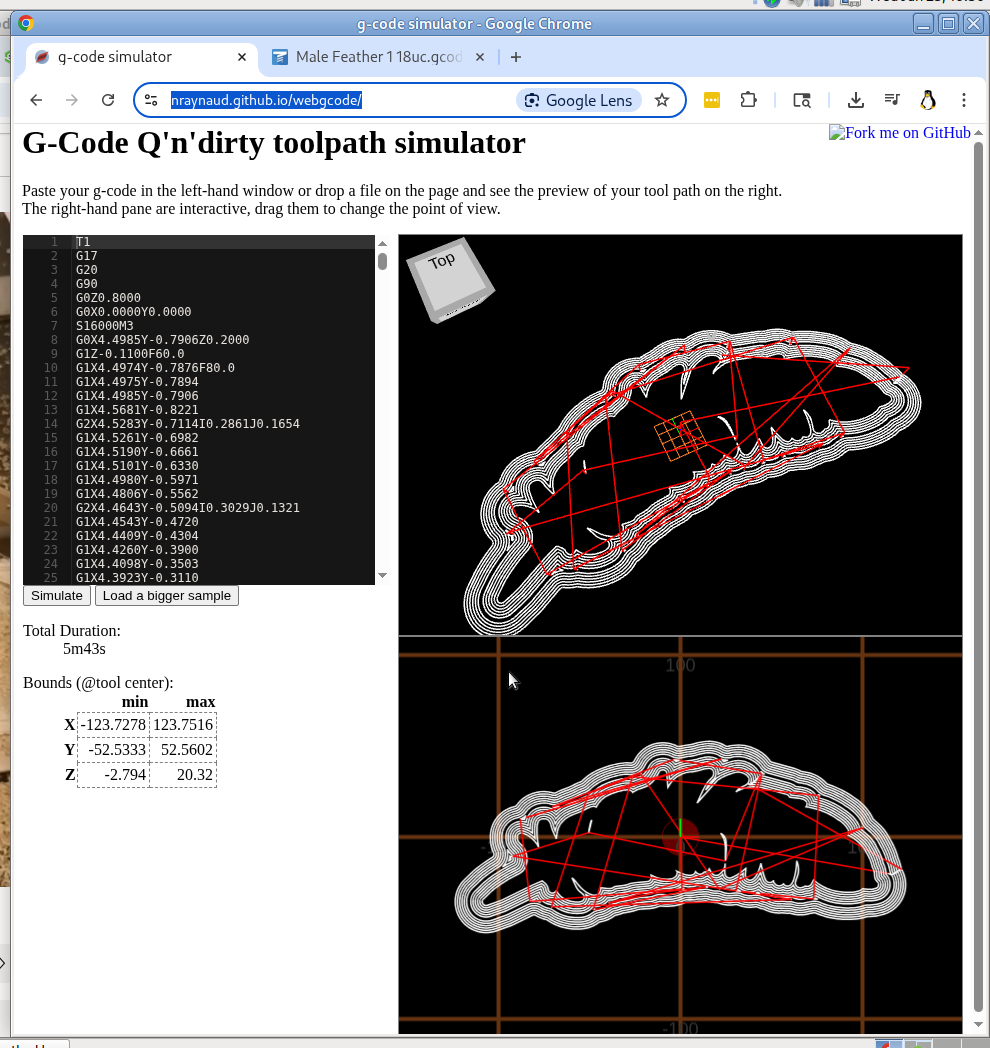
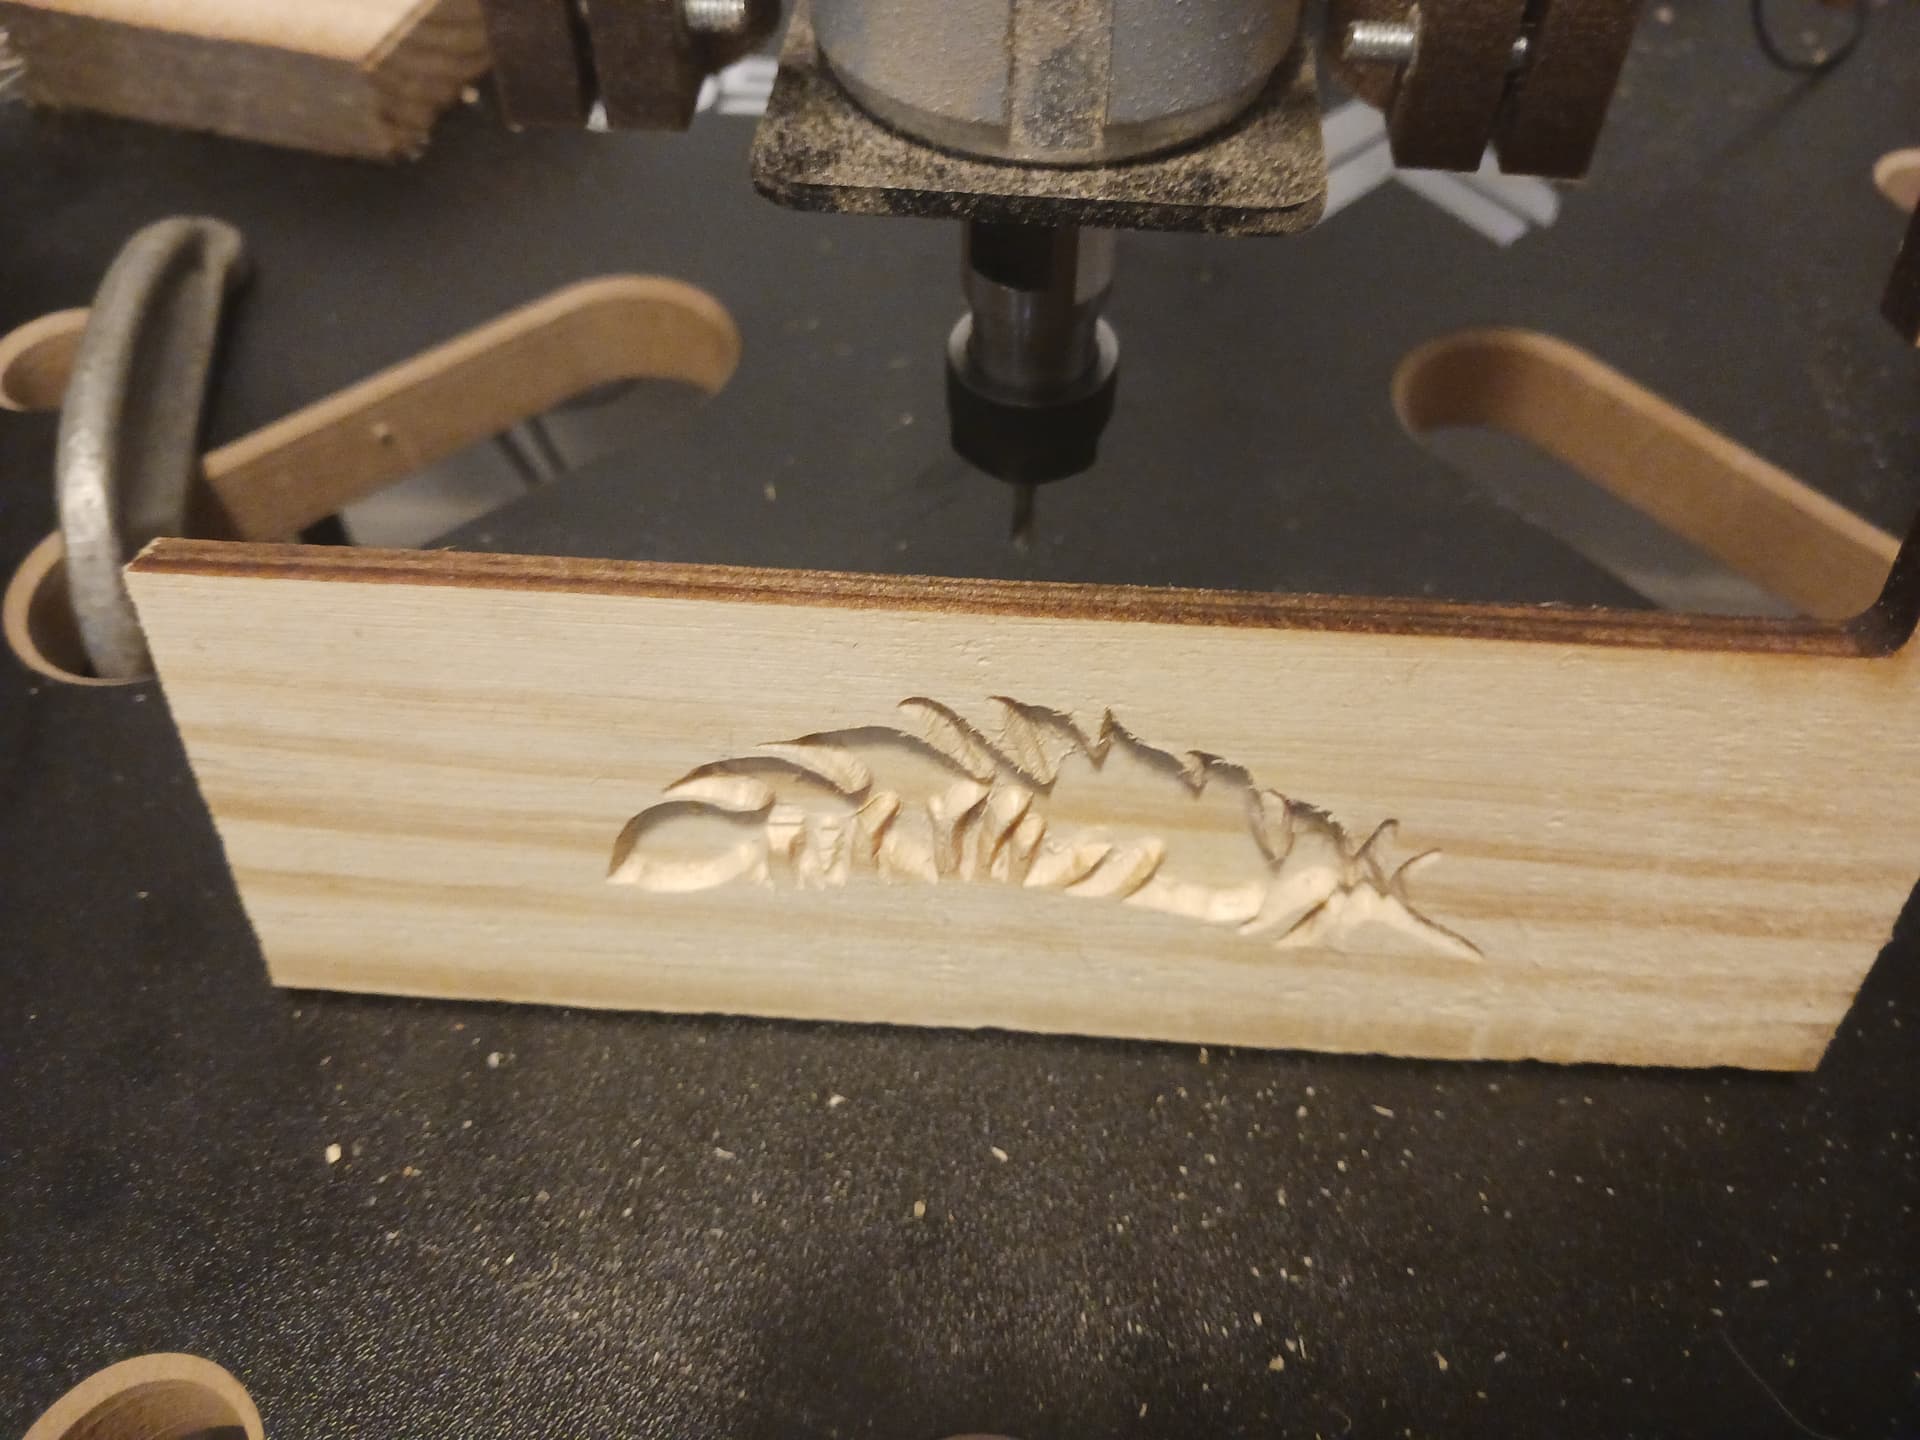
I uploaded the 1/8" end-mill (similar to bit used on the Longmill) roughing gcode for the feather inlay piece straight into MPR&P… completely unaltered. A first attempt was running beautifully but ended with a USB disconnect between UGS and GRBL about 5000 lines into the 5400+ line job. The hole in the catalpa board (and my new work surface) is the result of me working through the mid-job disconnect problem. I’m now using Jeff’s V1Pi and CNC.js once again…
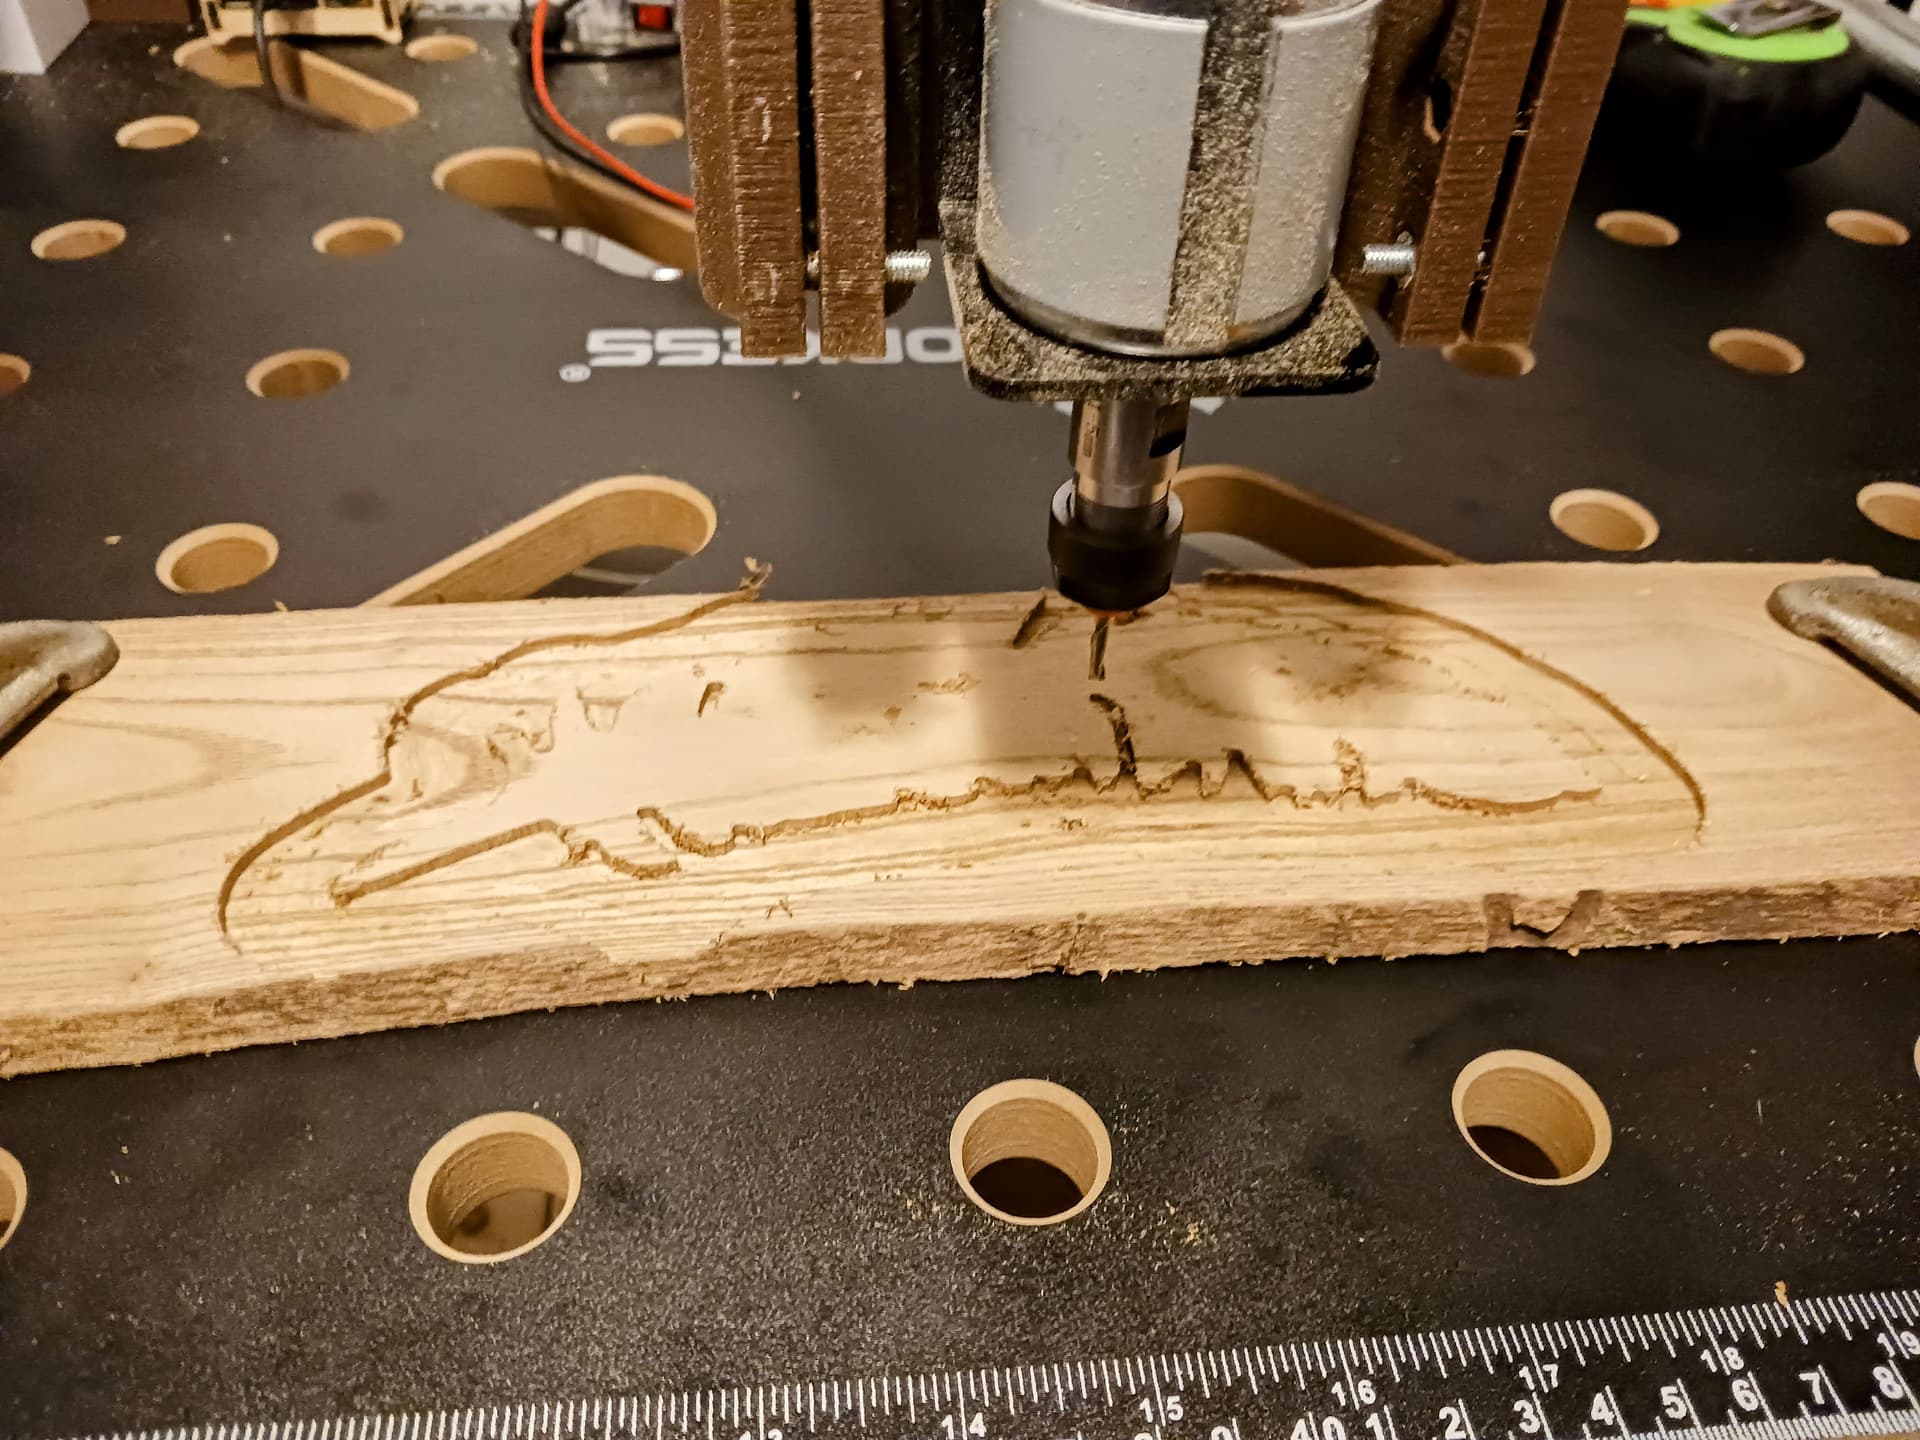
In action and a bit noisy… but it is a ROUGHING cut. Please turn down your volume…

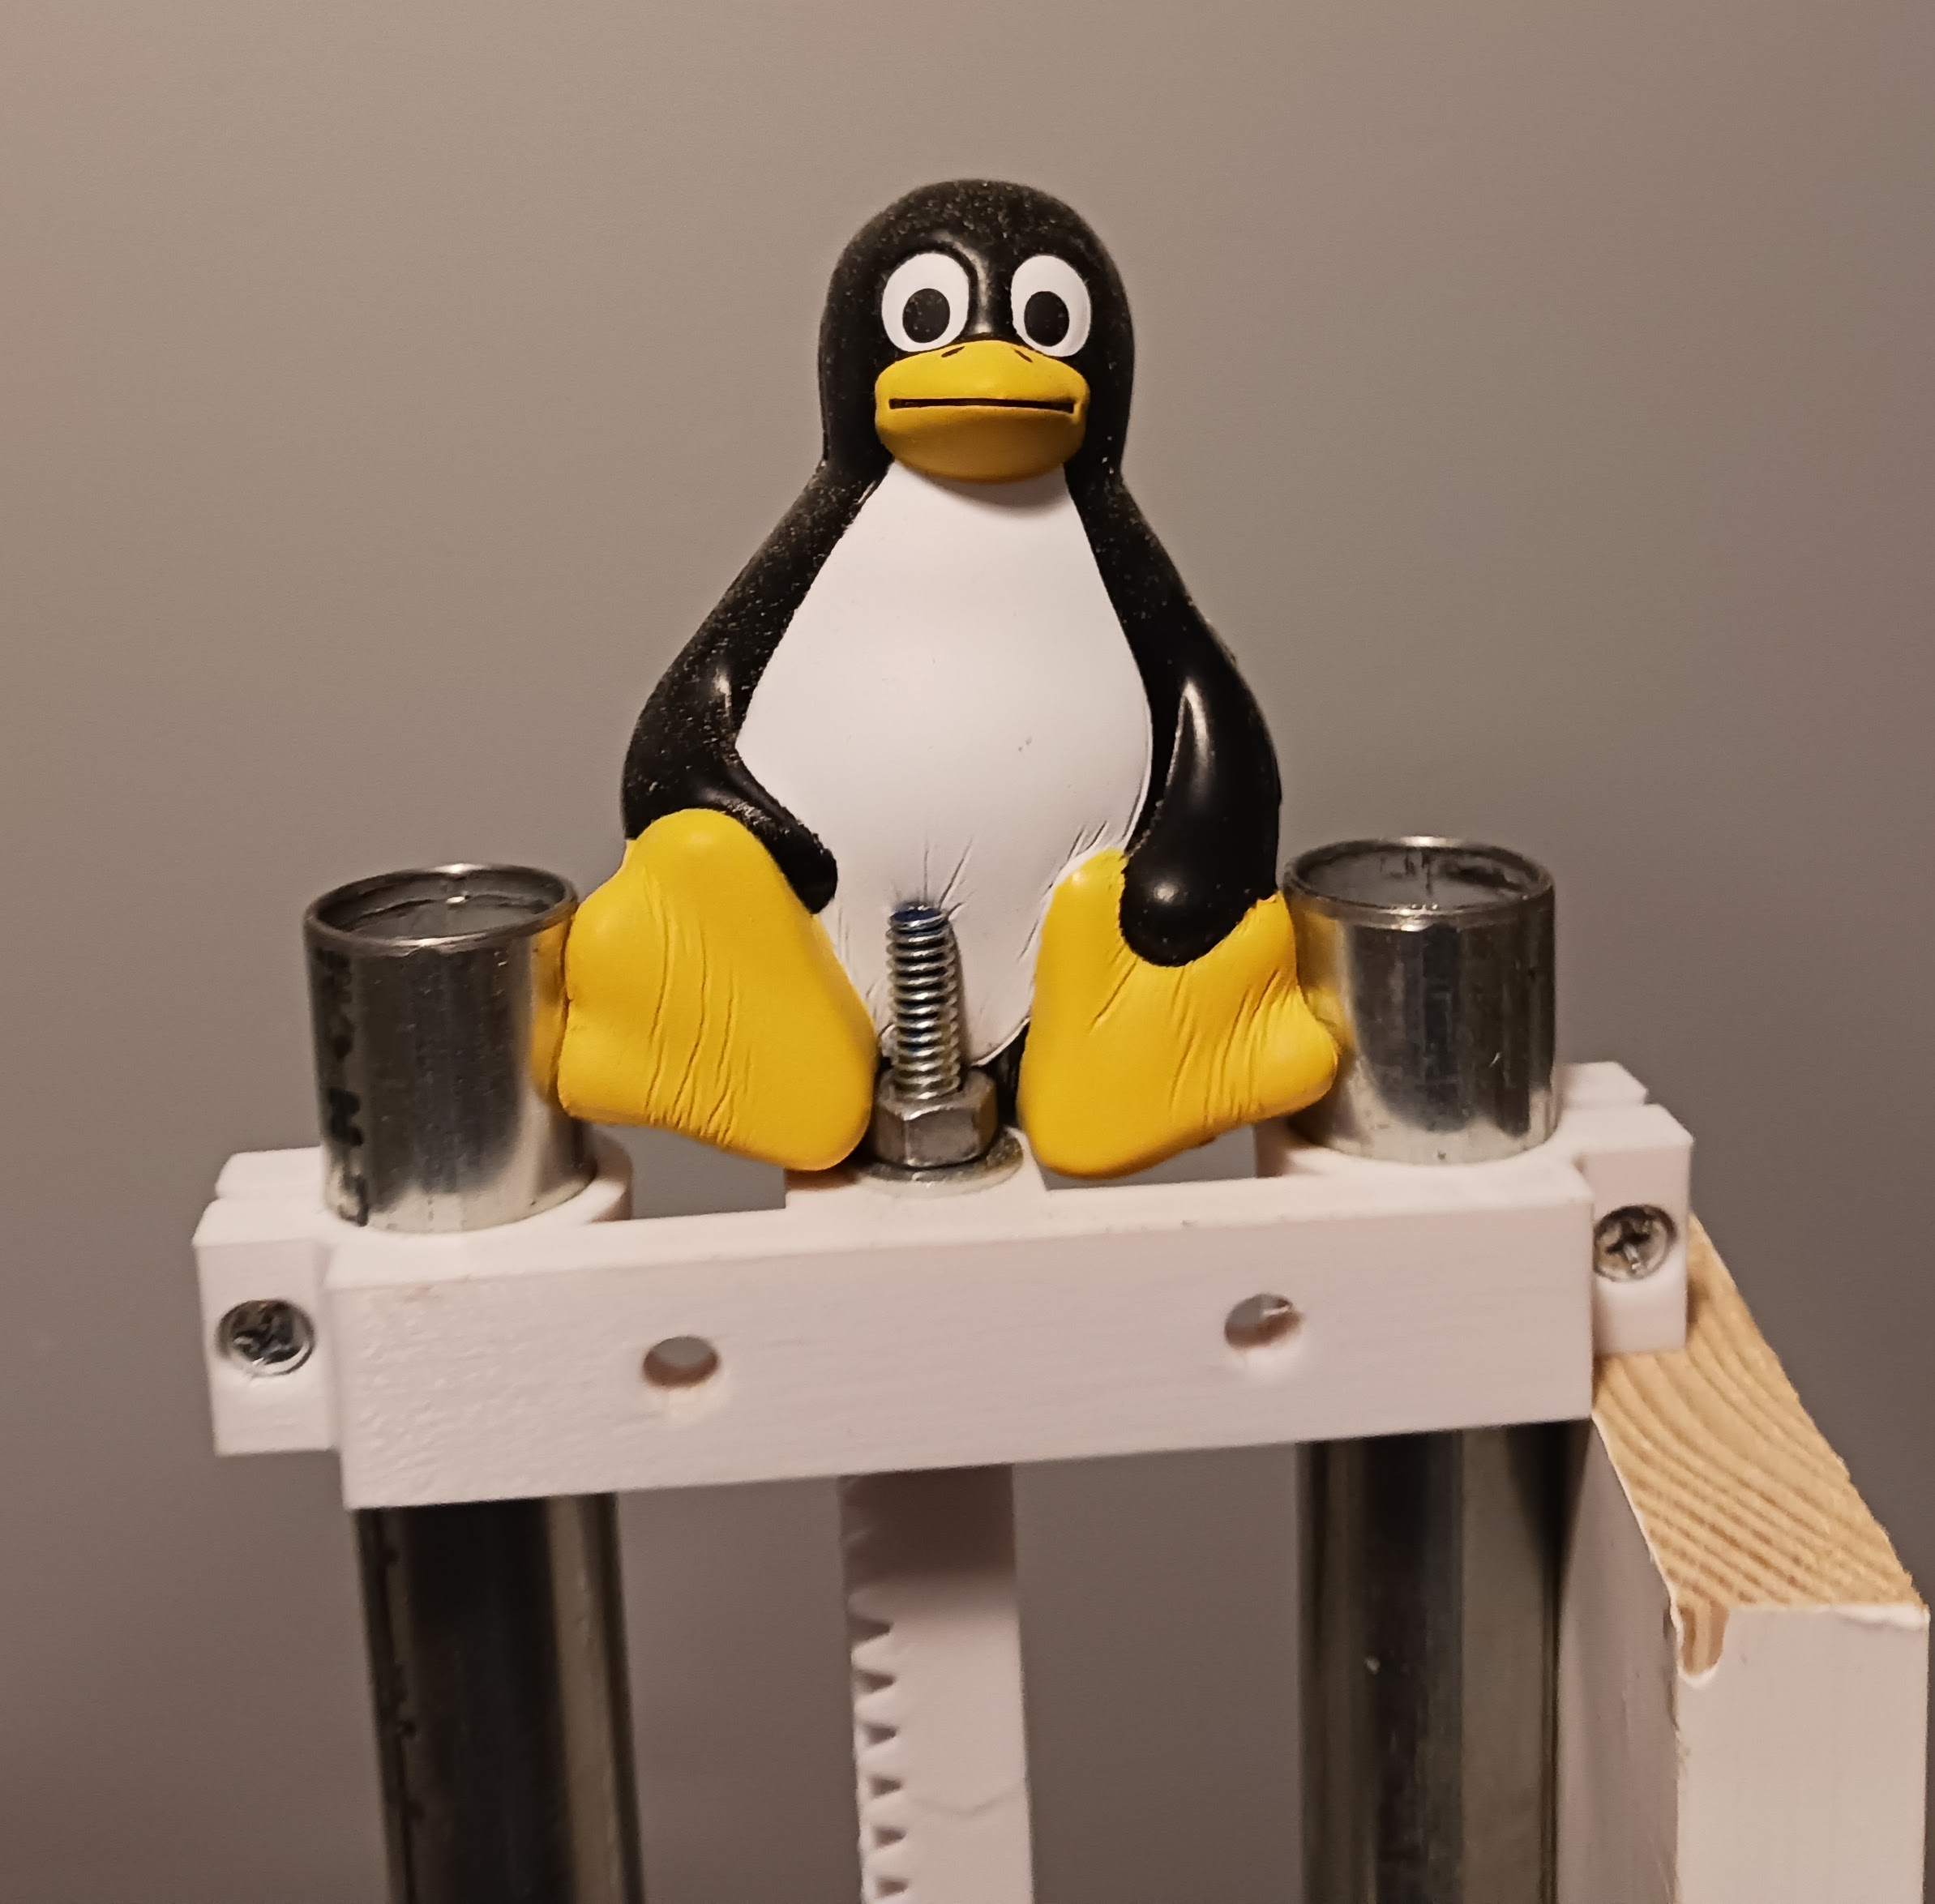
I don’t have a proper 1/4" V-bit (I have one on order from IDC…) to finish the full-sized feather project but have since moved on see if I can process my own inlays. I’m not about to spend the $$$ on the expensive V-Carve software that is most often used for such things… and being a Linux user, the pickins’ seemed pretty slim. I’ve played a bit with F-Engrave, which apparently can do V-carving and inlays, but got bogged down pretty much in the differences in terminology used. I’ve gotten both pocket and inlay gcode files… but nothing close to a proper fit.
Then I stumbled on to this video which quite nicely explains the major issue I was having…

He’s using Carbide Create to do the inlays here and I had no idea it could do that. But, of course, Carbide Create (which I though was just another Easel or somesuch) isn’t a Linux program. But there’s this “new” thing called Bottles for Linux users… that allows running M$-stuff, if you hafta, on your Linux box. I had recently loaded Bottles on my Debian laptop because I was pretty sure I was gonna hafta resort to using Estlcam… just to keep up with @Tokoloshe and his impressive inlay work.
Carbide Create is a free download so I downloaded it and installed it thru Bottles. It ran great… but, turns out, with CC7 and later they don’t allow gcode output without your $$$ for PRO and a subscription. Fortunately, turns out, CC6 is still available for download and DOES ALLOW gcode output… and it’ll do all the stuff the guy does in the video! And it runs quite nicely in Bottles (though the font in quite small but mostly readable)… and has a GRBL postprocessor built in. Another nicety in CC6, it has a pretty extensive tool database… and when selecting the tools and setting in the toolpaths, they provide recommended feed rates and cutting parameters. I didn’t have to guess… and fairly good feed rates magically appeared in the gcode.

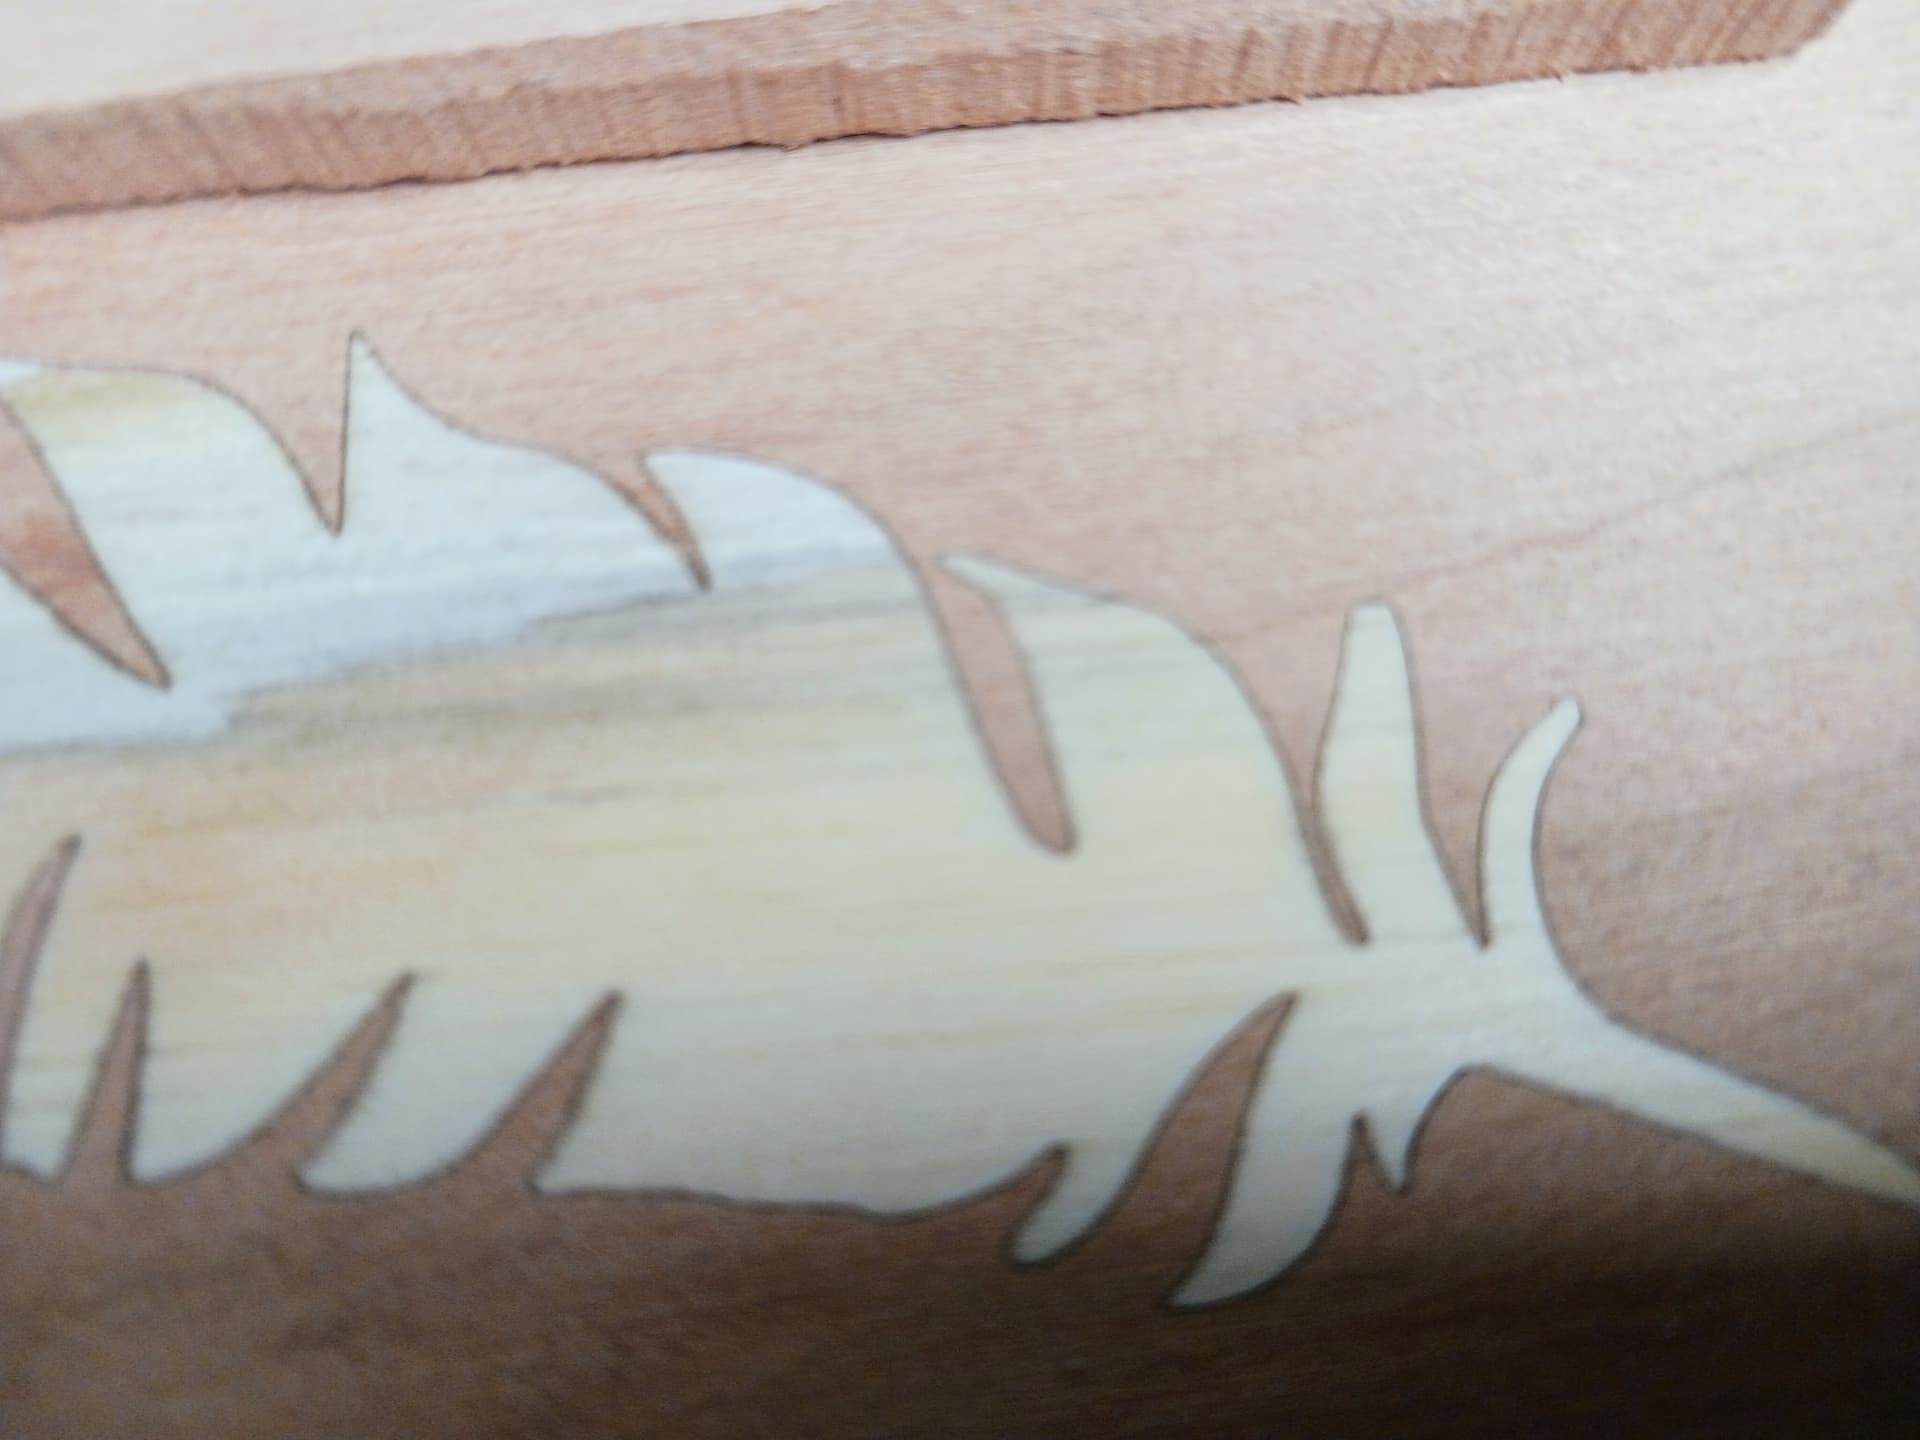
I’m waiting on the glue to dry. The inlay may look like crap when I cut it open but for a first real attempt… I’m very encouraged. I’m also having to deal with tool changes and probing for the first time… so it really is a rabbit hole I’m stumbling down right now.
But I’m having a blast with MPR&P… more so than with any machine I’ve ever built.
Gotta stop for now… later.
– David