It was an upcut bit, but beech plywood and very low, lower than you’d normally go. I also adjusted my rail afterwards, one bearing had been lifted when it was square even though I had measured carefully before. I also think my plywood YZ plate might be a bit bend.
I tried to take a video, but the movement is hard to see. It pushes the bearing outside by a mm or 1.5mm, but only at the front, the back is fine. Happened while slotting. Interestingly the depth of the cuts was not altered by it, they are all 6.2mm deep. Pretty neat. ![]()
Will try with less speed in the next days after having finished the table.
3 Likes
Okay that makes sense. Sounds like you have a bit of a twist in your build, Heffe had that at first as well. You can usually just twist it out the opposite way.
No big deal.
1 Like
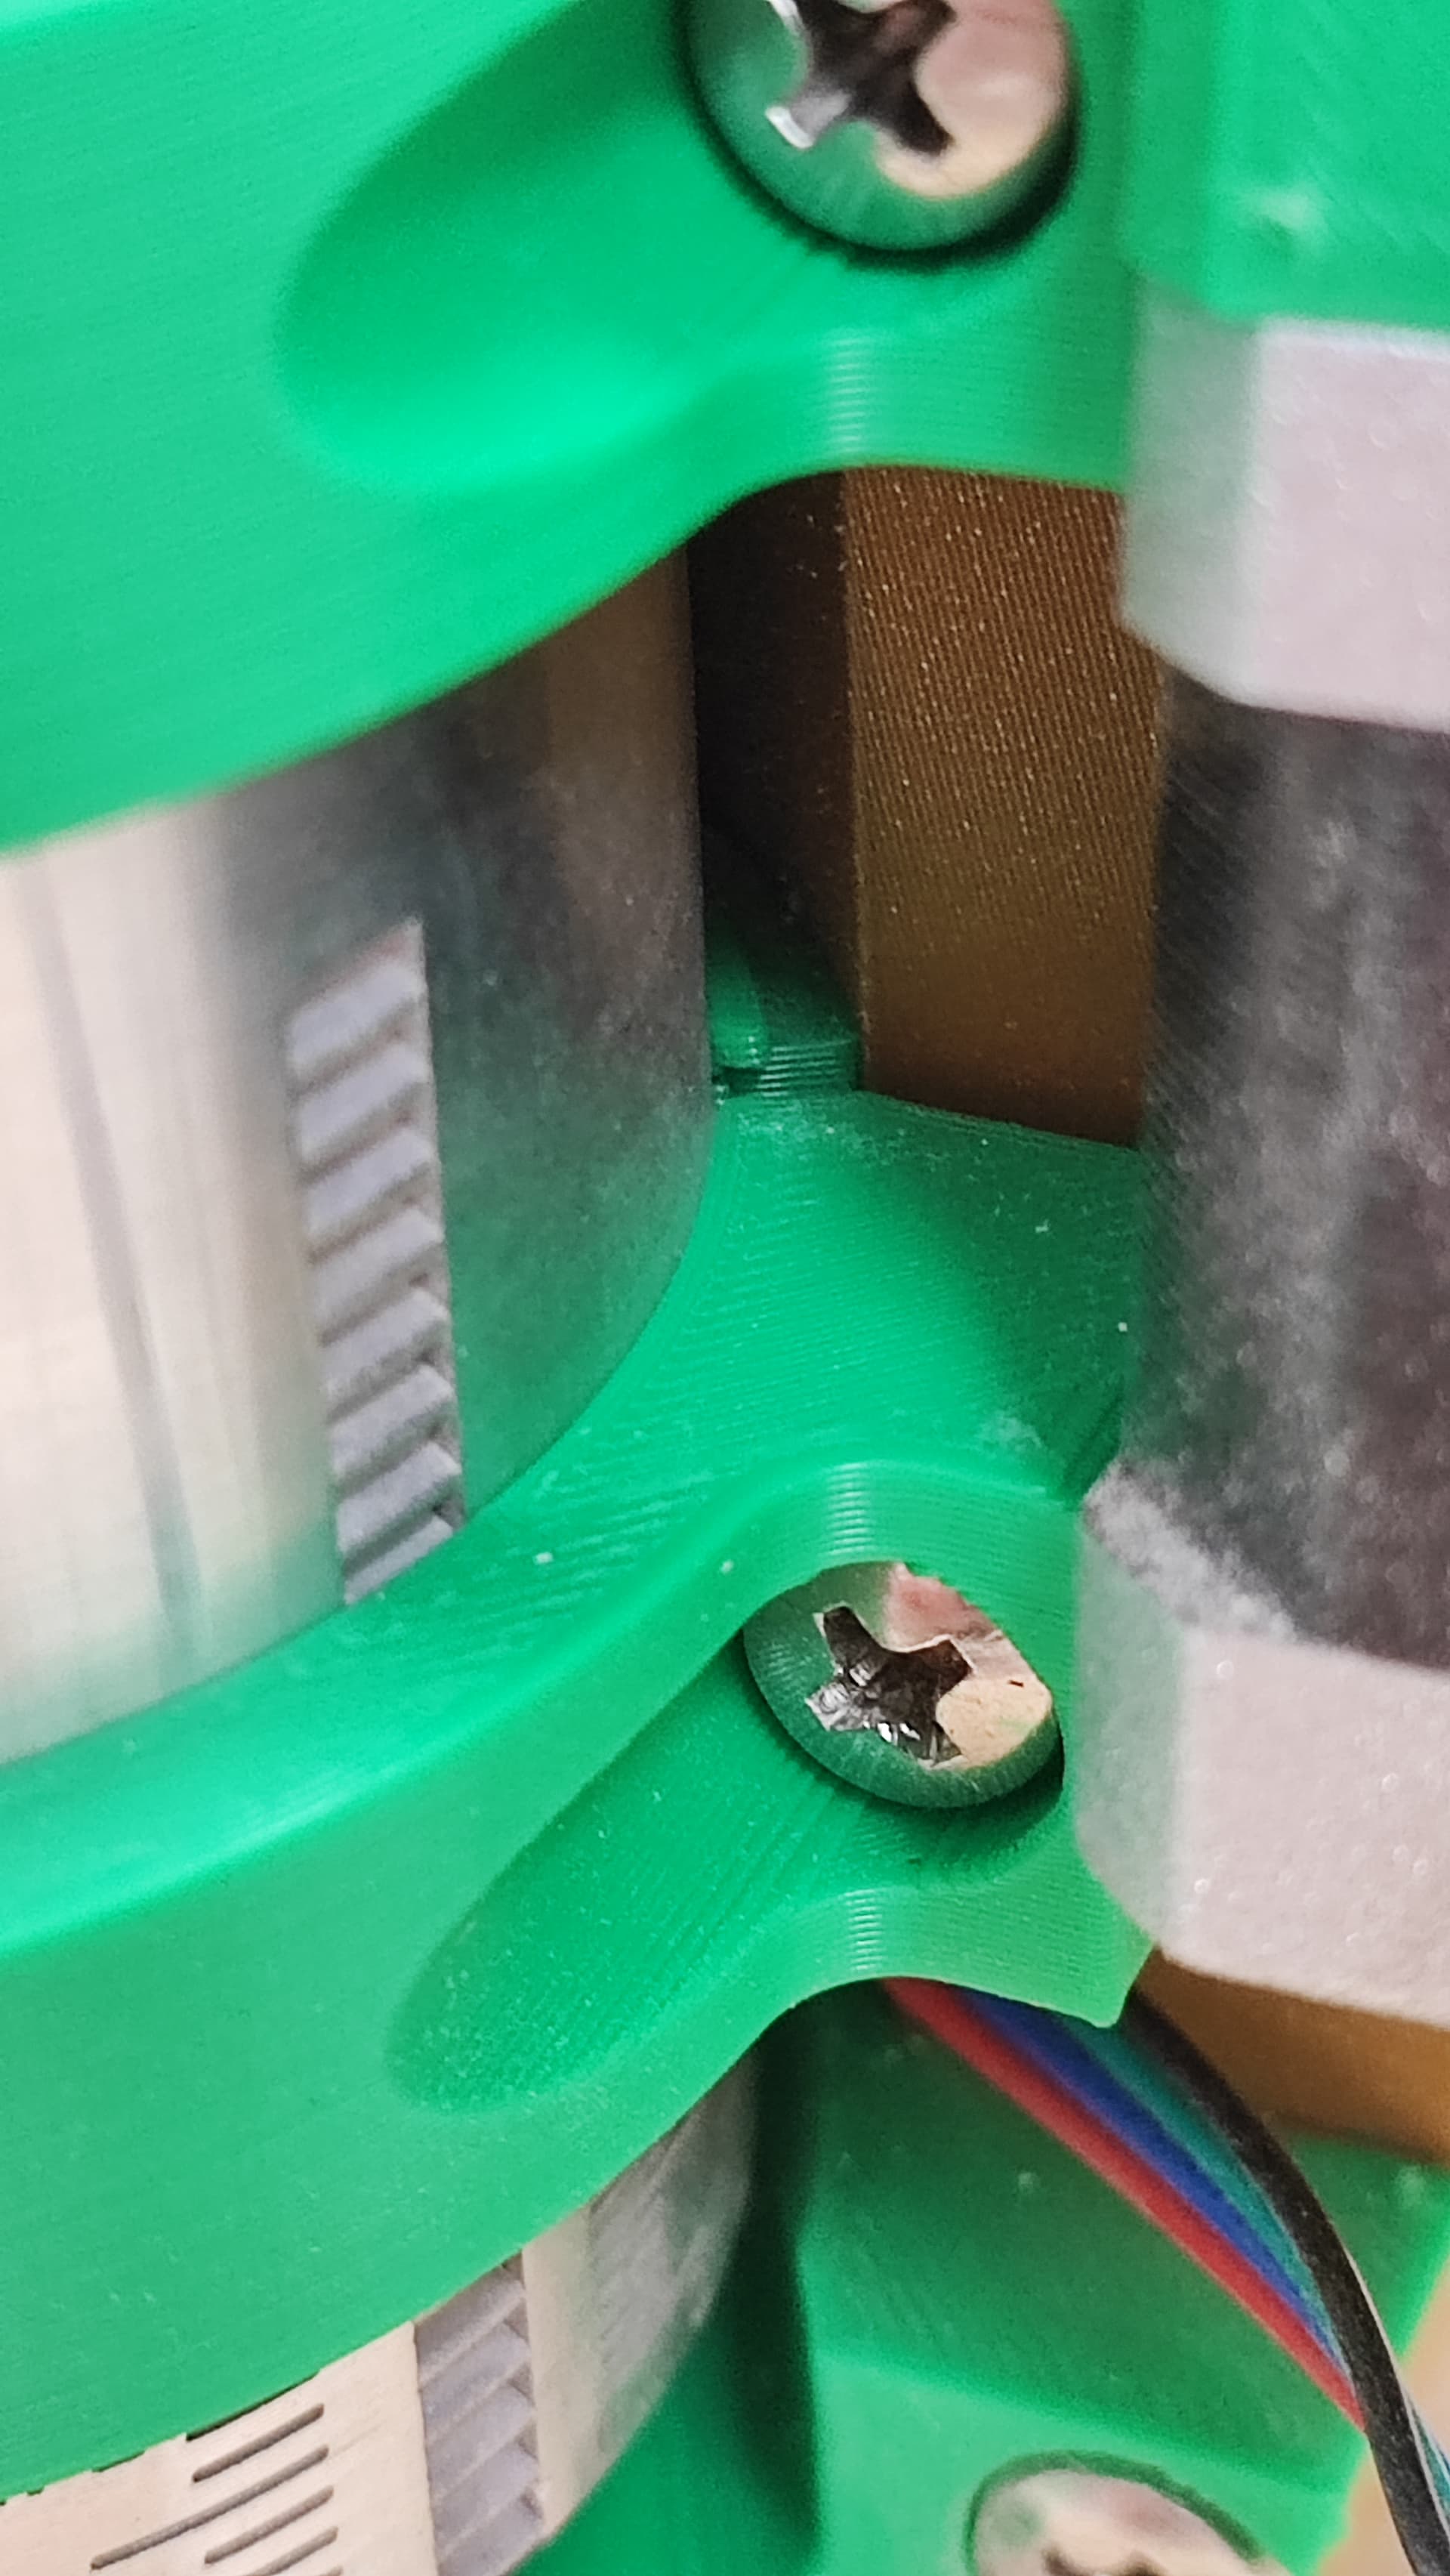
What I find interesting is that the stop blocks are both exactly 29mm from the edge of the table, but then the one bearing lifts. As soon as I push it by hand, the bearings both touch the rail but the sides are then off by 4mm. That should not really happen I guess. ![]()
1 Like
Okay, it’s kind of fine now, it really is the YZ plate where the plywood is not completely straight. Meh. The front roller on the rail is now pushed out by 0.5mm or so, back roller is fine. So it’s definitely not the LowRider’s fault but my plate’s. I am going to monitor it. If it affects the cuts, I will swap it.
1 Like
You should be able to twist it out. Like, if you push on the front or back on the rail side, if the bearing taps, you should be able to man handle the thing and twist it out. The beam itself can get a little twist in it, but you can twist it out. Worse case you can loosen the strut plates a bit and give it a twist and tighten it back up.
I doubt you would need to replace any parts.
2 Likes
Had a lot of discussions with the piping of my vacuum table to fit. You have to imagine piping that can’t be changed much because it has already been built into the torsion box, plus the box being a bit lower than needed so you have to cut the pipes and then put plugs that will fit into the holes in it from the top. Then three of those match the wholes and the fourth one dances cha cha cha and is like: no. I had to print an adapter for one of the pipes, now it fits, it sucks (tested with my old household vacuum, the pipes are still a bit dirty and I don’t want to destroy my side channel blower), the only thing to do is to get a fitting piece of MDF. ![]() I also smell like burned plastic because I used a Dremel with those little discs to cut piping. It begins to stink and smell…
I also smell like burned plastic because I used a Dremel with those little discs to cut piping. It begins to stink and smell… ![]()
What I can say though: The autosquaring is awesome. The grid in post 100 was made in two separate programs, first the holes, then the grid and they line up 100%.
Now I can go back to the problem of the bearing lifting a bit. I tinkered around with it some more but I still think it is because of my YZ plate being a little bent. Will try it further the following days. ![]()
1 Like
I only now understood what you mean. ![]() Going to try that later. Thanks, that makes sense in my head. I did rotate two of the pipes to have the bearings make contact, might be that it got twisted then.
Going to try that later. Thanks, that makes sense in my head. I did rotate two of the pipes to have the bearings make contact, might be that it got twisted then.
And I just had Z levelled nearly perfectly. ![]()
Edit a few hours later: twisting it did the trick, what an easy solution. ![]() Thanks! Hope it stays that way, or should I fasten the screws more than I did?
Thanks! Hope it stays that way, or should I fasten the screws more than I did?
2 Likes
The twist is back. ![]() Not as much as before, but when planing the spoilboard every second line (from right to left) is raised because it pushes the bearing off the rail. So I have to do the thing I didn’t want to do and loosen all my screws on the gantry… Ugh.
Not as much as before, but when planing the spoilboard every second line (from right to left) is raised because it pushes the bearing off the rail. So I have to do the thing I didn’t want to do and loosen all my screws on the gantry… Ugh.
Yikes, that must be a nasty twist.
1 Like
I used my 10 months old as a rubber ducky, undid all the screws except for the bottom, took it off the belts, twisted like a gorilla on crack, put it back, zeroed it, fastened the screws, turned the power off, the left side still moved a few mm back. Let it drive from X0 to X800, told rubber ducky that, lo and behold, it does touch the rail after the first 10cm. Moved the rail at the front two positions 0.6mm farther outside and now it seems to work. Stupid sexy rails. Good baby rubber ducky. ![]()
Now I have to see whether that fixes every second row looking like a mountain valley. ![]()
And another question: How do I get the tramming tool to the back? Left and right are tight, but the support triangle thingy blocks the movement when using it with the LR core. ![]() Or can’t it be not perpendicular there??
Or can’t it be not perpendicular there??
Your collet should sit flush with the bottom of the core, so the tool should clear by a few mm minimum.
I pushed it all the way on the collet, because I thought it had to be to work, but that’s not true. ![]() Thanks.
Thanks.
1 Like
I printed some shims, 0.4 and 0.3mm. 0.4 makes the grooves nearly non-existent.


Before on the left, now on the right. Can live with the very small groves, I guess.
Edit after planing the whole board: need to shim a bit more. ![]()
2 Likes
I just checked mine. A couple layers of blue masking tape, 0.45mm. I have it slightly on the non stepper side and I was pretty perfect with the sweep of my printed tool.
2 Likes
It looks definitely better now on 80% of the surface (is it normal that you still see the “lines” even though you can’t barely feel anything?):
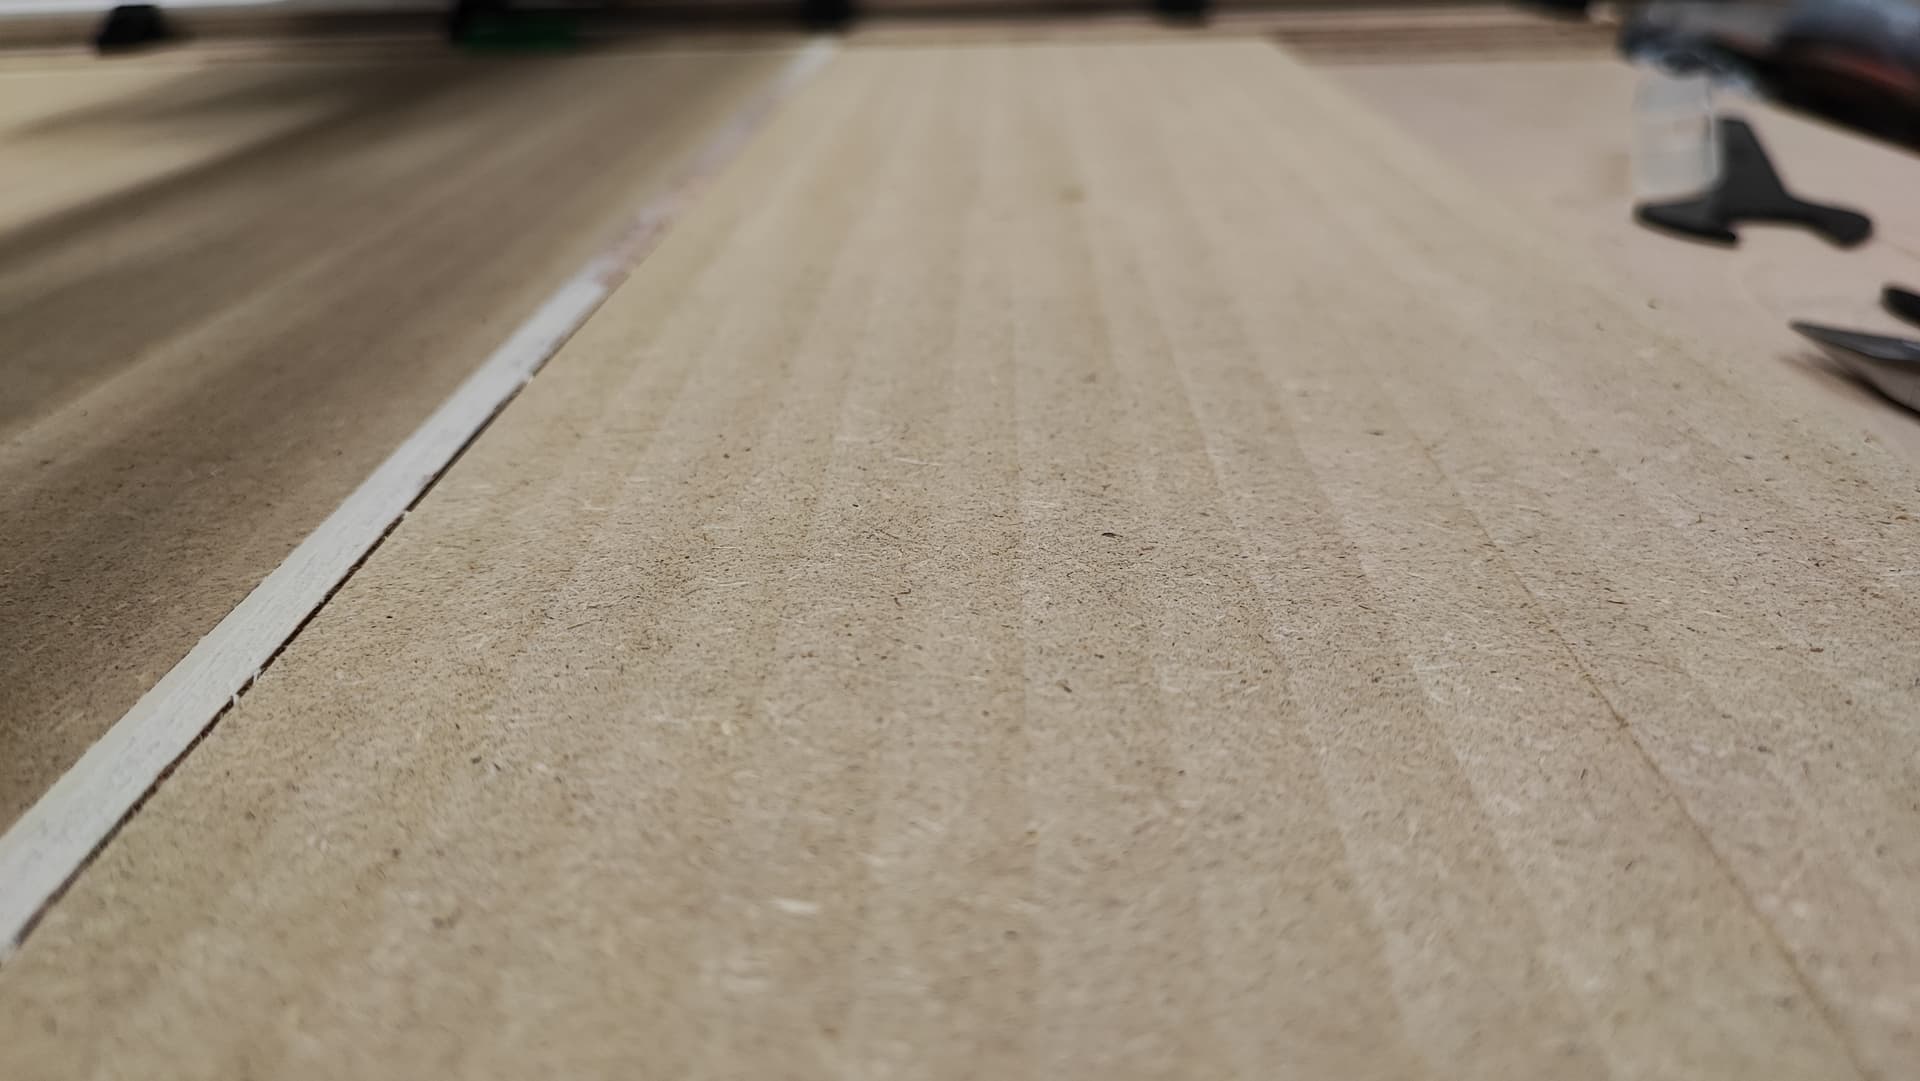
Funnily enough, at the very left side something must be a bit crooked because you can see the “waves” a lot better and there is a little bump between them when touching it. Just a tiny one, but still. Very weird.

All in all I am happy though. I found another board that wasn’t screwed down right and messed with my Z measurements, so I will have to plane the board again, which isn’t too bad because I have to flip it anyway to get the surface off of the other side of the MDF for the suction table to work better. I think I might actually glue the spoilboard down, the clamps I made do not hold it down 100%. Or I have to tighten them a bit more. Will try that later. ![]()
One of my core bearings still won’t touch the gantry, but it is only by a hair’s breadth, so the core does not wobble. Phew. I think I should be done with all the tuning and just cut some projects. I might have become more demanding of myself with the Froschkönig, but I also think it’s a bit harder to dial in than the Primo where you can’t do too much wrong and have less margin for error.
2 Likes
Yup like you would see in carpet as you vacuum in different directions.
The only thing that could be is a twist of some sort. Maybe those braces are too tight or too loose making the bars spread and angling your core.
That should not normally be true. The adjustments here are two bolts versus the primo’s 8.
What you just taught me is the braces can also be a factor. They never have been before so I assume you have some braces that are tensioned far more or far less than the rest. Too loose probably has very little effect since it can’t really get smaller, but if you go way too tight it can spread the bars. Spreading the bars tensions the core more, tensioning the core angles the router.
I thought I had designed them in such a way that the brace clamps could not have enough force to spread the bars. So I was wrong, you just showed me that, meaning some of your braces are tensioned more or less than others. Technically, tighter braces will push the bottom of the router away from the bars.
2 Likes
The braces should just be ever so lightly clamping the rails. If they are fairly even, the core will stay at the same angle all the way across.
1 Like
I fastened them with a cordless drill on the lowest force level (36nm), they have not been clamped too hard and are all objectively fastened nearly exactly the same. I have a pretty light touch. ![]()
Could also be that the rails are not completely straight, had the same problem with the Primo (it’s not enough to really make a difference, but you notice), since they are not DOM.
Edit: I loosened them all again and tightened them very lightly by hand, could unscrew them with butterfly wings now, will cut later.
1 Like
Any chance the top core bearings can be too loose?
I am still searching for the reason the lower bearings either don’t make contact or, as it is now, are rubbing against the braces. I must have done some crucial thing wrong, but I just don’t know what…
Edit: I found the crucial thing: I had seated the core bolts too lightly (same problem I had with the Primo), especially the other two at the bottom of the core, making it impossible to tighten it without the core touching the braces. The bolts are now looking out of the nut by around 4mm, before bolt and nut were flush. After having done that, tightening the two bolts that should actually tighten the core worked as intended. All bearings are touching the rail, none are brushing the braces. ![]() Big oof, hard fight.
Big oof, hard fight.
2 Likes
Philipp,
I was also having troubles with my core assembly and found that I hadn’t really seated the bearings firmly against the core surface. after that, I was able to get the core clamps to tighten enough to get the bearings all touching.
Mike
3 Likes