When your brackets are the right size it will be a perfect gap on both sides.
With your printer that far off your brackets appeared to have printed a few mm too small…considering each bracket is only a few fractions of a mm different from the next size that is huge.
I know it is a bummer but I would tune that printer physically and reprint the braces.
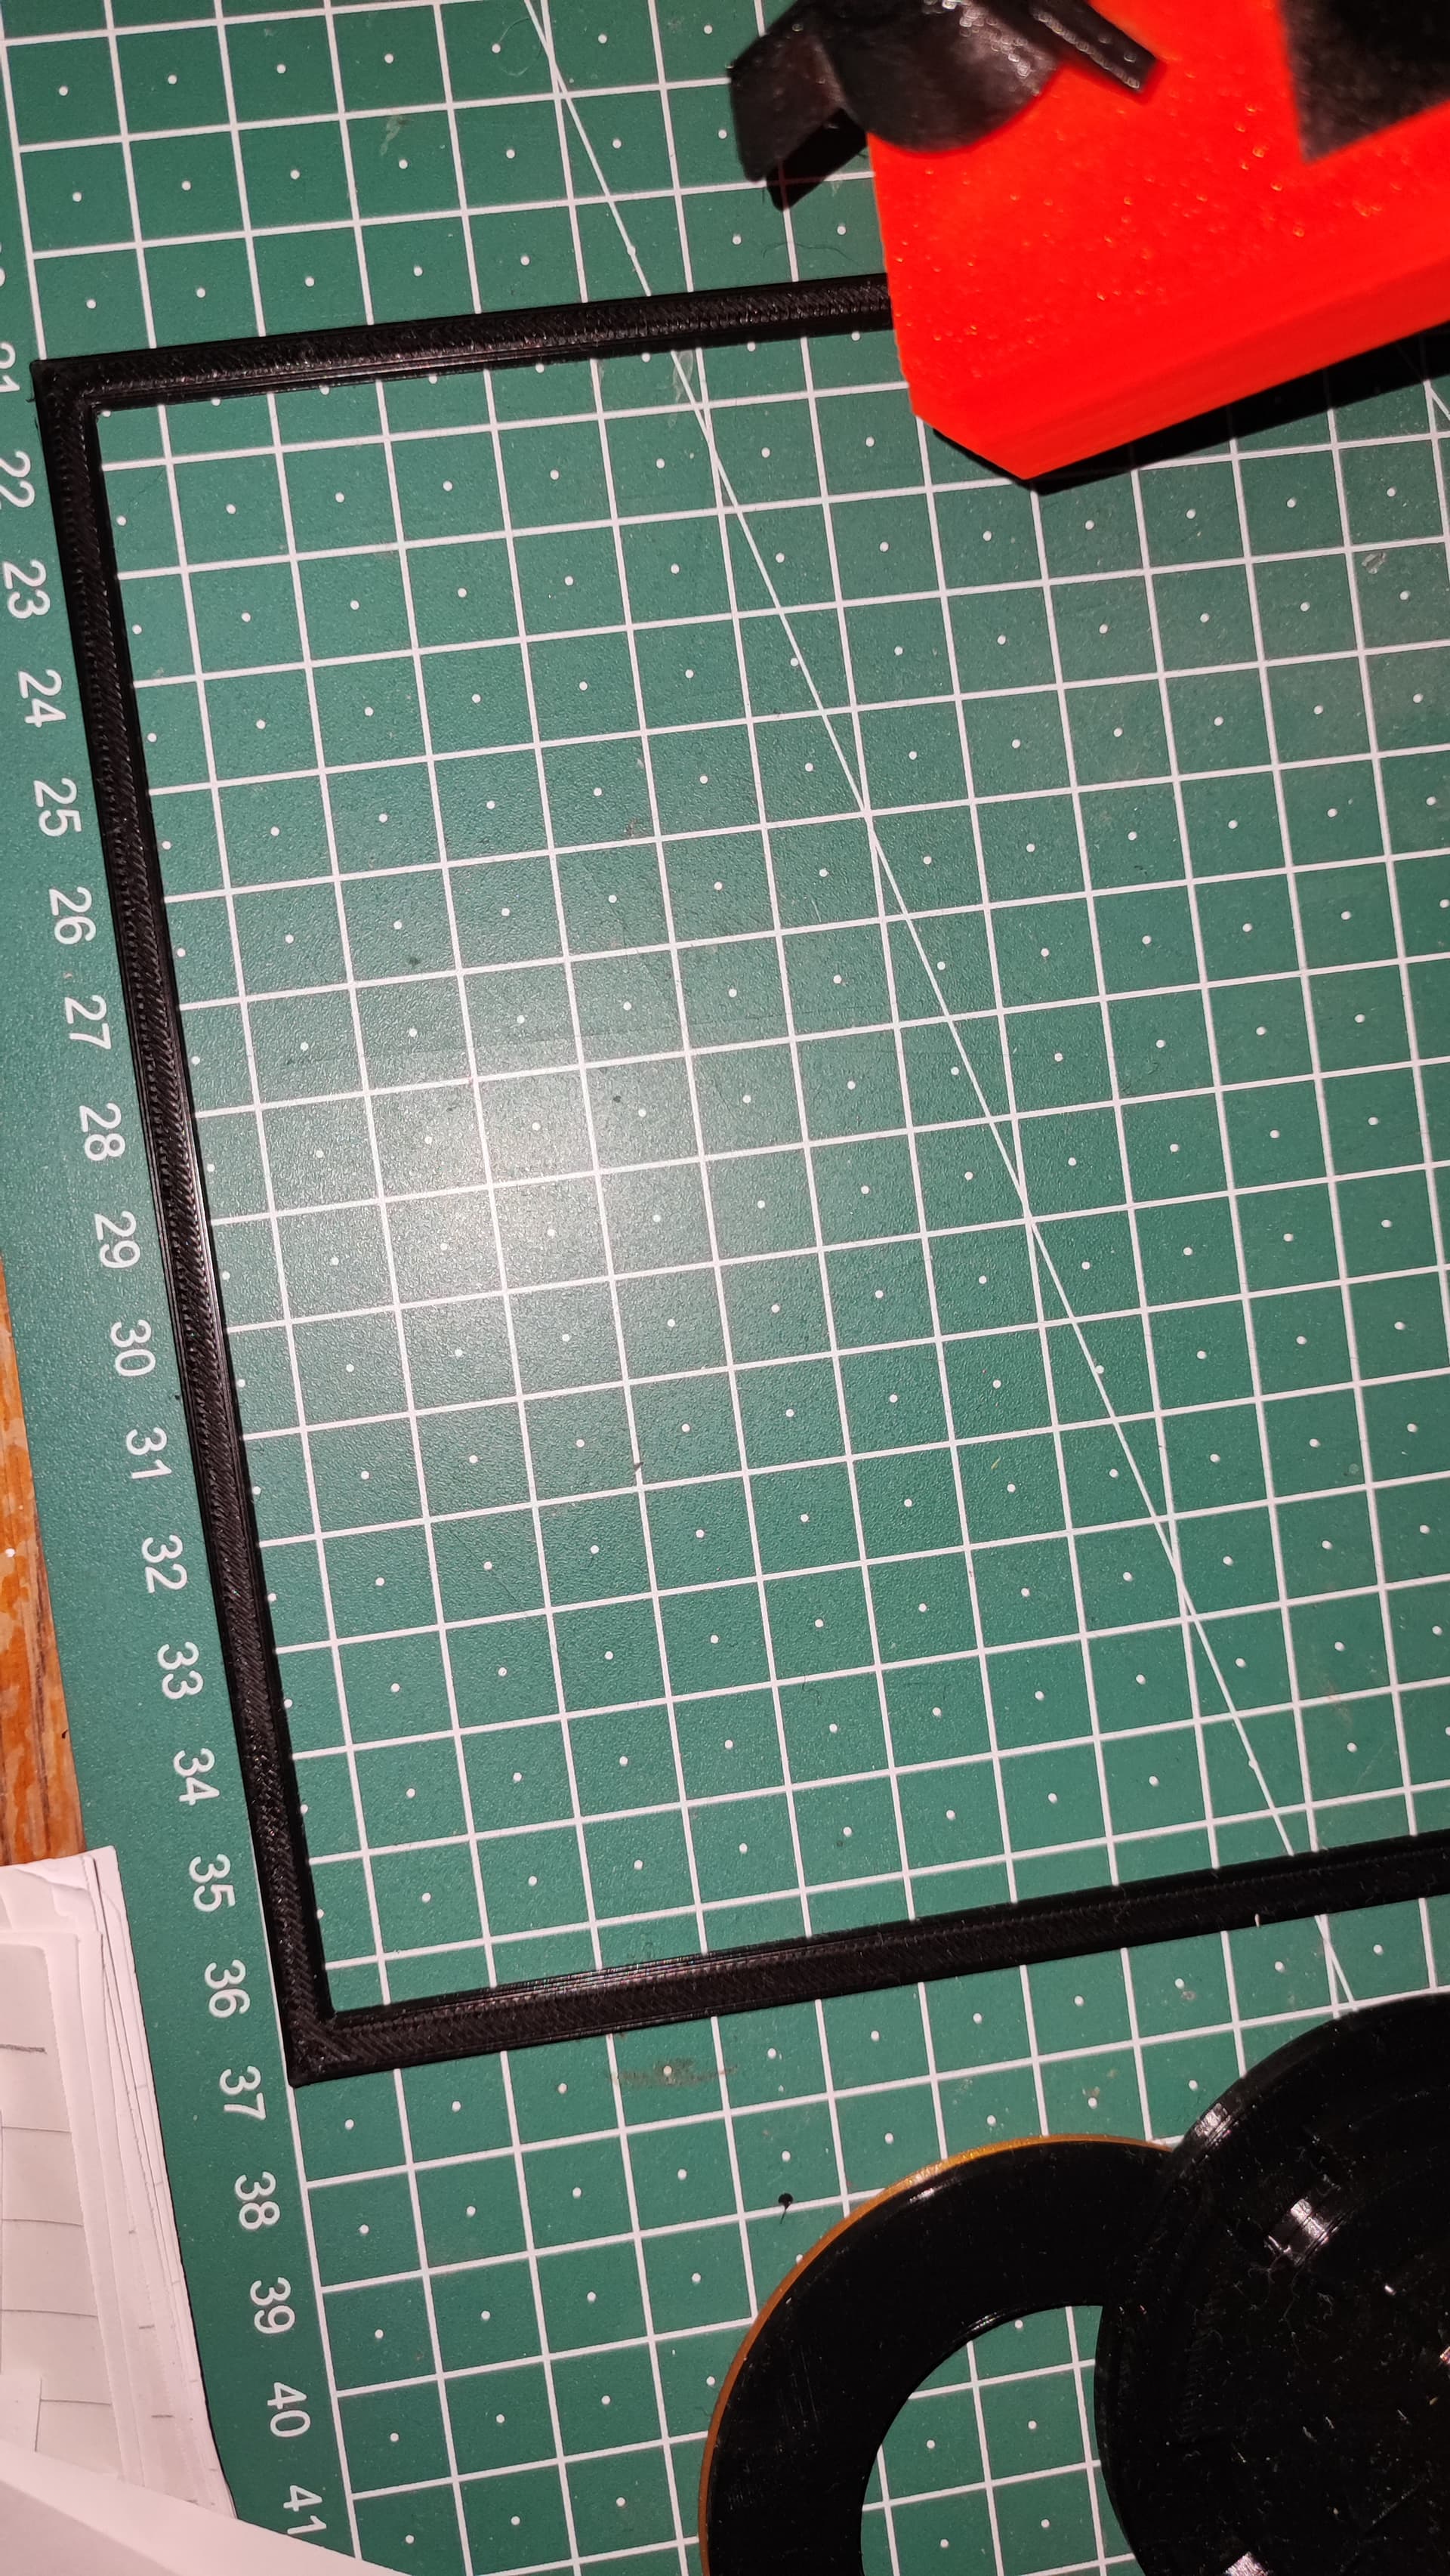
Thanks Ryan, that’s a bummer and explains a lot of my previous problems. All of the thoughts you put into it wasted because my printer isn’t square. I am sorry! It all boils down to this. F…
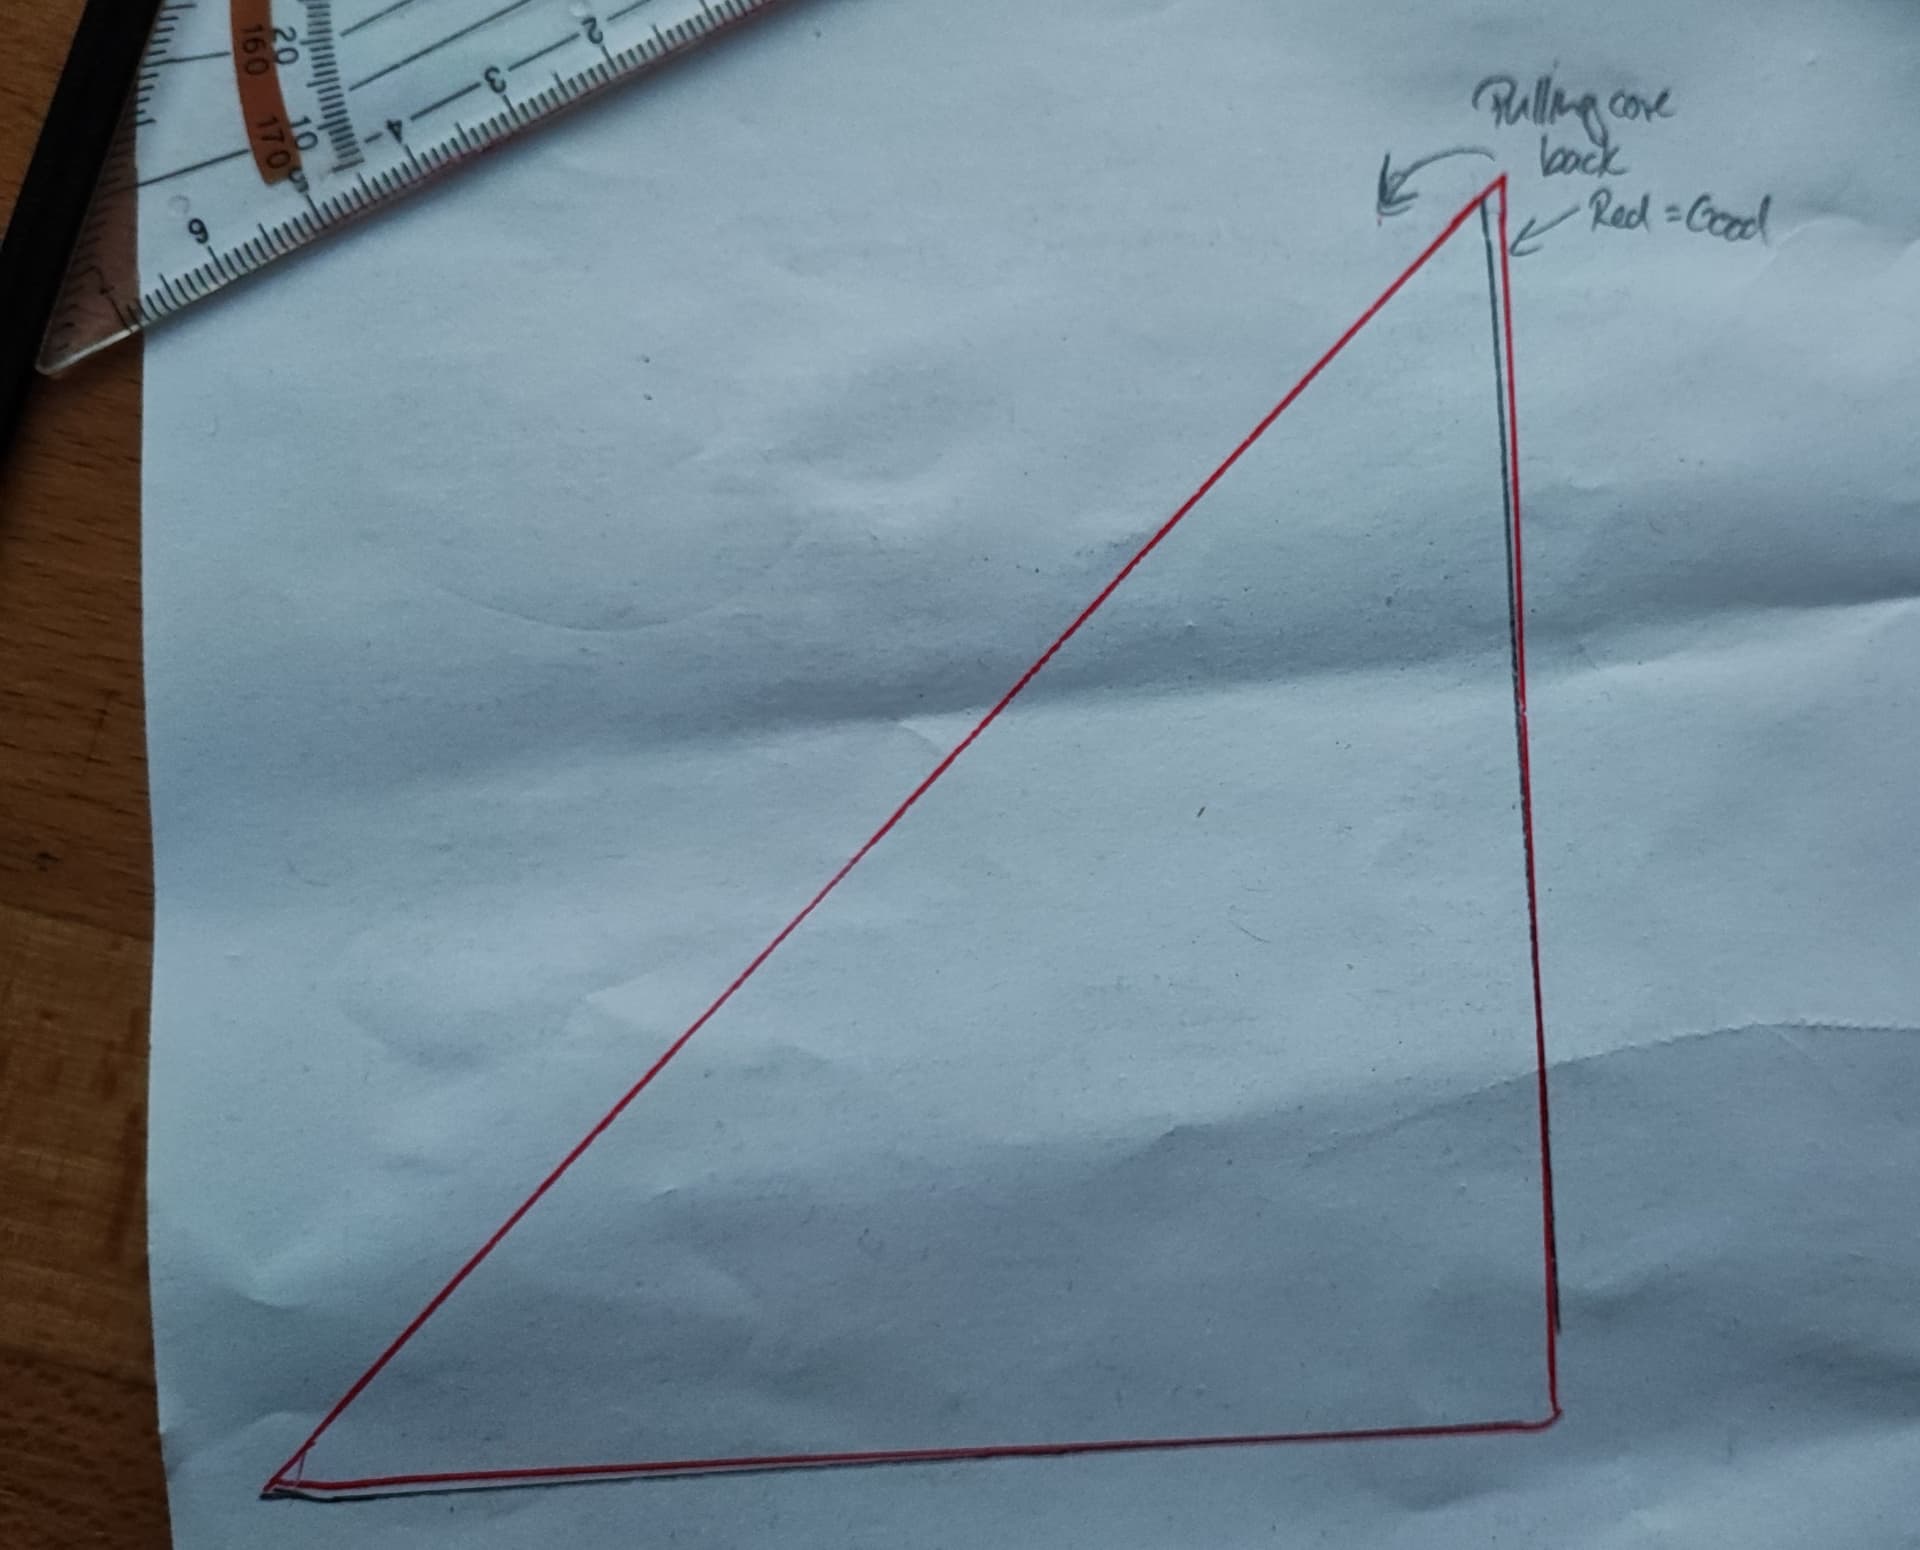
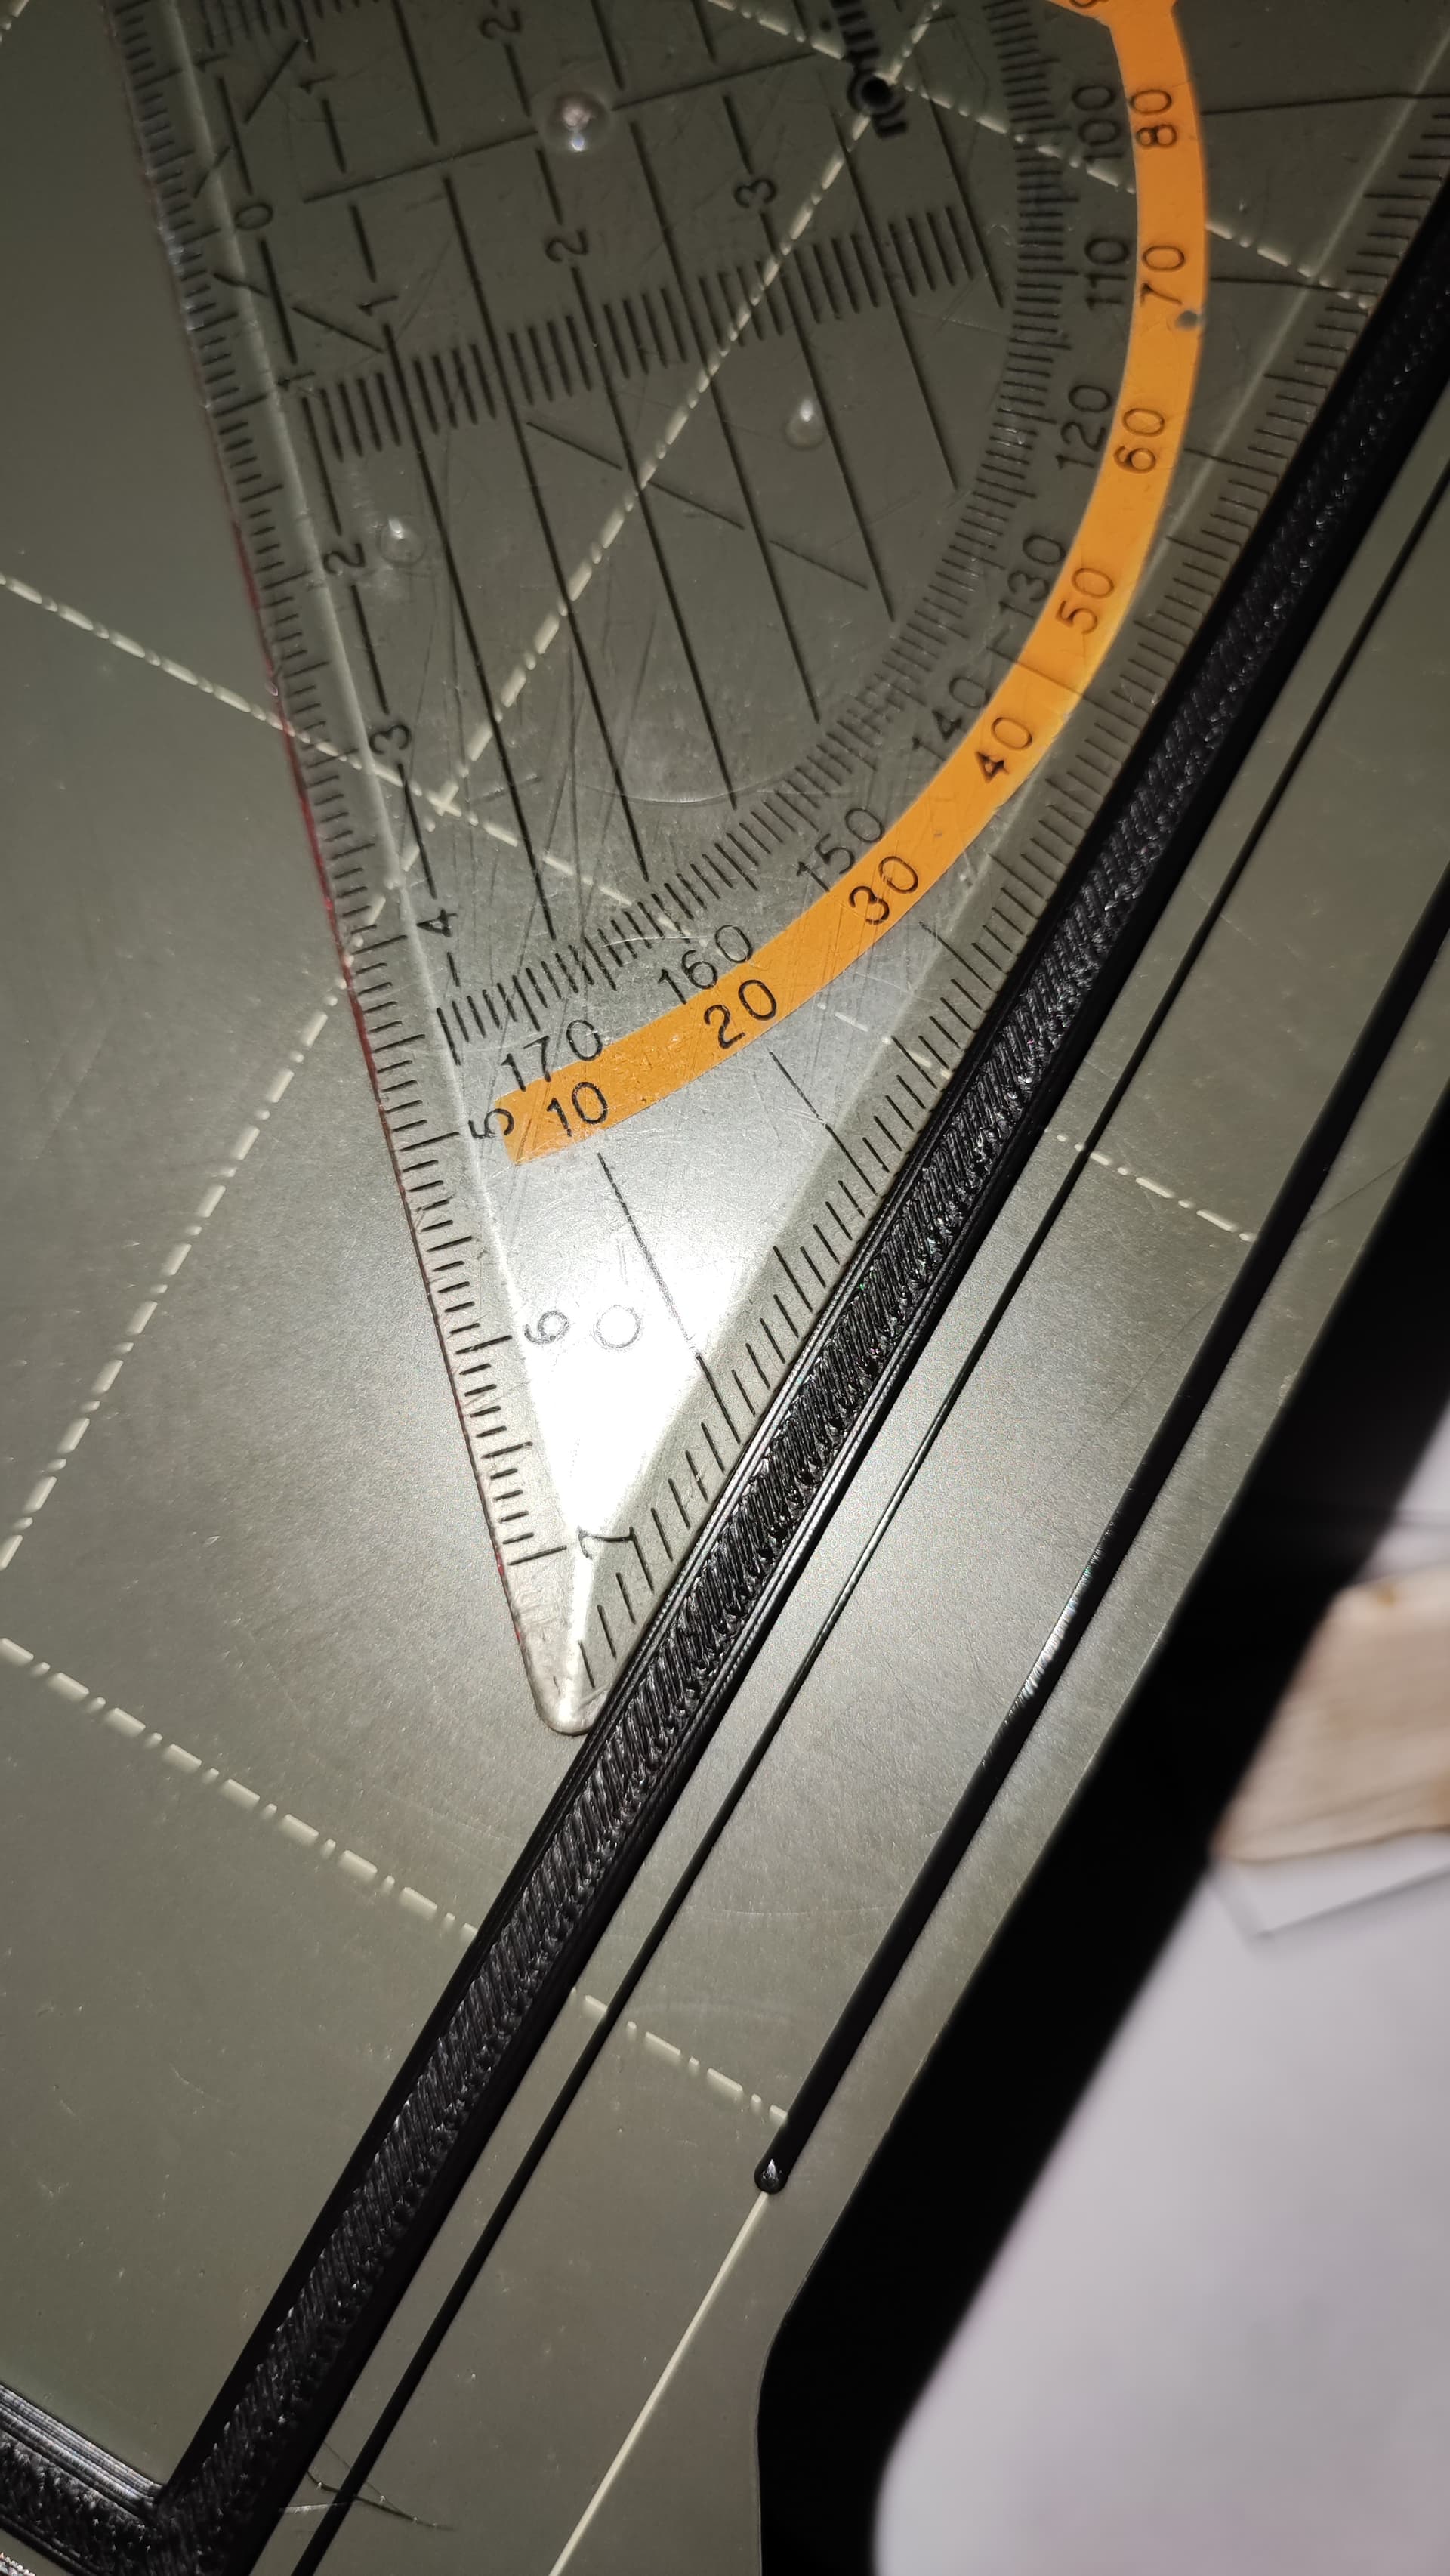
They are not too small, just not triangles but triangles that are a little crooked. I just looked at my print orientation, the bottom is in front, so the back is 1.5mm lower than the front which means the top is also a little further back, which would explain why it is pulling it back by a mm. That’s the mm I am missing at the bottom.
I think I might just sand them down, the only thing they should not do is break, but they basically are only holding the rails in place, right? Or can I sand that edge of the core down? It does not really fulfill any purpose, does it? If I took half a mm off, I’d be good. (You know I am always good for a quick fix, like with the old Primo core that was off and the modified braces… :D)
It’s a Prusa Mini, there is no way I know of to tune it with its single arm. (/edit: There seems to be a way! Will print another square.) -_- Could you take a close-up picture for me how it looks like with yours at the bottom? That would be nice.
Could I maybe print them oriented towards me with the front? Then the bottom rail would be a mm further out. The top rail has got lots of space, it would not miss a mm.
Prusaslicer will allow you to rotate the part when printed. Make the front face parallel to an axis and it will probably at least be the correct distance, though the rest of the geometry will be off a bit.
Better to square the printer anyway.
Marlin firmware has a correction factor for skew. You can tell the firmware how much skew the physical printer has and it will correct for it kind of the same way it corrects for bed level. I don’t know how Prusa printers go for firmware, but that may be a potential solution to the problem as well.
The distances are okay, it is really only the geometry being off, that’s the problem.
I am trying to figure out how to square it, the first try didn’t work. It’s only got the stupid arm that is a little crooked, and I am not sure how to uncrook it, since it is only those two axis with linear rails and one leadscrew.
Will check, thanks. /edit: I checked, the Mini does not have it, MK3 does… Uff. The cantilever burden. Manually making it better is not really easy.
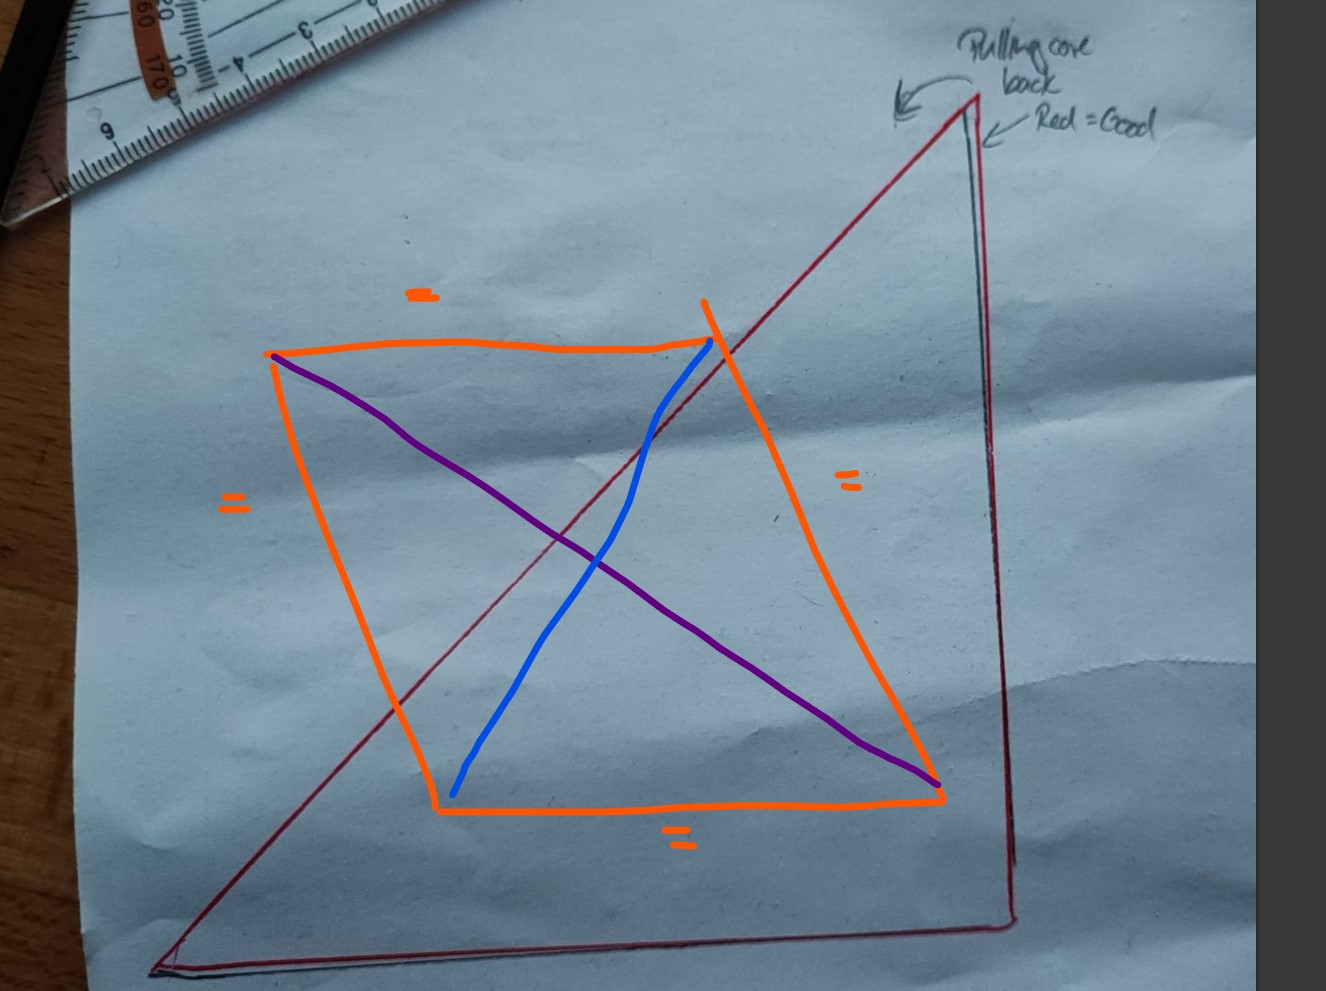
When it is skewed the purple and blue dimensions are not right. So something on your print is longer than is should be and something is shorter than it should be.
Don’t forget your core is also skewed in some way at least in the XY…and you have not checked for XZ or YZ skew.
This is just one of those things 99% of people never even worry about. When dims are critical, a whole new set of tuning comes into play.
TT’s Calibration page doesn’t even touch on this, just axis movement distance, which should always be perfect. I print the temp struts as tests for my XY then I have a tall thin cube that I print left to right, and front to back to verify my builds. It takes me 2-3 days to tune my printers for this. This is also the main reason I ditched the V3 MP3DP, it just moved to much to be considered stable.
Ssssssh! I checked YZ, that’s fine, should check the other one as well. And yeah, you are right, the core is skewed as well. Big oof. But at least one can compensate that with endstops etc. Your picture shows better what I meant, thanks.
The funny thing is: It only really shows with those small finger joints. The earrings are fine, the load is lower there and there is a finishing pass of the V-bit. With trochoidal it doesn’t seem to matter too much either (or the parts are large enough for it not to matter). But I want it to be good in every way.
This sounds pretty smart, it would push the rail out a bit more. But it might also push the brace out and make it rub more… Hmm… but also a good idea.
OR I could just wait until the PLA has rubbed off and the sound vanishes… You can hear it rub, but it does not slow the CNC down, it does not really care…
On a positive note: my touchscreen and mini pc from ebay arrived. I have a fully functioning 21-inch touchscreen for my monitor holder (it didn’t have a stand, but I don’t need one) and a PC that is faster than my 15-year-old laptop…