So my interest in this comes from a crappy pressure washer made in China with a Snap-On label
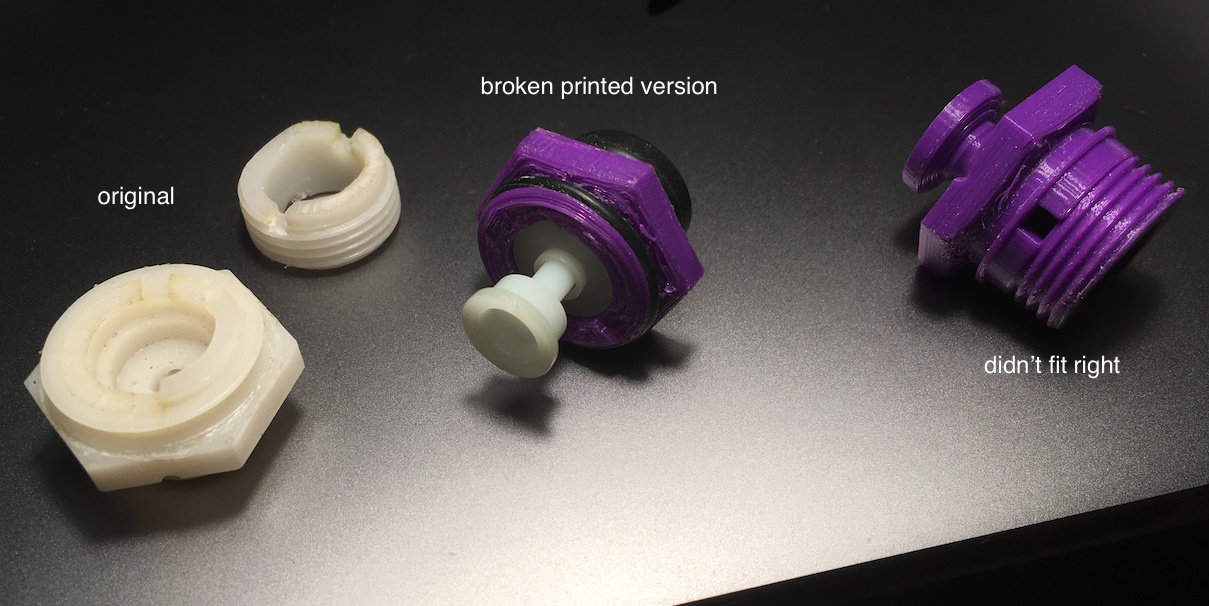
What makes it crappy is they used a plastic part for the pressure valve /switch which the original lasted 2 or 3 uses … so I drew up a new plastic part and the 3D printed version lasted 30 minutes ( in PLA 100% infill ).
So being genuinely nerdy and DYI, started looking for ways to make a metal part… has anybody tried anything like the link below? Definitely more power Binford style
Thank you I’ve seen write ups but never been involved just to many projects and not enough time now the time and monies and equipment availability never the Twain will meet 🚣♂️
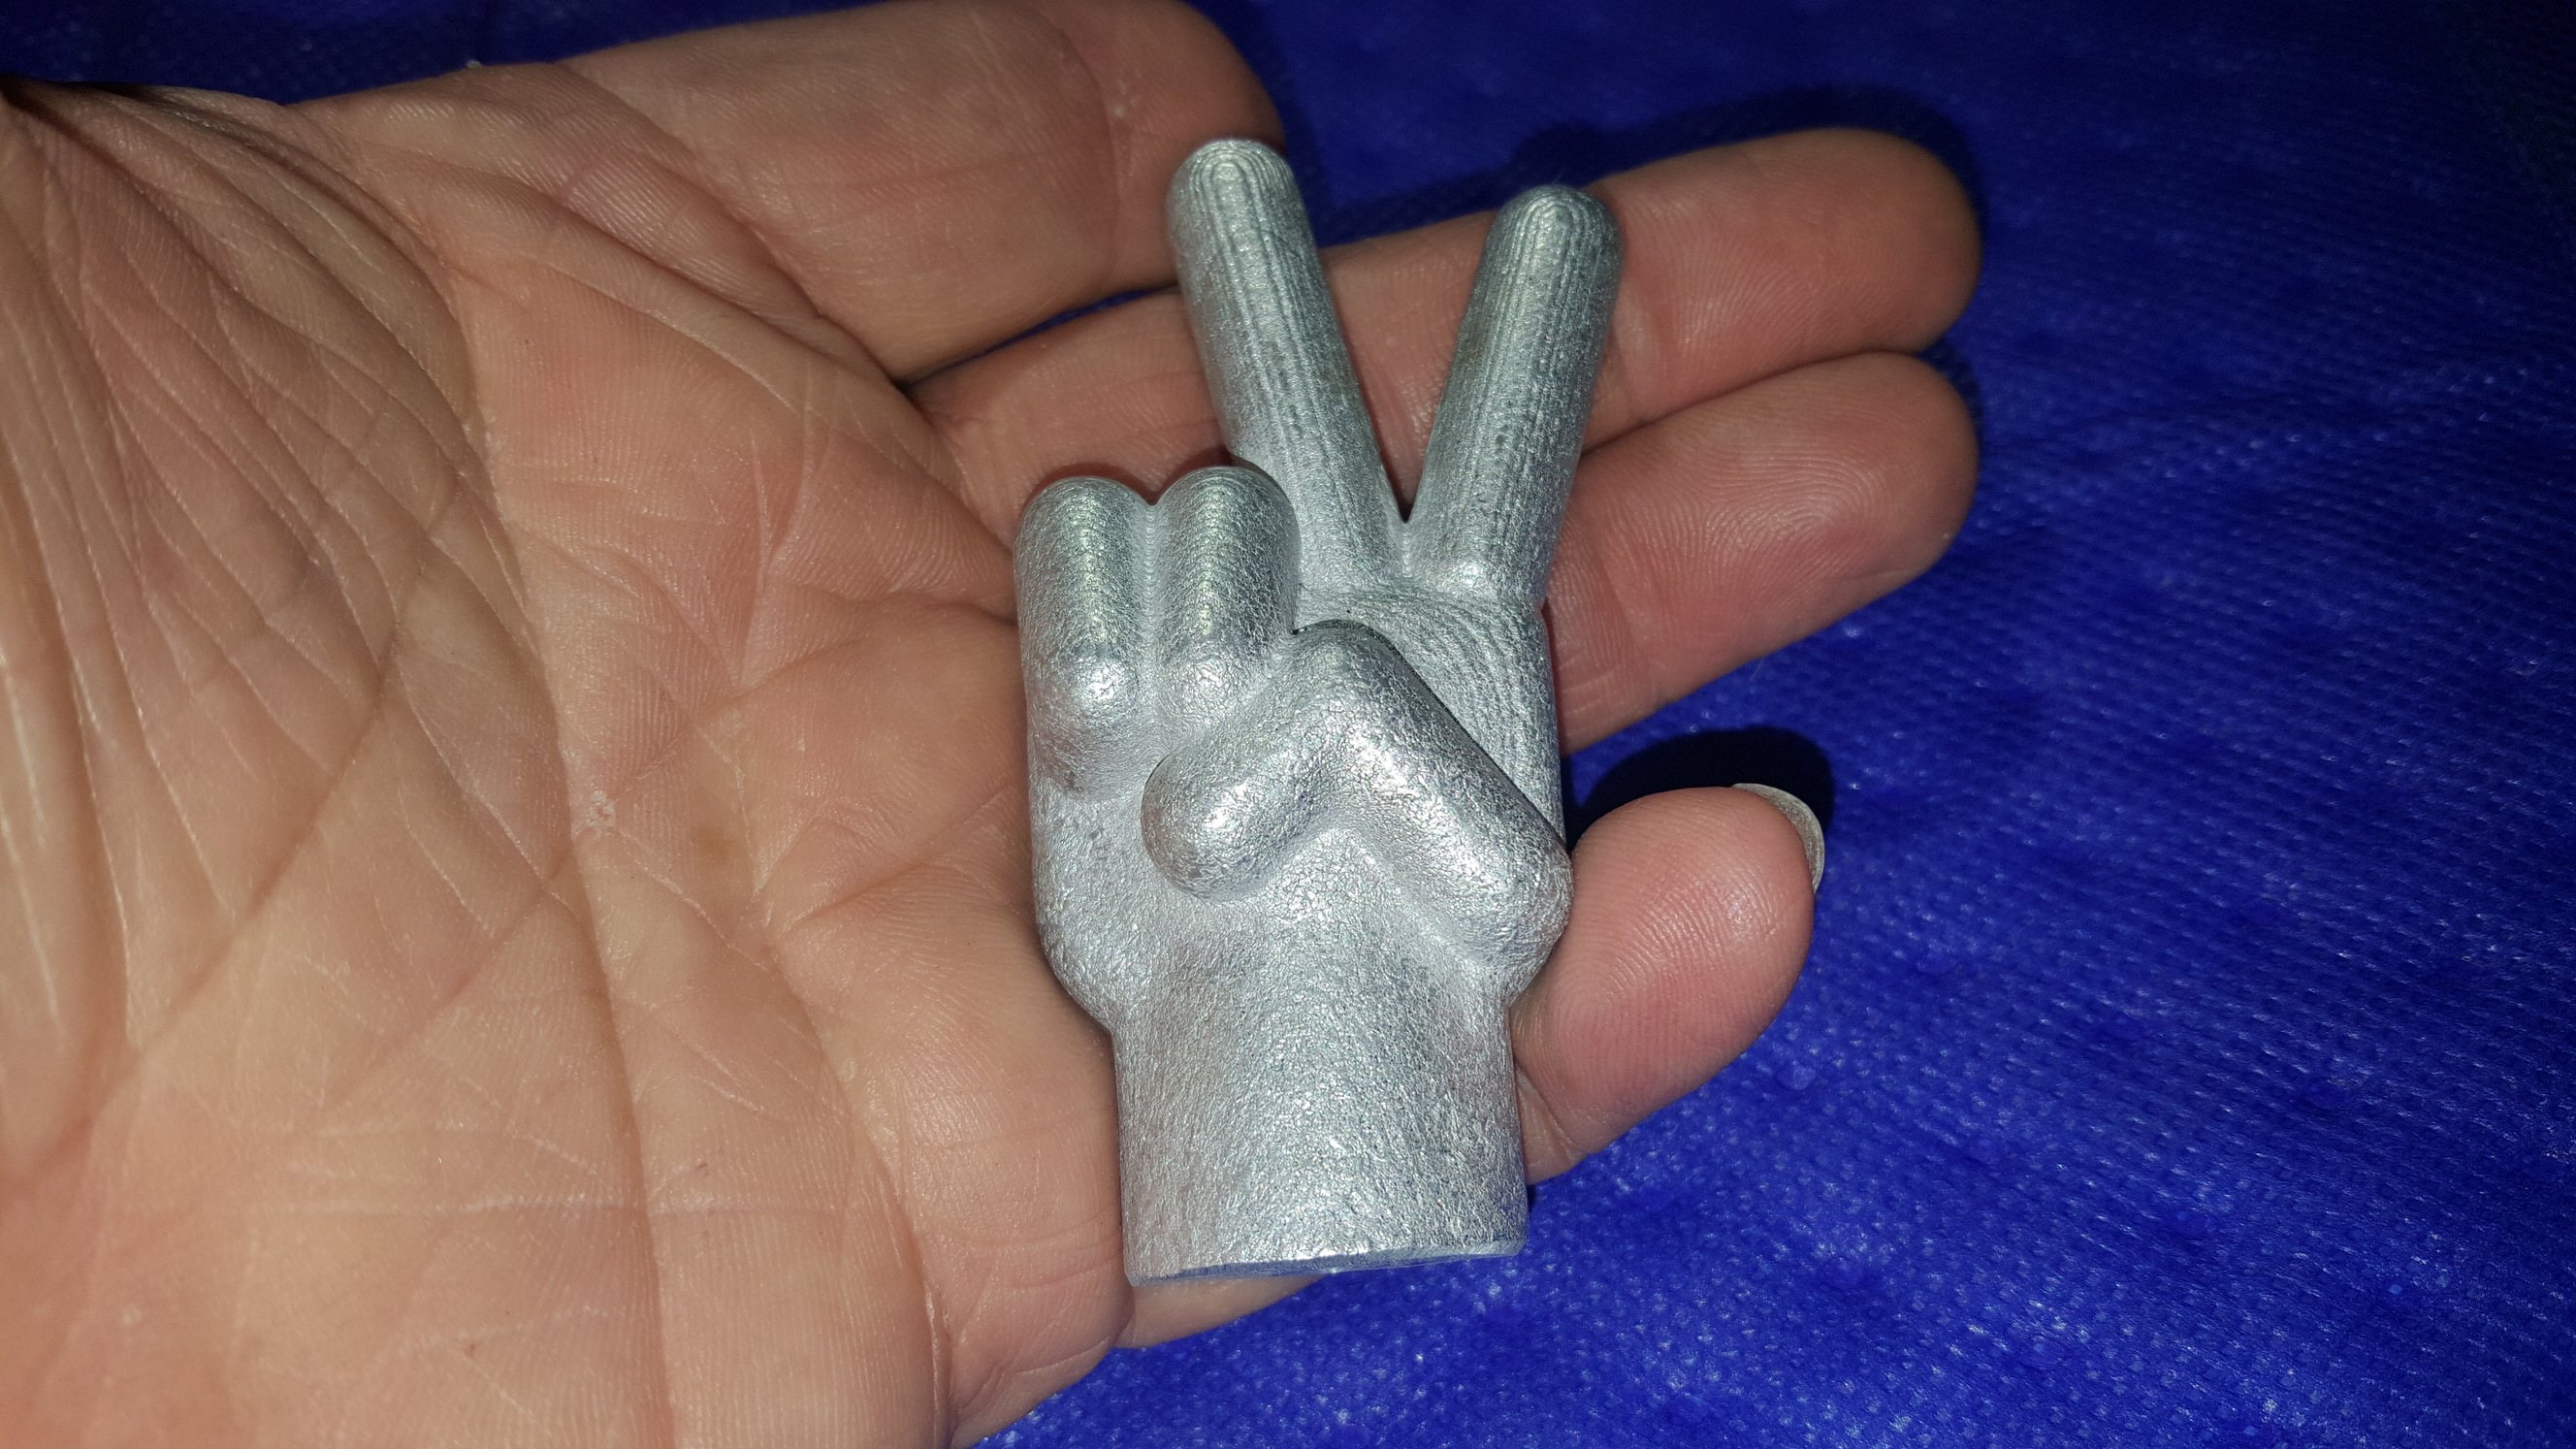
I’ve done some casting which I mentioned not long ago.
I can’t tell if your part has a chance of being made in two halves or if it is going to need to be a complex cast. If you can get away with a two-part mold then you have a lot more options, including lower temperature metals like zinc or even bismuth-tin which is very easy to work with. If you need a complex shape then you will have to resort to burning out PLA (or wax or foam). I’ve never tried that method, although I have burned out fire ants…
looks like the hard part is building a kiln, I have access to an acetylene cutting torch, but would still need something to bake the mold I think?
the part itself probably wouldn’t be easy to split and put back together.
this piece holds that plunger that hits the electricity to control the motor when the gun is triggered
Is casting even the right technique for that part? It looks like you could make in by drilling and tapping a suitable bolt. Which dimensions are critical?
No, it’s a sand and plaster of Paris mix.
I watched a lot of videos on YouTube before I did anything.
First thing you need to figure out is how to melt your aluminum.
I made a foundry that the YouTube guy THE KING OF RANDOM.
Seems to break at the square holes, ABS or PETG might hold together better. Don’t think additional metal inside the would help much, there is a spring between the plunger and nut + water pressure pushing against the nut.
a good idea… though my machining skills would probably lack and would need some tools . The threaded length, diameter and square hole would be critical dimensions. this thing gets screwed into a metal valve body
The square hole would be tricky, and getting the middle hole perfectly central might be hard with hand tools - but it’s amazing what you can do with hand tools if you work out which bits are important and work gradually with lots of checking.
The thread is hopefully easy, in that you just buy a bolt the right size.
Length is just a case of cutting slightly long and filing gradually until it fits.
Tapping the central hole requires the right tool, but taps are not expensive and surprisingly useful.
Would a round hole work?
What about the groove in the top, or the flange at the top of the threads? Are they important?
I used a thread gauge and believe it has metric 1.5 threads on it. ( if I machined a bolt, would need a metric die ) My dad has a couple lathe’s and machine… i don’t think the hole has to be square
attaching a zip with a fusion 360 and step file 3dParts.zip (271.0 KB)
picture of the microswitch and valve with the broken piece still stuck, to show how it fits together.
the “bolt” needs to be an M20 x 1.5
it can be done with a bolt. get the shortest one you can find, the shortest McMaster sells is 30mm.
you only need it to be 13mm.
a threw hole and 2 counter bores , o-ring groove, hole on the side and finally the groove on the top.
an aluminum bolt would be better.
if you do decide to make it just take your time and make sure the bolt spins as true as you can get it.
I’ve been tinkering with aluminum casting for a few years now, and it is the main reason for building my MPCNC. My best friend and I have both been experimenting with different aspects of the Hobby. I enjoy carving out utilitarian parts from Styrofoam and casting them in playsand, while my friend has been recently getting into more intricate stuff like veggi oil guy on YouTube and focusing mmore on casting brass.
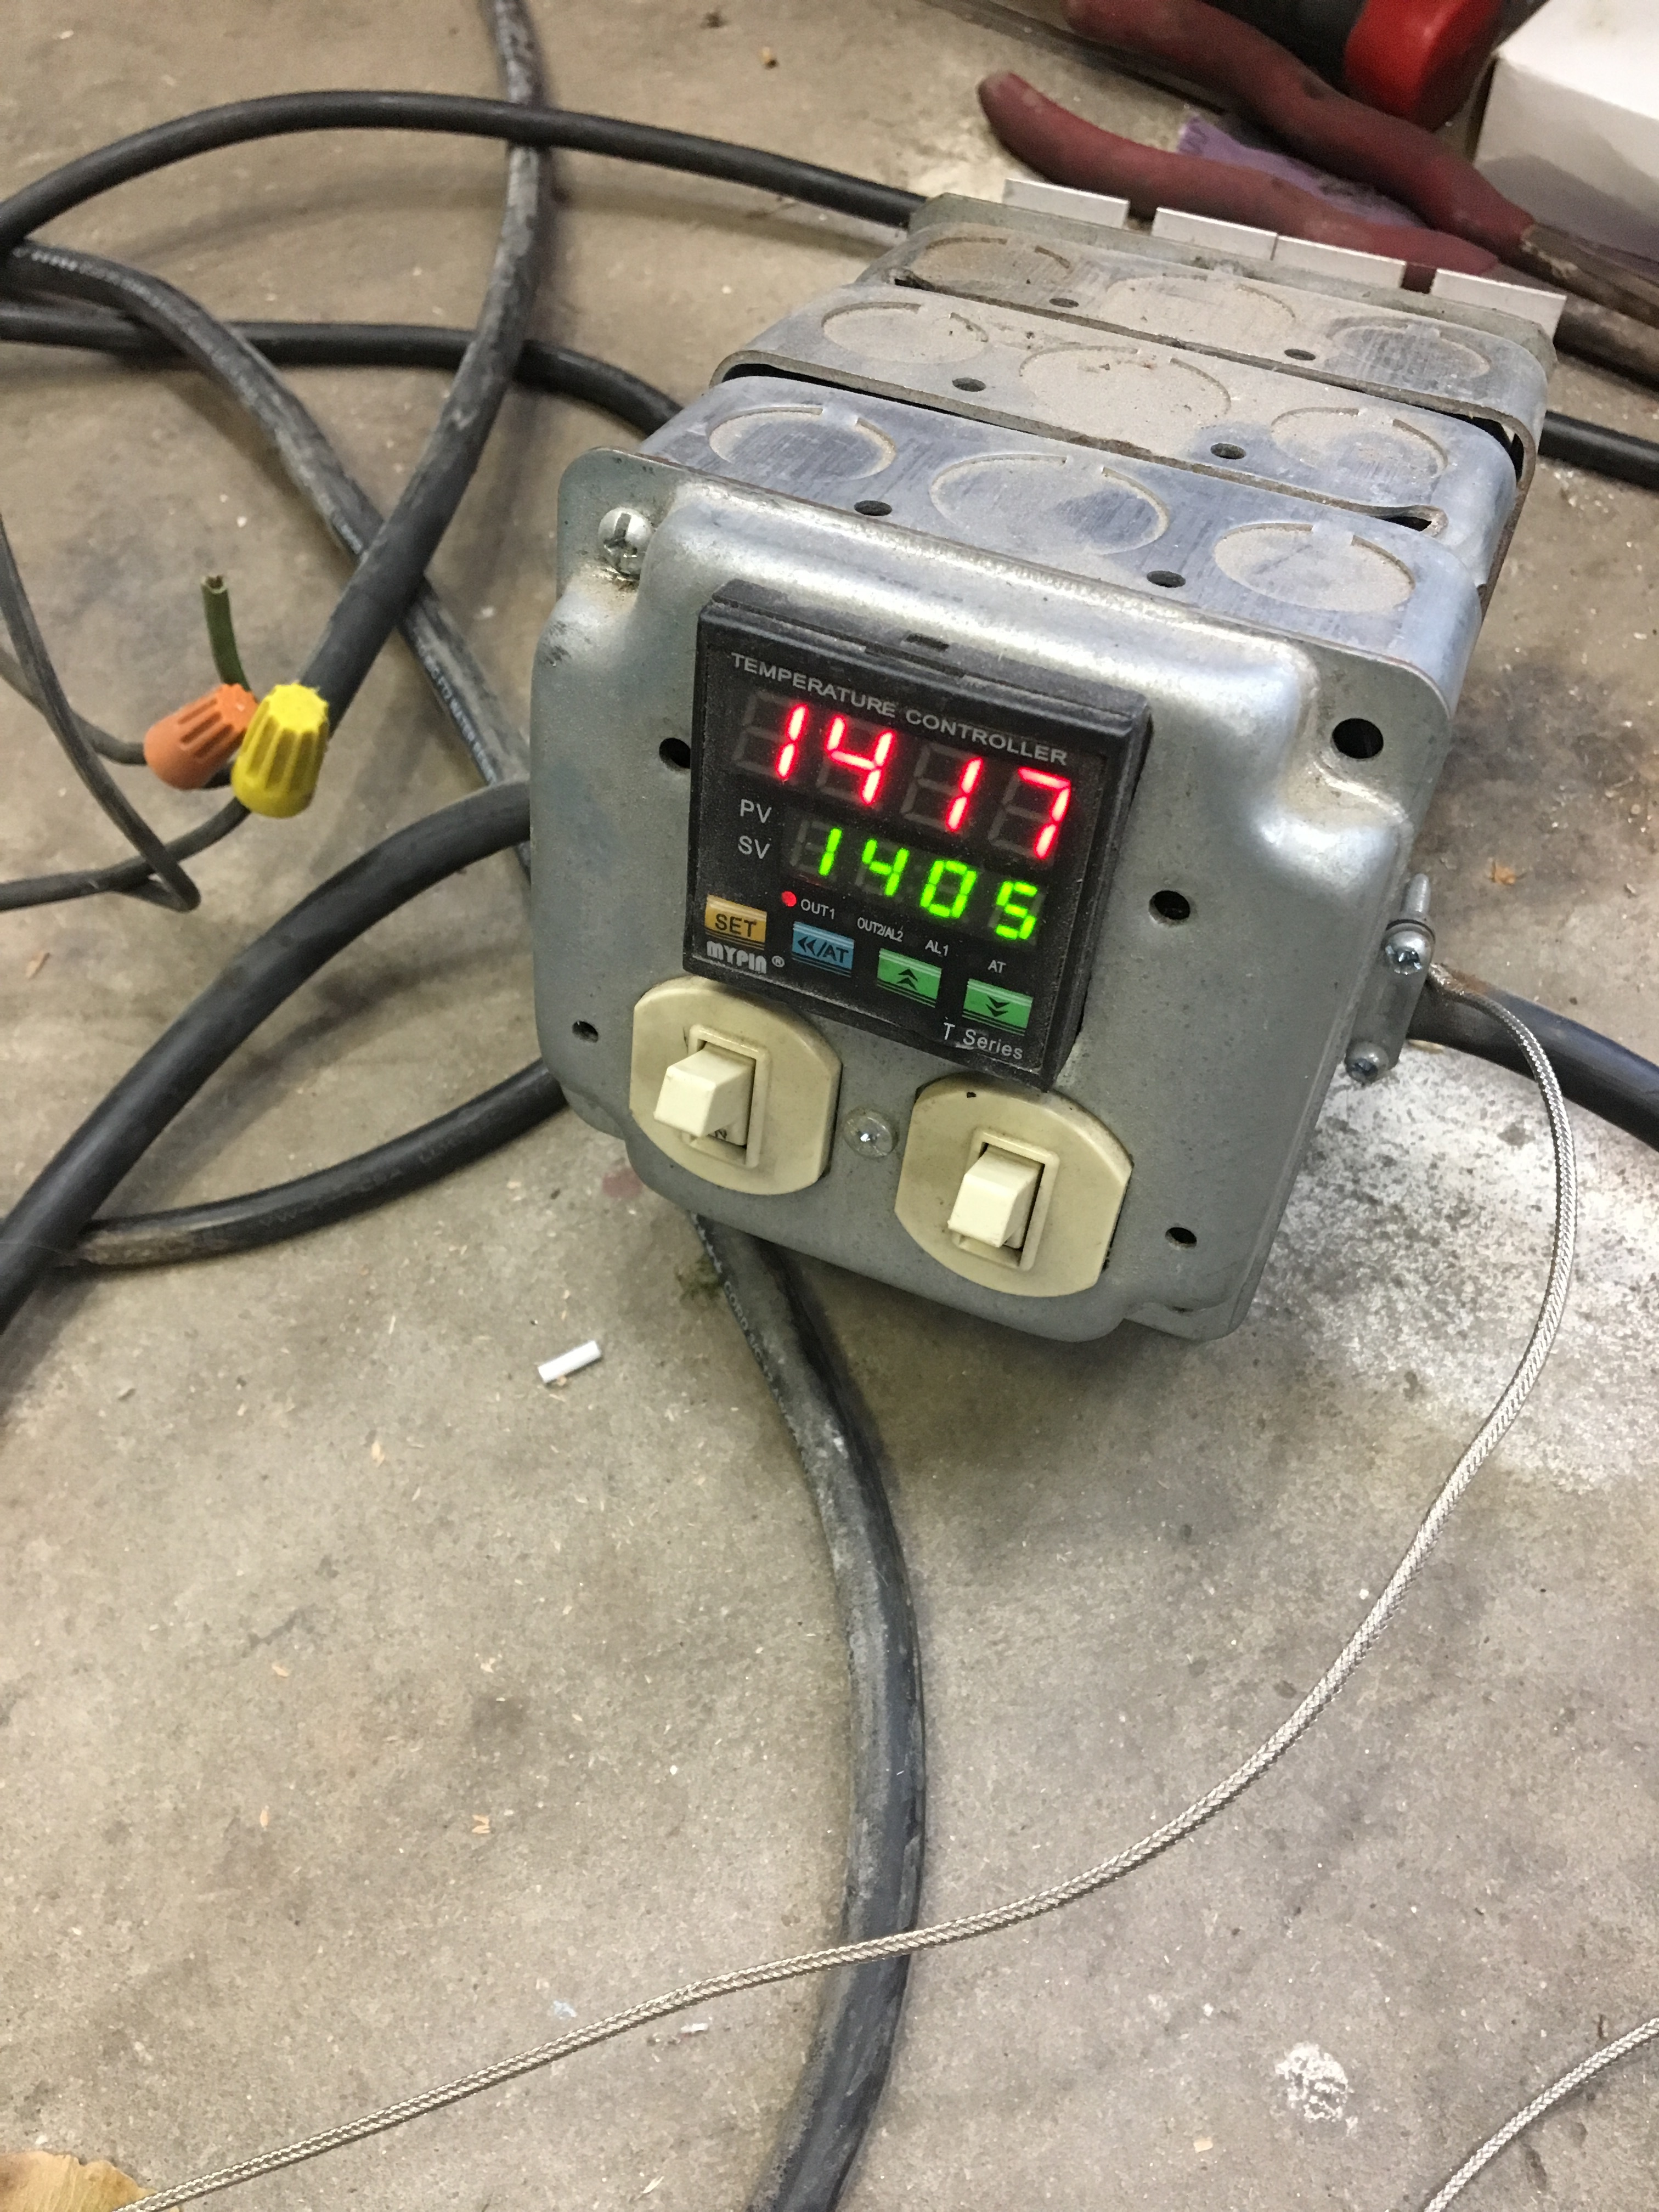
We’ve constructed various foundaries over the years running off of propane, waste oil, as well as electric. We just recently constructed another electric for him to use for burning out PLA. They say that for curing the plaster and burning out the PLA that you want to ramp the temperature up in increments over several hours. Electric is far easier to control and more efficient to accomplish this.
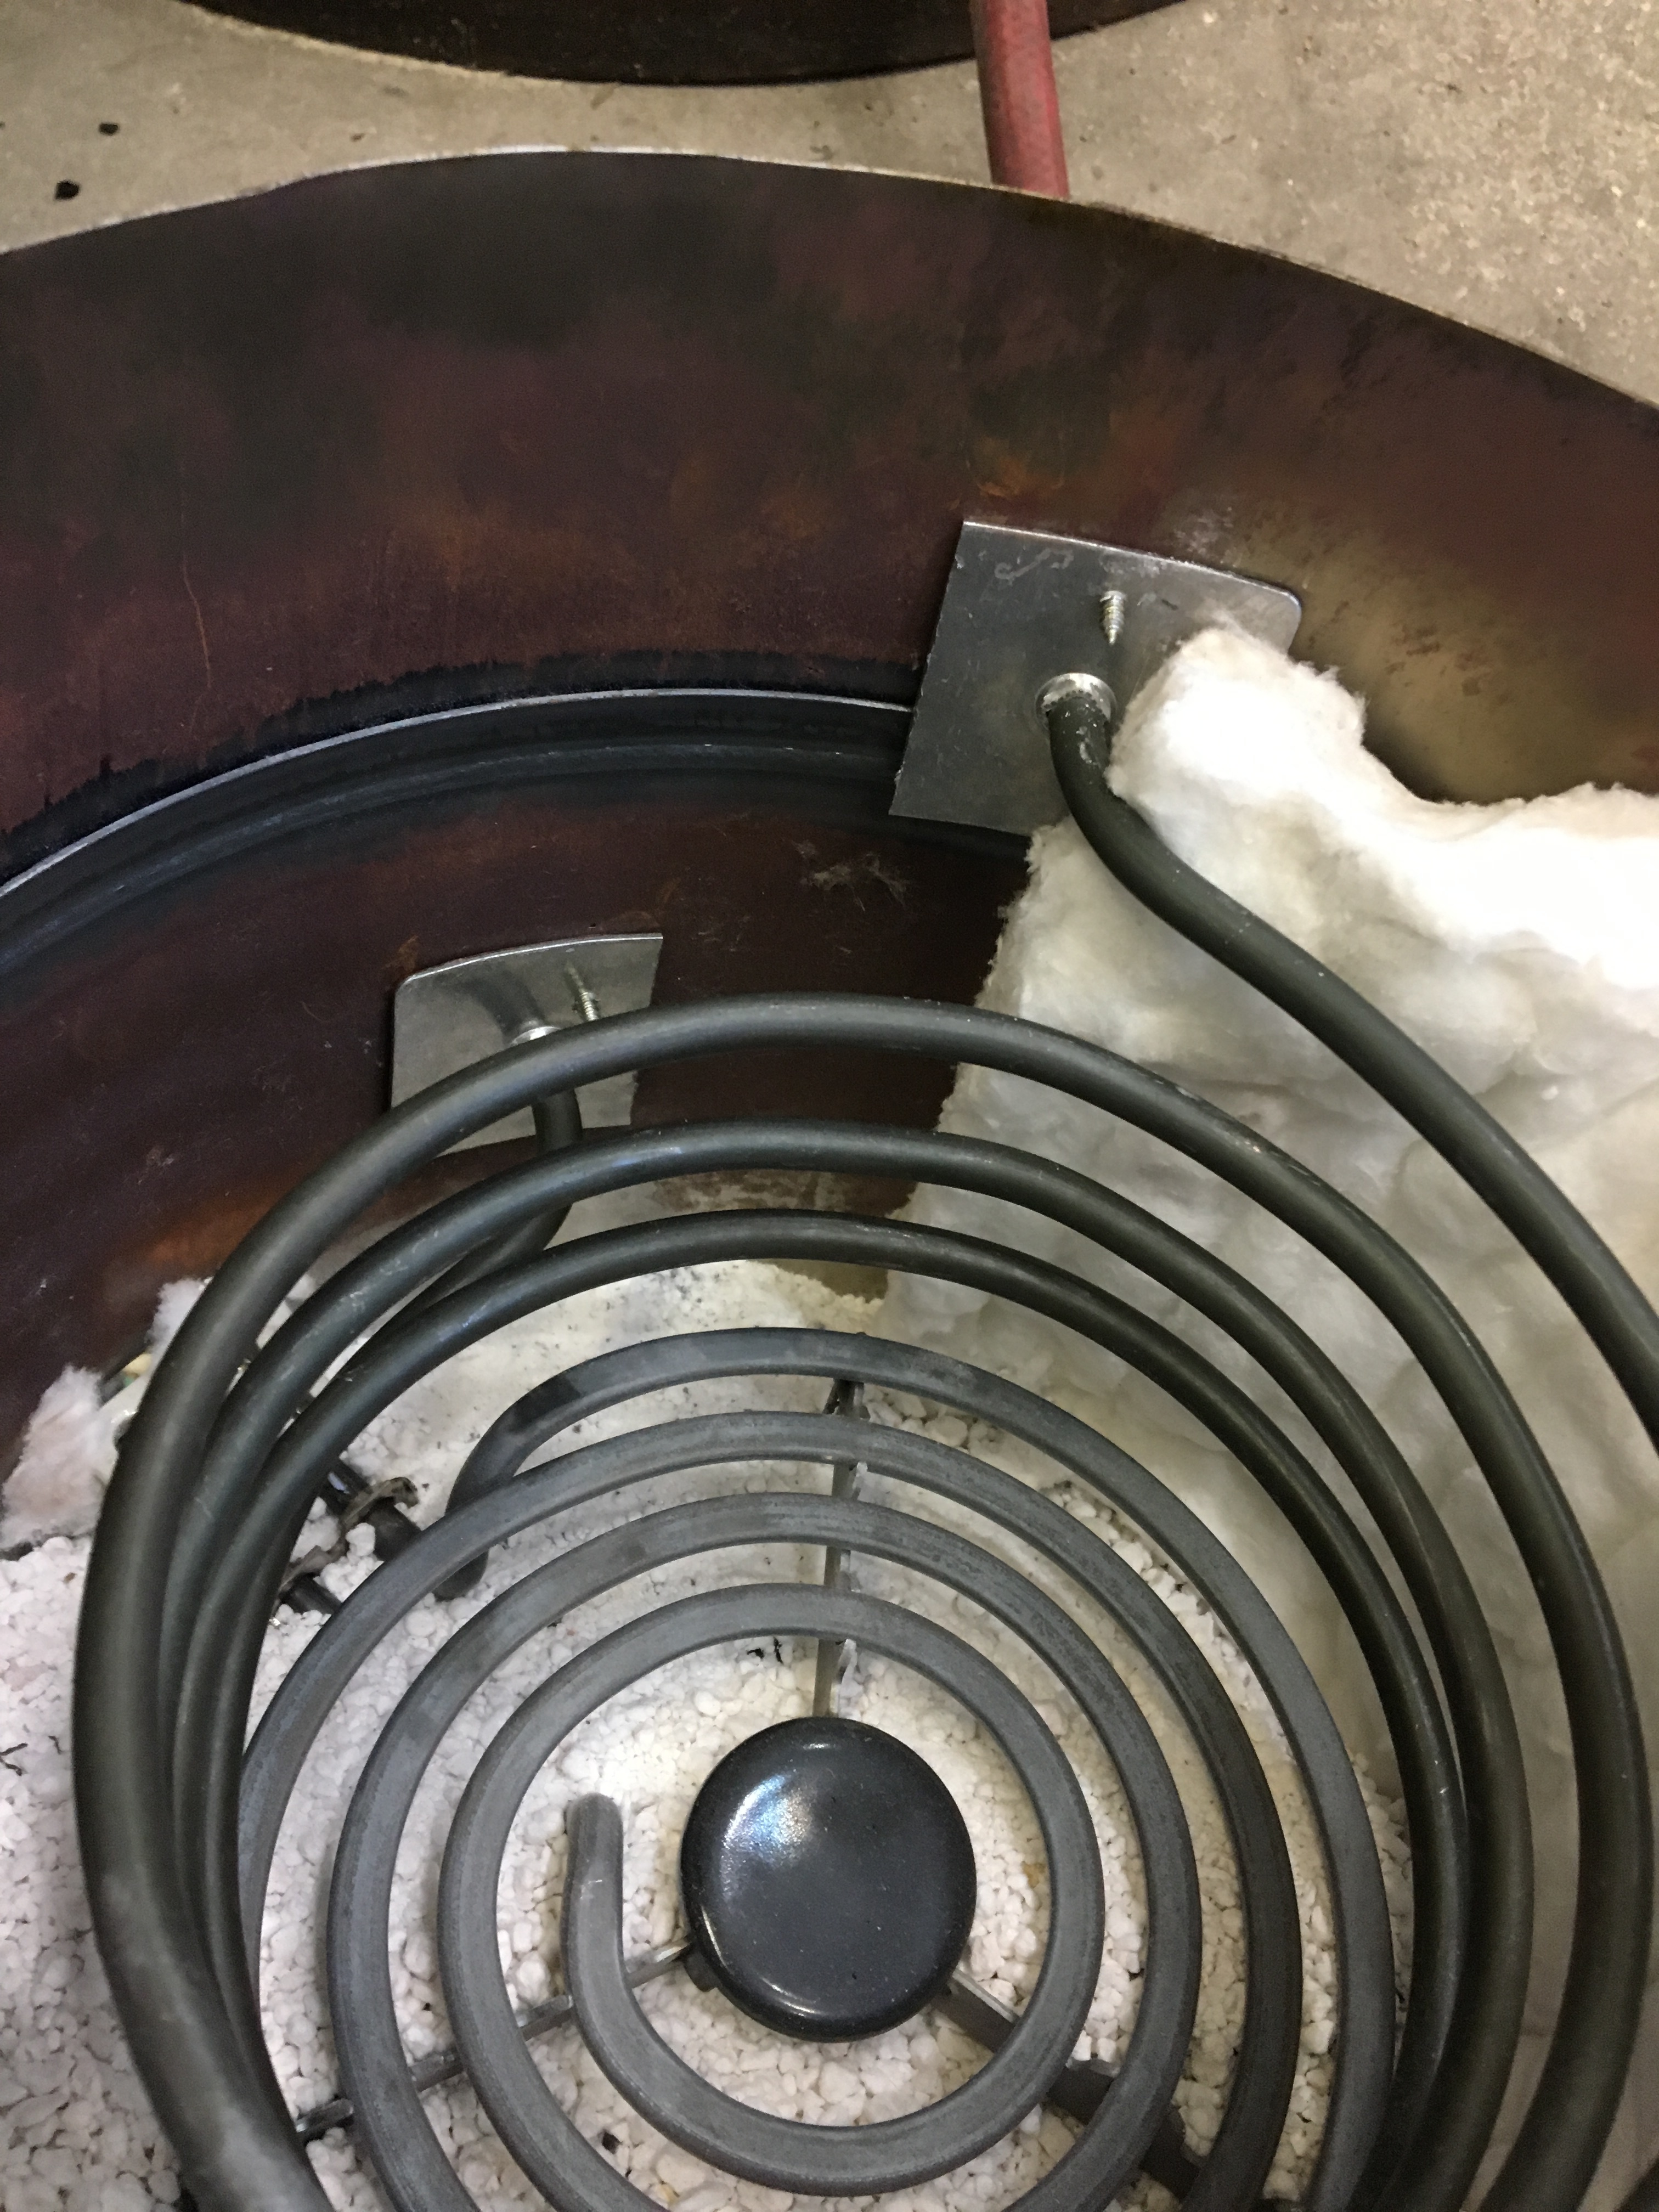
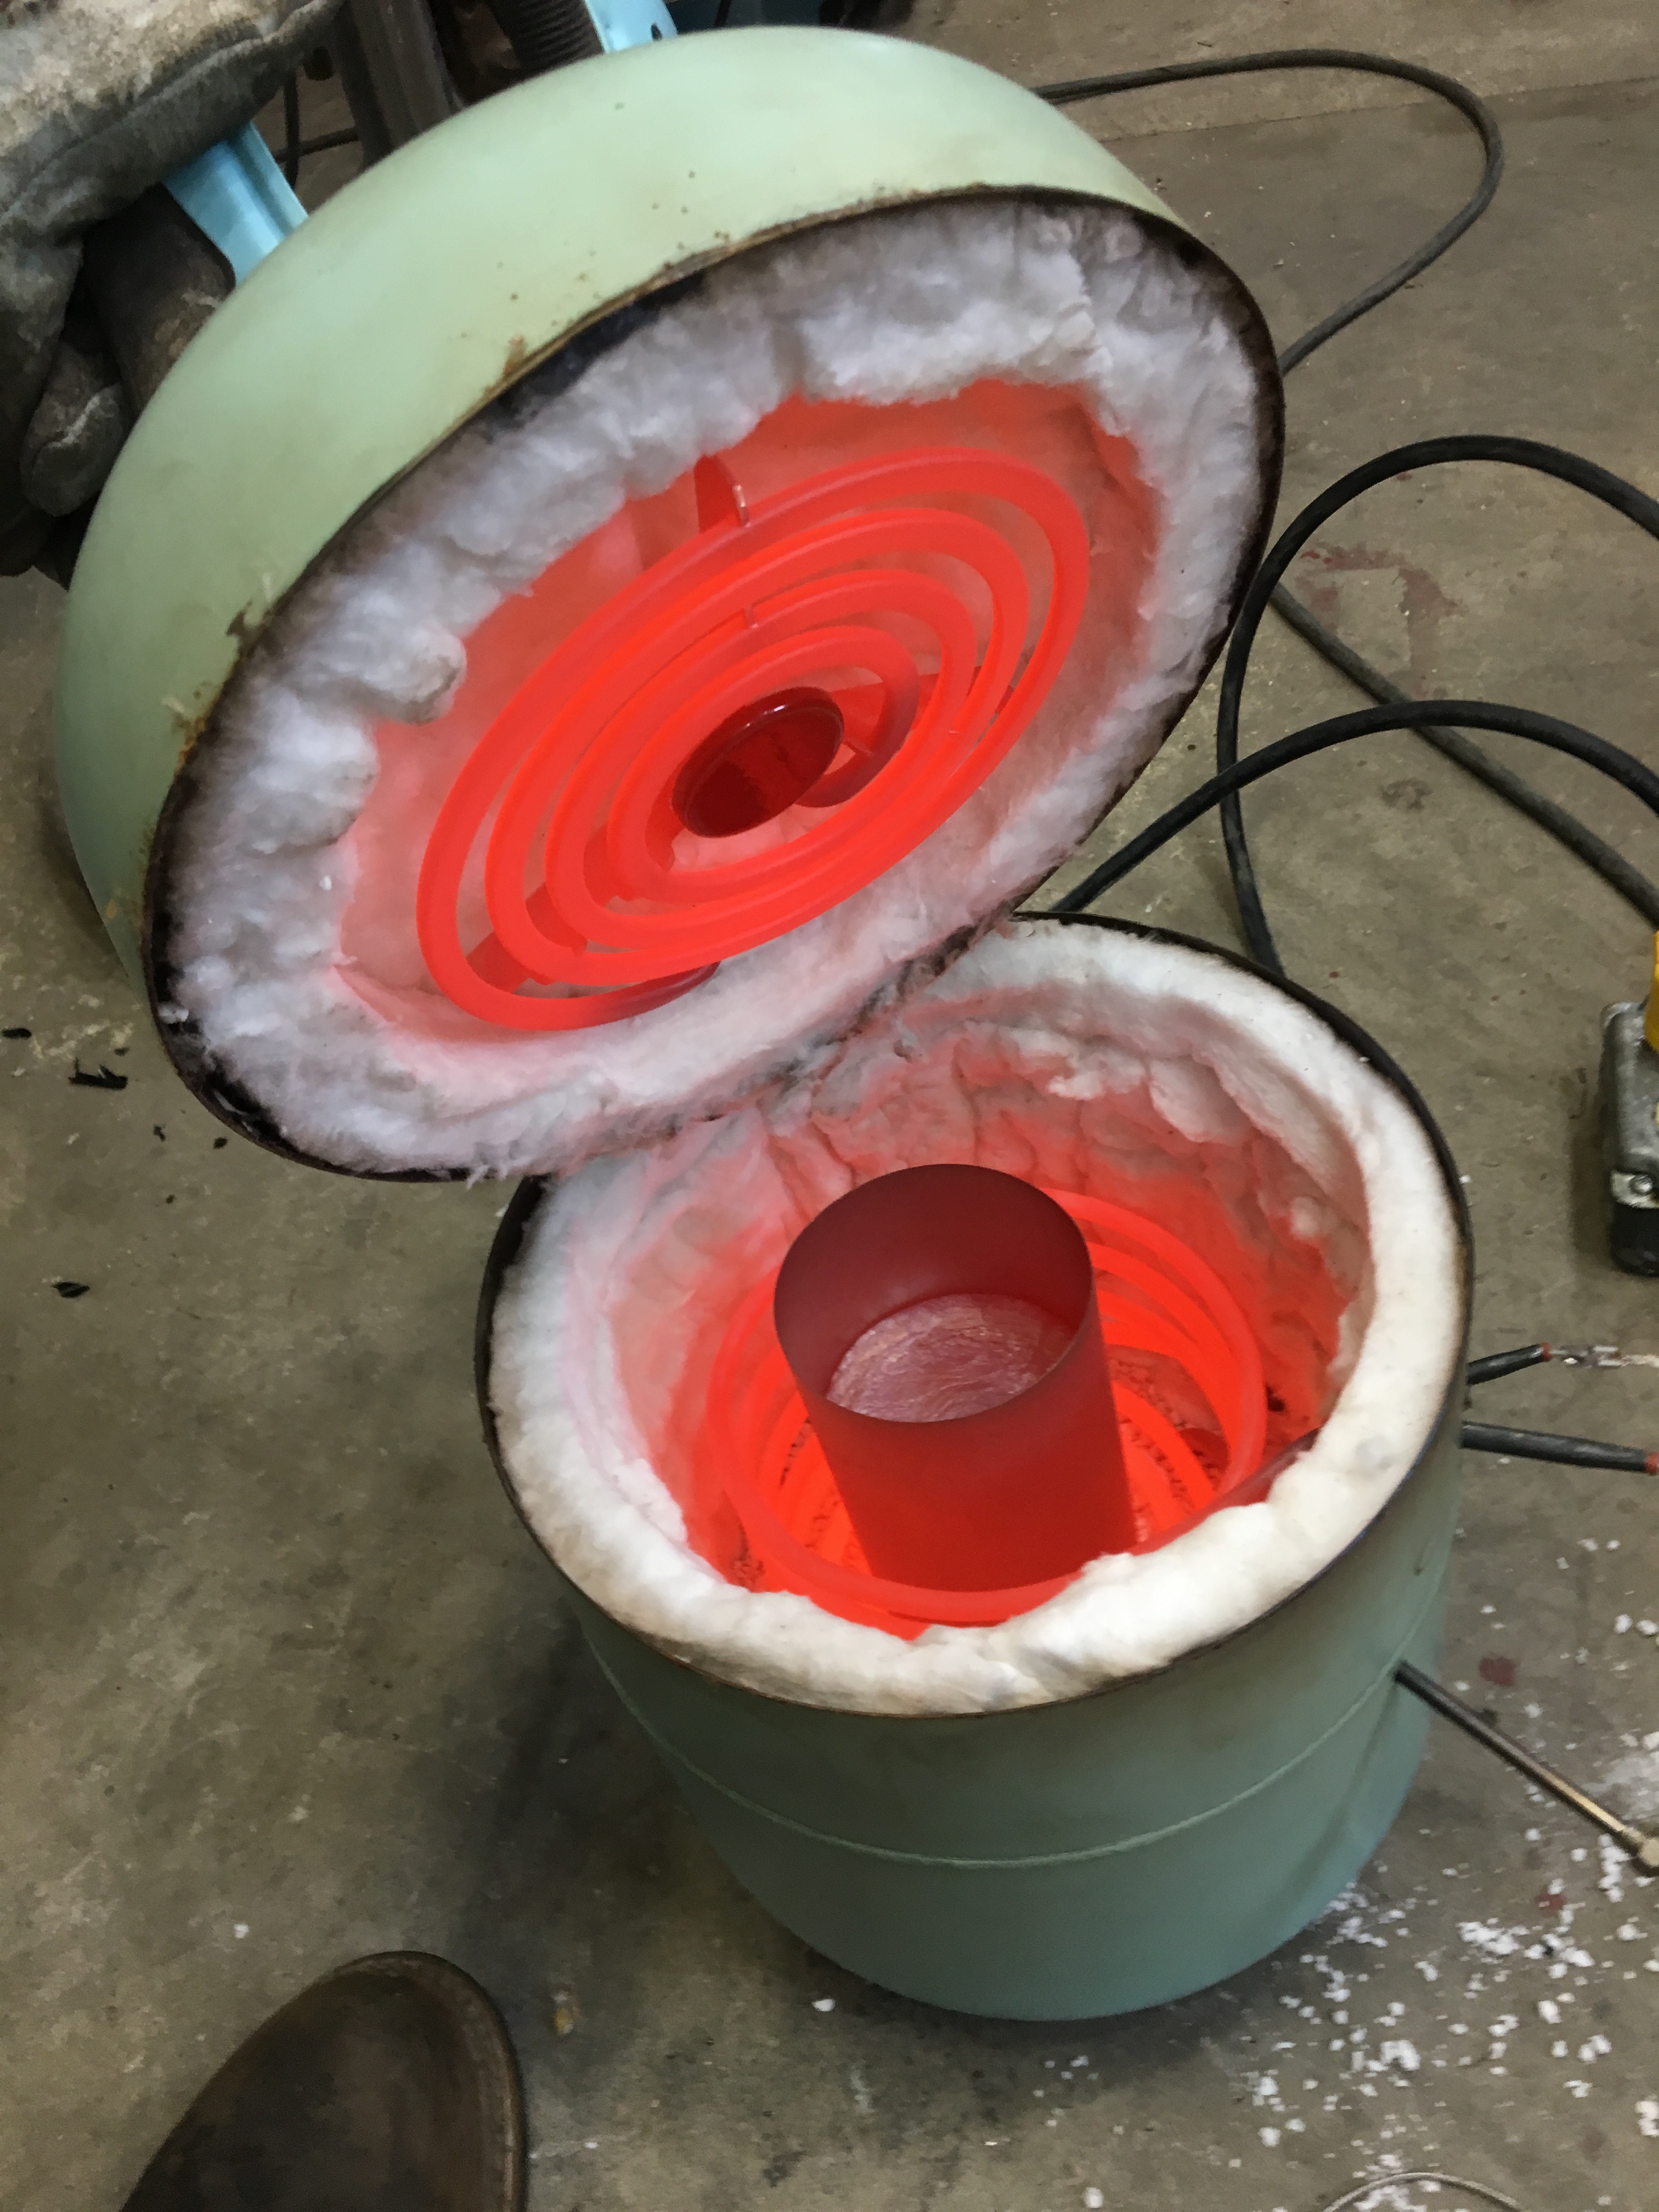
I’ve done electric with kanthhal wire and fire brick, but I found that the kanthal is somewhat delicate. So recently I’ve put together a few with electric stove elements and ceramic insulation and running them off of 110 V instead of 220 V. Since they operate on less than 1000w it takes a little while for them to warm up but they will reach aluminum melting temperatures and operate for pennies in an hour, and i can plug it in anywhere.