Tbh, this would be my preferd solution and have power and vacuum fed from above but i just need to figure the best way to do it in the space i have without causing snags.
Im worried if i suspend the hose centrally above the table, when the machine moves to the centre the excess hose may foul the machine.
Open to any suggestions or idea of ways people have done this.
I tried to increase the homing amps ever so slightly to see if it made a difference, but it doesnt seem to save and as soon as i come off the config page and back into it on the web ui it reverts back to the default.
Suspending the hose and power from above is bit of a challenge, because you will need enough slack to be able to reach all four corners of the usable area without having excess slack when everything is in the center. Some kind of retracting spring might work, but…
My suggestion was to only do this temporarily, to see if it was causing the issue. Something a simple as tying a rope to a screw hook in the ceiling, or constructing a makeshift tripod, anything just to hold the hose above the gantry with the core placed at each end of the X axis (without having to move along the Y axis at all).
Once you determine if that is the source of the problem, then you can re-position the hose along the gantry hooks to ensure that nothing is adding pressure to the core.
Have you changed the name of your config.yaml by any chance? Clicking that macro will save current settings to config.yaml - if you’re using another file name it won’t do anything (ask me how I know )
I hadnt, anyways, i got it to save, no i wasnt forgetting there was z motor 0 and z motor 1 and reading different ones each time i definatley didnt do
After a lot of faffing about, i pulled the cover off the board box, xhecked all the stepper wiring connections, unplugged z0 and plugged it back in making sure it was fully seated and hey presto. It seems to have solved the issue.
When i installed the hose i have messed about trying to sort the wiring inside the board box as i had added the cooling fan to the cover and wanted to clear the wires from around the board.
Seems i caused 1 issue solving another.
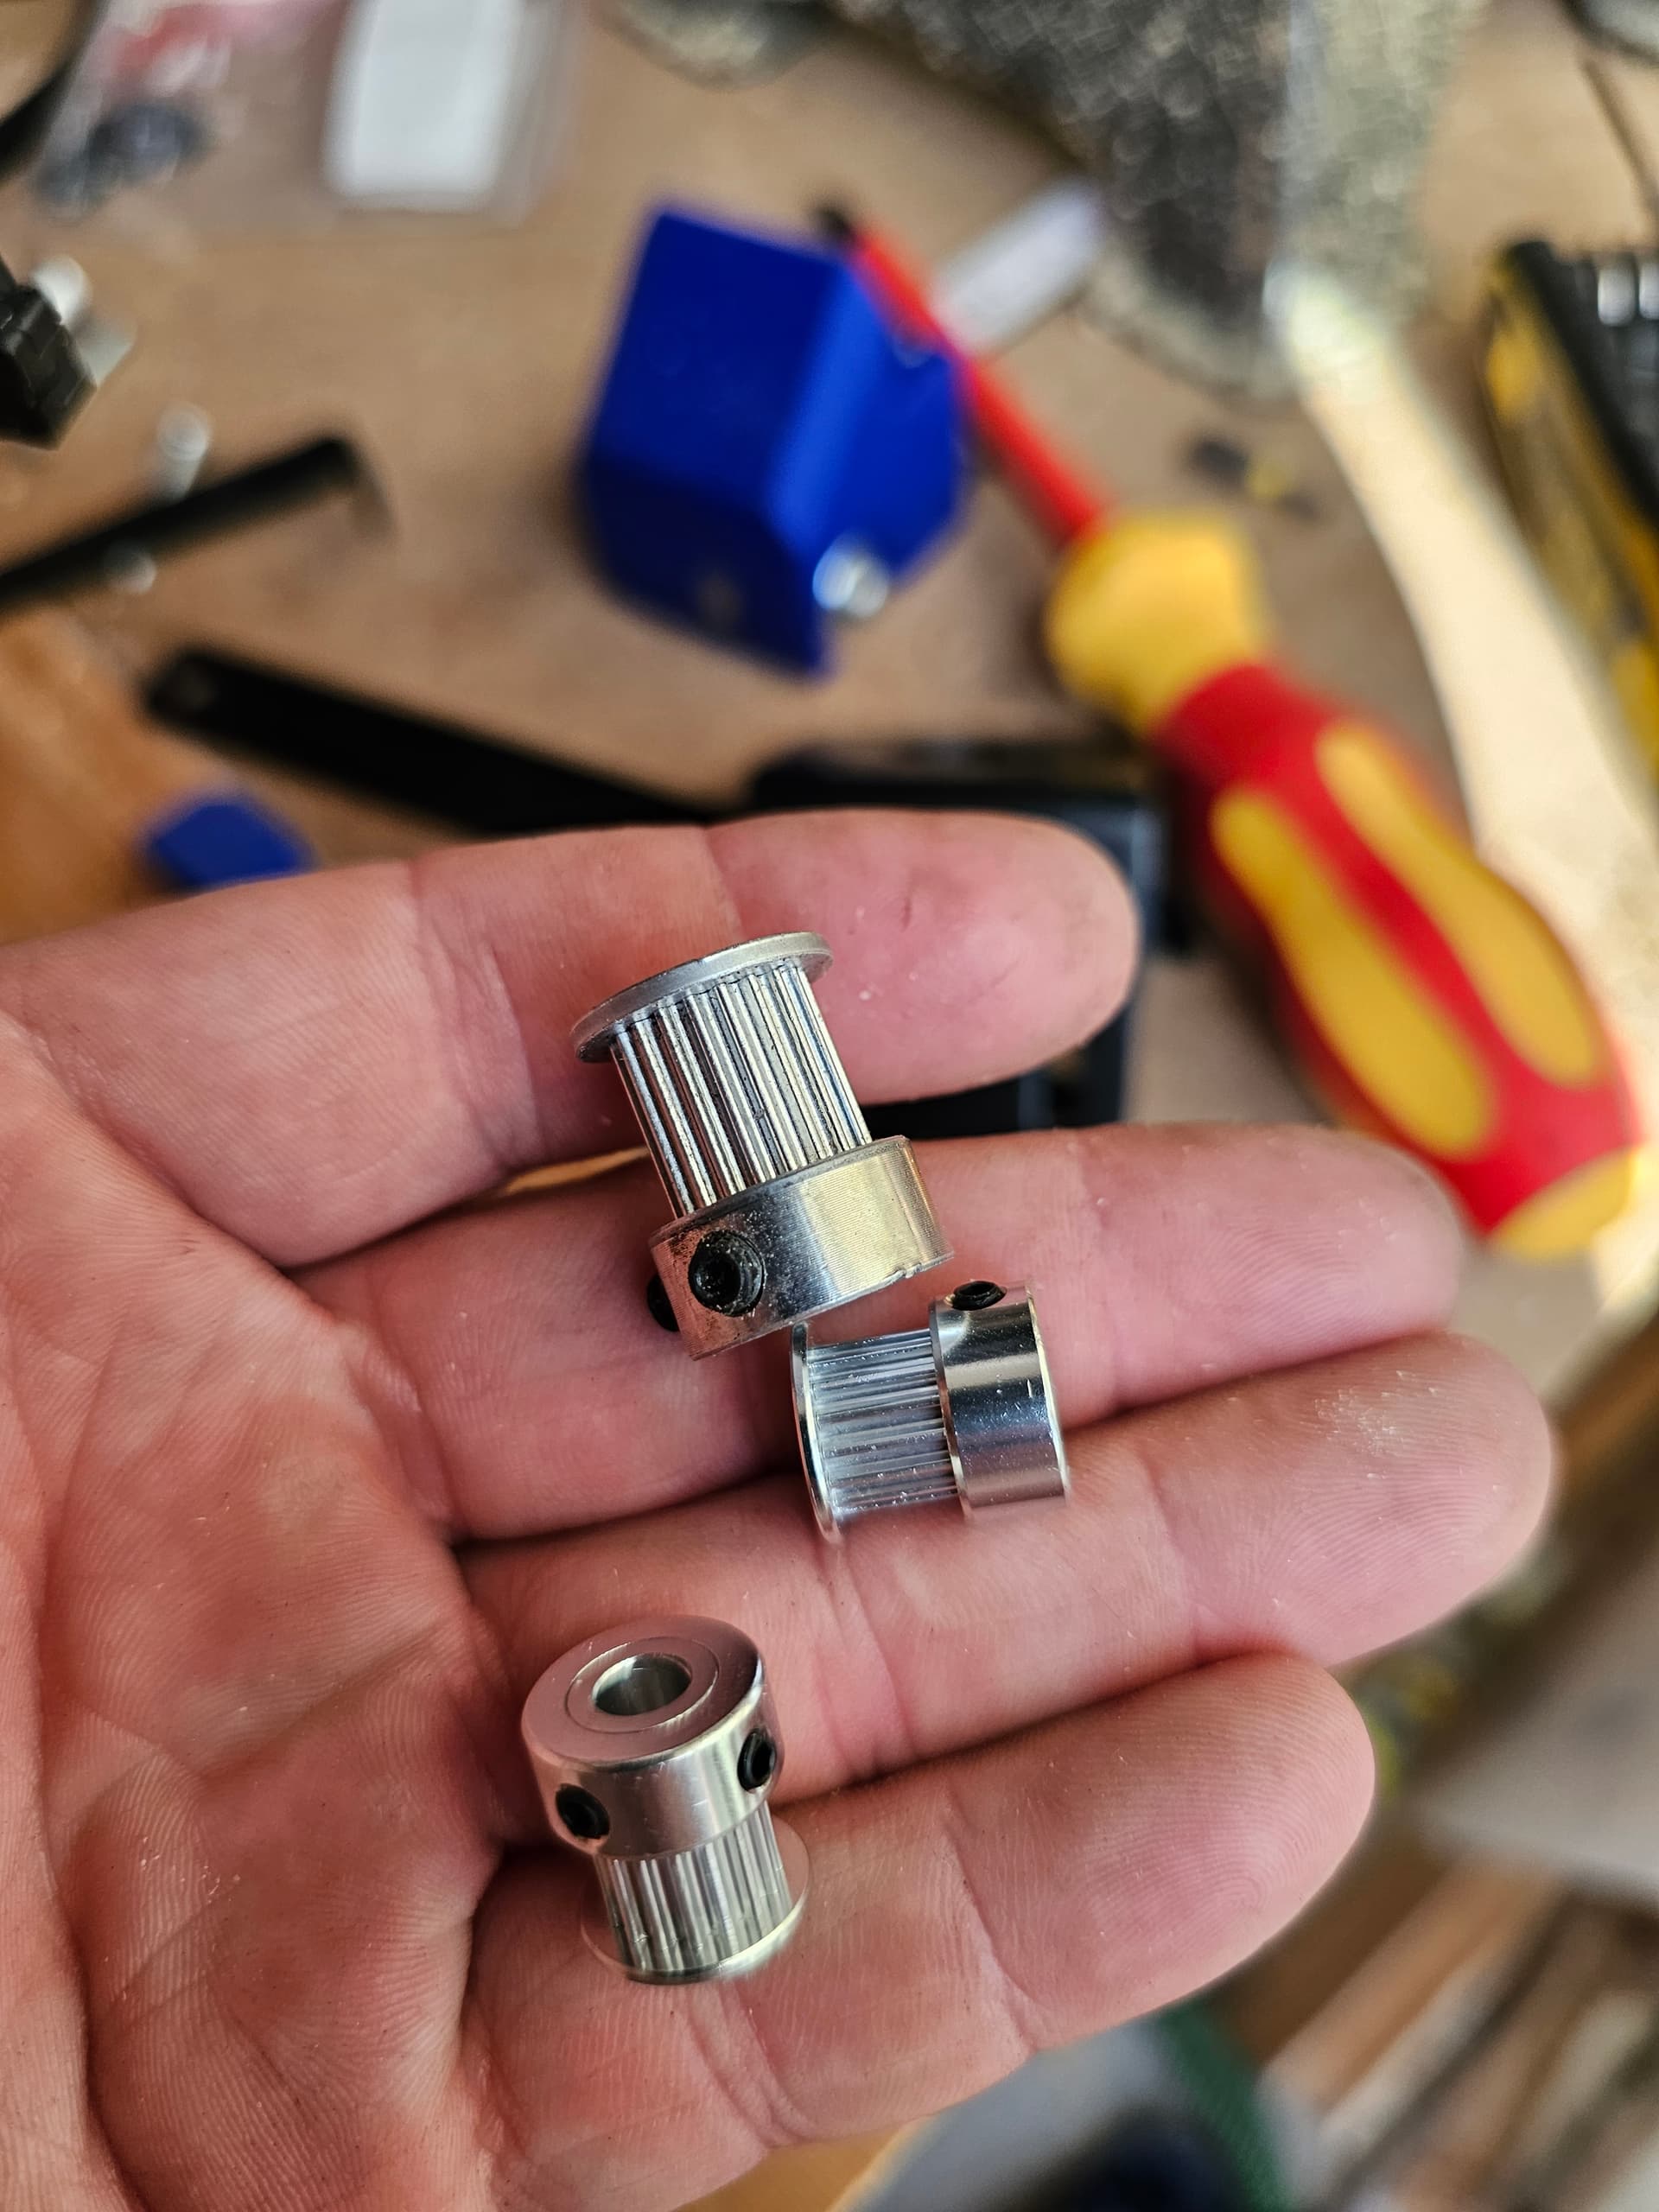
I still need to swap the 20t pulleys out as per @vicious1 recommendation. But feel like im moving back in the right direction.
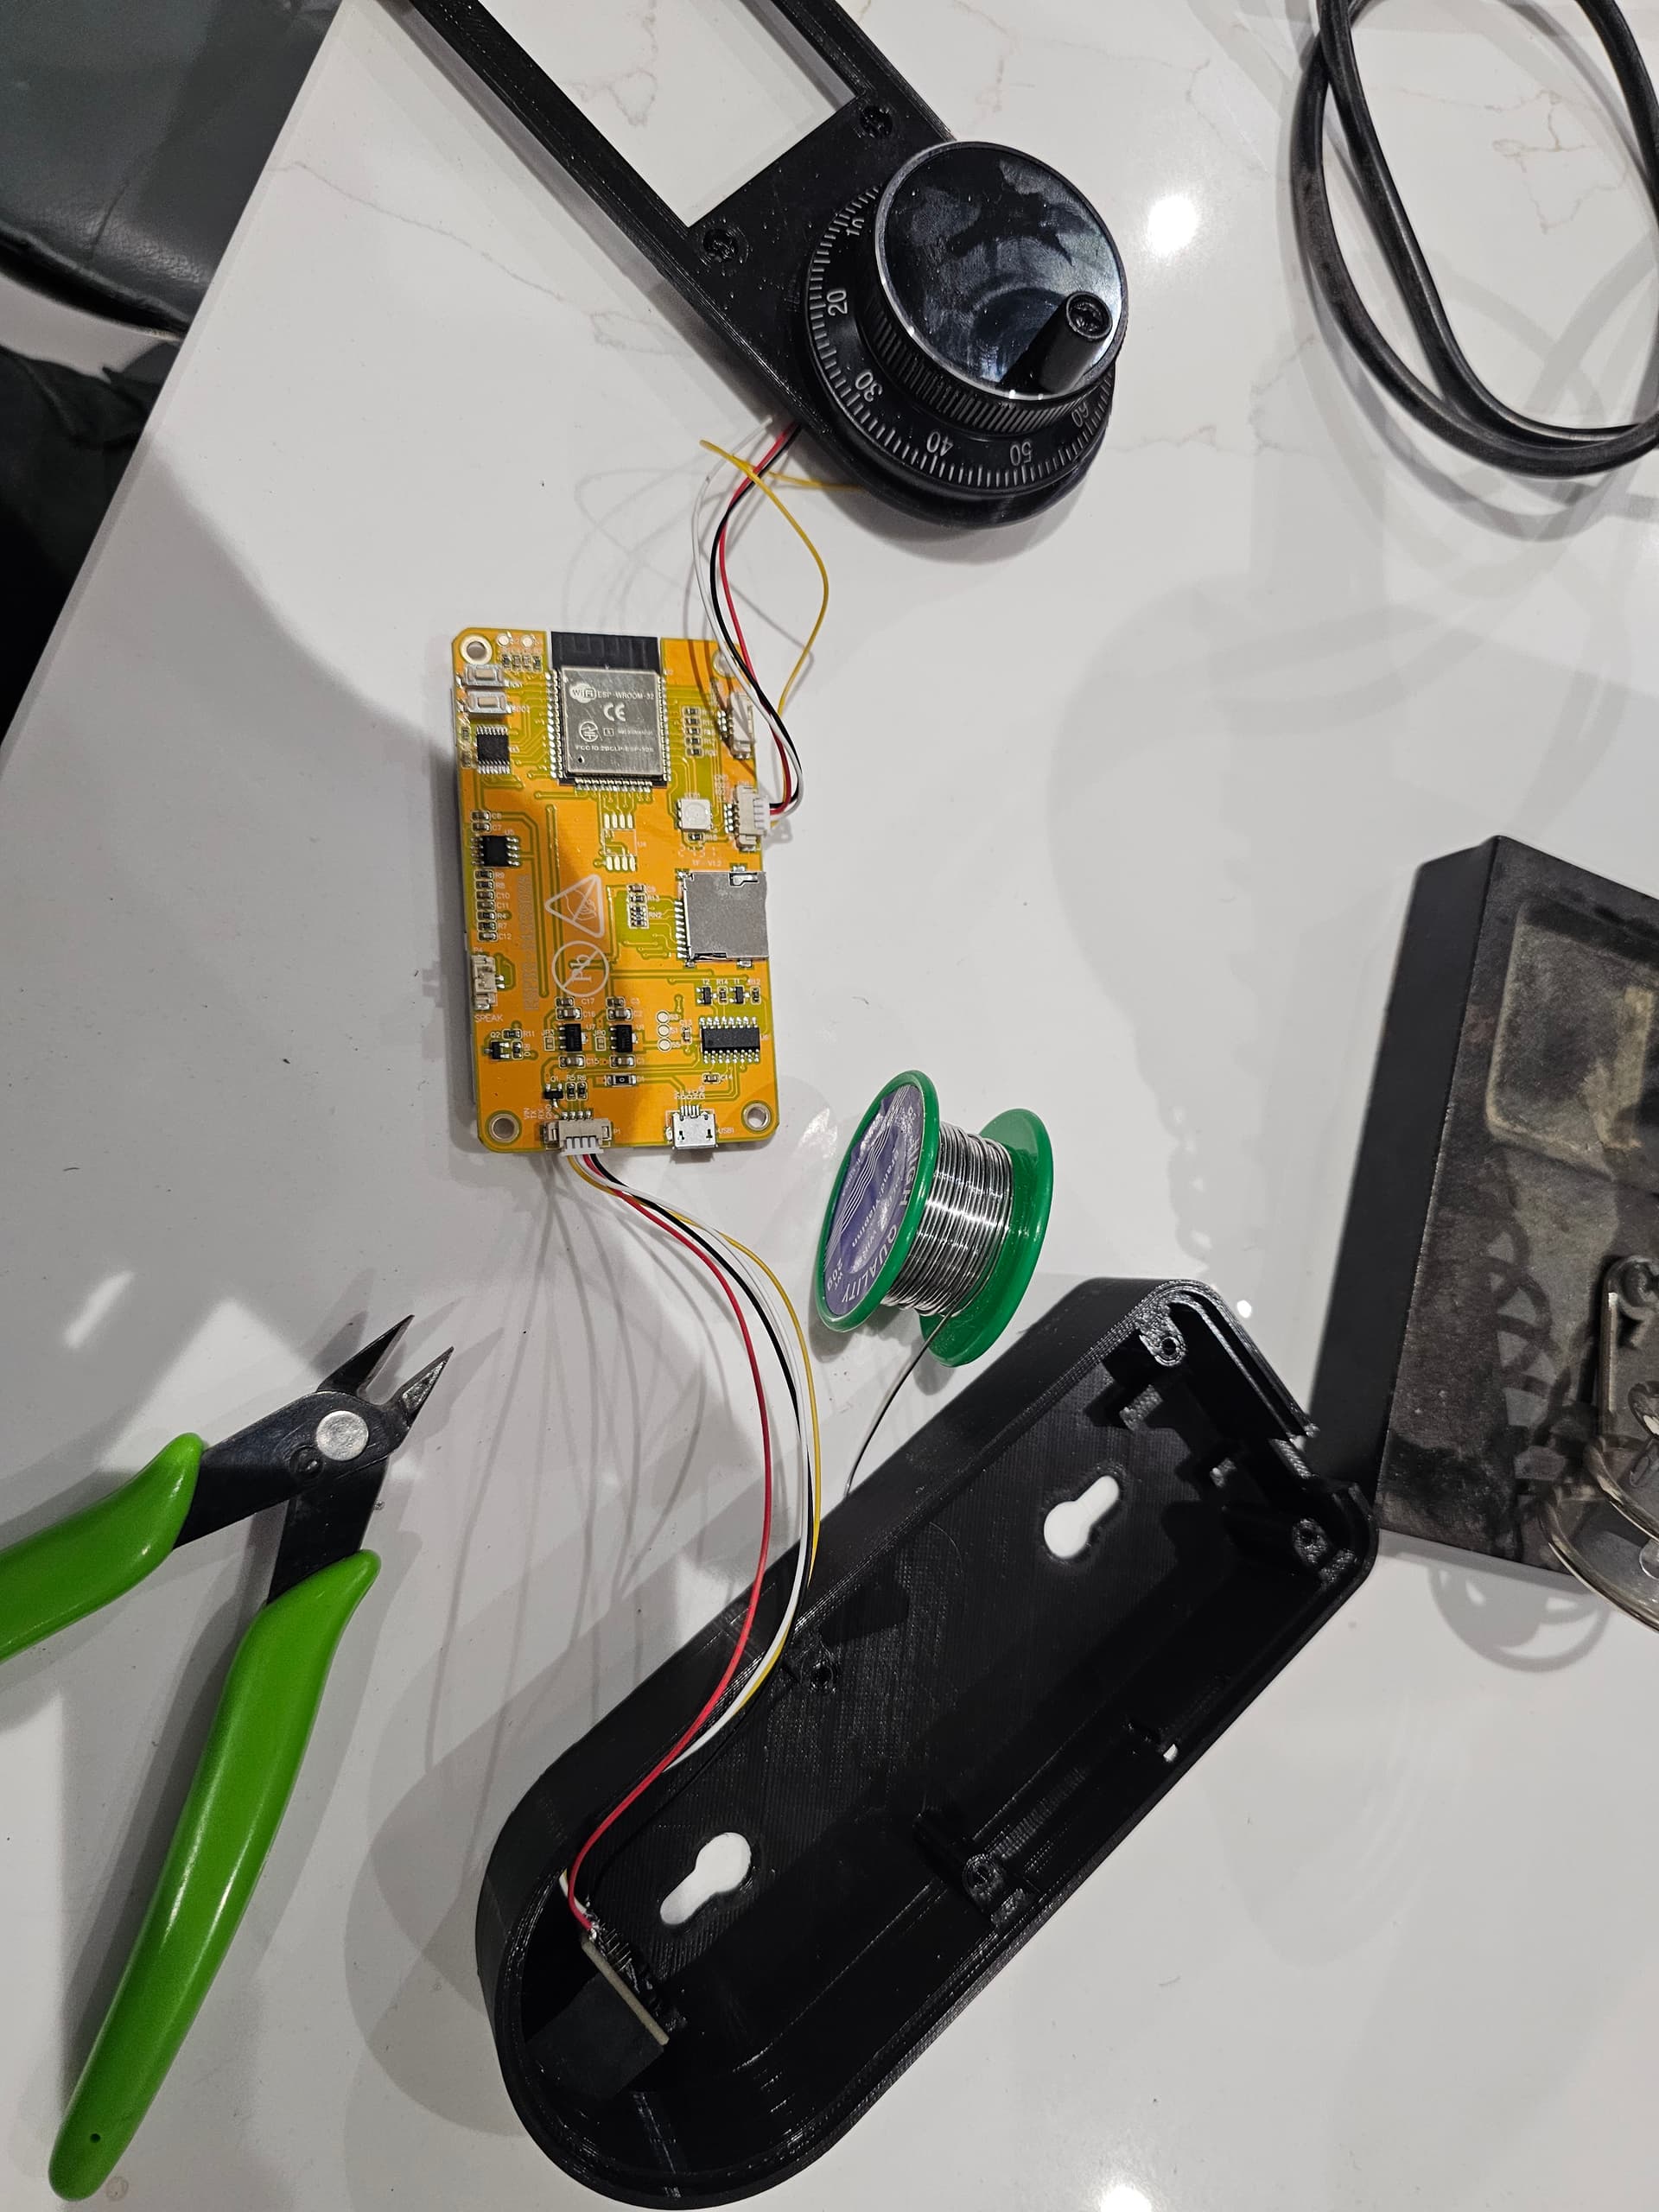
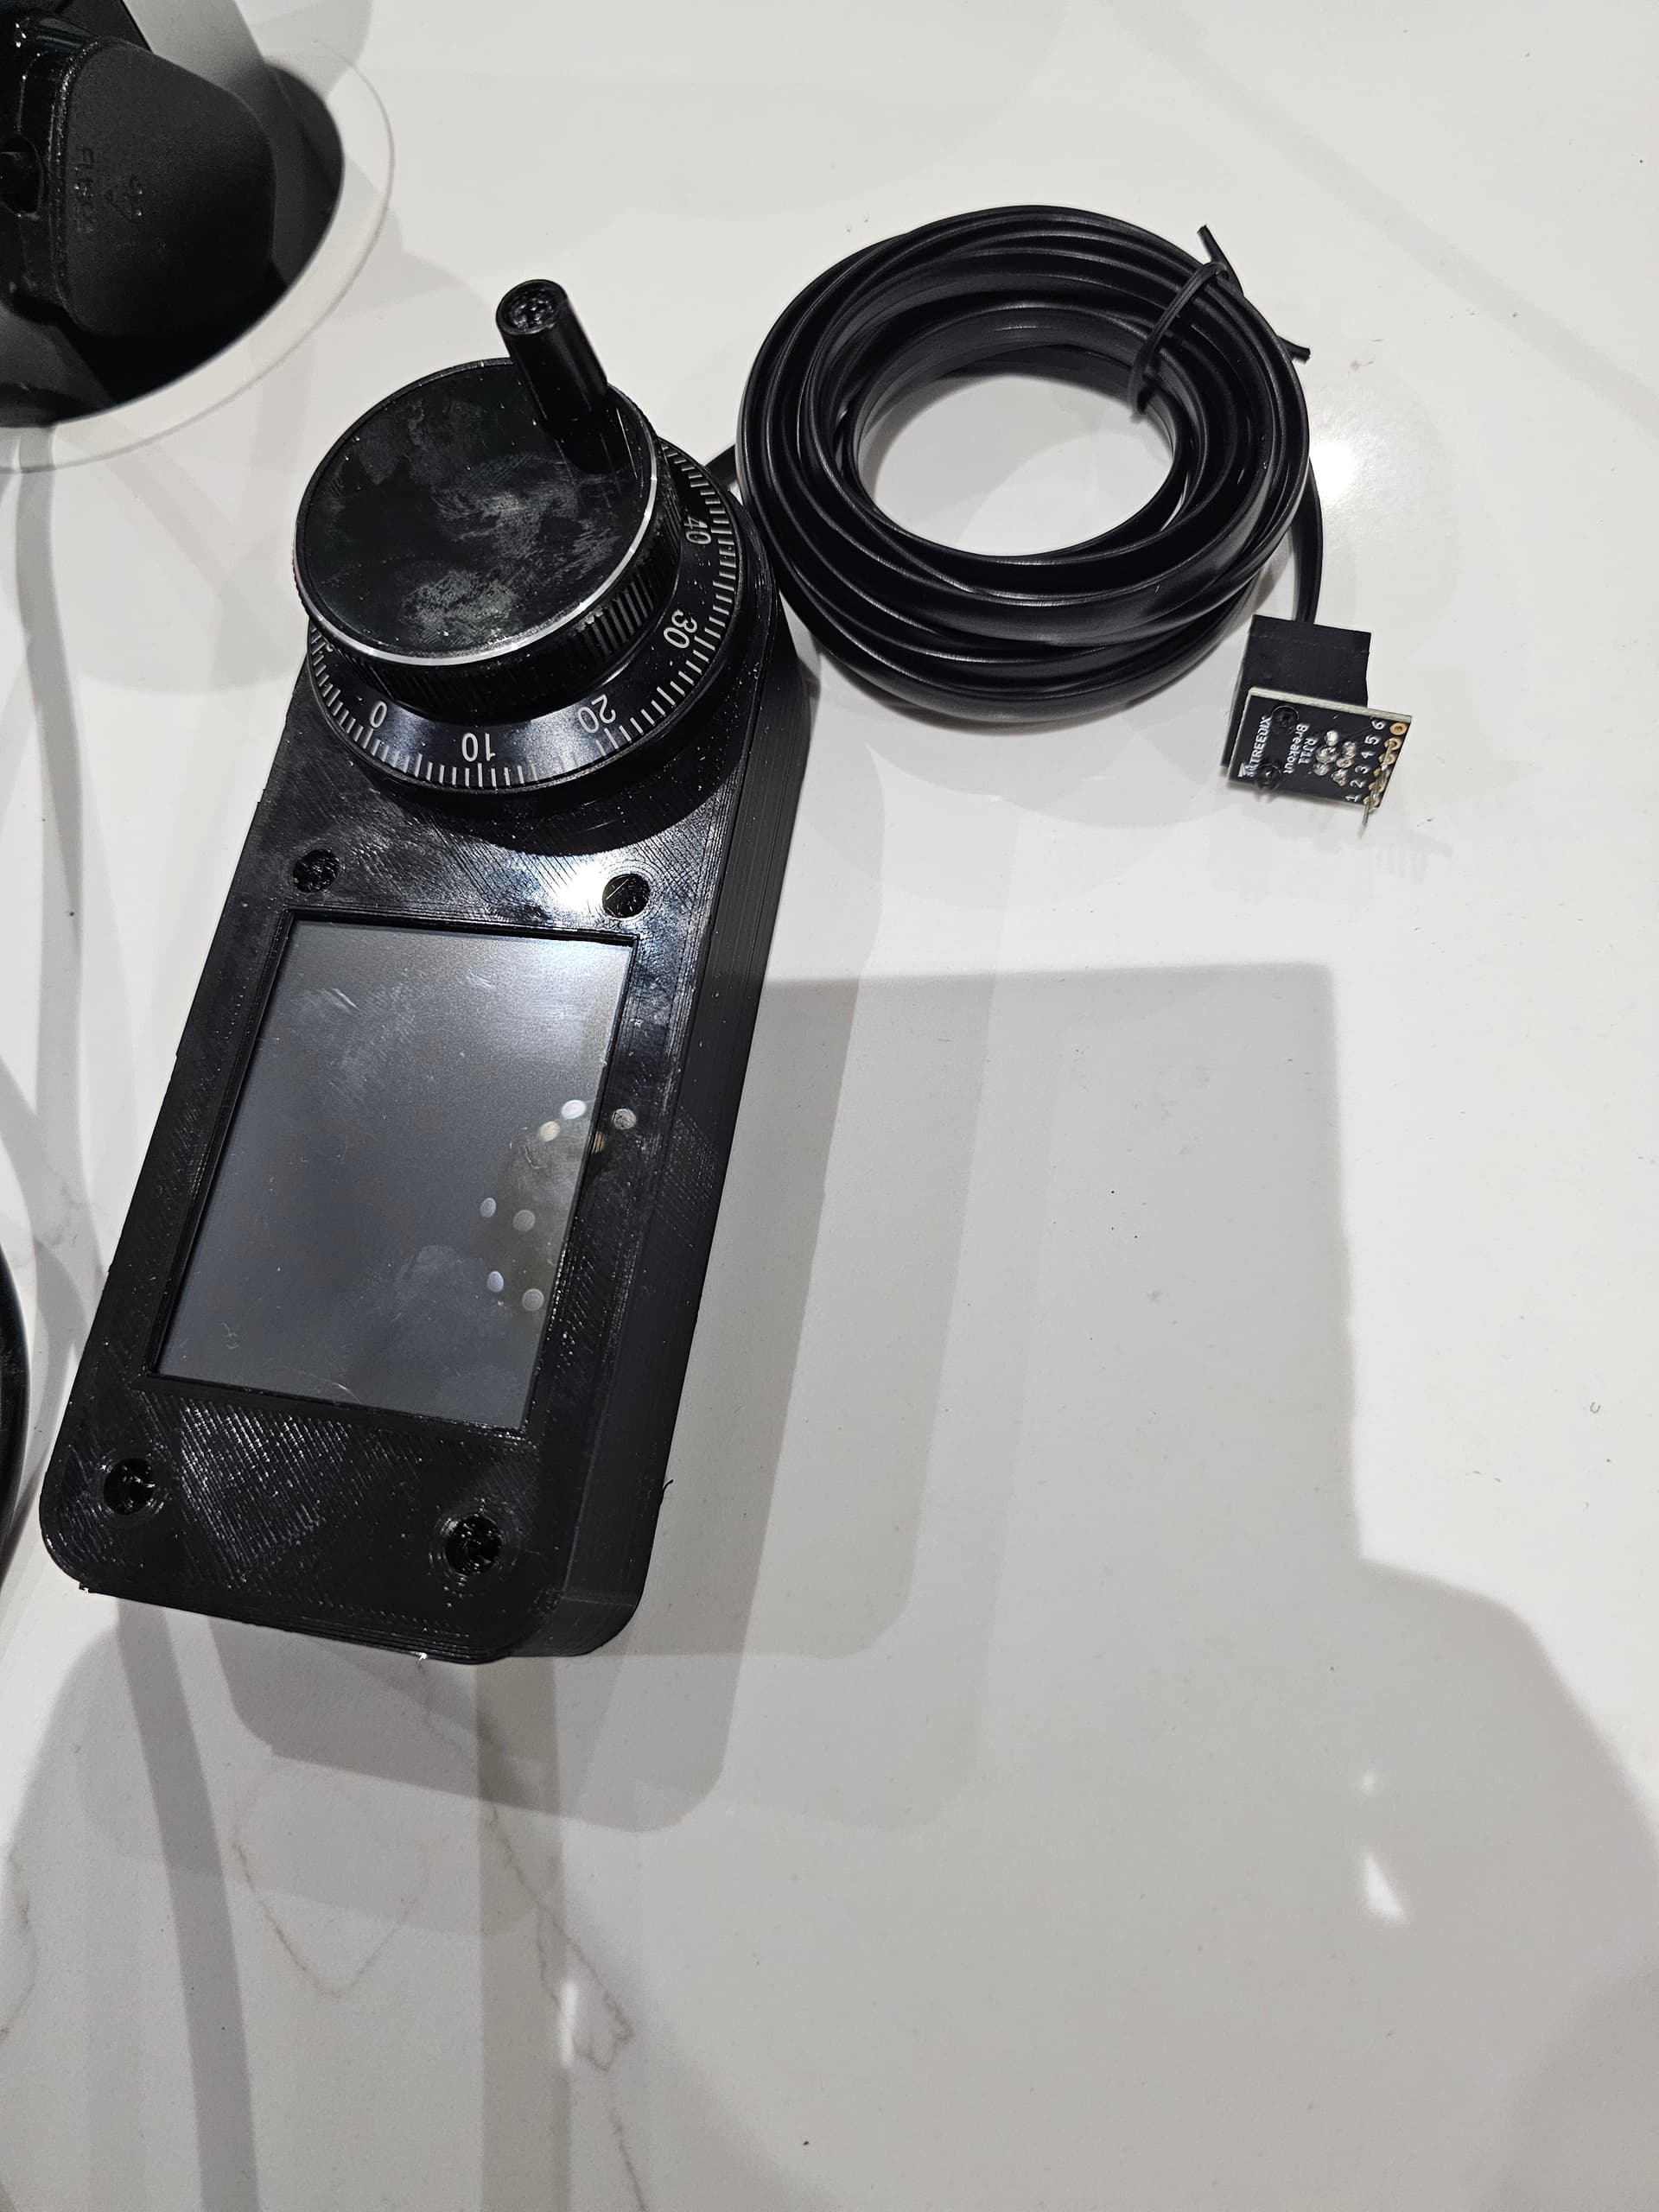
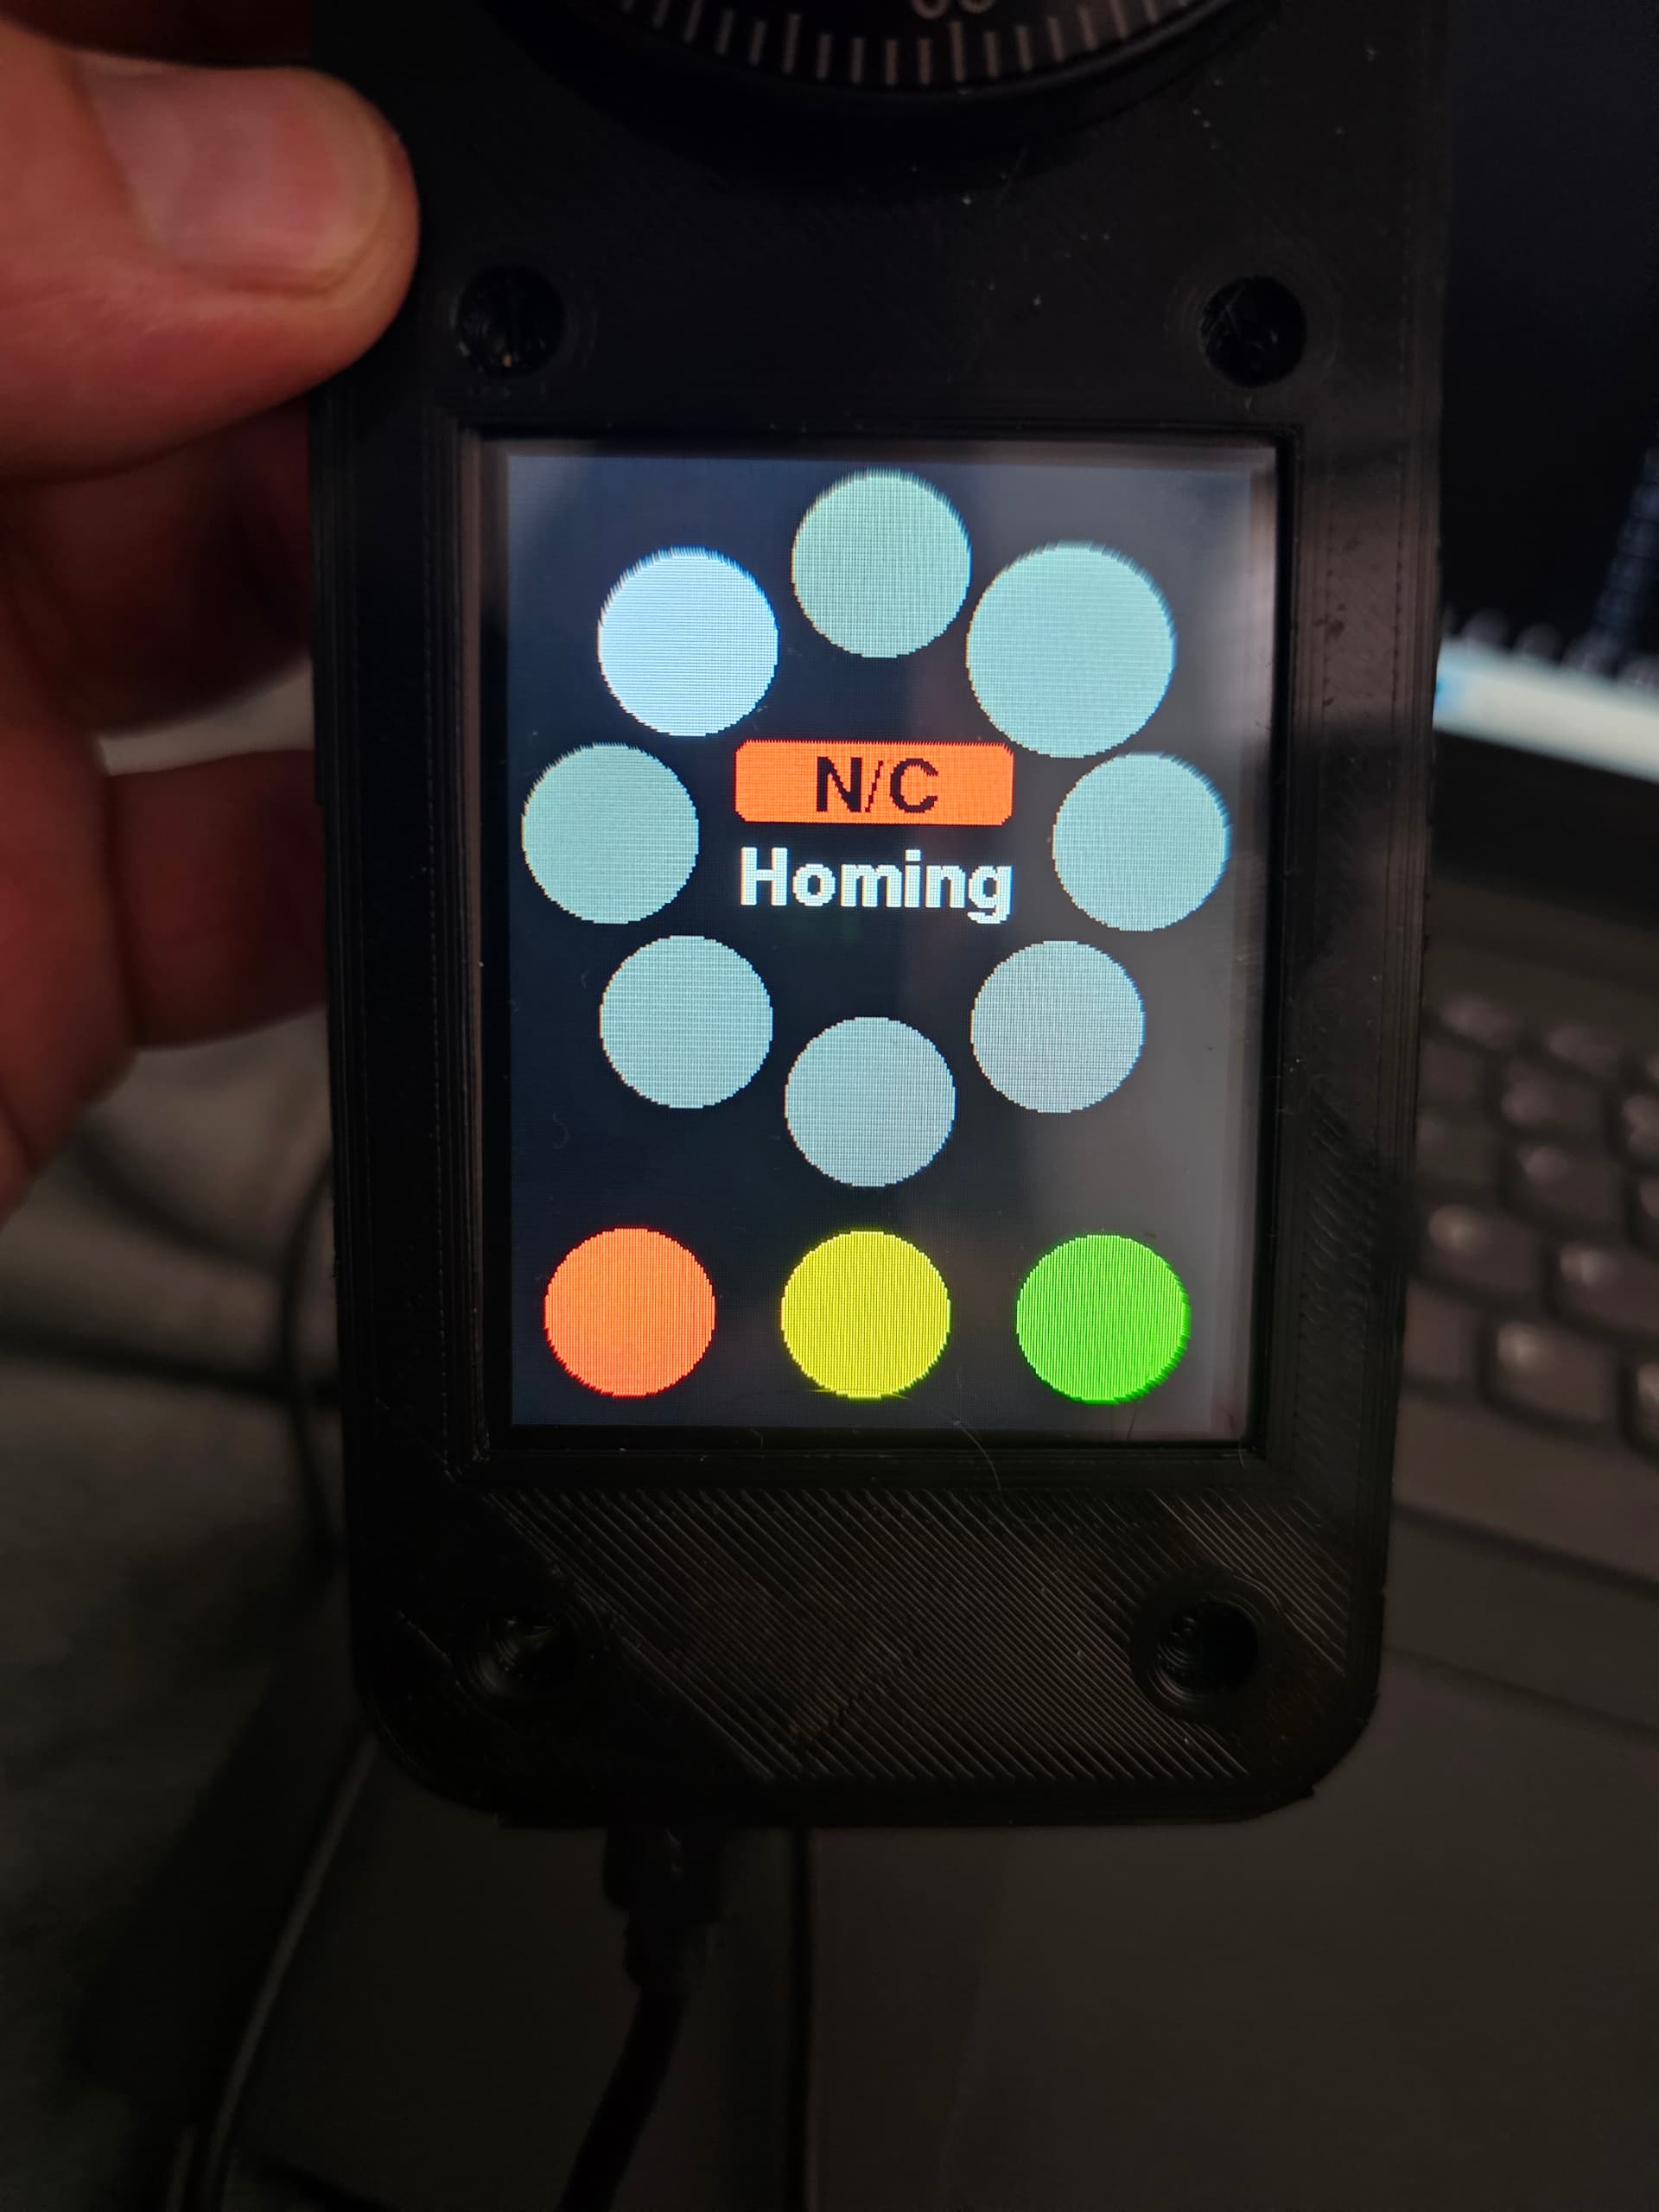
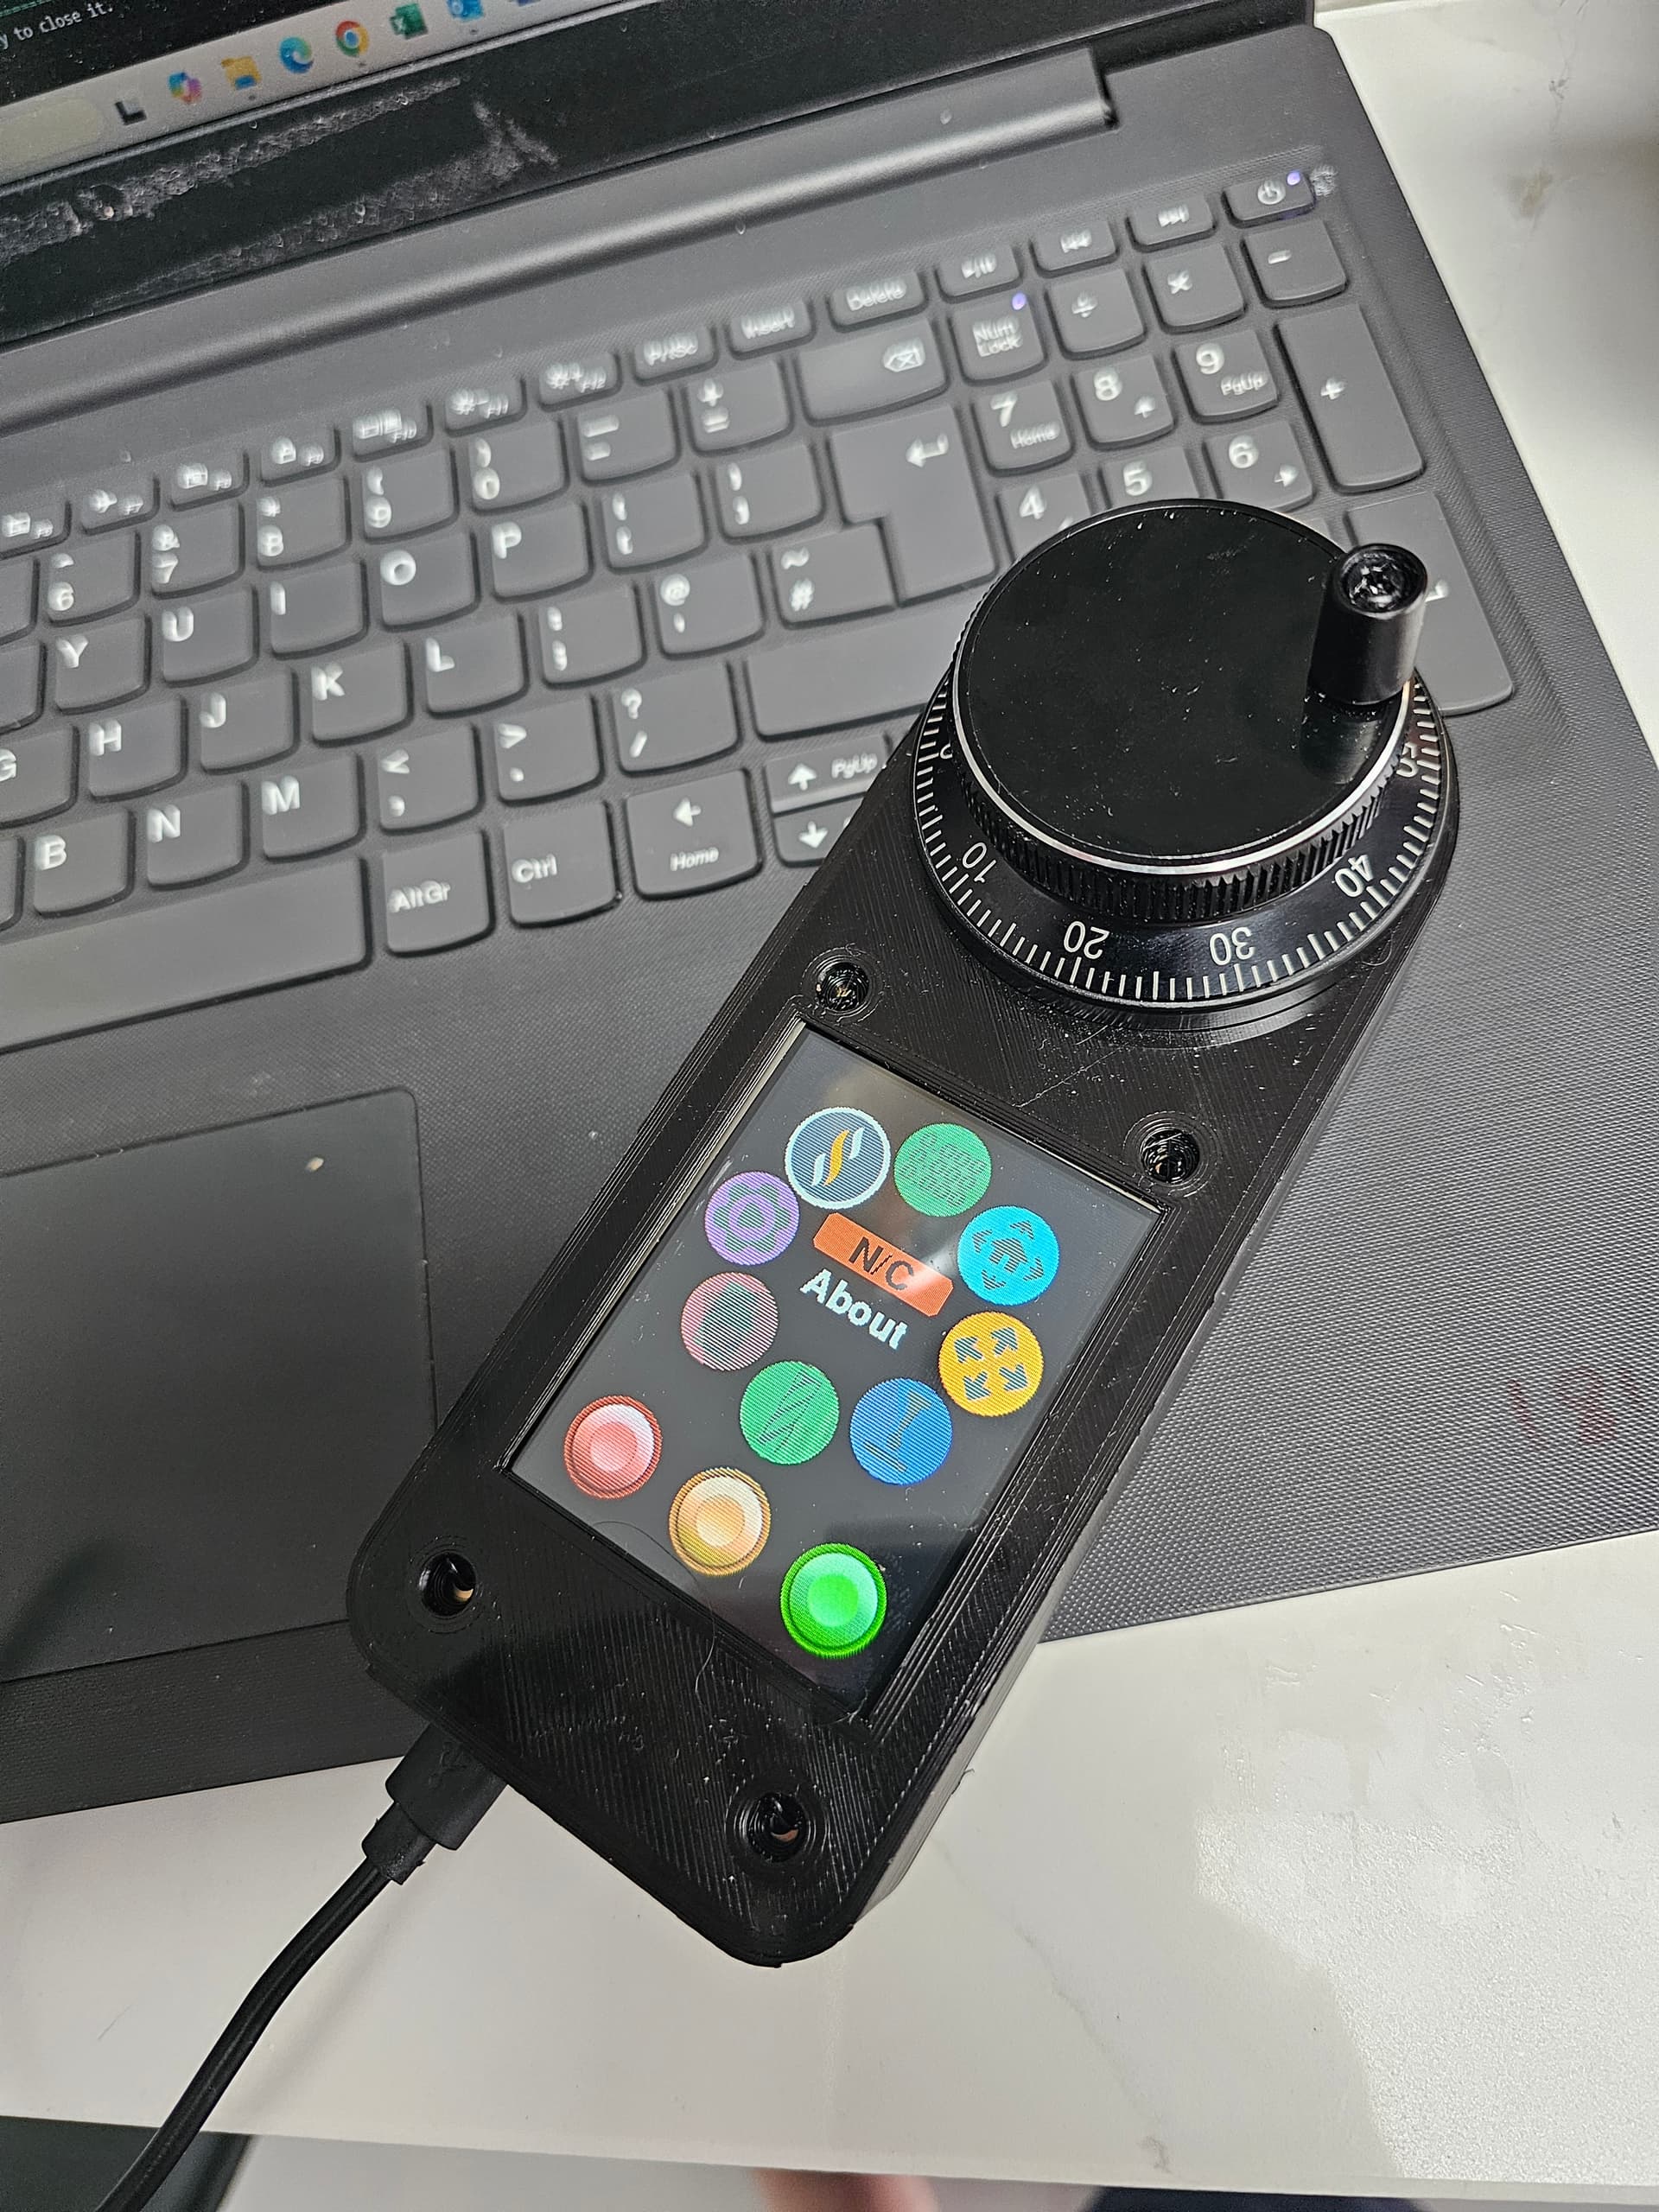
It seems to work the wheel works with the display and the display touchscreen seems to operate how it should.
It was a pain trying to upload the firmaware to the screen as i have zero experience using vscode or platform io. There was also a problem with the icons when i uploaded the build, However a little assistance and troubleshooting with Chat GPT we got there.
Has anyone done one else built the fluid wheel with the Lr4 and jackpot board? I read somehwere about it blowing the esp32 chip when connecting and disconnecting the controller, is this right, is there any do’s and don’ts?
Do:
Use Bart’s pre-made expansion-to-RJ12 adapter board.(has some built in ESD protection)
Limit the number of times you connect and disconnect the wiring between the controller and the pendant.
Do not:
Do not plug or unplug the pendant while the controller power is on.
Don’t route the pendant wiring along your dust extraction hose or anywhere else you notice static buildup (like the bucket If you use a cyclonic dust filter)
Congratulations @Thomas_Sweeney.
An FYI for future reference, you don’t need vscode anymore. Joaquim has added the FluidDial installer to the Webinstaller. https://installer.fluidnc.com/
I have made 3 of them so far. I have cut the second pin on the RJ11 Breakout just to insure it doesn’t get any power from the vmot on the Jackpot.
Here is a link to my explanation for how to get macros to work with your new pendant:
I’m sure you will really enjoy using the CYD pendant. I have.
@Britt - I am building up a pair of CYDs. It haven’t started assembly. Does the CYD input not support the same wide input power the M5Stsck does? That would be a major limitation.
All three of my M5 FluidDial pendants have been rock solid using 24V and 12V VMOT power.