Canadian lr3 build

Starting the assembly stage.
Skrpro1.2
1” od (25.4mm ss tube 80.00 for 20’ CAD) I already had it eitherwise I would have done emt.

18mm od emt tube for long rail

1/2 plywood xy plates milled on mpcnc
Tried milling 6061 plate but I am not ready for that yet.

Qty 2 3/16 pieces of acrylic per side for xz plates.

4’by8’ build
I made a boo boo and printed my gantry triangles in 20%
For the end ones I went 50% I am wondering if I should reprint them ?

I am just waiting on steppers and linear rail.


Thought I would start a build thread bc I am sure I will need to grab some help.
Cheers

5 Likes

And you‘ll get it. For me it‘s mostly about documenting my journey and letting you all take part in it. :slight_smile: So a build thread is always a good idea.

2 Likes

It´s looking good and I like the color scheme!

2 Likes

That core is upside down… the wide end goes top, narrow on the bottom.

Looking good otherwise.

3 Likes

Thanks it kinda just happened using up filament.
Soon the fun begins.

1 Like

Haha didn’t even realize thanks
Had it all there figured I should see if it rolls on.
The new inverted air cutter

1 Like

Could you write something about how you printed the parts? Infill pattern? Nozzle size? Layer height? Bed temperature? Nozzle temperature?

1 Like

I used the same settings I used for my MPCNC, except for the infill which I took from Ryan’s recommendations for the Lowrider. :slight_smile: You can find them here: MPCNC Primo Schneewittchen - Oldenburg, Germany - #152 by Tokoloshe

3 Likes

Honestly I leave most the setting alone.
I am using a ss .5 mm nozzle 250deg
Pla +
70mm sec
And I follow the infil that v1 has lid out.
Minus my brace mess up
I think most prints call for 35 I went higher for my mpcnc
I have a elegoo pro basically stock
Basically what Phillip said haha

1 Like

.
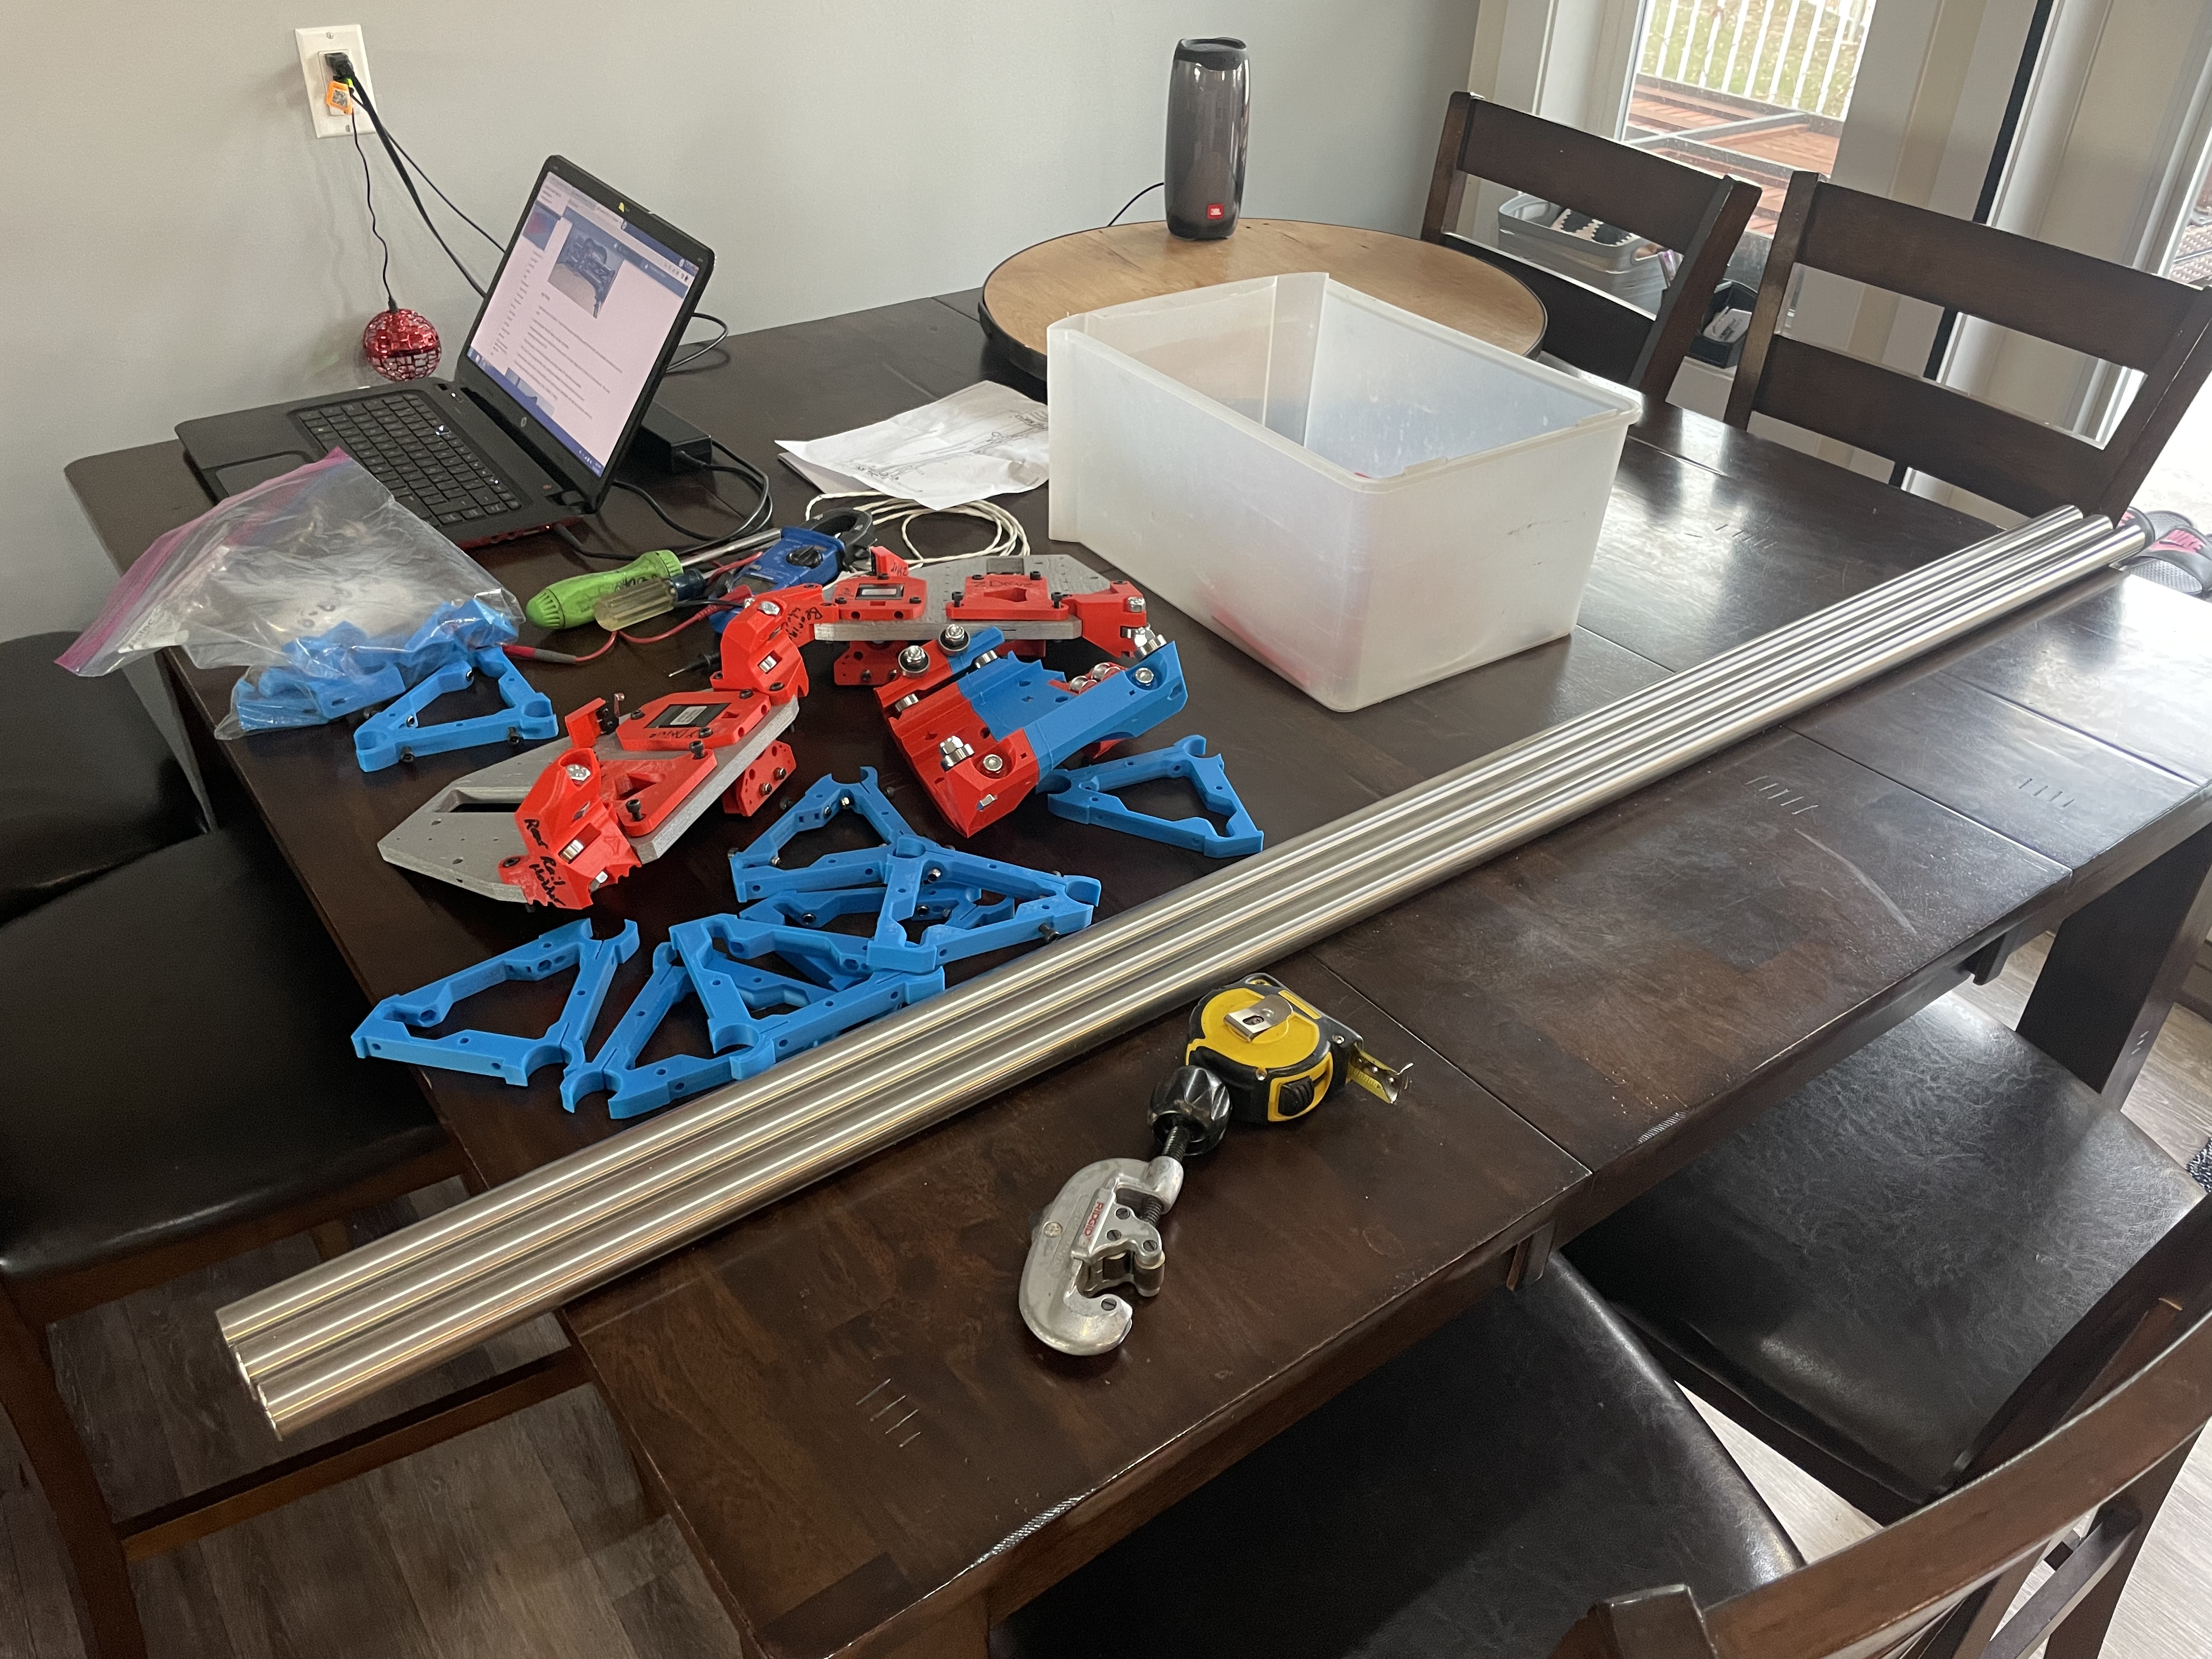
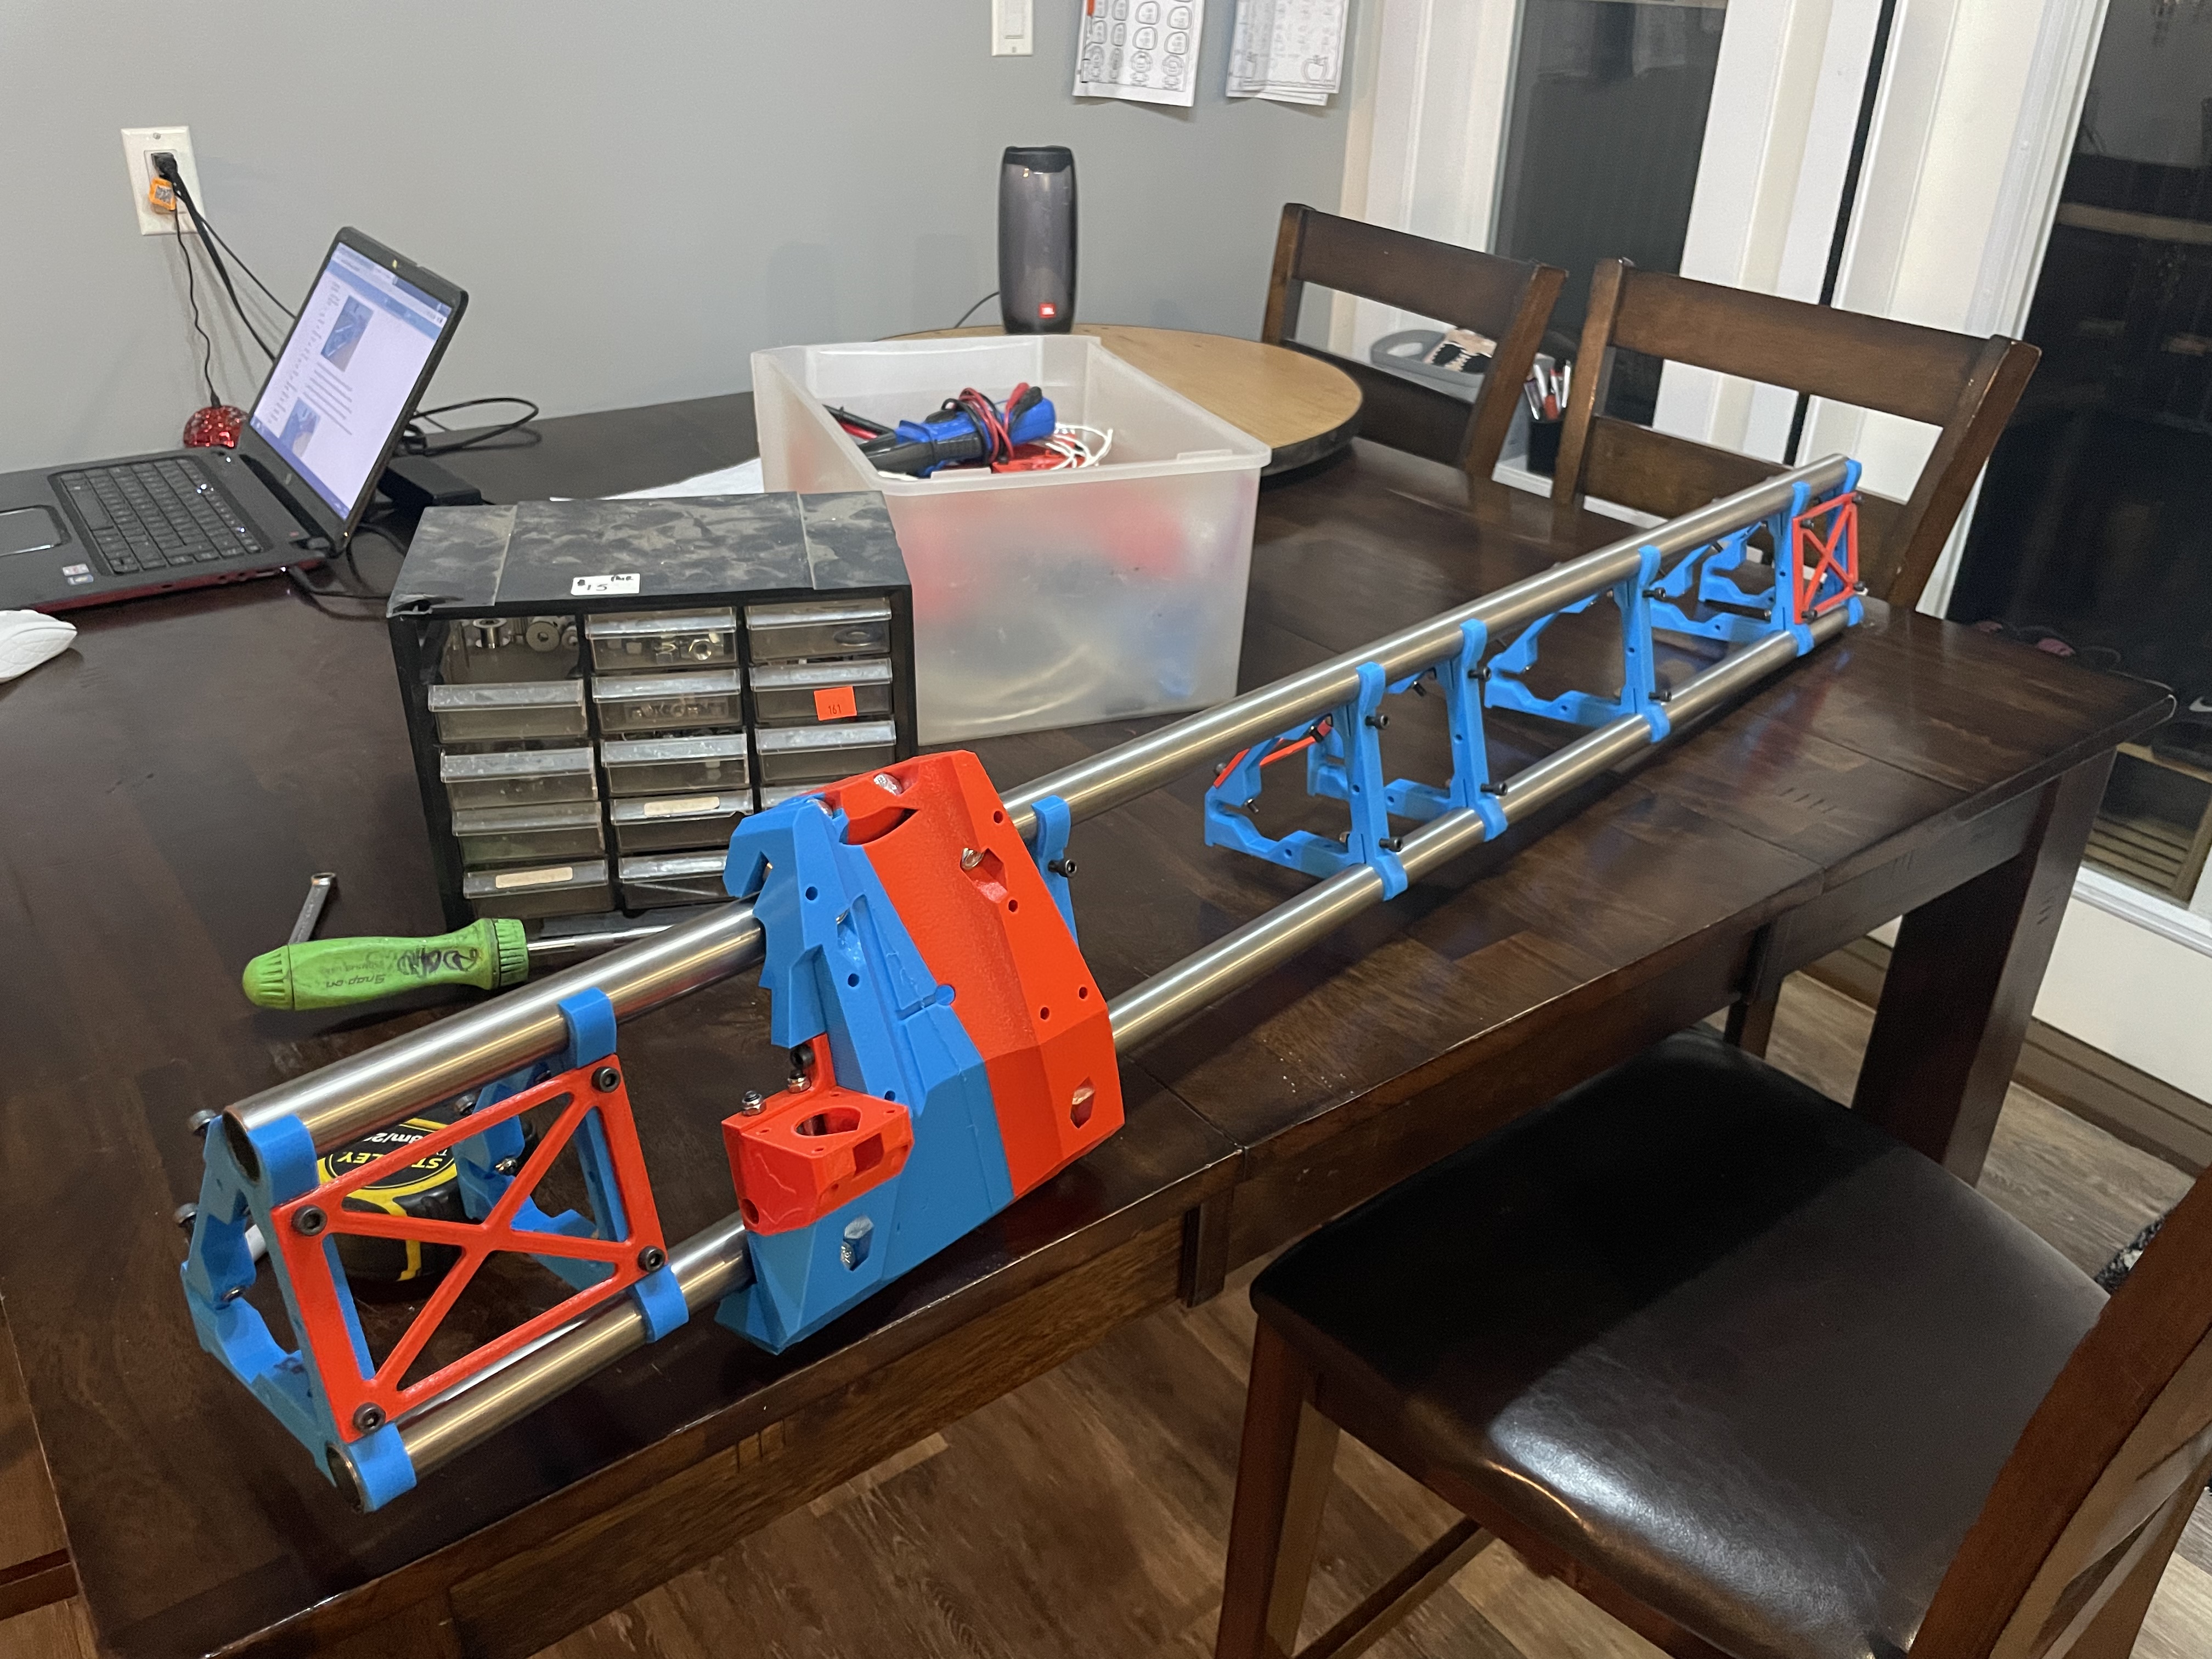
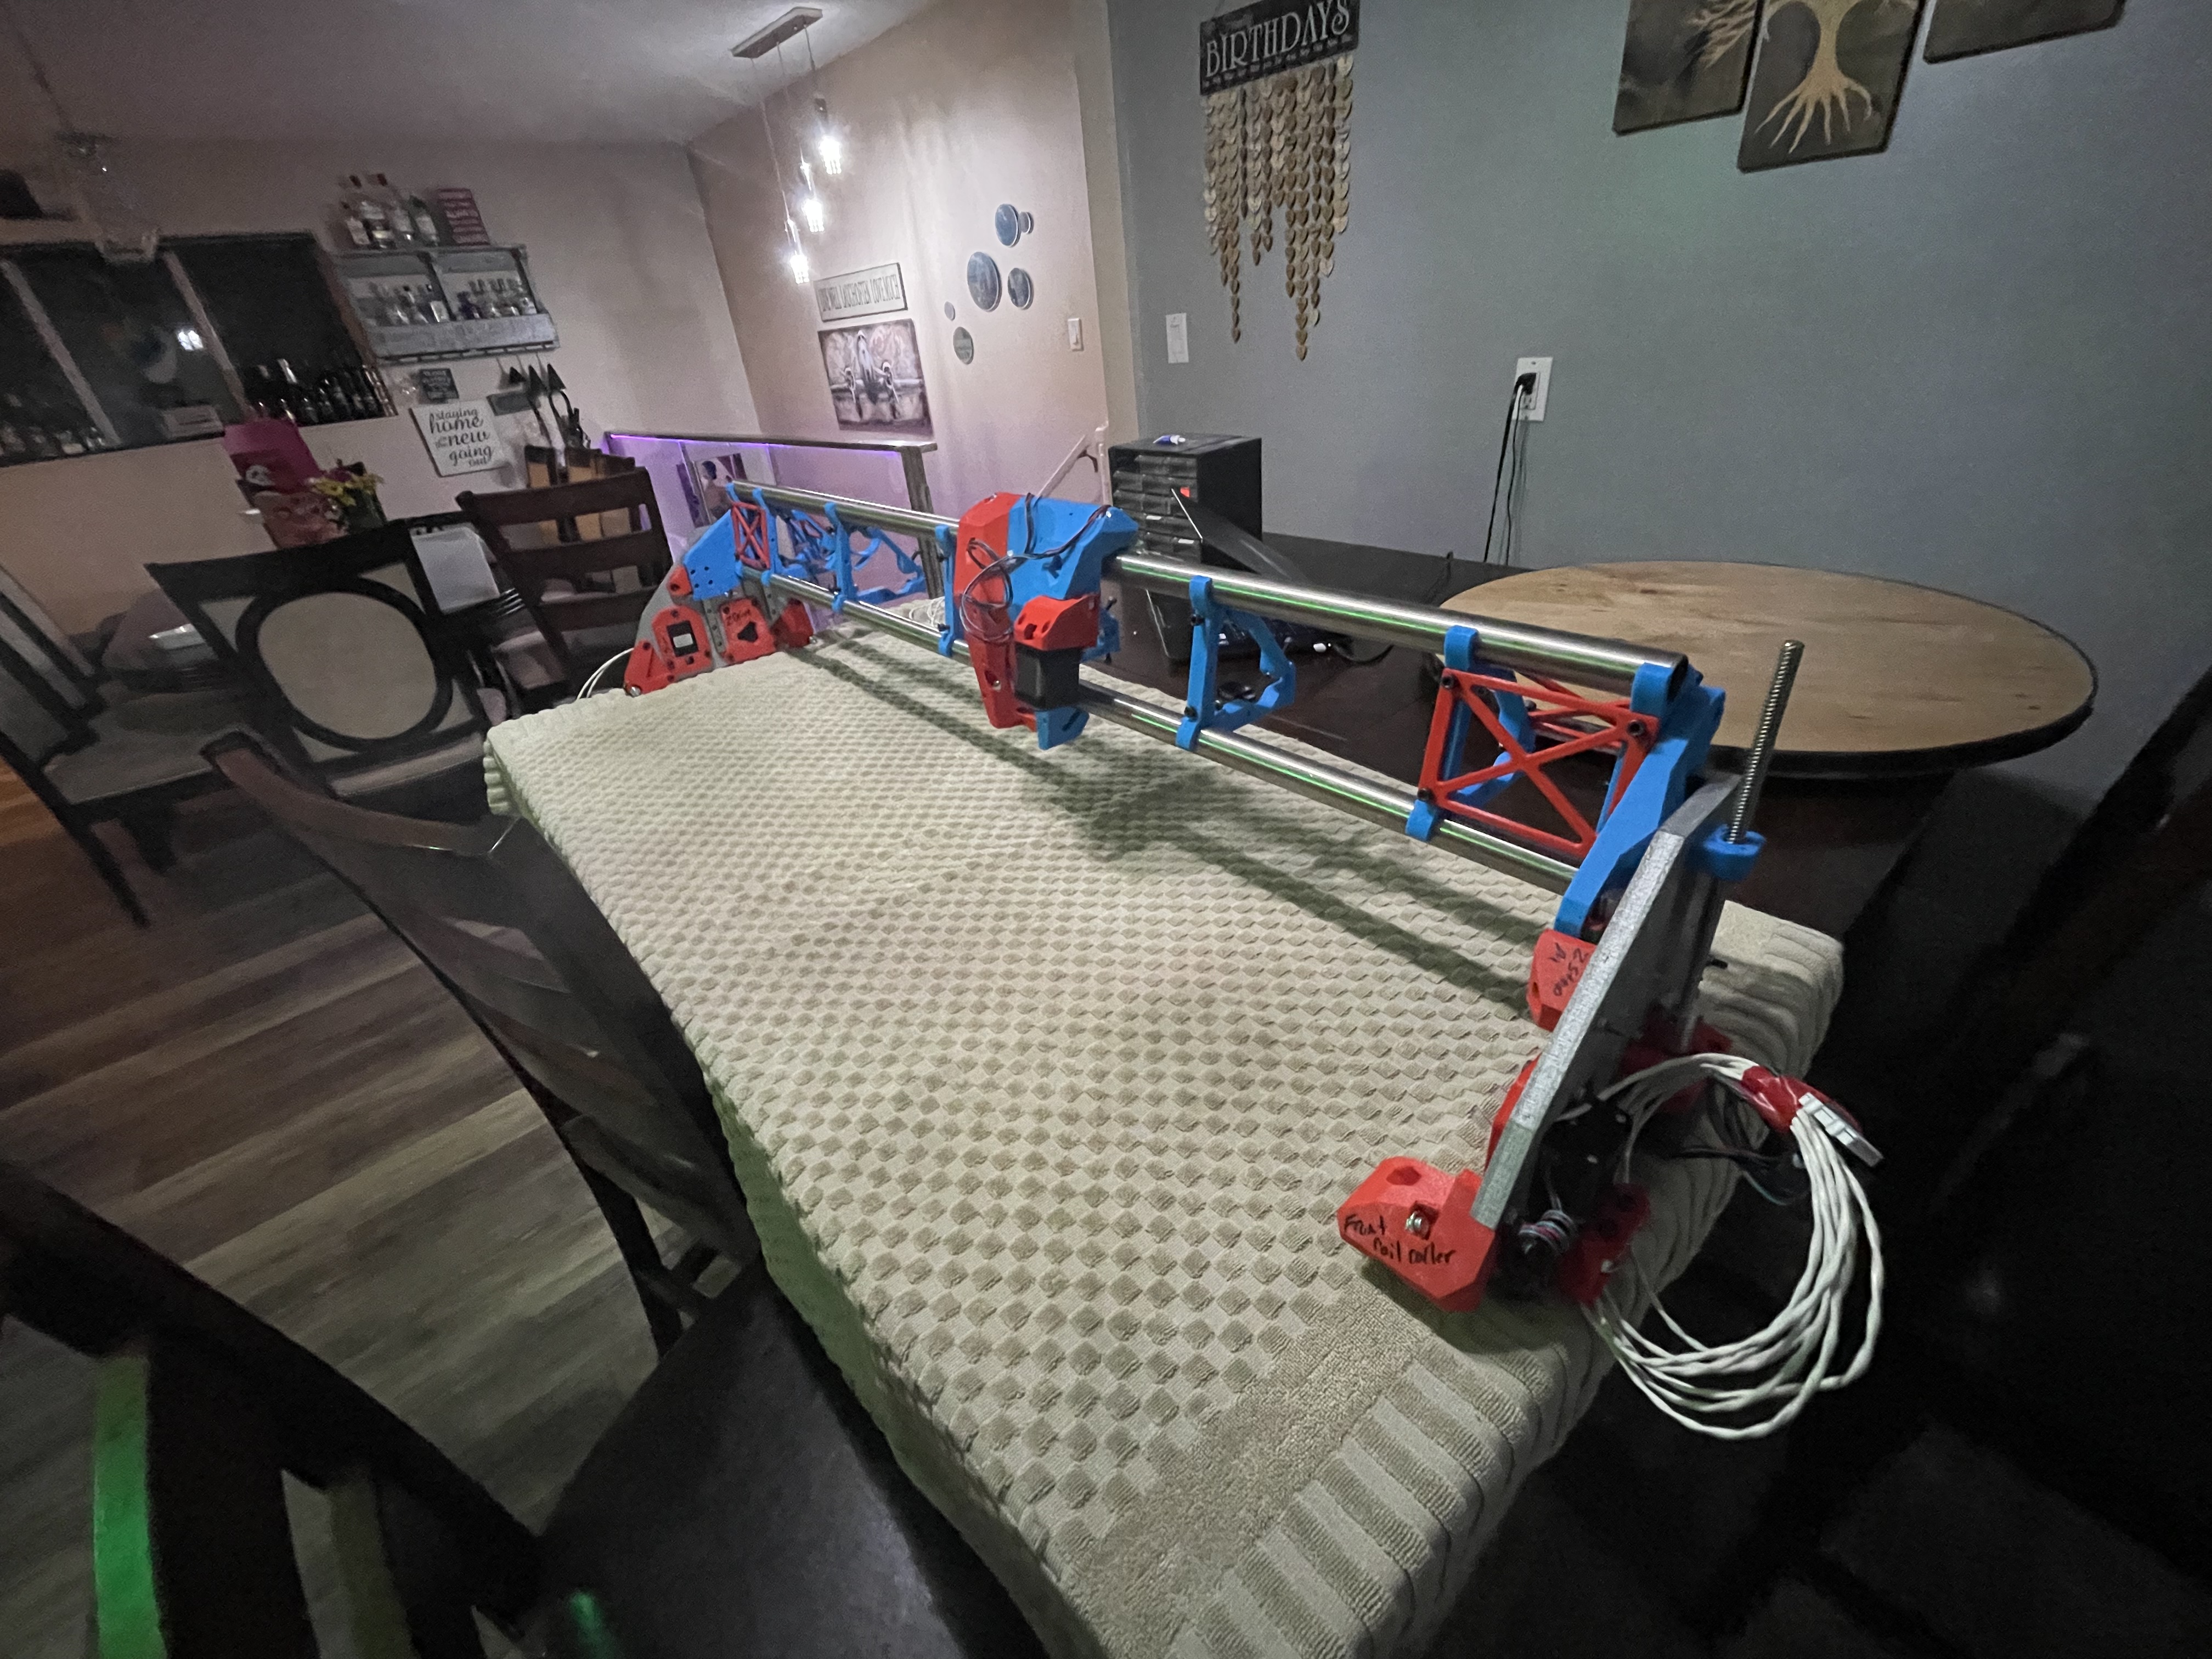
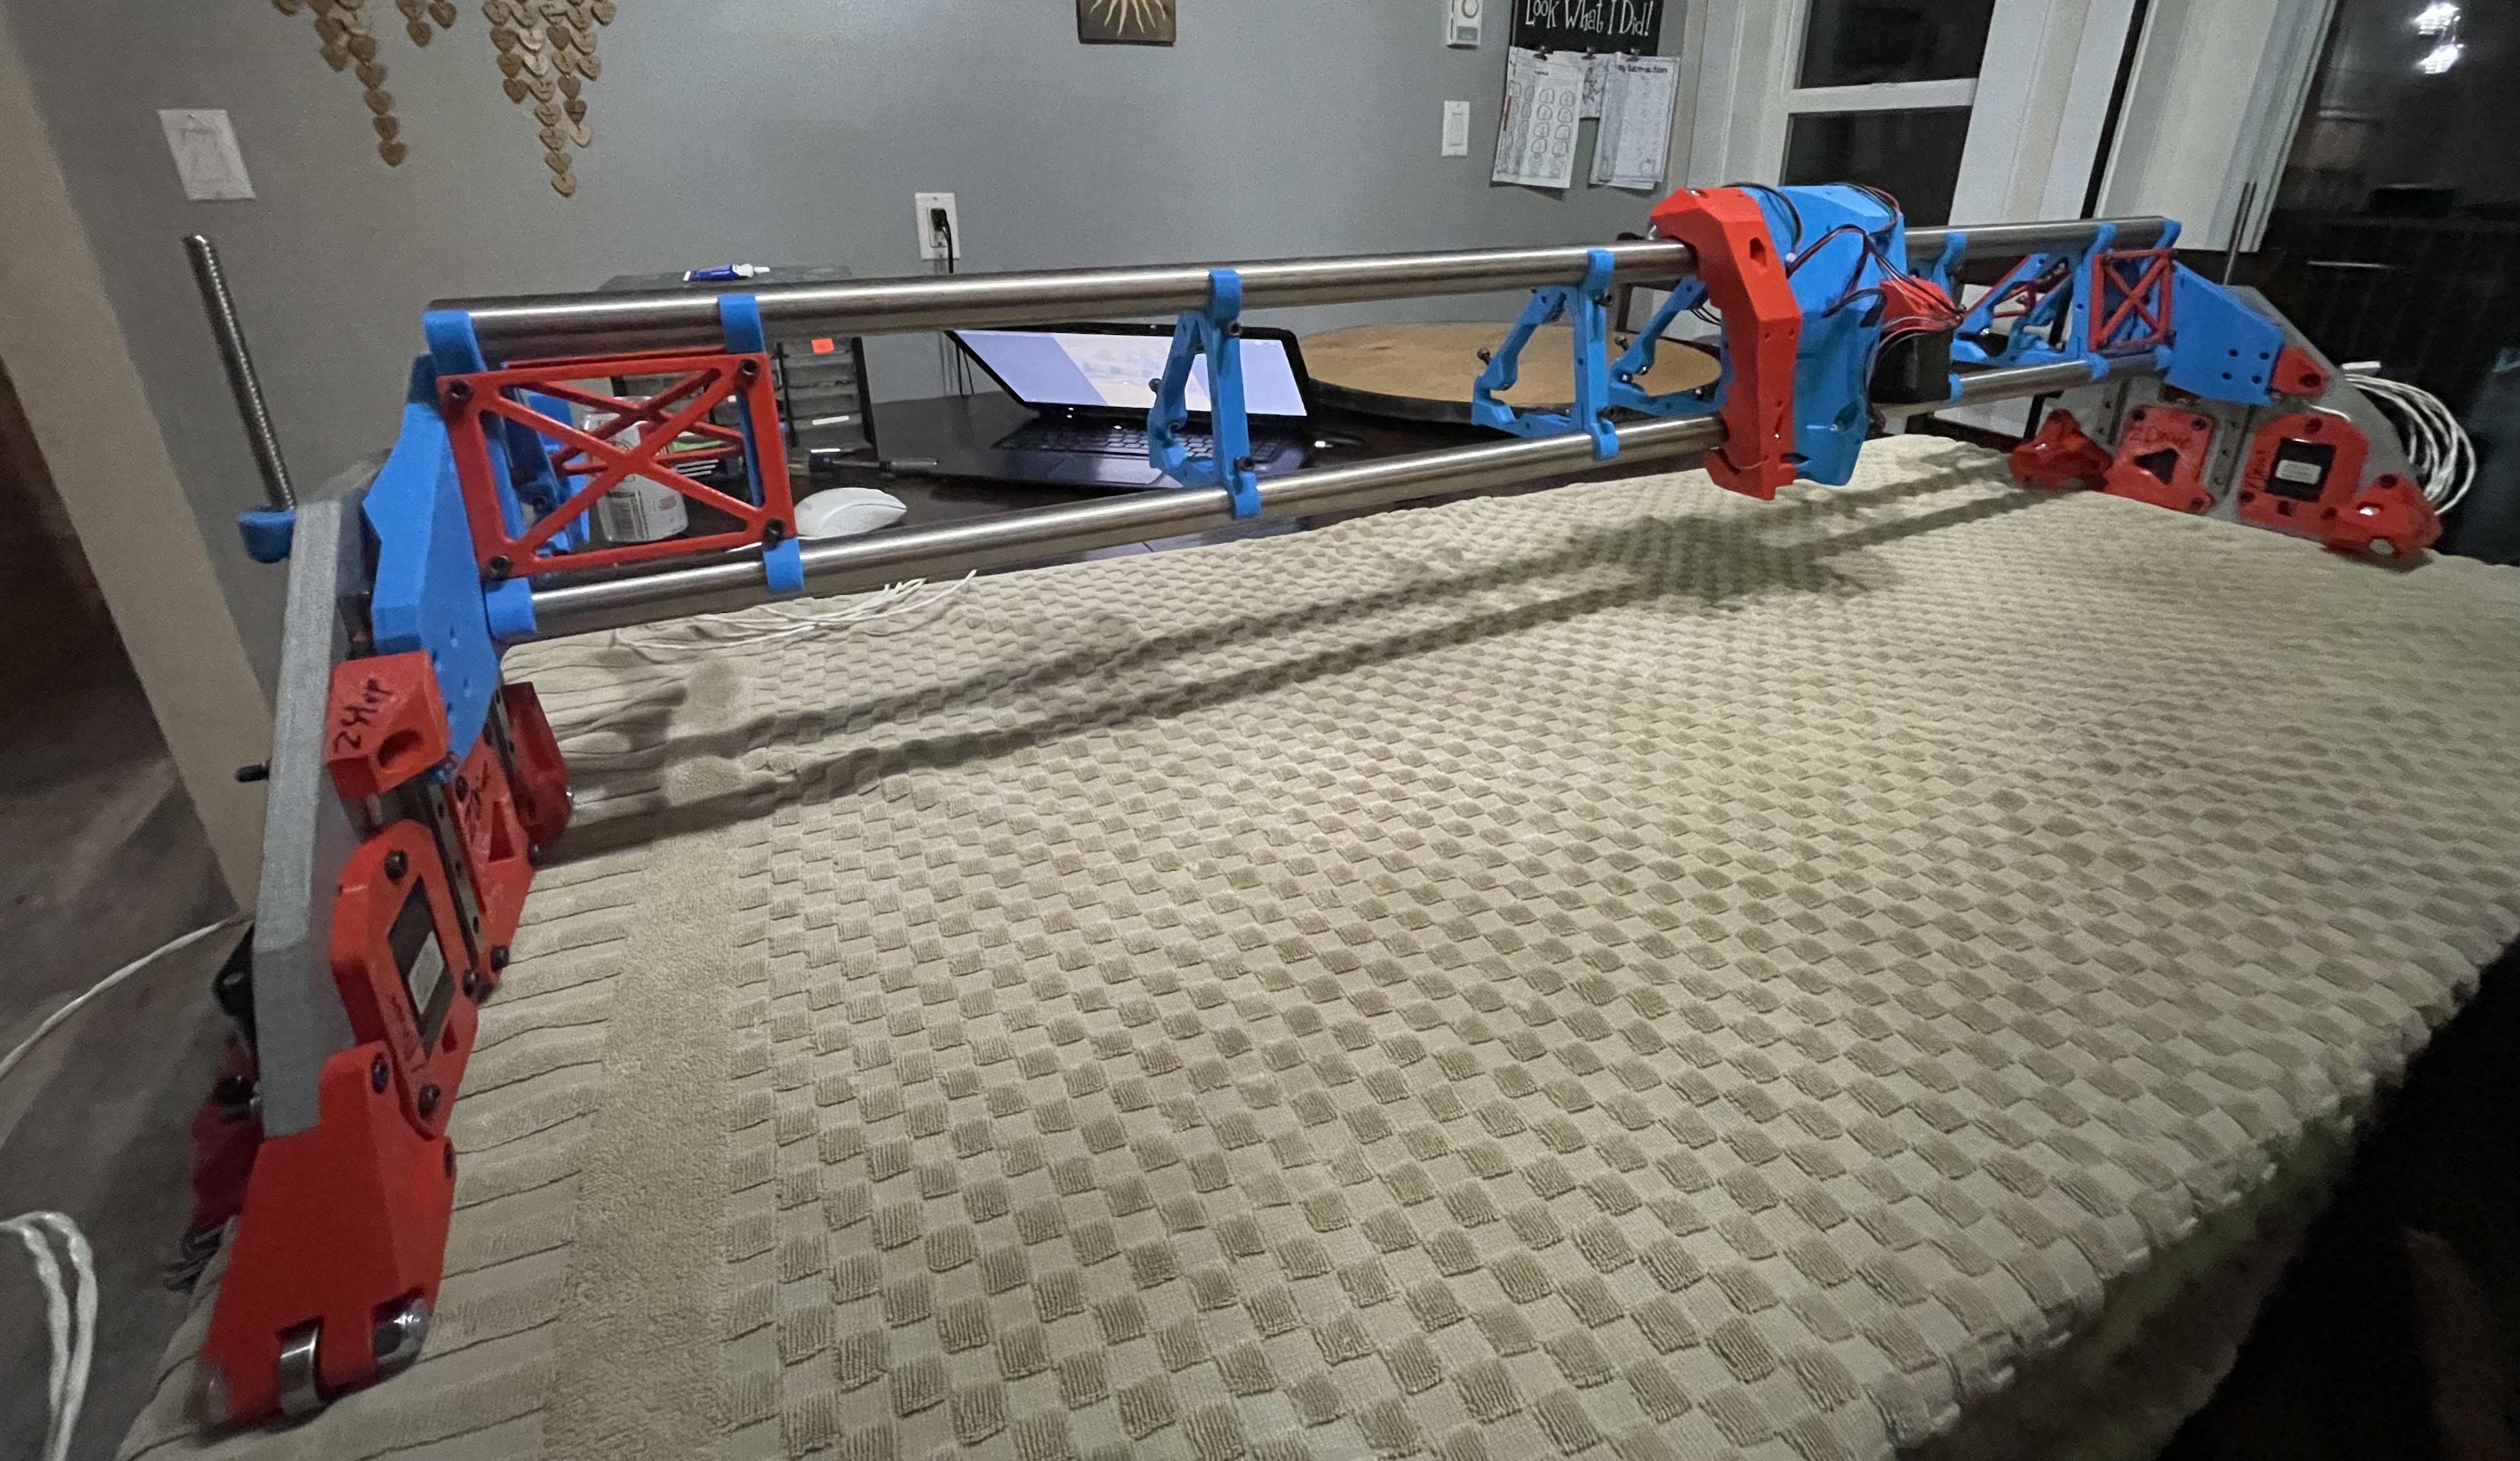
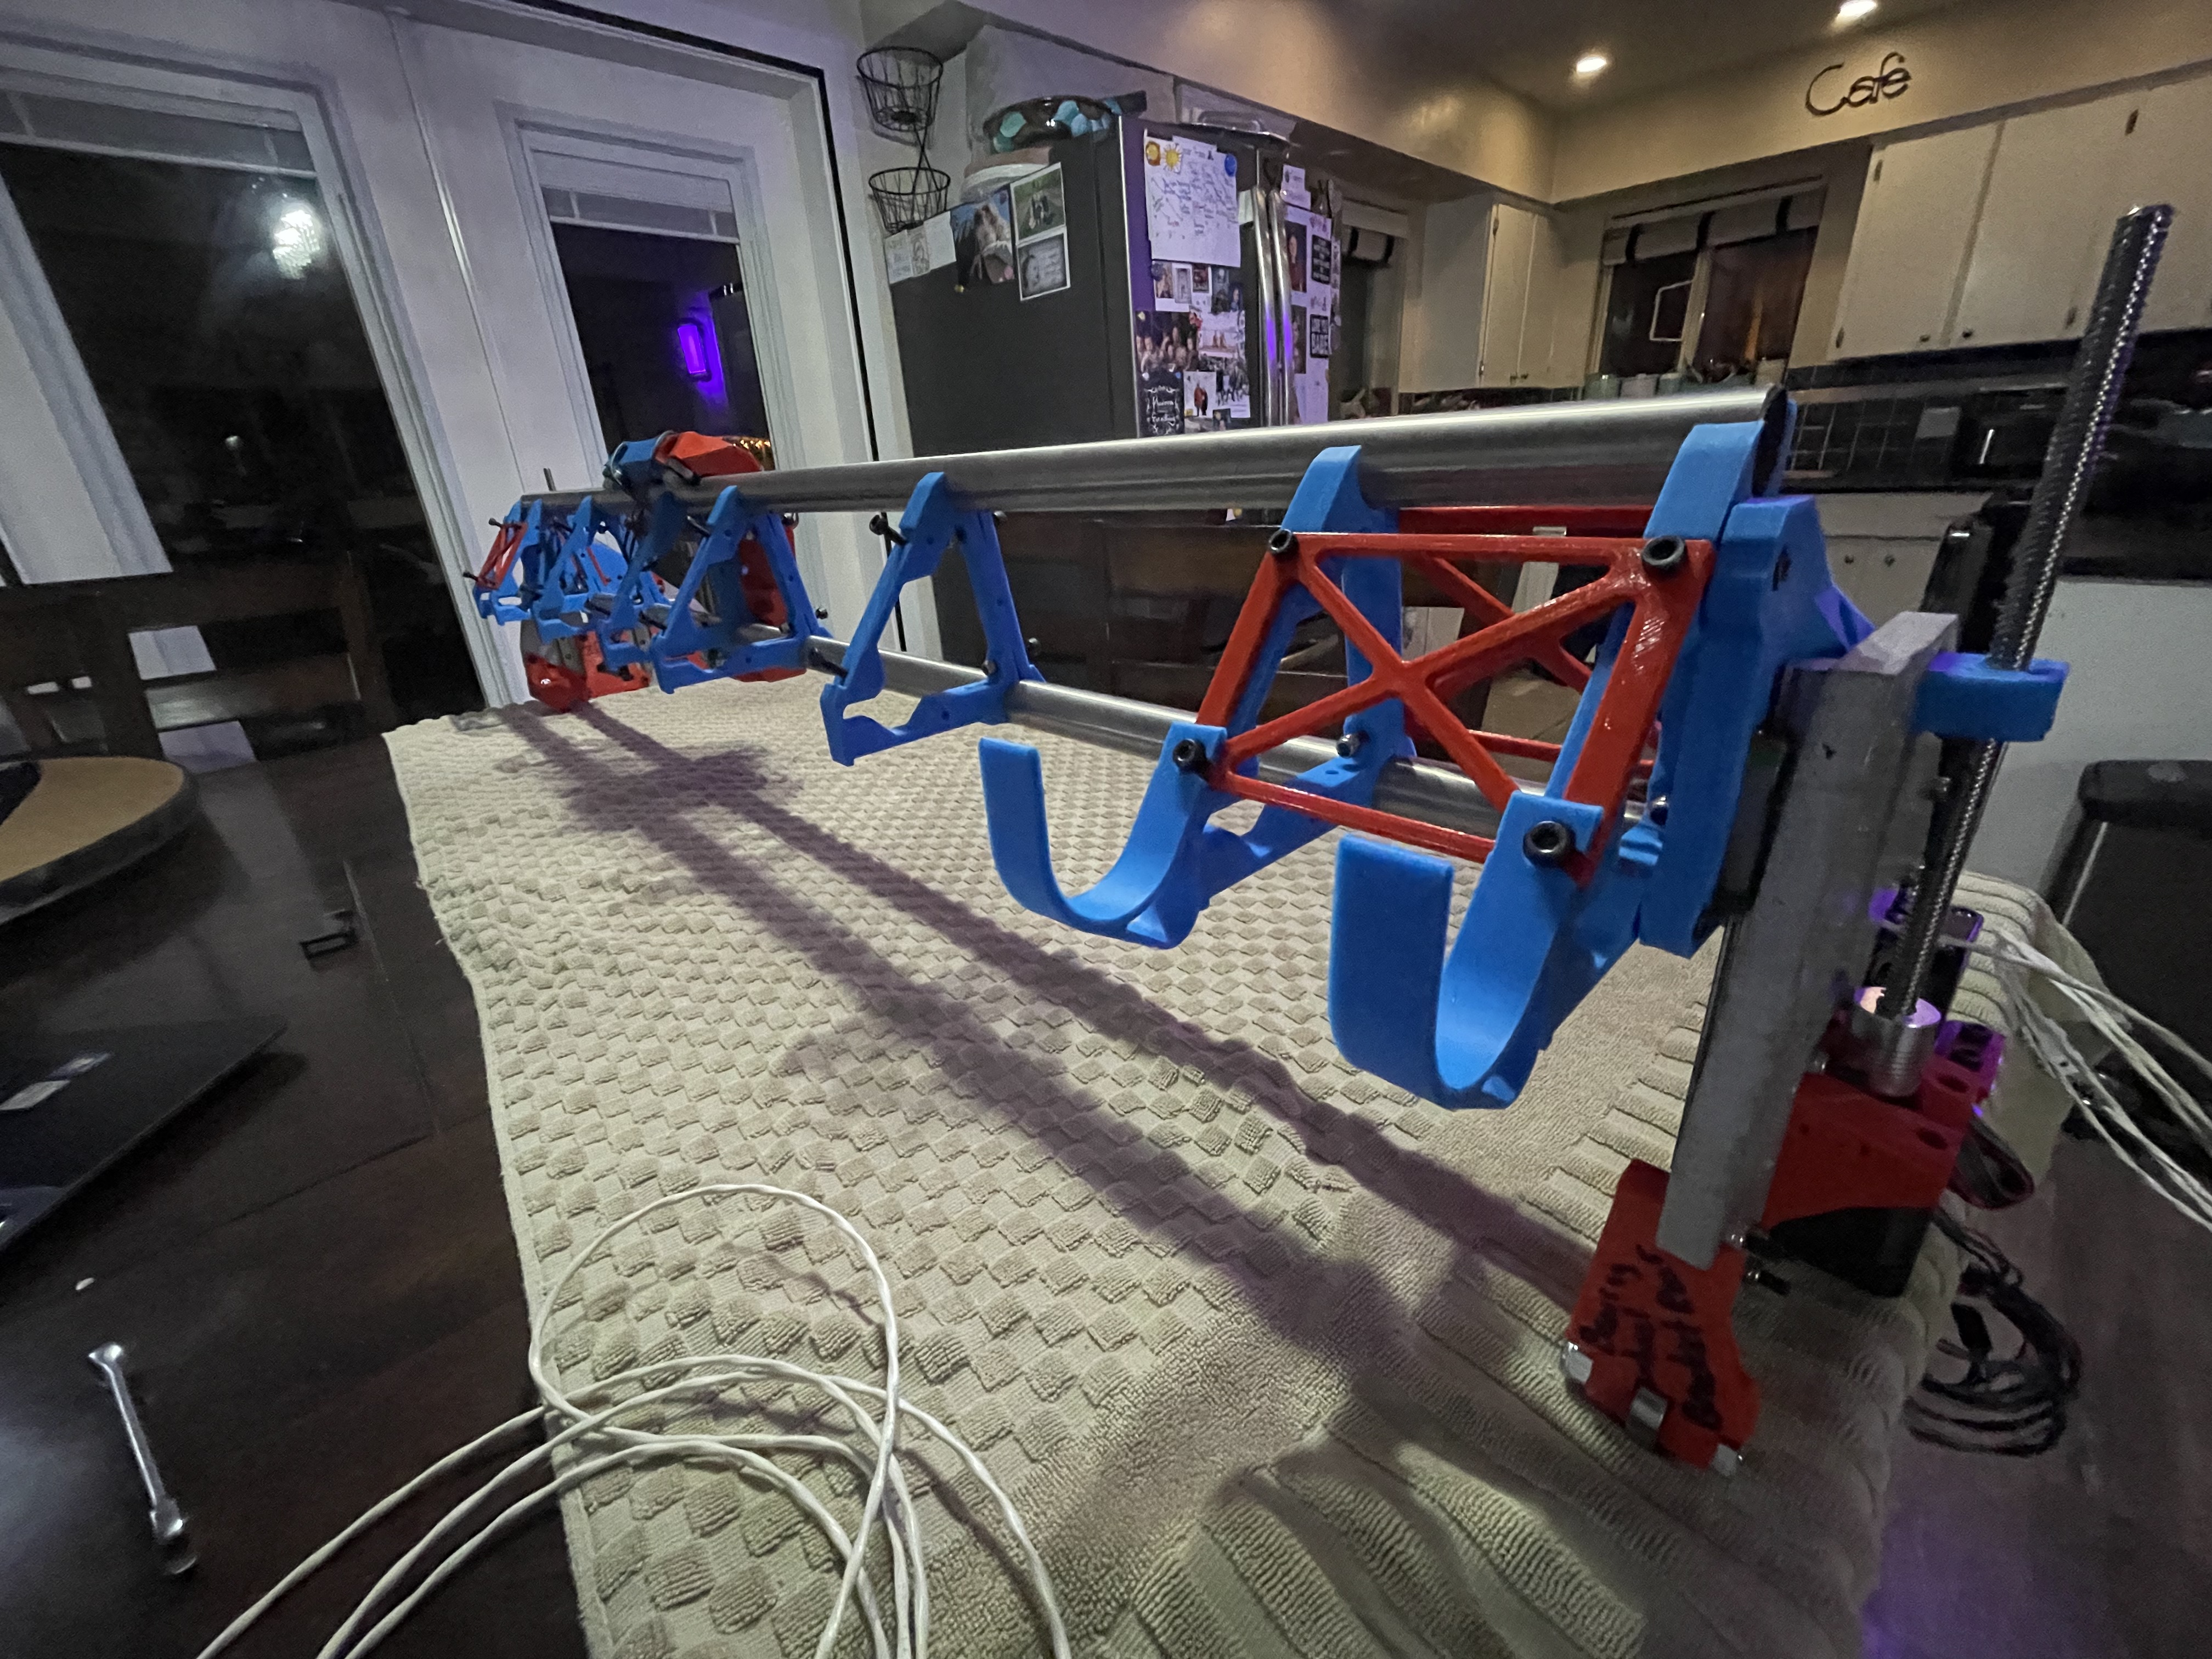
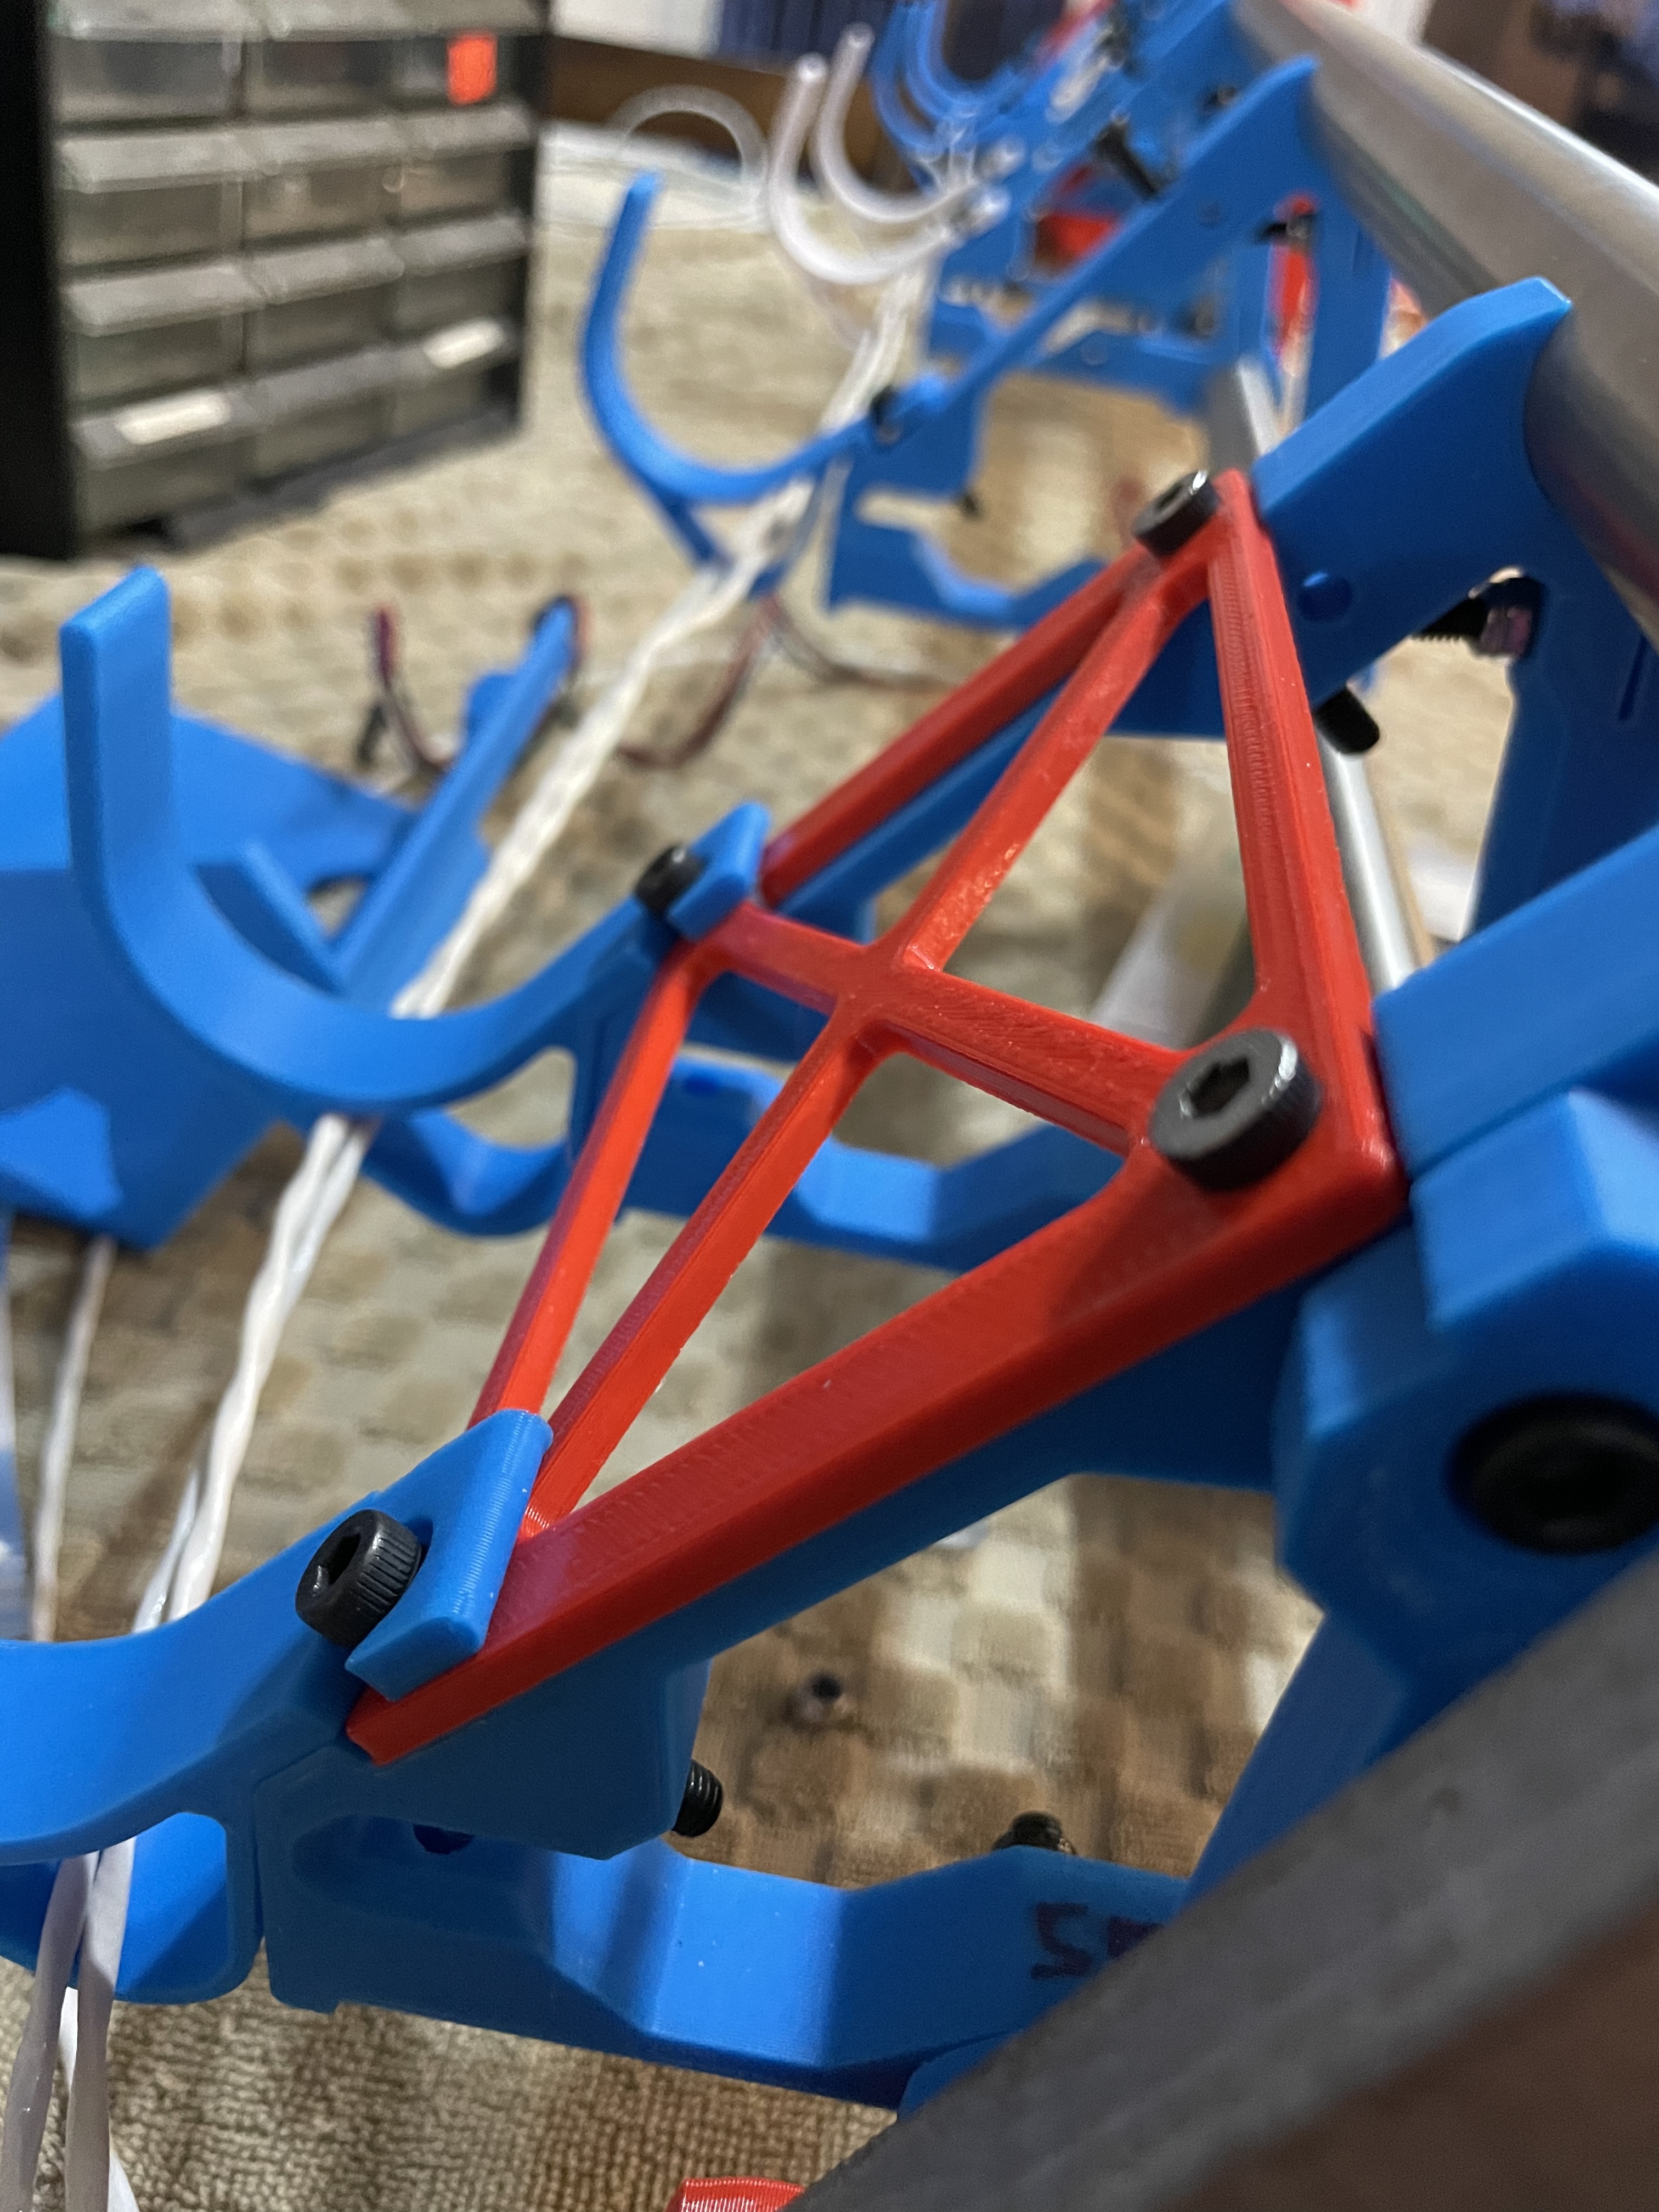
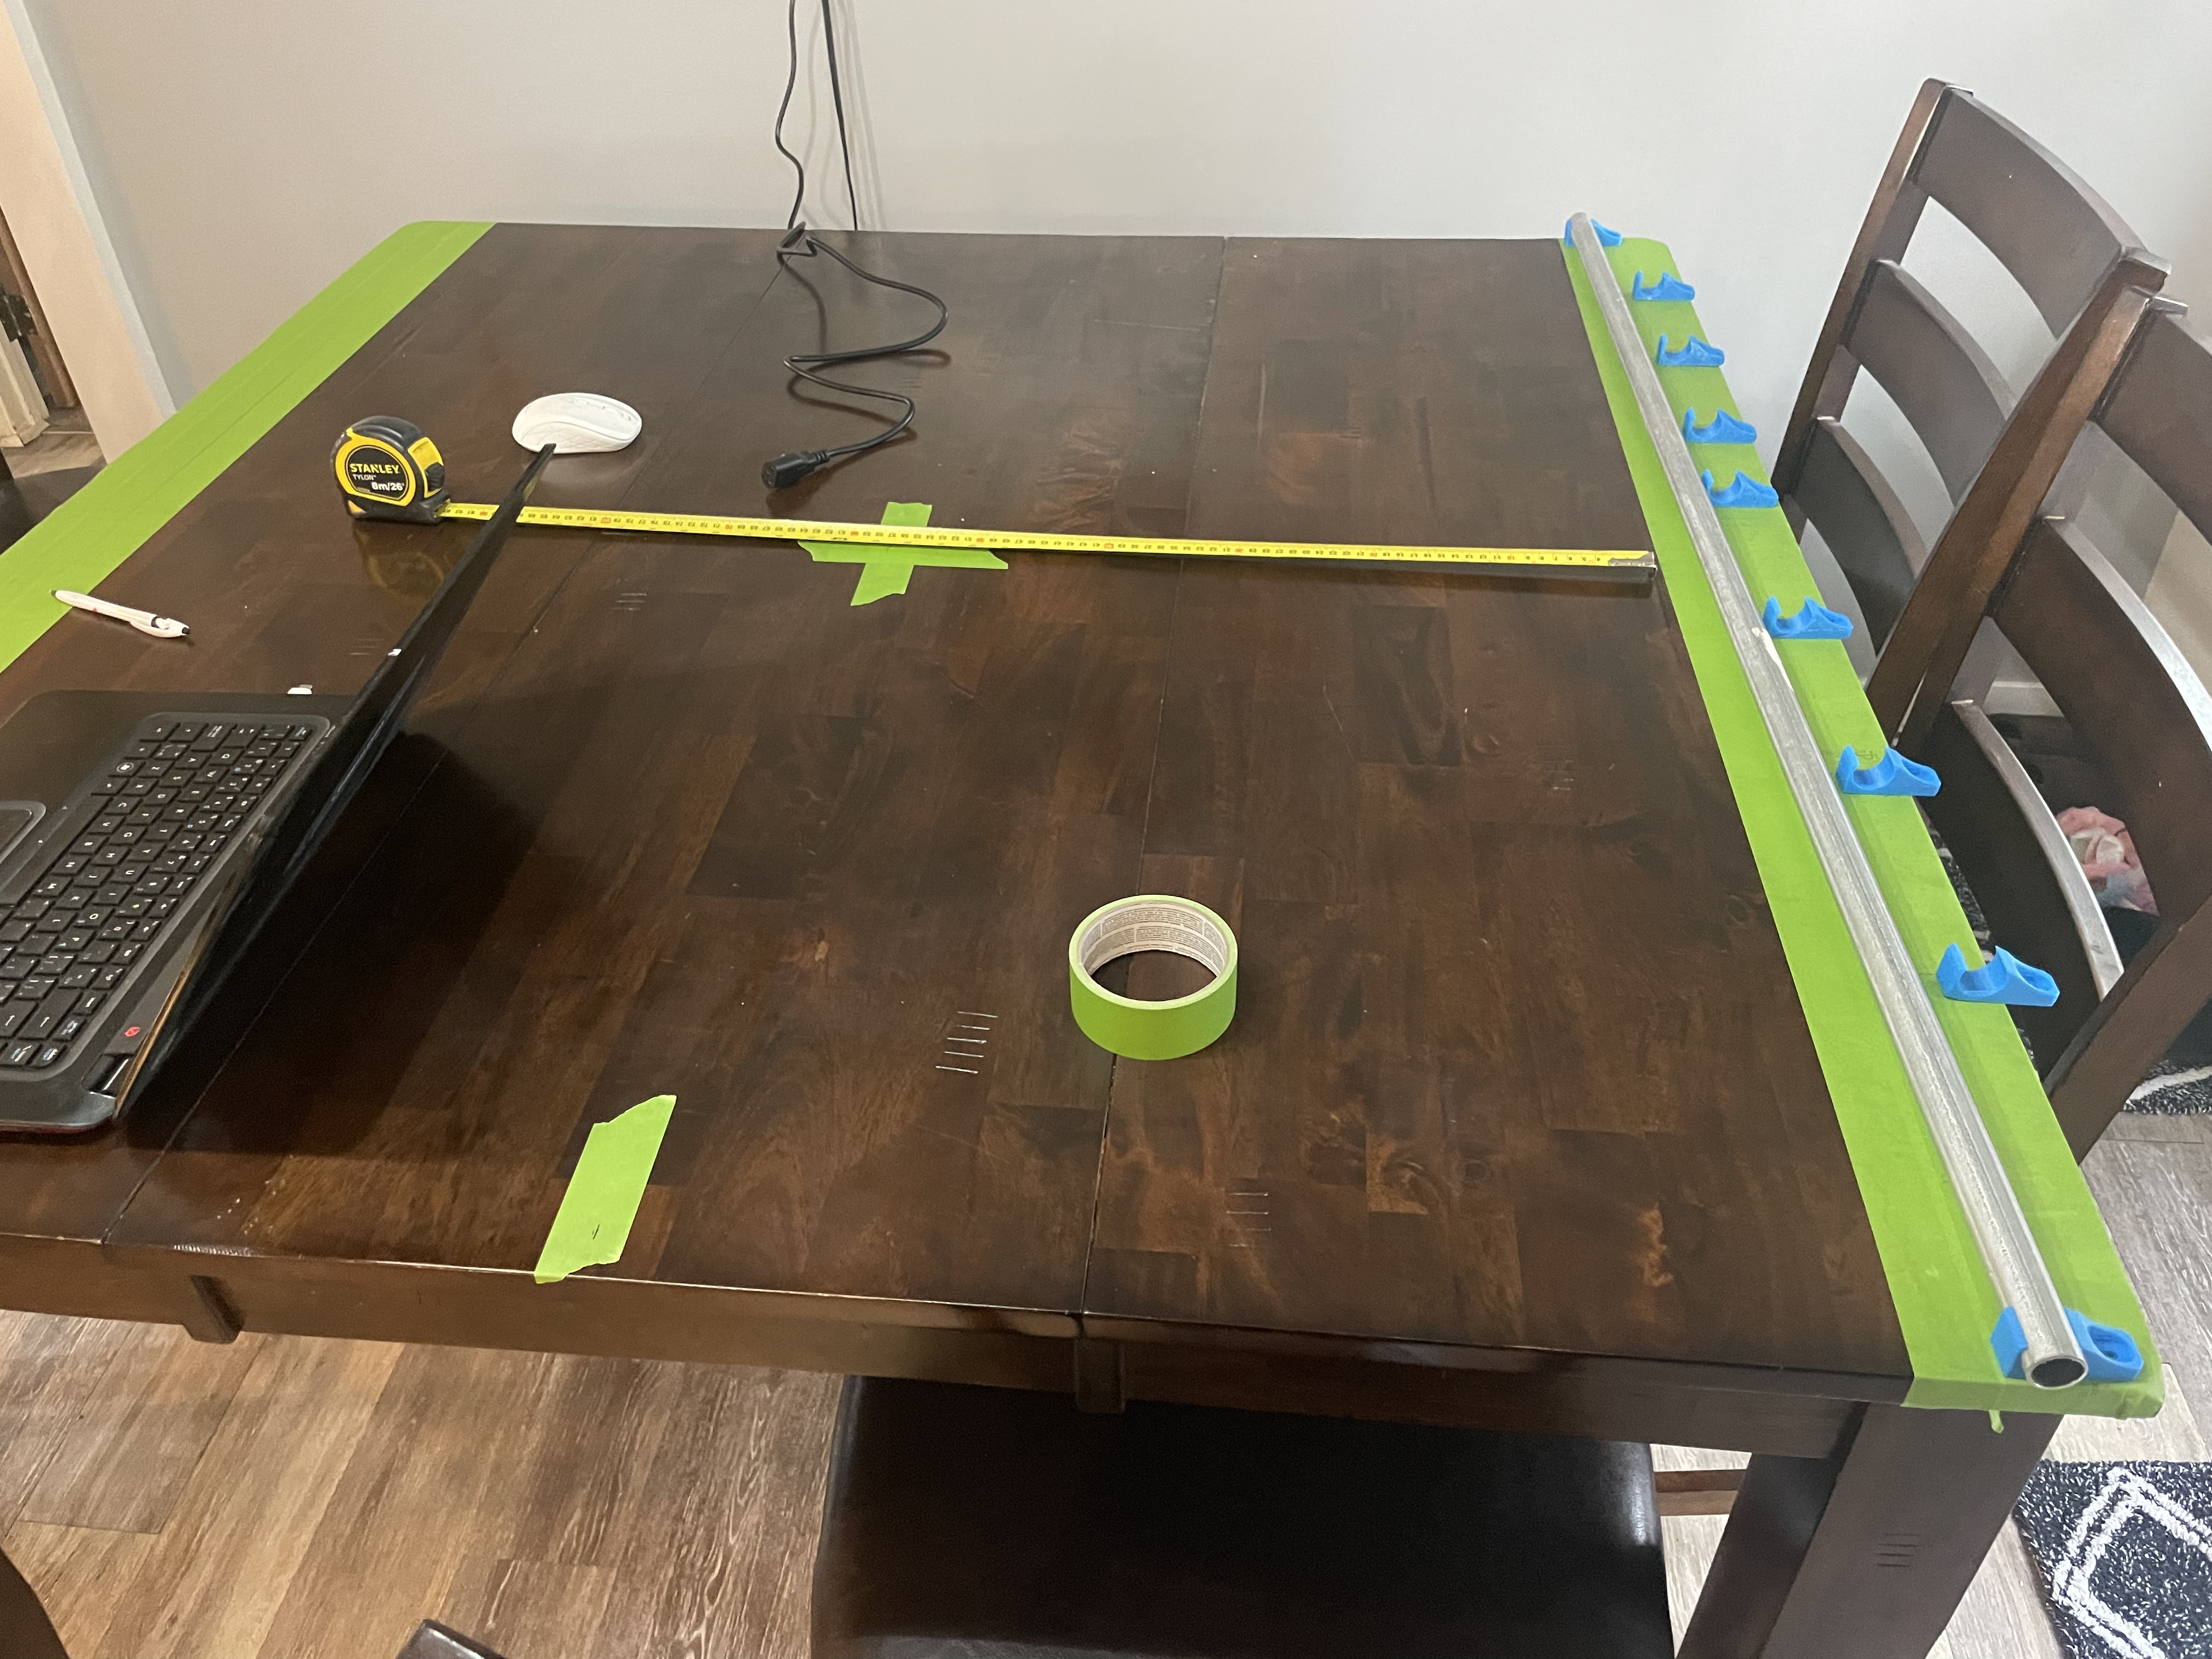
i see it’s says I need 8 braces for the gantry.
It seems like I should have 9 almost for the full sheet build.
Is the spacing just setup like this for the initial temporary build to cut the long gantry brace ?

1 Like

Yes, the braces on the sides are closer together for cutting the strut plates close to the edges, after you cut the plates they will be evenly spaced.

1 Like

Thank you :slight_smile:
I hope you have a great Friday and may your bits stay true.

2 Likes

I had this weird idea, I am sure it has been done but I wanted to see if I painted acrylic with a shiny silver paint. And if I polished the edge and used some led of the light would be directed nicely on the opposite edge.
I really liked that
AzA guys ruler gantry brace and wanted to use acrylic for it and use this method with end lighting it.
Then I saw that the lower gantry tube would block the light :(.
But I guess it could still be neat for lighting the measurement increments up.

4 Likes


Some minor progress I just about have all the parts now.

4 Likes

Looking good!

2 Likes


Linear rails now, and I think I have all the parts to finish now.

2 Likes


Gantry on now!!
But it looks sad

5 Likes

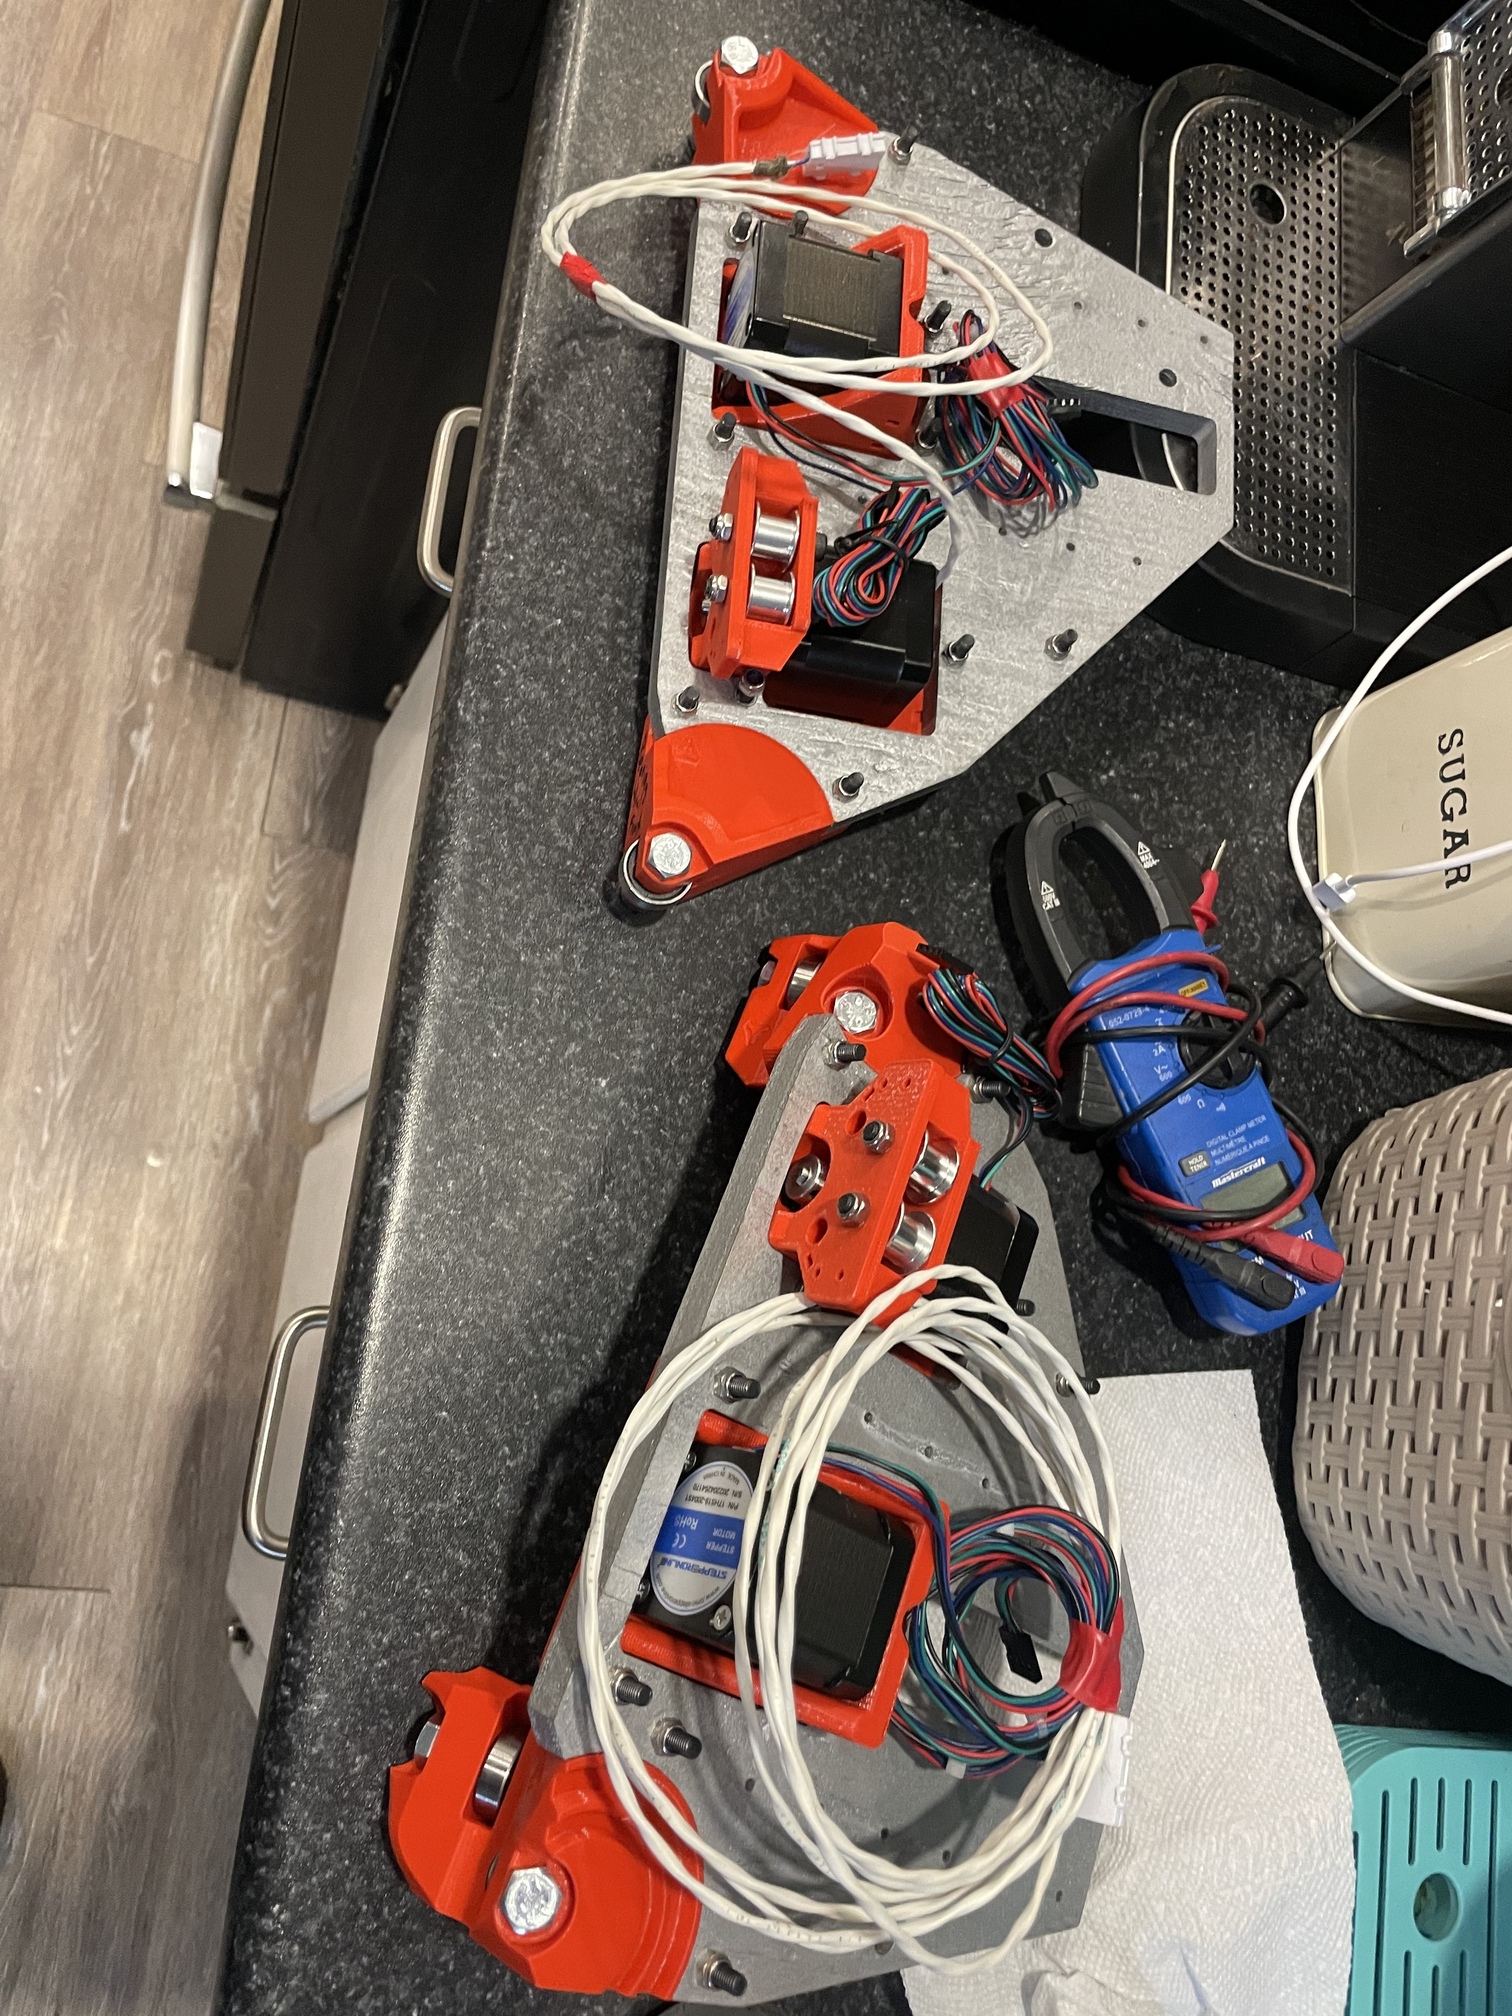
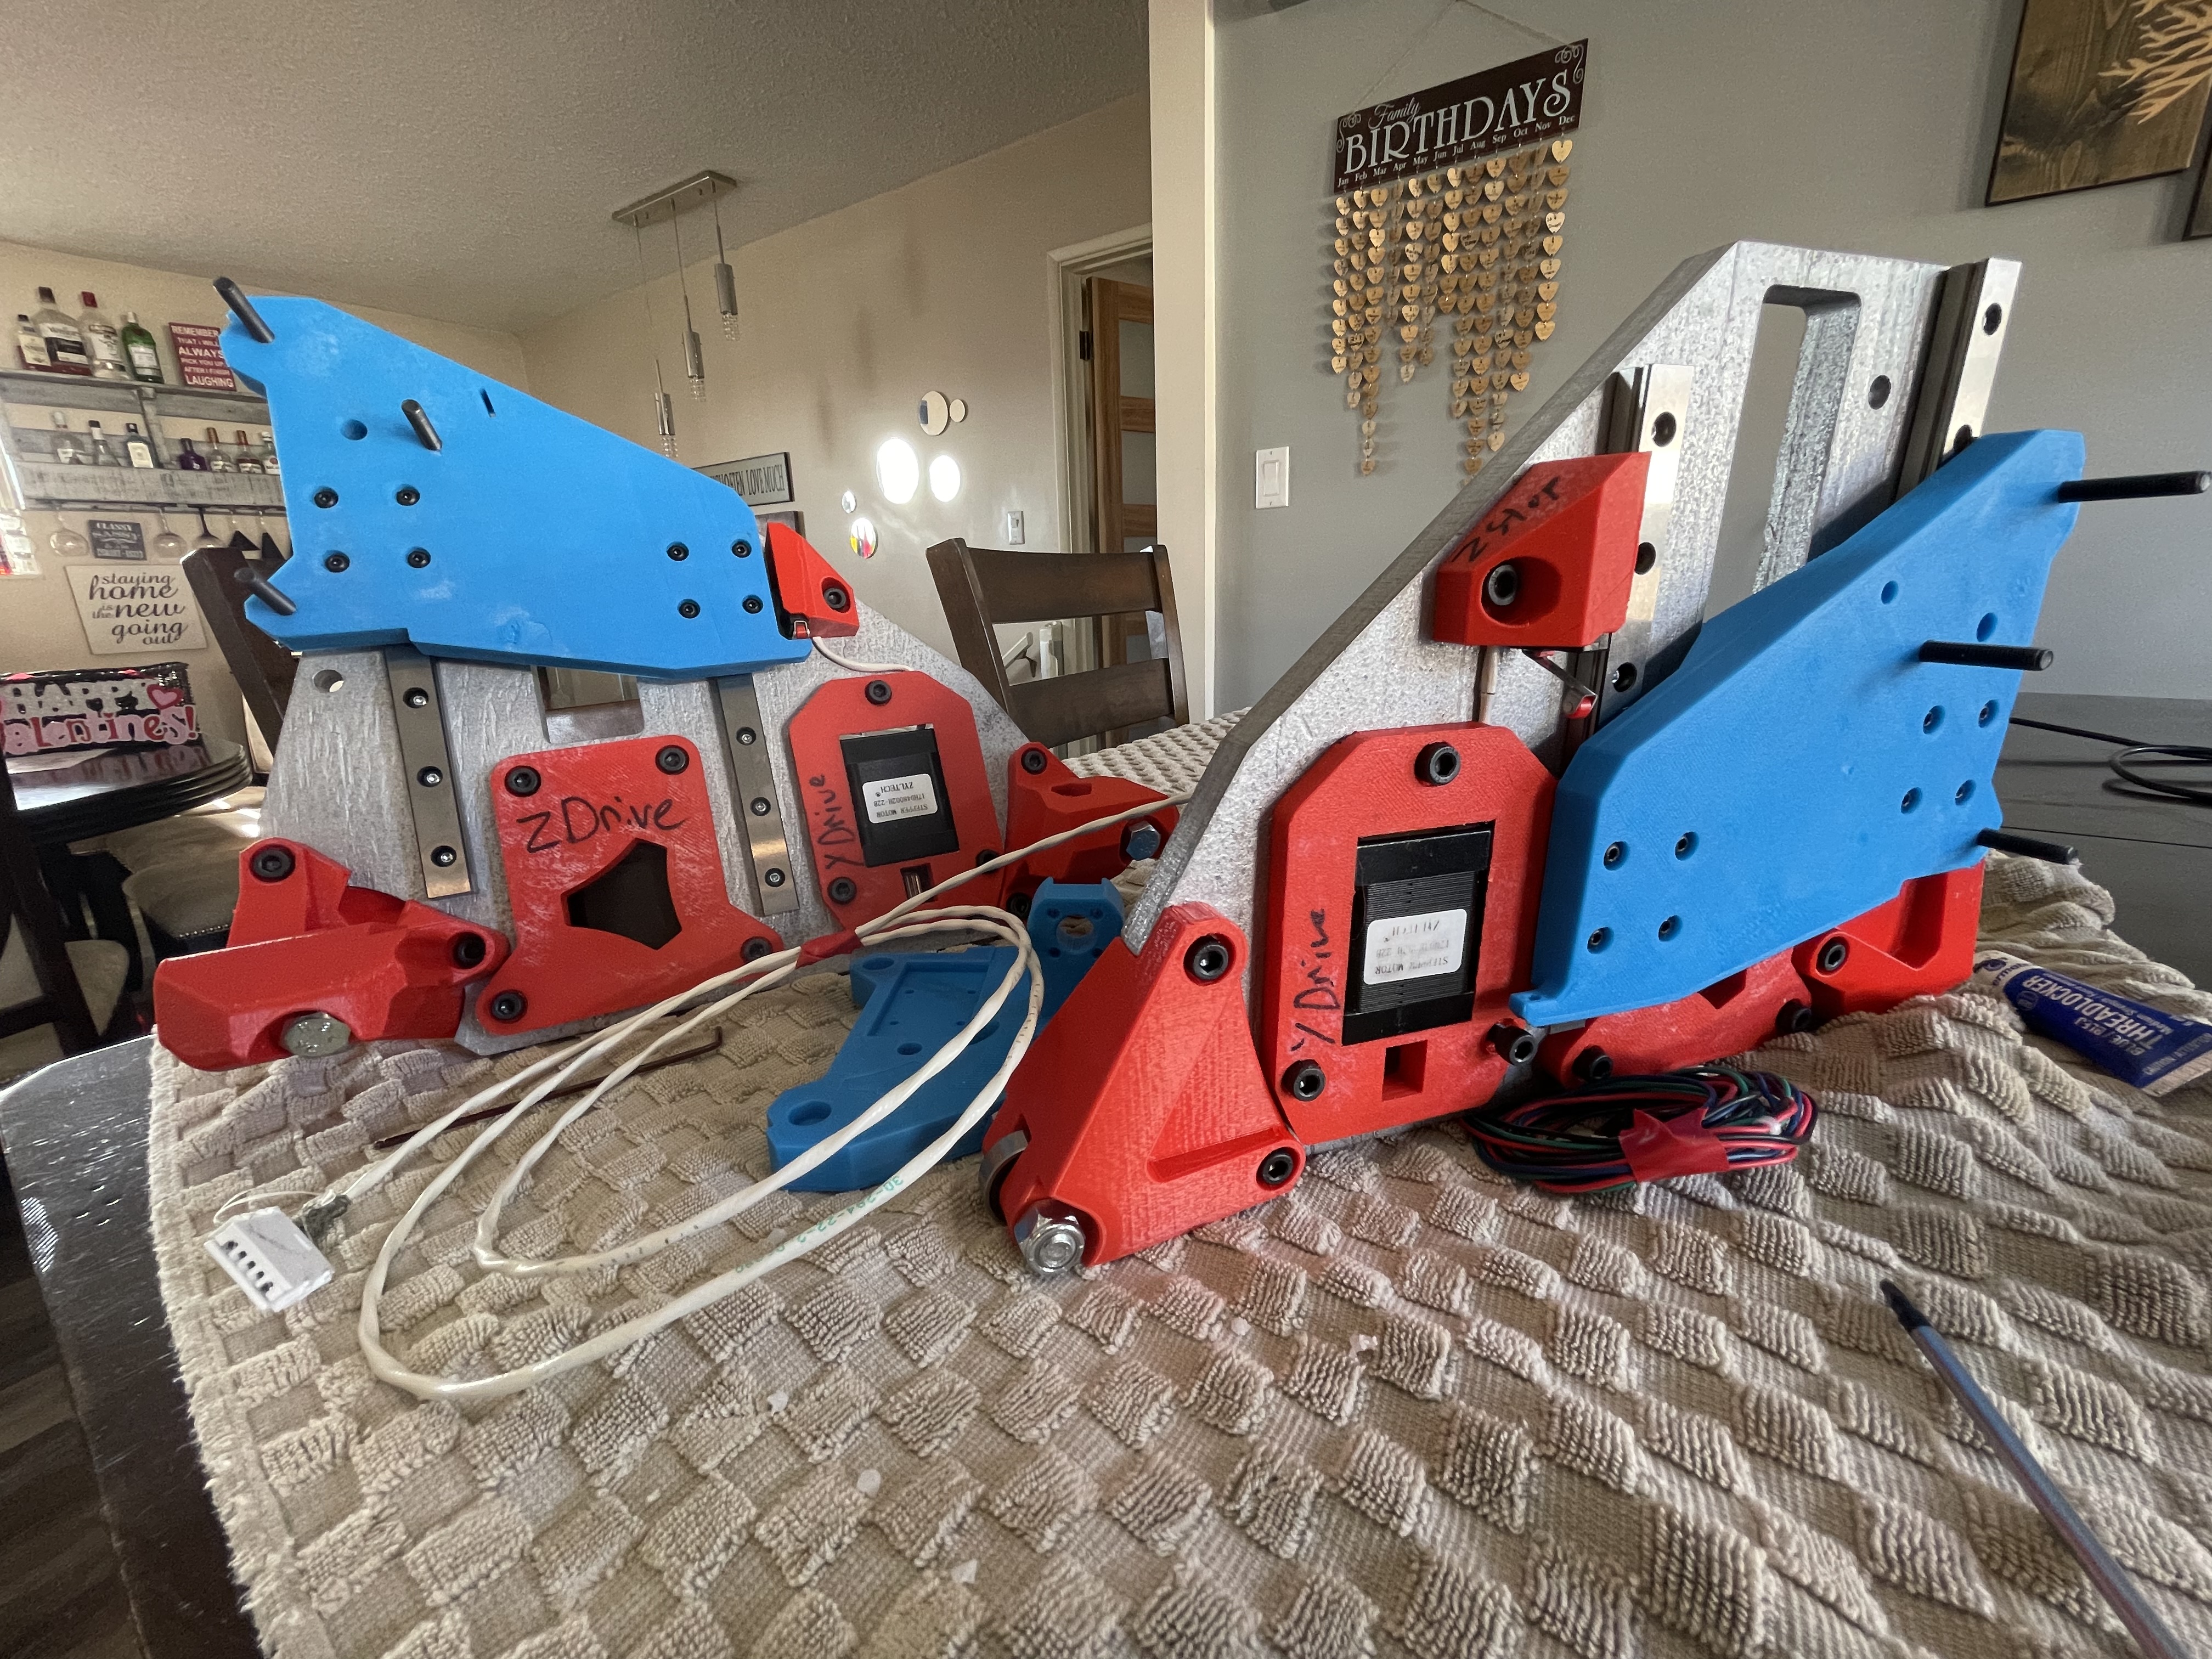
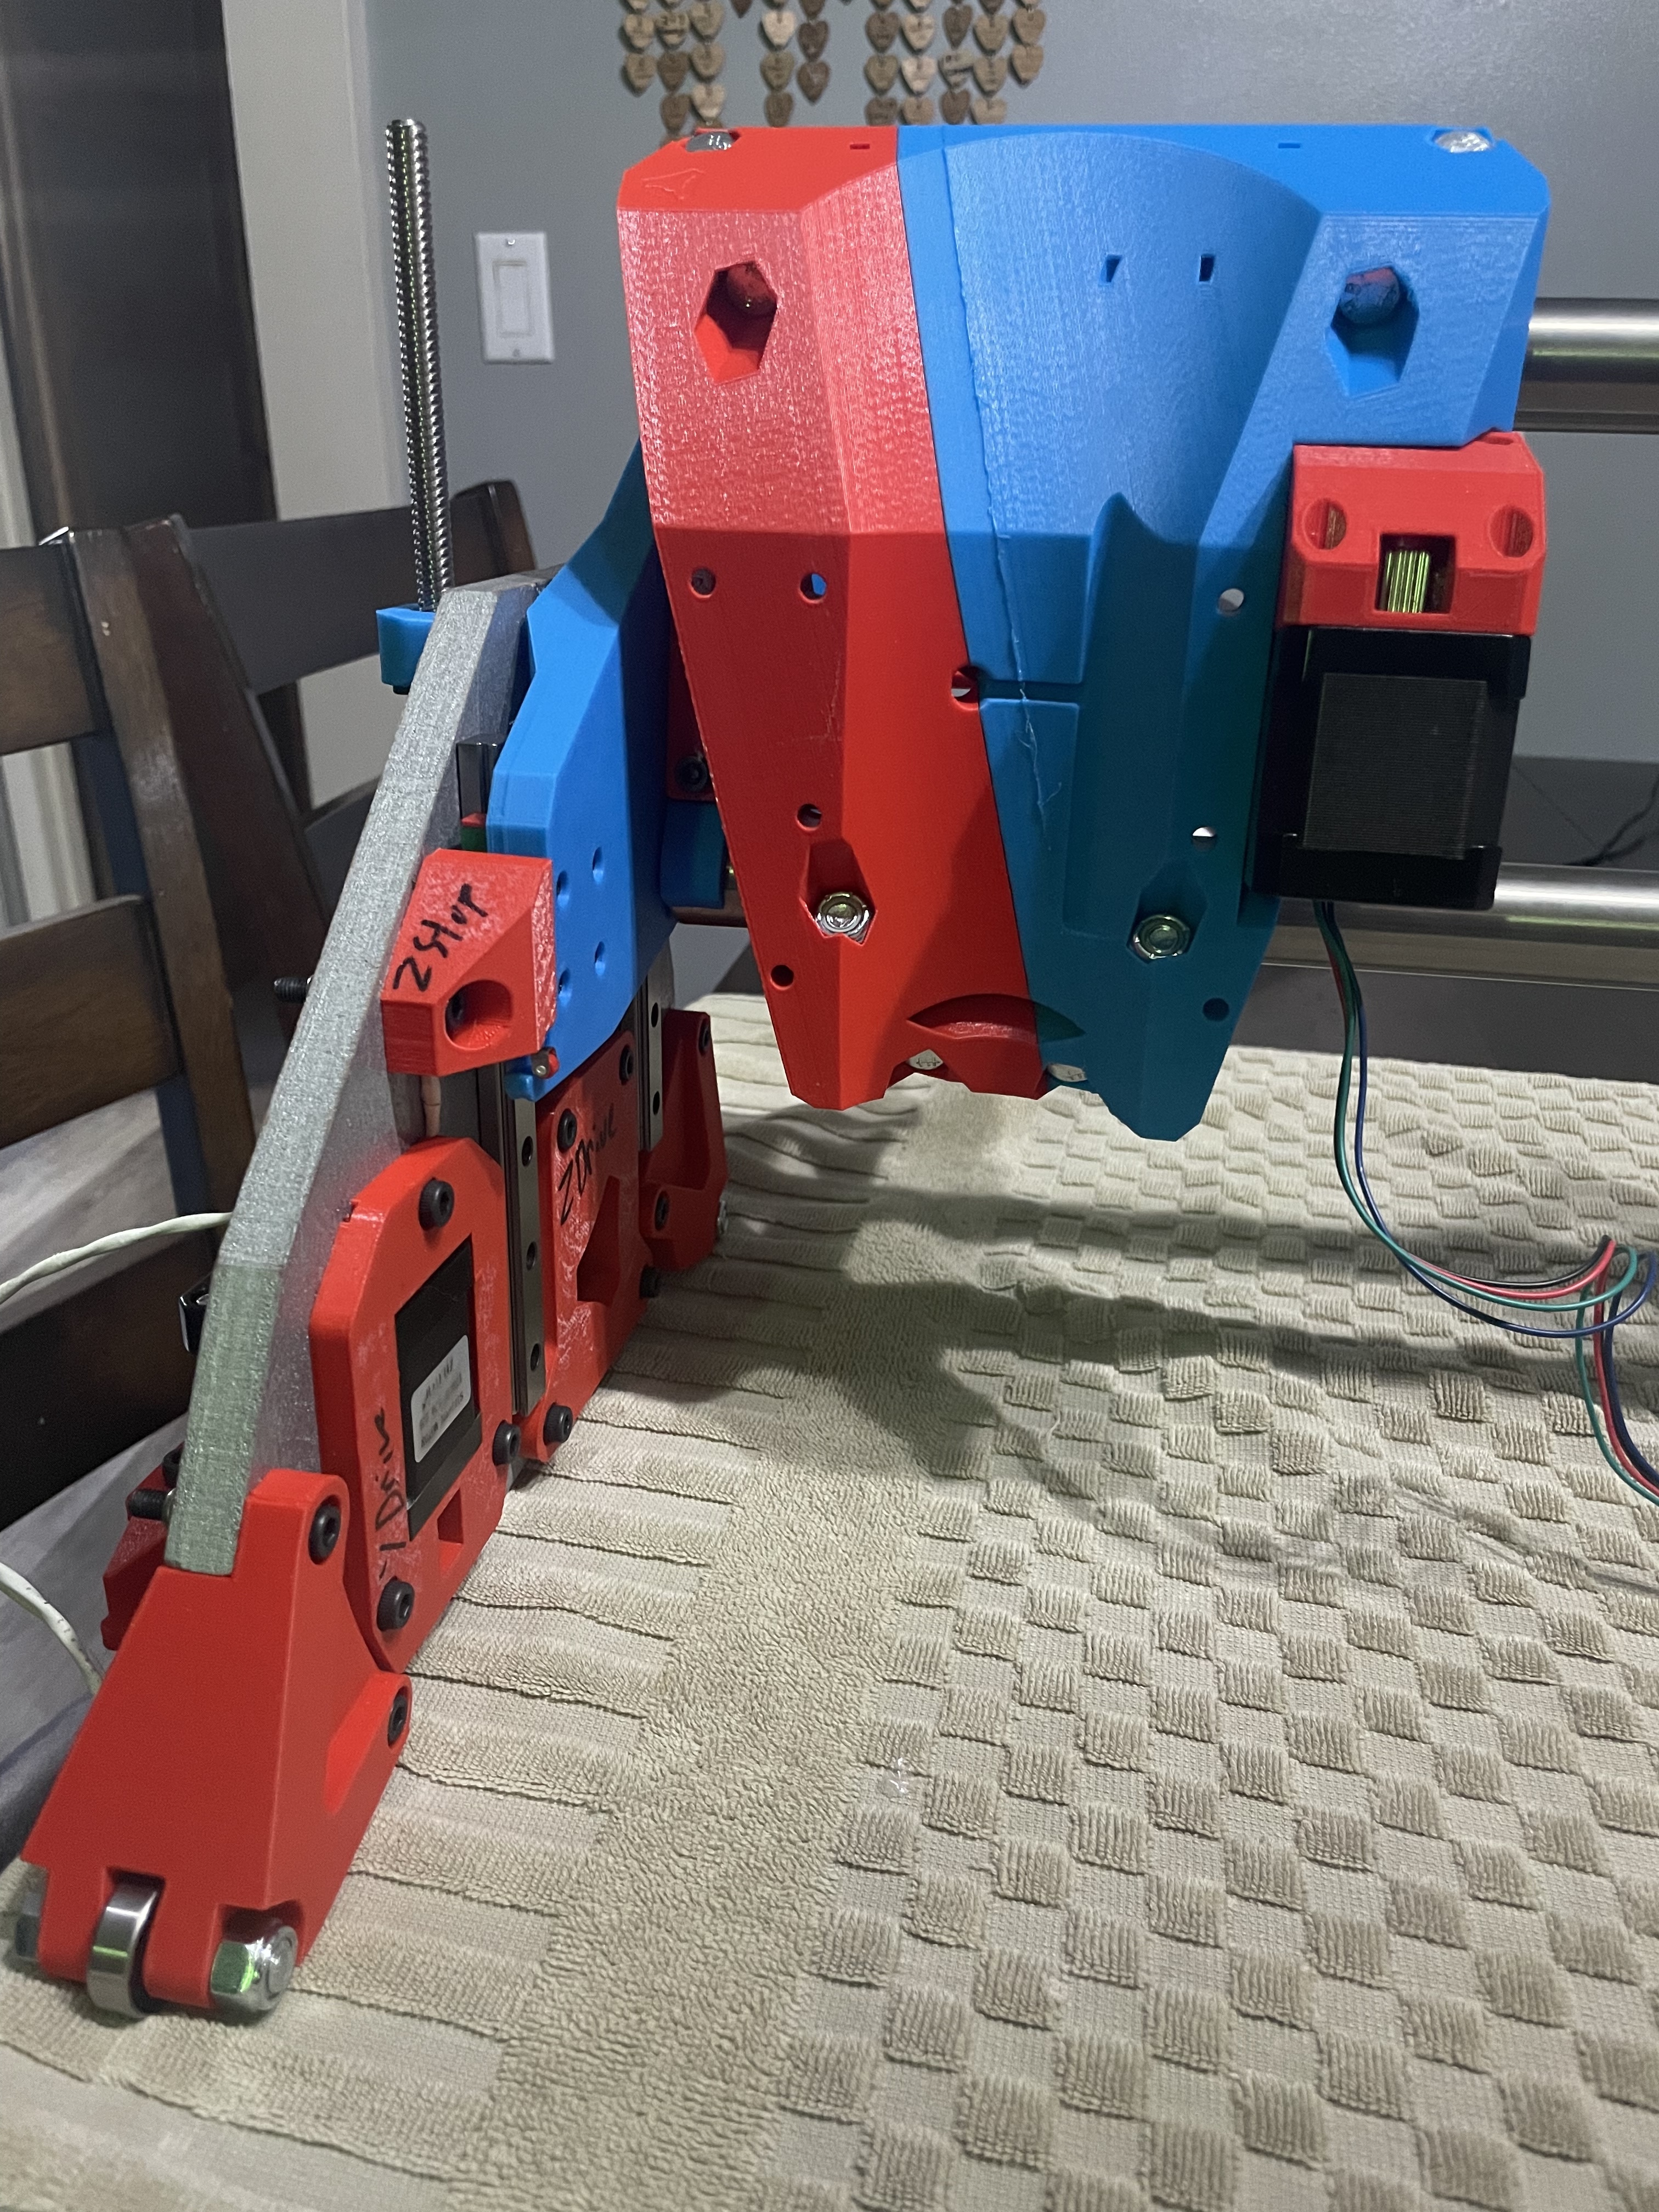
Small wire update also had to shave the heads off some cap screws as I didn’t buy the kit from Ryan and there is a couple space issues.
I must say when I say the hole for tie wraps in the core I was like no it can’t be and sure enough yep it was haha very neat design and well thought out.
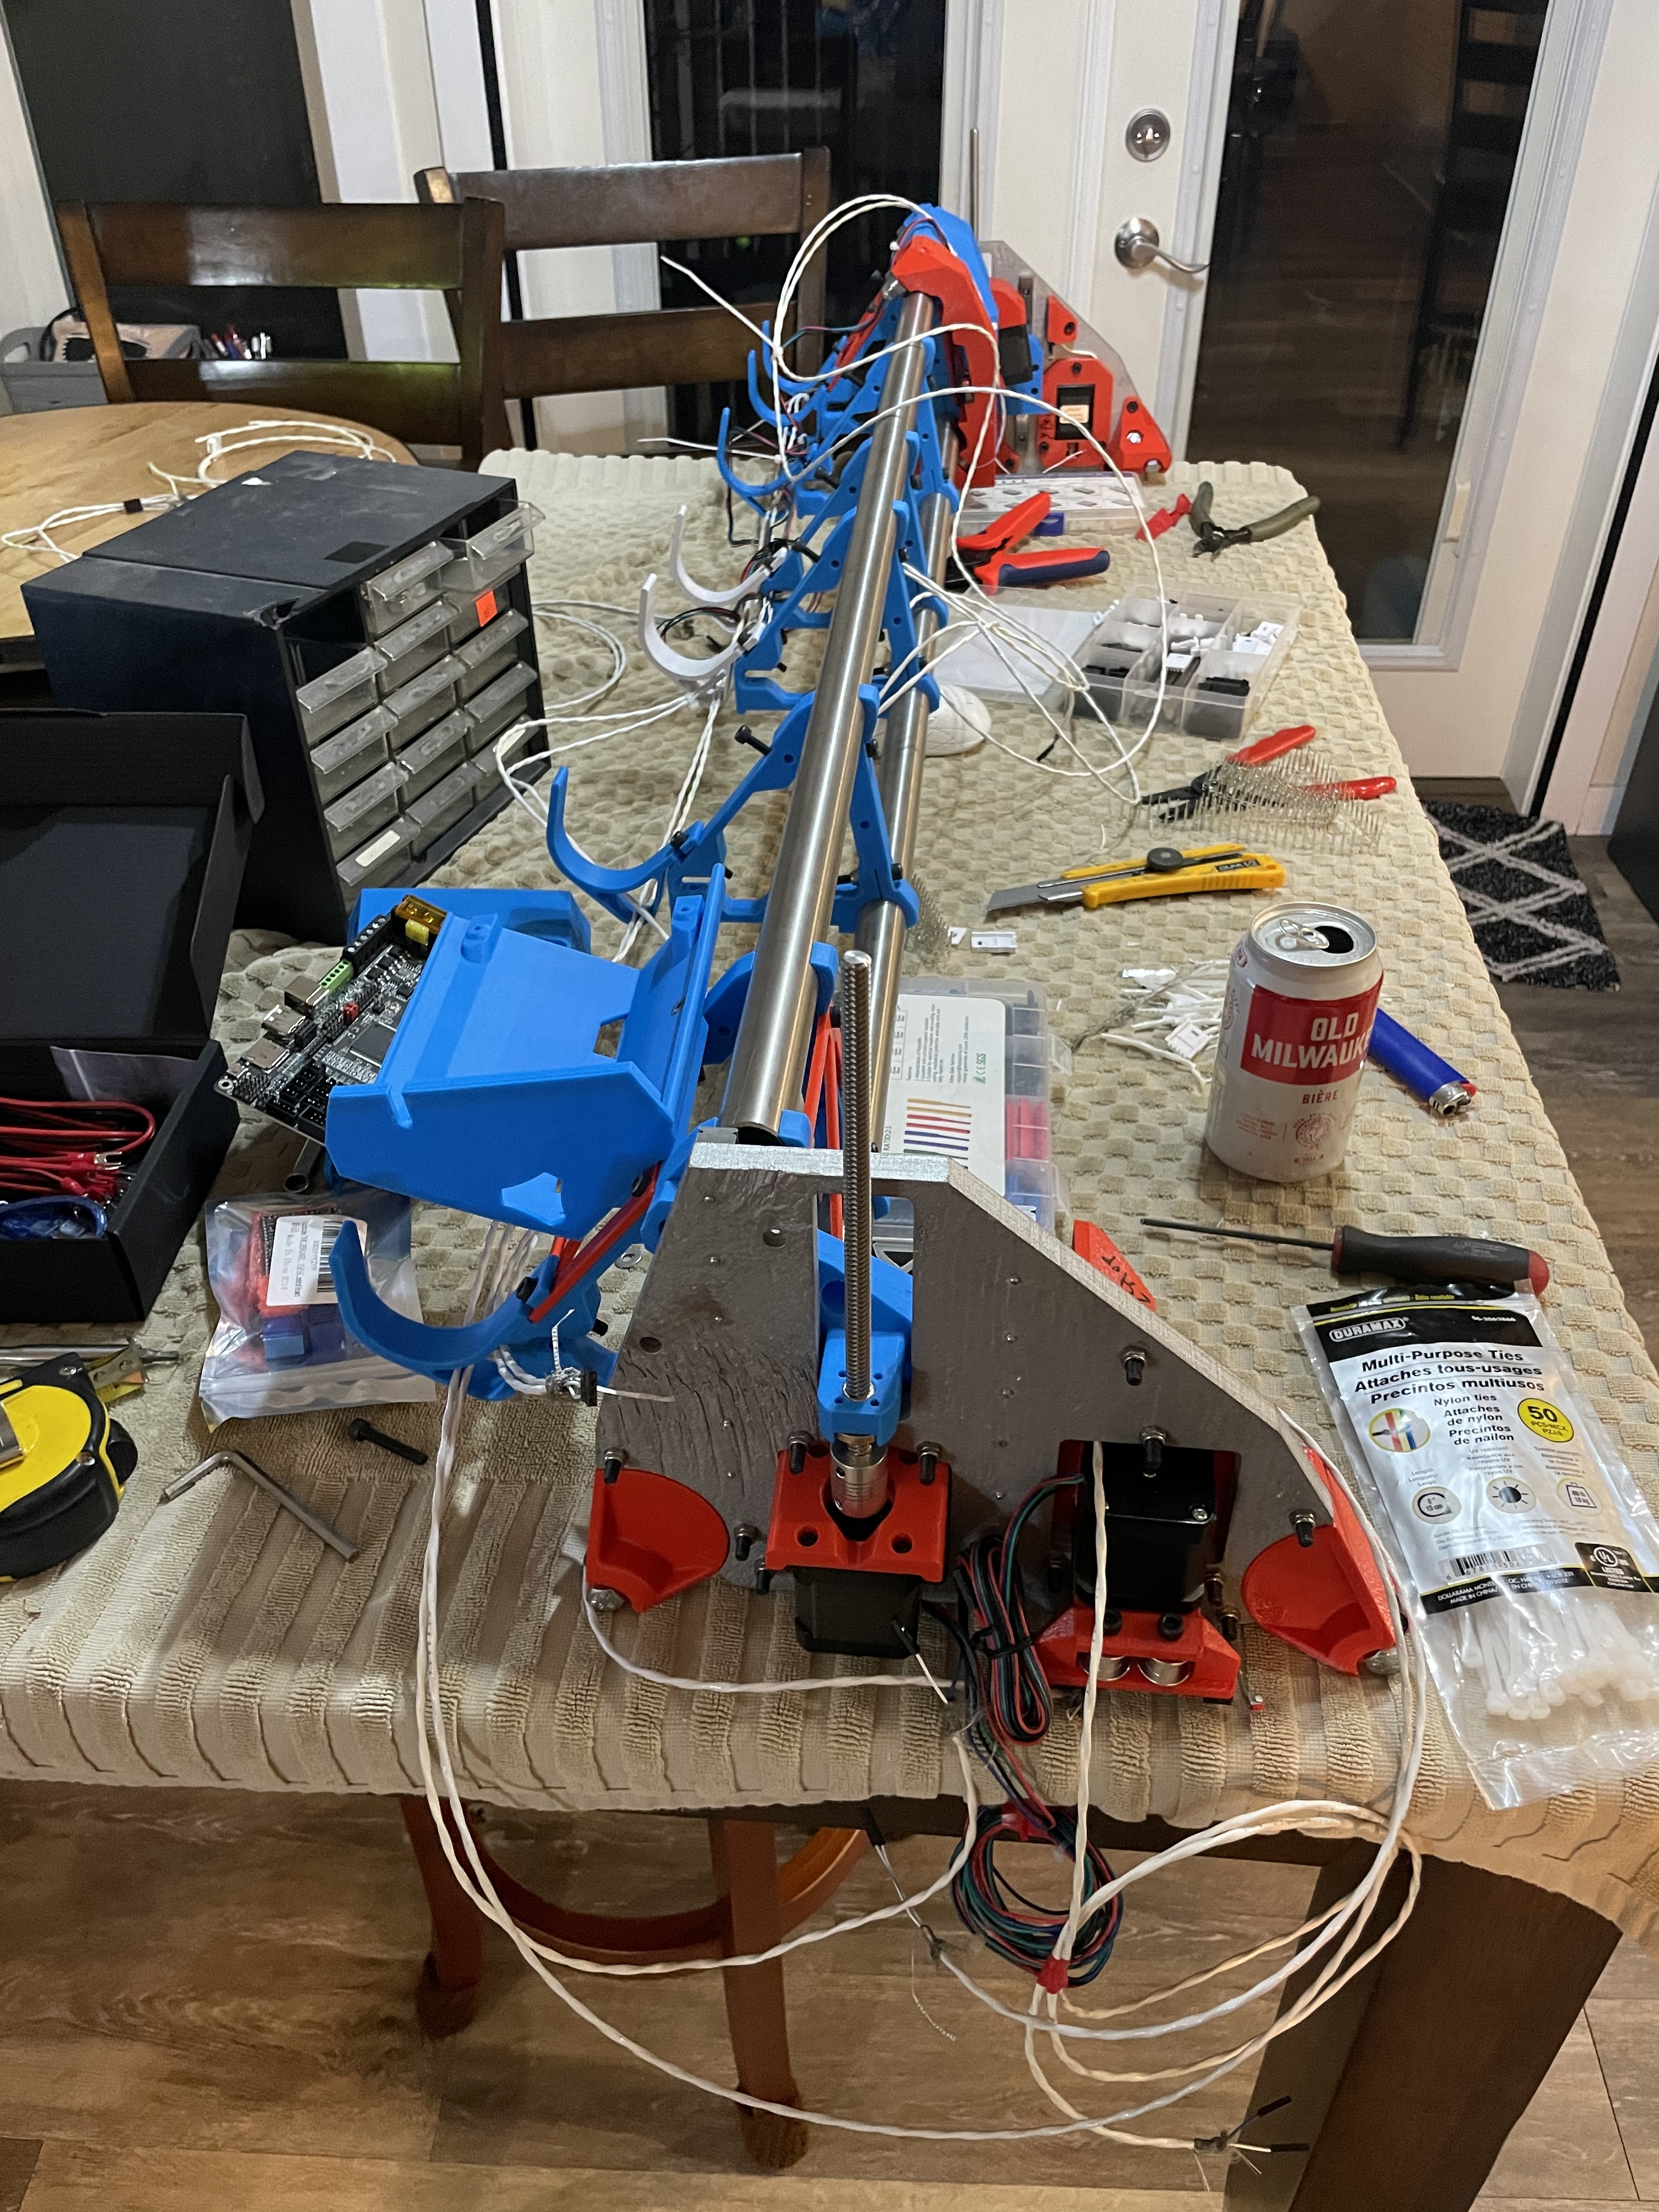
Now I need to do some belts, and figure out what to do for power supply.
Wondering if I should put some RC connectors on my 24v power supply I use for the mpcnc or just use a old laptop charger at 12v kinda leaning toward the laptop power supply.


3 Likes


Ok so I am almost at the crown stage.

2 Likes

You got the holders for Y the wrong way around. :slightly_smiling_face:

1 Like