Building the "Repeat" printer


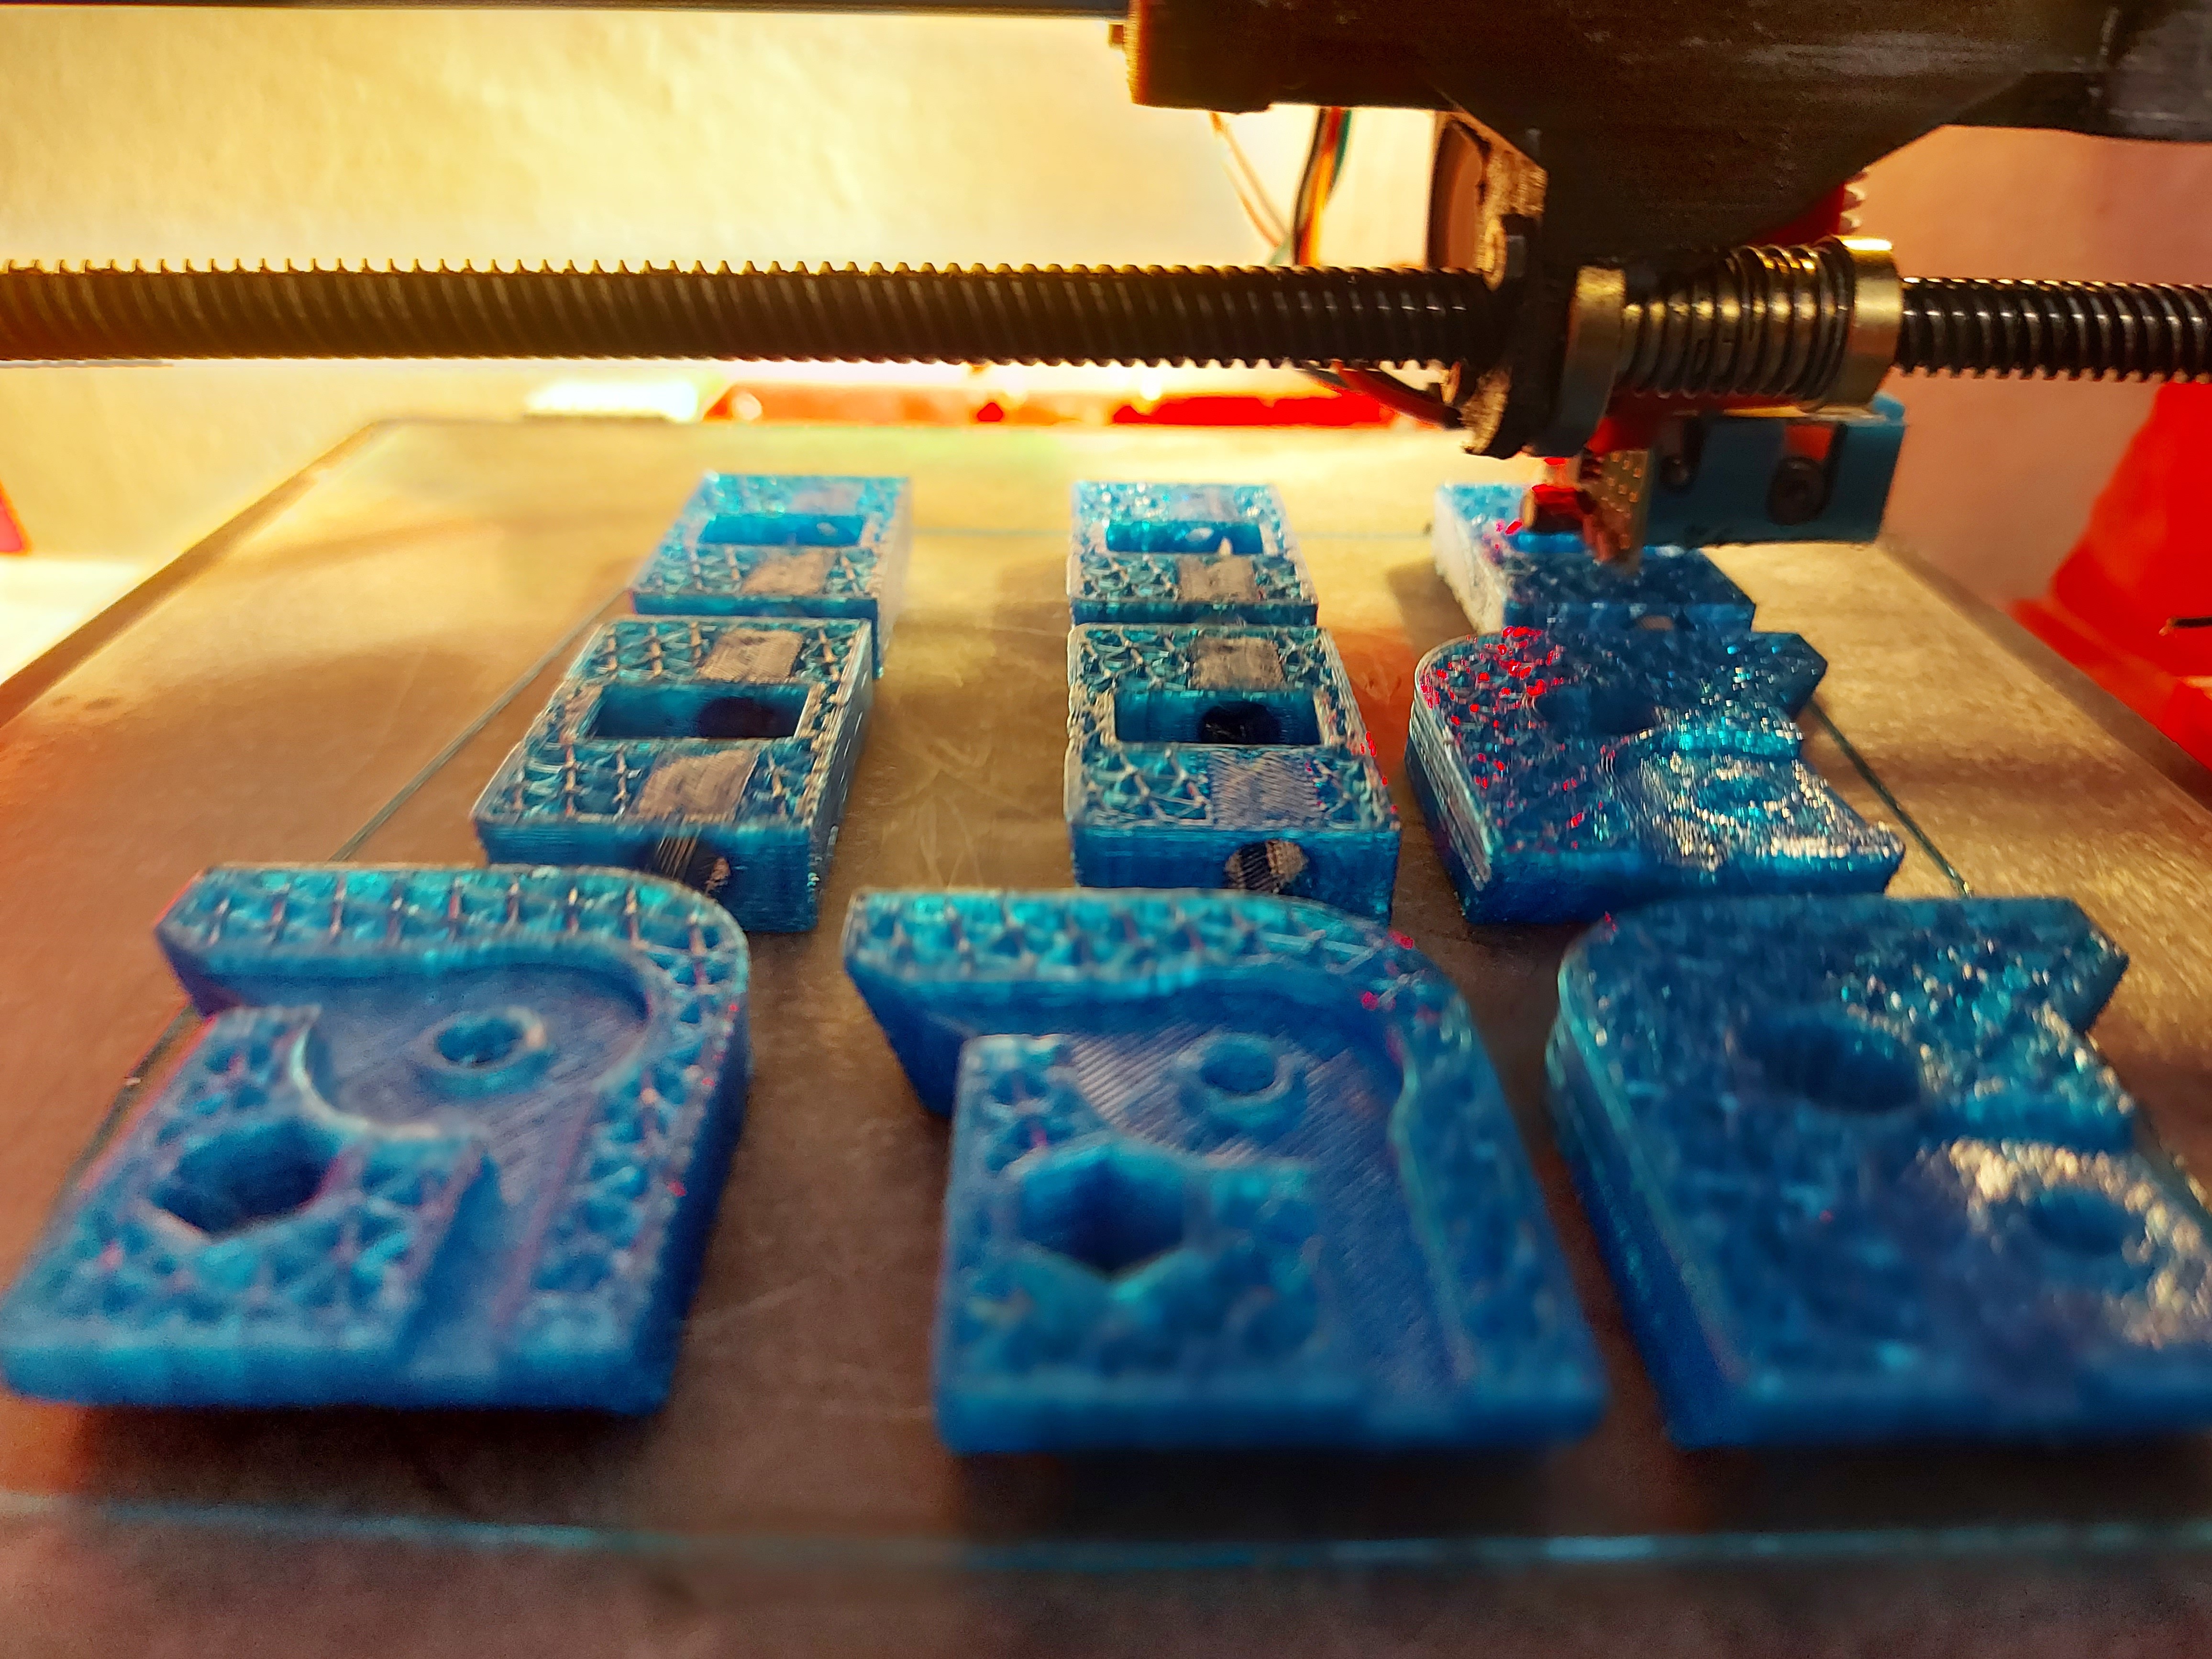
Just getting started out on the new printer, so time to start a PLOG.

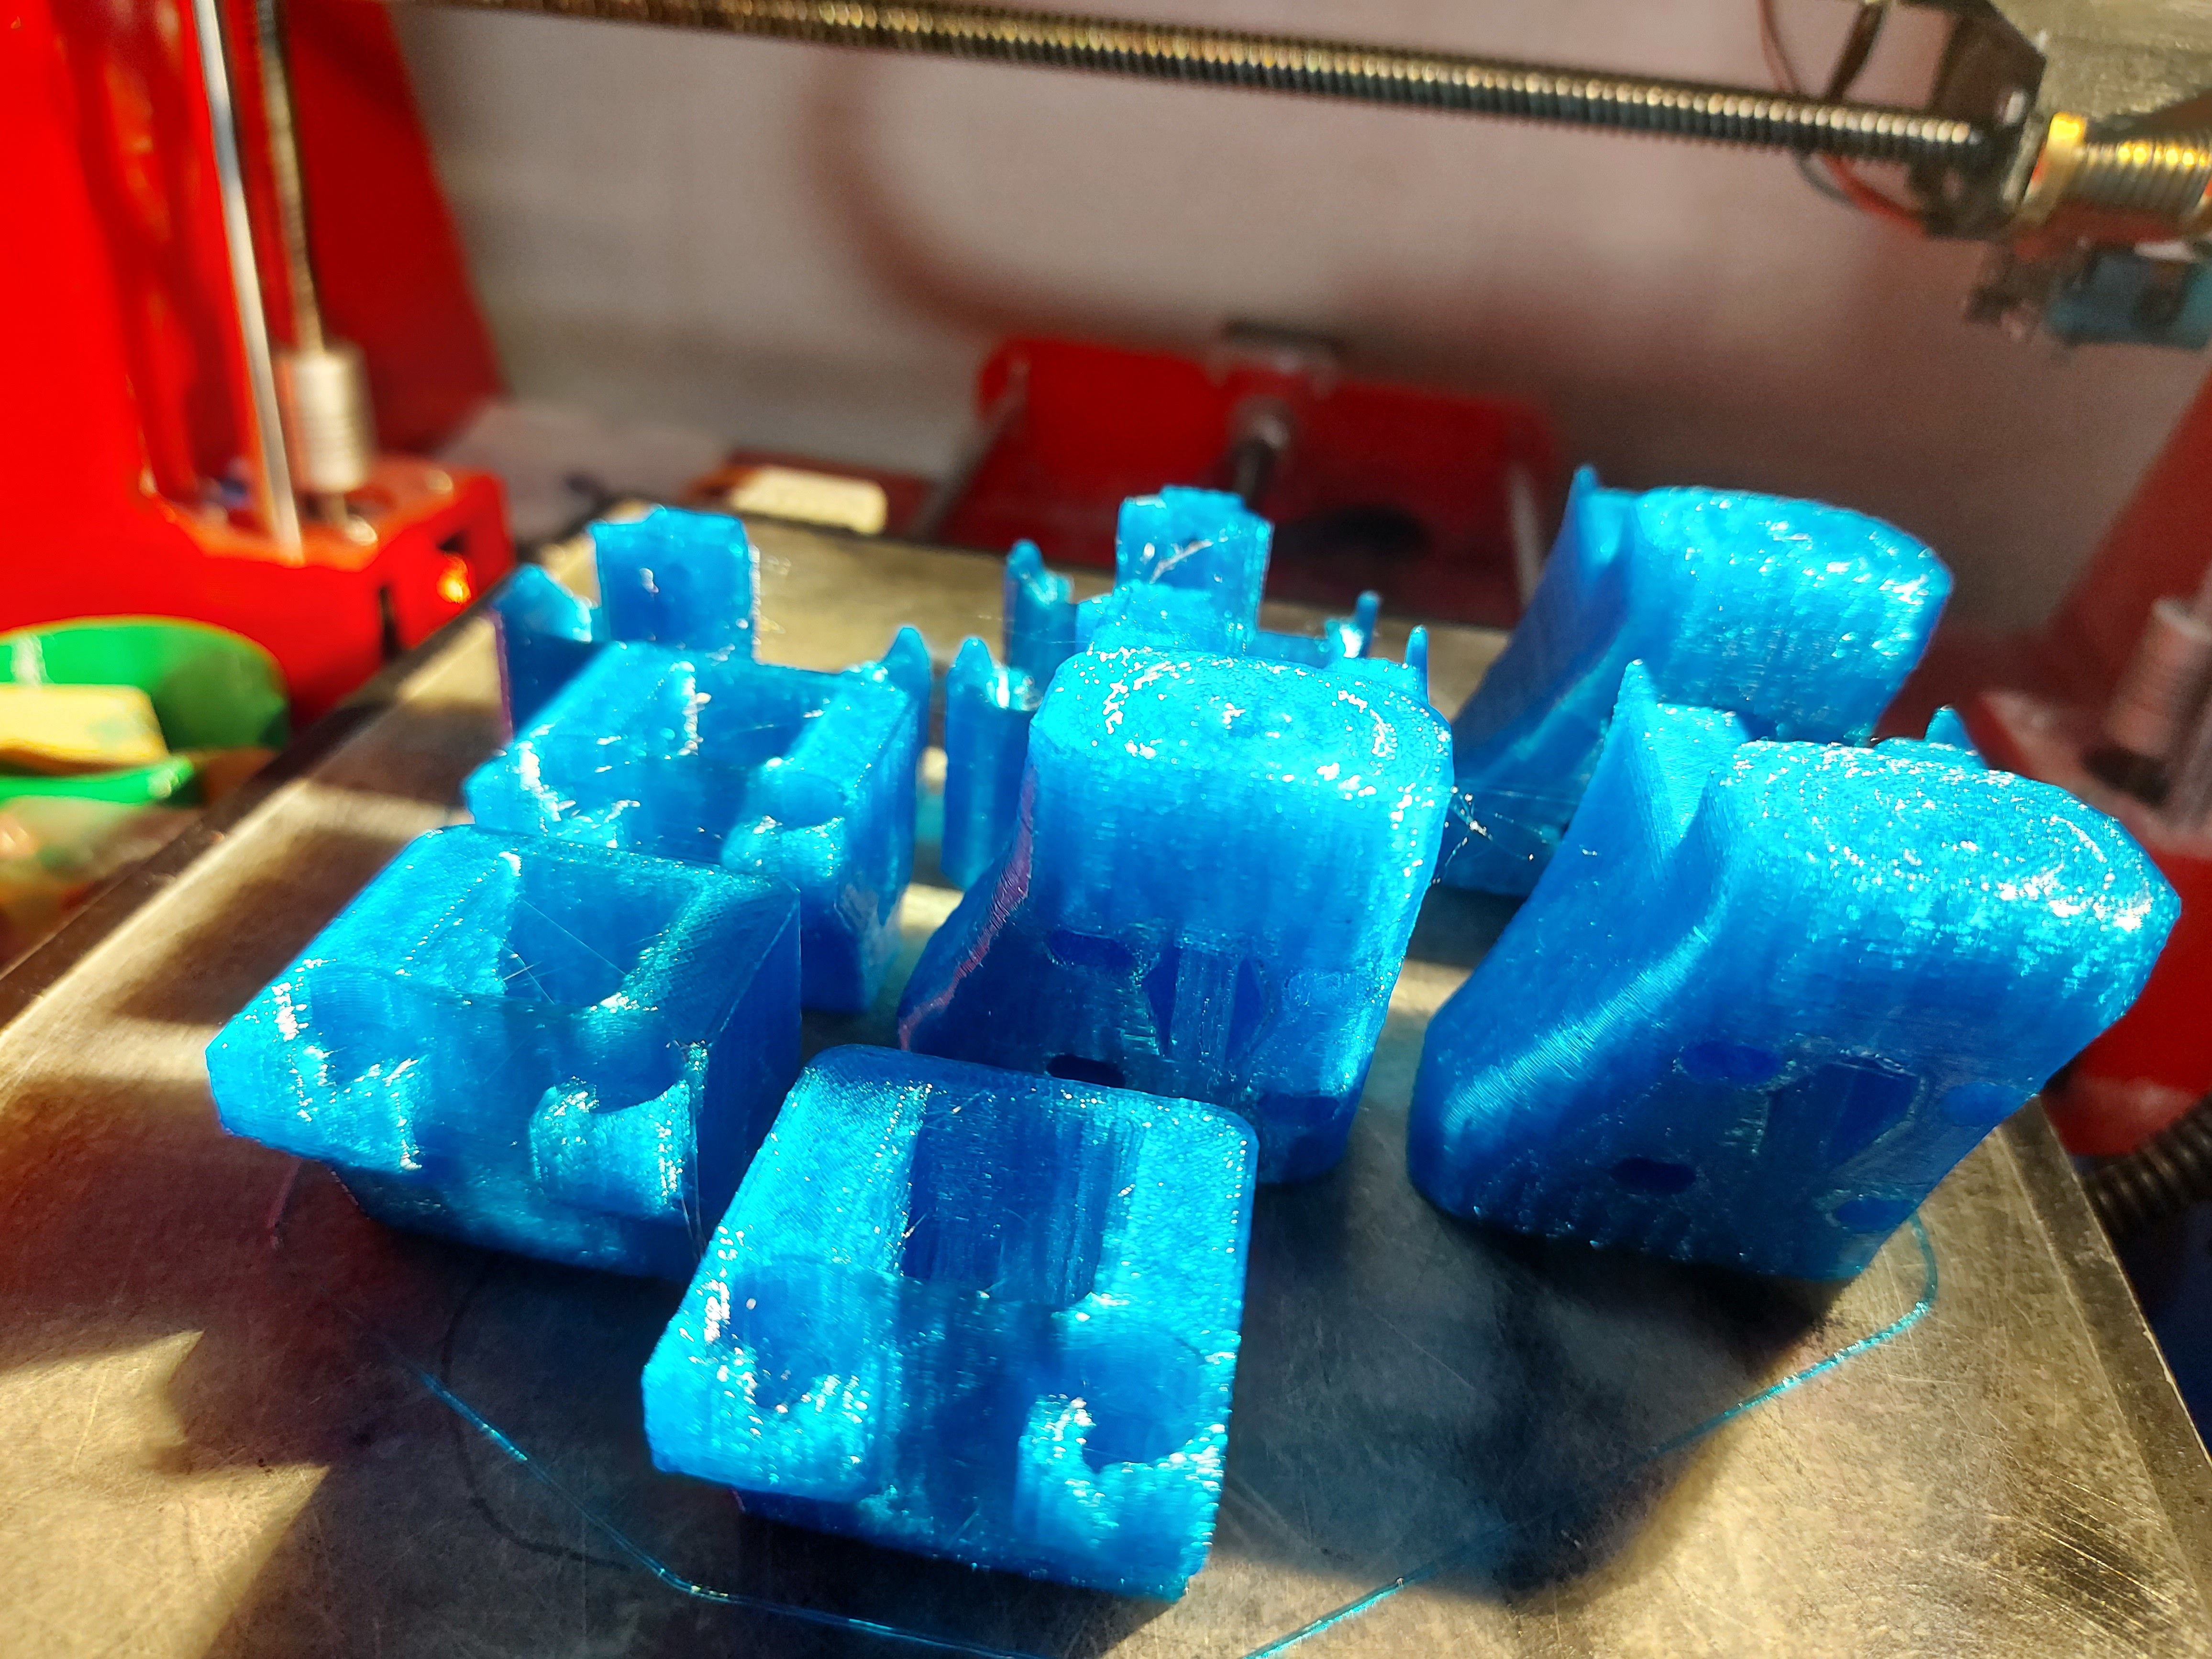
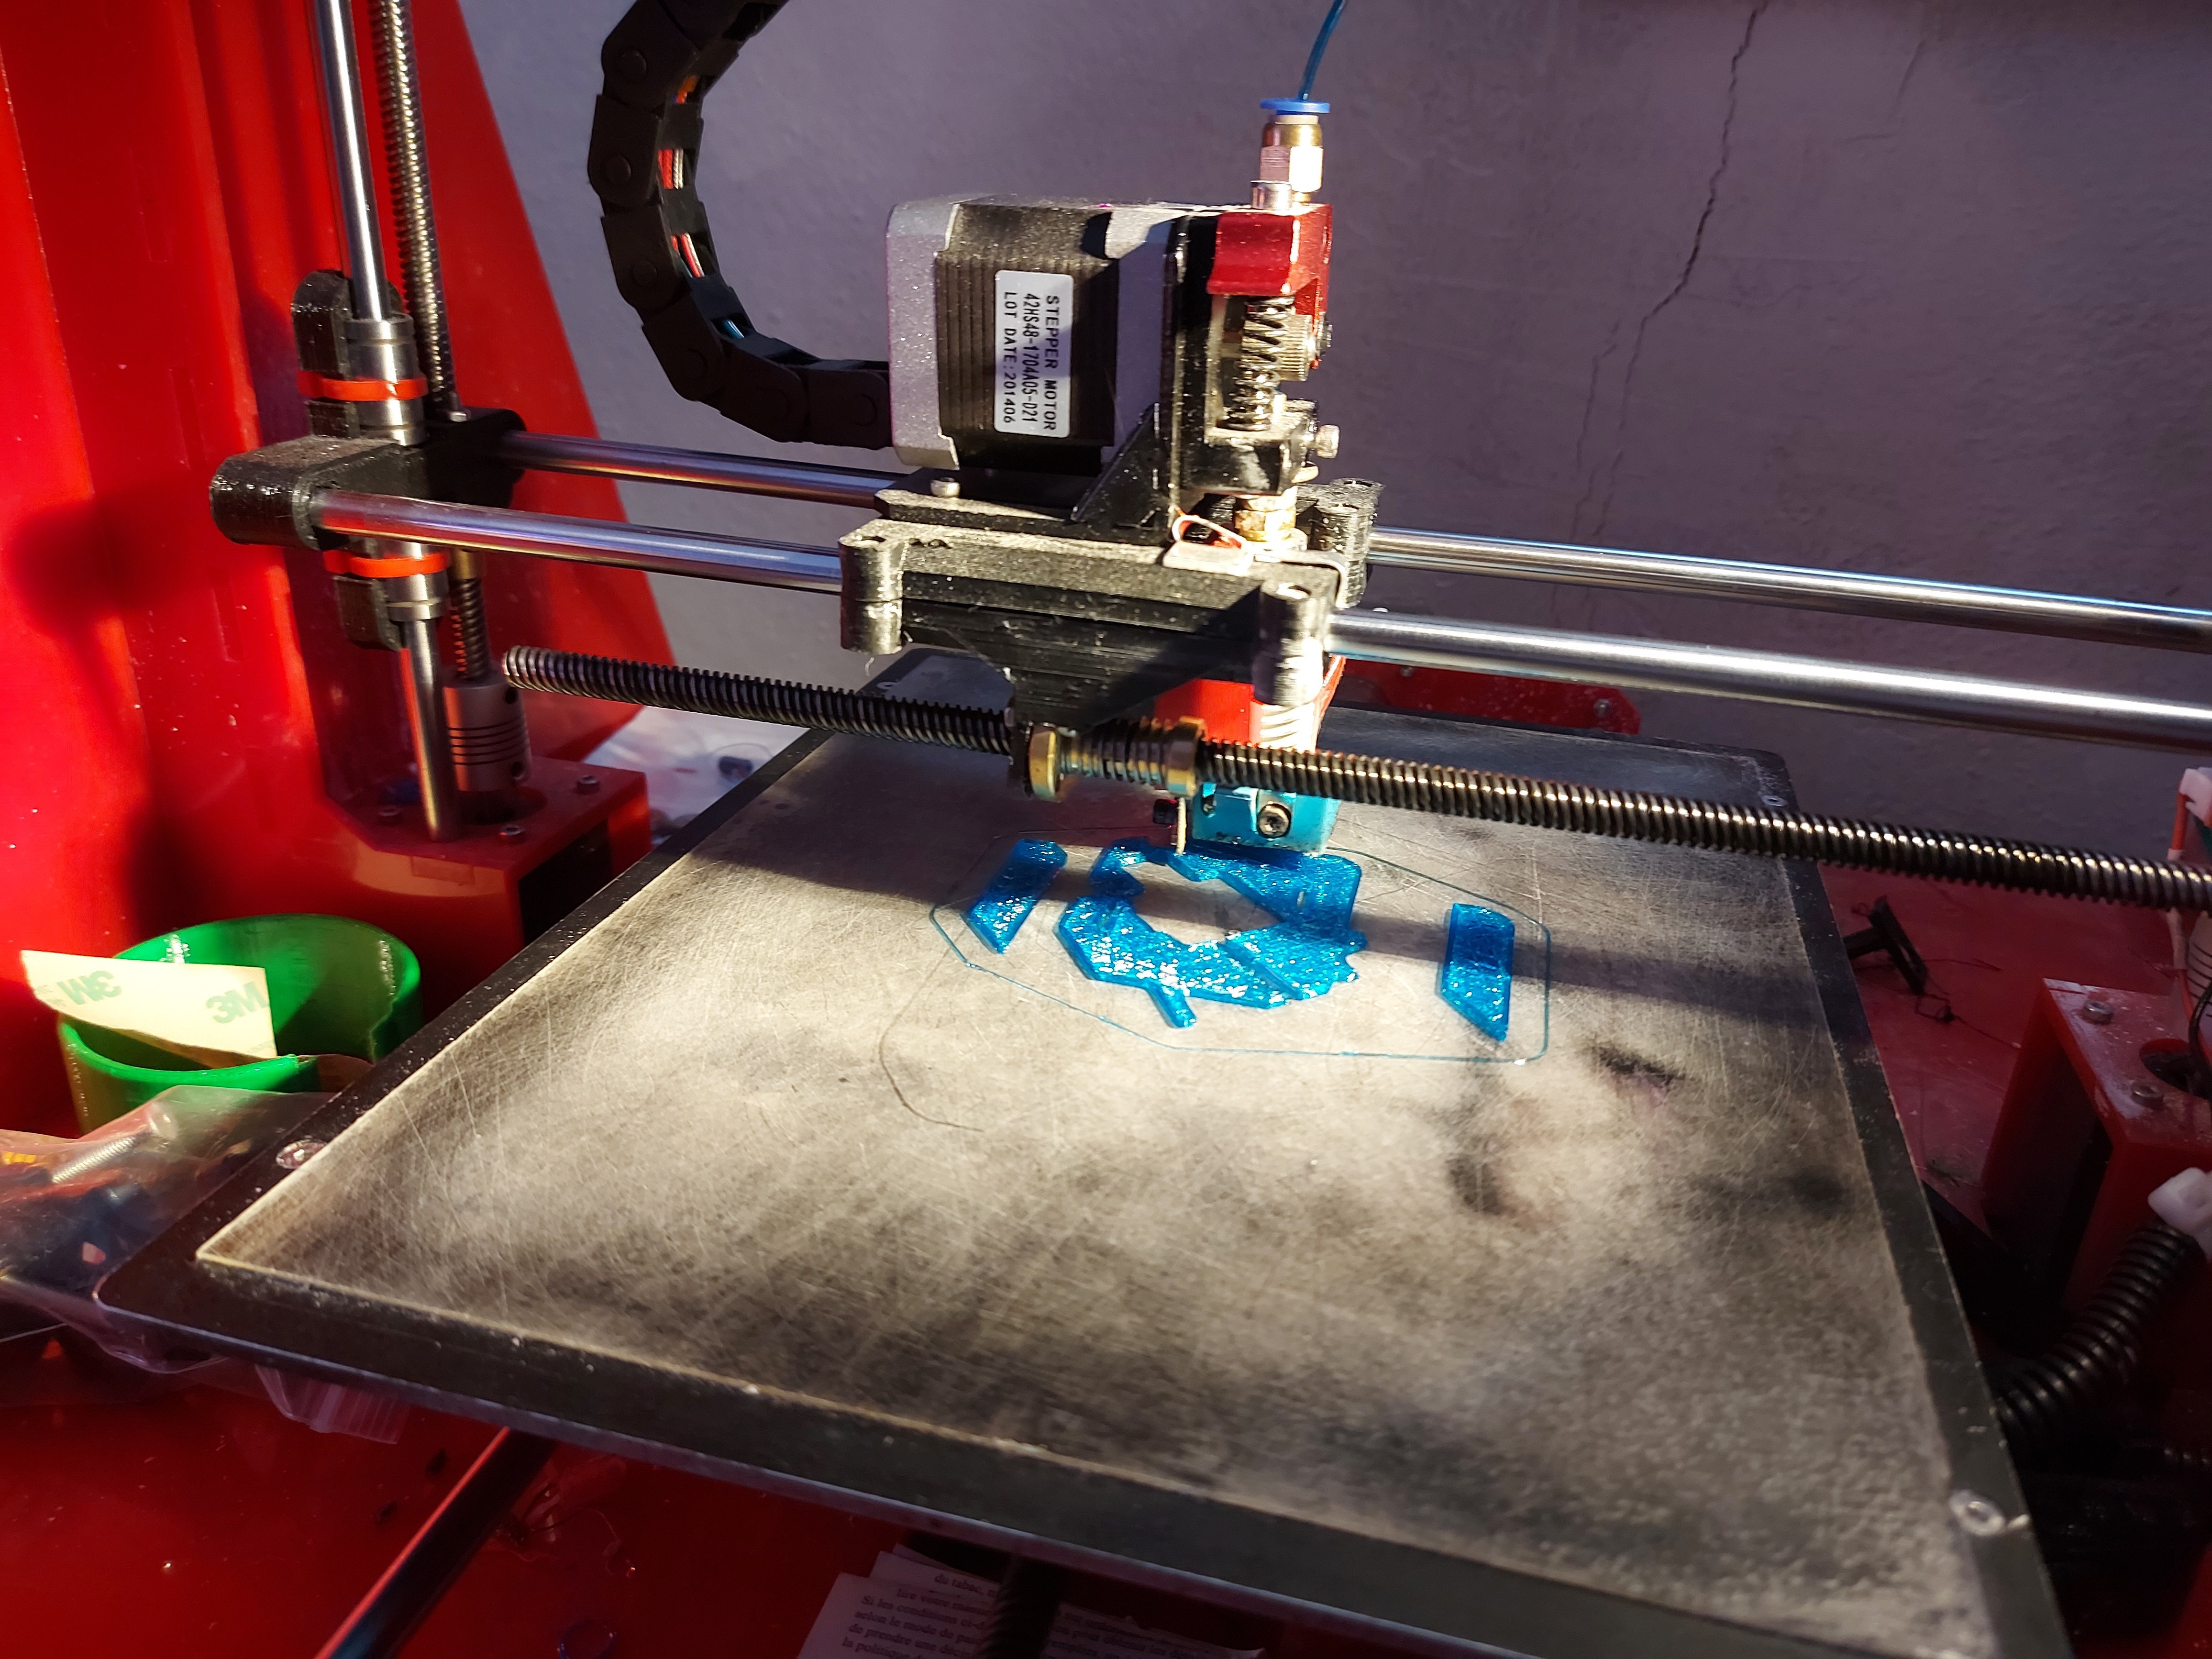
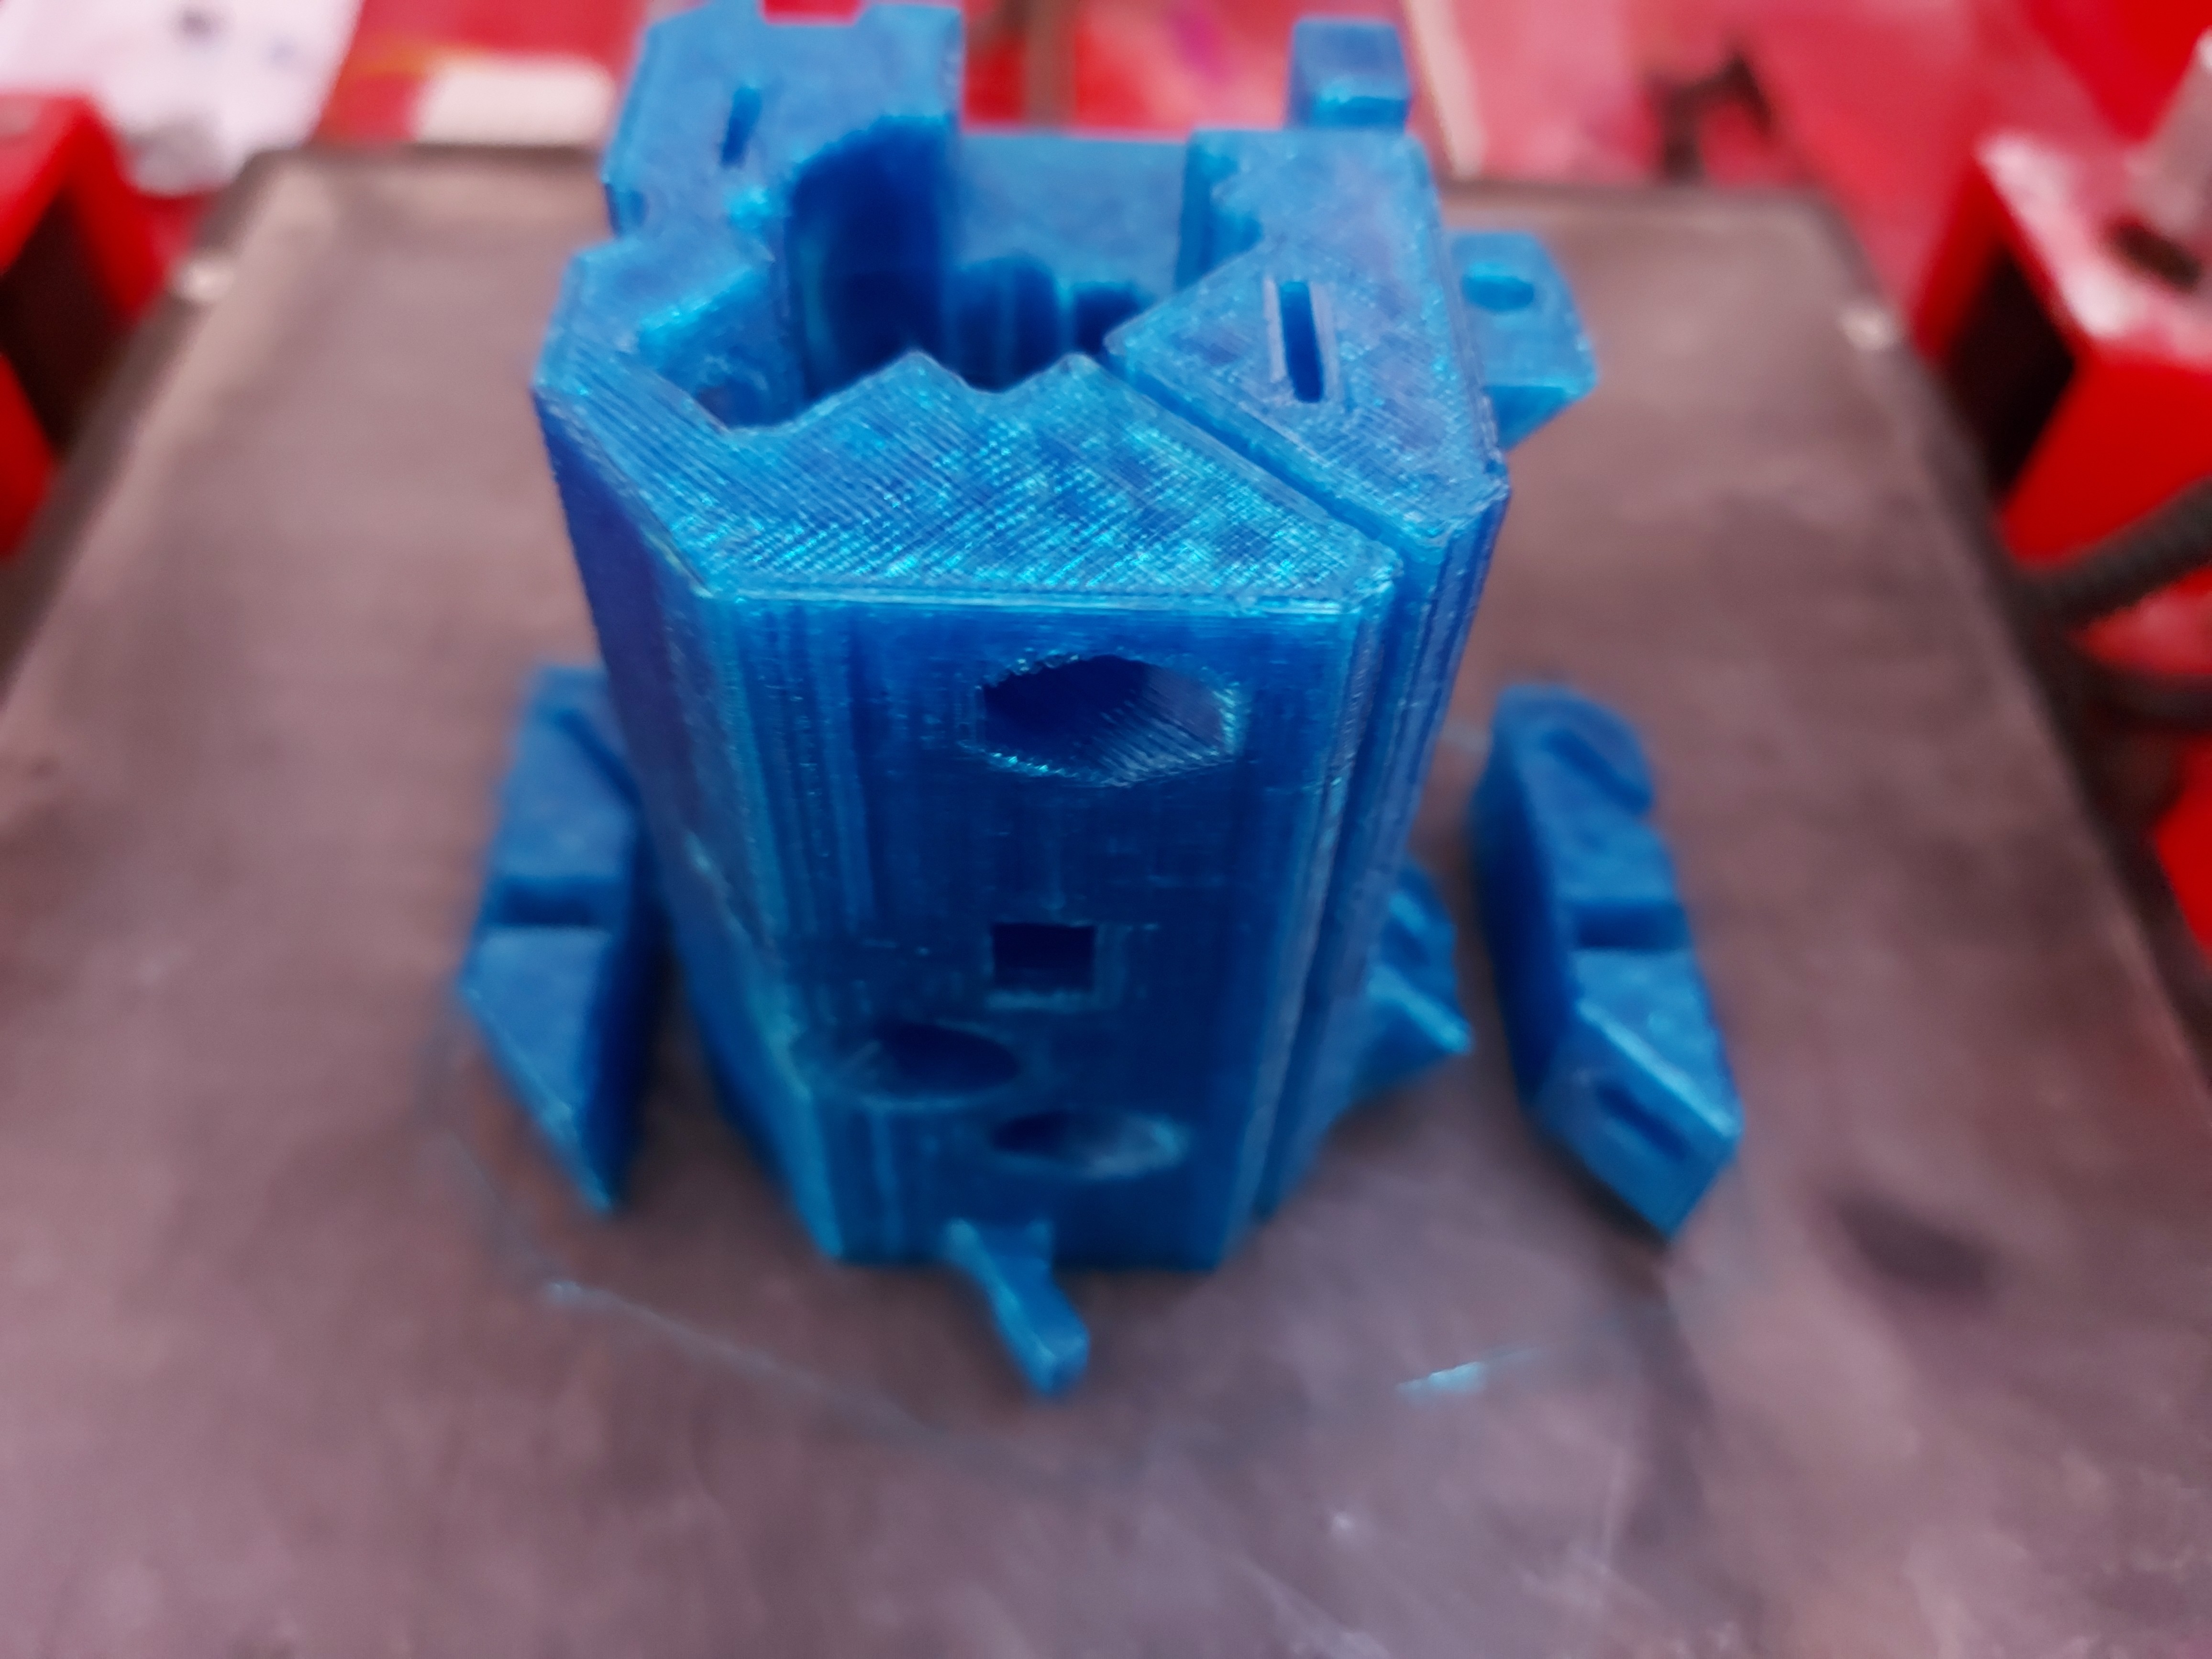
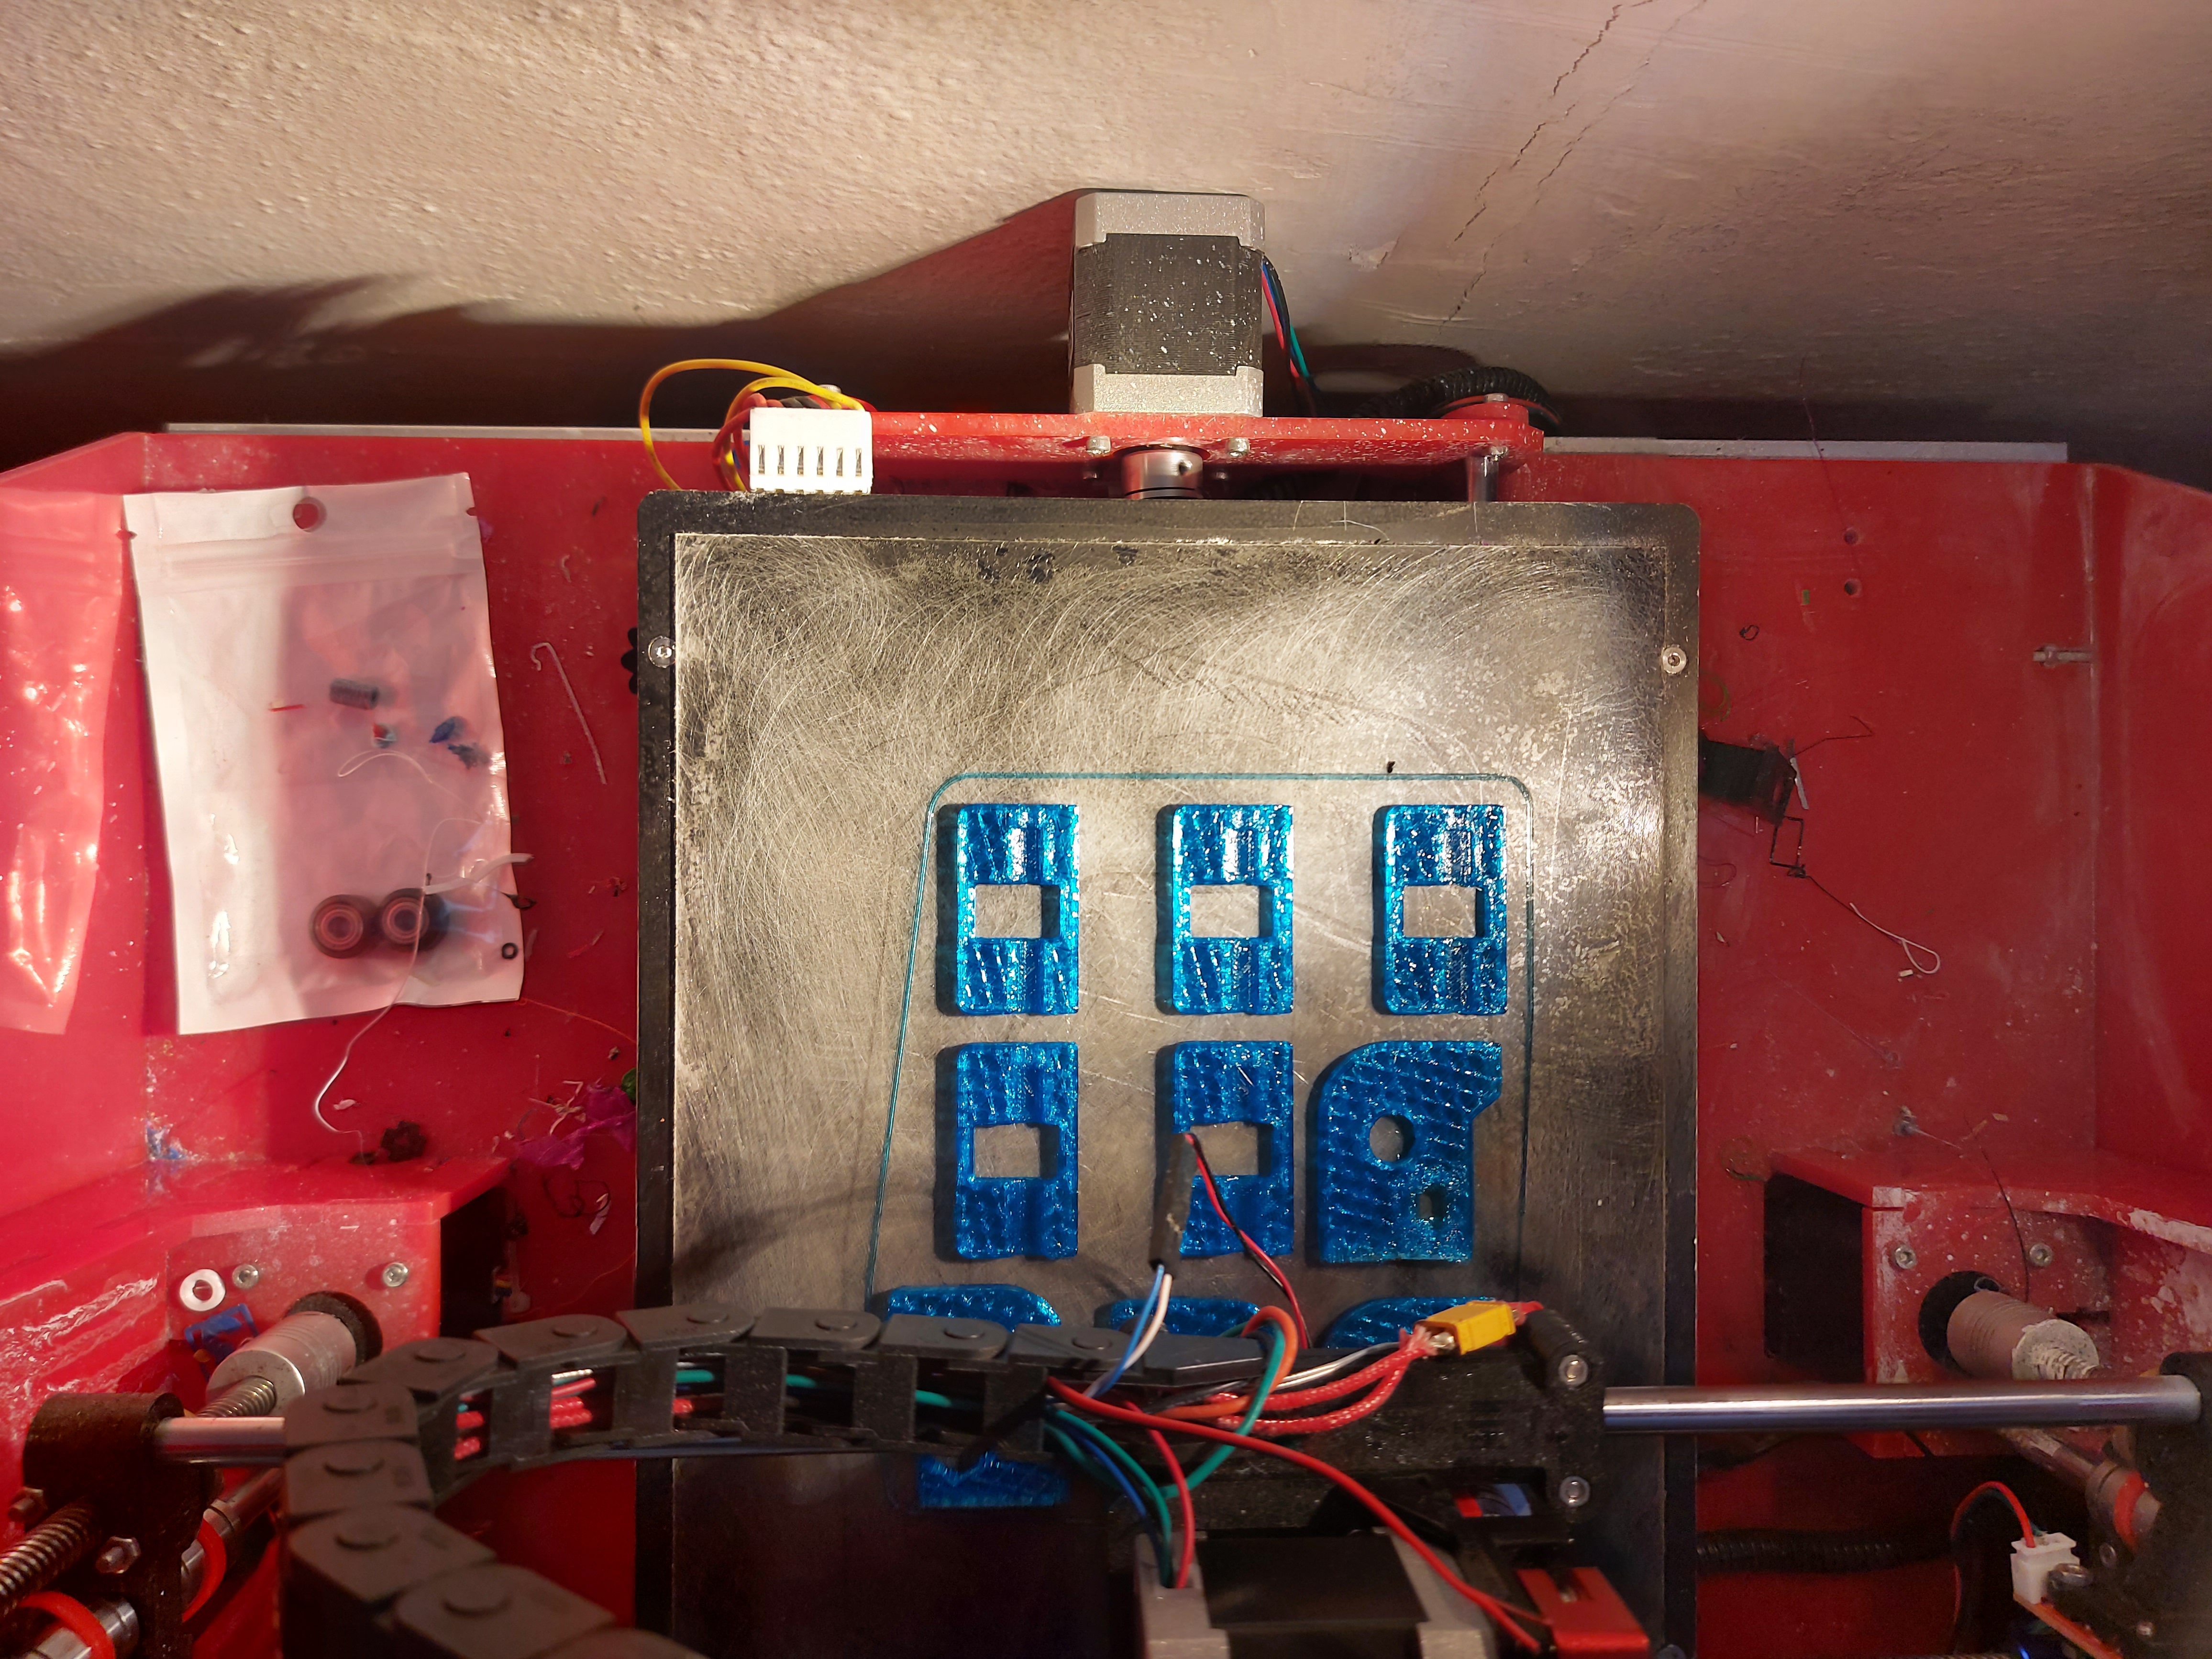
Printing parts in transparent blue PETg.

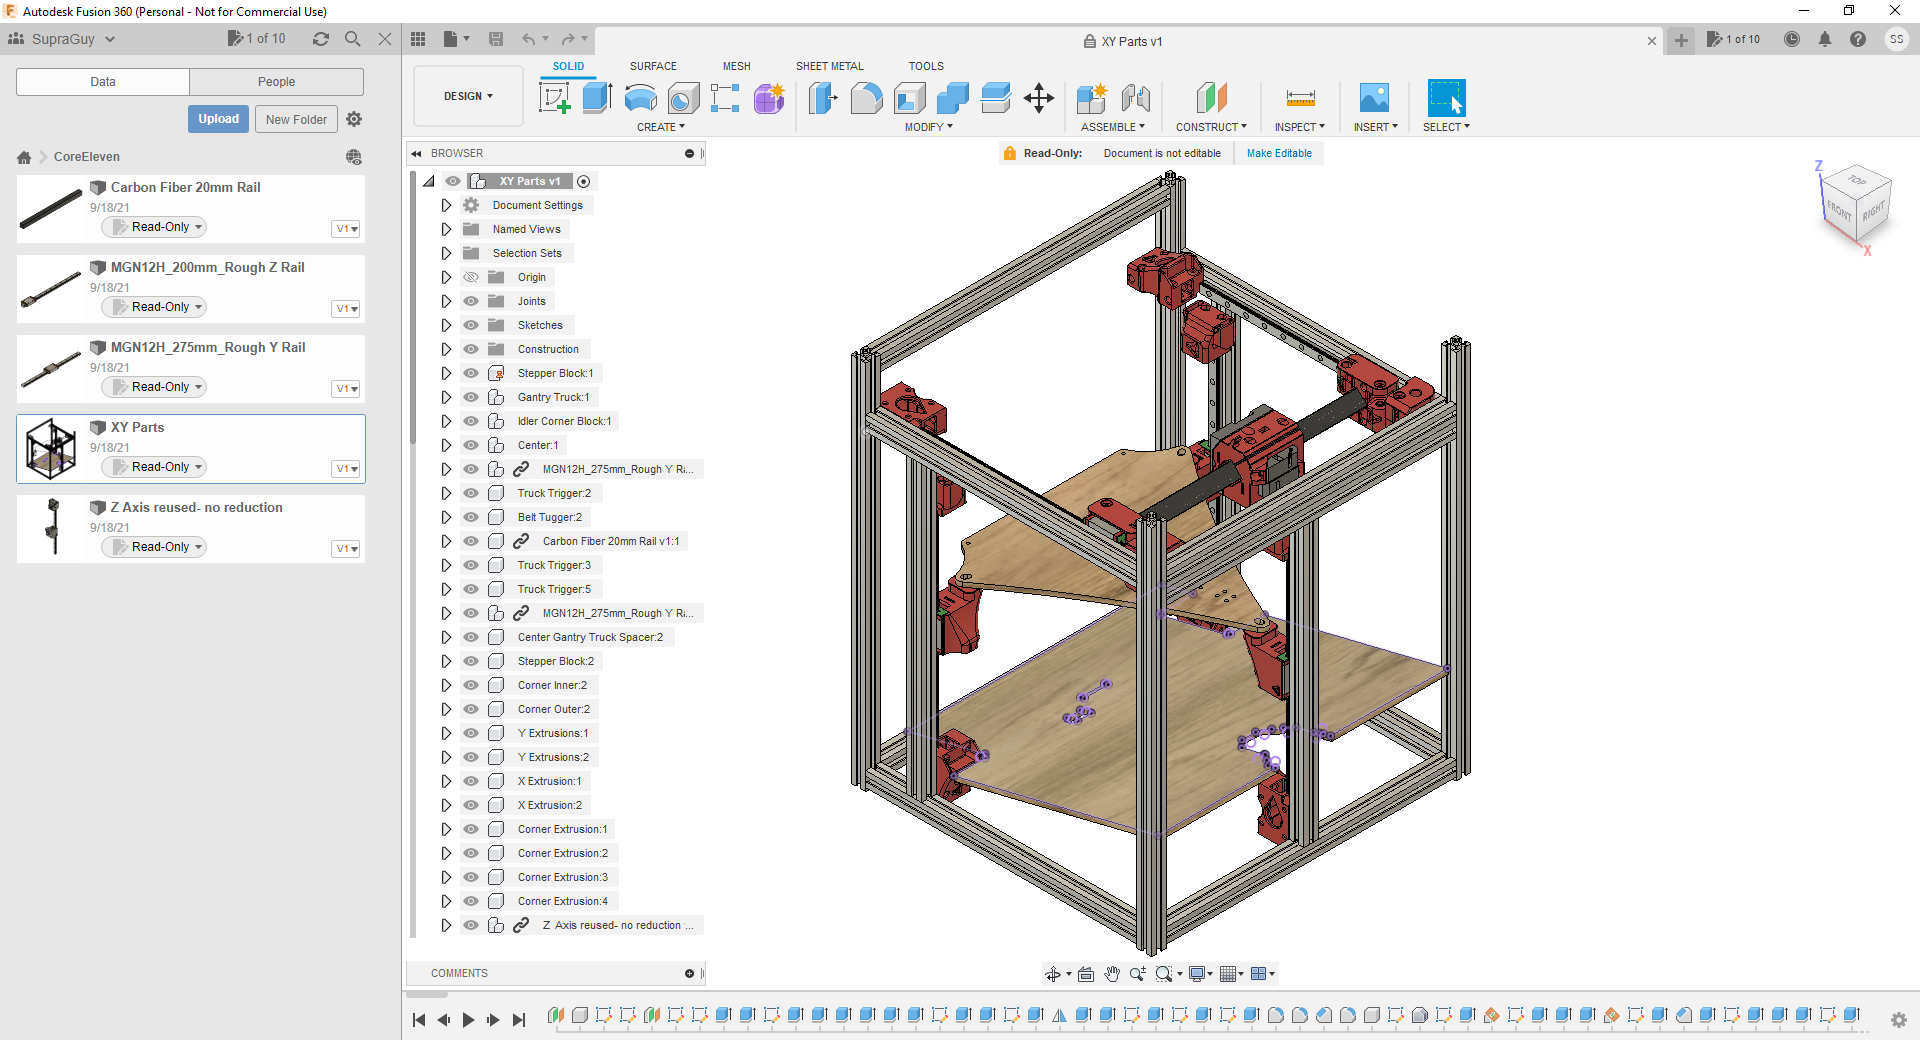
I am planning a slightly larger build, I have a 310x310mm heated build plate, 300x300mm build area. It has a 4 screw mount, so looks like I’ll need to tweak the bed plate part to accommodate that, as well as overall dimensions. The plan will be for 300x300x300mm build cube, though I may lose a little off of the Z, I got 350mm rails, but not sure how much I’ll lose to the hotend and stops.

I have a 500mm CF tube that Was supposed to be delivered a couple days ago, still says “out for delivery” in tracking.

Ordered the Hemera hotend, and the linear rails for the Z axis from a local-ish supplier.

Ordered motors, SKR Pro 1.2, belts and pulleys from V1 store

Hoping that I’m reading the Fusion project correctly for which pieces there are multiples.of, and how many. Part re-use is pretty high, looks like. So far just printing the motor mounts and corners, looks like it’ll be another 11 hours from here before this plate is done. Next will be trucks and core, I think. Maybe I’ll do the rest of the Z axis instead. One thing grabbing the STL parts from the Fusion project is getting to guess the right way up to print. These are quite obvious for what I have here, but that wasn’t the way they came out. I had to flip over the corner pieces and stand the motor mounts on end.

I know some of the parts are still in development. I hope I don’t need to reprint too many parts, but that’s a risk with early adoption.

Also my printer bjorked it’s X endstop. The ground wire broke sometime on its last print apparently. I got it homed by holding the wire together. I’ll probably just solder it up for the next plate.

5 Likes

Feel free to ask if you aren’t sure about anything. I am trying to figure out where to start keeping track of details right now. I think I will start a new DOCS section.

4 Likes

I’m not printing the blank tool mount, aside from that, I count 10 unique printed parts, but there doesn’t seem to be a BLTouch mount with it either. (I presume that will be with the files once Ryan has figured it out.)

I went through the fusion model, making parts invisible as I exported them, I’ve done the slicing. One plate for the 3 Z axis parts (Slider, Idler and Post) x3 for the 3 Z axis rails. I want to have a contrasting colour for the tensioners, so the hub prints by itself, and the tensioners will print with cable management pieces, and probably the tool holder.

I’m looking at the sketches for the hole placements in the wood. It seems that all of my rails are longer, so I can’t directly copy them, plus the oversized build platform (With 4 mounting screws. Why at this point does anyone make a printer build platform that still needs 4 mount screws? Wish I’d seen that before I bought it.) Oh well, it will probably be nice enough once I get a mounting solution for it. For the steel sheet, I can’t help but think that that magnet sheet is an awful lot of thermal mass to heat up and cool. Pretty sure that I’m going to skip it and just use binder clips or something which will work just as well and not be a few hundred grams of insulating mass between the heater and the actual print contact area.

Anyway, I’d like to do something nice for the sides. A box is probably fine and all, but I’d like something that looks a little nicer.

I will check, but you should be able to edit the length of your linear rails and the model will adjust, as well as the CF tube. Assume mine is set for a 200x200 bed and it works out to be about 220 Z. So if you have a 300 bed add 100 to the rails. I have just enough room to easily print the whole 200 with a few mm to spare on all sides.

Bummer, But bileanar bed leveling in repetier host will show you any twist you are putting in it when mounting…and fix it before printing.

It is a lot but extremely convenient and no clips to accidentally hit. I always insulate my beds so I haven’t had many issues. Kinda of one of the main reasons I needed to get away from a bed slinger…the beds are getting heavier (but worth it).

1 Like

Figured out how to share the whole folder…
Make sure you got the small truck spacer things. Really might work those into the model to not be a new part.

When I first got my ender 3 i saw SOOOOOO many people complaining about warped beds. One night while I was trying to get mine leveled it occurred to me that the fourth corner over constrained it, and maybe these folks twisting down one corner at a time on a hot bed wasn’t the greatest idea in the world. Of course, maybe manufacturing really is that bad, but my need was plenty flat and when i compared the number of people complaining to an estimate of how many printers had to have been made, i got suspicious.

I just don’t use the 4th screw. Made leveling a ton easier and way more consistent. Didn’t cause any problems I could see. My second printer is also mounted at 3 corners. I worry a little about sagging, but not enough to do anything about it. Seems ok. I think from here on out I’ll use spacers and hard mount them.

Three points define a plane.

5 Likes

Ouch

So it turns out I can not share the whole folder…this is gunna get rough.

Can you send me a screenshot of what your fusion directory looks like for the shared file. It contains other parts and assemblies, so if it shares associated files, then I can just insert them all in there and everything gets shared. If not…I am not sure how to share all the parts easily.

I tried that before, but I used to use a piezo bed levelling sensor, and it didn’t like the unsupported corner. It would probably be OK now… but I’ve figured out ways to deal with it. I did make an adapter that had 2 3mm tapped holes 209mm apart and one 3mm stud in the center. That works OK with the PCB heated beds. The aluminum ones seem to be stiff enough.

For this printer, because the bed mount isn’t actually for levelling, I’ll use spacers to keep a silicone pad underneath, and then firmly mount it to a levelling platform. This setup might even be firm enough to try the piezo sensors again. I like those for having a zero offset from the nozzle, but tuning them is , finicky

Yep. That was the advantage to making parts invisible after I copied them off, I could always see parts that I had not yet made an STL from.

I see there are no real drawings for the wood sides. I’ll have to go back in to get measurements for where the mounting screws are for parts. It looks like you intended to mount to the extrusion with 3mm screws, so I’ve been planning on 1/8" holes through the wood for longer screws with locknuts. I’ve also been planning on using the protruding ends to hold ties for cable management. Plans for that may change depending.

The plate of Z parts needs another couple hours, but is coming along nicely. I had a bad moment where I thought I might have placed the Z idler the wrong way up (Most V1 designs so far don’t make the nut flats horizontal) but that’s the only way that really makes sense.

1 Like


Like this?

Yes! That is cool. I can just insert whatever and it shares the rest of the file. I have a few other pieces that are not on there.

I checked, changing the rail size explodes the model. So It looks like I need to work on my assembly skills in fusion.

No, I am almost there. I was working on a spool mount but got side tracked with another wire passthrough. Kinda need all that before I finalize the sides…and I need the model to work parametricaly for you before that.

2 Likes


Z plate completed without incident.

Next is the trucks (including the small locating pieces)

For the back and sides, I was just going to adjust the drawings myself, but parametric makes it much easier! Assuming of course that I get back into Fusion enough to learn how to adjust those lengths, lol! I guess I really ought to.

I think this printer is coming due for a major overhaul. It’s starting to make some new noises, clacking and clicking in places. It’s also developed a bit of X wobble that I van see in the printing. The leadscrew movement idea did make things nice and precise, but it’s kind of noisy at the best of times. Really looking forward to the new one. I had thought the V2 would have replaced it, but that wasn’t how it worked out.

2 Likes

In for this.
I’m definitely going to make my own, but I’ll wait for you to be the guinea pig first to make sure its all ok :laughing:

4 Likes

I have the width working now. If you edit the length of the CF tube (+100mm? 300mm bed??) it adjusts. The rest needs to adjust so you can get the right shape bed plate.

1 Like


One more plate of parts. I had to reprint the corners, because there was a problem with the first ones. My printer lost power before it finished them.

One more plate for the hub and belt tuggers, and of course the tool mount, fan holder etc.

The IR probe doesn’t like that blue filament, a little bit of stringing on the sensor and it stopped triggering. Now I have a bit of a hole in my PEI.


Prusa slicer thinks 4.5 hours… I bet closer to 6.


That’s the core and the belt tension blocks done.

My CF rail has been “out for delivery” for 5 days. Not gaining confidence in the post office.

My Hemera hotend is due Thursday.

My V1 stuff apparently left San Francisco today.

My PSU and BLTouch arrived this afternoon.

I need to download a new model, the one I have is most definitely not parametric. Well, I had planned on doing my own work for the case, but no rush. I know Ryan is still tweaking those, so I’ll wait for a finished version.

So far quite happy with my Jolly Rancher Blue parts.

I’m tempted to build with extrusion, but then I look at the T nuts, corner braces and assorted hardware… makes it super hard to justify. None of that stuff is remotely reasonable to price unless I’m willing to wait for it to (maybe) ship by slow boat from China, and I might get it before New Year. (Chinese new year, that is.)

Meantime… Wood seems plenty acceptable. I was thinking about using the 1/4" Melamine coated MDF and maybe painting it that Makita blue to go with the Jolly Rancher Blue printed parts…

1 Like

Ebay is another good source for extrusion.

1 Like

I was thinking about making one out of expanded PVC. I think I can get it pretty cheap, “locally” I know I can but it is a bit of a drive and they only have white…I get things dirty.

Wanted to mill something new. I have done very little plastic.

1 Like

I don’t think expanded pvc is very stiff.

1 Like