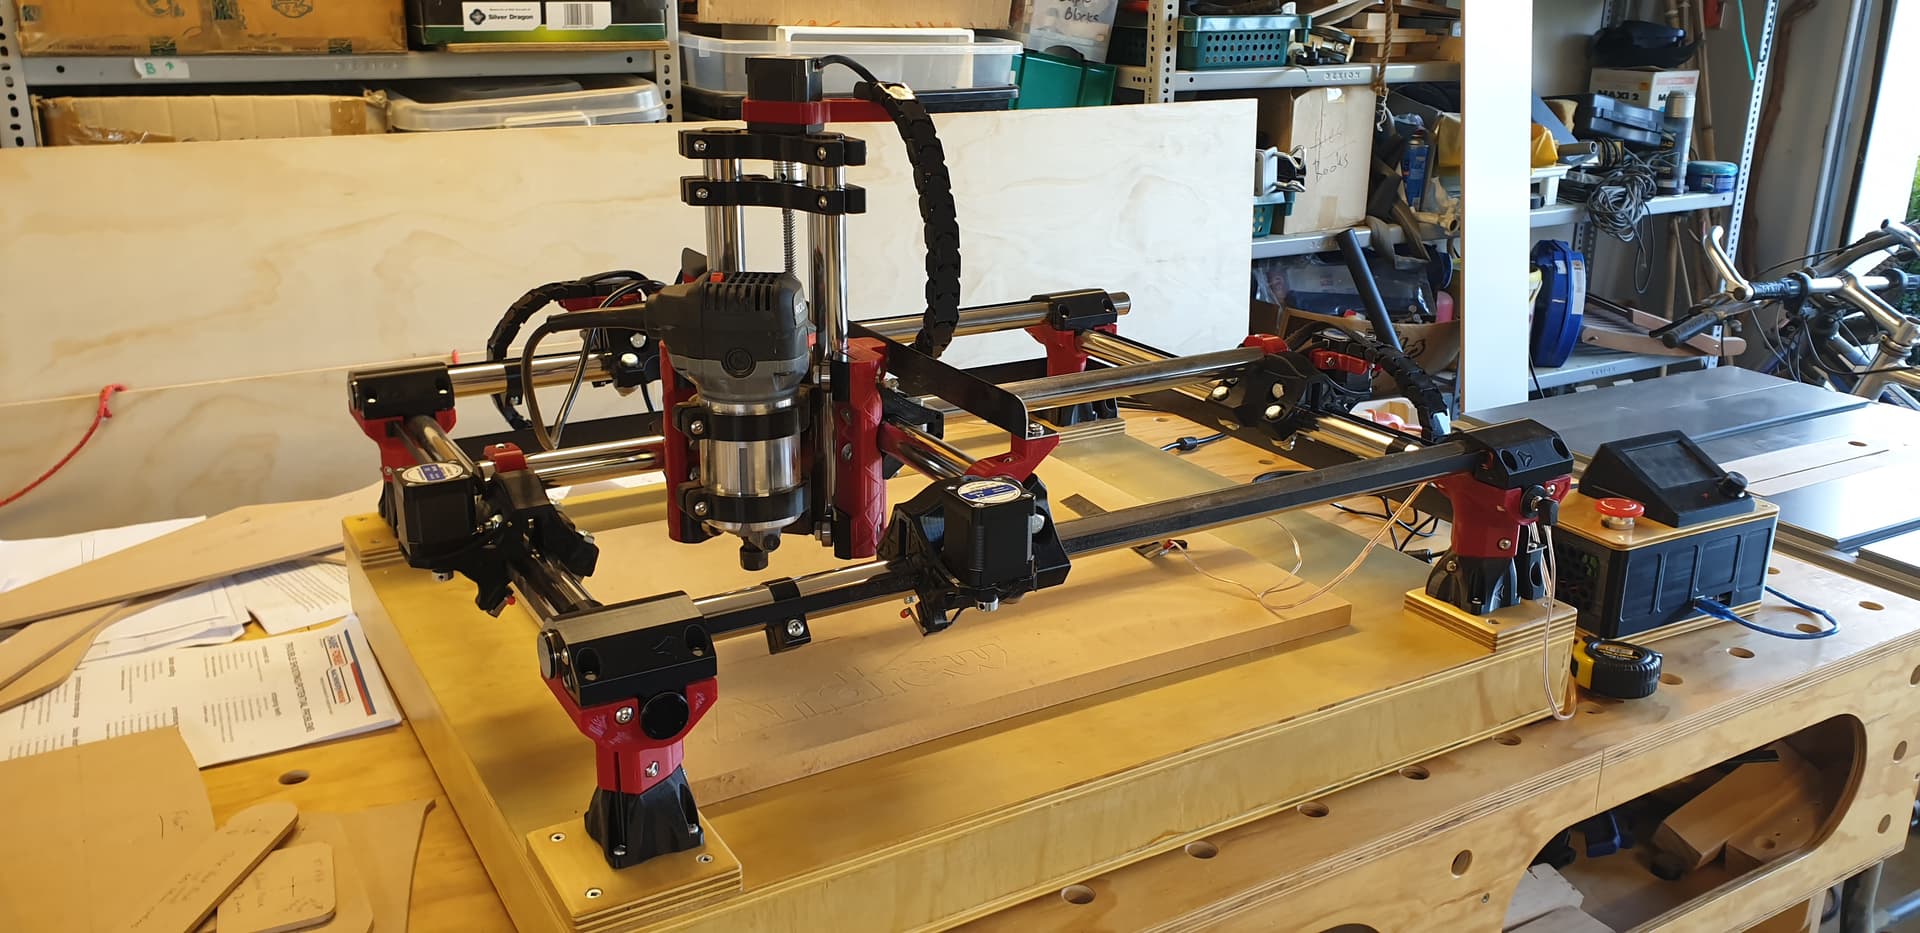
Given the excellent instructions provided here, I found the hardest and most time-consuming part of the build was what’s it not documented - the wiring. Hence I’d thought I’d share what I came up with to give ideas to other new builds.
Some learning points:
I went with a 6 strand ribbon cable for each stepper/endstop thinking this would keep things tidy. It did, but I found the bundled ribbon cables are not very flexible. If I did it again I’d just go with single strand wires.
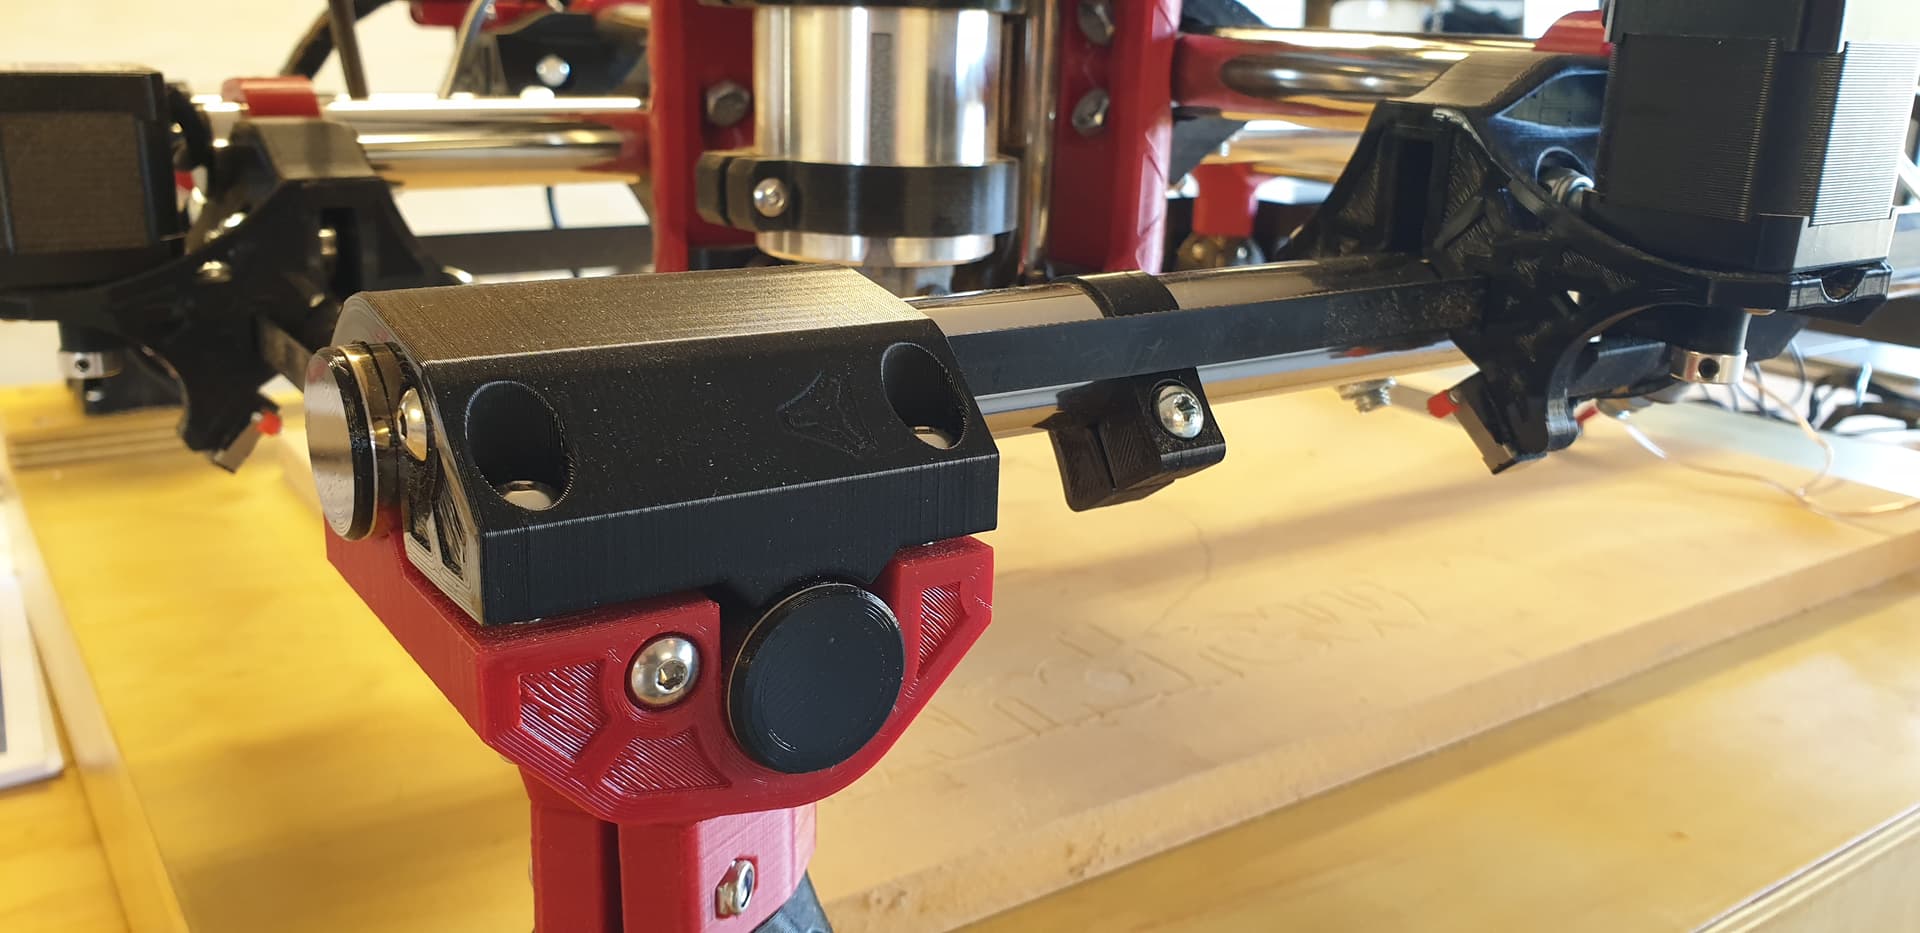
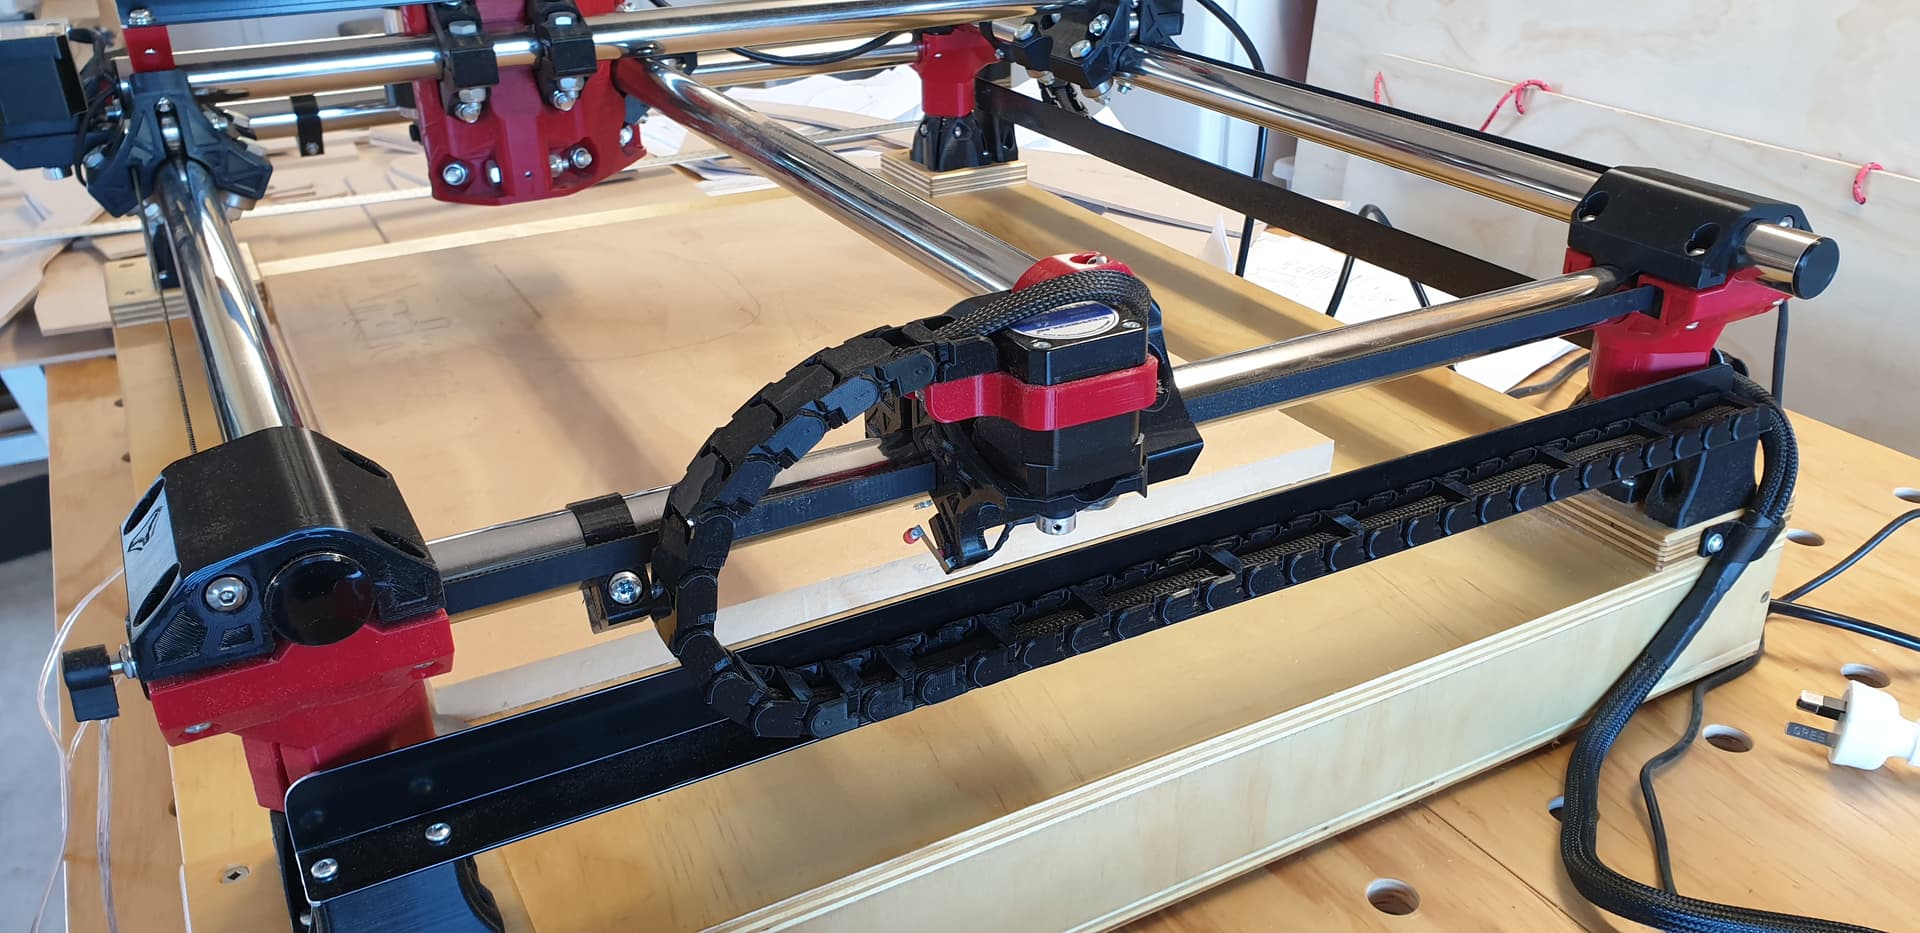
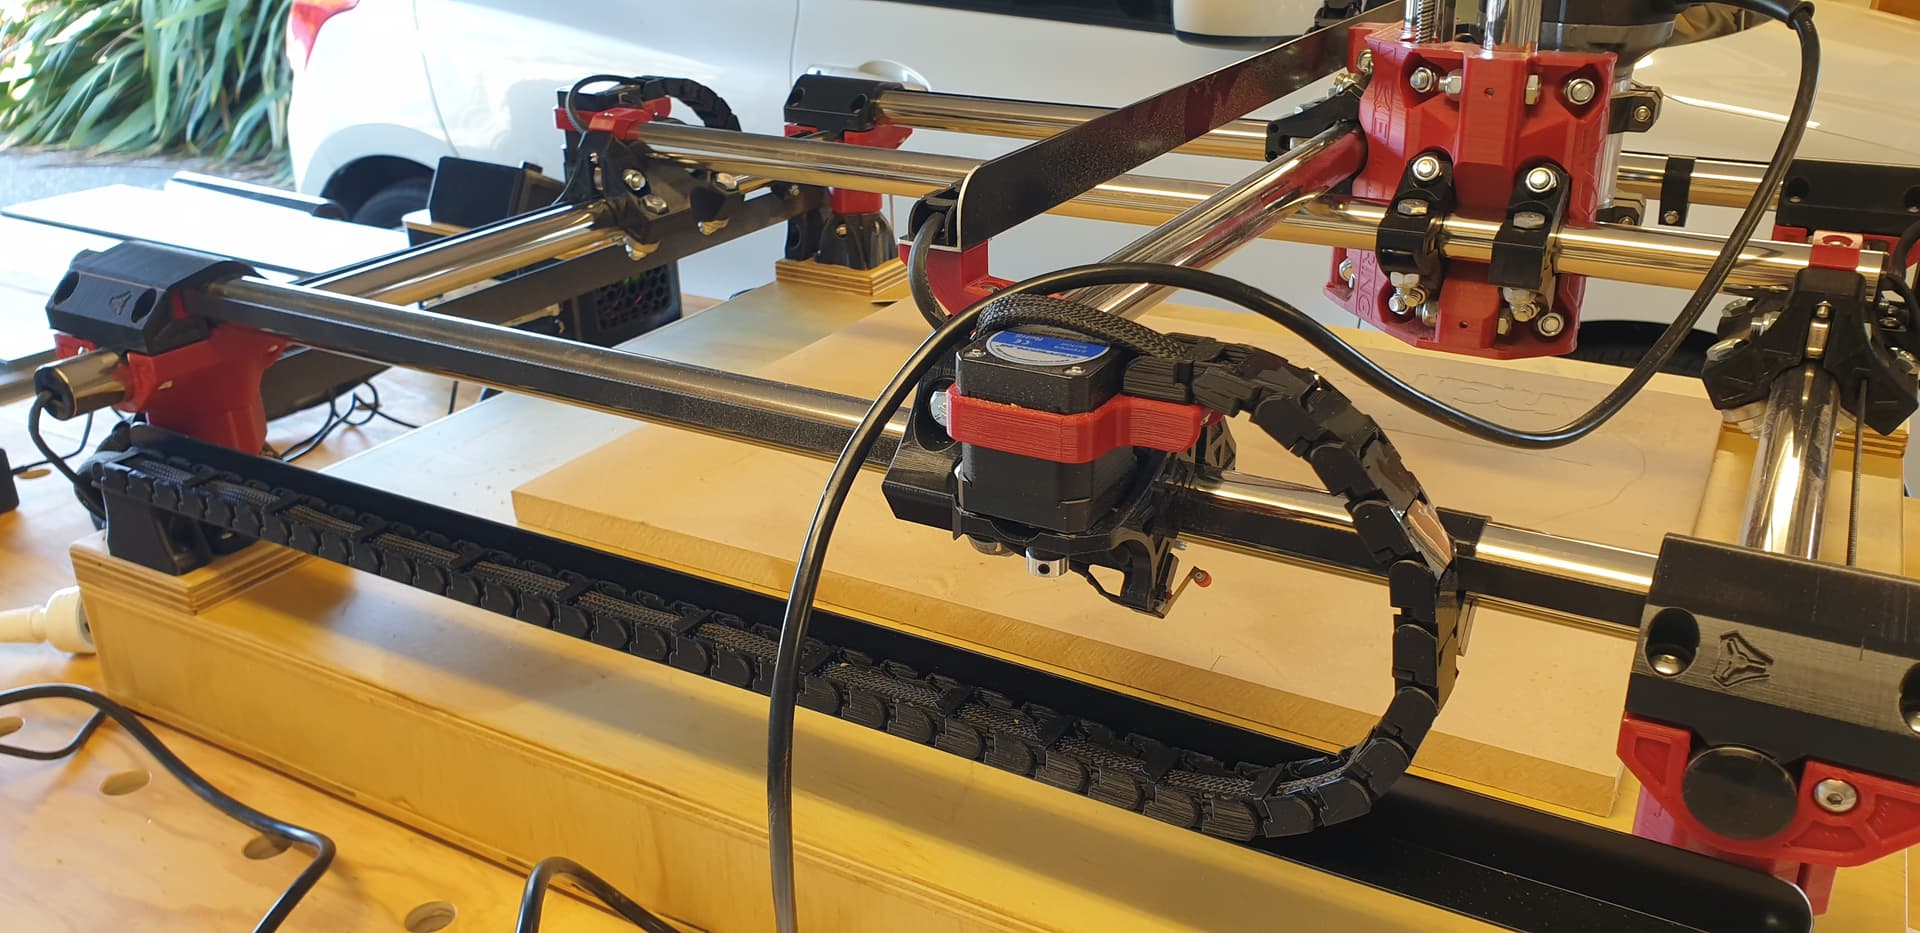
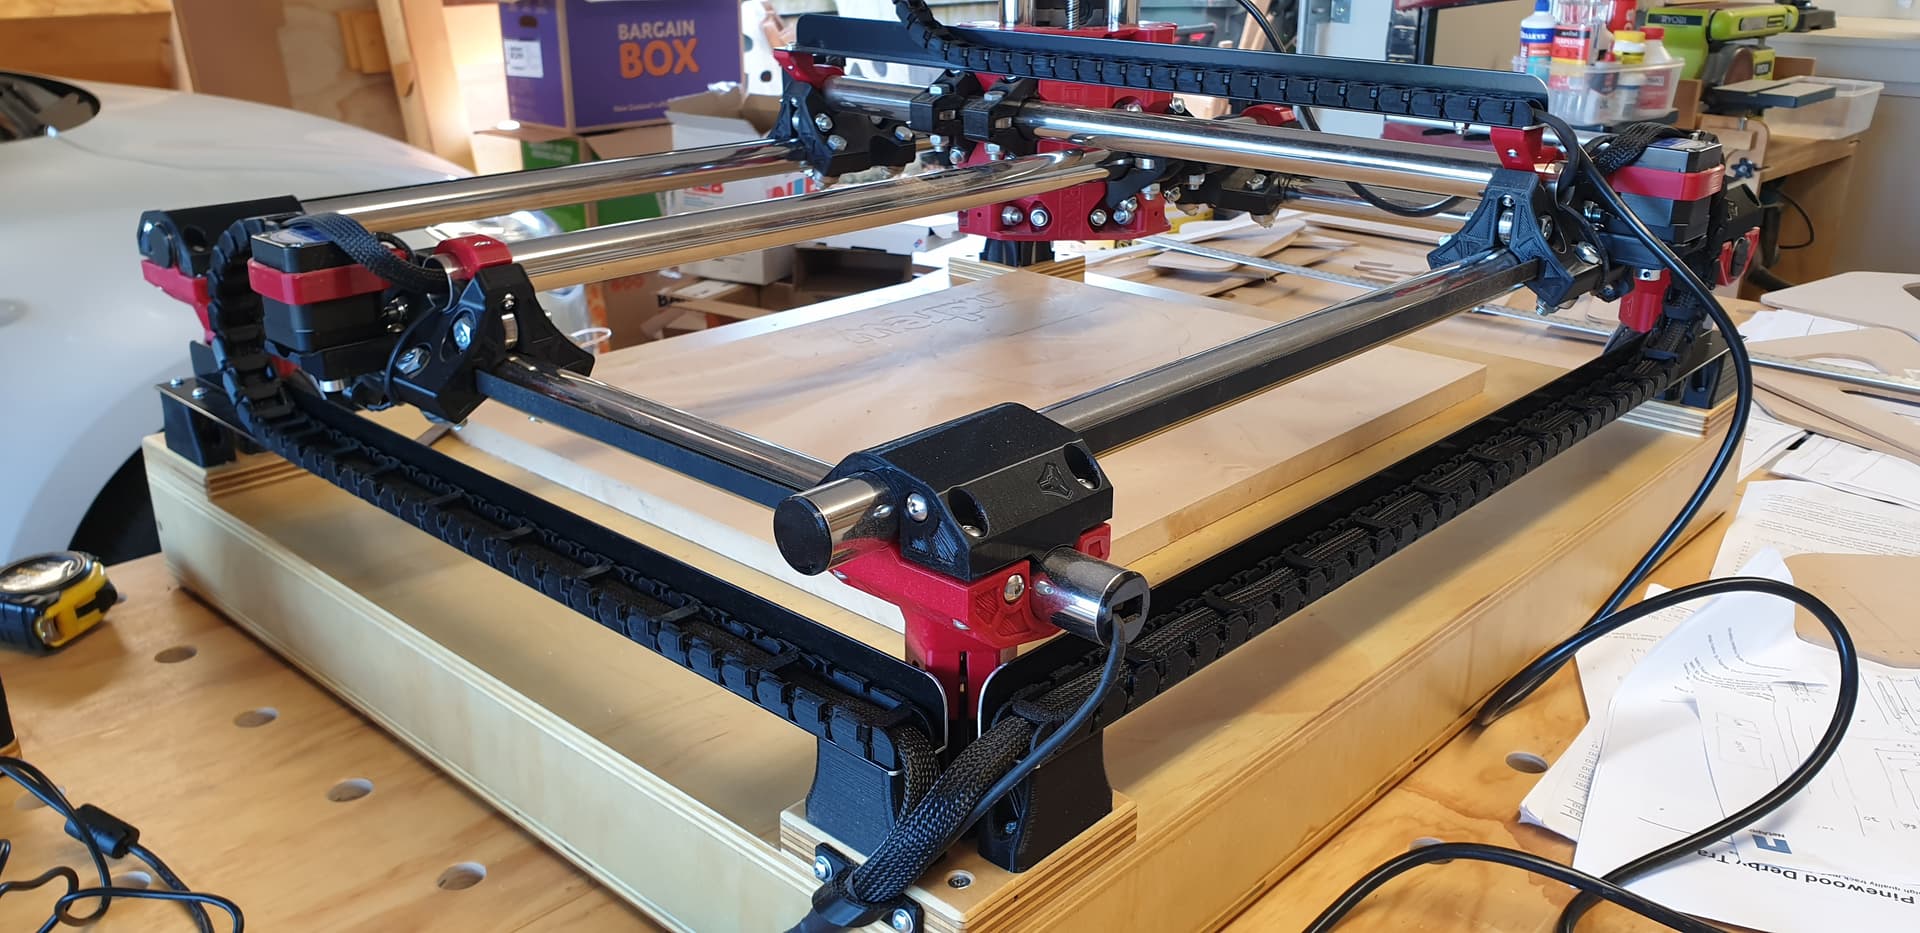
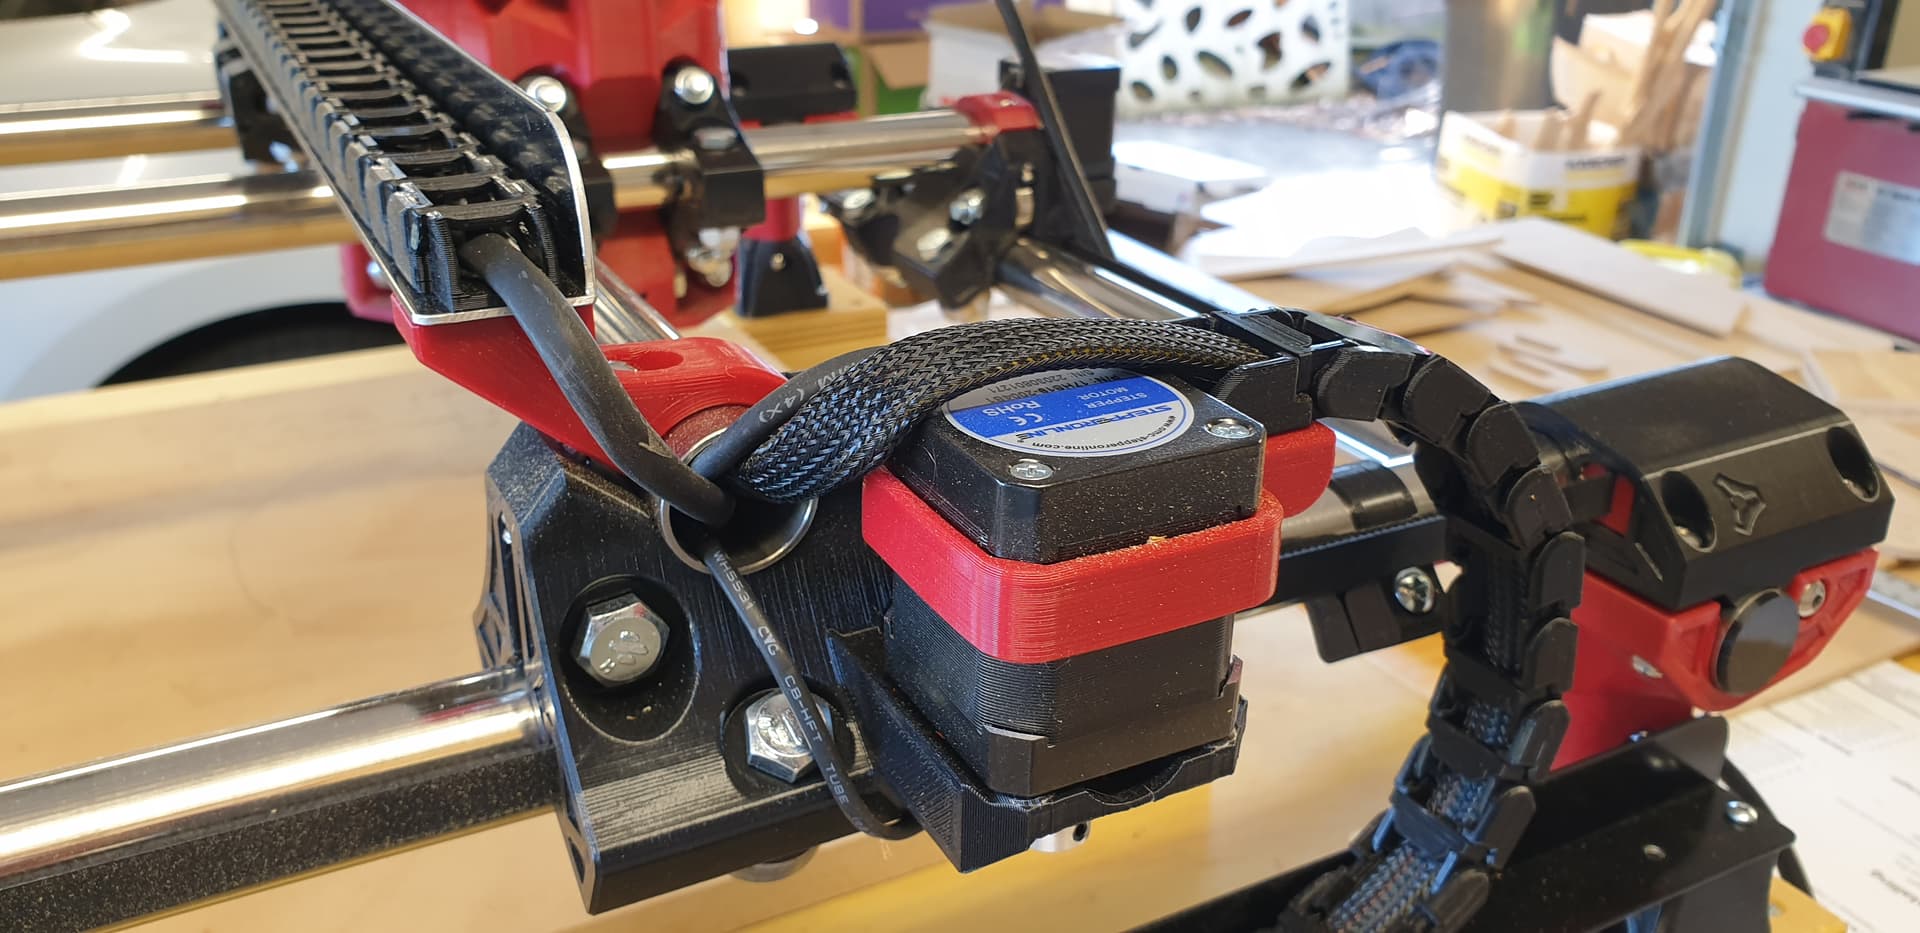
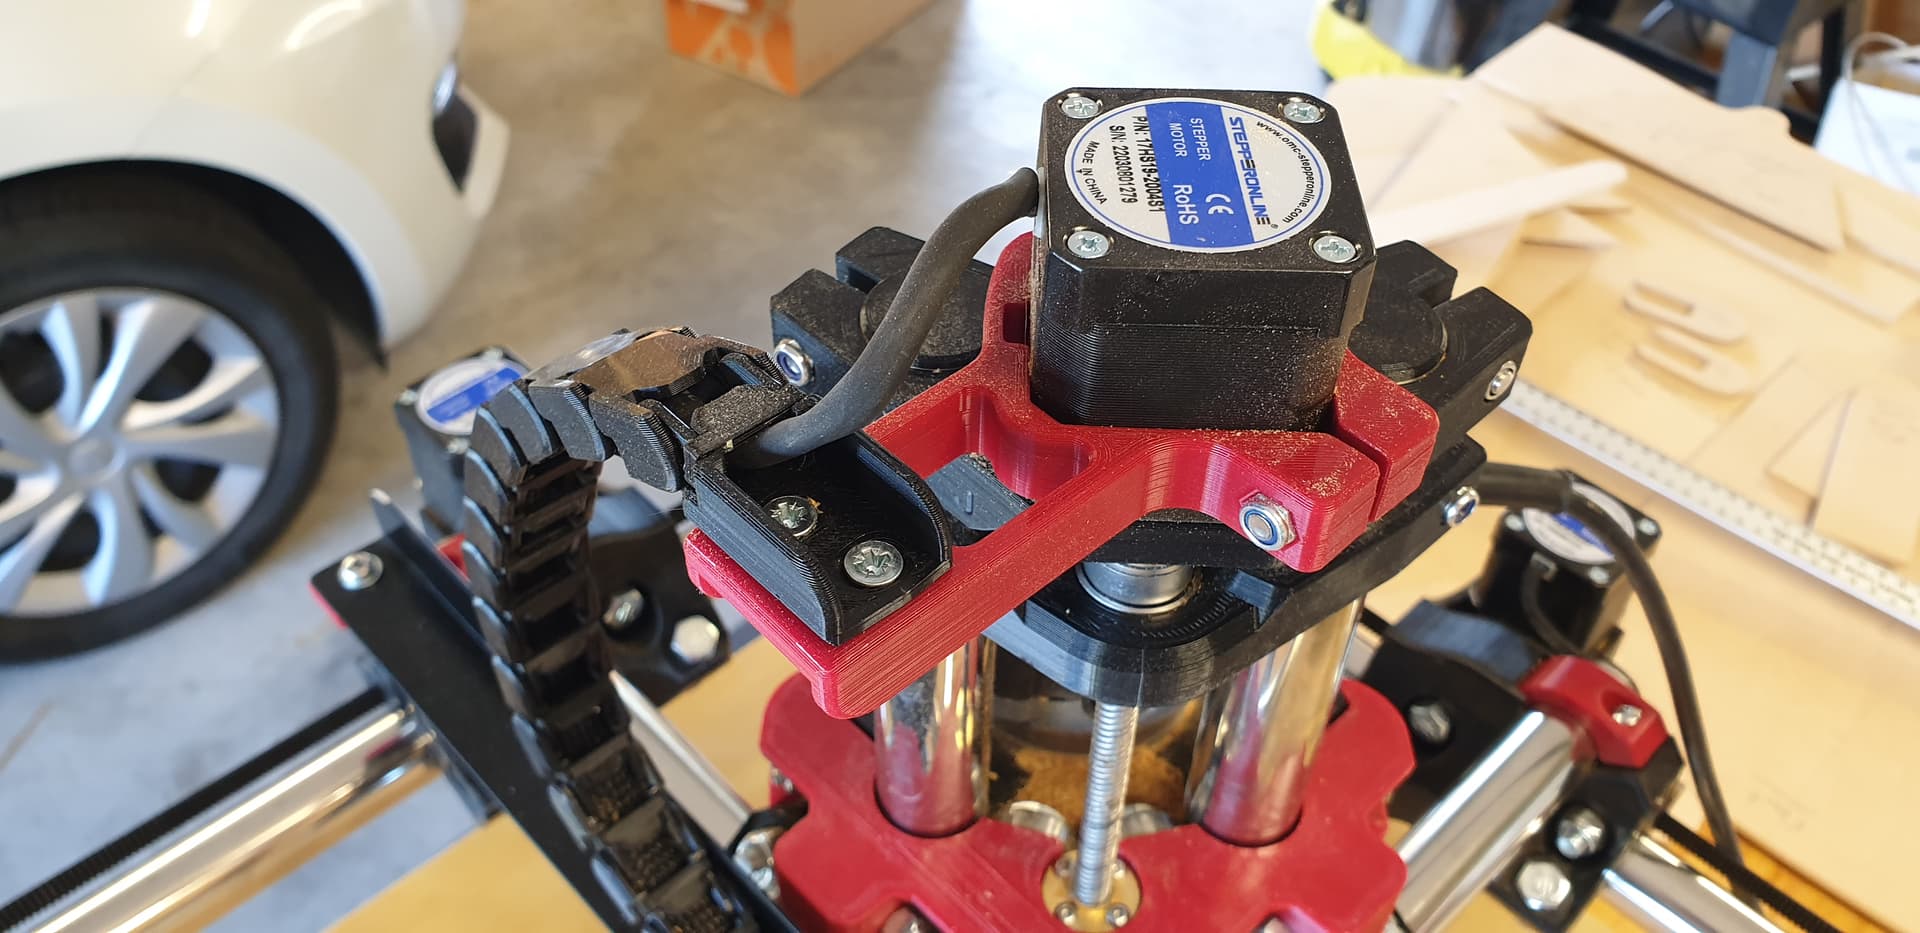
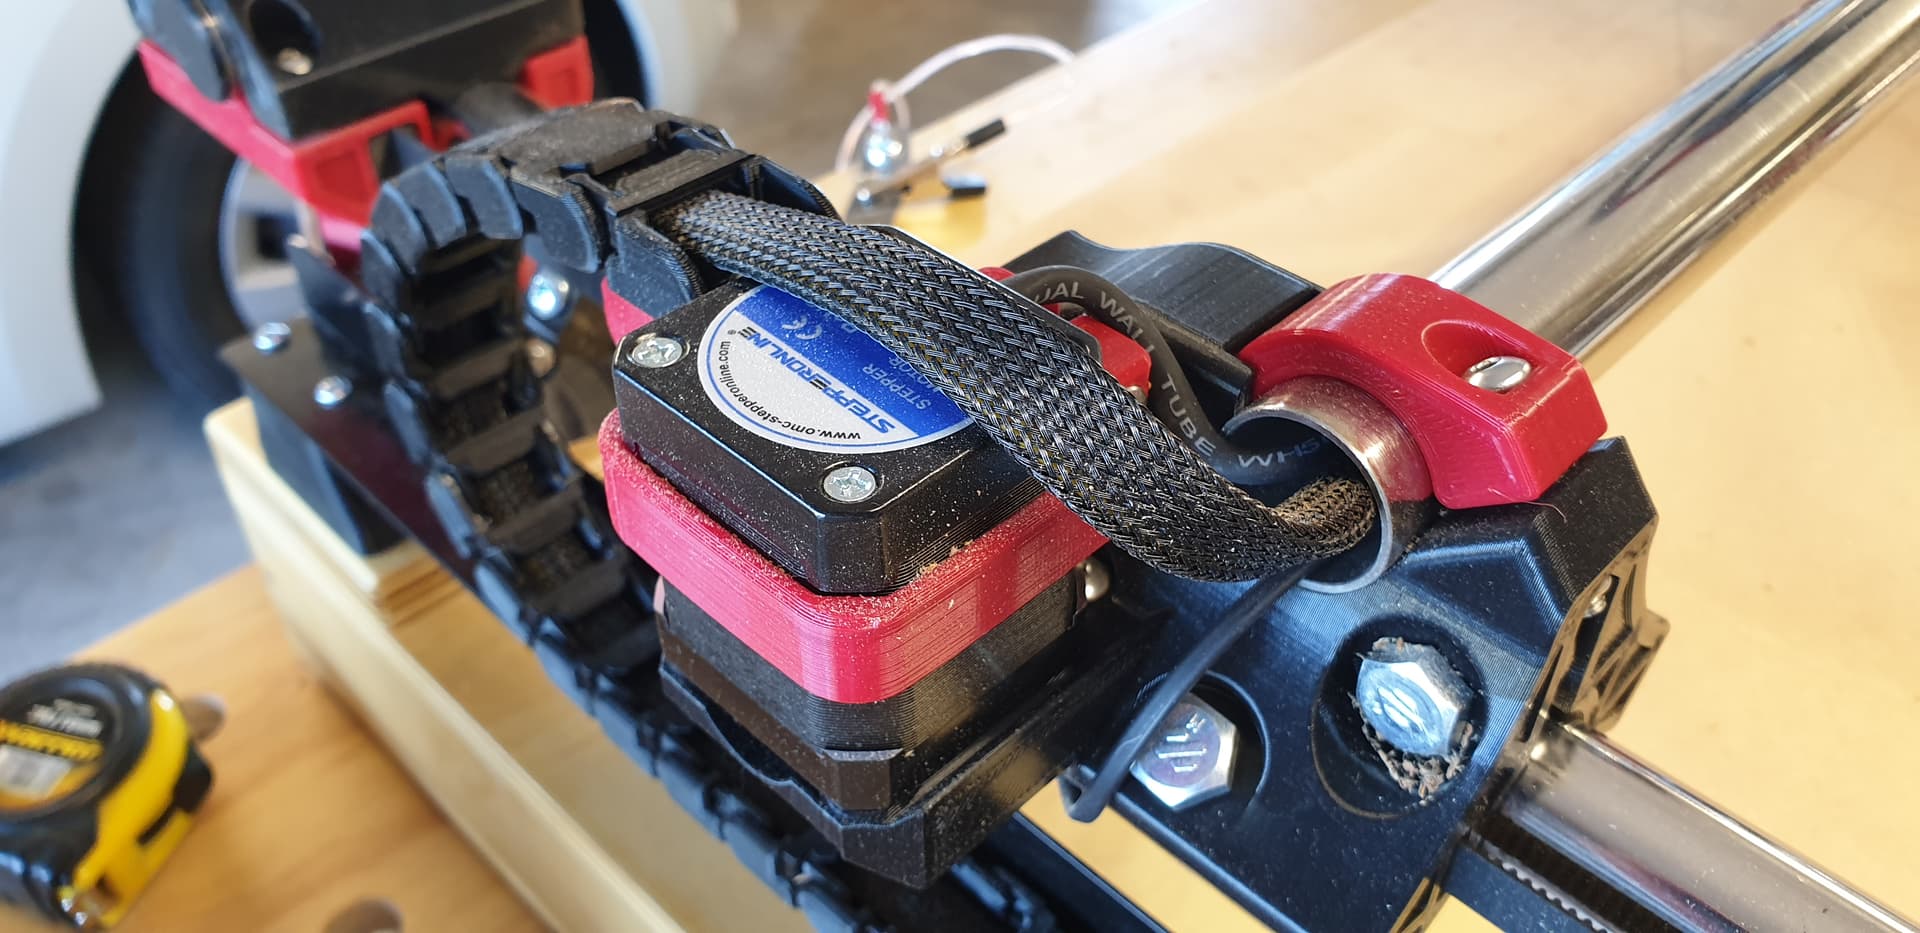
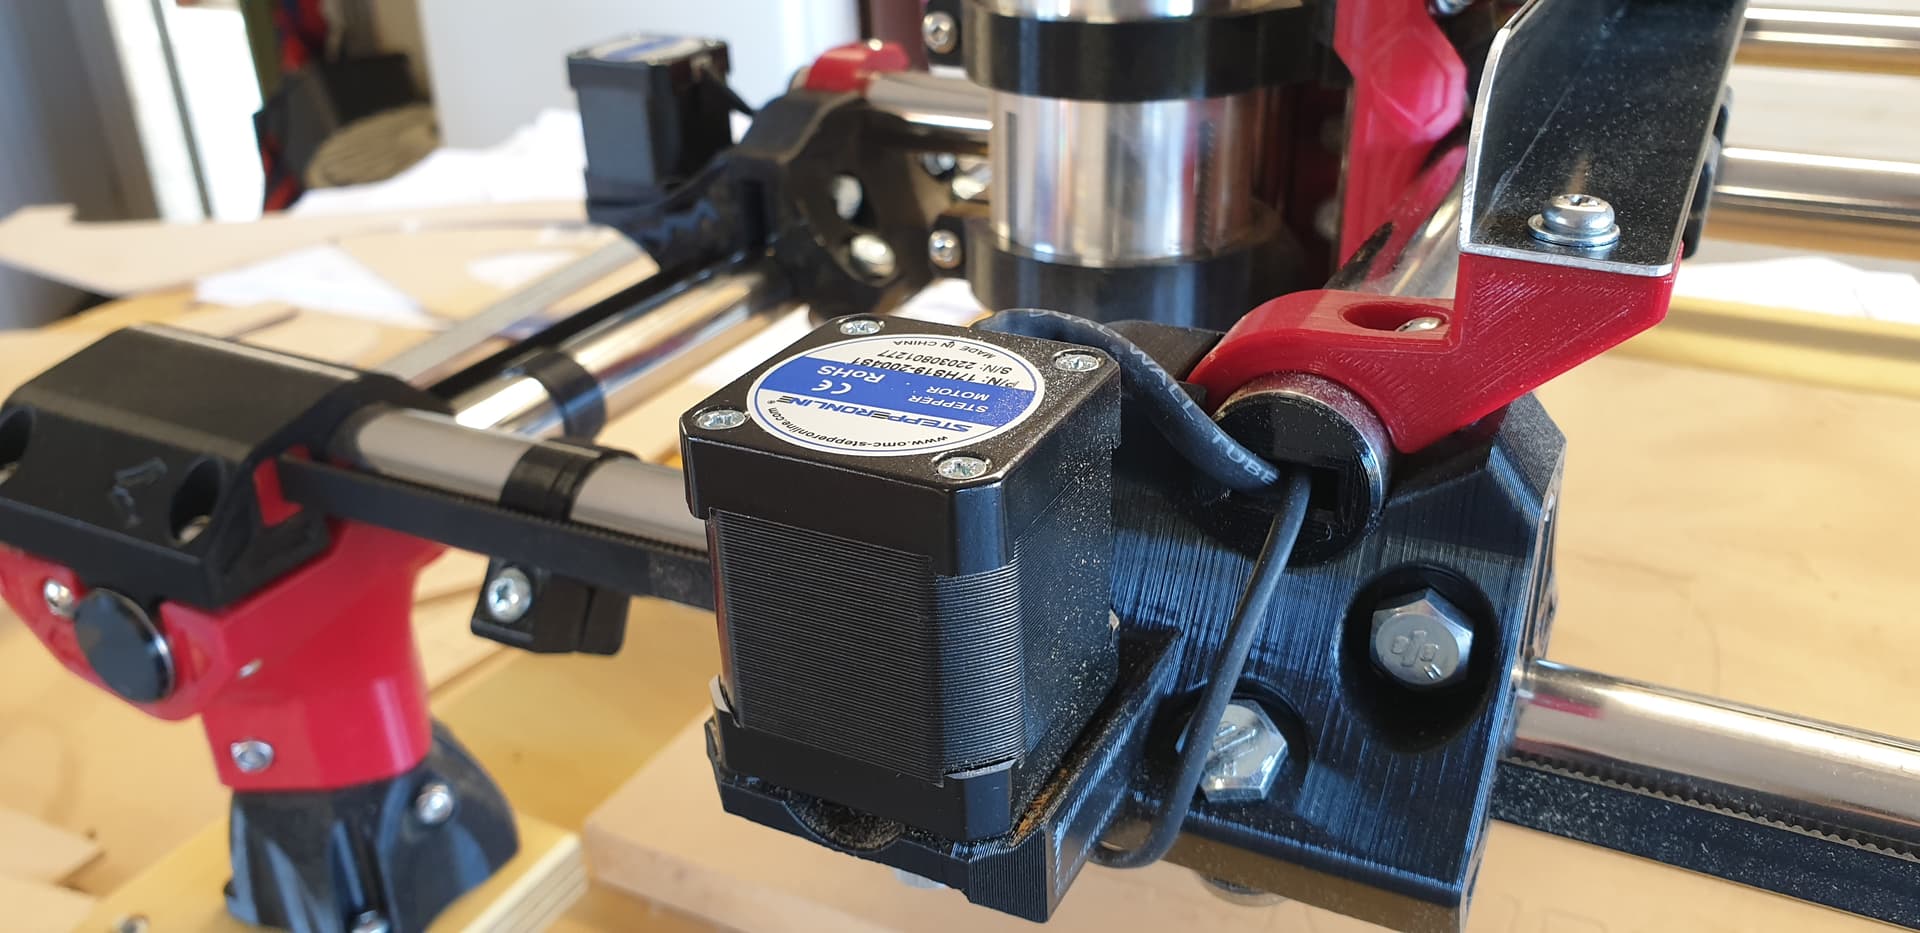
I tried the tape measure trick at first, but found them to be too floppy, and ended up printing drag chains instead.
I elevated the drag chains so I can do tiled cuts on stock larger than the cut area in any direction.
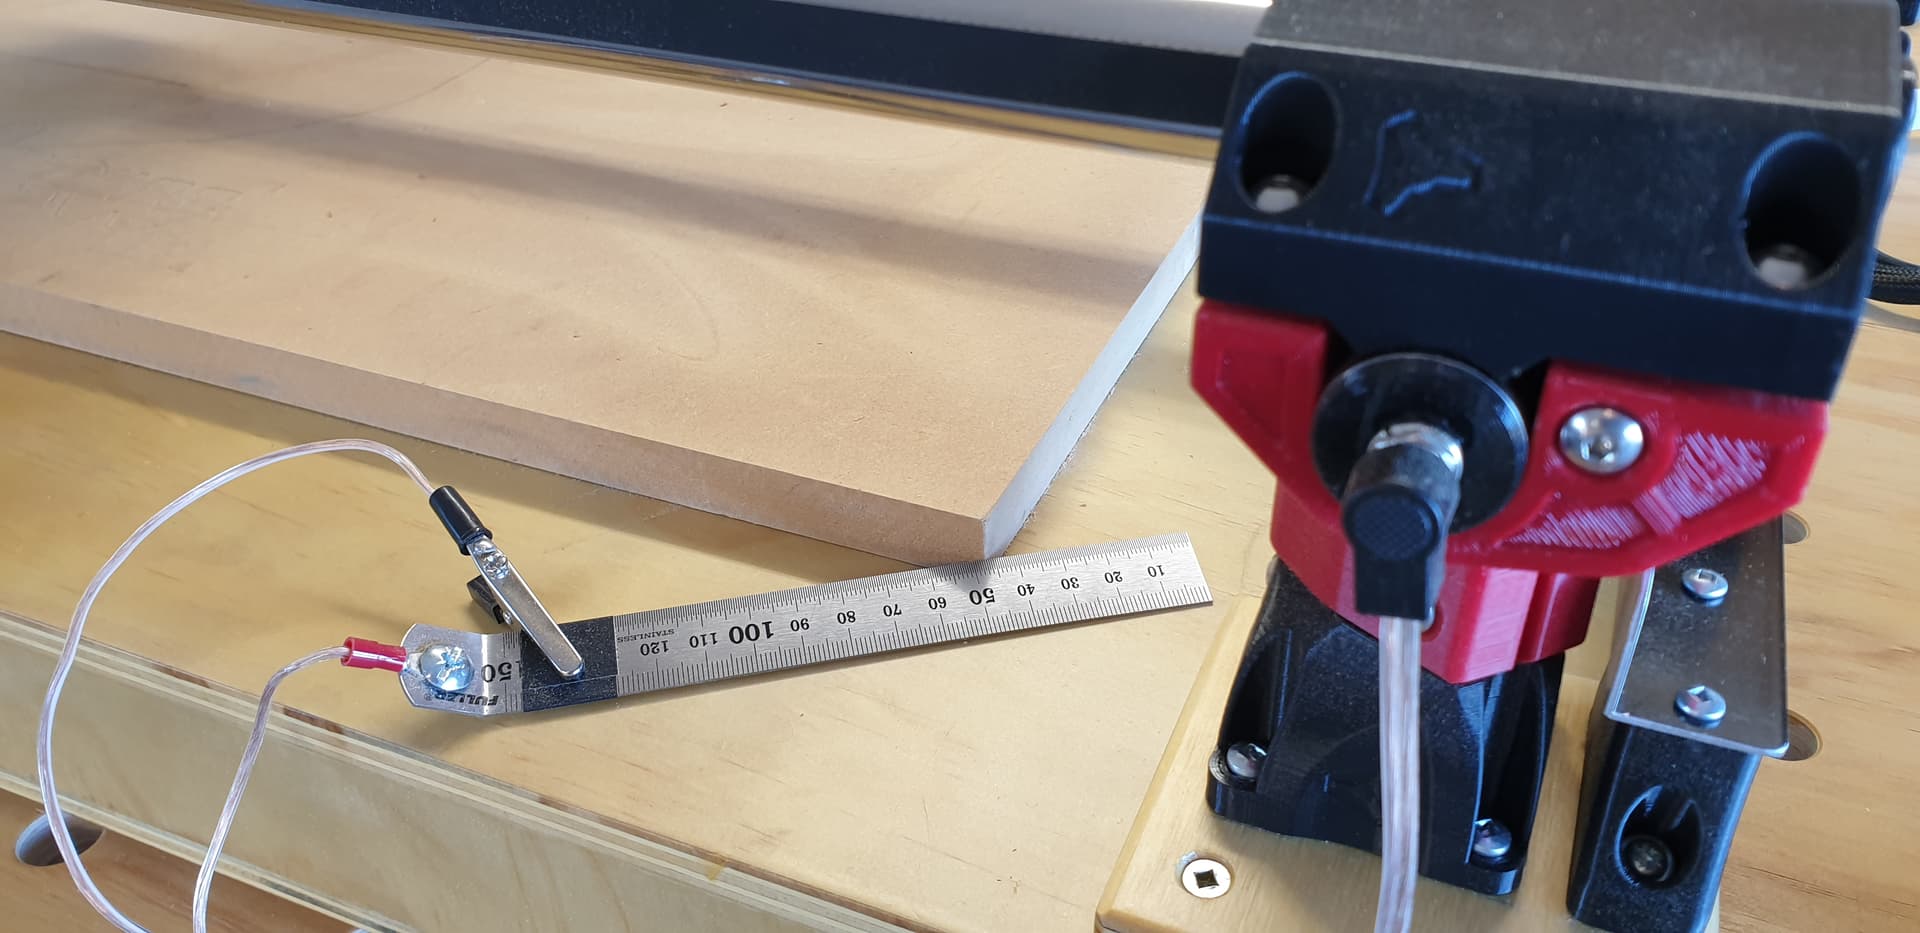
Made a simple z probe using a 150mm steel rule and alligator clip.
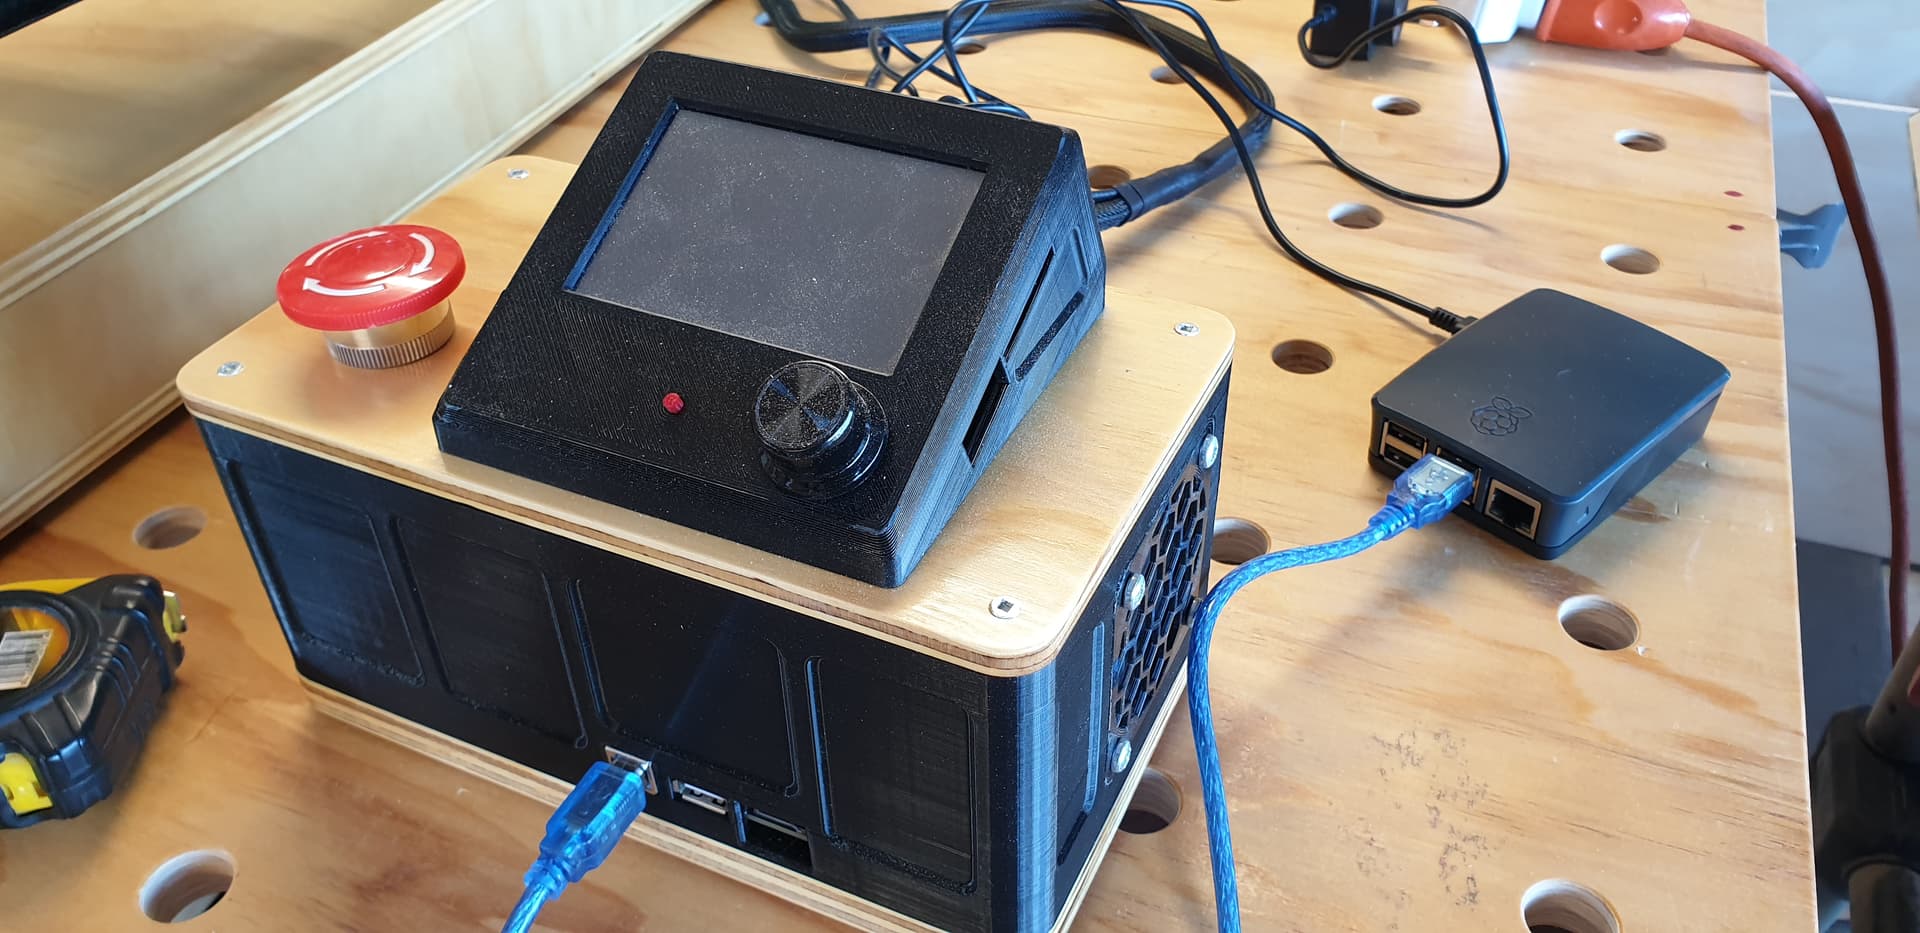
Here’s lots of picture to give ideas how I routed all the cables. Thanks to the numerous others who have posted their builds here to help me work this out.
Thanks for the advice. Is this automatically bad? I read posts saying this is discouraged but it seemed to me it would depend how flexible the chain is and how much torque it exerts on the top of the Z. I can’t detect any deflection of the Z assembly in the Y direction due to the chain. Or is there another reason not to do this?
Nah, it’s just about it acting as a lever and skewing the cuts. Your cuts look great though, so you might also leave it like it is. You can always change later if it does indeed become a problem, but it might never happen.
I had a spool of 6-conductor shielded cable in my “use it someday” pile. It made it very easy to run the motor and end stop connections, but I ended up with noise on my end stop lines. I presume this is because they were inside the same shielding as the motor wires. I was able to overcome it by adding some noise-filtering capacitors on the end stop connections, but if I had to do it over again, I’d run 4-wire for the motors, and separate 2-wire for the stops.