My A5M was unavailable due to their server melt down over the holidays (what a mess), I really should upgrade to the Klipper port.
It’s back up now, so when I see your link I’ll give it a try.
My A5M was unavailable due to their server melt down over the holidays (what a mess), I really should upgrade to the Klipper port.
It’s back up now, so when I see your link I’ll give it a try.
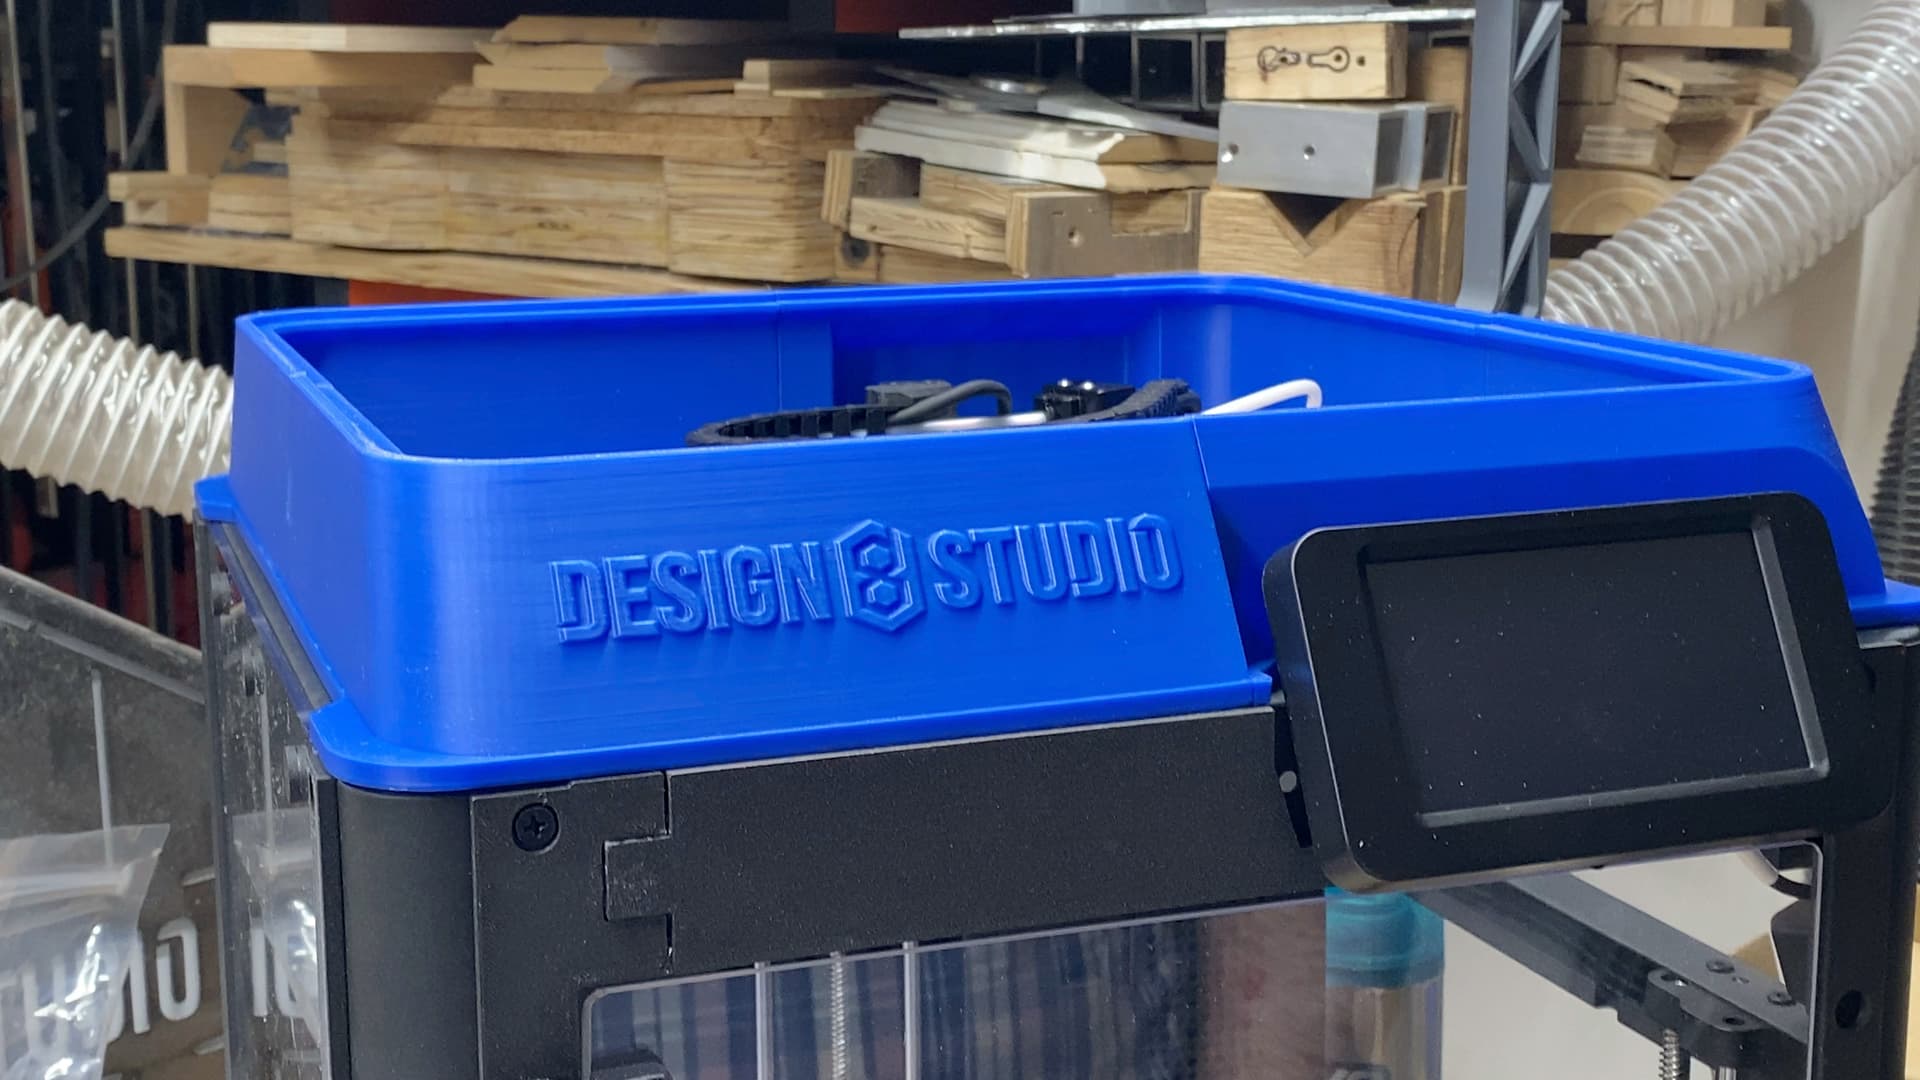
First part is on the printer.
The FF-Orca didn’t like the pre-sliced full set of plates from the newer OrcaSlicer you used, so I’m re-creating the plate layouts.
You can’t use your 3D printer without internet access to their server???
If the “Klipper Mod” is installed, then it works without any connection to the internet or their server. I have all three of mine “jailbroke” — LOL
Doug- how are the top parts of the enclosure attached to the printer?
I don’t see mounting holes or other provisions at first glance…
Sure, you can jail break it and put a 3rd party Klipper port.
You can also save to USB and print from USB.
You can also tether it over USB to the PC.
I’ll mod mine shortly; mostly I’ve been lazy.
I tried to connect “real” OrcaSlicer to the stock printer firmware and had no luck with it.
Again, laziness on my part as I have other machines and haven’t had a pressing need to do anything with it.
The lives in a firewall zone just for IOT things that need internet access, and the PC I’m using for it was normally only used for the odd windows gaming session or for situations like this where I want to test something.
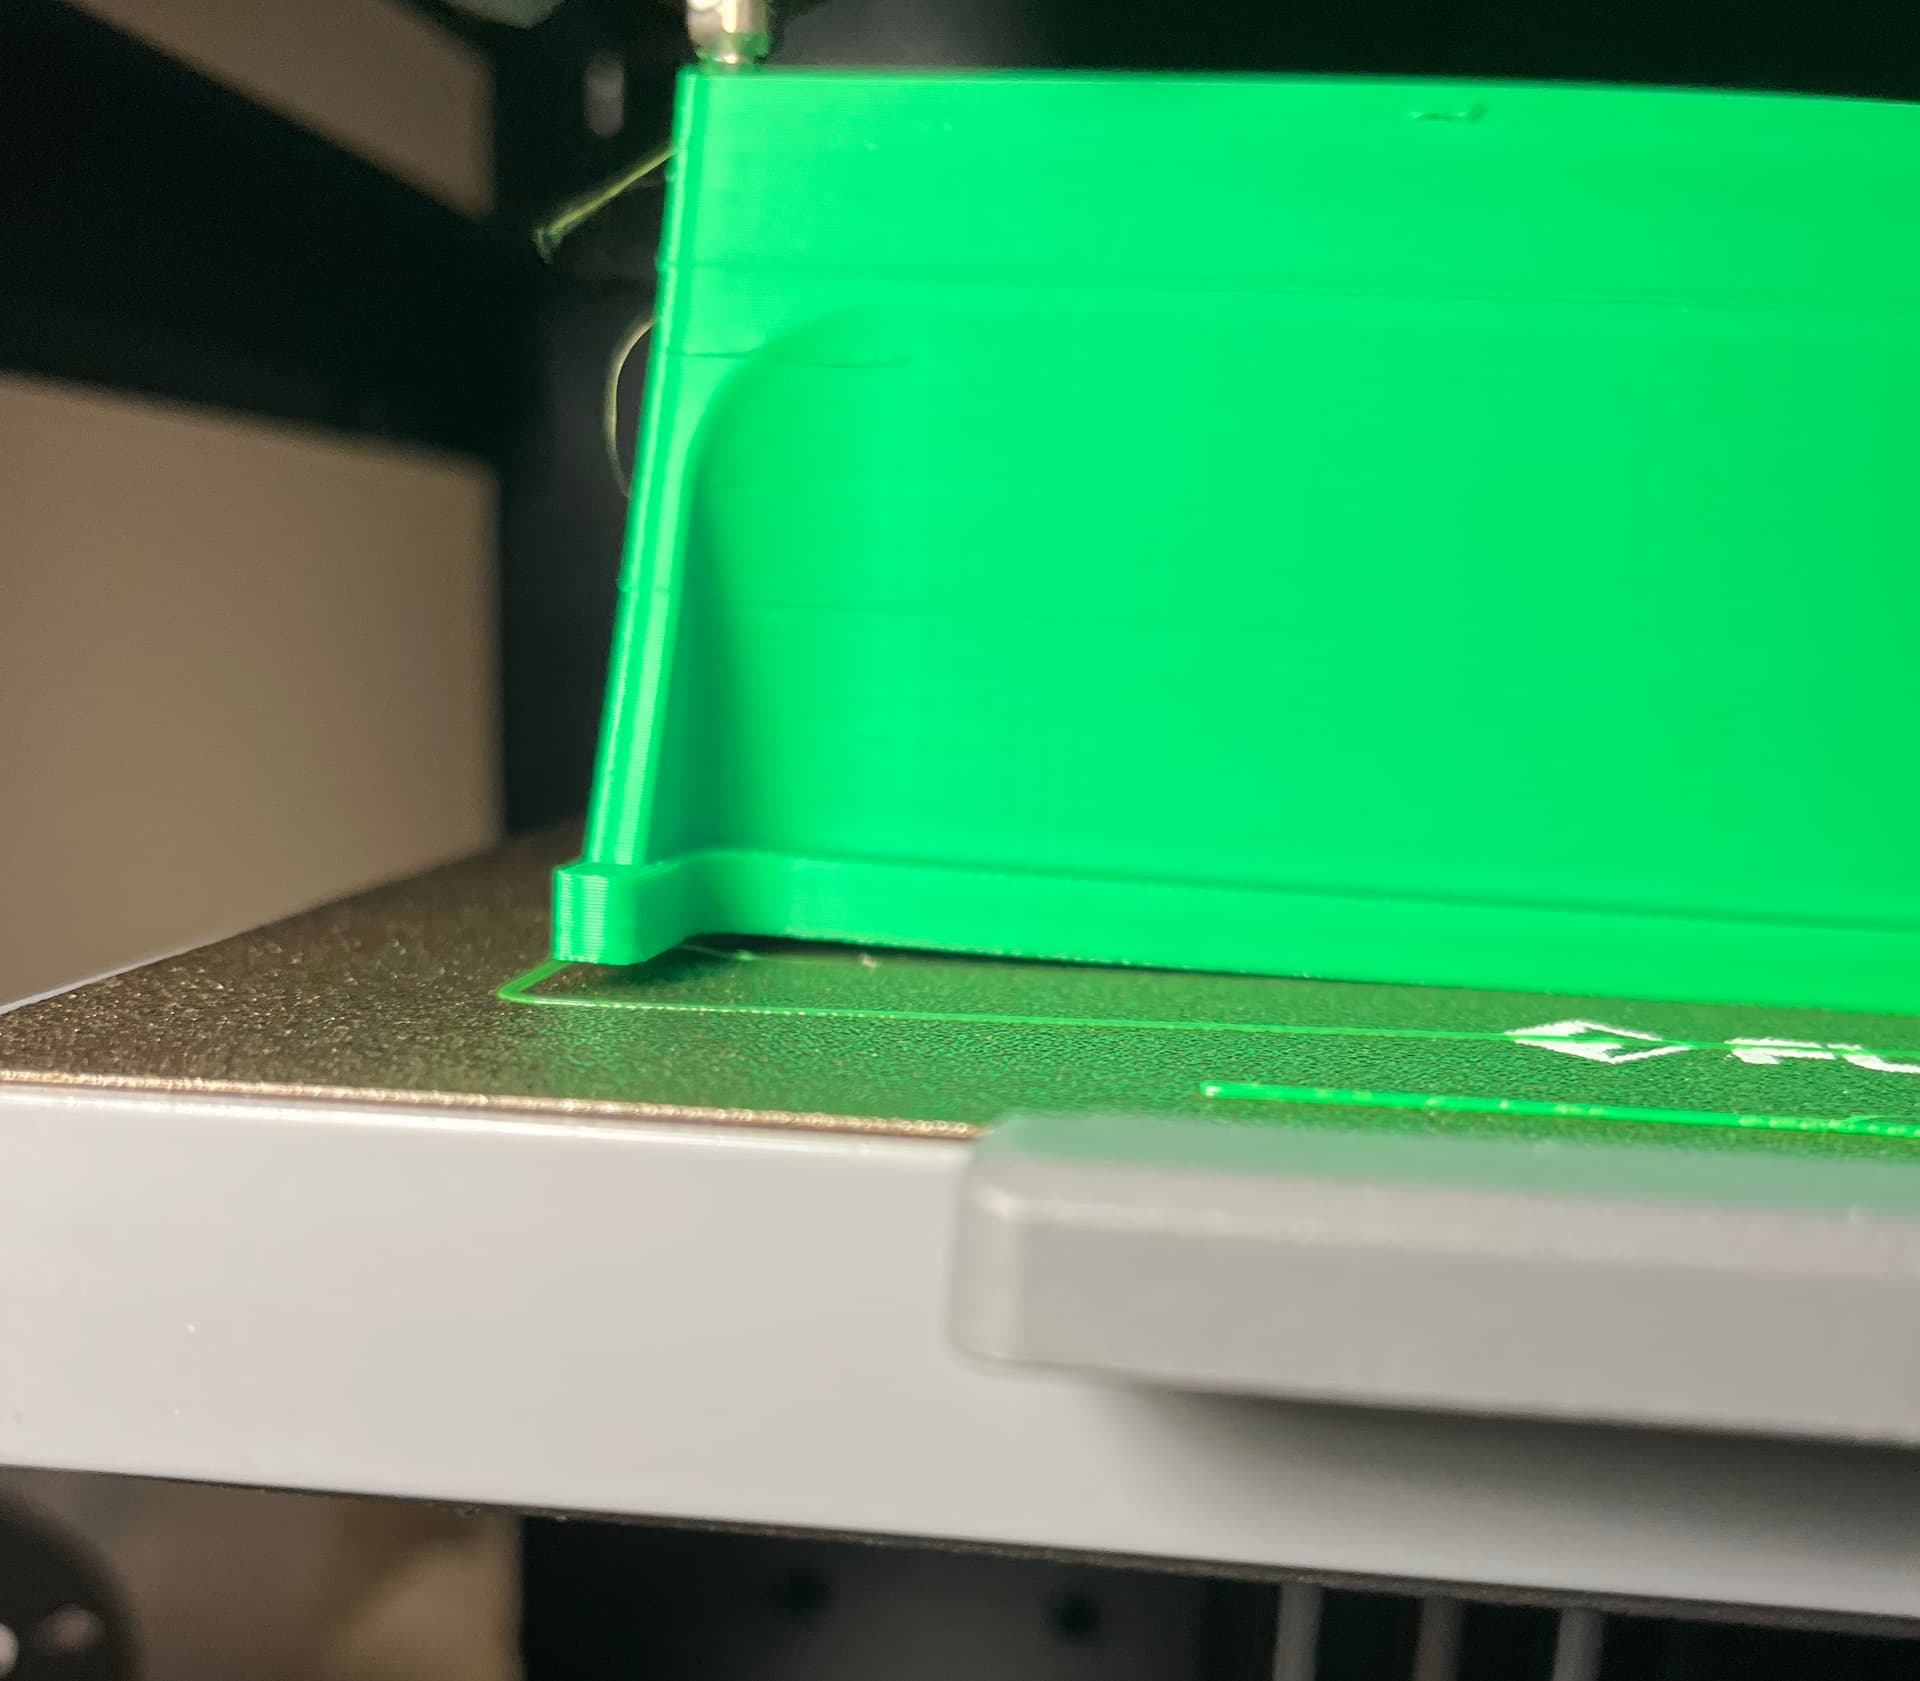
PETG looks like it will need some adhesion help.
I gave the build plate a good IPA wipedown. We’ll see how the 2nd part goes.
If you either watch the Flashforge video on how to assemble the DIY enclosure, or get from their Wiki the details on it, you will get a good handle on mine. Most everything will be same or similar.
The top part has little round pockets on the bottom that are for CA-gluing in small disk magnets. The top just lays on the frame, with the magnets adding a little grip. The larger pockets on the underside are not for magnets, but rather are to give clearance for screw heads.
Just select flashconnect in the menu of the wifi
Here’s the Flashforge video on installation of the DIY enclosure:
")
And here’s the link to the Flashforge Wiki with the details on the DIY enclosure:
And from the wiki, here are links to the installation guide in a variety of languages:
Hmmm. Stock firmware on mine, didn’t notice any problems… printed some marble runs for Christmas.
@MakerJim follow the steps for the klipper mod. You wont loose your original settings and its better he done sooner than later. Wifi settings are kinda funky but the mod page have a wifi section (i used the usb file method and worked nicely ![]()
Got it, thanks.
I should’ve watched that video sooner. Thanks.
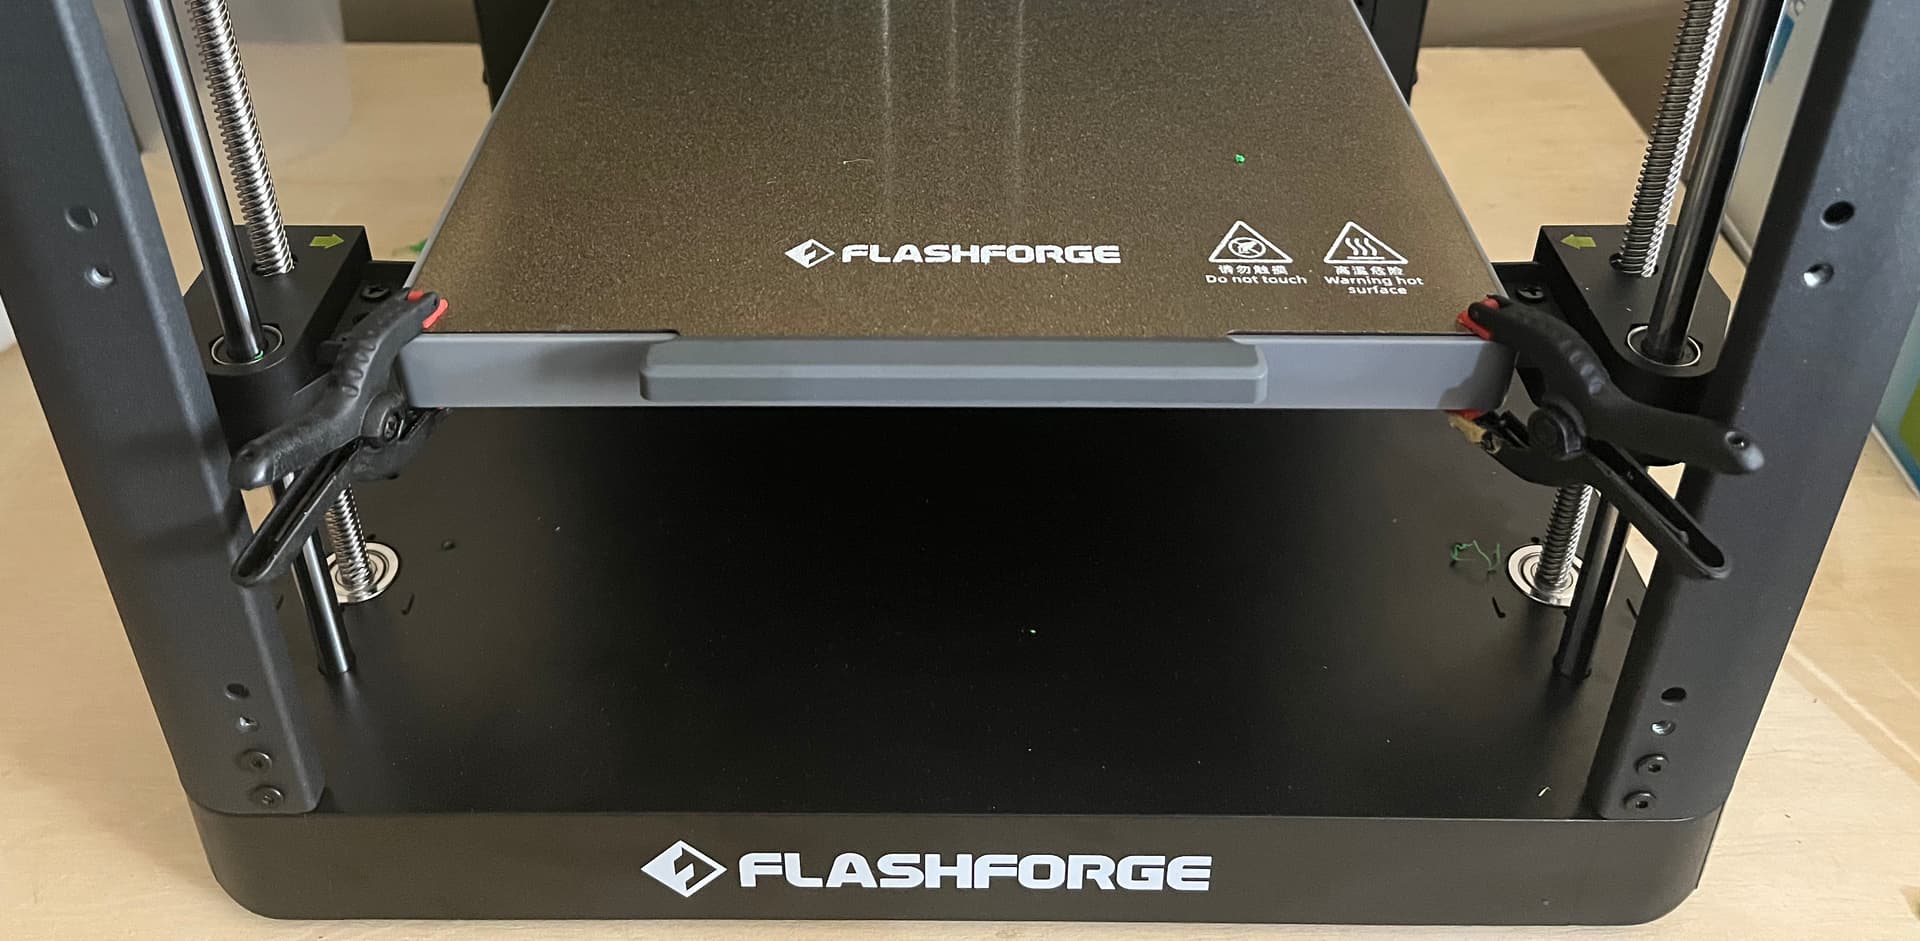
Wiping down the build plate with IPA and raising the temp of the room the printer is in seems to have helped (80F), however now the bed is pulling off the magnet surface for print 2.
I’ll get some small plastic spring clamps for the 3rd print.
I don’t recall ever having this much proble with PETG warping. Weird.
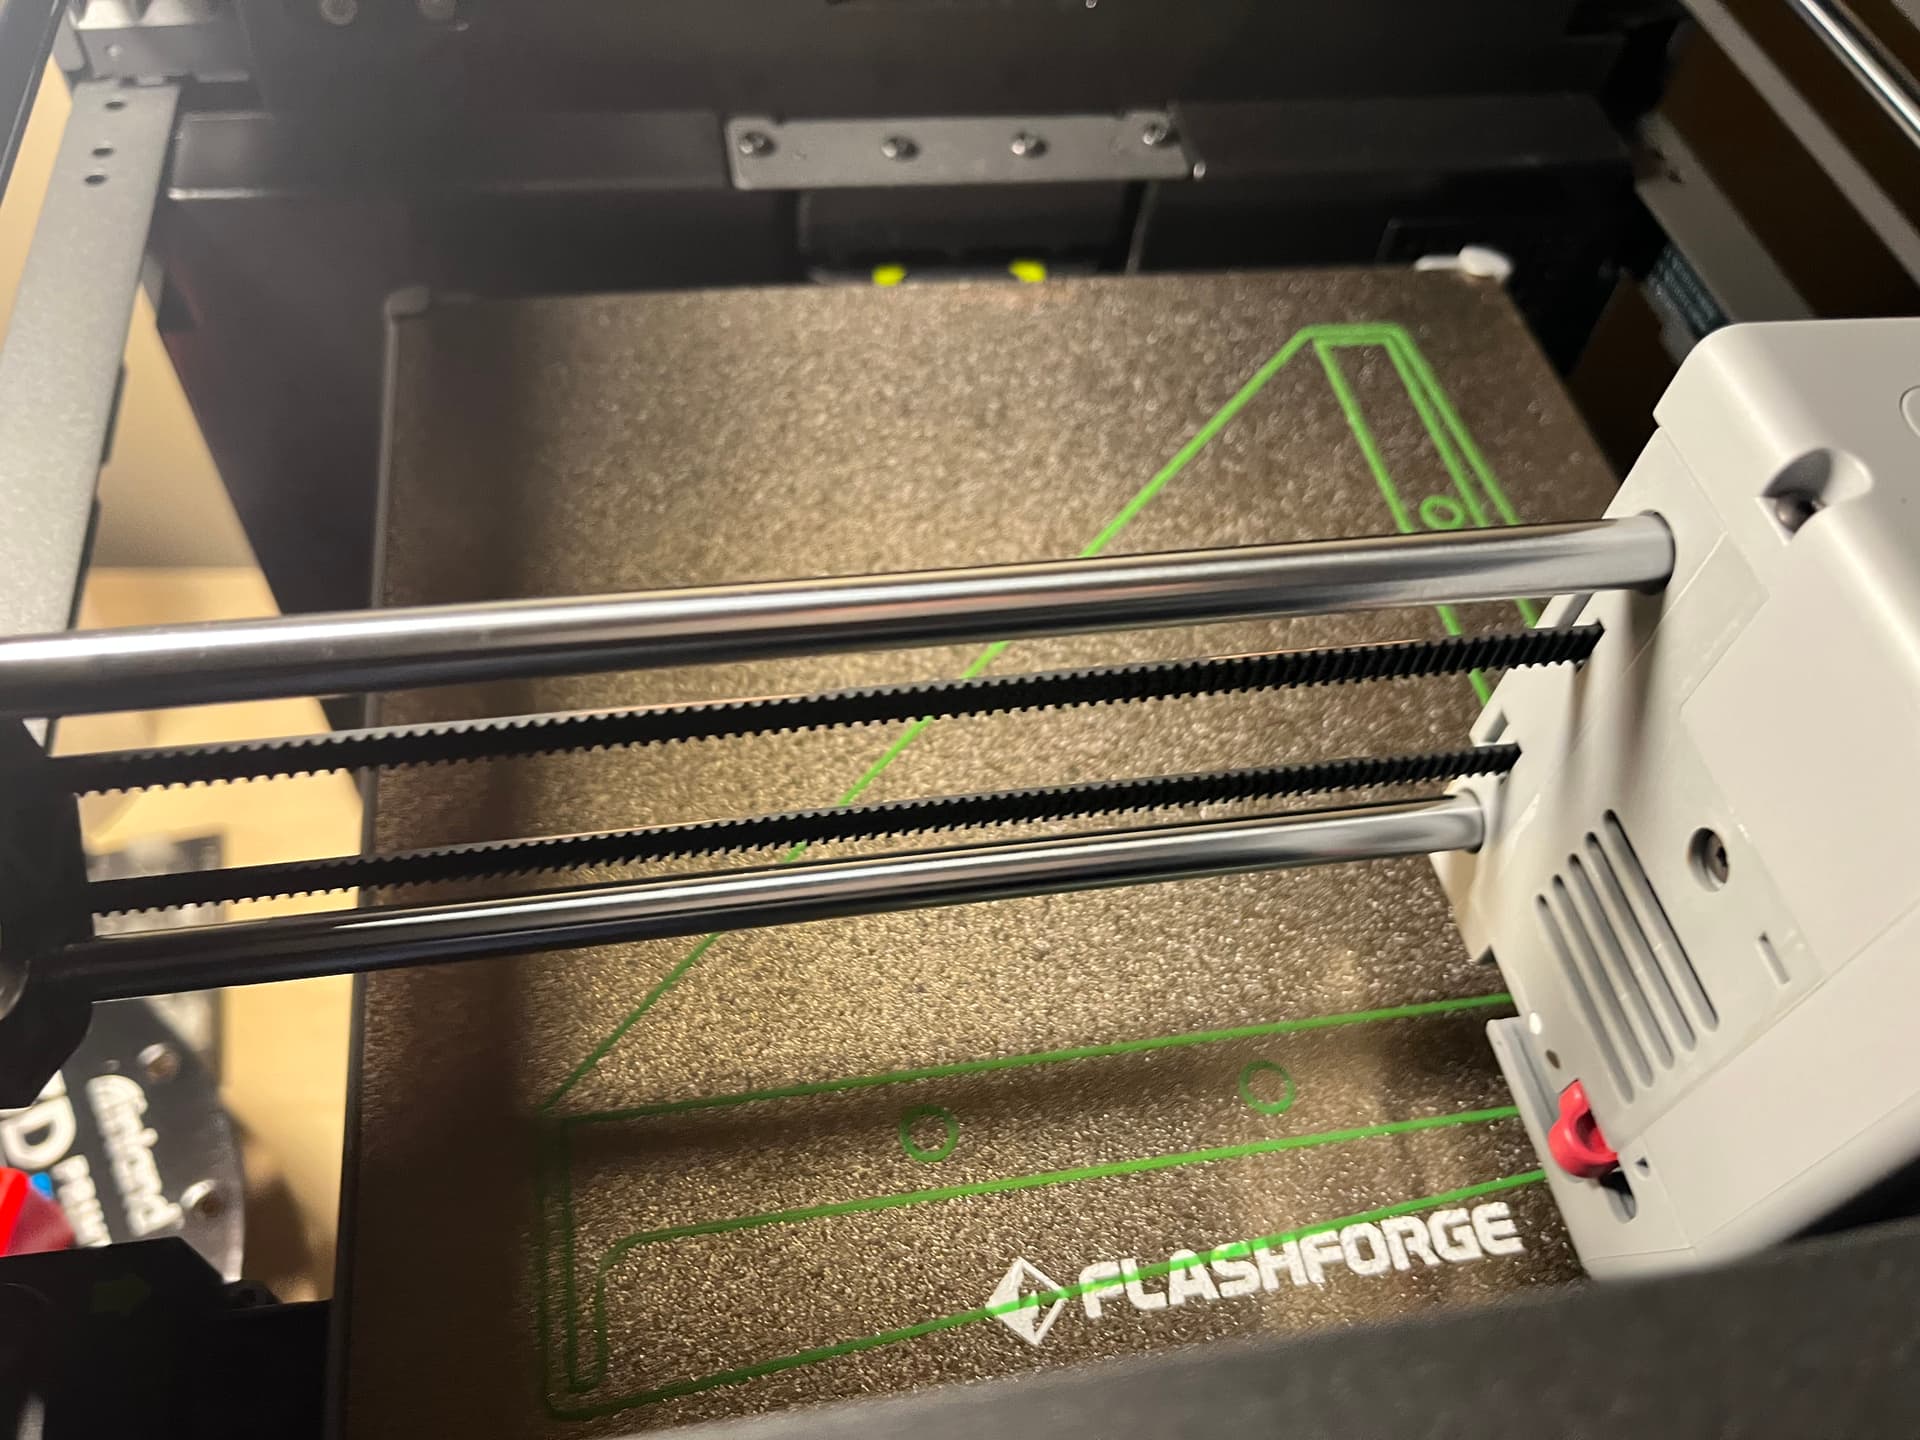
@DougJoseph - a suggestion: When laying out the plates, place the corner shown above so that it is on the back left or right side of the rear of the build plate. This places the tendency to warp/pull on the flexible build plate in a corner where there’s already a plastic lip to retain the build plate.
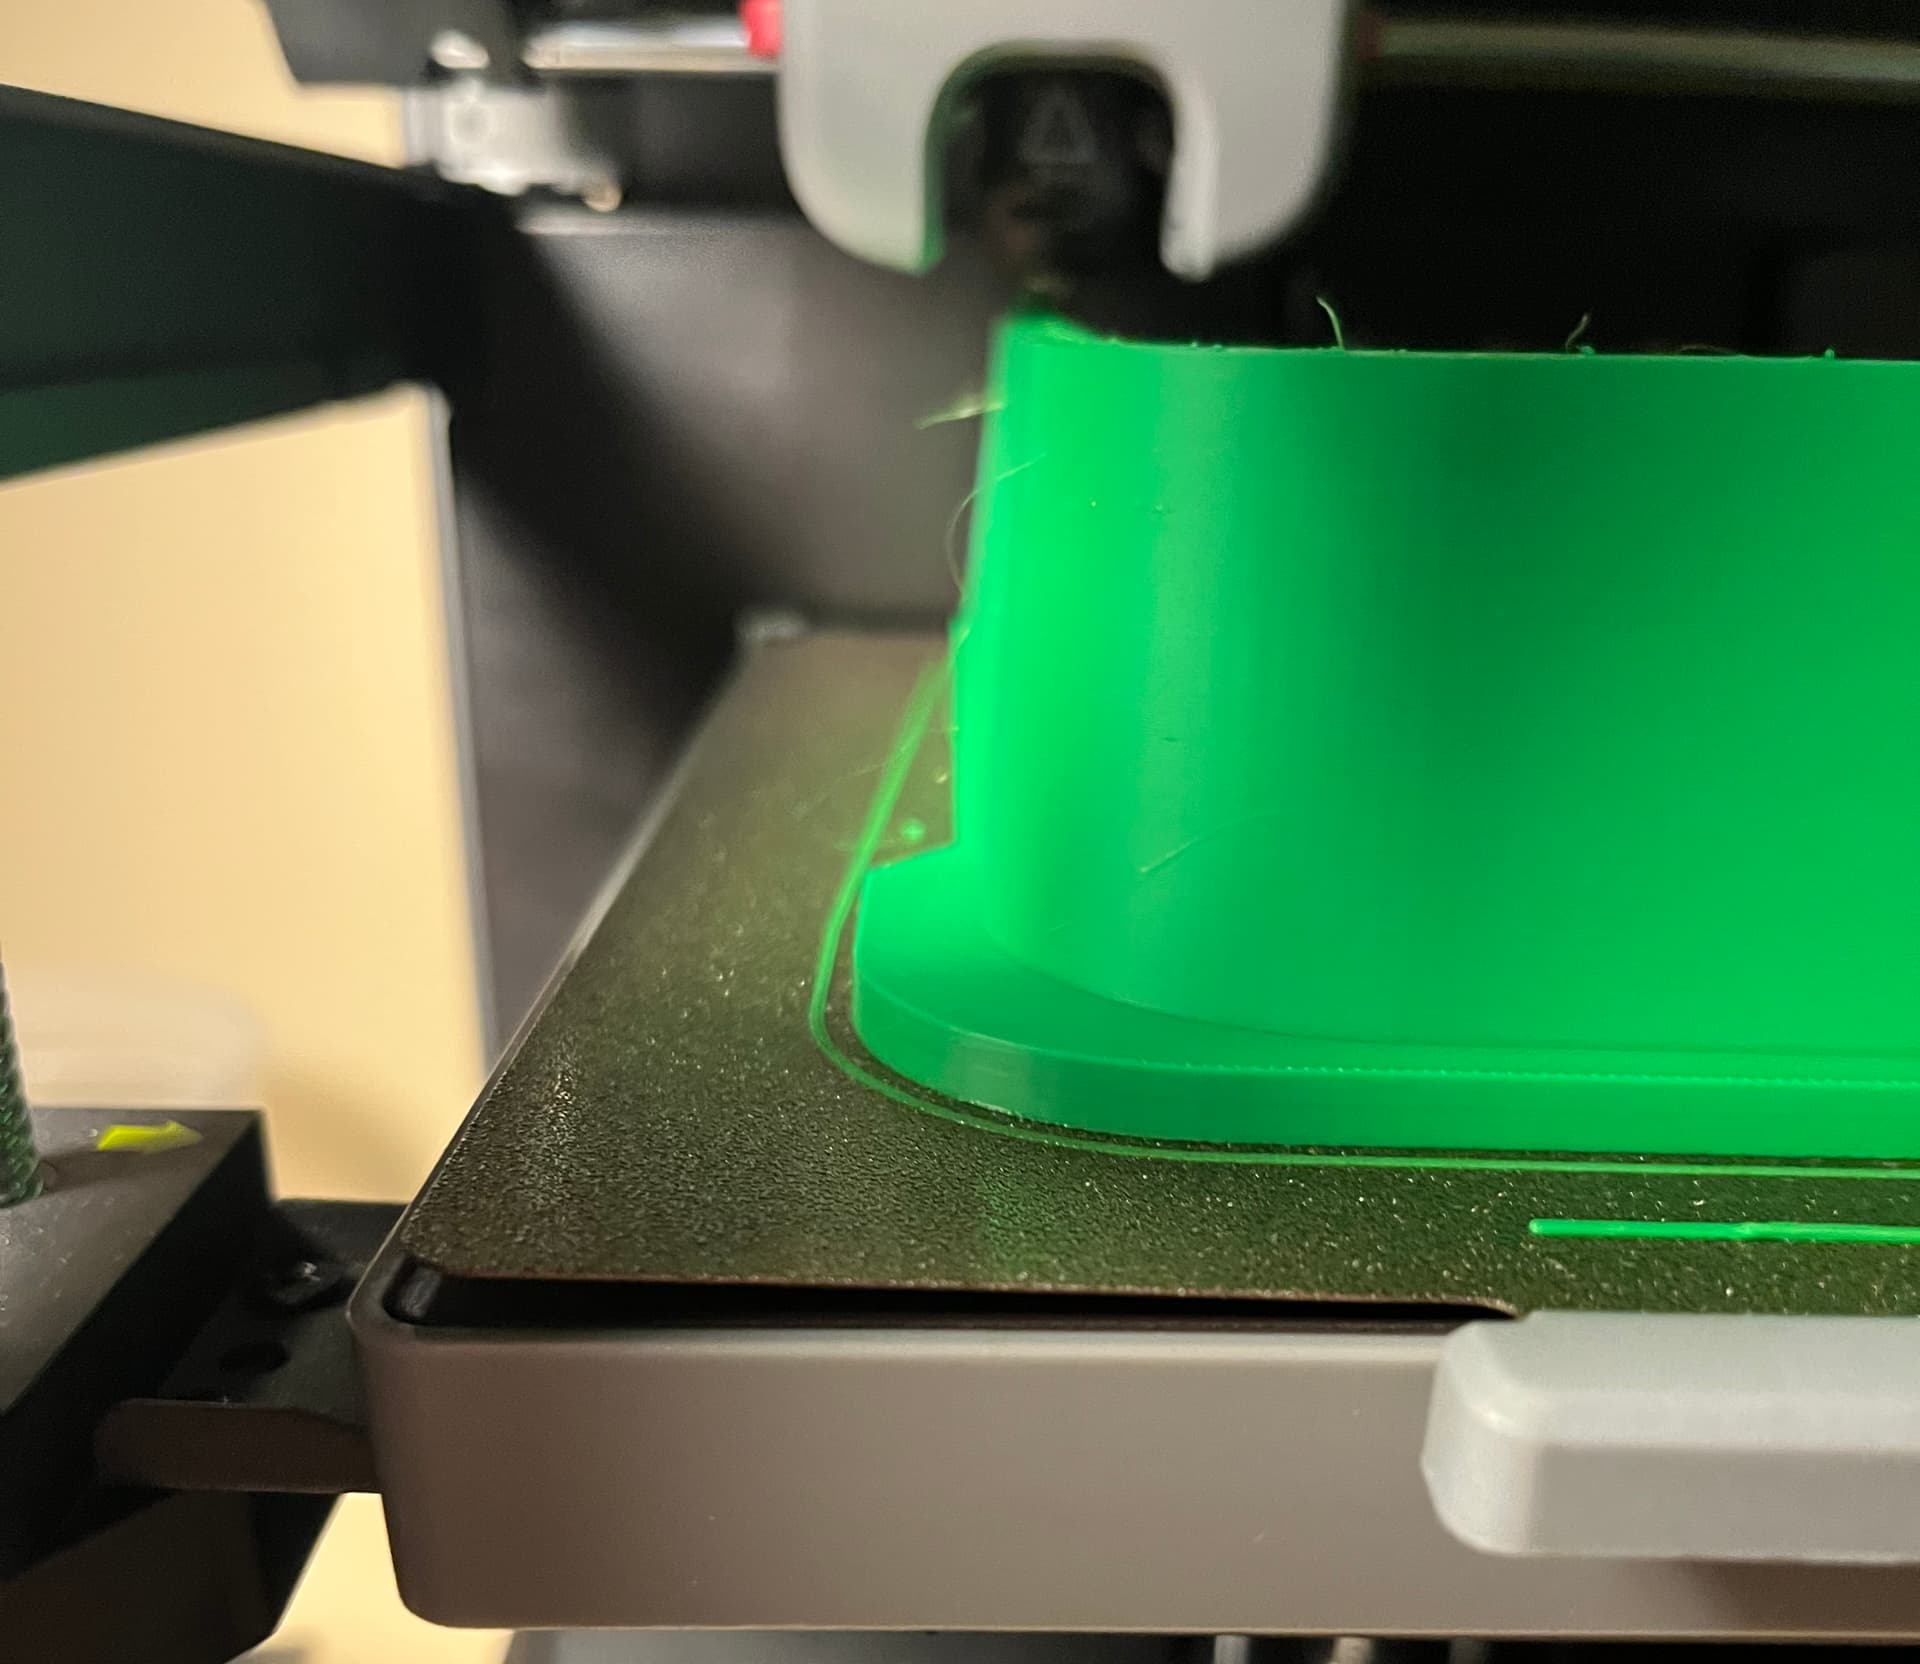
As a precaution, print #3 I’m using some spring clamps to make sure it won’t pull up. I’ll see how adhesion is for this.
I will make that layout change!
How under the sun did you managed to warp your plate? Im even printing with the bed at 80degrees, printed some polymaker PetG (at 65 bed) with no issues using the flashforge standard petg profile🤔
An enclosure helps with preventing lift, which is the term for the type of part curling that he’s having, however, of course he’s trying to get an enclosure printed so he doesn’t have one yet.
Maybe if you printed the guard plates that go on the verticals, and go ahead and attach your plexiglass door and side walls, it will give you more protection against air drafts while you are printing, and you might have better success on preventing the lift.
I printed my enclosure parts without an enclosure. Even the dust shoe i show you was without enclosure
There are paper clips like the ones we all used with the ender style printers that are little bigger and should work with the flashforge plate
I’ll get to this. To name names, this is PolyMarker green PETG.
Lifted again, I am starting to suspect additives in this particular PETG are causing the exagerated warping. I’ll do the 4th top part as it’ll be workable even with some warpage until I reprint it.
I’ll move on to the sides and rest of it, then will update the firmware.
Try to use some water based glue, hair spray it something to improve adhesion