Well, kind of a sad day. My Adventurer 5M managed to shake the part cooljng dan off, and I’m not sure how but the fan stopped working, even when plugged back in, then I got a little blue spark trying to check it, and now the whole extruder stopped.
I was hoping I could just buy the logic board from the extruder, but the only purchase option is a new extruder.
I bought the printer in April.of this year, and it carries a 1 year warranty, except the extruder which is 3 months. Well .
So I’m down one printer for a few days until the part gets here. Over 25% of the full purchase price for a second printer, but I do like the printer enough to go for it.
With the proprietary firmware, I have little way to troubleshoot it at all. I can’t for example turn the part cooling fan on.
The wire harness to the extruder is too few wires to run the extruder stepper from the mainboard, it pretty much has to be power and canbus. 2 fans, 1 motor, 1 heater, 1 thermistor, and an accelerometer.
Maybe I could try connecting a canbus controller to it and try.
Well, I checked on my print, and saw that the fan had come off, and was disconnected. The socket was crooked and one of the retaining clips cracked.
I powered off and plugged the fan back in, and re-started my print, and at the point where I expected the part fan to come on, it did not.
So I re-checked the connection, it didn’t seem fully clipped in, so I tried straightening the socket and clipping in the fan again. Oh, was that a spark? The power is off, maybe static? Restart print job, now no extrusion. My guess is I managed to short a charged capacitor to something that couldn’t take the voltage.
I’ve been debating buying a spare print head for mine, and I’ve been monitoring local online ads. I have already seen one for sale for parts (I missed it), but am curious about what failure modes these may have.
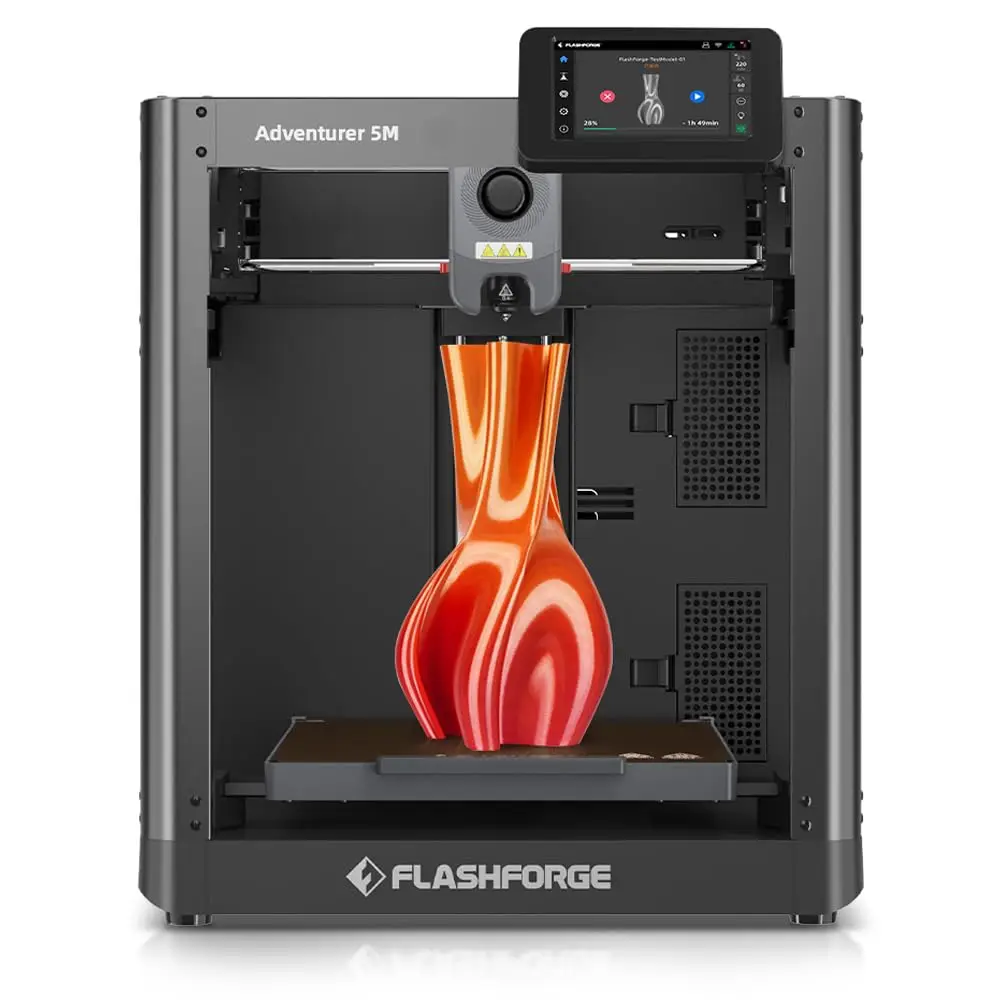
OK, so the part cooling and bridging is some kind of awesome on the Flashforge Adventurer 5M.
I just watched an internal horizontal open tube (for tool access), 8.5 mm in diameter and 110 mm long, get printed, without supports. I did not do anything special to either the printer or the slicer. I’m using a print profile I got from the manufacturer. I guess they / OrcaSlicer just trust that the printer’s part cooling is on point.
This printer made single unsupported strands that bridged across the entire 110mm, straight as a board. Amazing.
I ended up returning mine. I went to print the enclosure in PTEG and had a few failed prints. I got a clogged nozzle that I couldn’t get unclogged. If I wasn’t already on the fence about it from my issues with it stopping in the middle of prints, I might have figured it out. Plus there were only a few days remaining in my return window. New nozzles are expensive.
It was great when it worked and completely ruined my Ender 3 for me. I ended up replacing it with a Bambu P1S with the AMS which is super fun, but not comparable from a price standpoint.
Understandable. Clogs aren’t fun. They can be the fault of a quality control issue in the filament, and of course, could also be a fault of the printer manufacturer.
On November 15, at some certain time they (Flashforge) are releasing a new version that includes a multicolor unit that is capable of up to four colors of filament loaded into it. I don’t know the price of it yet.
To anyone that was on their radar (email address wise) they sent out a teaser email with access to a 10% off coupon code, bringing the price down from that. $359
I guess the release of the new AD5X (4 color) printer means the AD5M I’ve liked so much is getting lower pricing, at least during the “black Friday” time and via Aliexpress. I just found a listing for one for $203.48 and I got a $25 coupon plus some other $3 or so coupon that got it down to $175. Steal of a deal. I am still seeing $20 coupon listed on it. Regular link (not affiliate):
NZ$650 with NZ$650 shipping. Basically $800 US, likely $1k with import fees and duty/GST. Still notably more expensive than a Creality K1C for us, sadly.
I was disappointed by the Black Friday and Cyber Monday deals on the A5M Pro. $850 CAD regular, but a $150 coupon available. BF and CM deals are $700 CAD, no coupon. I suppose that’s a deal jf I were buying a print farm worth, but I wanted only one. Didn’t buy for essentially no discount.
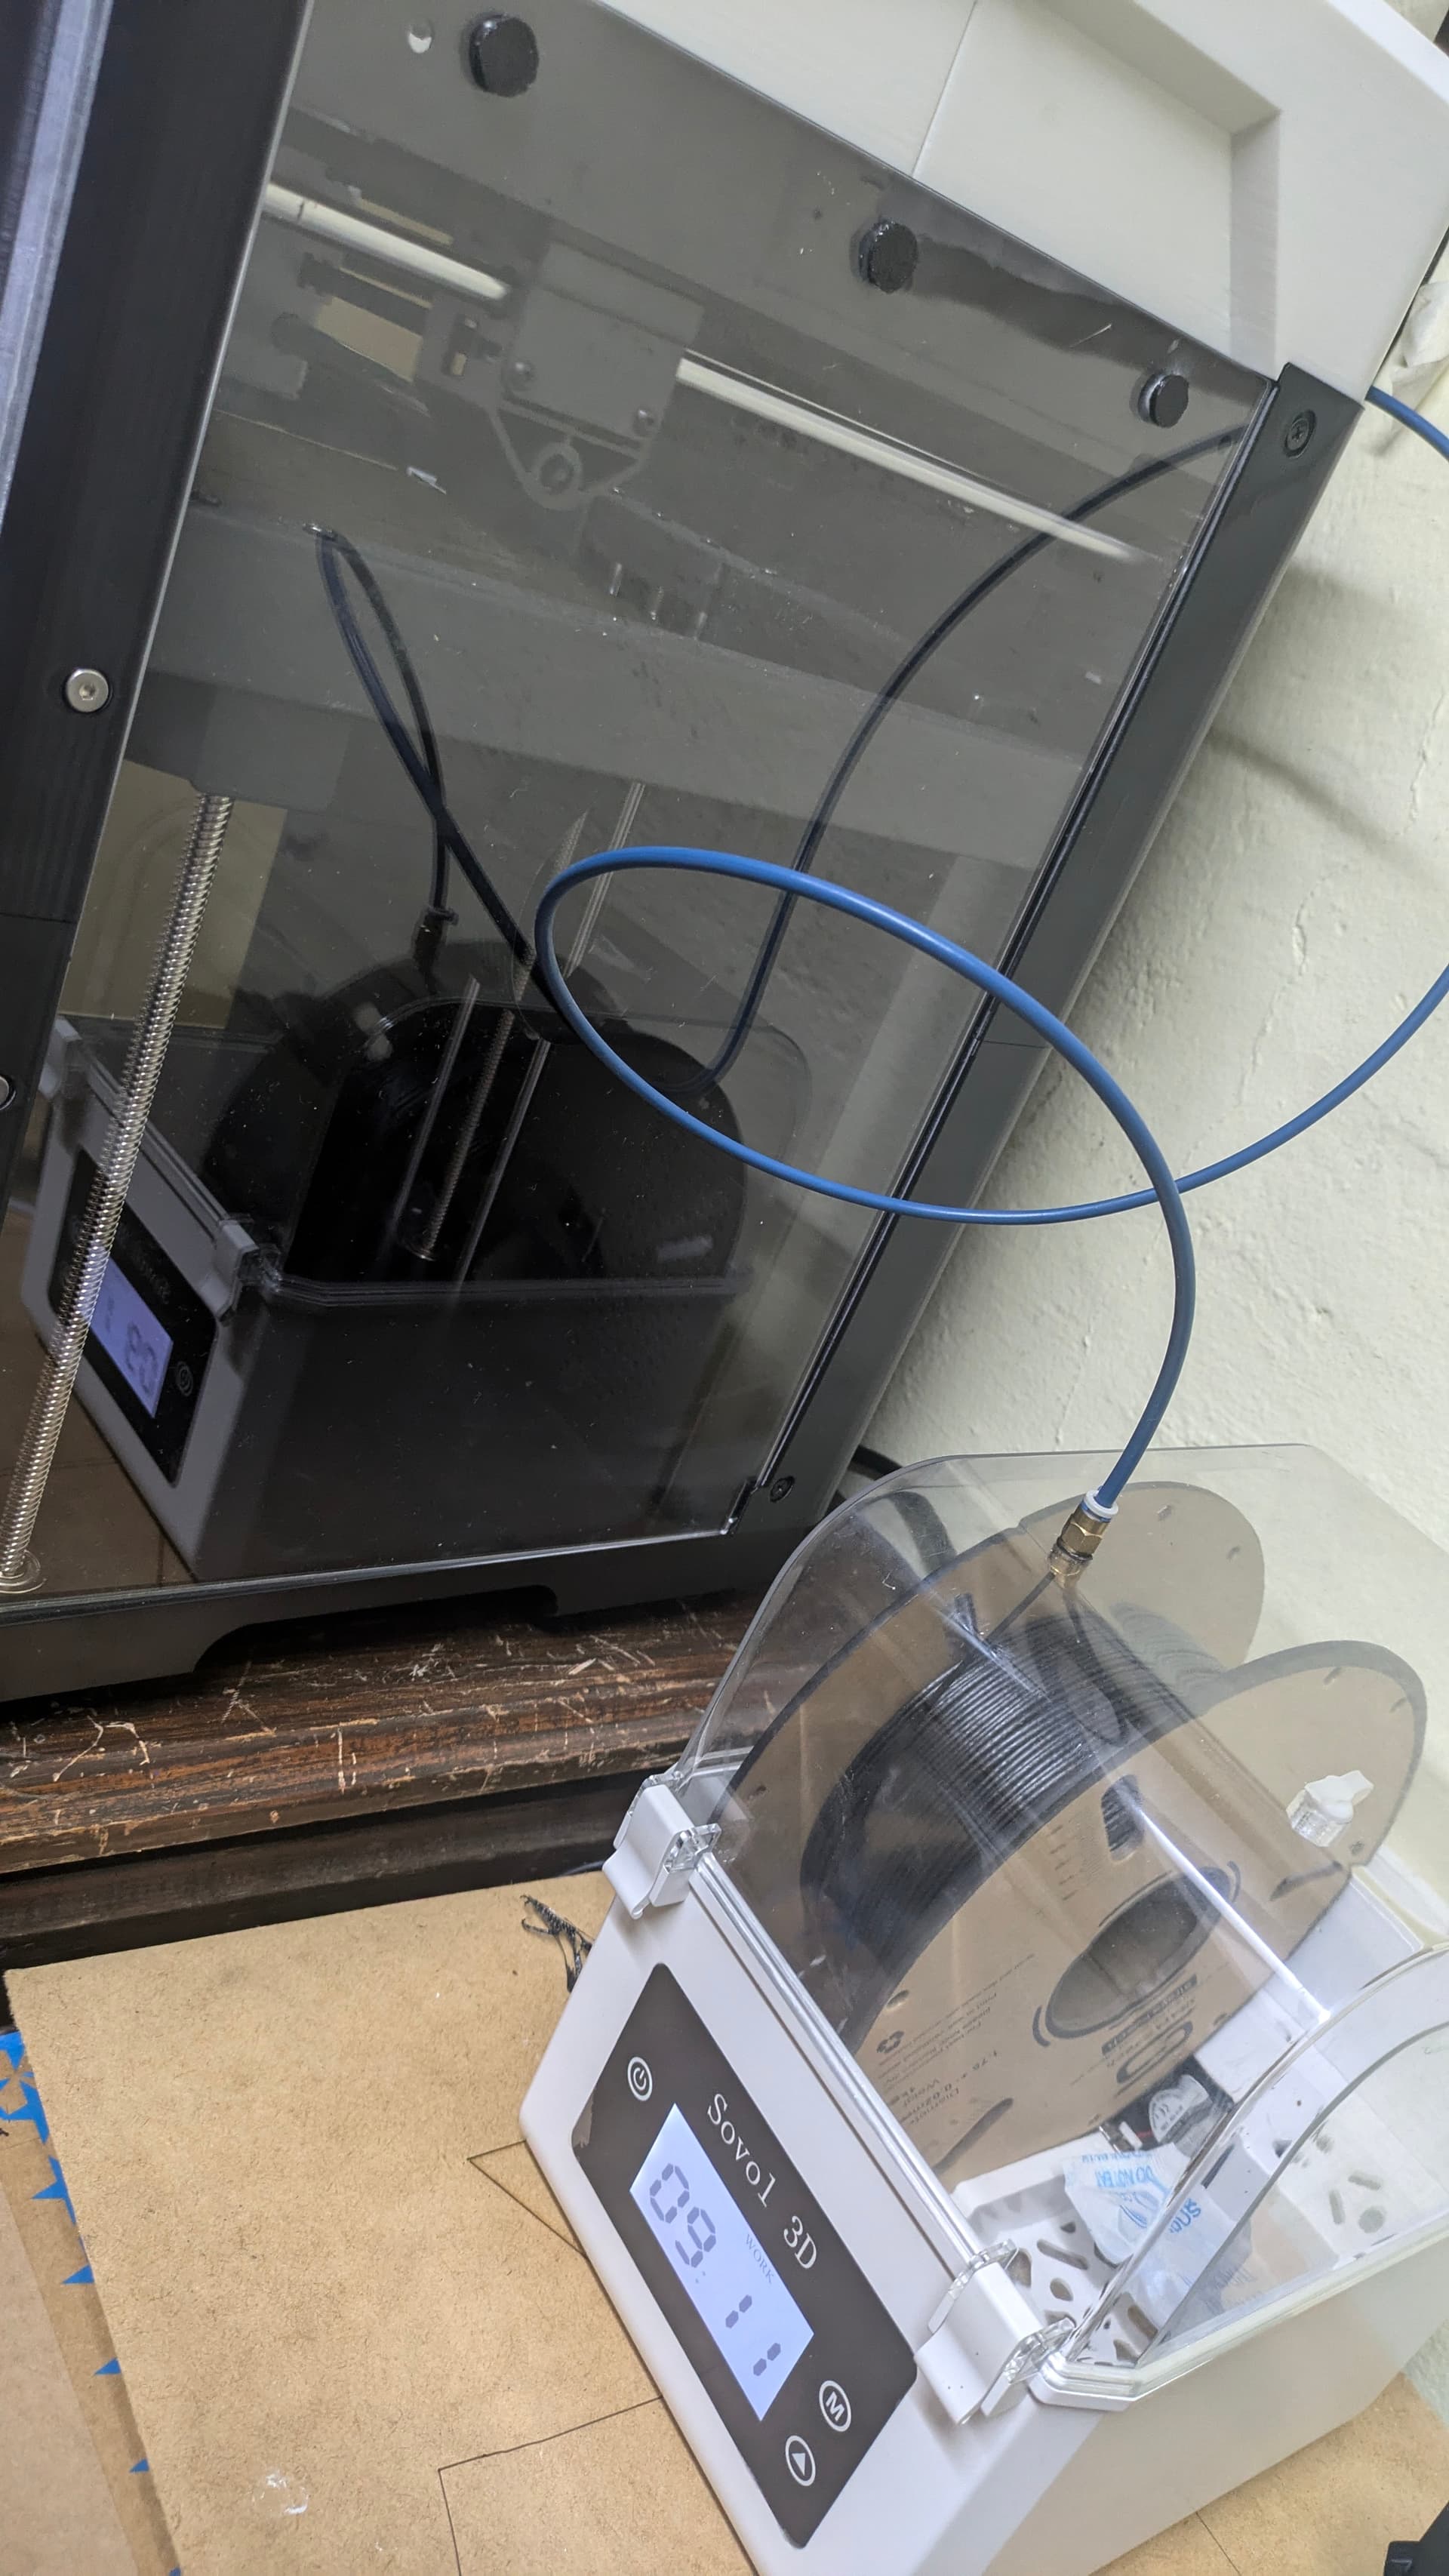
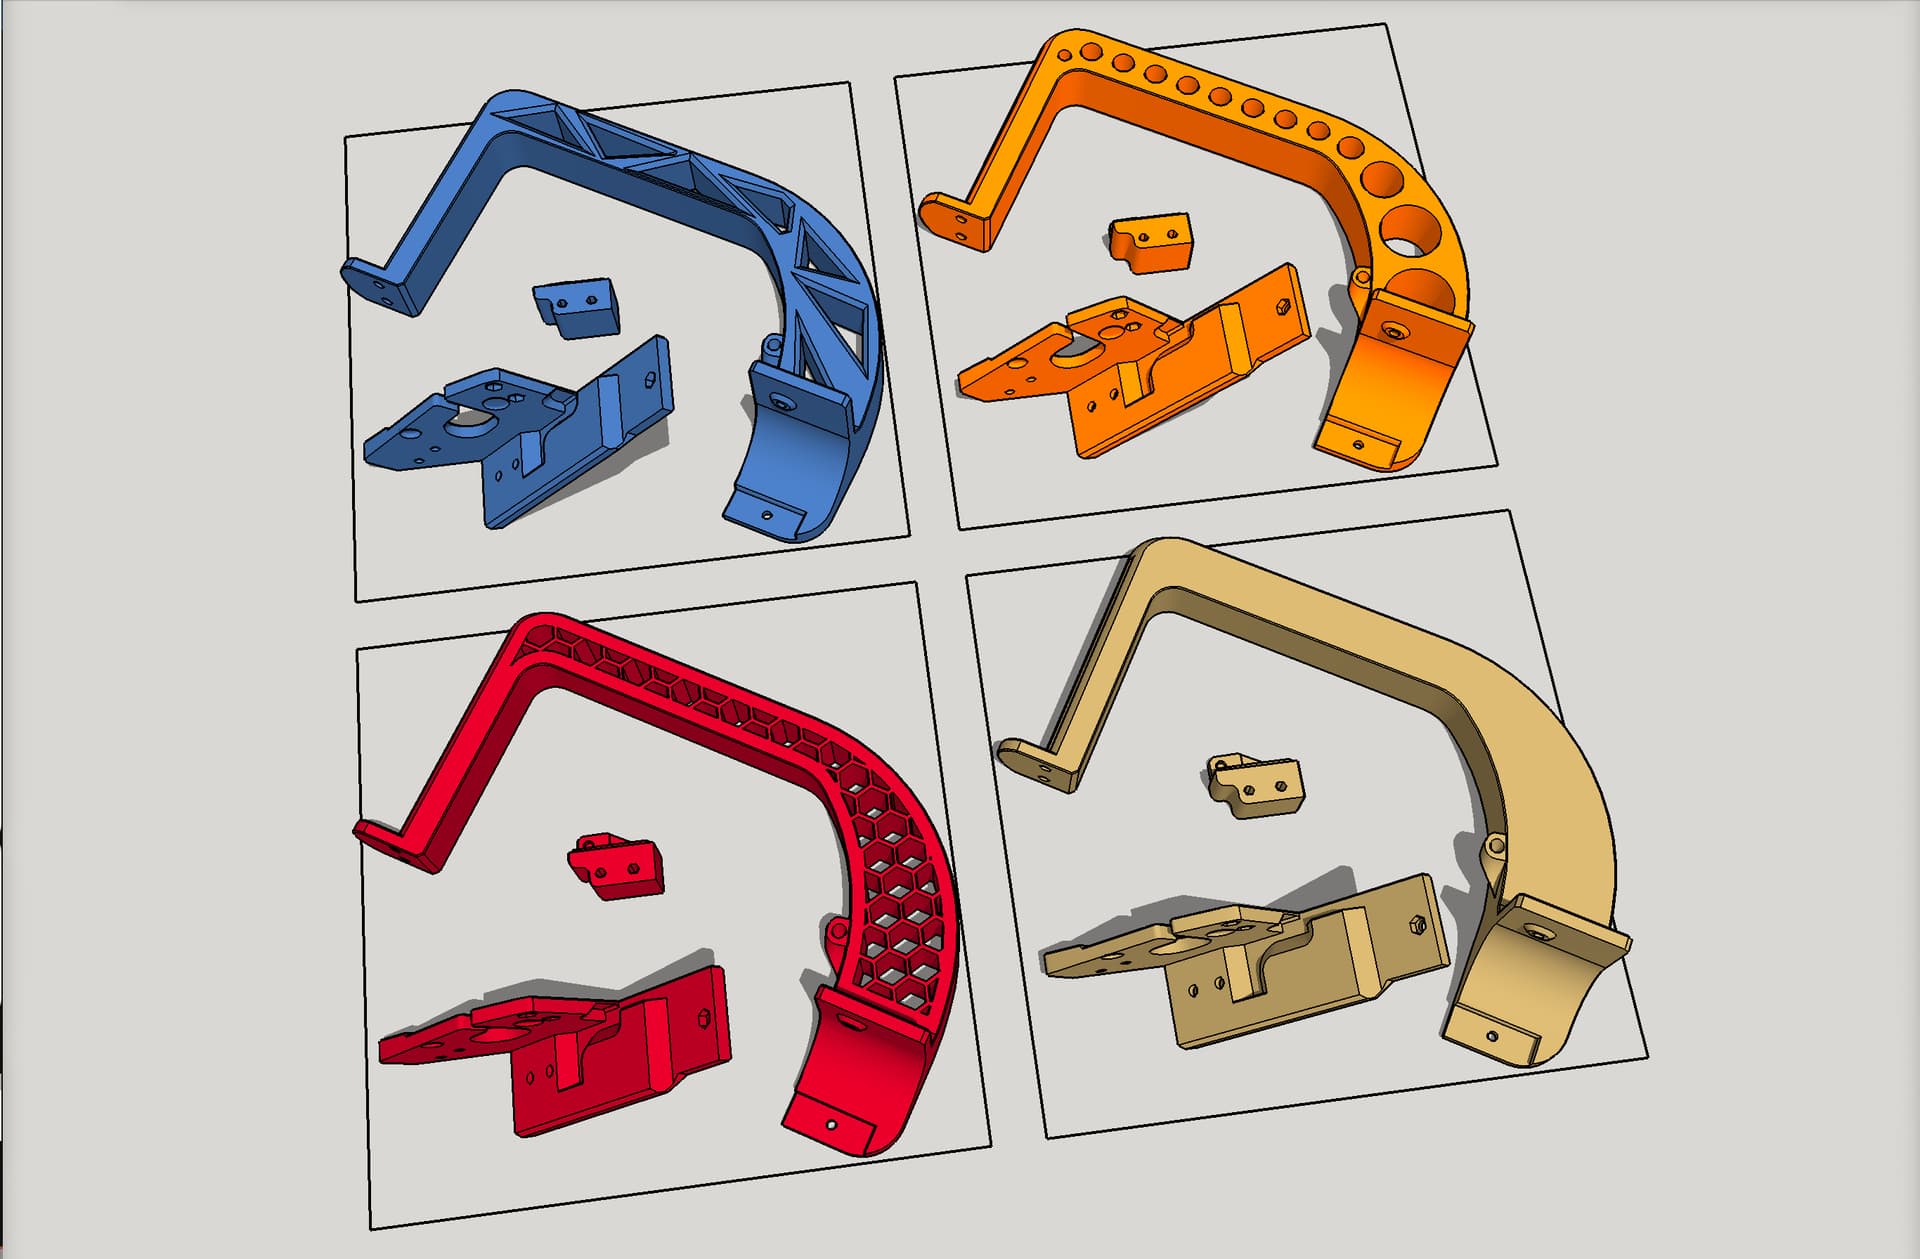
I made apopular remix that includes a side mounted spool holder. The place where the spool holder attaches, takes into account a vertical guard plate from the DIY enclosure, and is made to work without modifying the existing DIY enclosure parts. Note: I am very close to publishing a revision of the side mounted spool holder that attaches with 2 screws instead of 1, for better rigidity and usability.
Also, I remixed a new minimal version of the enclosure, that prints in less time, uses less plastic, and in my opinion is better in substantial ways. I now have three of the AD5M printers, and two have the original DIY enclosure, whereas the third has my new remix of the minimal enclosure, and it’s just nice. It makes any maintenance work easier because the top is so much easier to remove (no wiring ribbon cable threaded through a slit to a relocated touchscreen, and no camera cable threaded through a hole to a relocated touchscreen). It’s better because if you have/get the AD5M camera (which is for the Pro version but can be bought and installed on the non-pro version - and its video feed can be displayed remotely in either of the web-based UI choices available if you do the unofficial Klipper mod) it does not need to have a modified mount to get its wire cable to be long enough to reach a higher position of a relocated touchscreen, and better because the touch screen does not have to be moved – it gets to stay in the stock position, which is nicer in all ways. My new remix of the minimal enclosure made several improvements on the great work from the person whose work I based mine on, and it will have the new side mounted spool holder with it. Watch my account on Printables for this soon.https://www.printables.com/@design8studio
I went the route of using an old capricorn tube to link my filament “dryer” -that’s more a maintainer after you dry the spool elswhere- to the filament runout sensor directly. Planning to use the spoolmount to fix another thing in it