

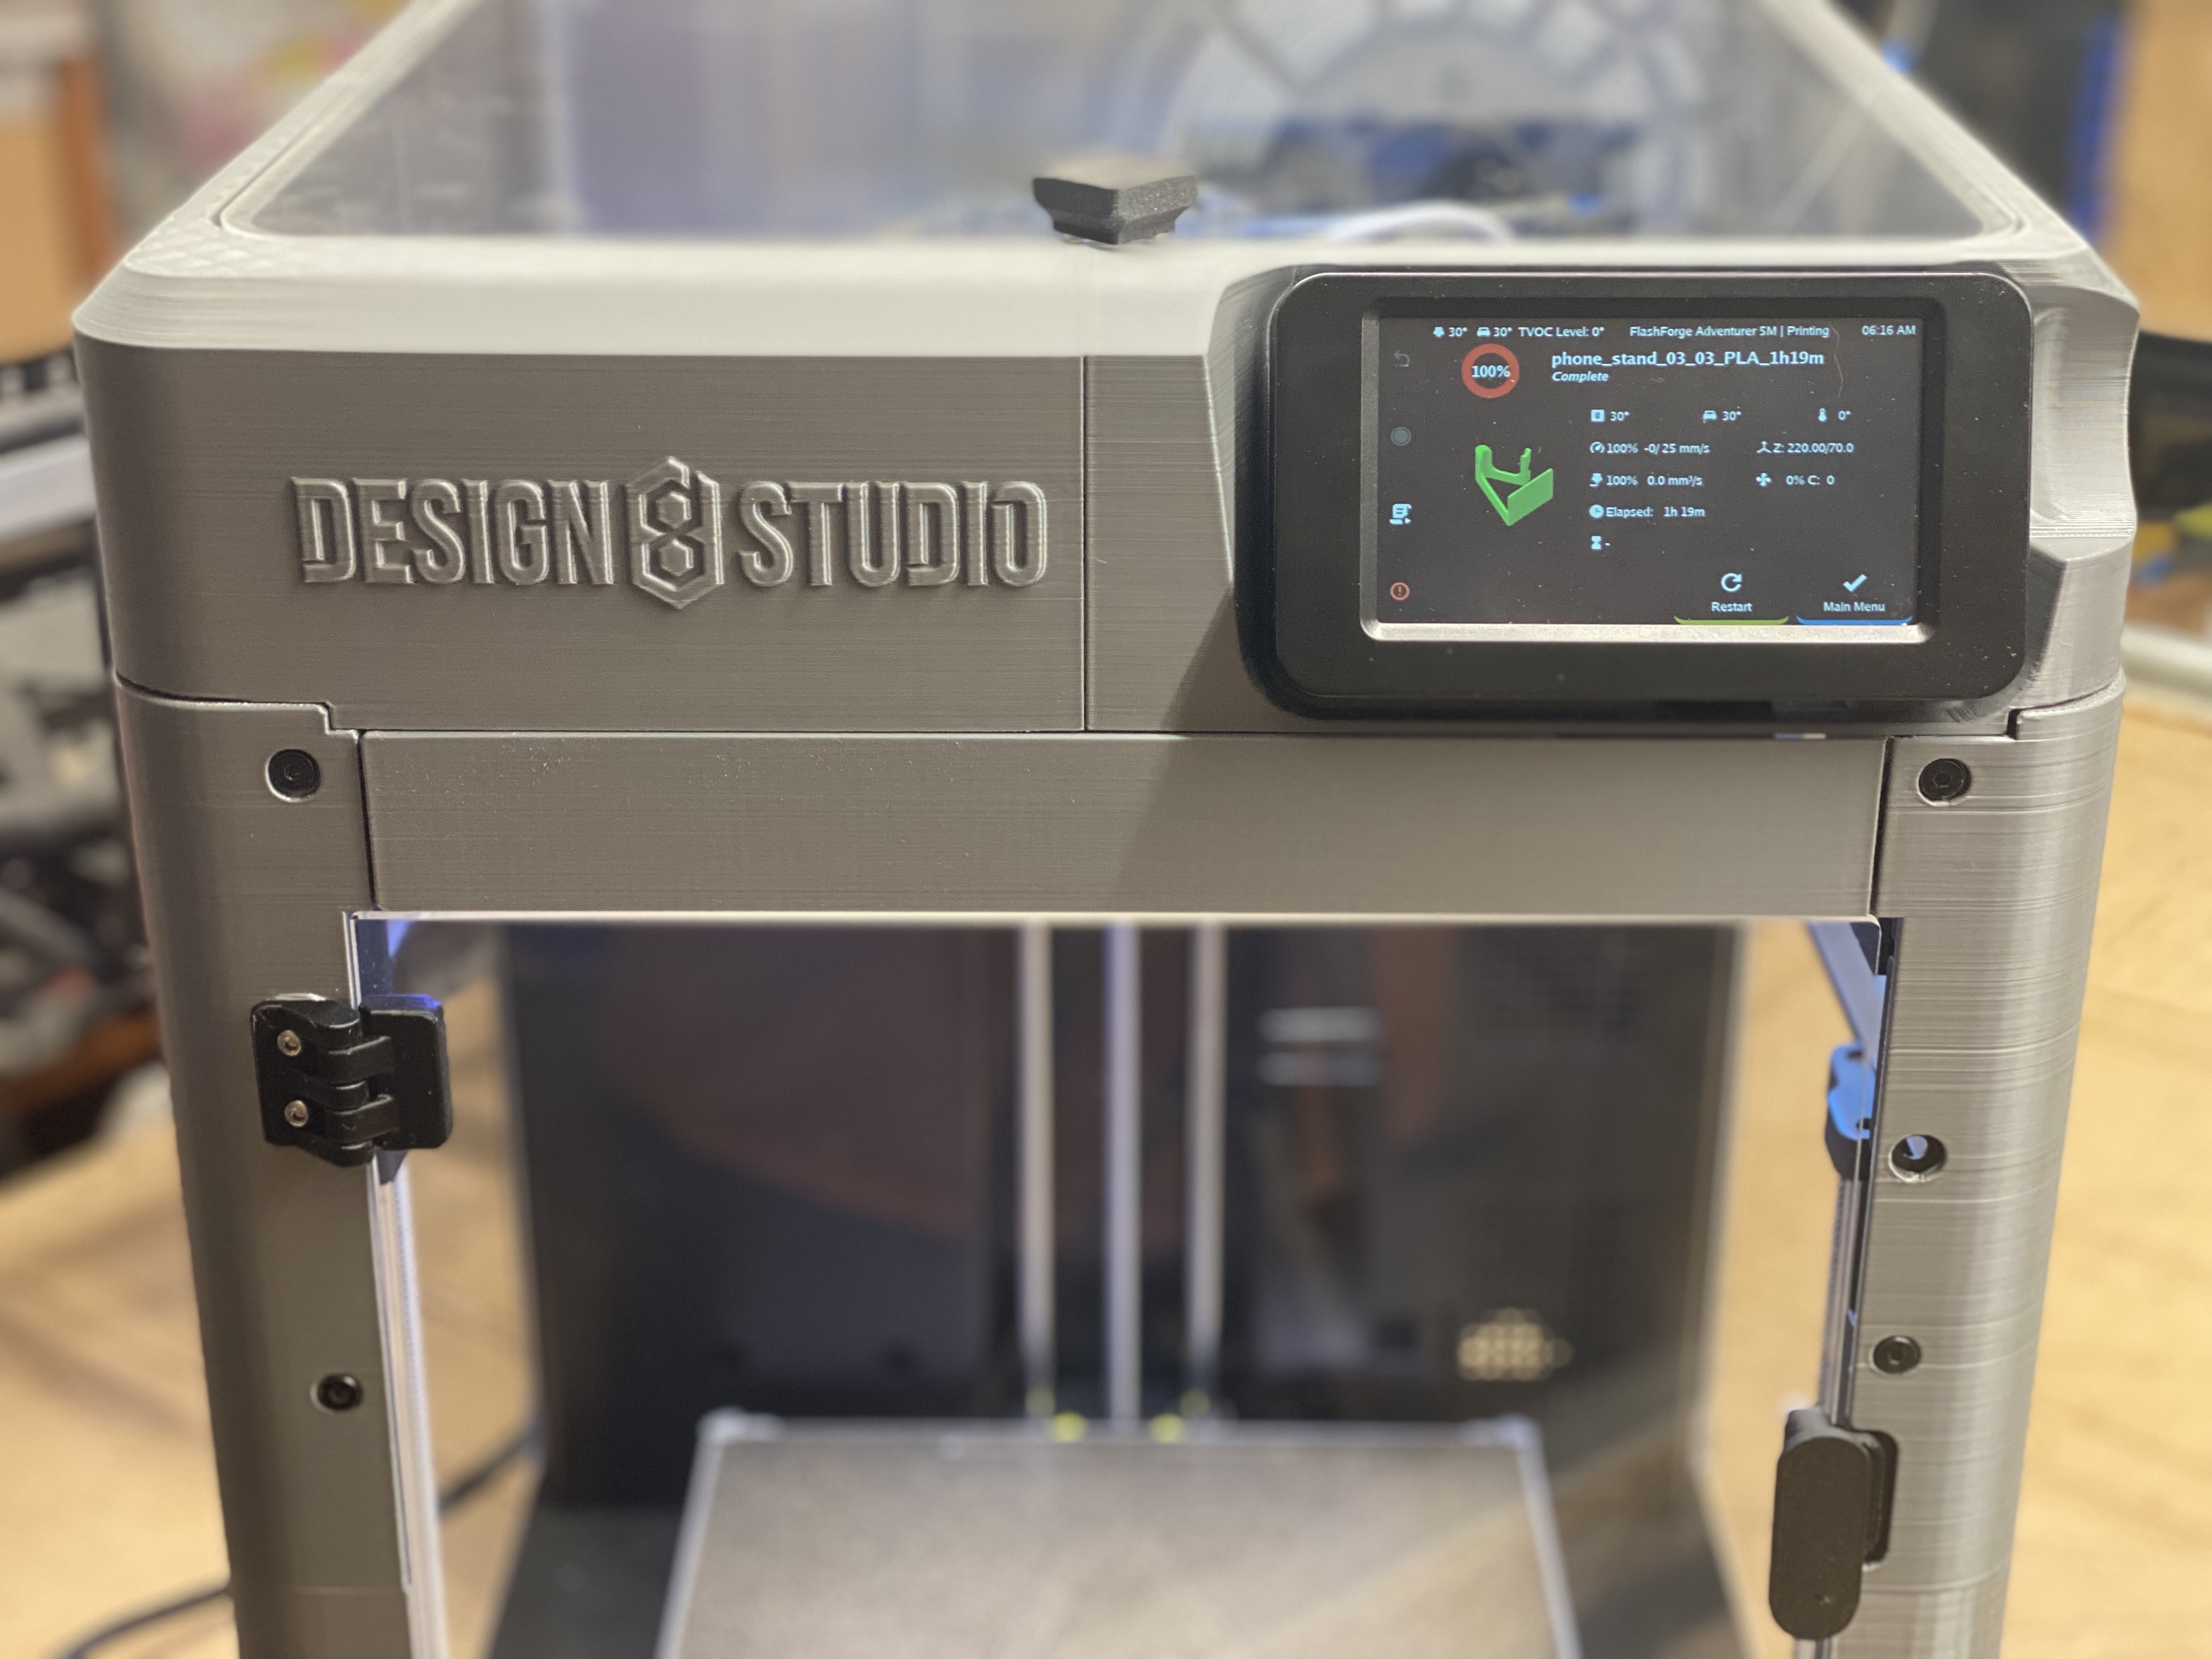

Flashforge Adventurer 5M (AD5M) Side Cutter Mount
This short explainer video is less than 1 minute long:

Printables link:
https://www.printables.com/model/834011-flashforge-adventurer-5m-ad5m-side-cutter-mount-v1
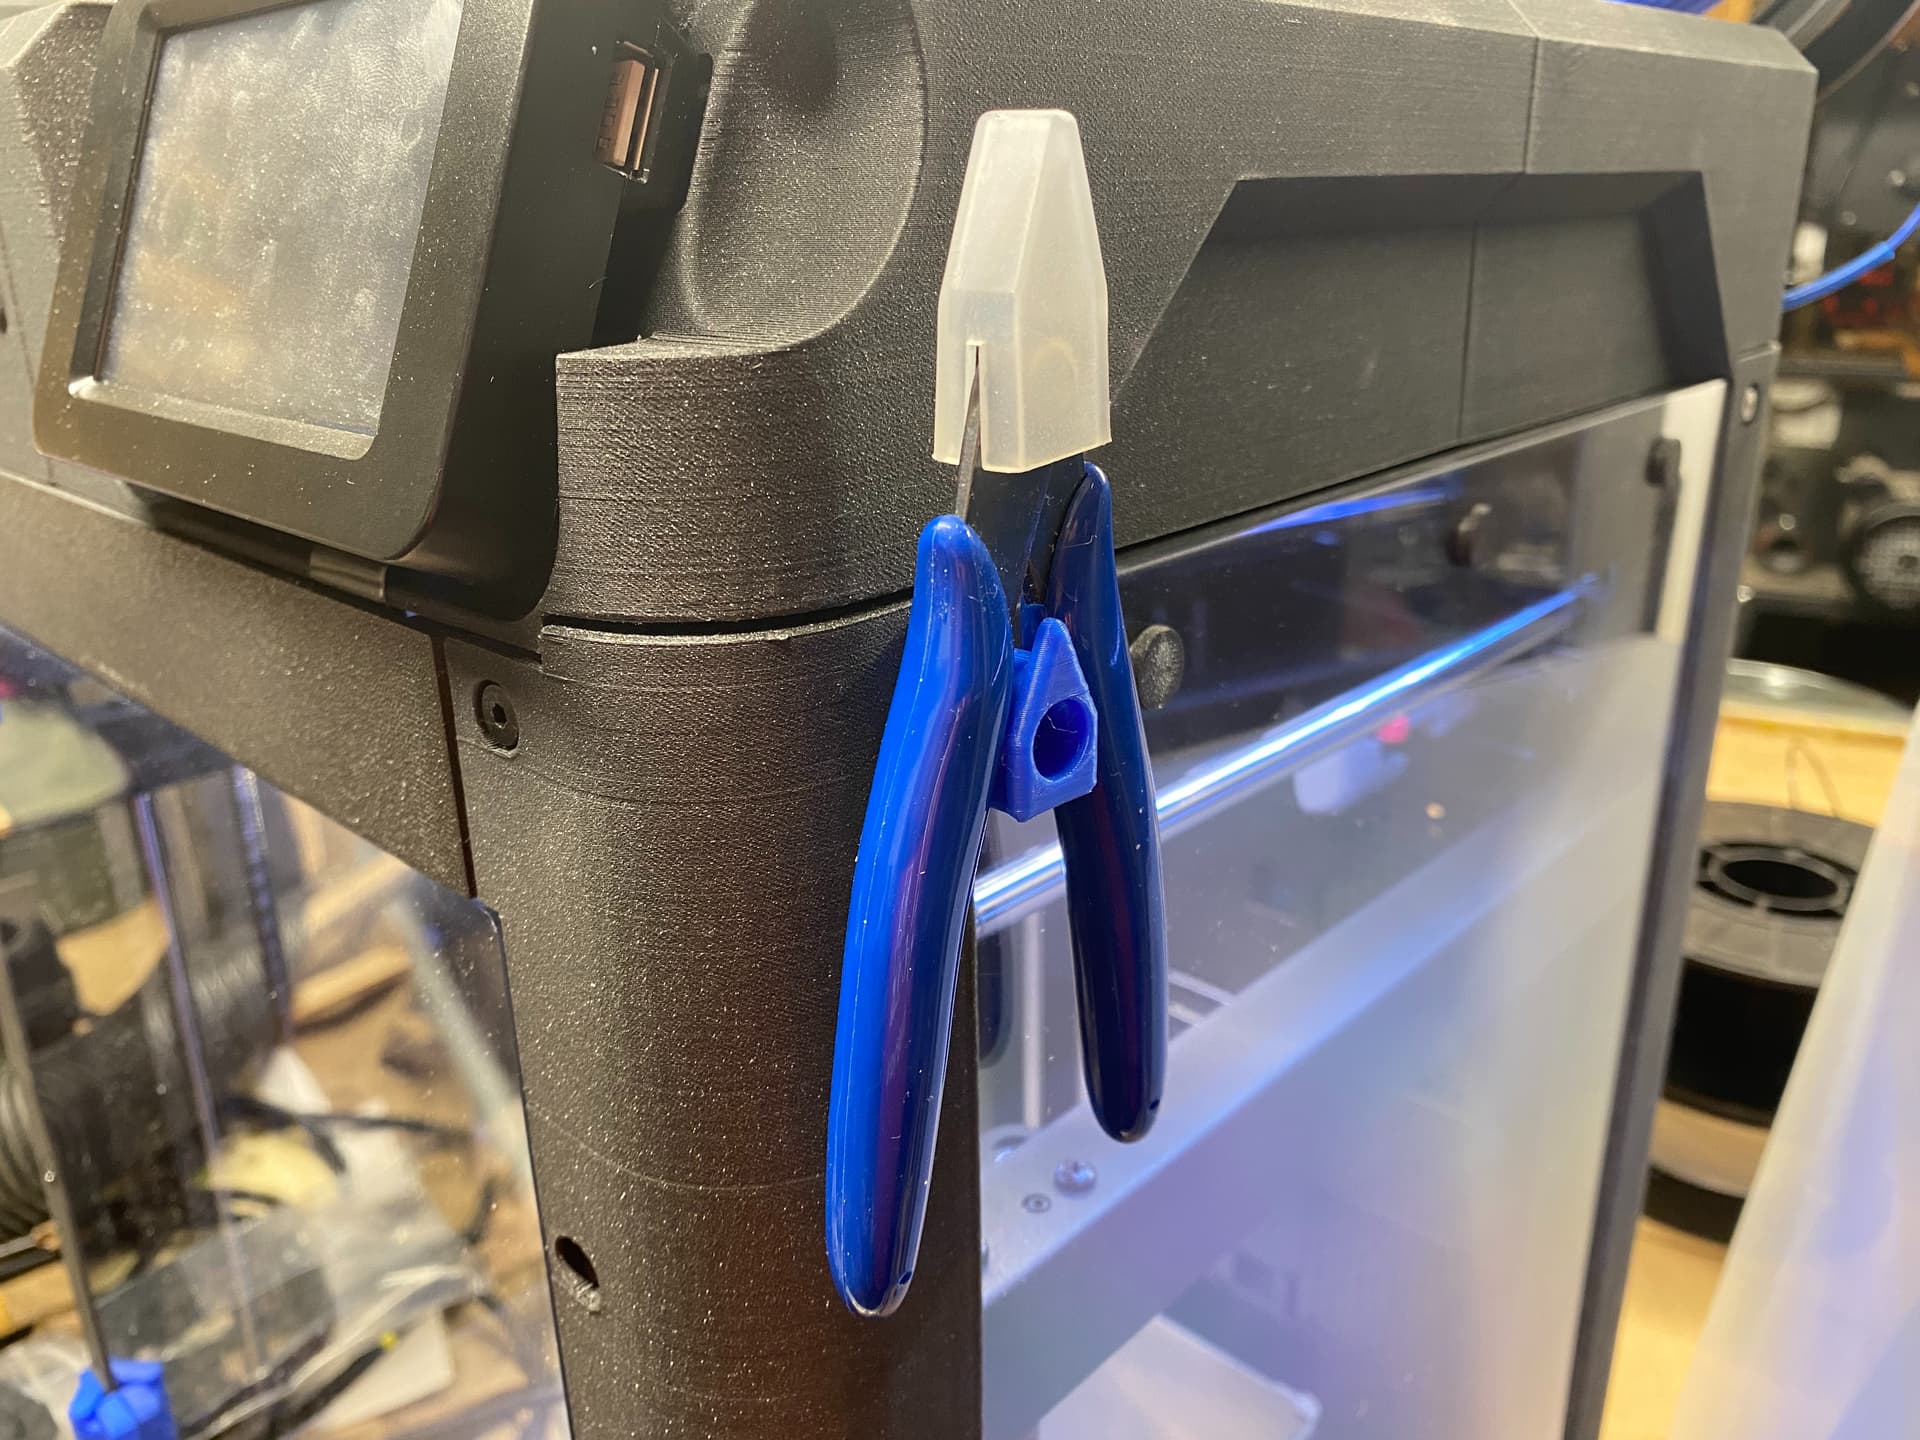
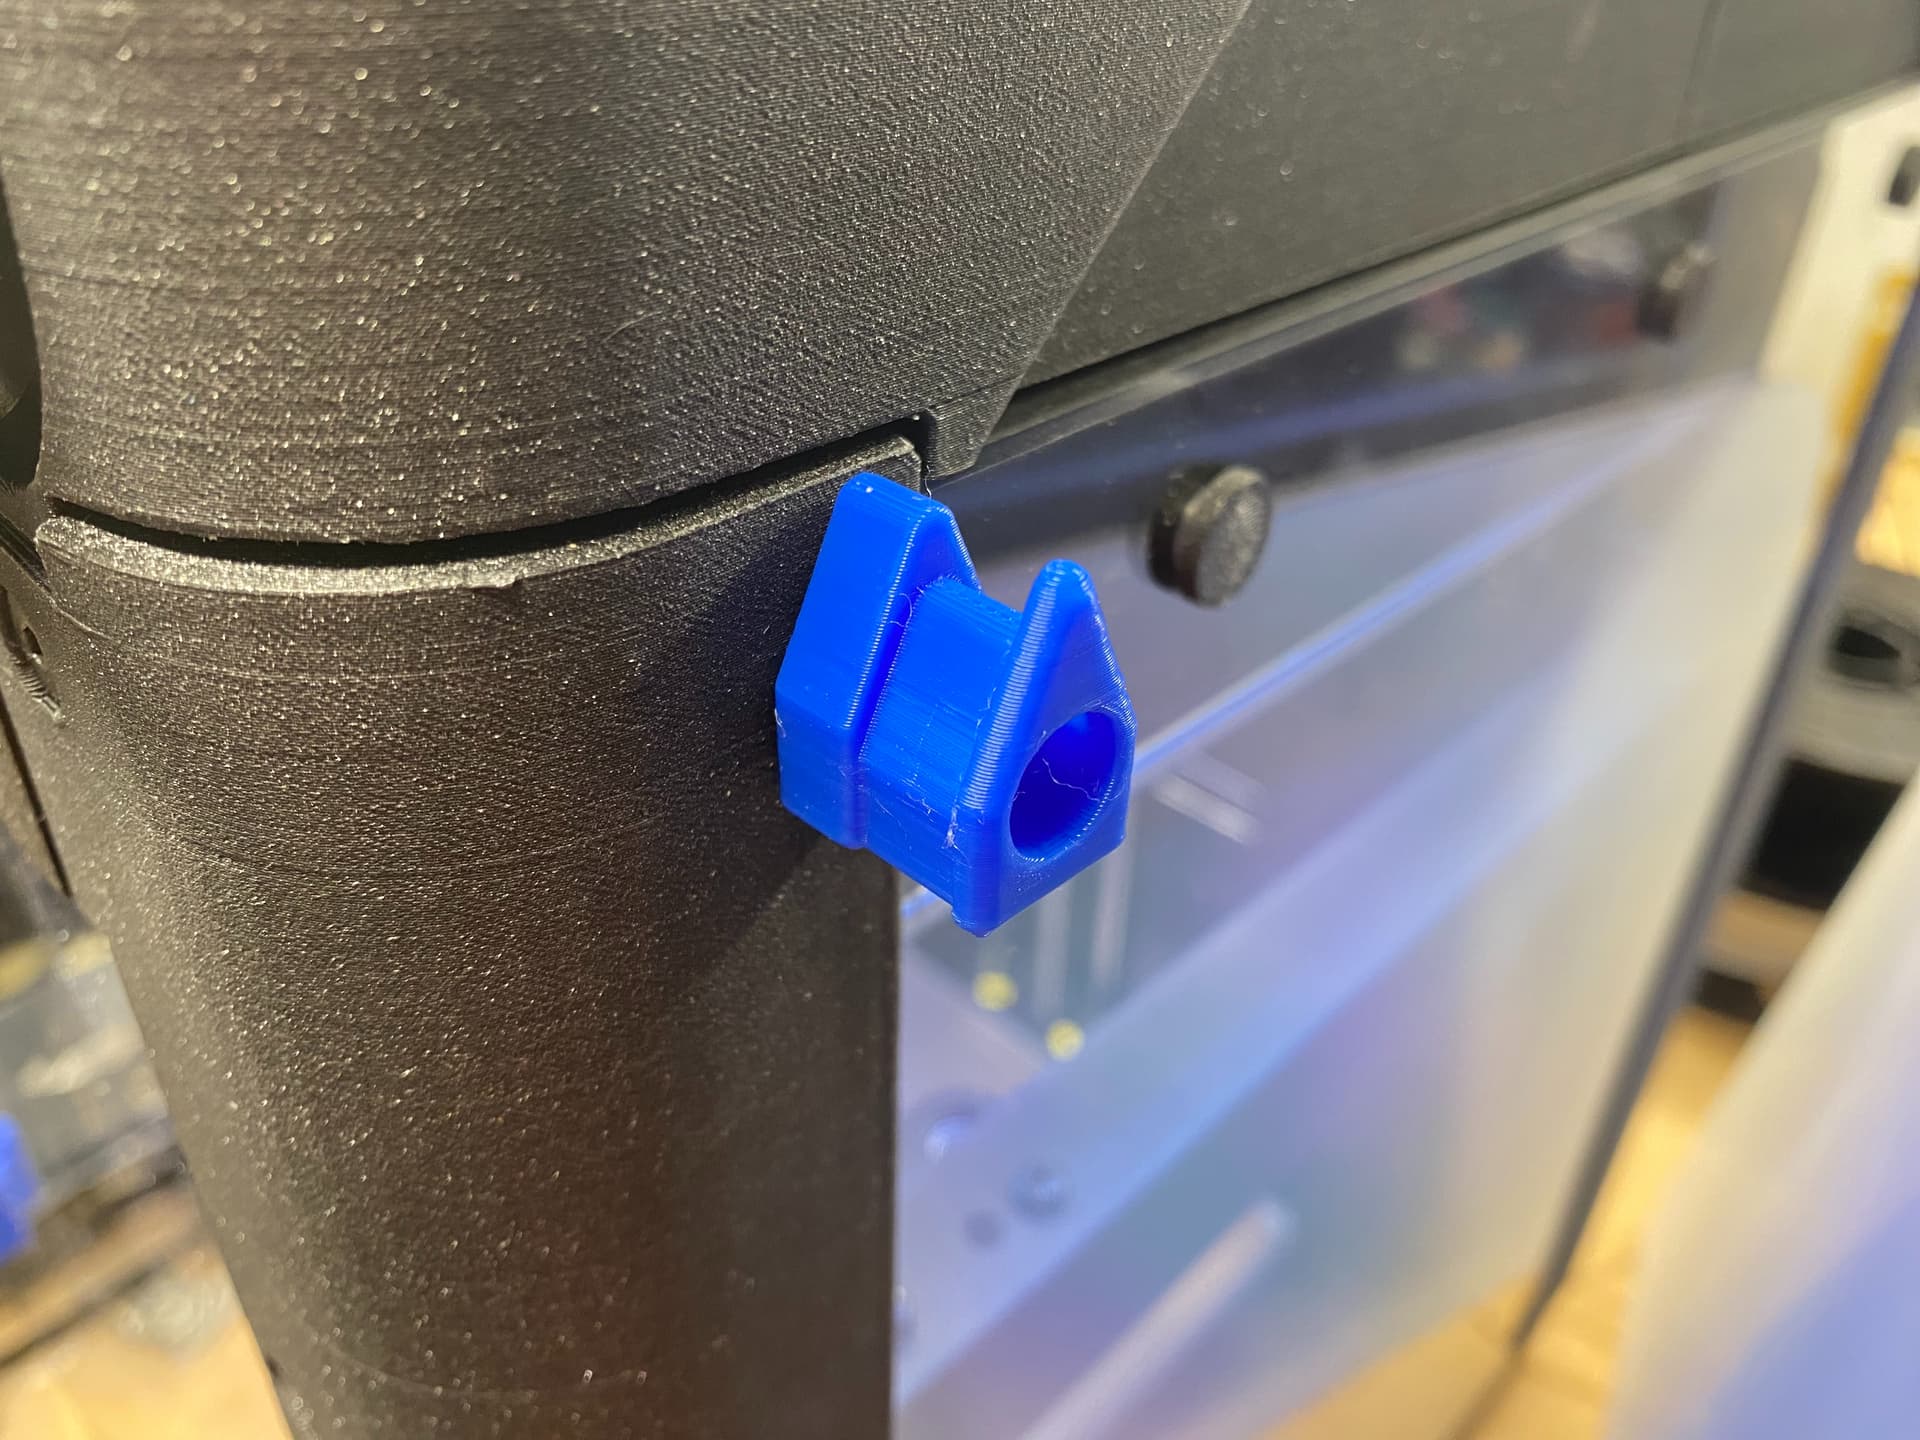
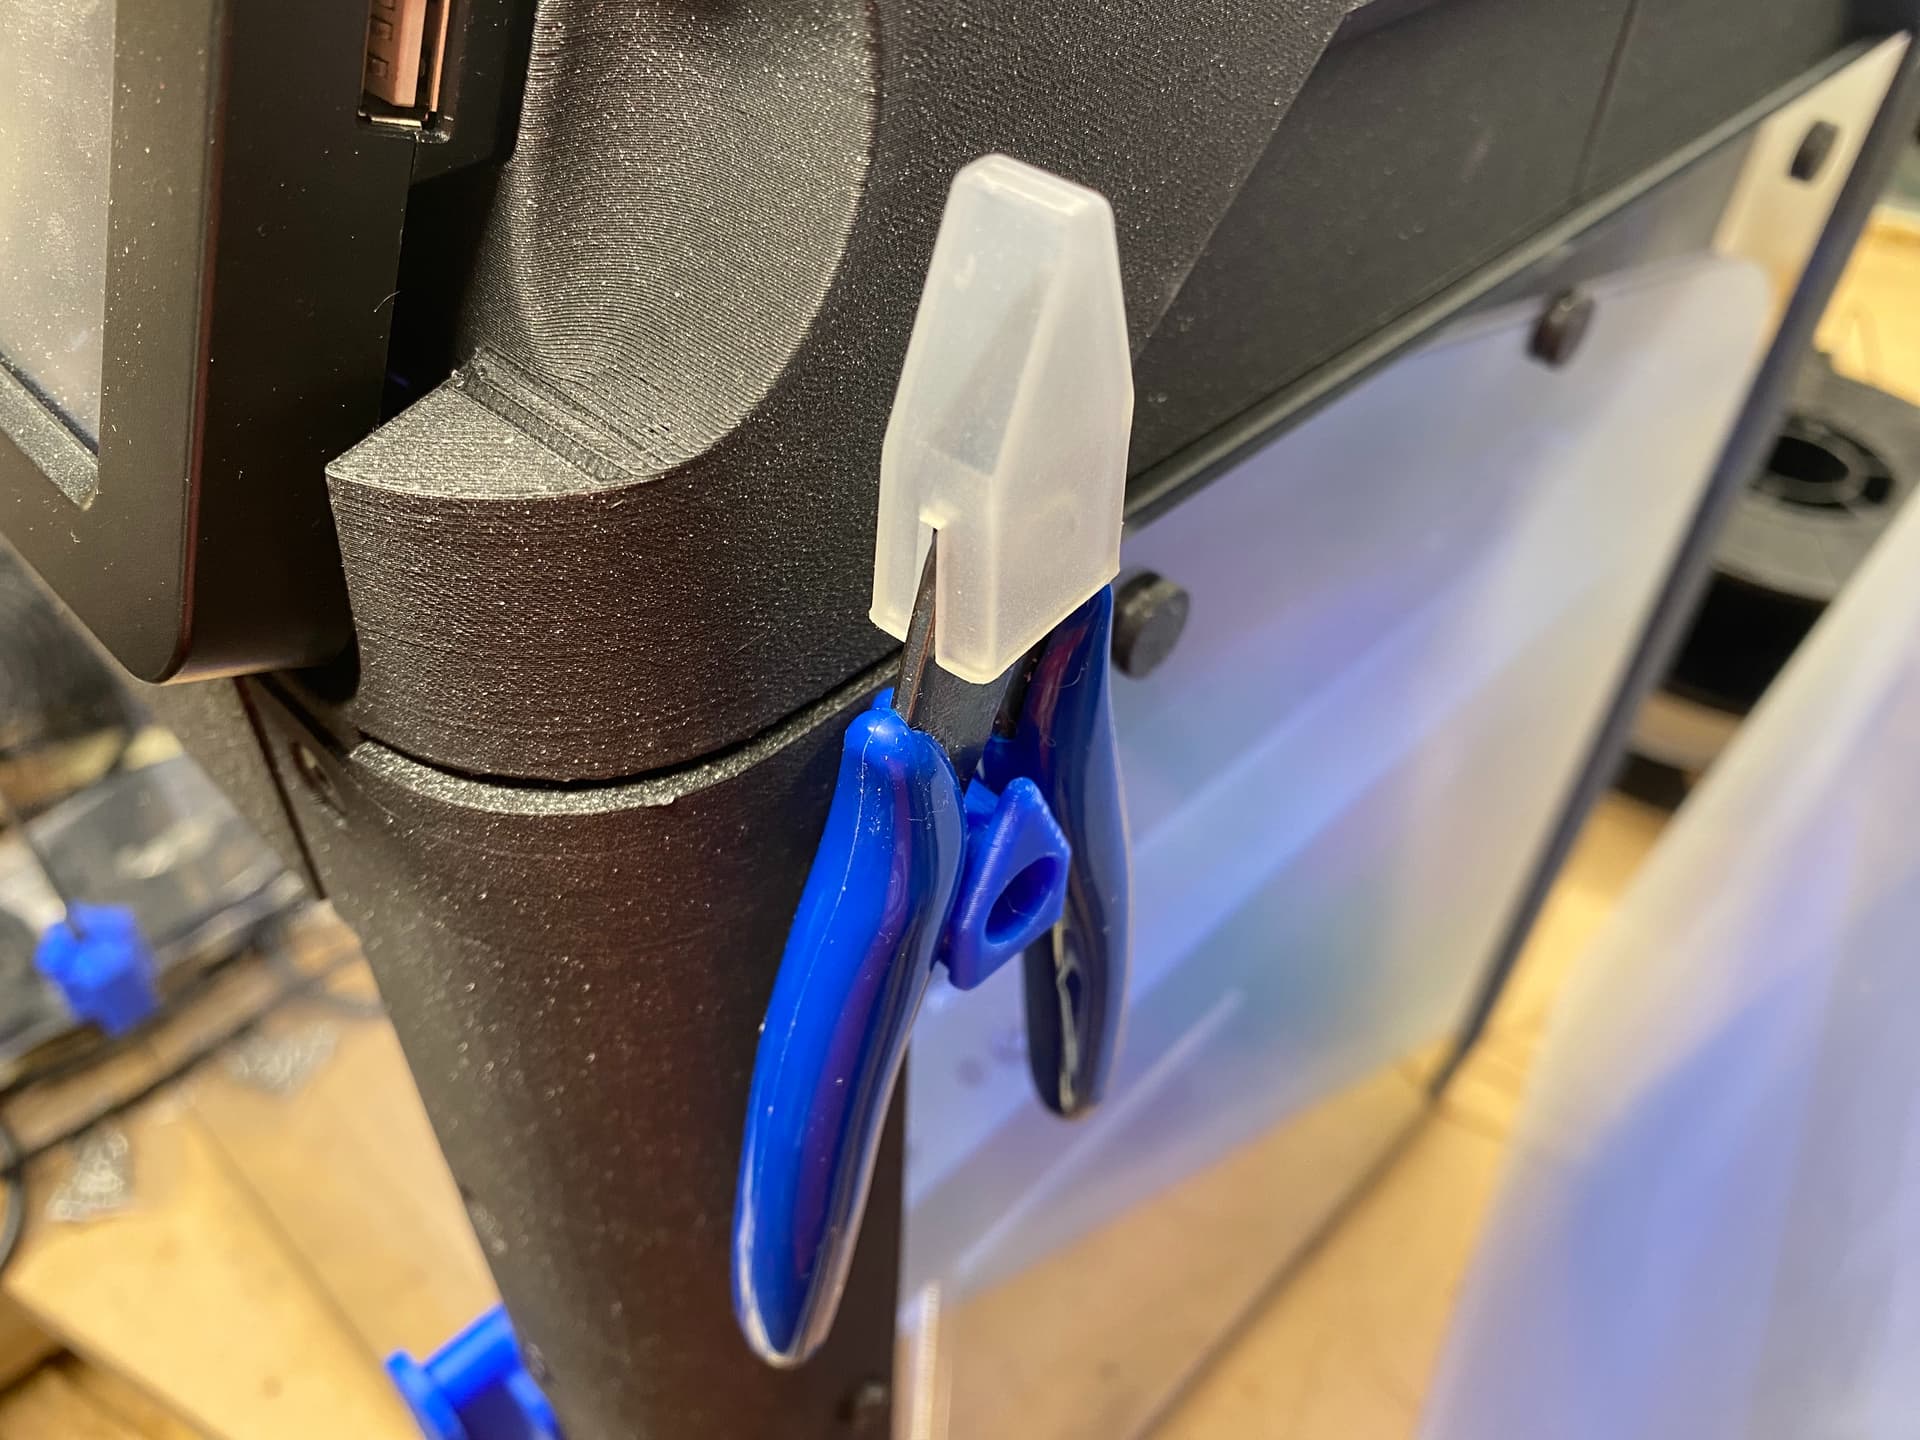
Side Cutter Mount adapted for use on the Flashforge Adventurer 5M (AD5M) with the DIY printed enclosure.
One model suits the front right or left, while another model suits the back right or left.
Choose front or rear (side mount on either), and then…
Print as oriented. No supports needed.
Remove the existing M4 screw holding the top of the printed guard. Replace it with a longer M4 screw so you can mount the holder. Suggest M4 x 10mm, but you may be able to use 8mm or 12mm.
1 Like
Flashforge Adventurer 5M (AD5M) IMPROVED Spool Holder, Inlet, Runout Sensor Mount + SIDE MOUNT Spool Holder

Note regarding the new side-mounted spool holder:
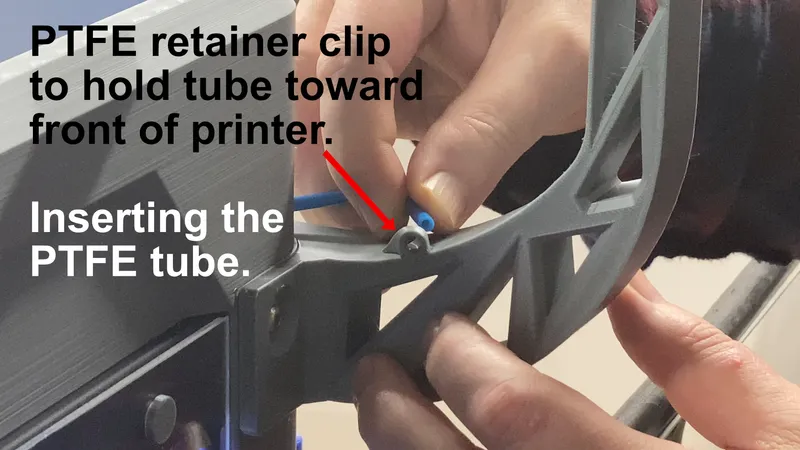
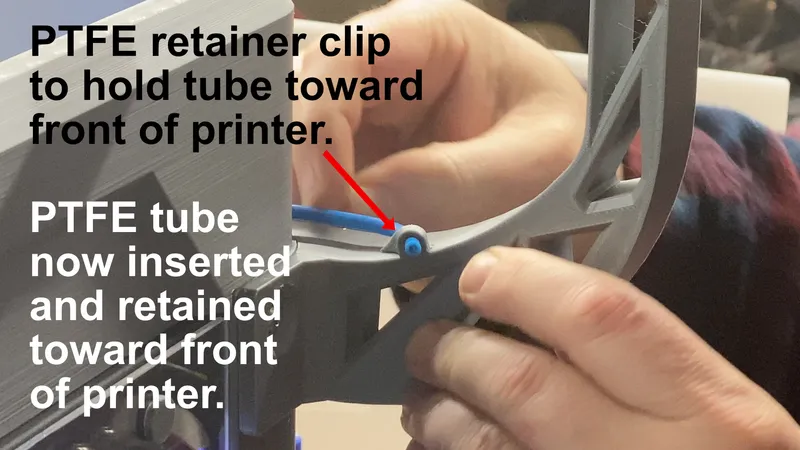
- April 6, 2024, PM - added new version of the side-mounted spool holder model with a built-in retainer clip on top to position the PTFE inlet tube toward front of printer for ease of reach when loading filament. Install your filament spools with the feed direction at the top pointed toward front of printer. Images below show the initial installation of the PTFE tube in the retainer clip.

So many improvements made here… Besides getting a nice option for a side-mounted spool holder, as opposed to the rear mounted one, here’s a list of changes / improvements to the original, and all things related to it:
Improvements made to original spool holder model that also provides mount for filament runout detection sensor:
- Adjusted orientation angle of the filament runout sensor to make loading filament easier. The original design required a bend to the PTFE inlet tube that caused a kink/crook at the point where where the tube gets attached to the sensor. While the sensor was mounted “normal” to the hole for the PTFE inlet tube, it’s offset from that hole to the right. This fix addresses that. I’m getting easier filament loading than before.
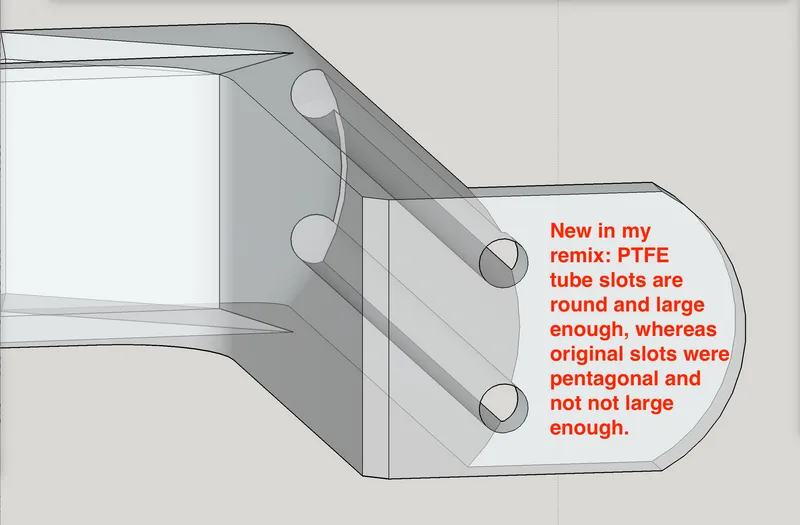
- Made the PTFE tube insert holes (for the spool to glide on PTFE tubes) to be round holes at correct size, instead of pentagonal holes that were too small for normal PTFE tubes. It was practically impossible to force the PTFE tubes in, without either using a heat gun to distort the printed part, which made it look bad, or by using a drill to widen the holes, which destroyed the retainer lips on the top edges of the slots. Presumably the holes were designed as pentagonal to reduce need of supports, but the long “knife edge” overhang requires supports any way, so why not make the holes properly sized?
- Widened the relief pocket and access hole for the wiring that connects to the filament runout sensor. I also bevelled several faces related to this relief pocket to reduce need of printed supports.
- Made some existing filets to be broader to get the whole spool holder part to fit easier on the AD5M print bed. This also slightly shortened the PTFE tube slots (for the spool to slide on) to exactly 82 mm. A key benefit of this design aspect was this goal it accomplished: Since the model print needs supports, and tree supports would be desirable and better for it, yet the larger original model was so near to the edges of the print bed that OrcaSlicer insisted on creating tree support bases located outside the print bed, and the job would not print (AD5M with Klipper mod would simply say “move out of range” and stop), by rotating my slightly smaller remix clockwise a bit, OrcaSlicer’s tree supports now fit on the print bed easily, including with a skirt set to print.
- Widened the gap through which the hotend control cable must pass, as it was tighter than necessary.
- Created a second remix in which the sensor mount/cable chain mount are separate from the spool holder, and the separated spool holder is made to be a “SIDE MOUNT” instead of a “REAR MOUNT.” This makes it easier to reach and load filament even if your printer is positioned such that you cannot rotate it (or you simply don’t want to rotate it).
Printing tips:
- Print as oriented.
- Tree supports are good for either of the spool holders.
- Selective support blocking can save some print time on the spool holders.
- I also like to do tree supports on the “Drag Chain Mount UPPER” for the transition from big hole to little hole.
- The new “Filament Sensor Mount + Drag Chain Mount LOWER” prints without need of supports.
Installation tips:
- When installing the new side mounted spool holder, with the DIY printed enclosure:
- Remove the screw from the printed guard (rear, right).
- Position the new side mounted spool holder on the upper side of the guard.
- Replace the screw with a longer M4 screw (probably M4 x 10mm or M4 x 12 mm).
- IMPORTANT: the screw needs to be really tight.
- Insert the PTFE inlet tube through the built-in retainer clip on top to position the tube toward front of printer, for ease of reach when loading filament.
- Install your filament spools with the feed direction (at the top) pointed toward front of printer.


Change log
- April 6, 2024, AM - initial upload of the remix work.
- April 6, 2024, PM - added new version of the side-mounted spool holder model with a built-in retainer clip on top to position the PTFE inlet tube toward front of printer for ease of reach when loading filament. Install your filament spools with the feed direction at the top pointed toward front of printer. Images below show the initial installation of the PTFE tube in the retainer clip.
Other cool options for the AD5M
You may also like my other AD5M related design work:
Use Klipper stuff on AD5M stock hardware…
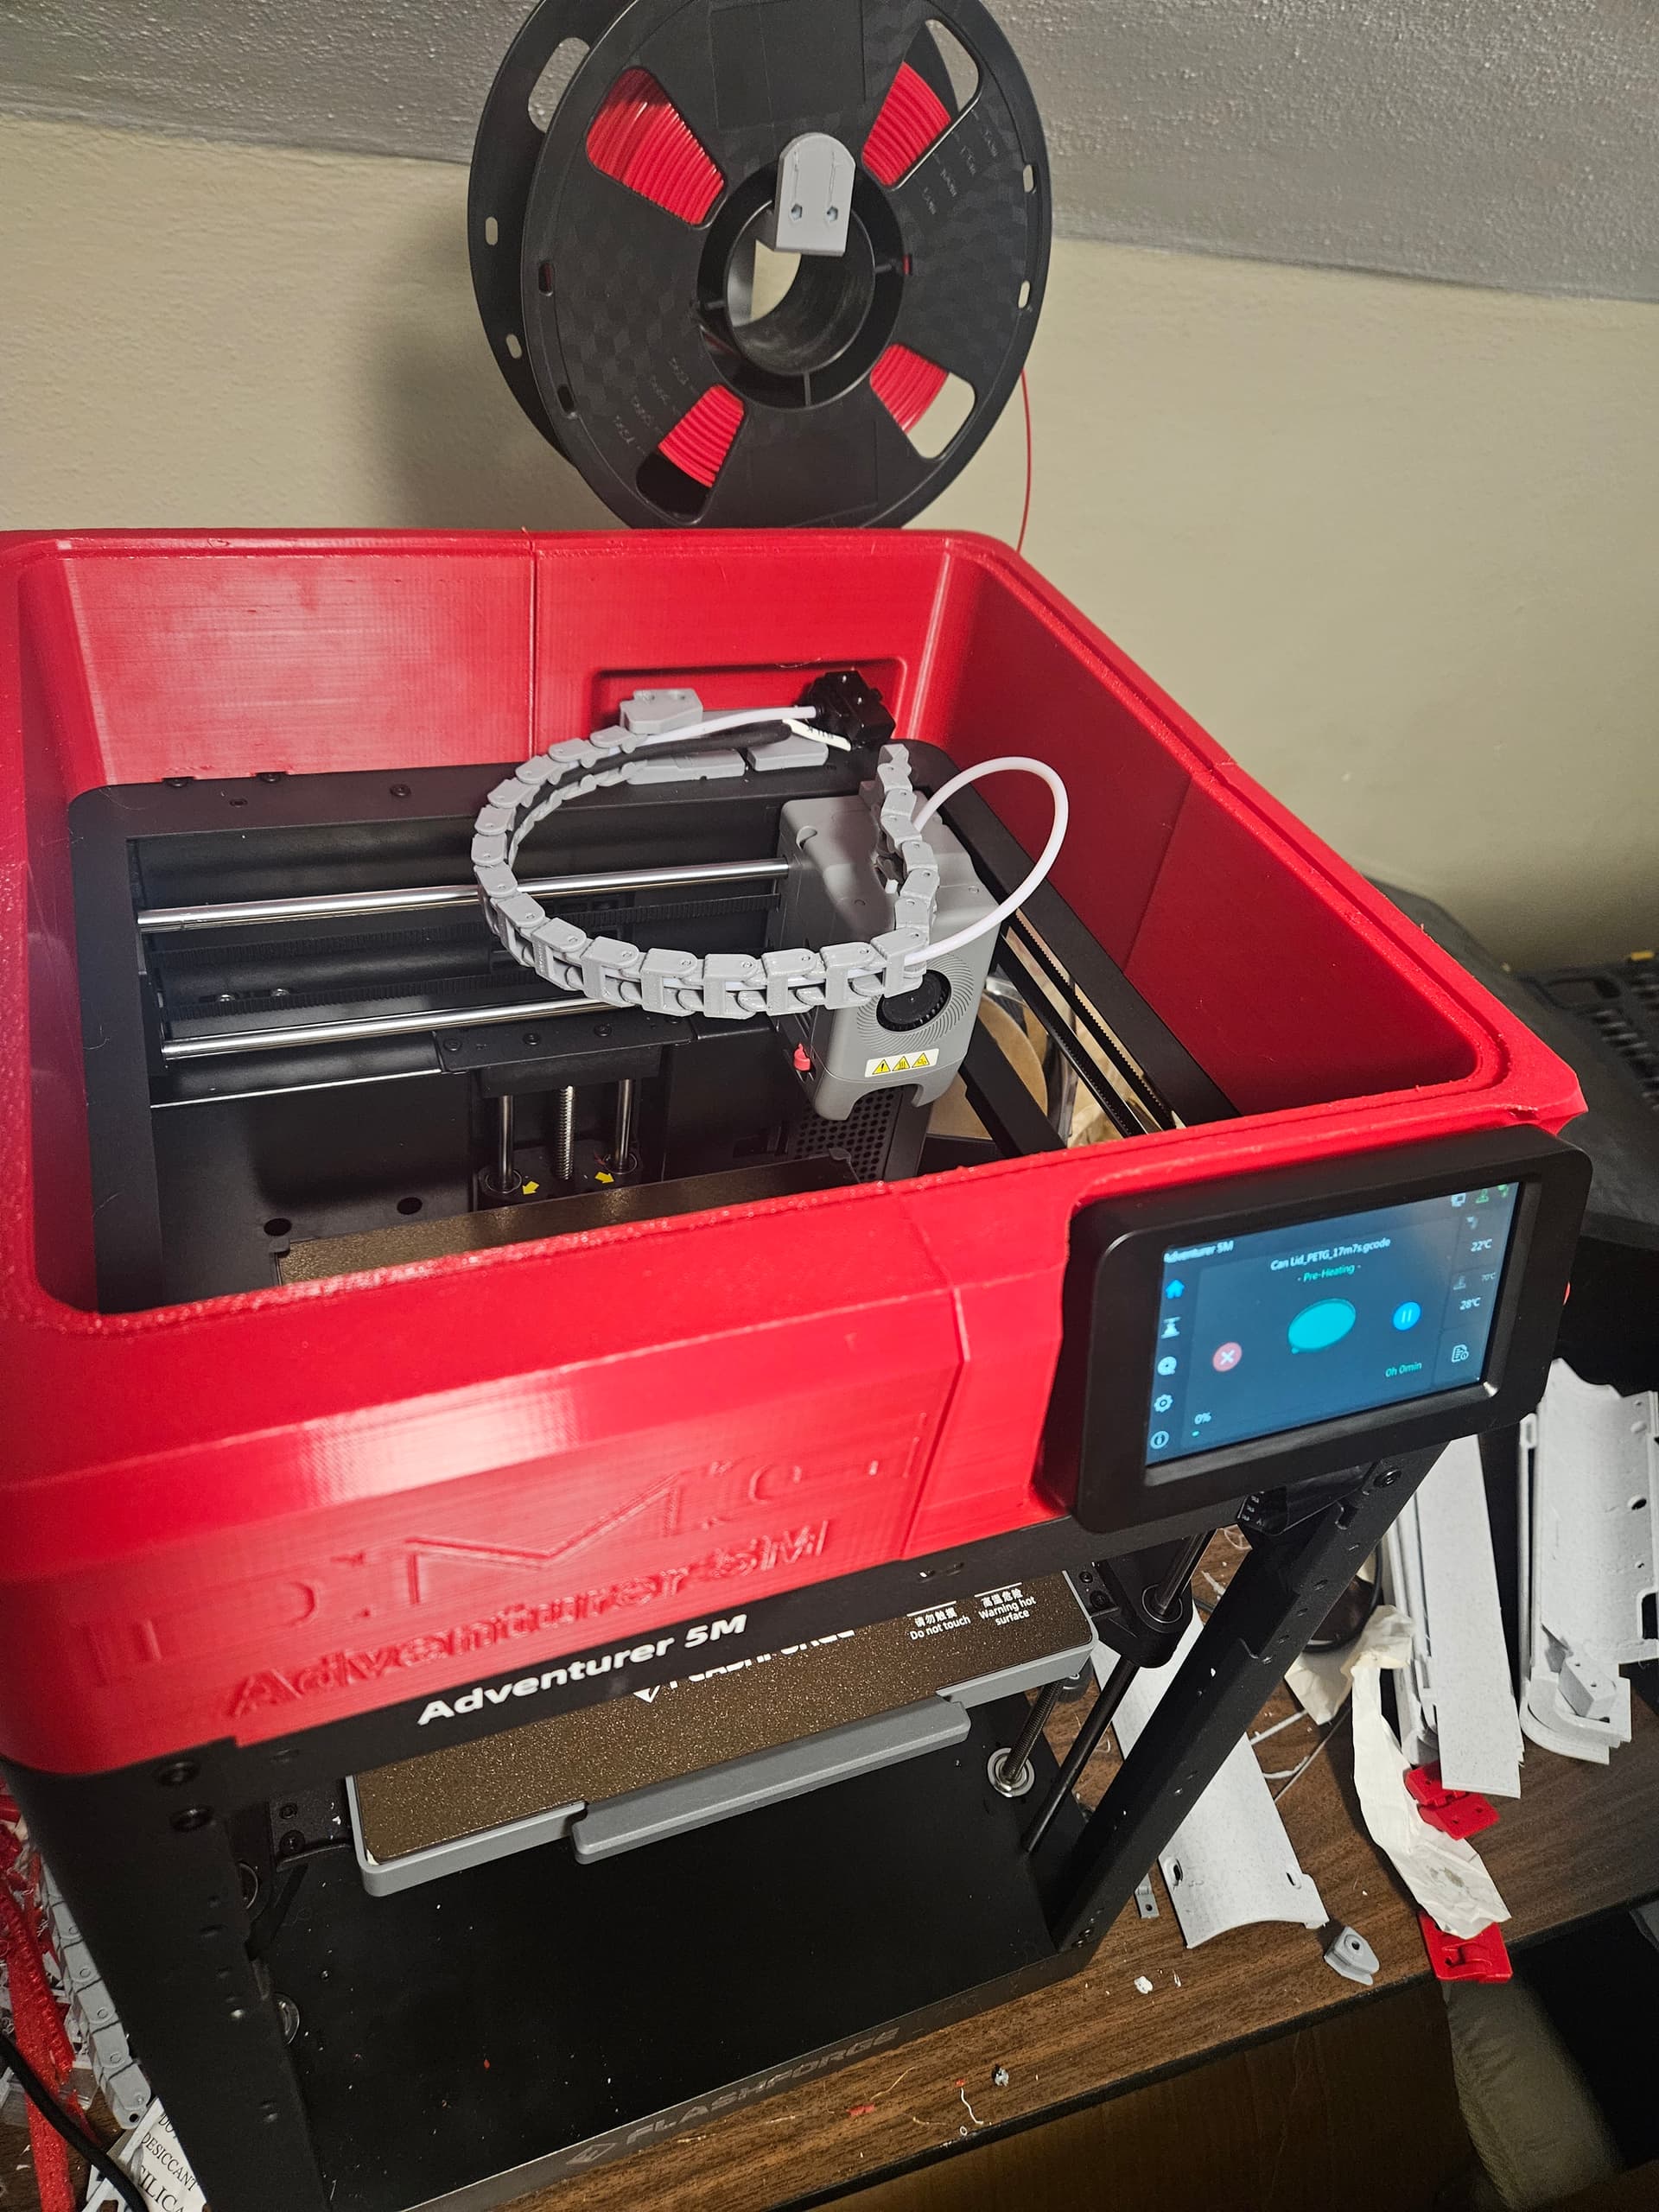
- …such as Mainsail, Fluidd, and Klipperscreen, etc, with the stock Klipper install on the AD5M’s main board, as shown in the first image above.
- Get it here: GitHub - xblax/flashforge_adm5_klipper_mod: Unoffical mod for Flashforge Adventurer 5M (Pro) 3D printers to run Moonraker, custom Klipper, Mainsail & Fluidd
Check out other cool AD5M related options here:
My PayPal tip jar: https://paypal.me/design8studio
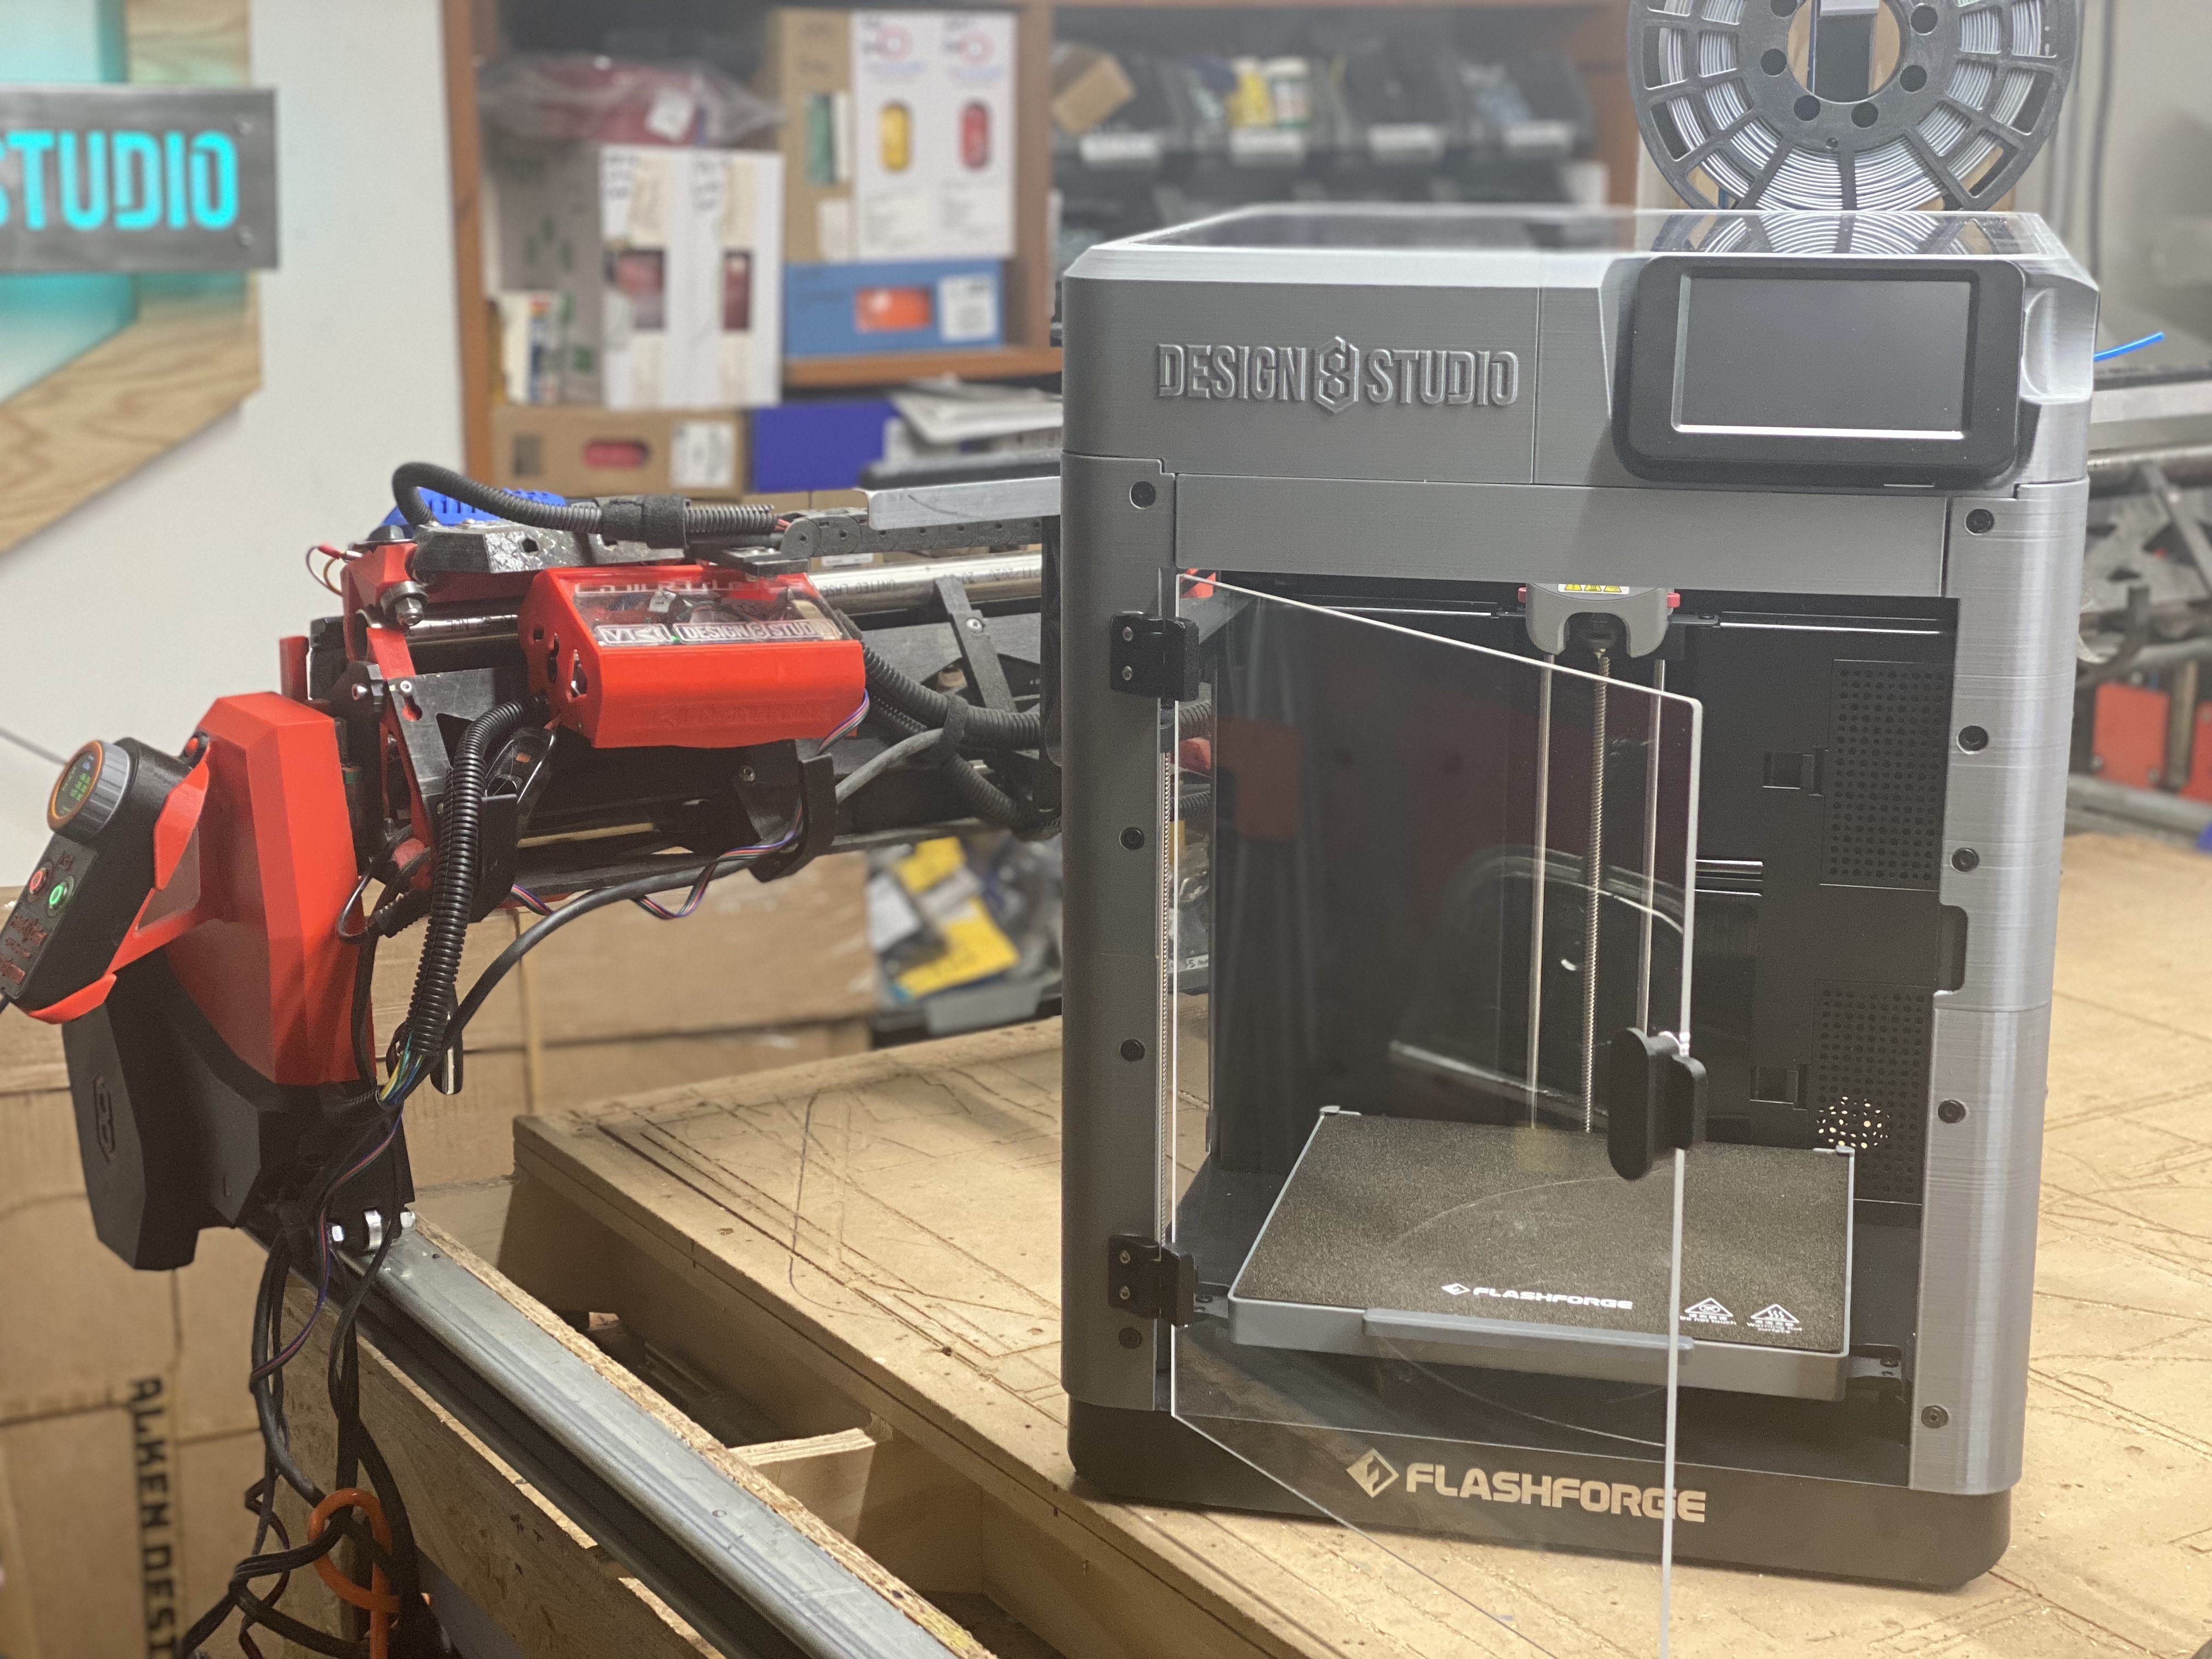
Well, mostly based on this thread, I bought one of these. The promise of printing speed sold me, but the print quality looks pretty good, too. I’m hoping for good things.
This doesn’t change plans for building an MP3DPv5 when I can buy parts…
2 Likes
…and it arrived. Go Amazon.
Ran through its setup song & dance.
It’s connected to the network, but I can’t seem to transfer files to it other than sneakernet with anything but FlashPrint, which isn’t what I’m used to. Installed Orca Slicer, which is close enough to PrusaSlicer, and found the profile for it, but transfer seems to be only by USB key. Ugh. I’d much rather have network connectivity. Not so much a fan of FlashPrint so far, but it seems to work, and will transfer over network. I left everything at defaults so far, I’ll play with settings later.
Printed a calibration cube (because it does that on first boot) and a benchy which looks good, but since it’s actually my very first benchy print, not much to make direct comparisons to.
We’ll see how I end up using it. Not sure that I want to print an enclosure, but … maybe.
2 Likes
In the recent 2.0 version of orcaslicer, they included a new choice in the Wi-Fi drop down for Flashforge. It’s supposed to be able to do Wi-Fi upload of print files from AD5M. My understanding is that it works. I haven’t done it myself because I did the Klipper mod.
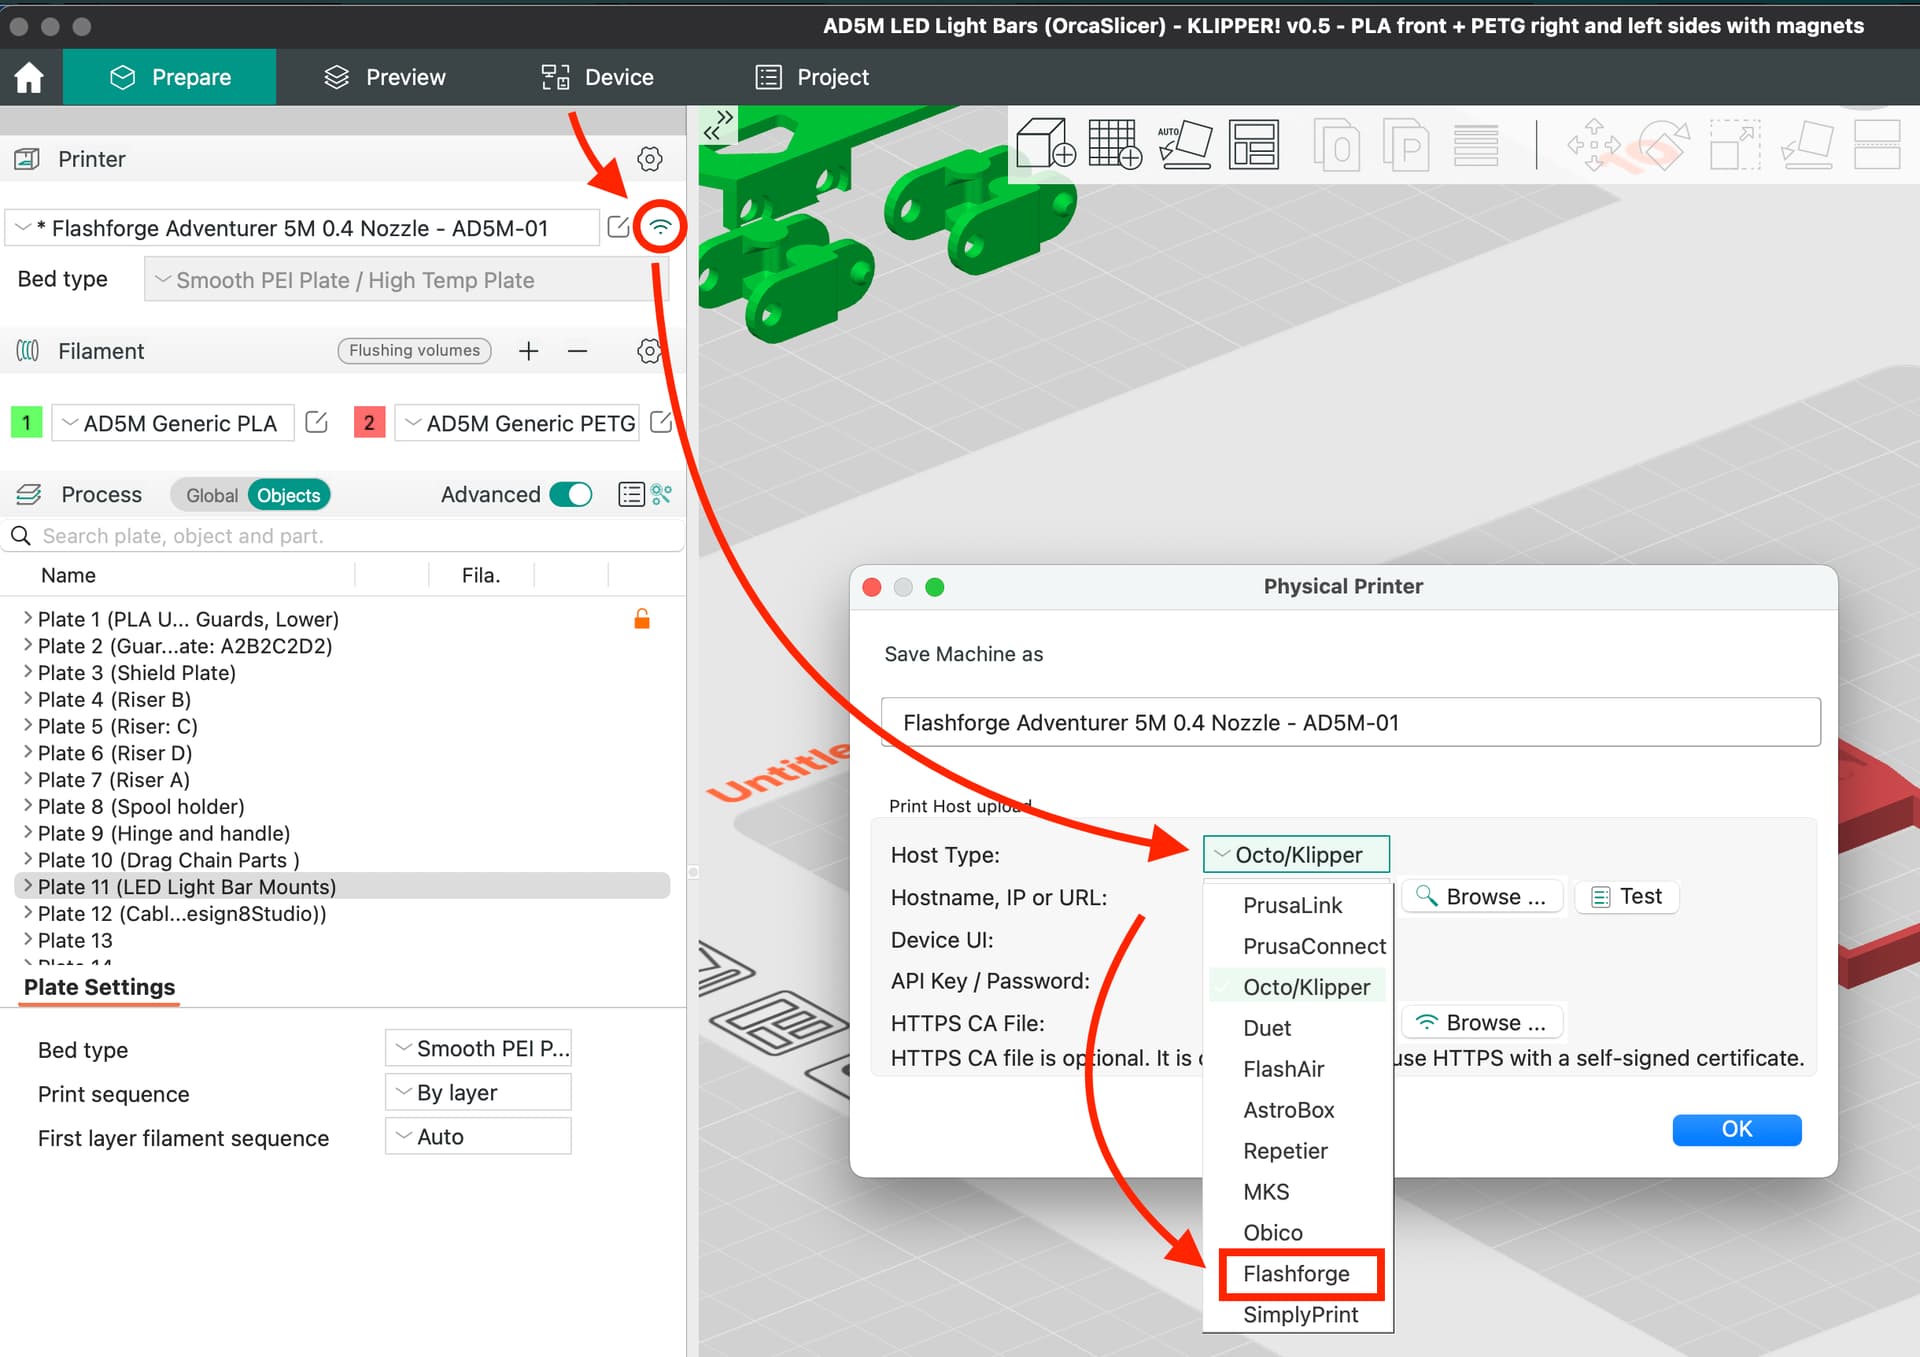
I initially installed Orca Slicer without the Bambu lab network driver. I followed the Github instructions to set all the values.
When I did install it, there was no problem to upload via LAN.
Mike
1 Like
Thanks. I probably would have found that eventually, but hadn’t without the extra hint. It was looking for an Octoprint server by default. I have enough old RPis around to justg do one up, but I wanted to be able to start them from the LCD as well.
I am considering installing klipper, but if the firmware as-is works, and gives me the features that I want, I’m happy enough to leave well enough alone.
Basically, I want to be able to upload files from my desktop. Nice to haves would be check print progress from the desktop maybe be able to start print projects, but I’m okay with starting them from the LCD.
I didn’t get the camera, but maybe I will, and add some LED lighting.
Next is to see how it handles TPU.
1 Like
The OrcasSlicer option to upload has two choices: upload or “upload and print” which the latter does start the print.
1 Like
So I purchased one and been loving the print quality. Did the klipper mod and struggling to get the first layer nailed in. When ever I change the z_offset setting I dont think it applies it. I was doing the z offset adjustment with the built in GUI and it wants to update the endstop position and that fixs my issue but when I do the same math and put a new z_offset in the printer config the printer goes back to not printing in the correct z height. Is that setting only applied if the printer “probes” to acquire a z=0? Saw a question on it in GitHub too and seems like a similar situation for someone else. Anyone else have this issue? I’m not meshing every time for additional context.
I also don’t redo the mesh probing for every print. Whenever I do the “Z Calibrate” menu option on Kipperscreen (from main screen, “More” (settings icon), then “Z Calibrate”), I had asked if I am supposed to be doing the “make it touch a piece of paper trick” and the answer in the Github discussion was yes. But that got me loose first layers. So I tried going “tight” on that paper instead of merely barely scraping, and it seems to have helped. I don’t have a set of feeler gauges.
I am starting to think the klipper mod isn’t worth it to me… I’m pretty happy with the “hit print and walk away” functionality, but could wish for better reporting. Even a web browser report of machine position, or percentage job complete, but not having to mess with Z calibration is one thing that I like about thjs printer.
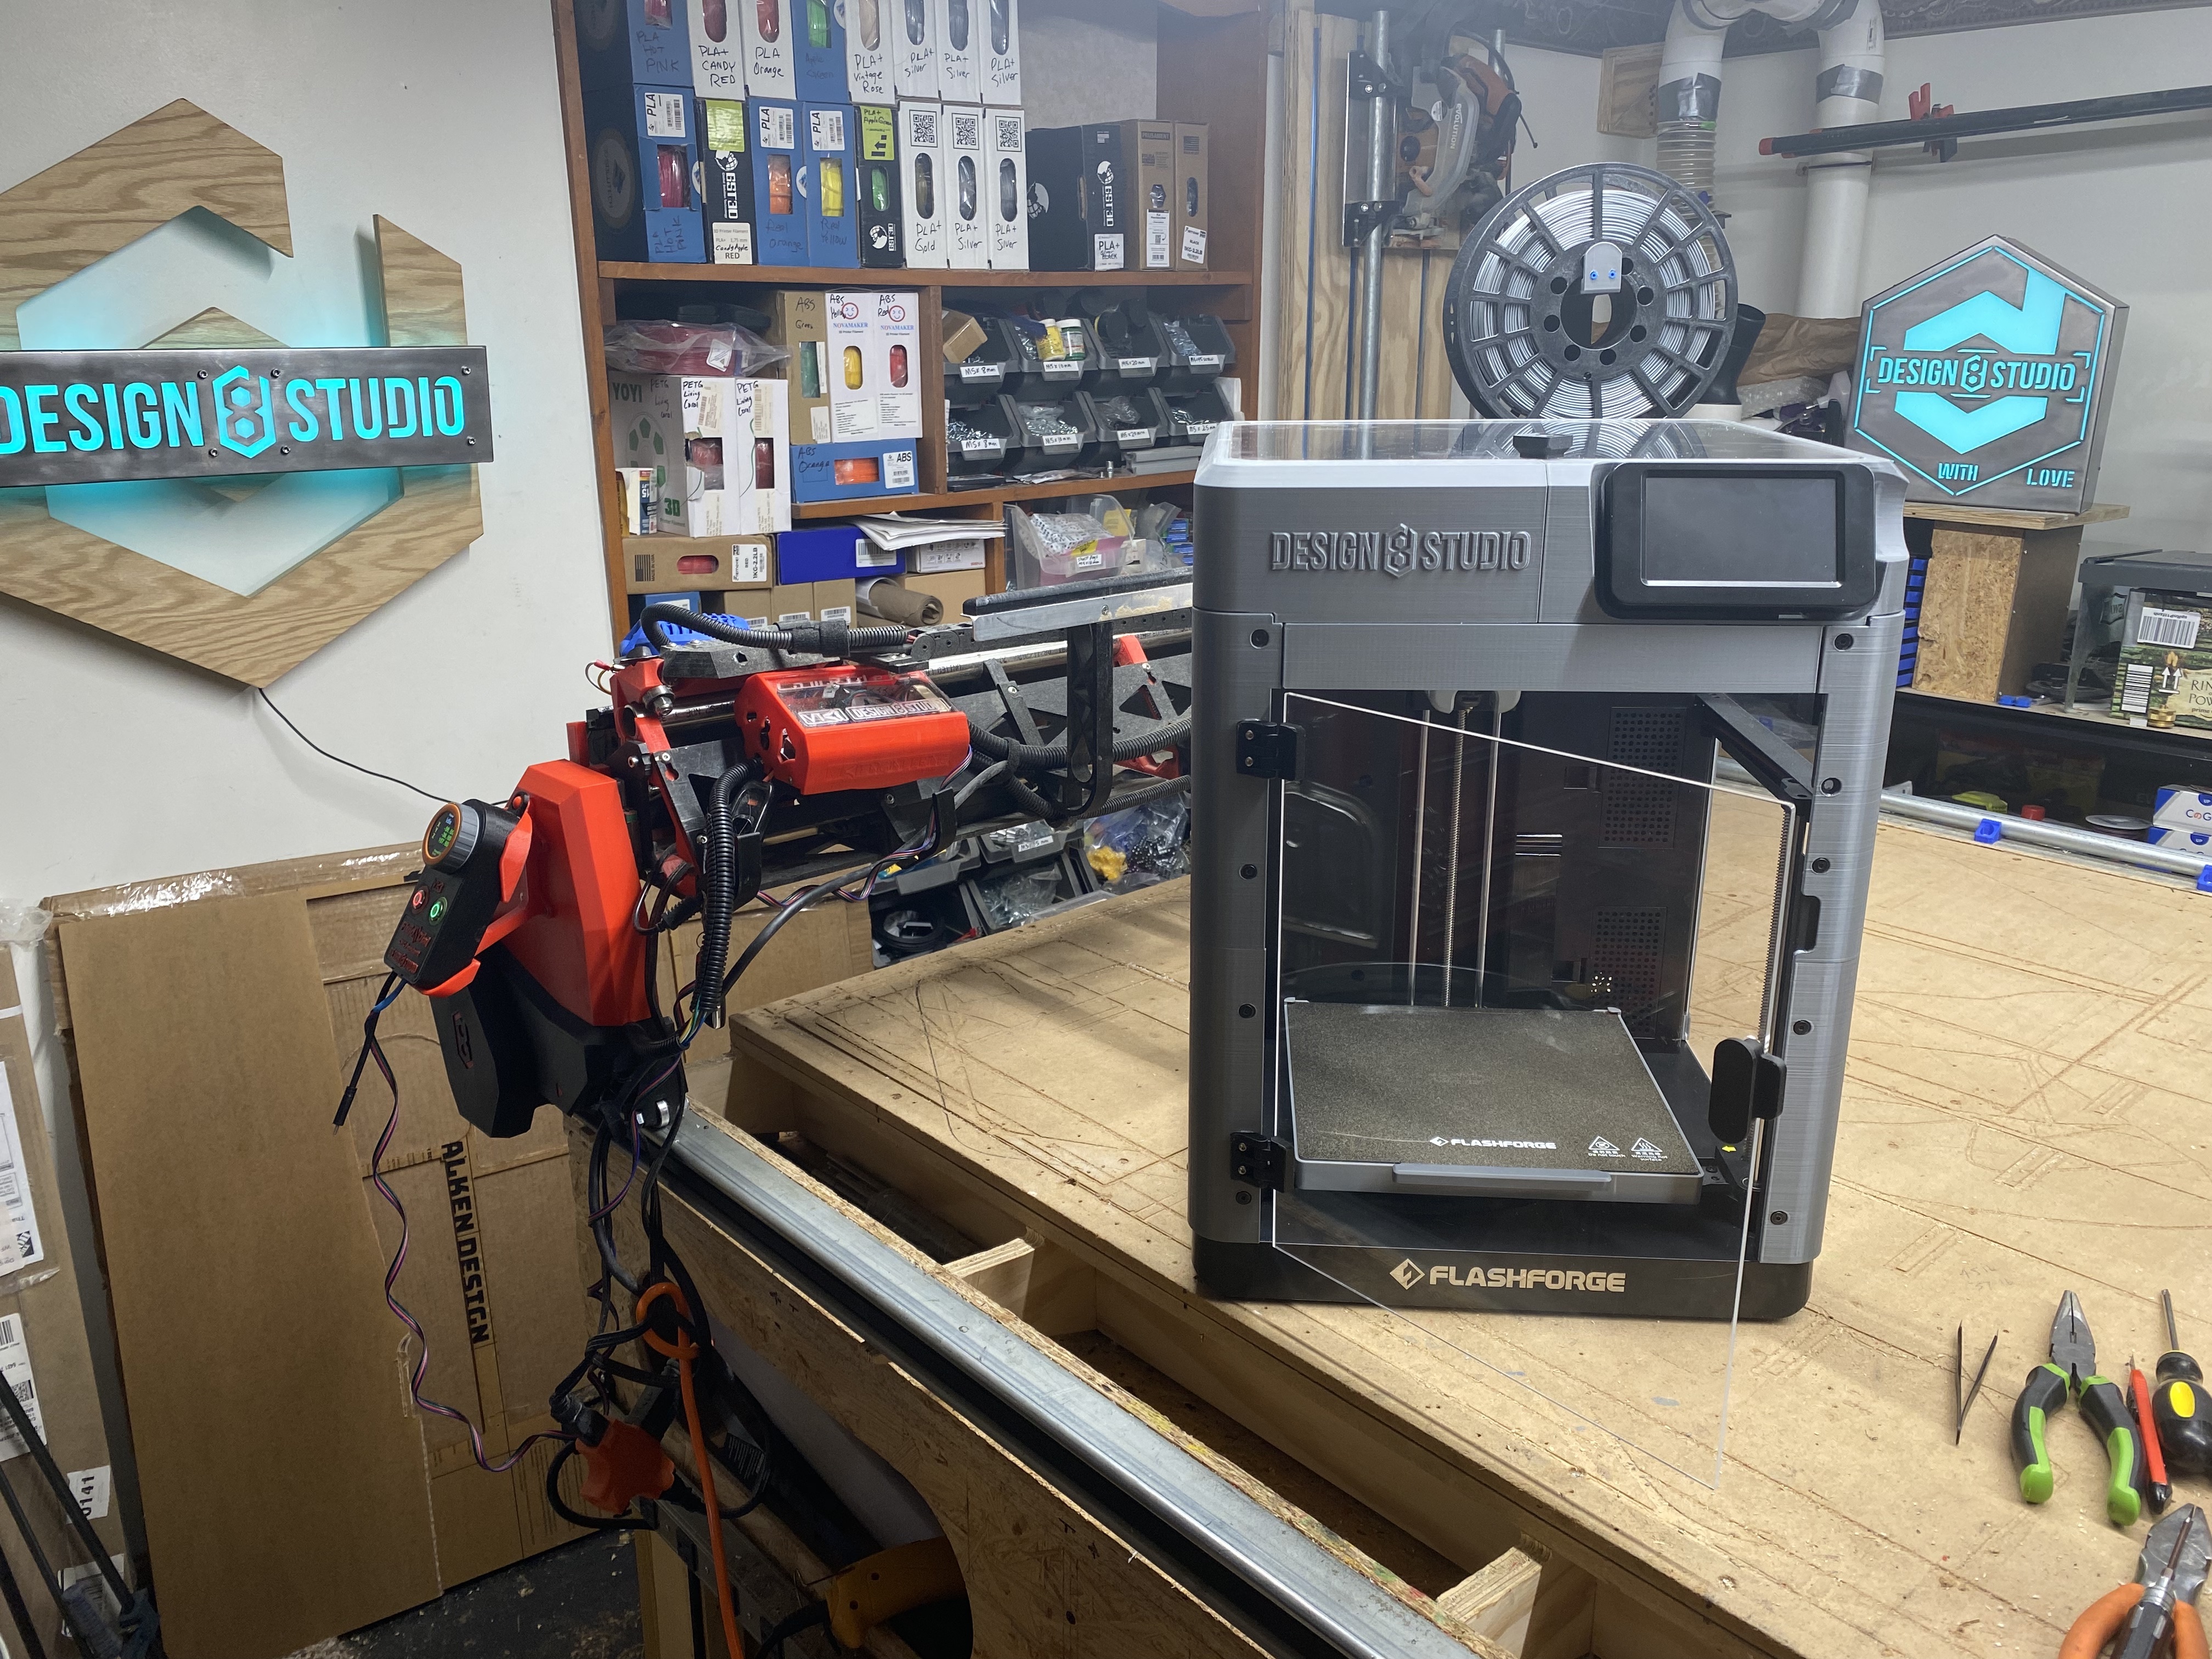
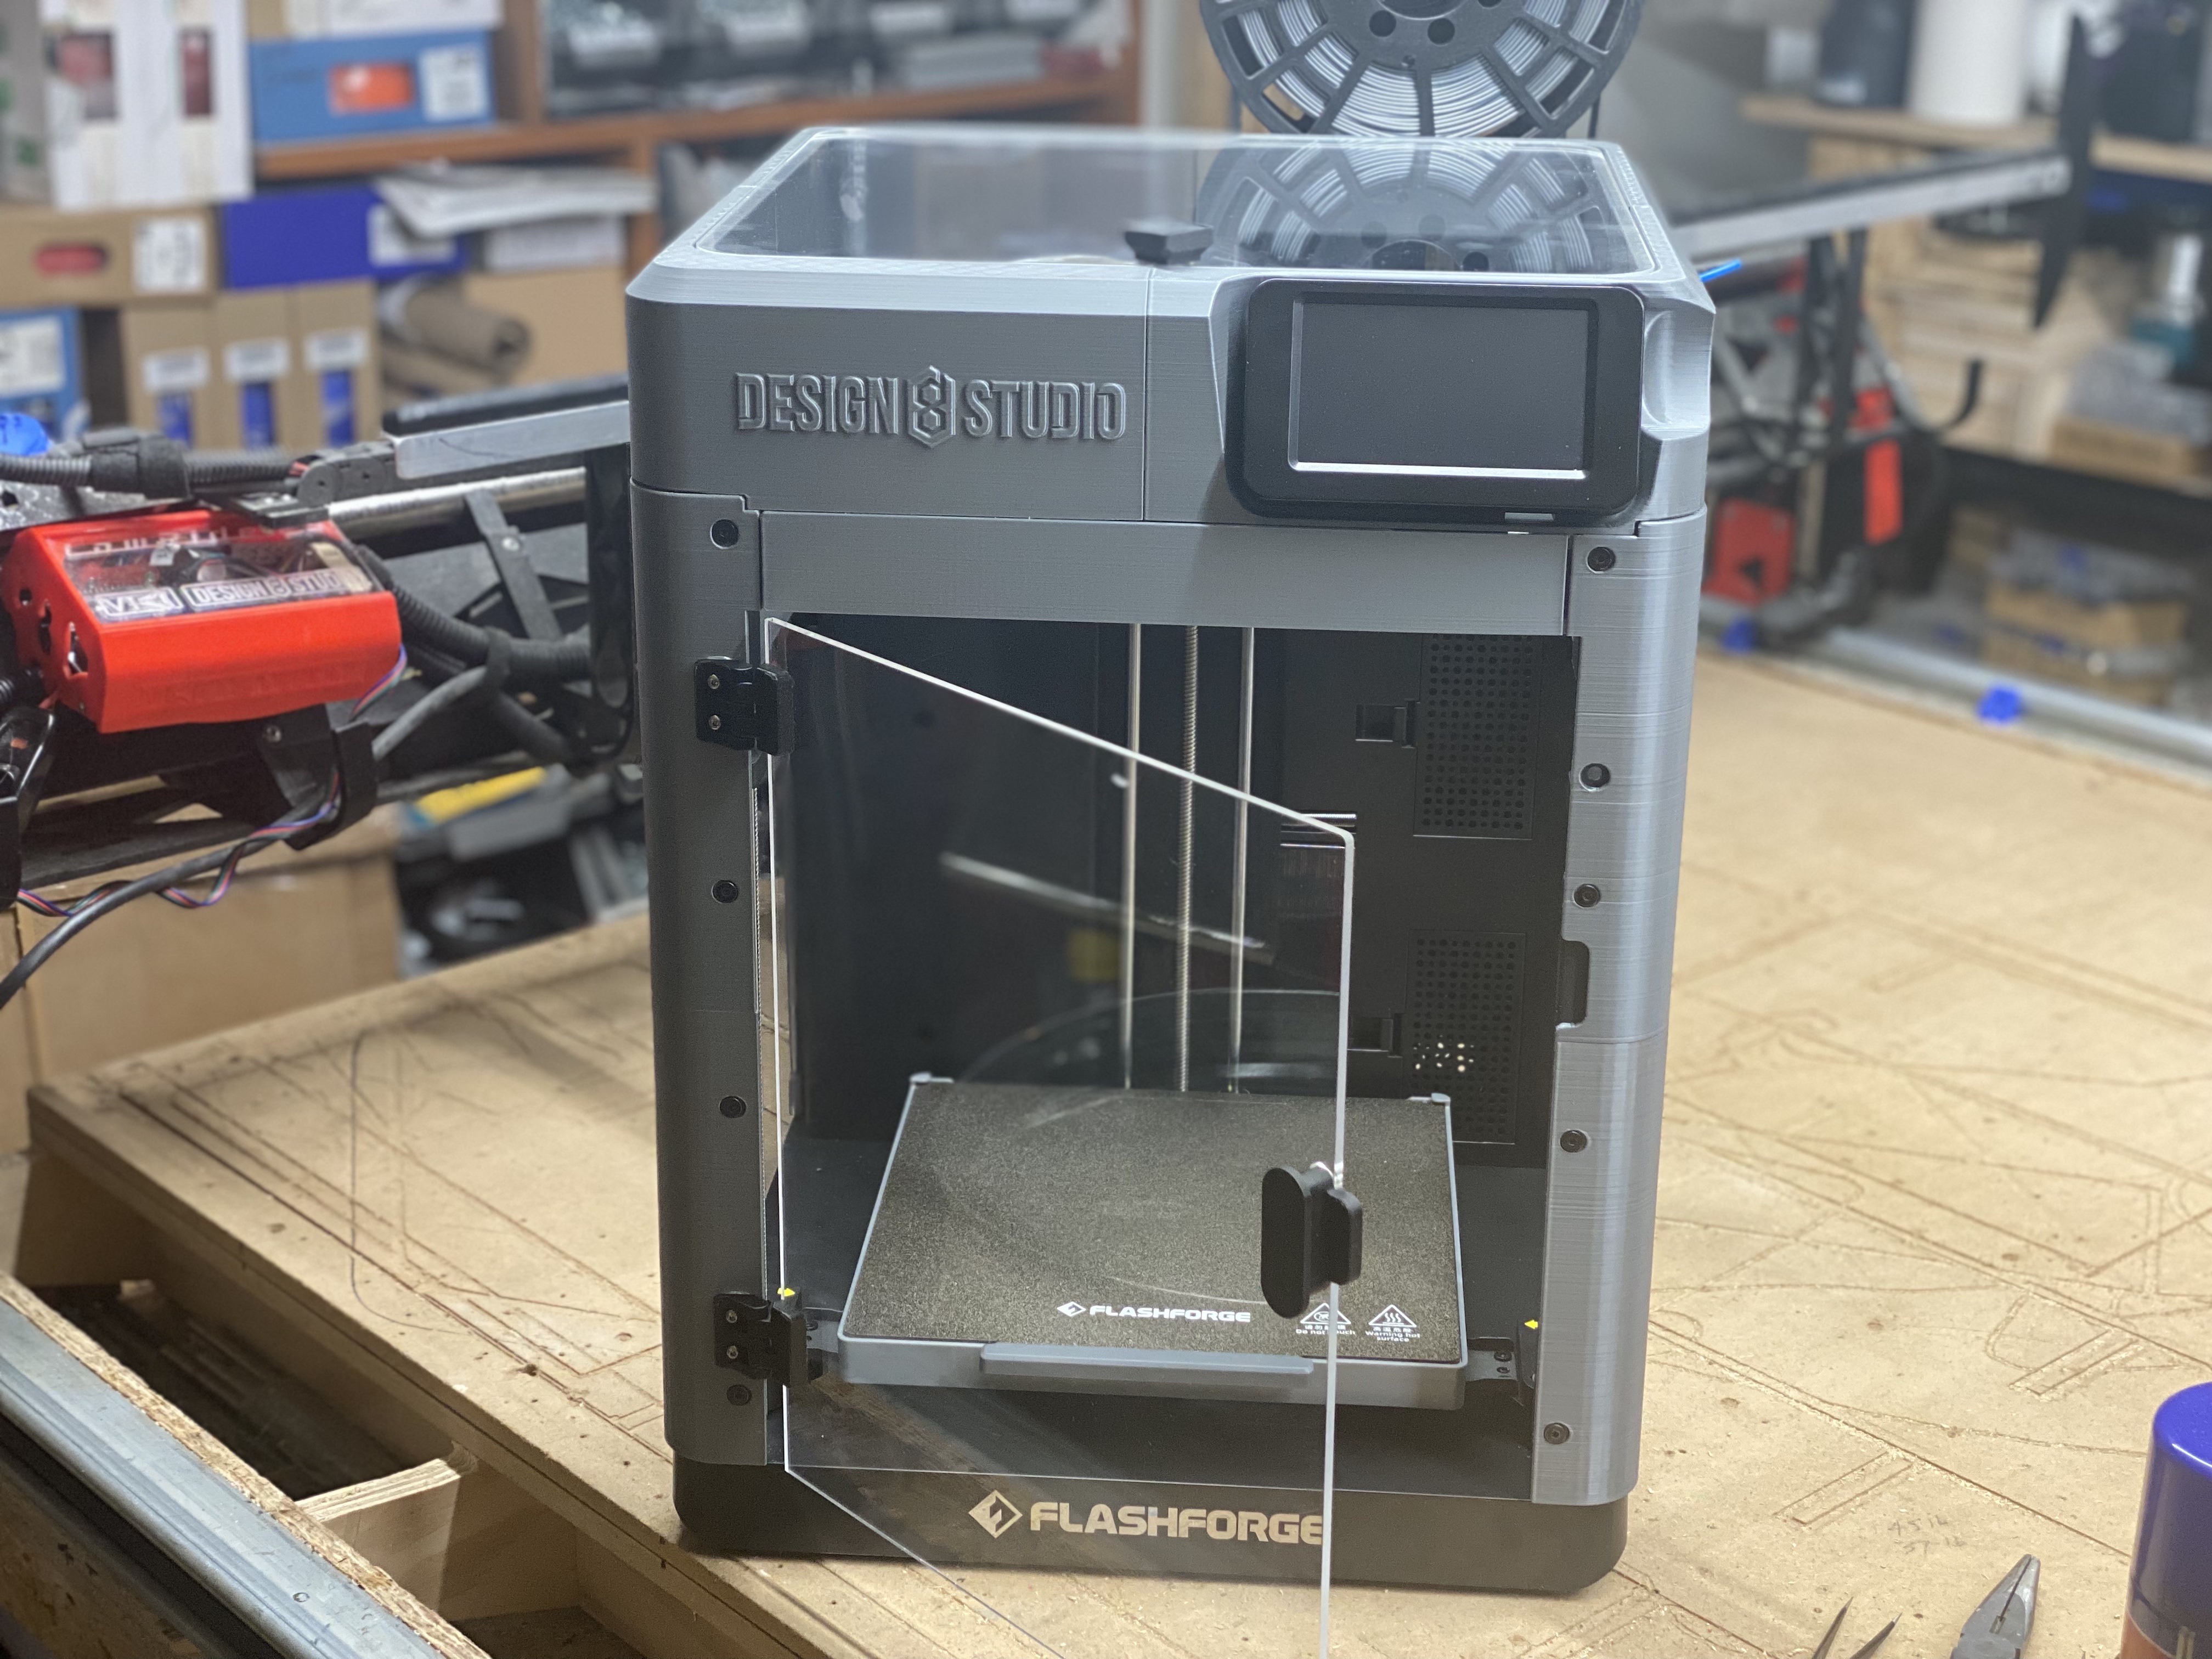
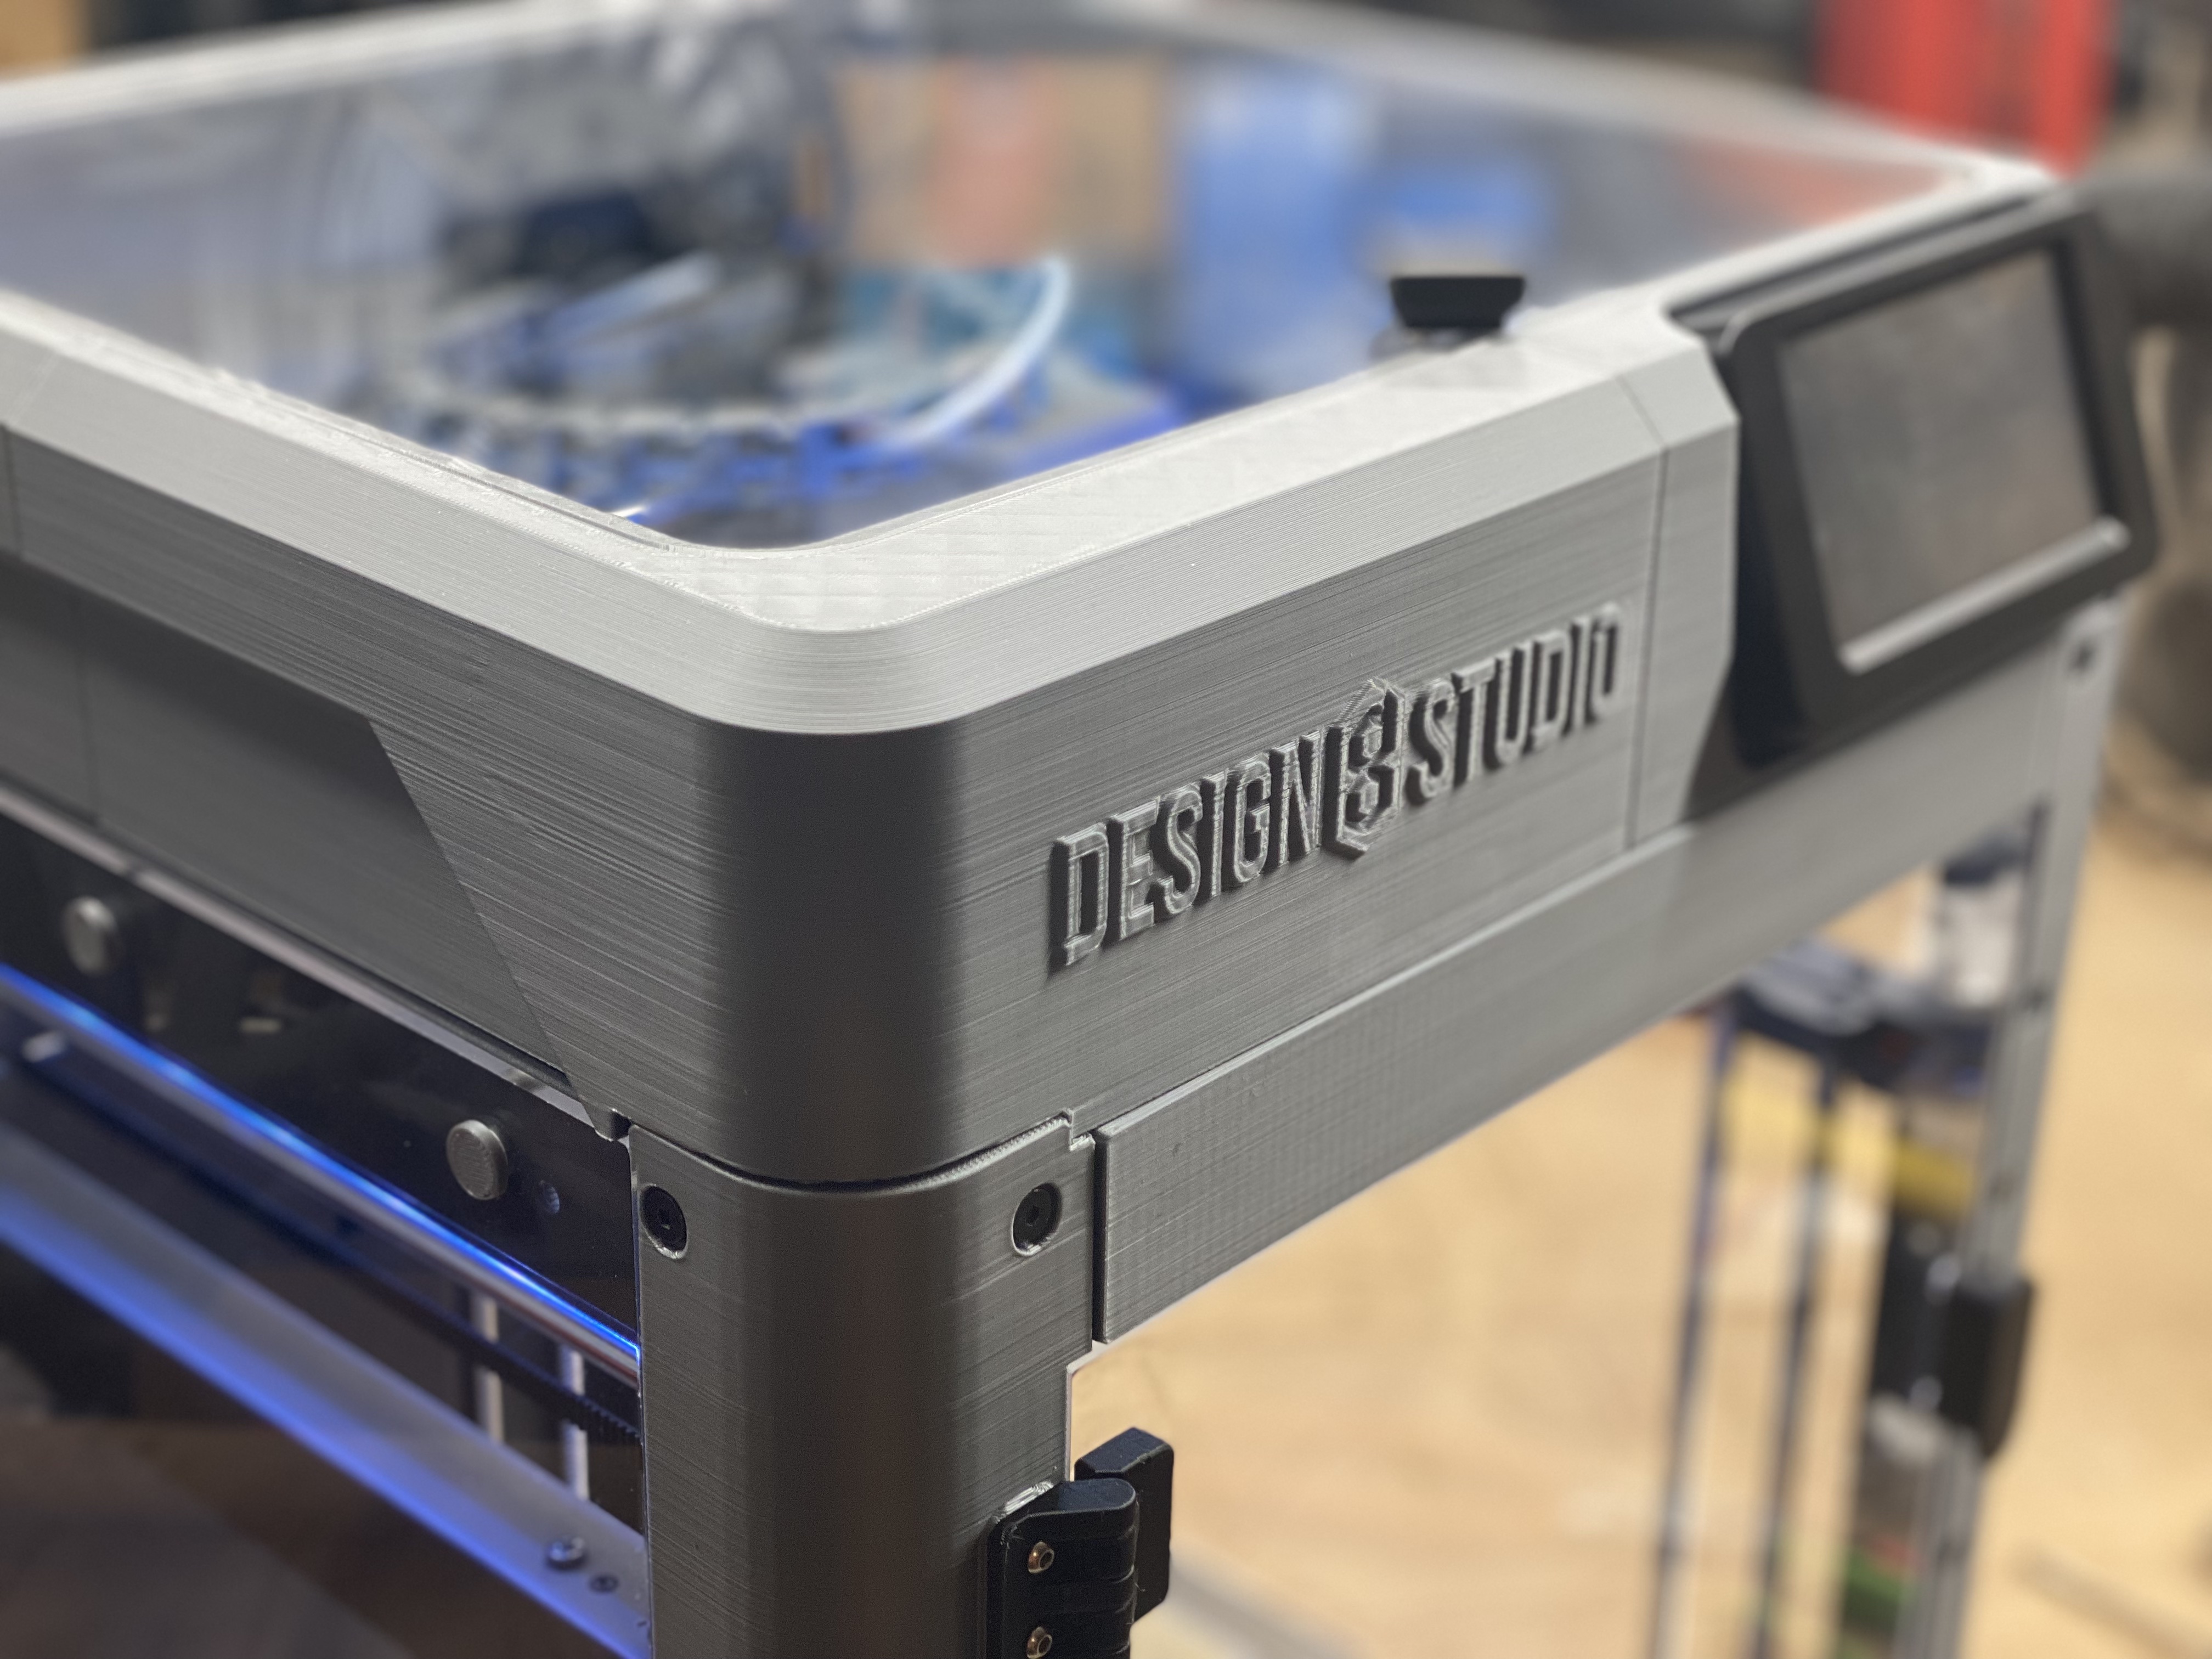
I have the top of the case mod installed. I drew up a .DXF of the side panels, but not looking forward to cutting them with a 1/16" mill. I suppose that 1.5mm radius corners instead of 1mm radius wouldn’t hurt in the bottom sides, but there’s also the fact that cutting acrylic makes such a mess… maybe I’ll get them laser cut…
Edit: (photo)
The 5mm magnets are coming via Amazon today.
1 Like
I highly recommend laser cutting on the acrylic panels.
Re. Z calibrate, once it’s done, it should not need messed with again. I’ve not had to touch it once I got it.
Now that I found a solution (all though I dont think its the correct solution) I haven’t had any first layer issues. Just nice being familiar with klipper on all my machines.
1 Like
Yet another great improvement to an already great printer:
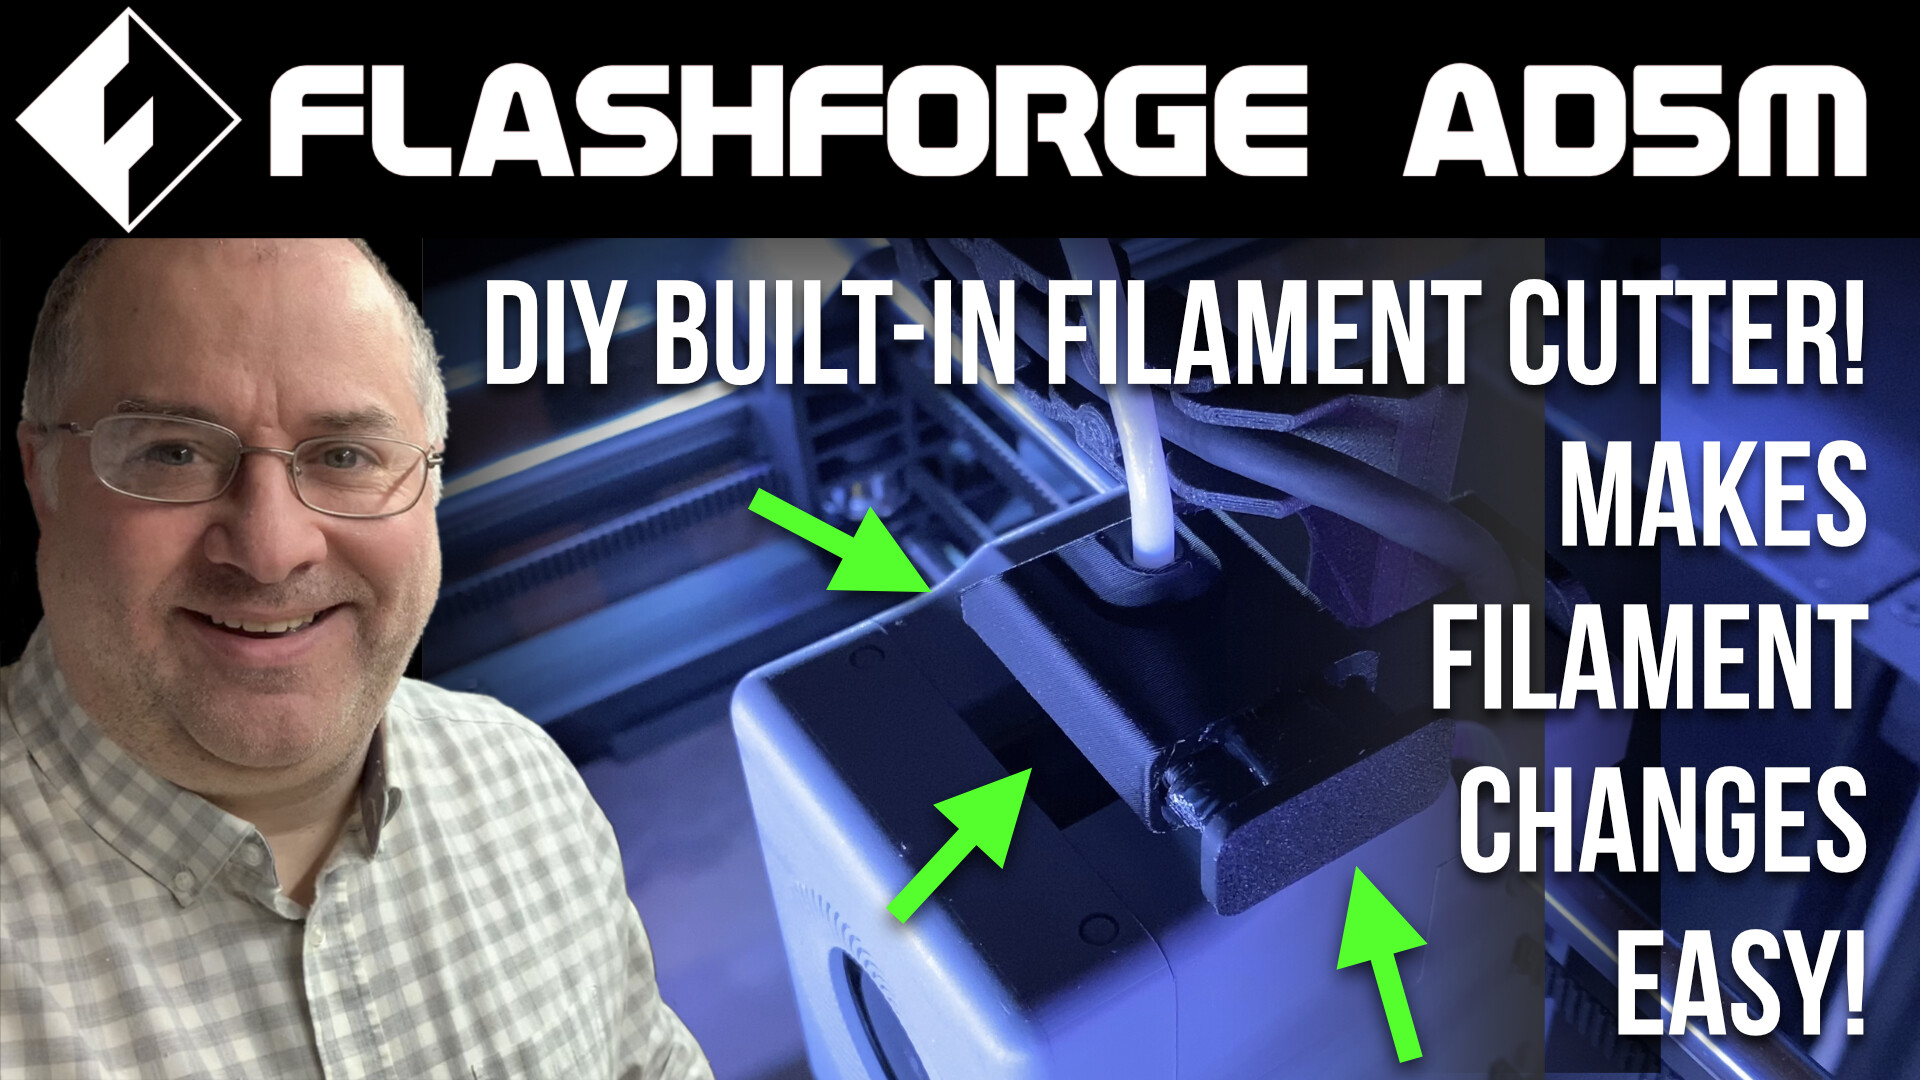
Printables link:
https://www.printables.com/model/886714-flashforge-adventurer-5m-ad5m-filament-cutter-comp
Assembly Video
This assembly video is good. I did not make it, but it’s quite valid for my remix too. It’s one that mine is based on:

Installation Video
 Filament Cutter, compatible w DIY enclosure w my drag chain terminal")
Instructions for assembly and installation
Assembly
- Print both parts (cutter body and cutter button). If you are unsure which button to print, go with the medium one, marked 0.7 slot.
- Take one piece of snap-off blade and put it into upper part. Use some pliers to avoid an injury. There is a small mark near blade pocket which shows you where the tip of the blade should be. Additionally you can use super glue to fix it in position.
- Put both screws into the holes.
- Put ball point pen springs into the holes.
- Place the button on the main cutter body and press it fully.
- Tighten the screws. Be careful not to over tighten.
- Release upper part and check if blade is not visible inside the filament hole. If it is, then loosen the screws a little bit.
- It is recommended to put some lubricant inside to keep the mechanism running smoothly. Here’s an affiliate link to some lithium grease, which is a good choice.
Installation without DIY enclosure
- Withdraw the PTFE tube from the AD5M extruder / hotend assembly.
- Cut the existing filament using your side cutters that came with the AD5M.
- Insert the assembled filament cutter, with the button facing to the left.
- Insert the PTFE tube into top of the new cutter.
- If the PTFE tube is now too long, cut some off, and then reinsert.
Installation with DIY enclosure, assuming you are using my drag chain termination part available here
- Loosen and remove the two screws that hold the drag chain termination in place. Save the screws for re-use. Temporarily place the drag chain termination to the side.
- Withdraw the PTFE tube from the AD5M extruder / hotend assembly.
- Cut the existing filament using your side cutters that came with the AD5M.
- Insert the assembled filament cutter, with the button facing to the left.
- Insert the PTFE tube into top of the new cutter.
- If the PTFE tube is now too long, cut some off, and then reinsert.
- Reinstall the drag chain termination using the two screws you saved.
Other cool options for the AD5M
You may also like my other AD5M related design work:
https://www.printables.com/model/785667-flashforge-adventurer-5m-ad5m-simpler-easier-faste
https://www.printables.com/model/813334-flashforge-adventurer-5m-ad5m-printed-camera-mount
https://www.printables.com/model/814546-flashforge-adventurer-5m-ad5m-nozzle-storage-box-t
https://www.printables.com/model/827706-flashforge-adventurer-5-ad5m-led-mod-accessory-buc
https://www.printables.com/model/828632-flashforge-adventurer-5-ad5m-led-light-bars-mod-ac
https://www.printables.com/model/834011-flashforge-adventurer-5m-ad5m-side-cutter-mount-v1
https://www.printables.com/model/834097-flashforge-adventurer-5m-ad5m-improved-spool-holde
https://www.printables.com/model/886714-flashforge-adventurer-5m-ad5m-filament-cutter-comp
Use Klipper stuff on AD5M stock hardware,
…such as Mainsail, Fluidd, and Klipperscreen, etc, with the stock Klipper install on the AD5M’s main board, as shown in the first image above.
Get it here: GitHub - xblax/flashforge_ad5m_klipper_mod: Unoffical mod for Flashforge Adventurer 5M (Pro) 3D printers to run Moonraker, custom Klipper, Mainsail & Fluidd
Check out other cool AD5M related options here:
GitHub - g992/flashforge-ad5m-5mpro-research: Hardware and software researches and upgrades for Flashforge adventurer M5/M5 PRO
My PayPal tip jar: PayPal.Me
Lol. I got all the enclosure parts printed, and the spool holder. I put the top 4 sections on, and mounted the spool holder, and it’s been stalled there. I’m using the MP3DPv4 mostly recently, the V3 has a mainboard problem, so fixing that for the larger format. I had the acrylic panels for the A5M enclosure laser cut, but haven’t picked them up, so I can’t install them yet. I guess I need some small screws, too.
The A5M speed is impressive, and the firmware seems decent. I’d rather be able to use the Prusa Slicer that I’m more familiar with, and I’m not as sure about inserting Gcode like pauses for filament changes in the slicer with it which is why the V4 is getting more use right now.
Anyway, it teminds me that there are some thjngs on this printer that I should get done and out of the way…
1 Like
Orca slicer was for me (coming from a Cura background) odd and a little hard to get my head around. However, the purchase of this printer basically threw me into the deep end of the pool where I had to sink or swim. Now that I’ve gotten to know it, I am genuinely liking the orcaslicer way of doing things.
I also bought one of these little beasts (again in part because of this post). I’m printing the enclosure pieces now in petg with the goal of being able to print parts for other things in ASA (my favorite material). I have been unable to find the dxf files to cut the panel pieces though! Can anyone point me in the right direction?
Thanks!!!
1 Like
Well, if you can convert PDF to either SVG or DXF, then the same Flashforge wiki that has the DIY enclosure stuff, gives the vectors in PDF files.
https://wiki.flashforge.com/en/knowledge_corner/printer-mod-and-diy
Once you get to the wiki, in the menu, click on: “If you want to do 100% DIY: Acrylic plate size”
Speaking of which, I already extracted vectors, and I have DXFs. Will zip and attach here:
Plexiglas Panels DXF.zip (4.4 KB)
1 Like