The printed parts have capture slots on the back for little M3 nuts. The screws for the hinges are short, and are held by those captured nuts.
When I inserted the M3 nuts, I dropped a teensy amount of CA glue on a couple of corners, to help make sure the nuts did not flop out while I was working with it.
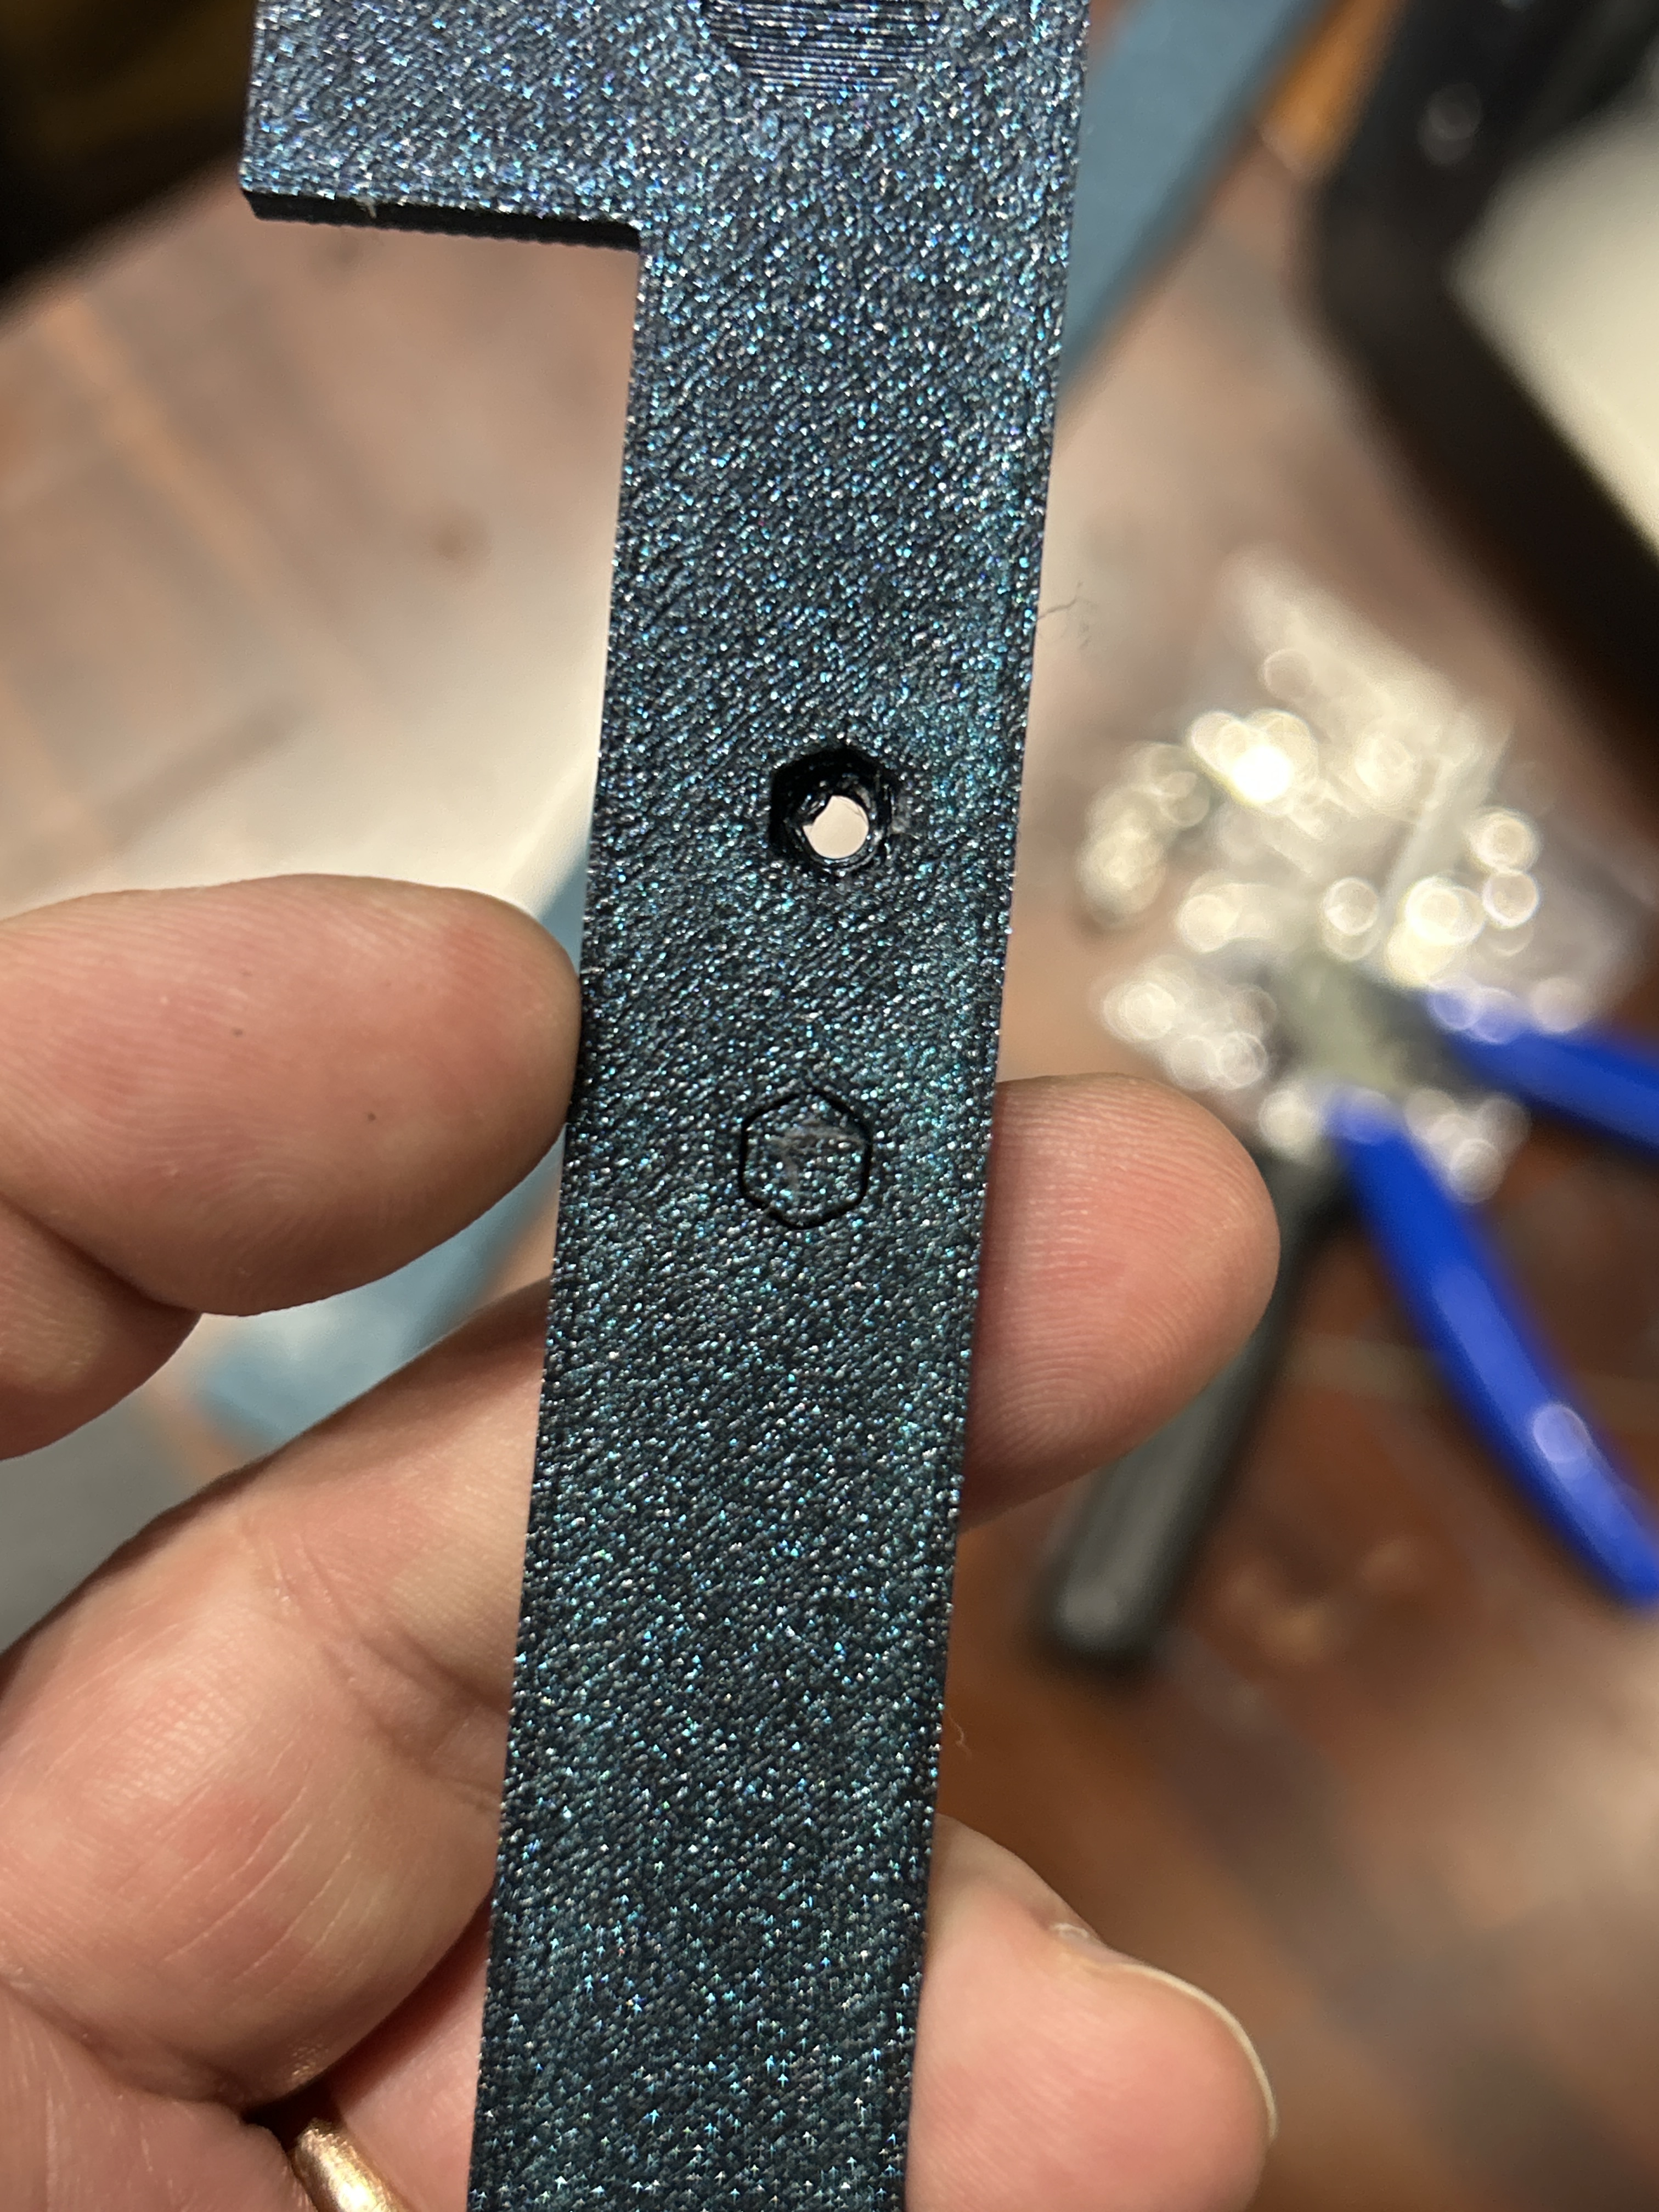
Yep, and with supports enabled, they get kinda covered up! I used an “Xacto” knife tip to pry them out.
Protip- don’t use the laser to trim that 5mm off of the ‘acrylic’ door from flashforge.
It makes yellow smoke that’ll haze the panel, and require a couple hours of scrubbing to get the smell out the laser .
Some sort of PVC based acrylic, whatever the hell that is made chlorine gas in my basement shop
Whoa. I know some listings on Aliexpress say they are selling polycarbonate, while others say acrylic. I doubt yours was acrylic. Off-gassing can be dangerous. Glad you’re OK!
Yeah, i recognized it for what it was immediately. Maybe 1.5 seconds from hitting start to hitting e-stop. Had full vent going, plus mask because I was also doing some sanding work.
Now I just need to do a lens check but I don’t think it’s an issue with such a short exposure
That is what happens if you laser polycarbonate… Not recommended. Acrylic is ok to laser, but you still need ventilation.
1 Like
Yep- the panels in the enclosure kit were sold as acrylic.
1 Like
Definitely. I heard one guy on YouTube say that lasering acrylic “smells like cancer” and he was right.
I’m trying to get OctoEverywhere installed so I can do true remote monitoring but also have the AI failure detection.
I’m stuck at step 1: how do I SSH into the printer? It’s asking for a user id and password but I’m striking out- I never added either during set up
I’m hoping you can help because you know everything about everything Klipper
Thanks
1 Like
So the way to get into the mod’d printer via SSH is described in the github for the mod. In the readme at the front, scroll down to “SSH” in the supported features and click on that for the username and password etc, but I will give a simplified version here. It is a modified, minimalistic version of SSH, because resources are limited, so you may or may not be able to get done everything that you want to do.
By default, the user name is root, and the password is klipper.
In the terminal where you’re trying to login, you type the following command, using the actual IP address of your printer on your network:
ssh root@192.168.xxx.xxx
After that, it asks for the password, and as you type it, there is no feedback on the screen, which is a common security feature. When you’re done typing it, you press enter.
1 Like
Thanks Doug
I took another look at the GitHub after I posted and found that root/pword info and was able to talk to the printer
Turns out when input the everywhere install command - it doesn’t recognize the ‘bash’
I think that means it doesn’t have the required registry included, so I’m sol. Waiting on feedback from the OctoEverywhere guy on Reddit
Thanks for the help
1 Like
Great information on this thread! I’ll need to go back and read it all much more slowly. I haven’t posted in a while; built a LR3 last winter and was much more active then. I’ve built and modified several 3D printers over the last 10 years or so but found myself in need of a quick set up and ready to roll printer for some projects I’m working on. The old Creality printer I was using was having issues and I got tired of wrestling with it when I just need a part or a fitting.
So, after a little research I bought the FF 5M about a month ago. After a little tinkering with Orca It’s been working well for fast prototypes and, well, just getting stuff done. Rather than having the printer be the project I just wanted the printer to be the tool to get the job done. So far for under $300 it’s doing pretty well. Still have lots of tinkering to do, a proper enclosure to build (right now I just have cardboard taped around it and just that makes a massive difference in adhesion and consistency - I saw somebody recommend just using the box it came with for an enclosure, ha.
2 Likes
Nice, take your time FF have the enclosure model in their wiki. You can dIY it, they share the panels sizes and model, the printer stl files for the project and the printer main structure model if you want to thinker with it. I have that printer too and its been a massive improvement over the ender 3. They launched a new model (capable of multicolor) I’m waiting for availability
3 Likes
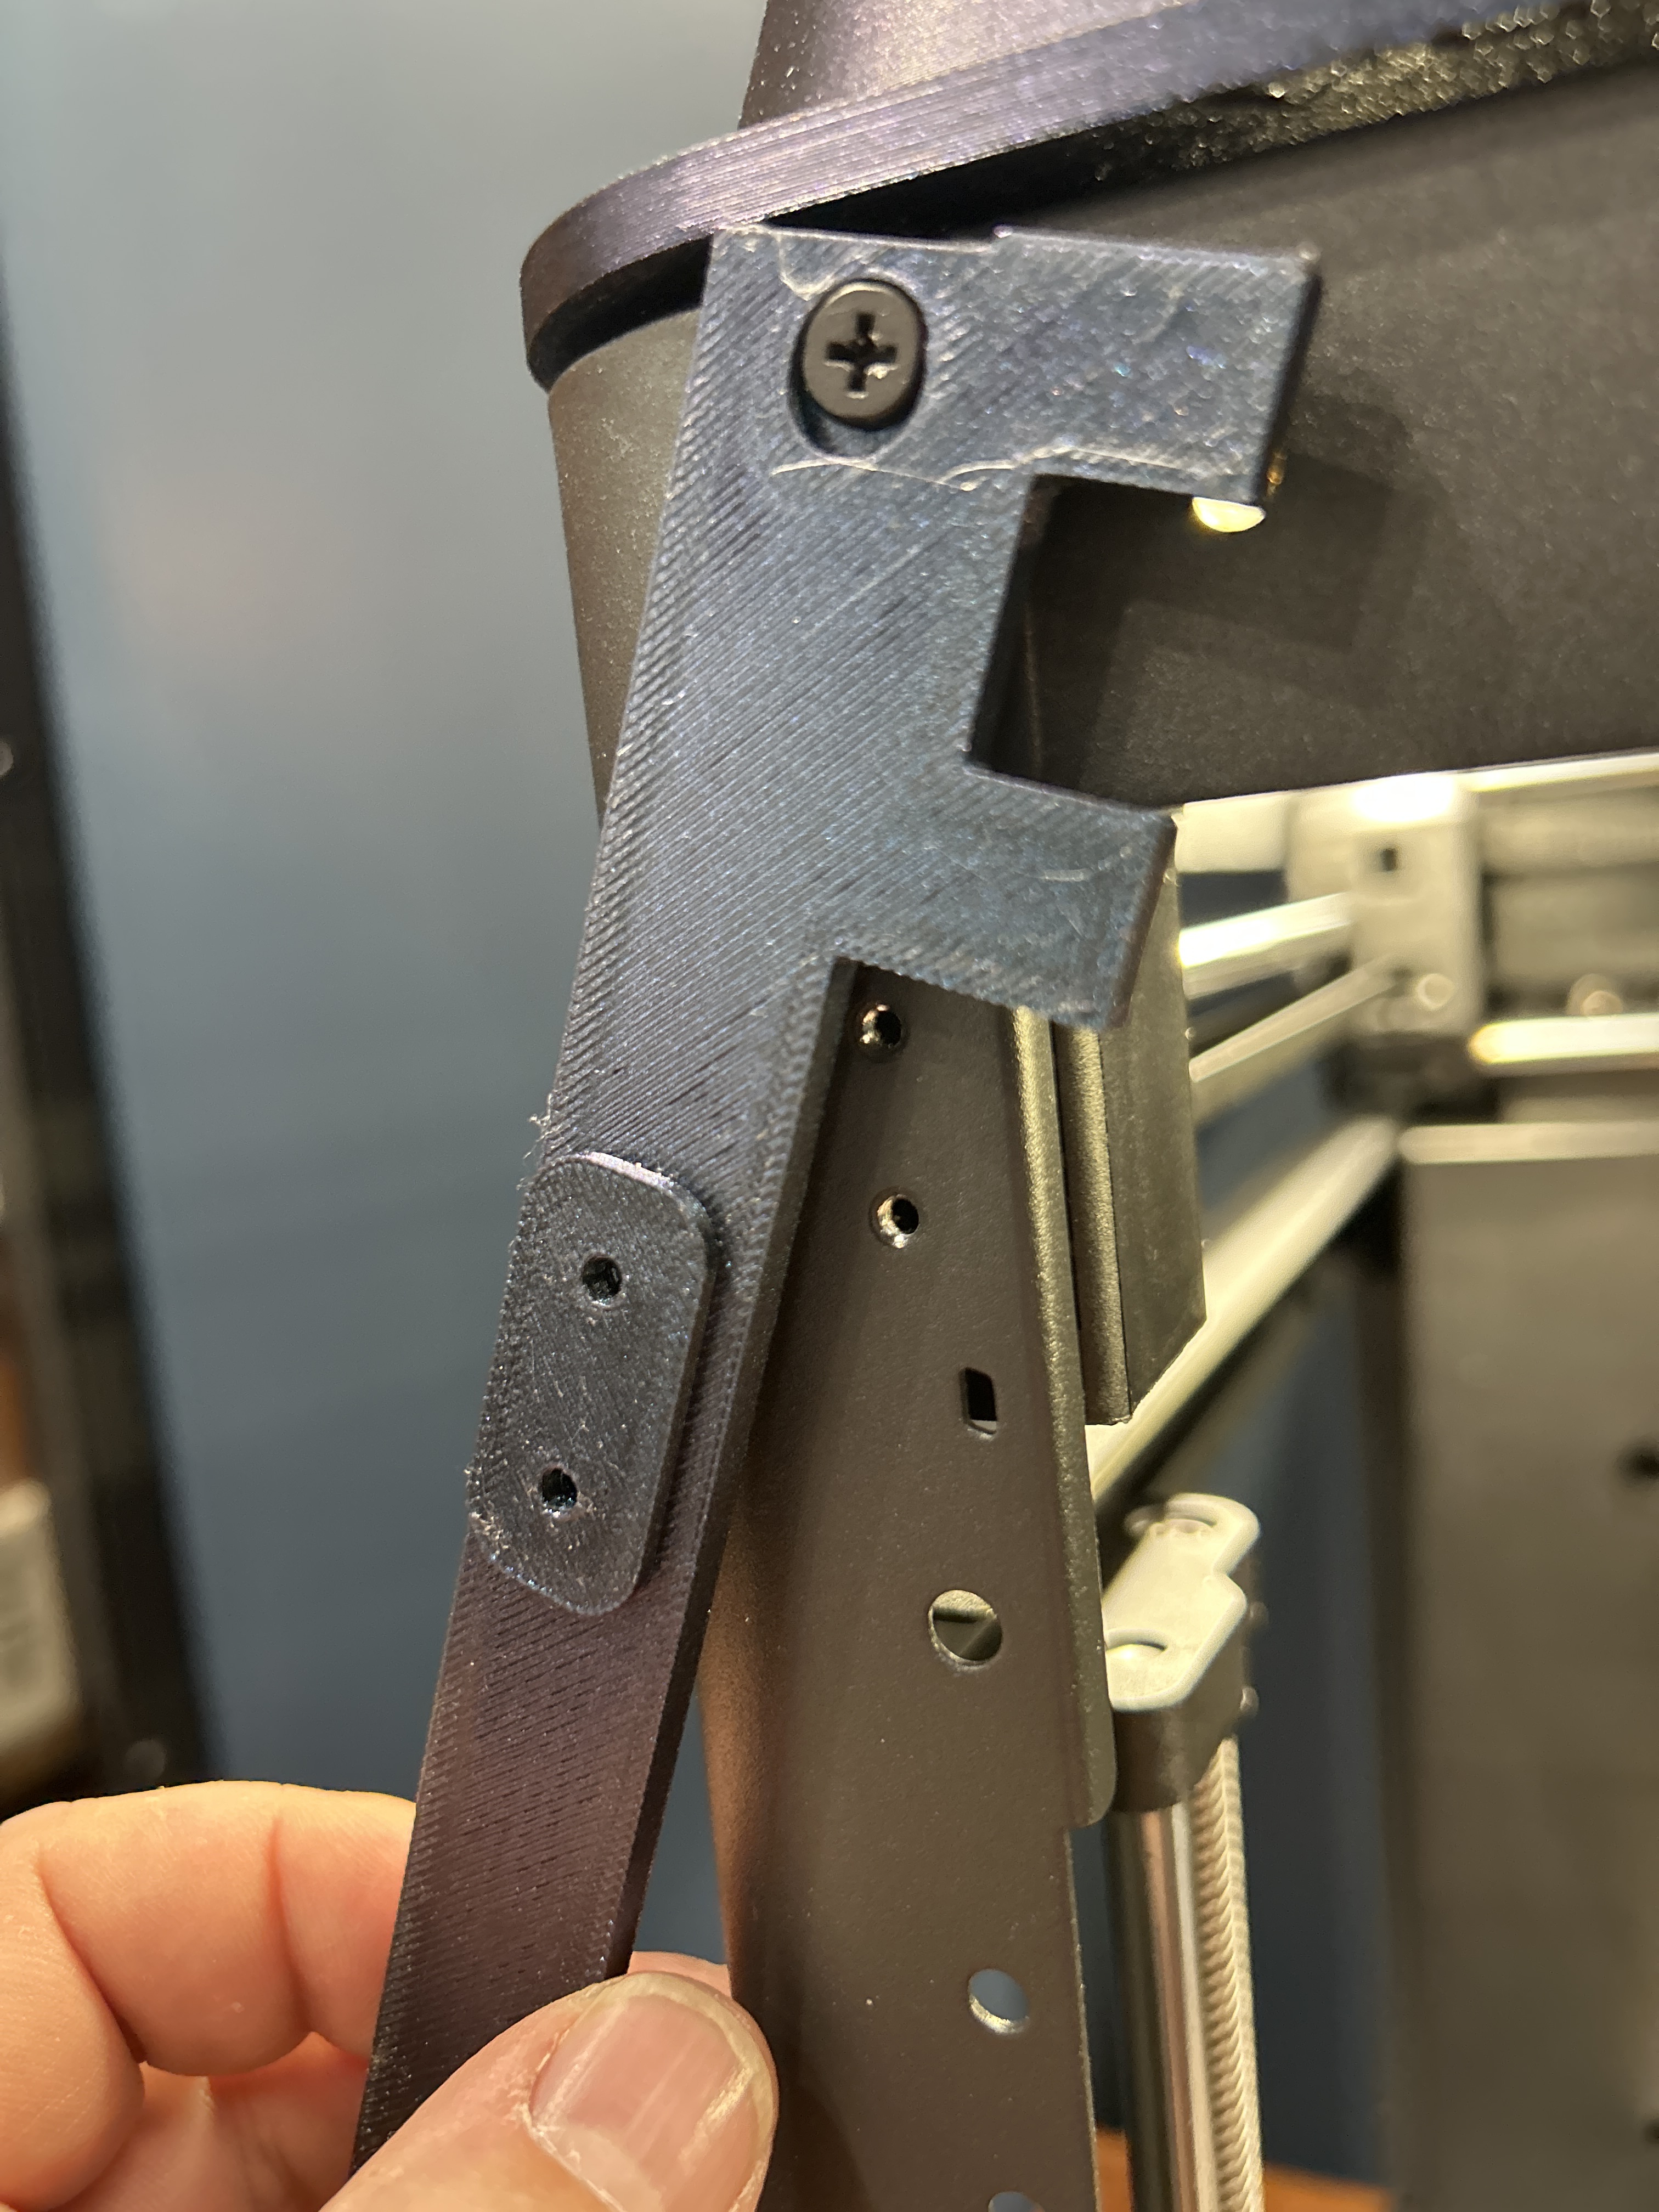
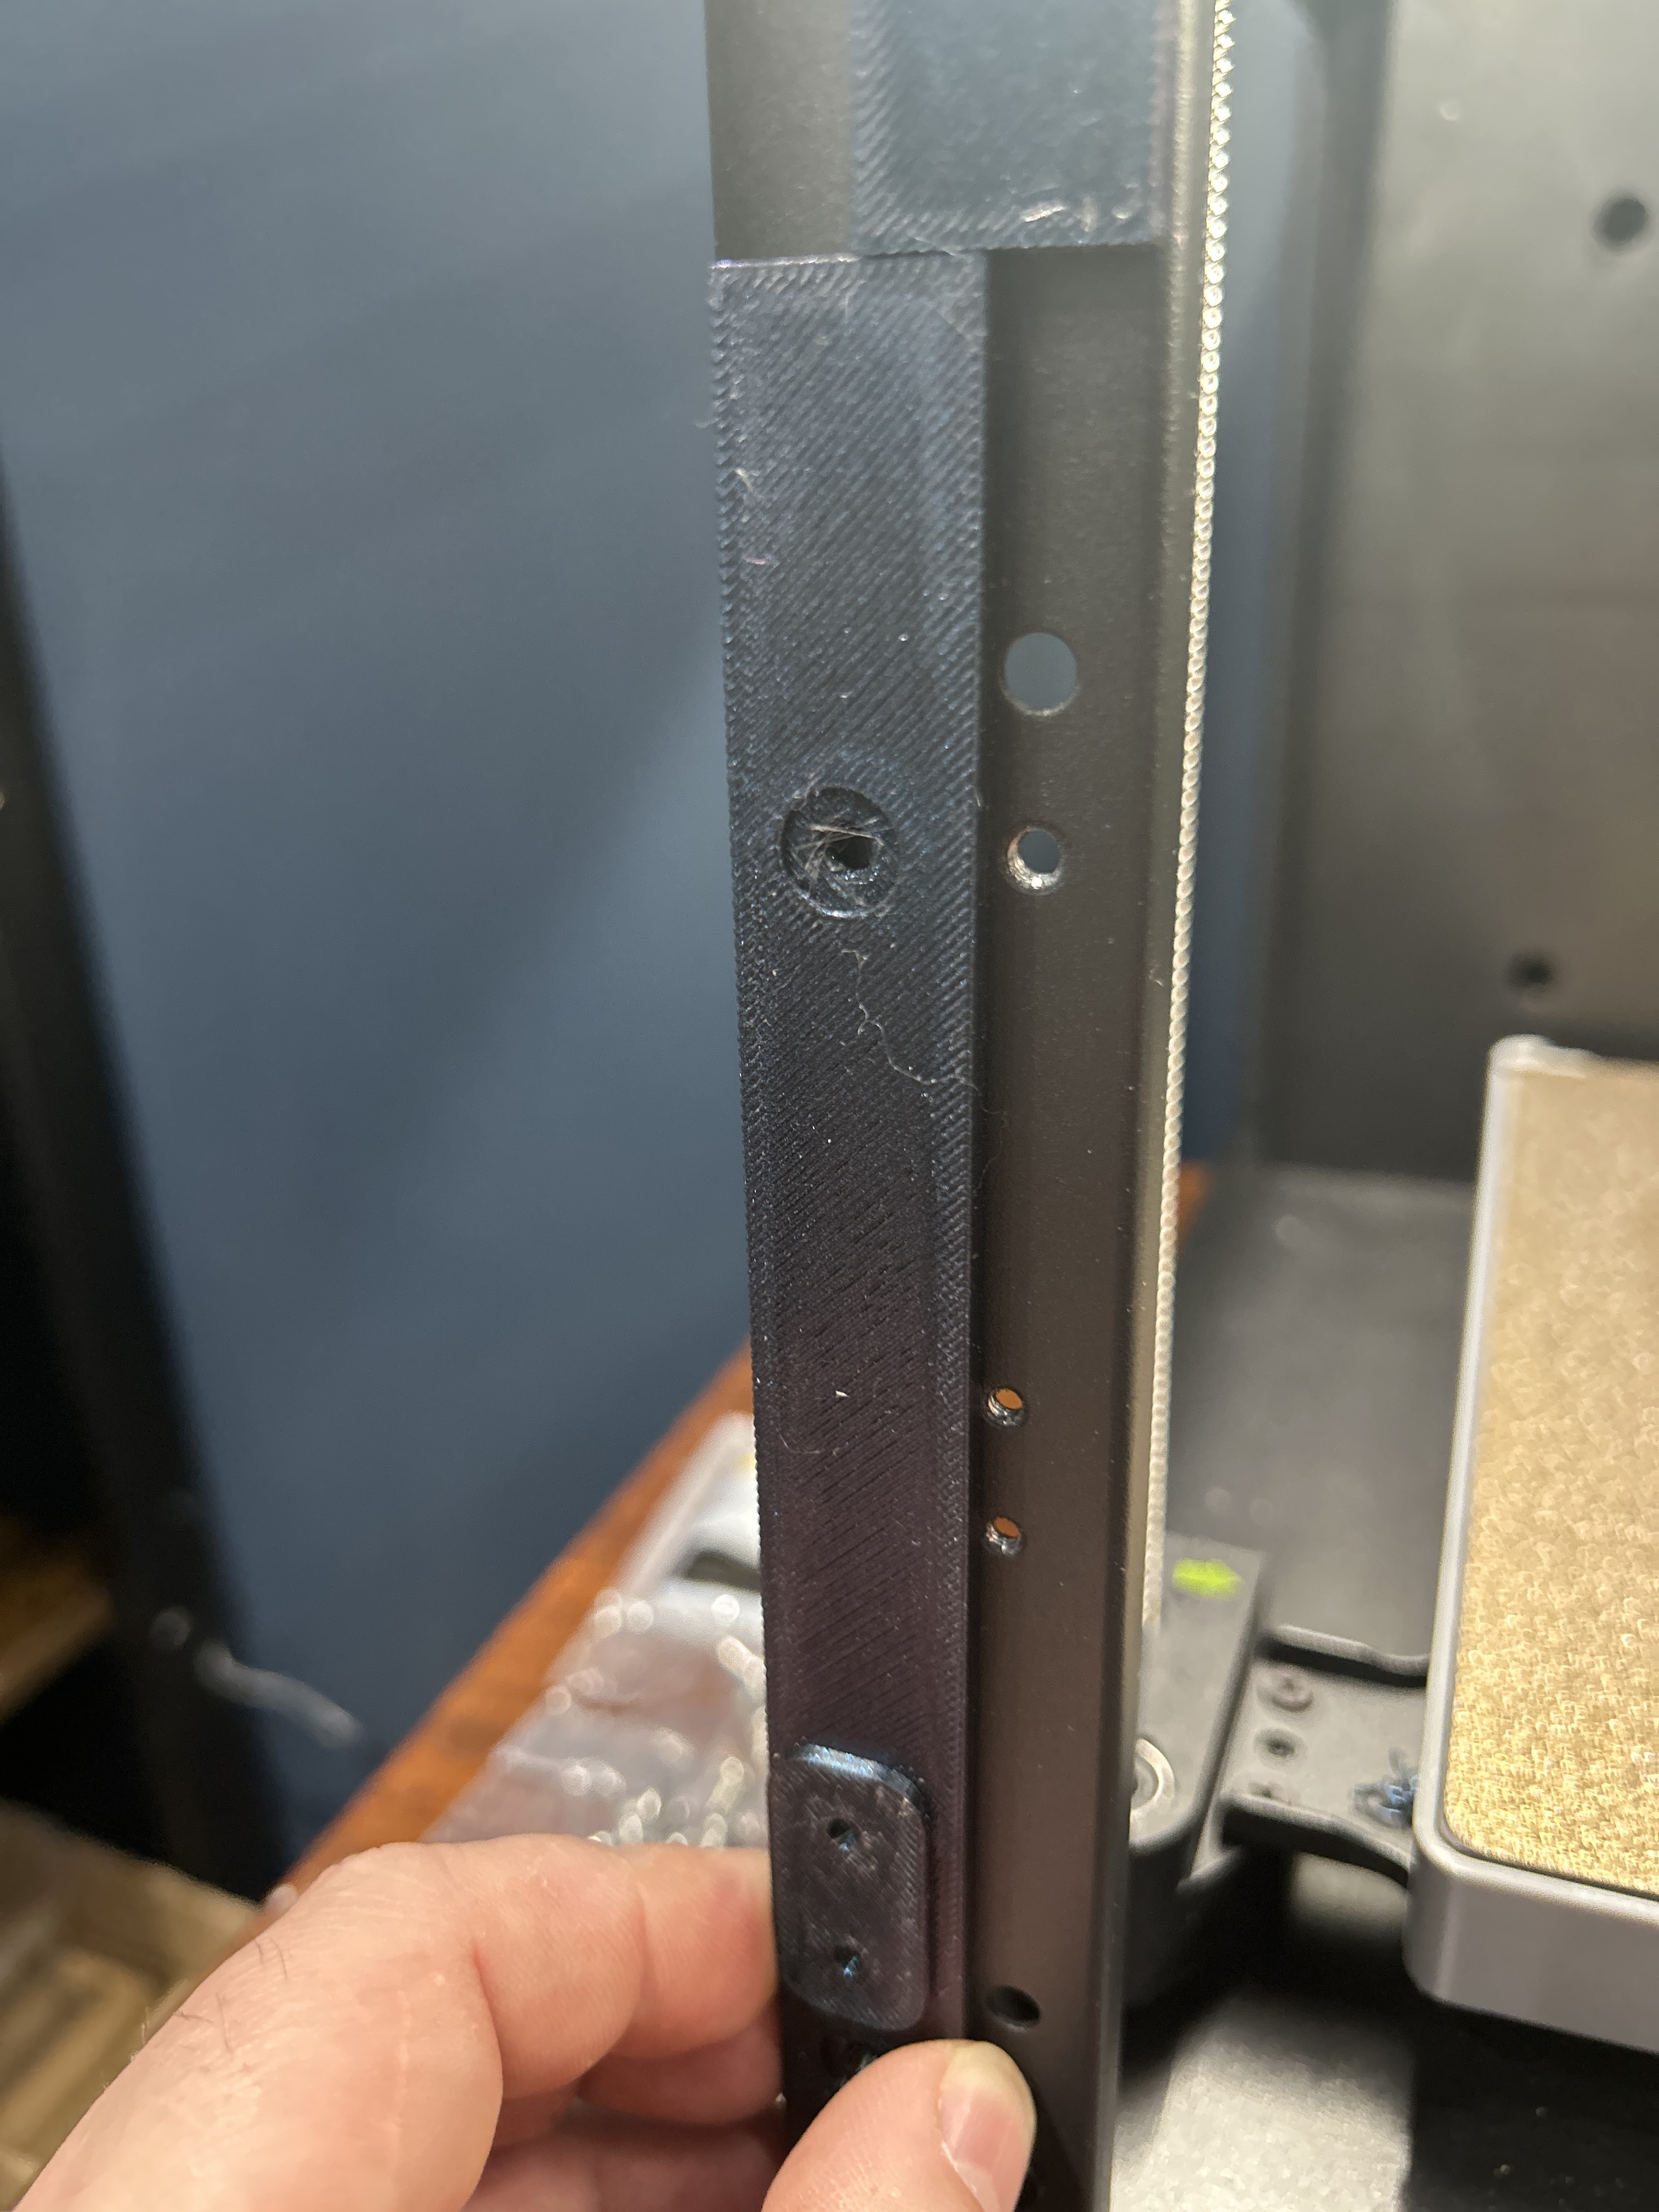
Regarding the DIY enclosure, please do consider my remix of the minimal enclosure. There’s a lot to love about it. It does have a couple of “less than ideal,” connection points, in which places I used CA glue, in particular on gluing the top and bottom verticals on the back to each other before screwing it down. However, the benefits of it are tremendous. One of the key benefits is the touchscreen stays mounted on the metal frame. This means if you ever need to remove the risers (the top) for any purpose, you can take the top off and put it back on without having to disconnect the ribbon cable to the touchscreen, without having to disconnect any camera wire from the touchscreen, etc. The set prints faster, and uses less plastic. I have three of these printers, and I have the original DIY enclosure on the first two and the new minimal remix enclosure on the third one, and I like the minimal one so much that I’m tempted to replace the regular DIY enclosure on the other two.
2 Likes
Regarding the plexiglass panels for the DIY enclosure, obviously, there are two options: cutting the panels yourself from raw acrylic or buying them in the enclosure kit. I’ve done it both ways, and I recommend buying the enclosure kit. First off, there’s the fact that buying the raw acrylic (to cut it with either a blade or a laser) cost me more than just buying the enclosure kit. Plus when you get the enclosure kit, you get magnets, additional PTFE tubing, drag chain, screws and hardware, etc. etc. And the price is affordable. I found the enclosure kit on AliExpress for a price even cheaper than the Amazon price, but there’s also an option to buy it from the Flashforge website as well.
1 Like
I have Doug’s remix on my A5M. Overall it is working fine.
There are a few things I may eventually remix further- but it has made a great improvement in my prints.
I used the Flashforge kit from Amazon, and as Doug notes you can get the kit for less money than sourcing the acrylic yourself. (and certainly for less than sourcing all the screws, magnets and other hardware parts)
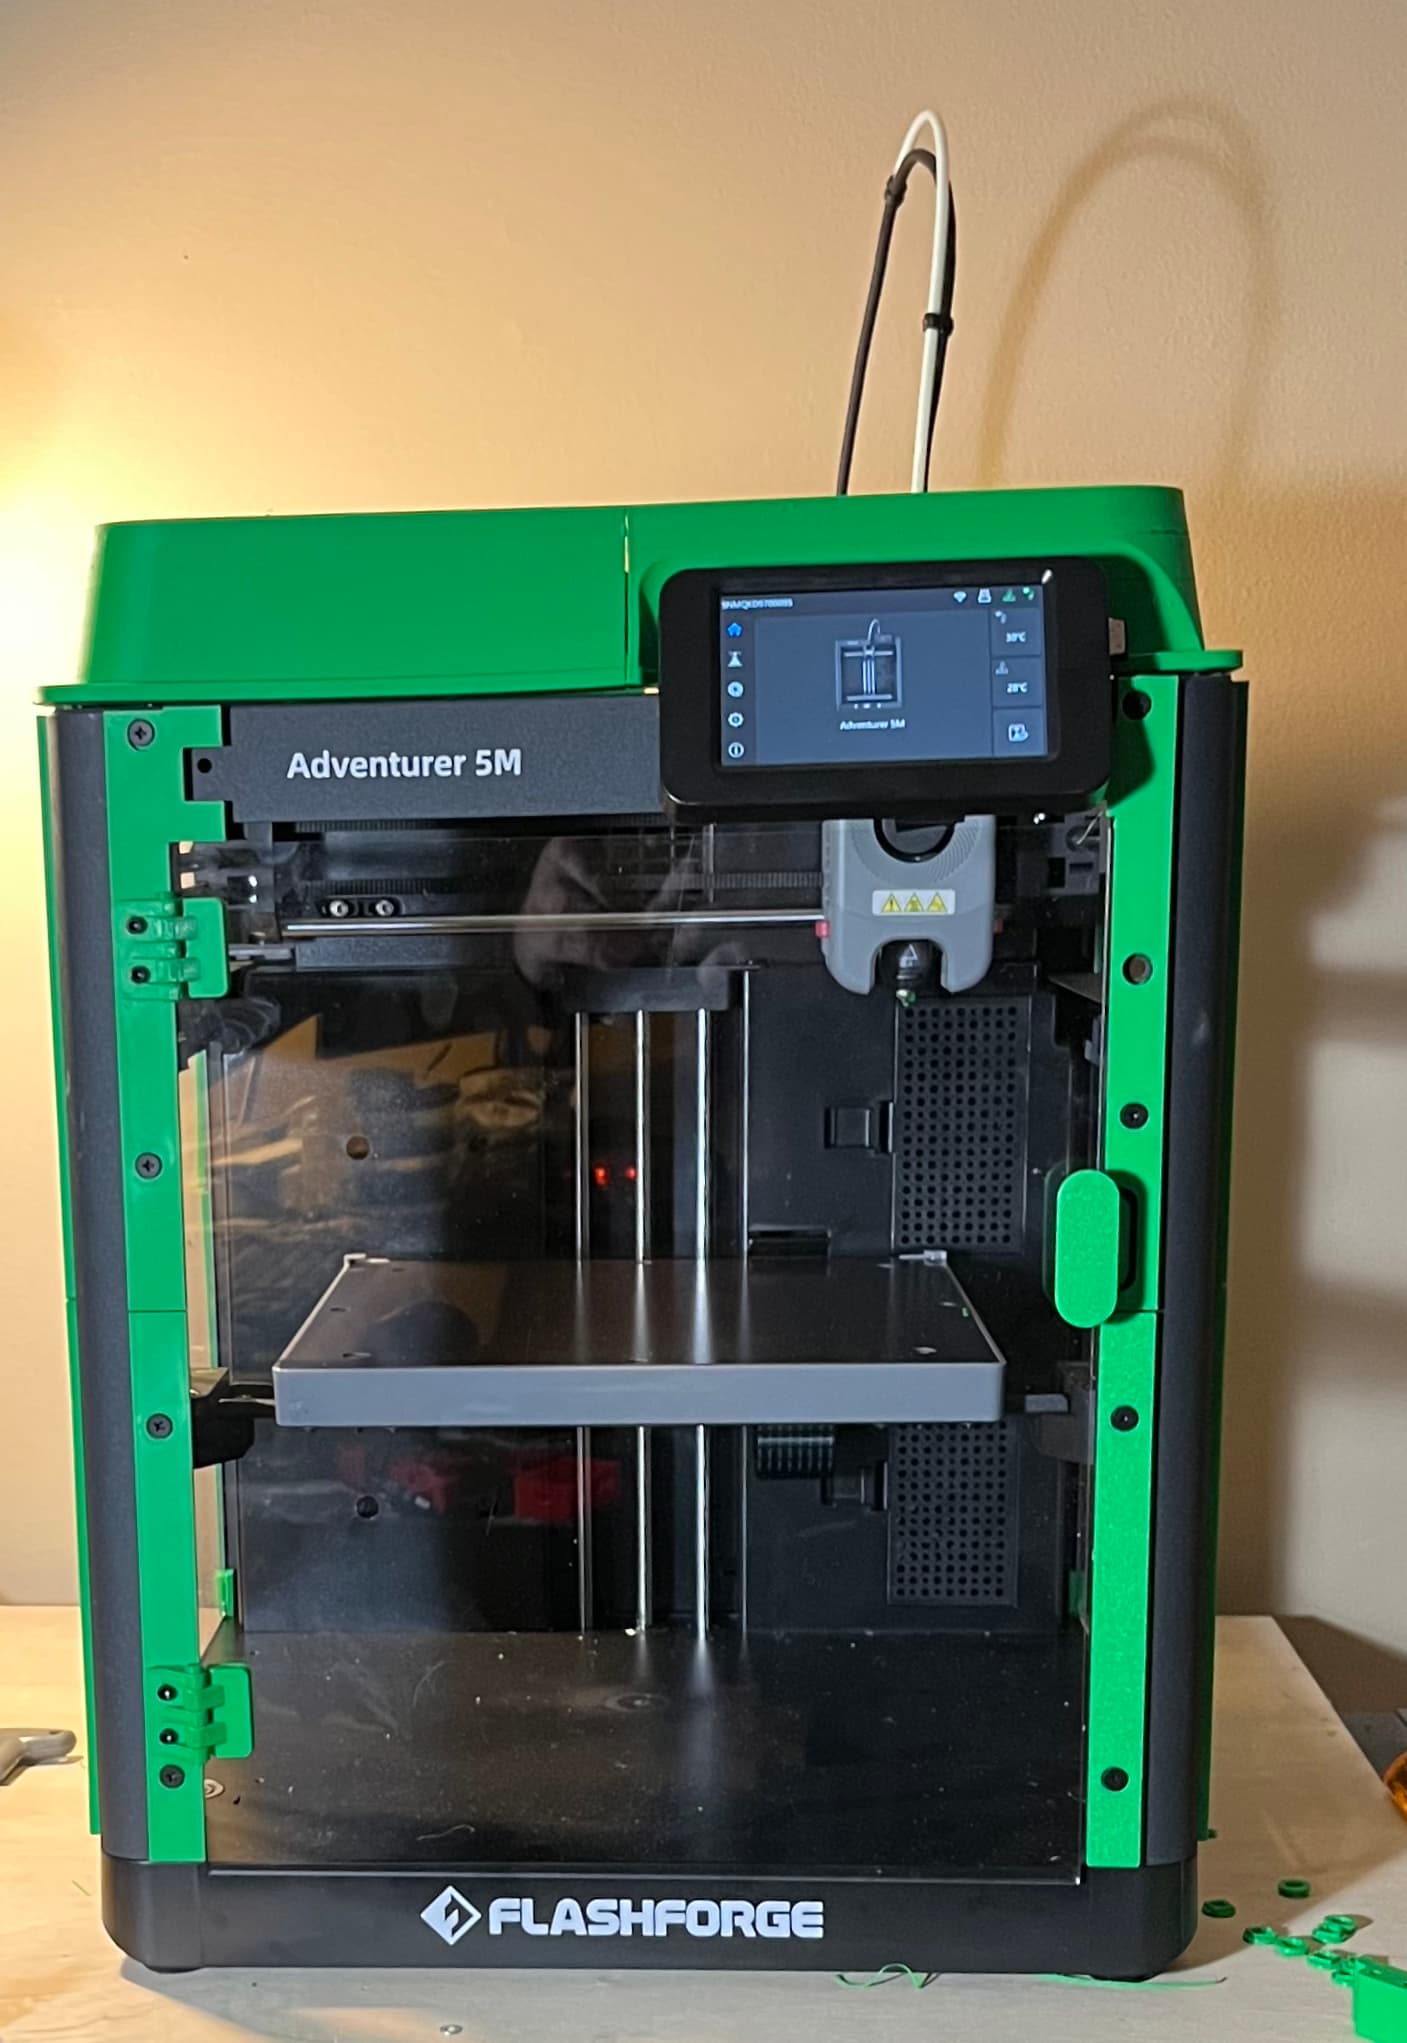
This image was before I finished putting the top on, switched to the 3rd party Klipper, or added the side mount spool holder, all of which are now done.
2 Likes
Appreciate all the suggestions. I’ll definitely look into the options.
1 Like