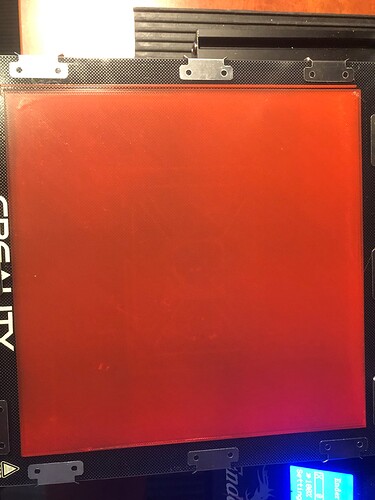
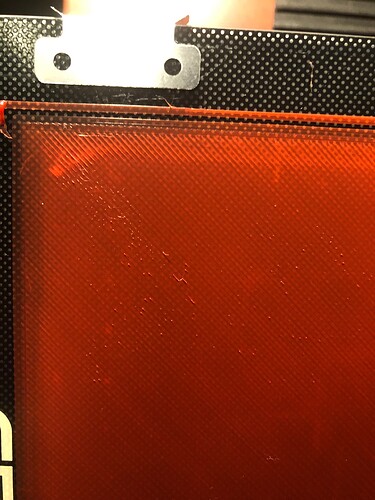
The finger print oil hypothesis may be correct. However, for me, rather than working hard to clean it all kinds of ways, I just hit my flex plate with a coating of hairspray. It works wonders for great prints, and it lasts for quite a lot of prints before I have to do it again. Now, I do try to avoid directly placing my (potentially oily) fingers on the plate. But I have never had to do the extensive cleaning thing when I do the hairspray thing. Rarely, if I think I’ve gotten uneven coating, I use hot water to dissolve all the hairspray and give a fresh coat. I get great prints when good adhesion and practically never have a print pull loose.
Whenever I give advice like this, I usually add the following disclaimer. “Never believe anything you read on the internet, specially if I wrote it.”
Unfortunately as you can see, there’s no one right or wrong answer. May I suggest you work through them one at a time so you can tell which (if any) worked?
That might save you a lot of cleaning and/or hairspray in the future! ![]()
I’m also a hairspray user, BUT for bonus frustration, not all hairsprays work.
I am an MK4 user, it just works. ![]()
Too late for that! I donned rubber gloves, gave the bed a thorough scrubbing with dish soap and hot water, dried it, wiped it down with 99% IPA, and re-installed it without it touching human skin.
Then I decreased the Z Offset (moved it further away from the bed) by 0.030 mm and ran another full layer test print.
Results were encouraging:
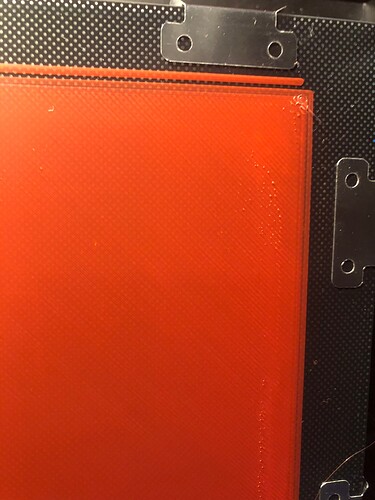
WAY fewer blisters!
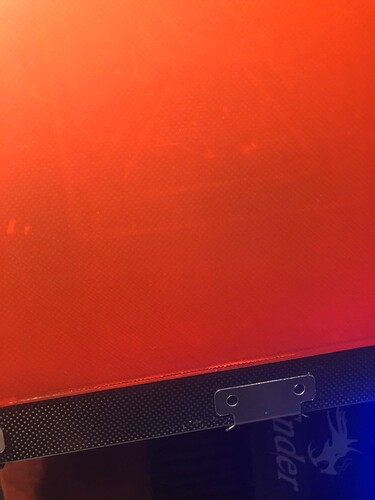
Still some imperfection, especially in a couple of corners and along one edge
So I need to edit the bed mesh in a few spots (moving the nozzle away this time, not closer), and then I’ll possibly decrease the Z Offset a bit more (another 0.020 mm) to see how it works at that distance.
Progress, bit by bit. Thanks to all for the continued suggestions and support. This Newbie appreciates it!
That’s some nice looking layer progress!
Well after digging deep into the rabbit hole of meshes and UBL and first layer prints, etc., I’ve managed to extract myself far enough out of the warren so that I could get a few more items printed.
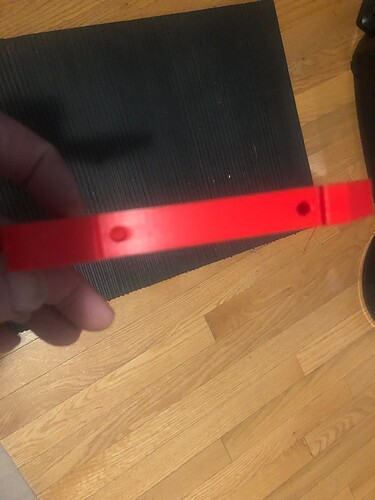
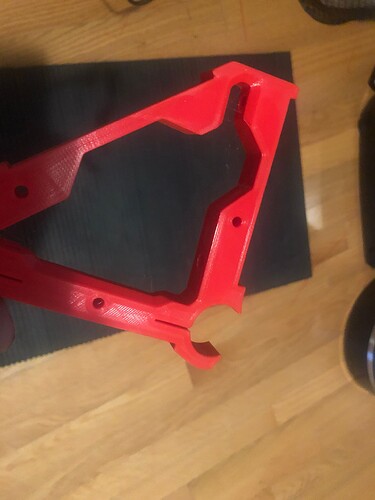
First up was the last two remaining rail braces. If you remember that far back, my last attempt had some serious flaws (layer shifts, roughness, just generally poor looking quality).
I’m not sure exactly what changes that I made (and there were many) that fixed the problem, but I’m very pleased that these ones came out looking much better!
The earlier elephant foot issue seems to have been resolved as well, most likely due to moving the nozzle further away from the bed (decreasing the Z Offset).
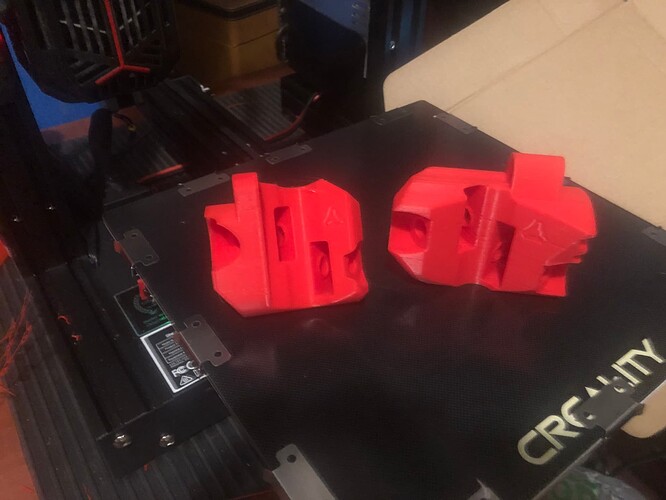
Next on the print list was the Front and Rear Rail Rollers. They took around 8 hours each, but as far as I can tell, they look pretty good (the logos are quite crisp, especially compared to my earlier prints).
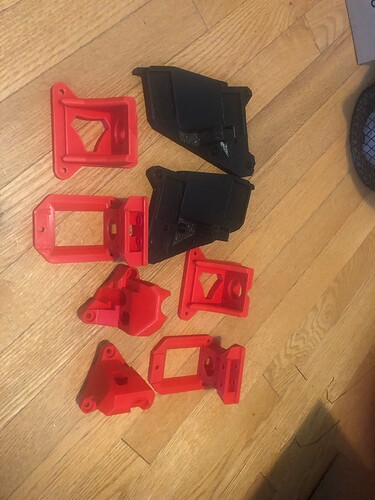
So now I have printed all of the Y Rail Blocks, X Rail Braces, Y Belt Bases/Holders, Y Tension Bases/Blocks, Bearing Wheel Blocks, Rail Rollers, Z Stops, X Tensioner, and X Drive Mount
Left to do in red are the Y Drives, Z Drives, Tool Mounts and the very intimidating Core!
There’s lots of other prints to do yet as well, including the XZ Plates, YZ Plates (split), and Controller Box, but most of those will be printed using black filament, and I thought that I maybe I should try to tackle the Core next.
Printing continues (slowly, slowly).
I printed off the Z Drives and Y Drives in red, and if my calculations are correct, I still have enough filament to do the core in that color. I was still a bit intimidated about starting the Core, so I switched to black and printed the XZ Plates.
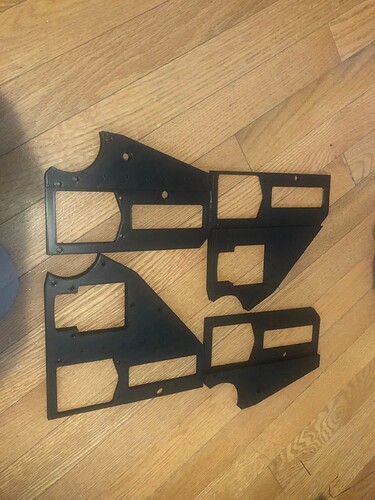
Next up was the YZ plates. I used @Michael_Melancon’s modified version of @DougJoseph’s excellent split version (my Ender 3 is too small to print in one piece).
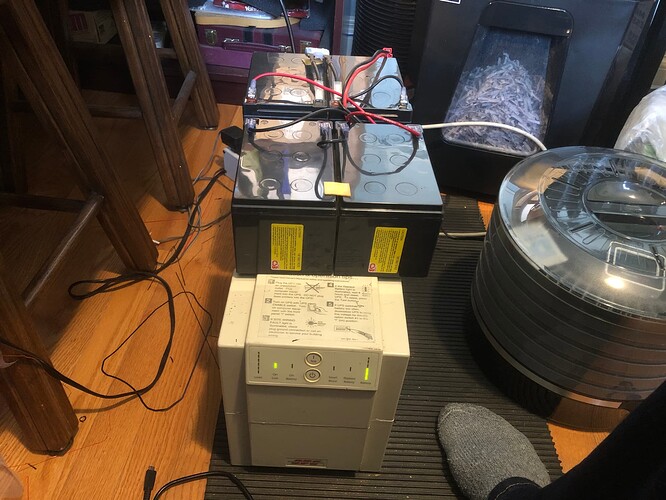
I was a little bit worried about losing power during the longer prints for these (and the upcoming Core), so I dug out an old UPS, put some new-used batteries in it, then frankensteined a couple more batteries from an e-bike to give it a bit more capacity.
After everything went pretty well with the YZ Plates, I finally worked up enough nerve to tackle the dreaded Core.
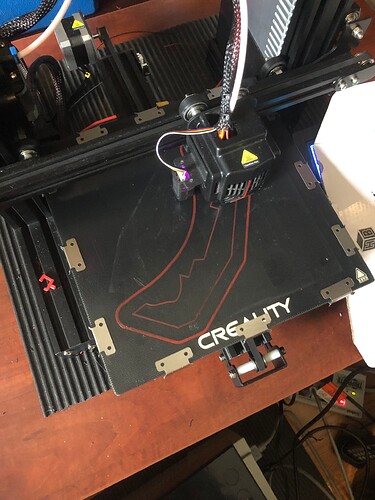
Here it is at about a minute (with skirt)…
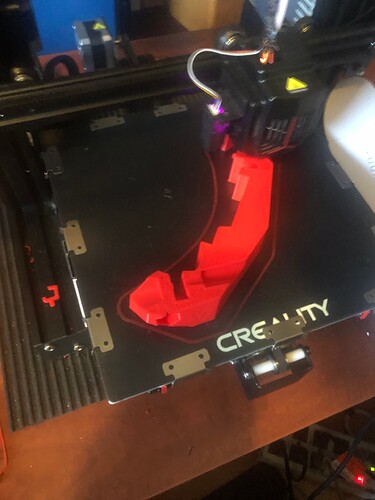
and 12 hours later…
Cura estimates almost 48 hours total, so I’ll be kind of holding my breath for the next couple of days (well I’ll still actually be breathing, but there is definitely a sense of trepidation until the print is finished)
Assuming the Core finishes without disaster, then the printing is almost complete. I still need to figure out what I’m going to use for the permanent struts, as that will determine which version (1/4" or 1/8") of @DougJoseph’s remixed controller case I will print. I also need to figure out what I’ll be using for a vacuum hose before I print the Hose Hangers, and measure my Vevor Router to see if the Makita Tool Mount will fit.
I’m also considering to use @bitingmidge’s Nut Encapsulators (yes, it does sound weird and vaguely uncomfortable) for holding the Brace nuts in place.
Other than that, I think that the printing portion of the journey is approaching the end, and the assembly portion of the journey is coming into sight. I’m sure that the learning curve will get steep for a while there as well.
I also run my 3D printer on a UPS - smart idea! Prints are looking good!
Which Vevor router? If its the 1.5kw spindle then yes it will its 65mm as well.
6.5 A 1.25 HP (800W) 10000-30000 RPM
I have confirmed that the 800W 1.25HP Vevor Router is indeed 65mm diameter, so it looks like the Makita Tool Mounts should work.
Core is sitting at 92% complete, only 4 more hours to hold my breath…
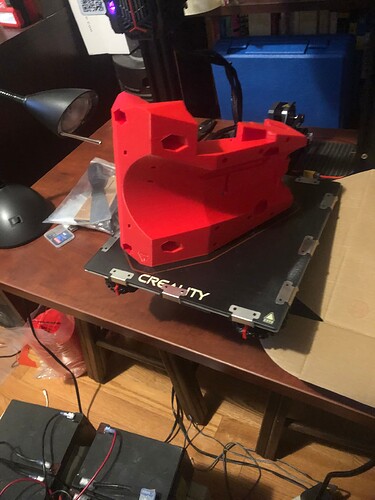
And the Core is complete (with no major catastrophes)!
Print quality seems pretty good (logo is extremely sharp), probably the best one yet. It feels pretty good to have this one behind me.
A few more things to print (Tool Mounts, Hose Hangers, Display/Processor Case), then assembly begins.
Crazy that it took so long, what were your settings?
Up until now I have been concentrating on getting the quality right, and not paying too much attention to the amount of time involved. Perhaps it’s time to shift focus a little.
- 0.2mm Layer Height (0.4mm Nozzle)
- 0.4mm Line Width
- 40% Infill (I added +5 above recommended to all of the prints, just to increase the strength and rigidity a bit)
- Gyroid Infill (probably adds some time over Rectilinear, but again I was going for added strength)
- 1.2mm (3 Lines) Wall Thickness
- 1.2mm (6 Layer) Top/Bottom Thickness
- 50mm/s Print & Infill Speed
- 25mm/s Wall & Top/Bottom Speed
- 20mm/s Initial Layer Speed
- 150mm/s Travel Speed
- 100mm/s Initial Layer Travel Speed
Suggestions welcome and appreciated
0.3 layers will help a lot. I don’t think gyroid helps strength in tension compared to rectilinear and it is slower. Top and bottom should be fine with 3. 50% wall speed is too slow, I do 90%, 50% can even cause clogging from heat creep. Maybe even take your extrusion width up a tiny bit 0.44. These setting might need you to slow your print speed a tiny bit but the print will be much much faster.
That should be like an 18 hour print with a 0.4 nozzle.
Wrong time, Wrong place for a debate I know but I have to start somewhere. (sorry).
I am NOT arguing that the parts won’t be strong enough with rectilinear infill - 99% of builds have been built that way, so clearly they DO work.
I beg to differ only because it’s my (clear) understanding that gyroid has significant advantages in shear, and since it’s unlikely that in this case the is going to be at right angles to the print line, I suspect that shear is possibly of greater concern rather than a straight tension failure.
If I was an engineer, I’d be far better place to argue so: As you were!
Is this the same as Grid in Cura? I don’t see a Rectilinear setting as such.
You can slice and look inside. Grid is both direction printed on each layer so weird things happen t the crossover point. Rectilinear (or whatever cura calls it ) is only one direction on each layer and the next layer is 90 degrees to it. Smooth and strong.
Zig zag?
At some point I might do a test, but for now I am not ready to do any real tests.
