Bartman's LR3 build thread - A New(bie) Adventure!

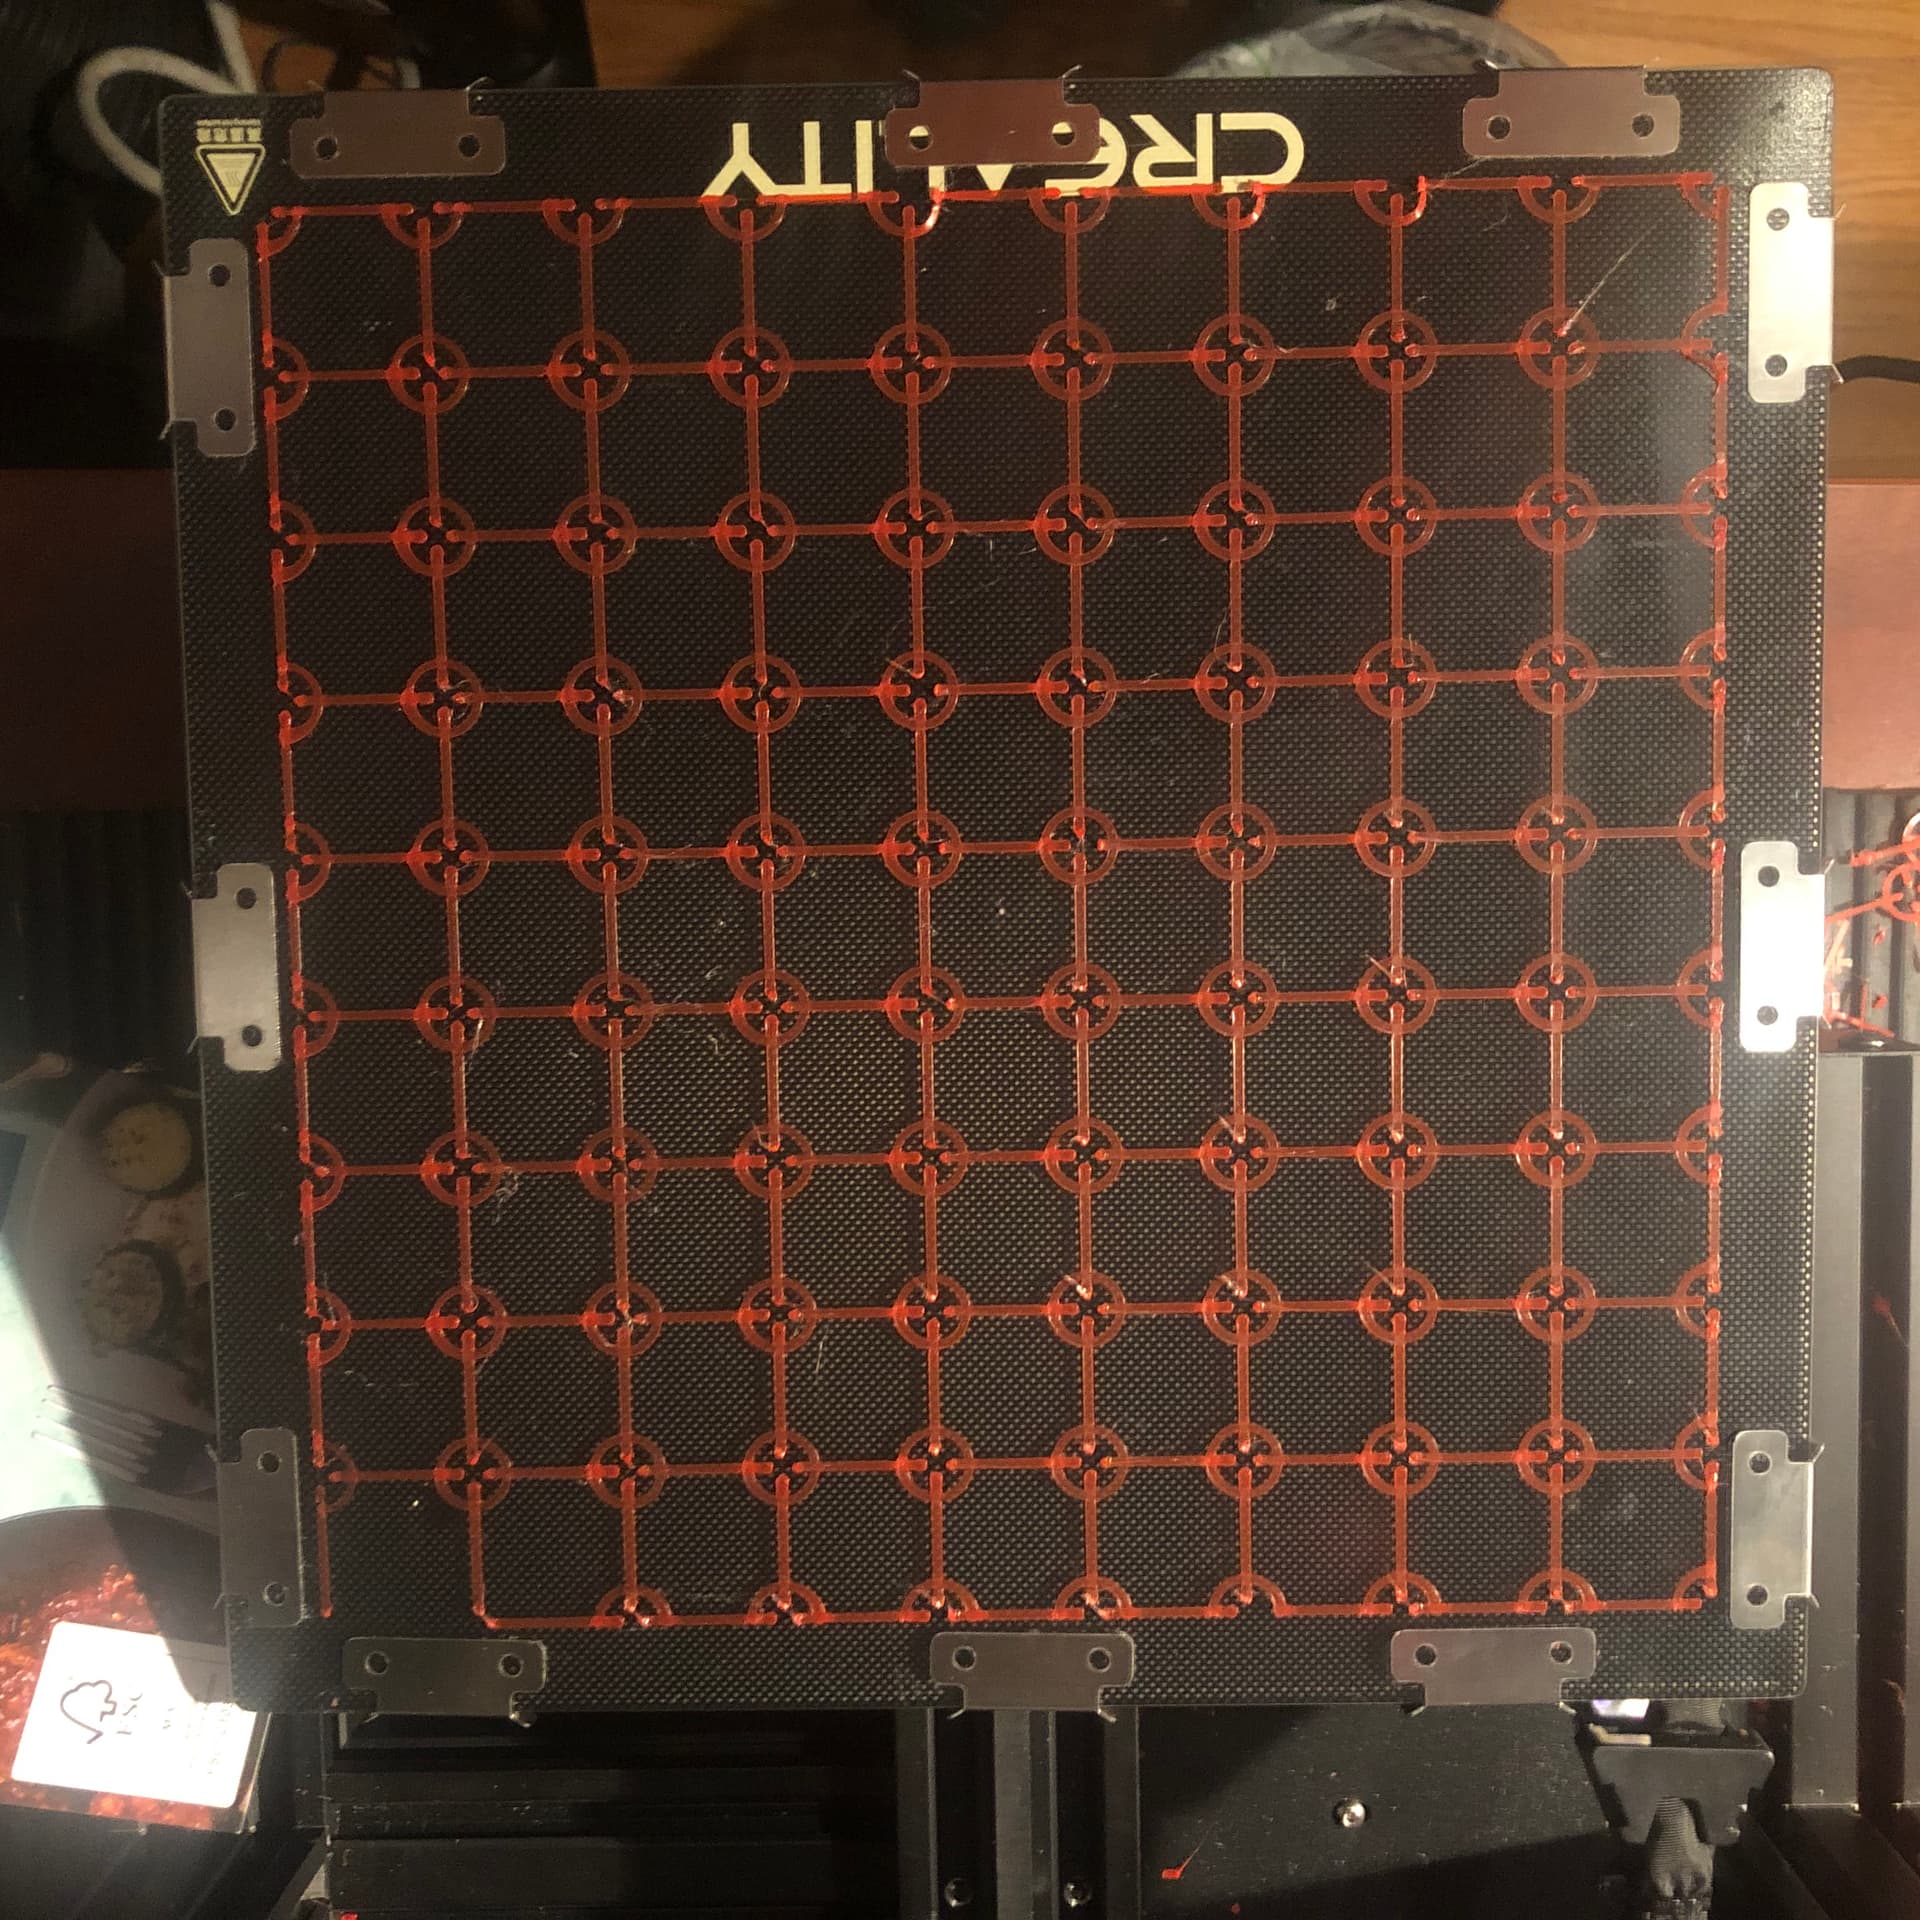
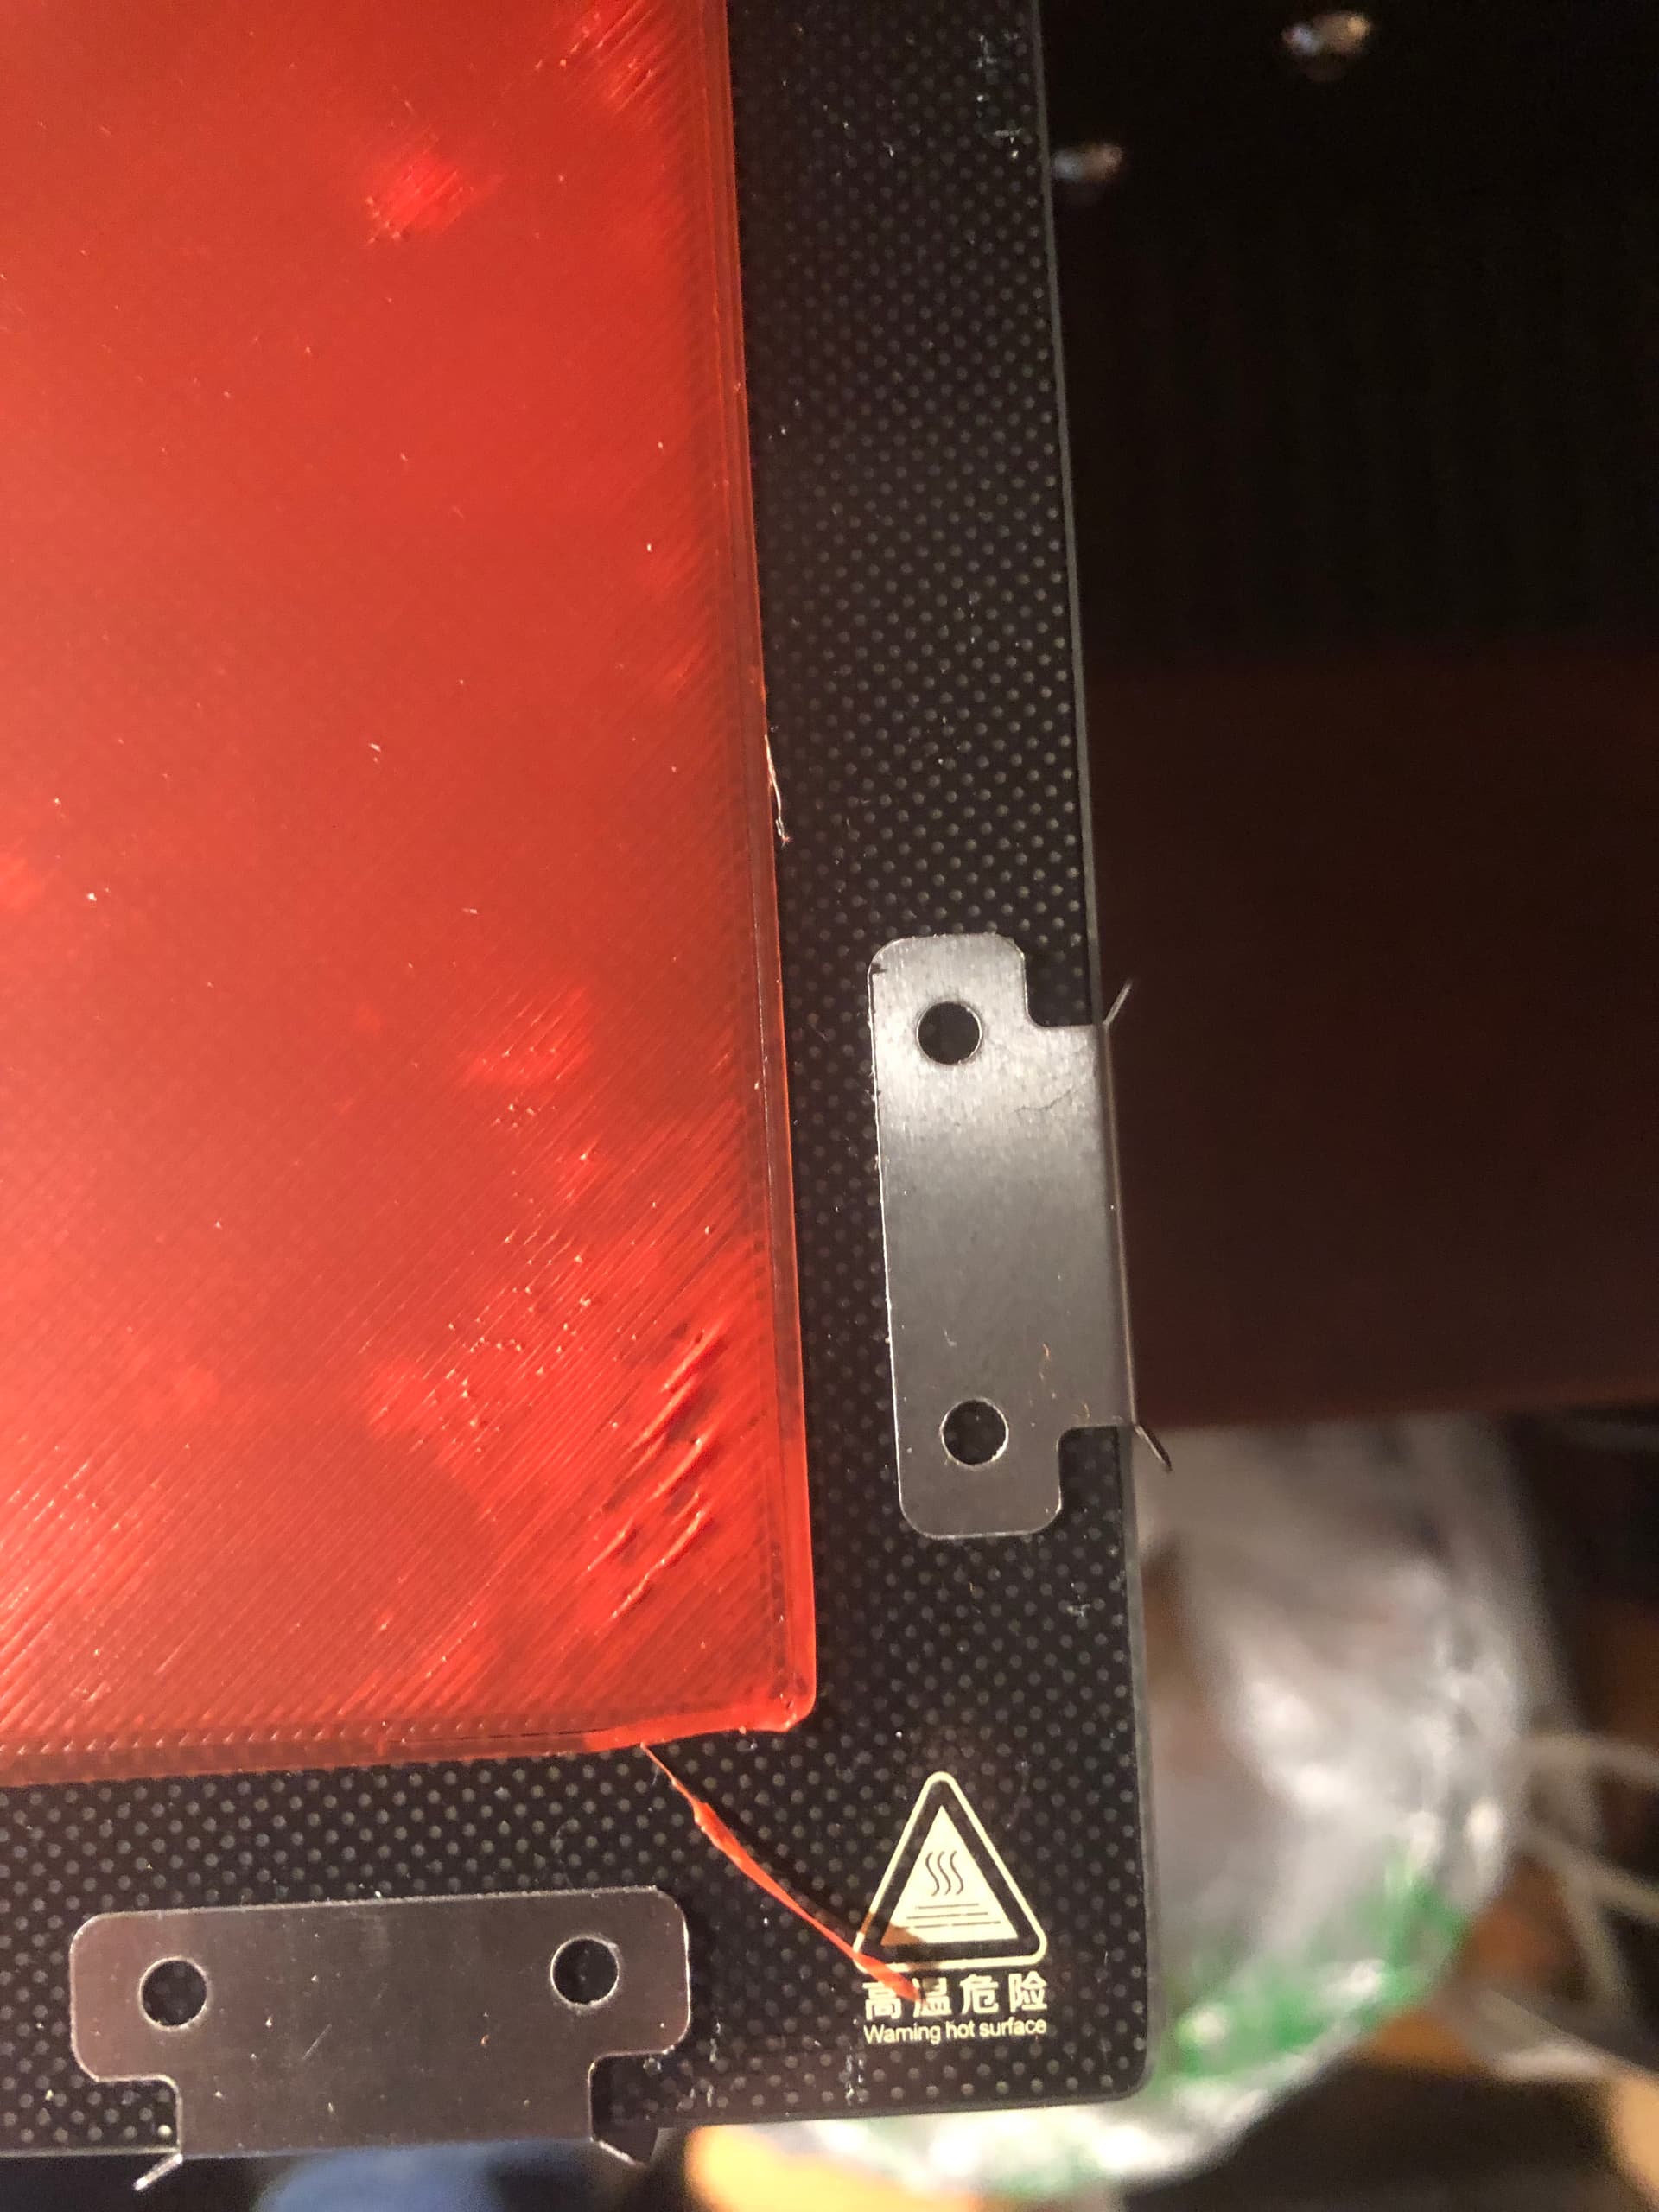
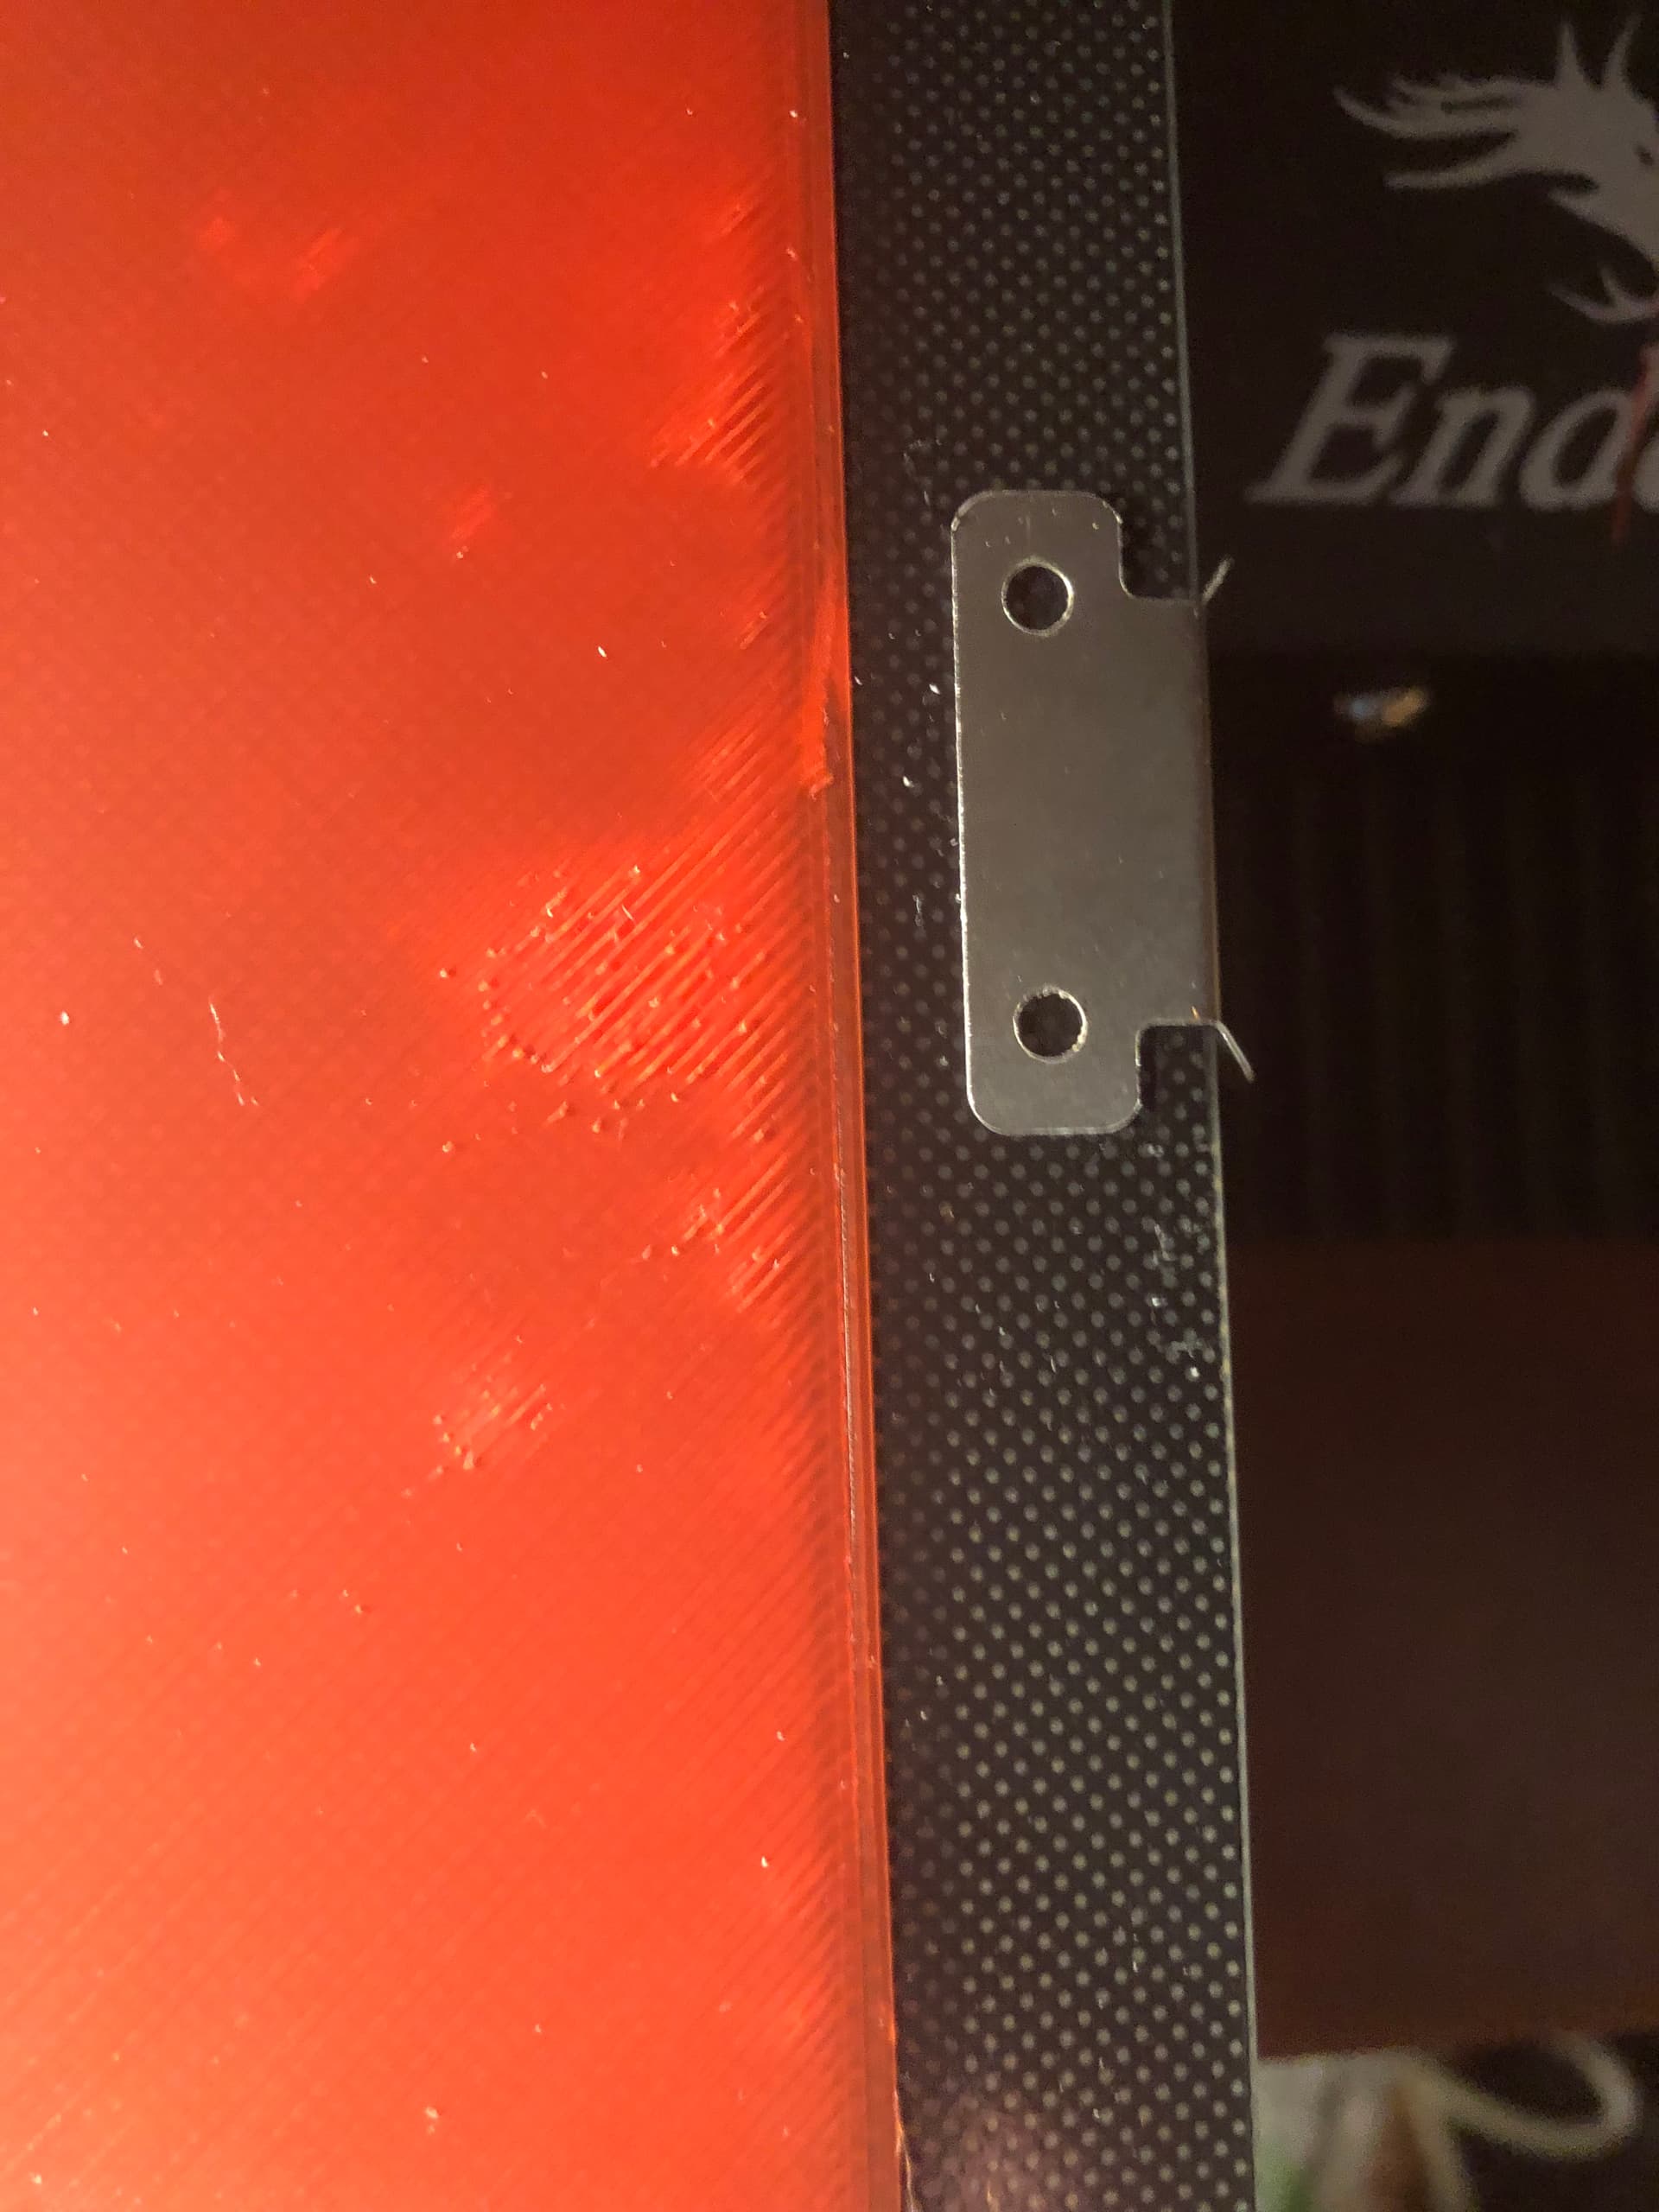
I do not think ot is coincidence that those showed up where the M5 screw holes start and stop.

So what changes there?
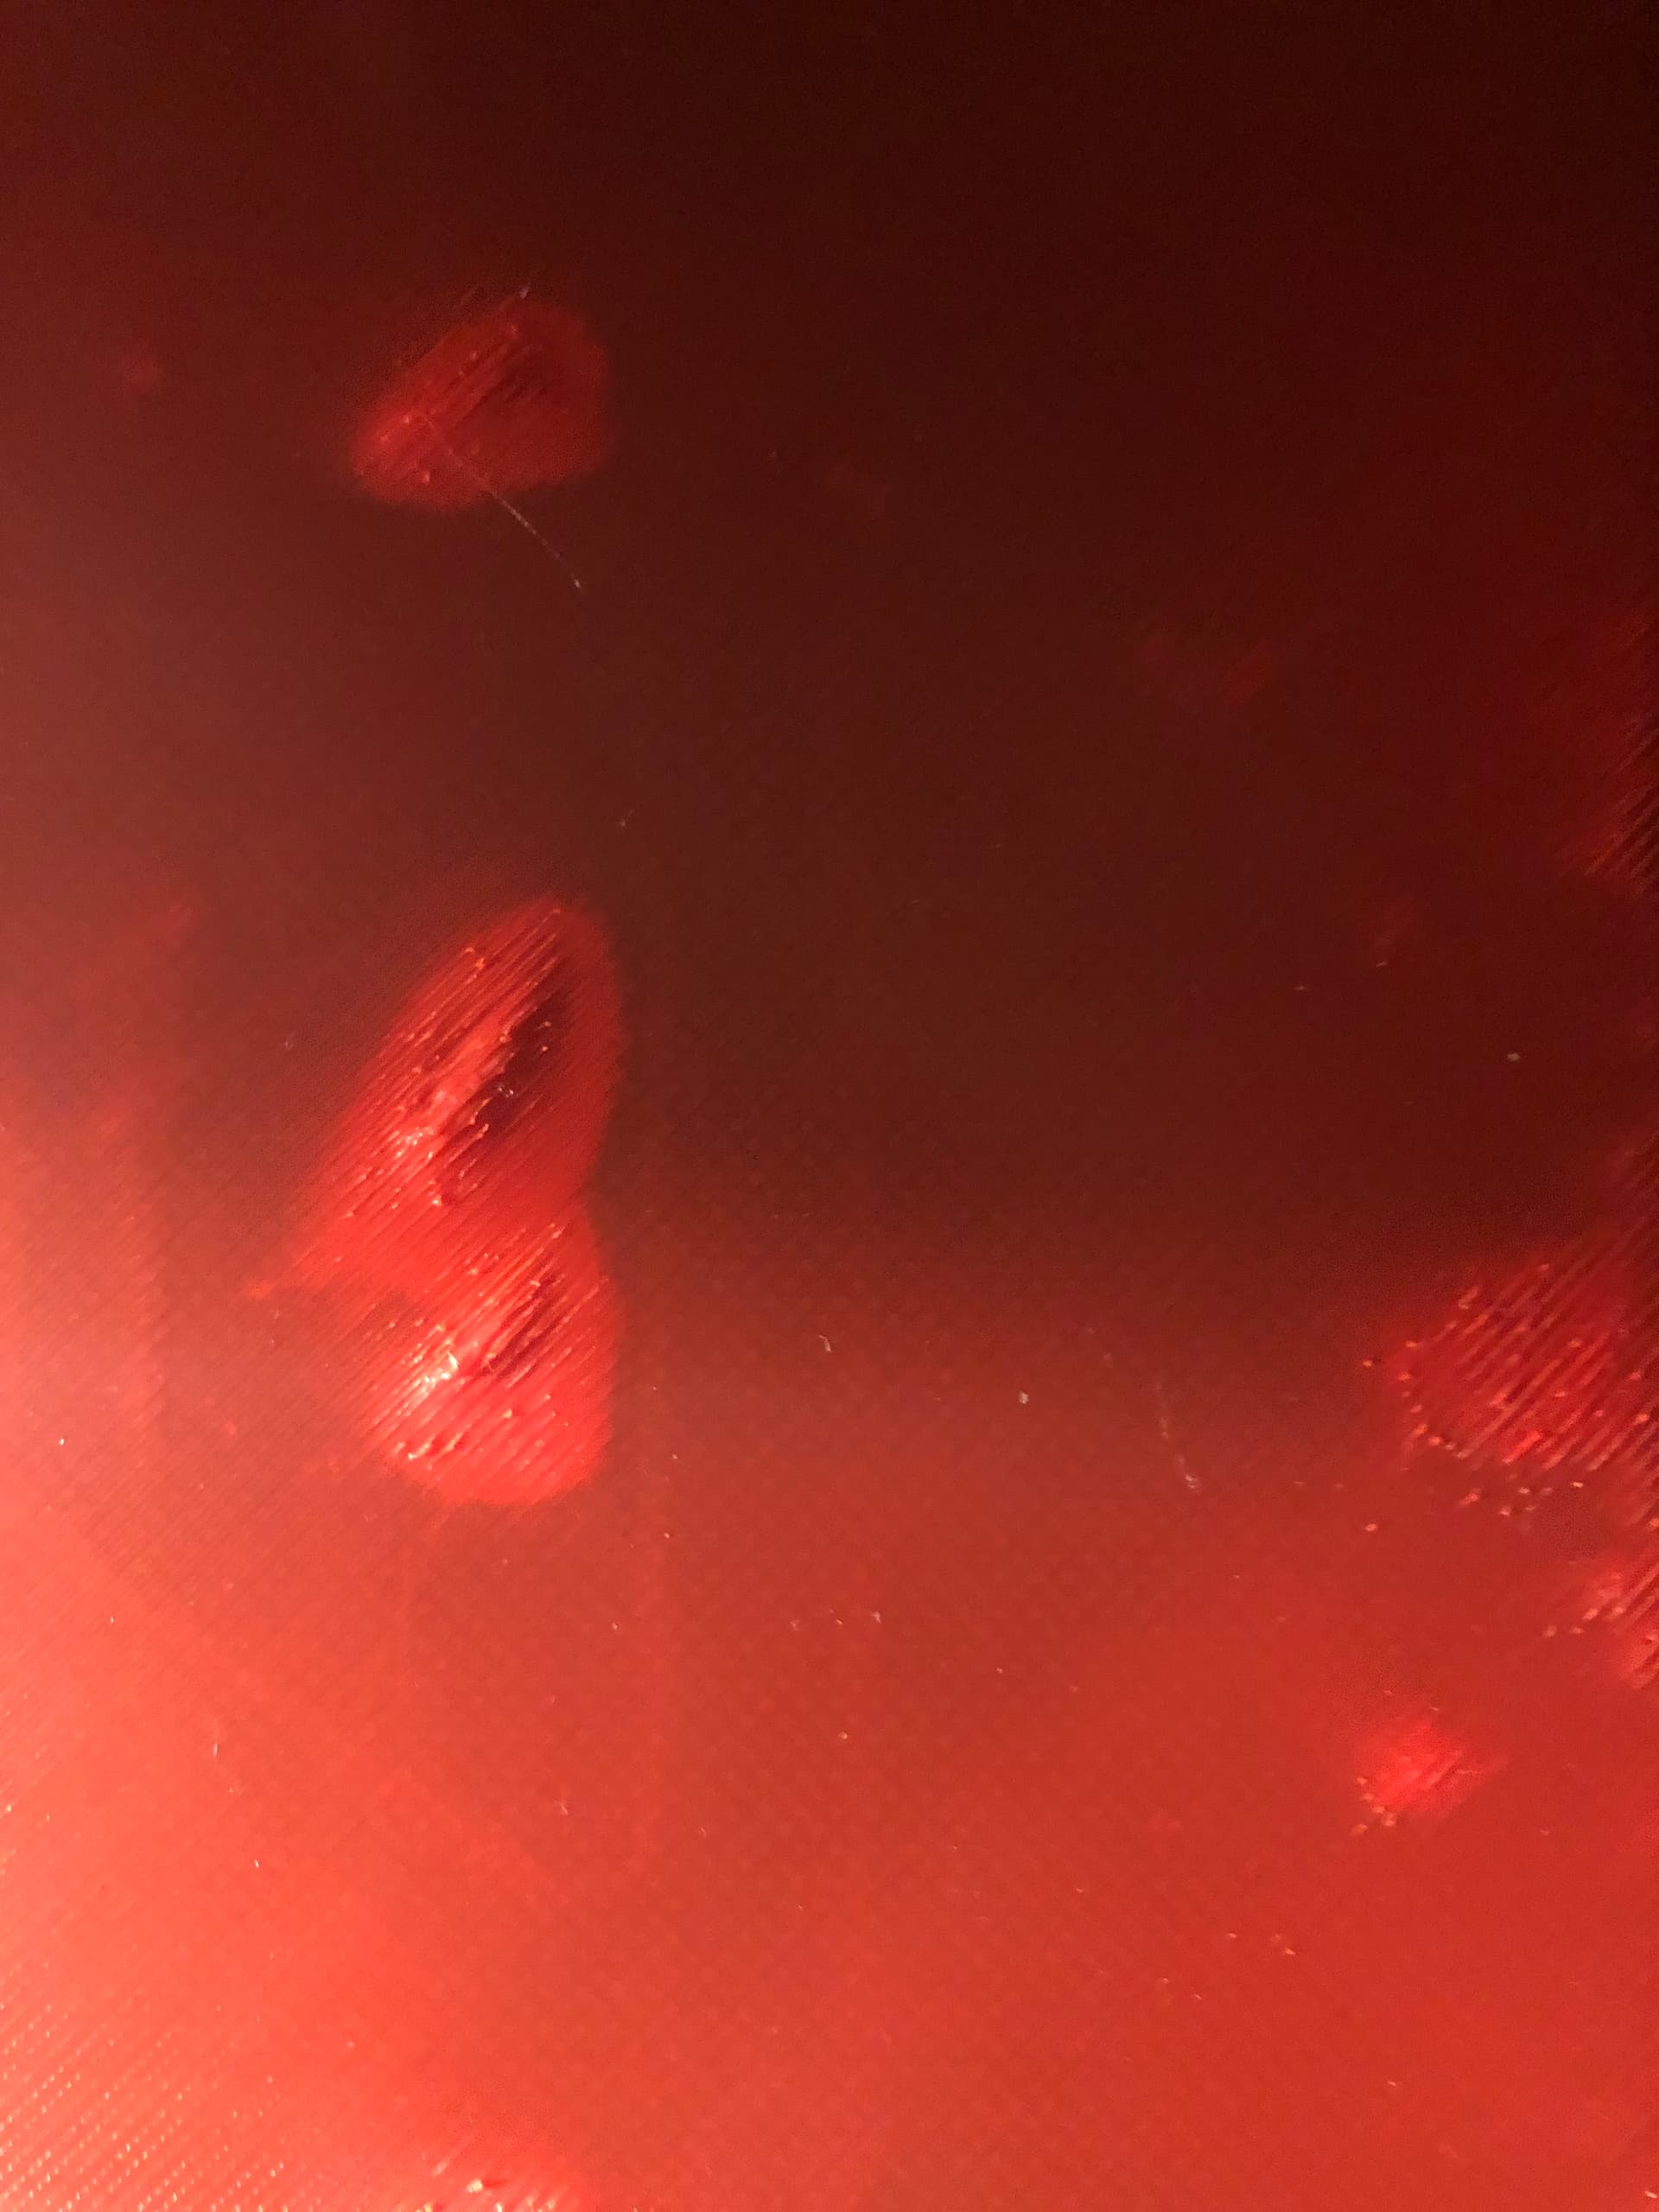
Theories:

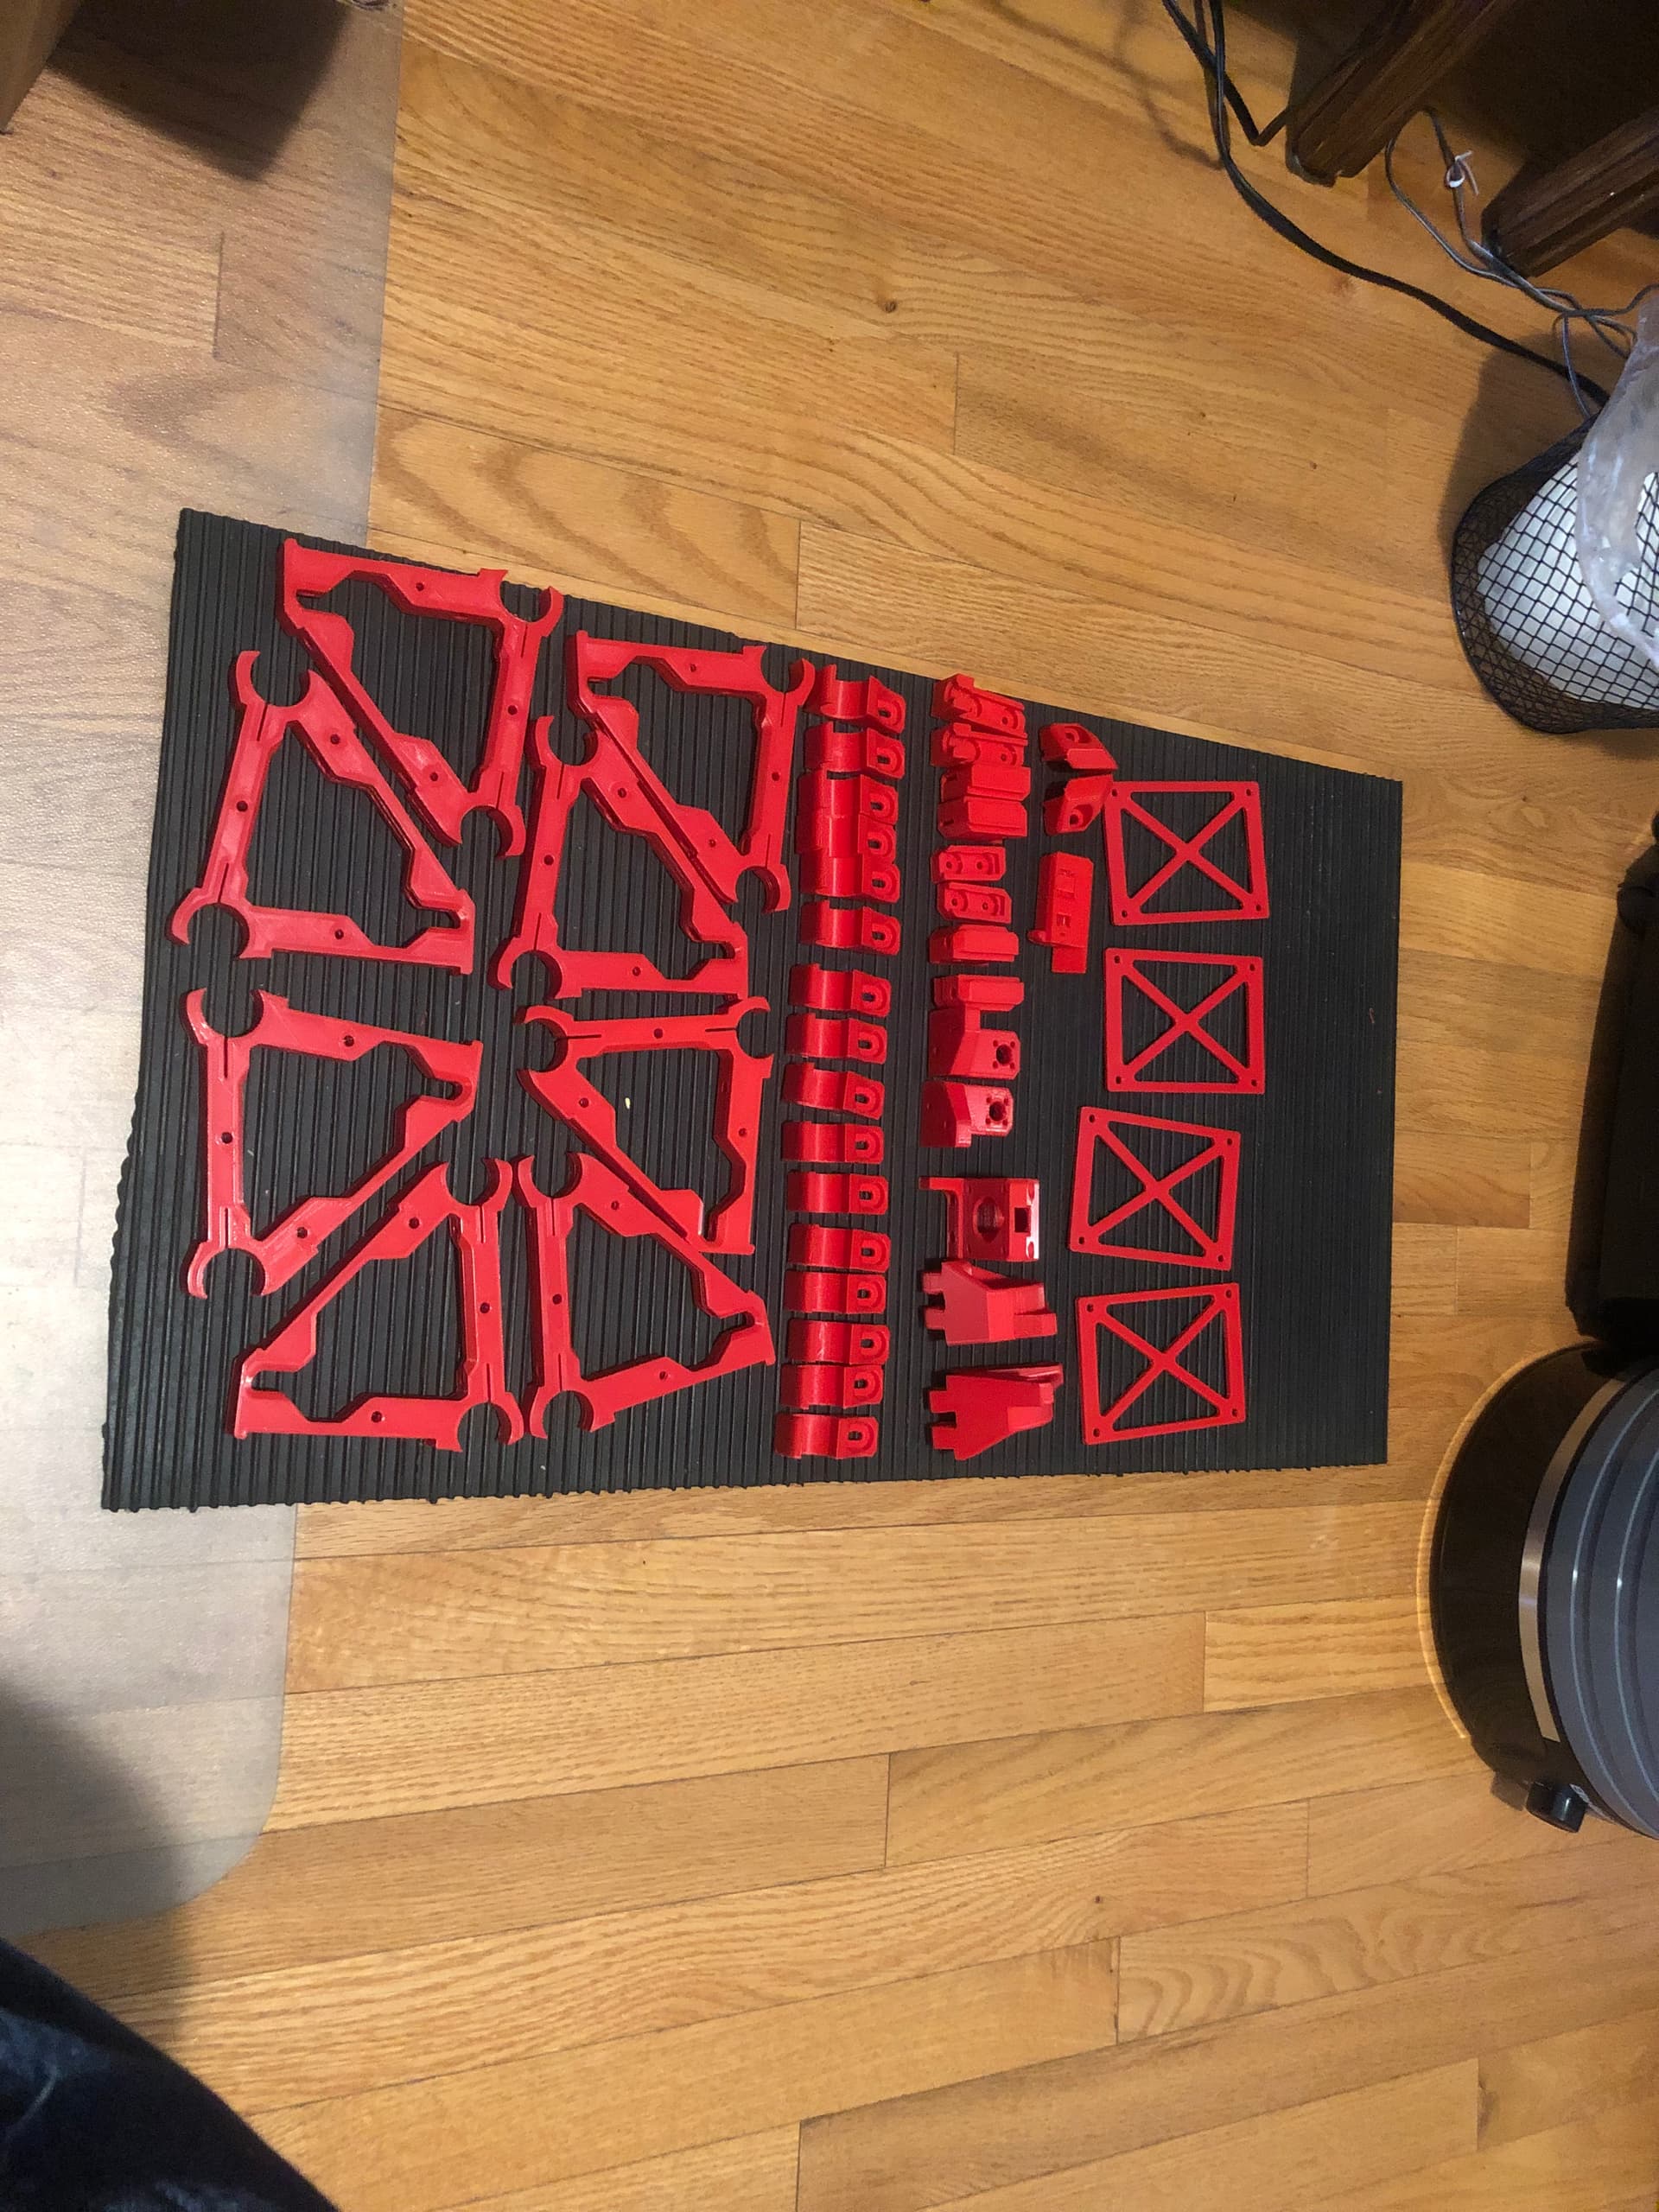
  • This is where the slicer goes from one large part to 6 smaller ones, and it disrupts infill.
  • Interior perimeters become exterior ones (around the center triangular holes) which reverses the print head direction there, and it’s pushing other stuff out of whack.
  • The corner immediately before the problem area goes from being a right-hand curve to a left-hand curve, and there is something allowing backlash in the mechanism.

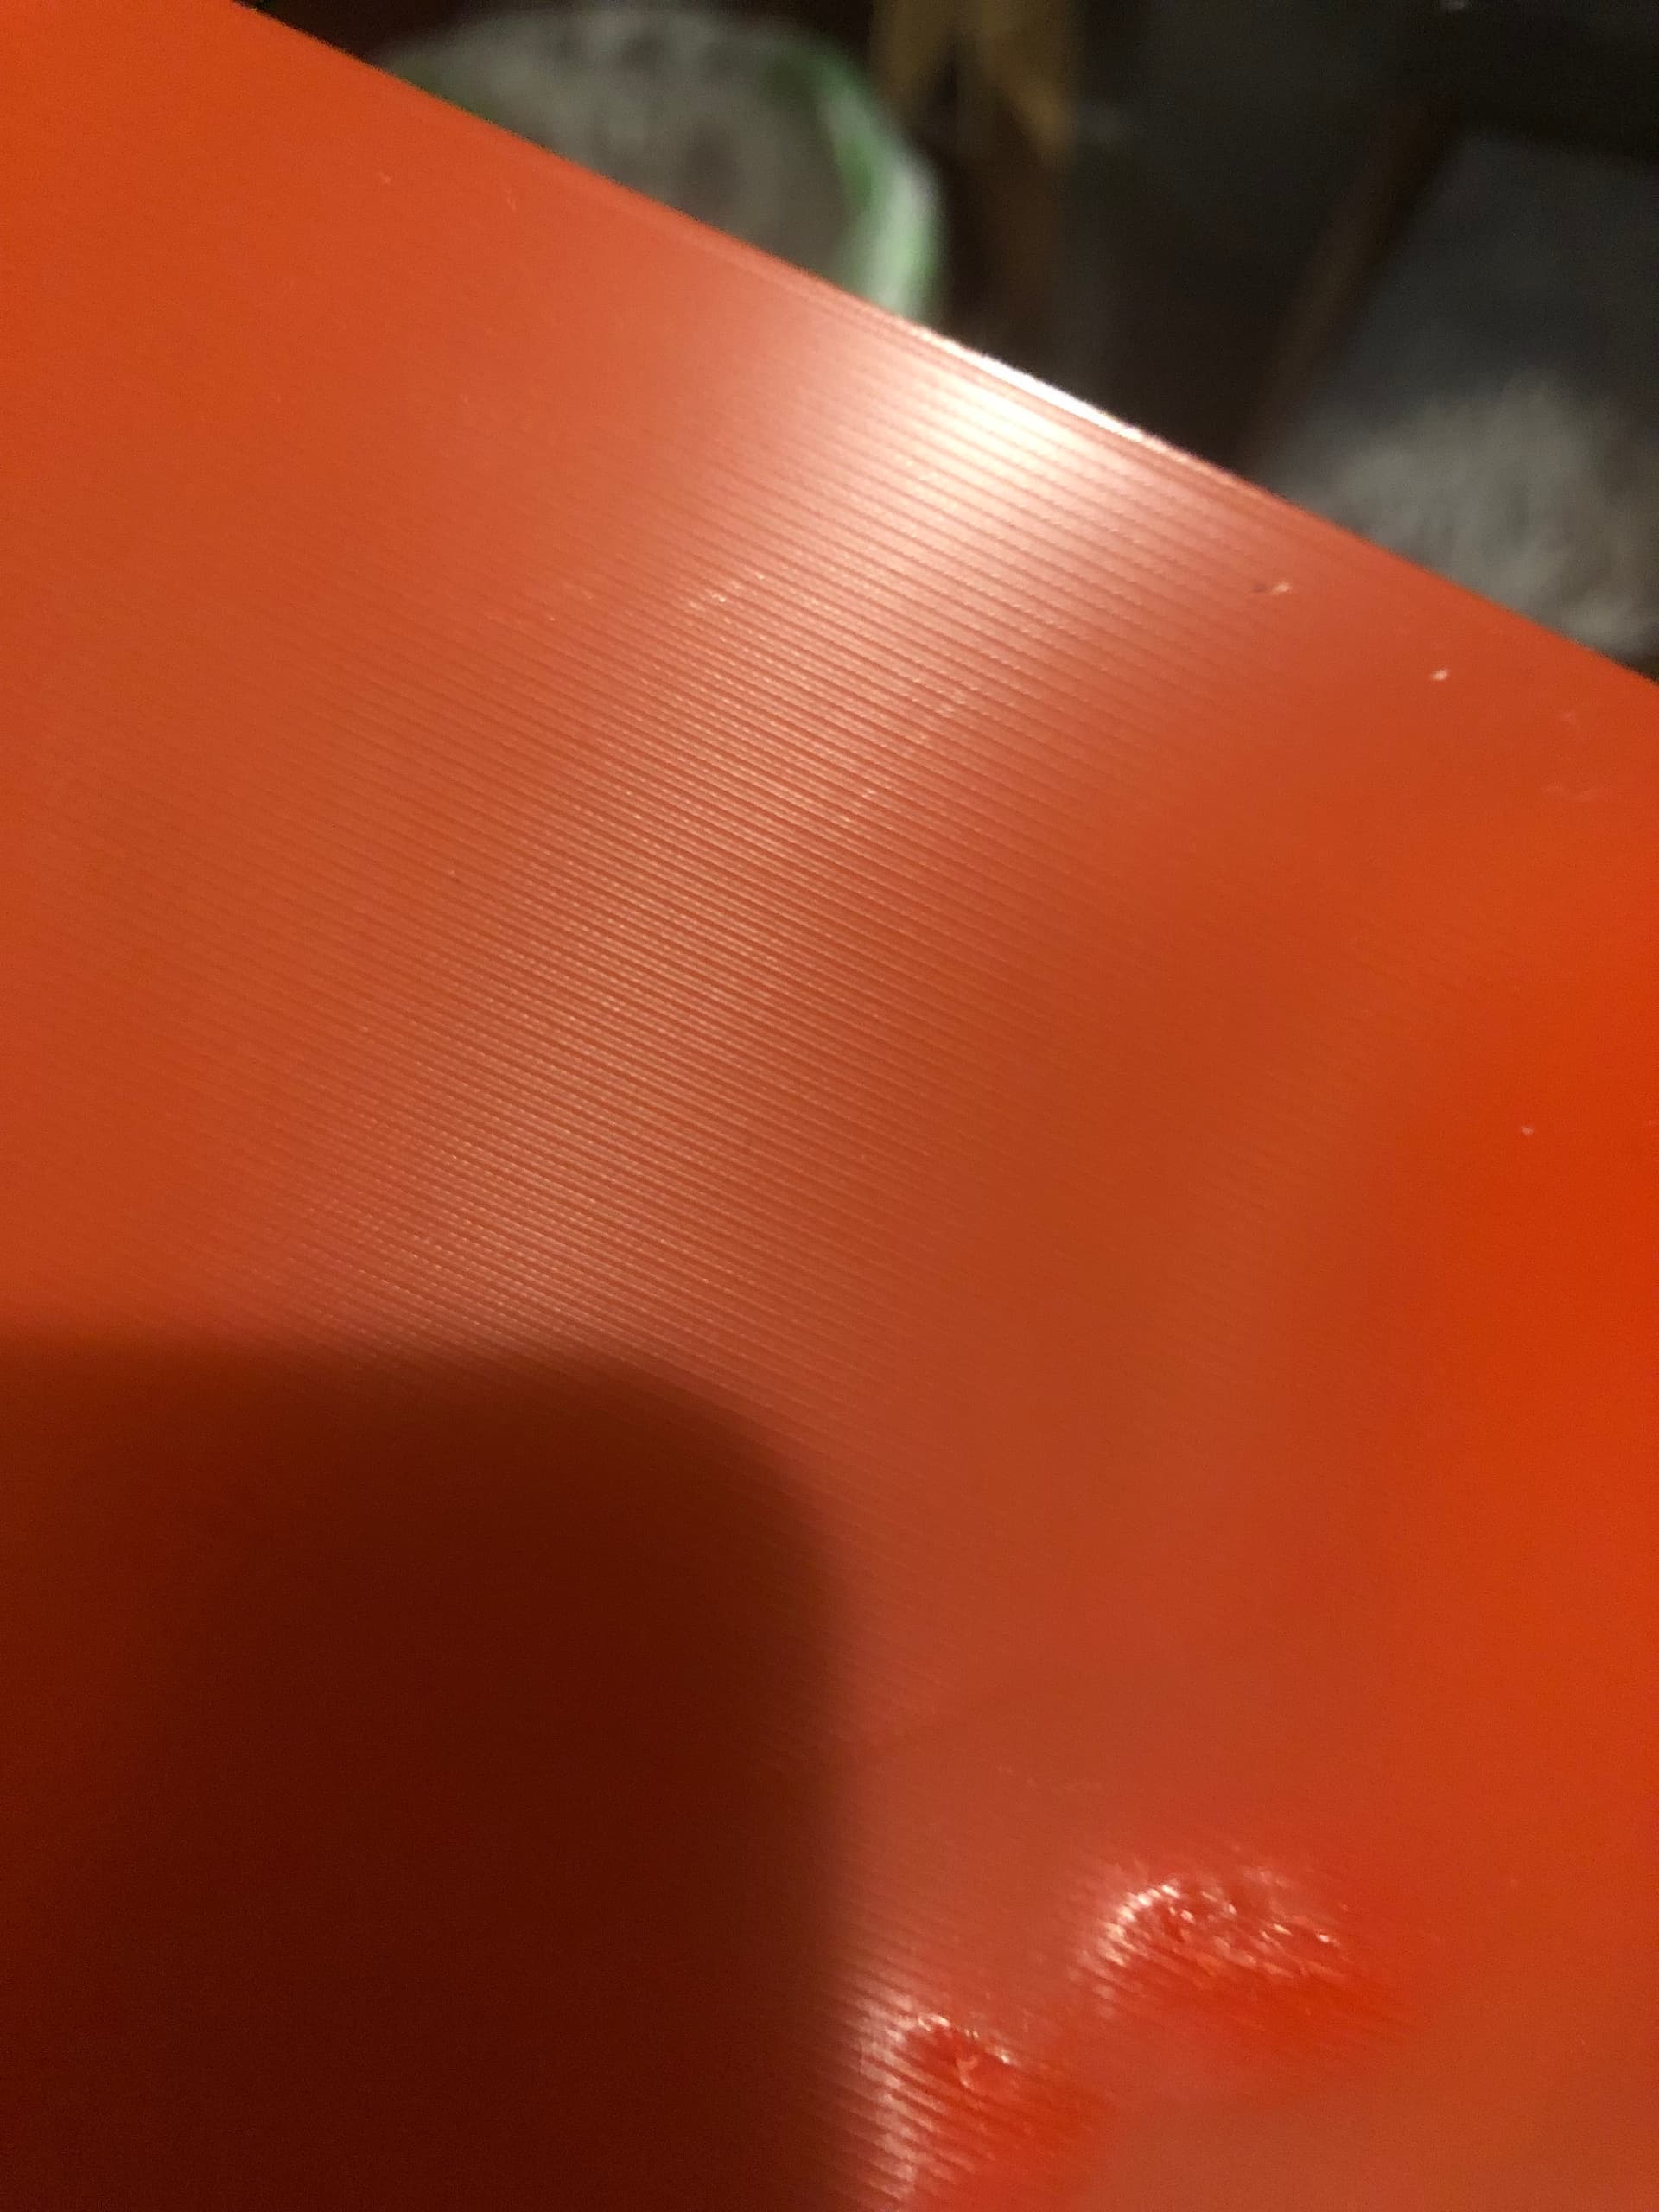
Any/all of these would have a root cause of some backlash or slop in your printer’s movement, and this is just the point where it shows.

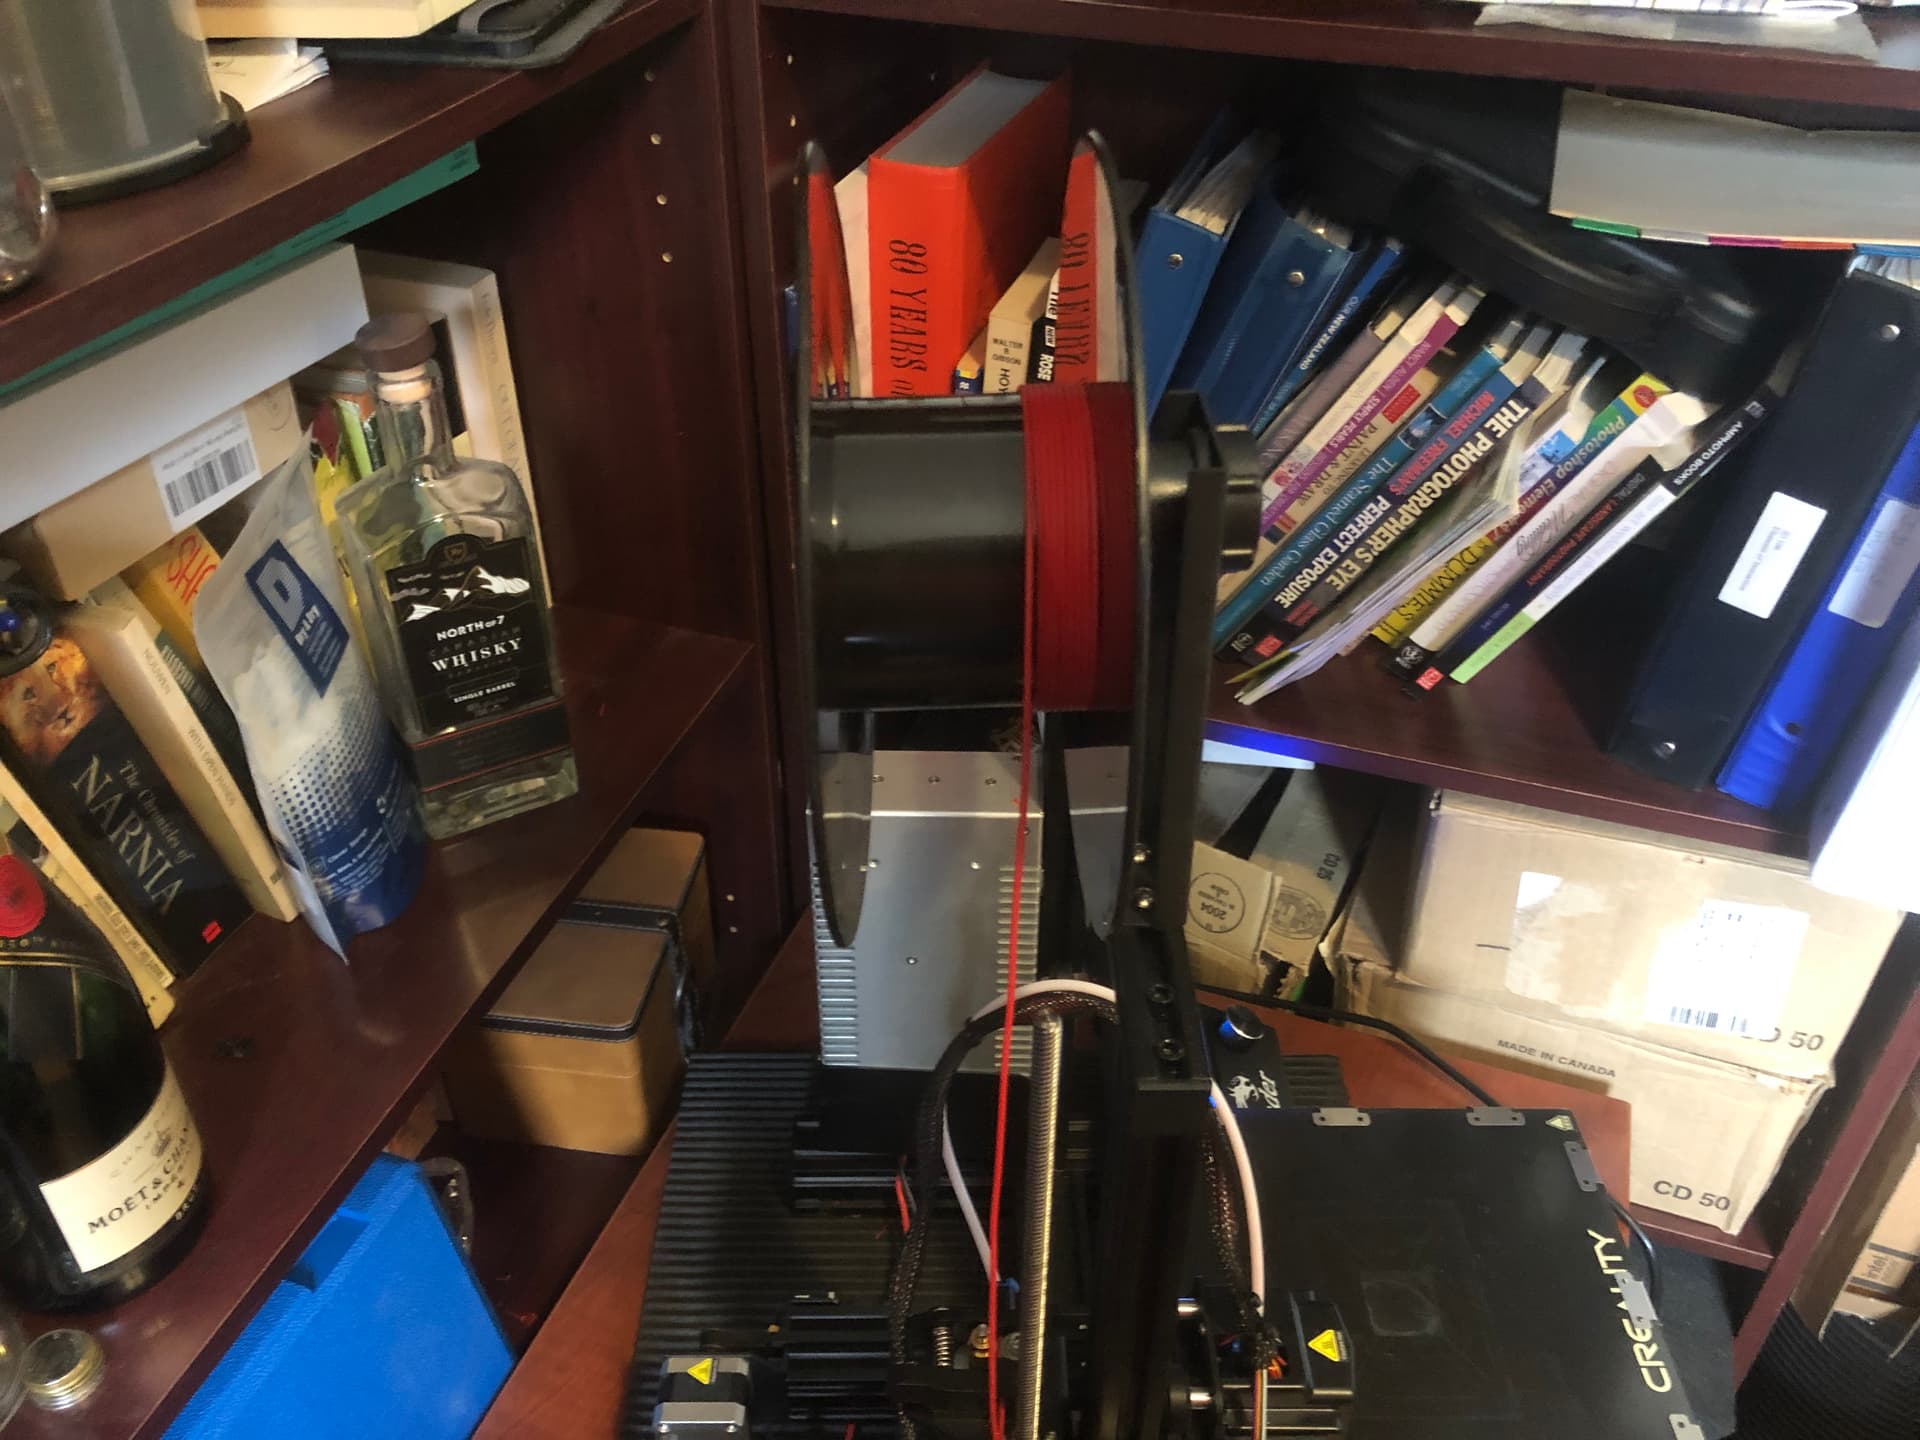
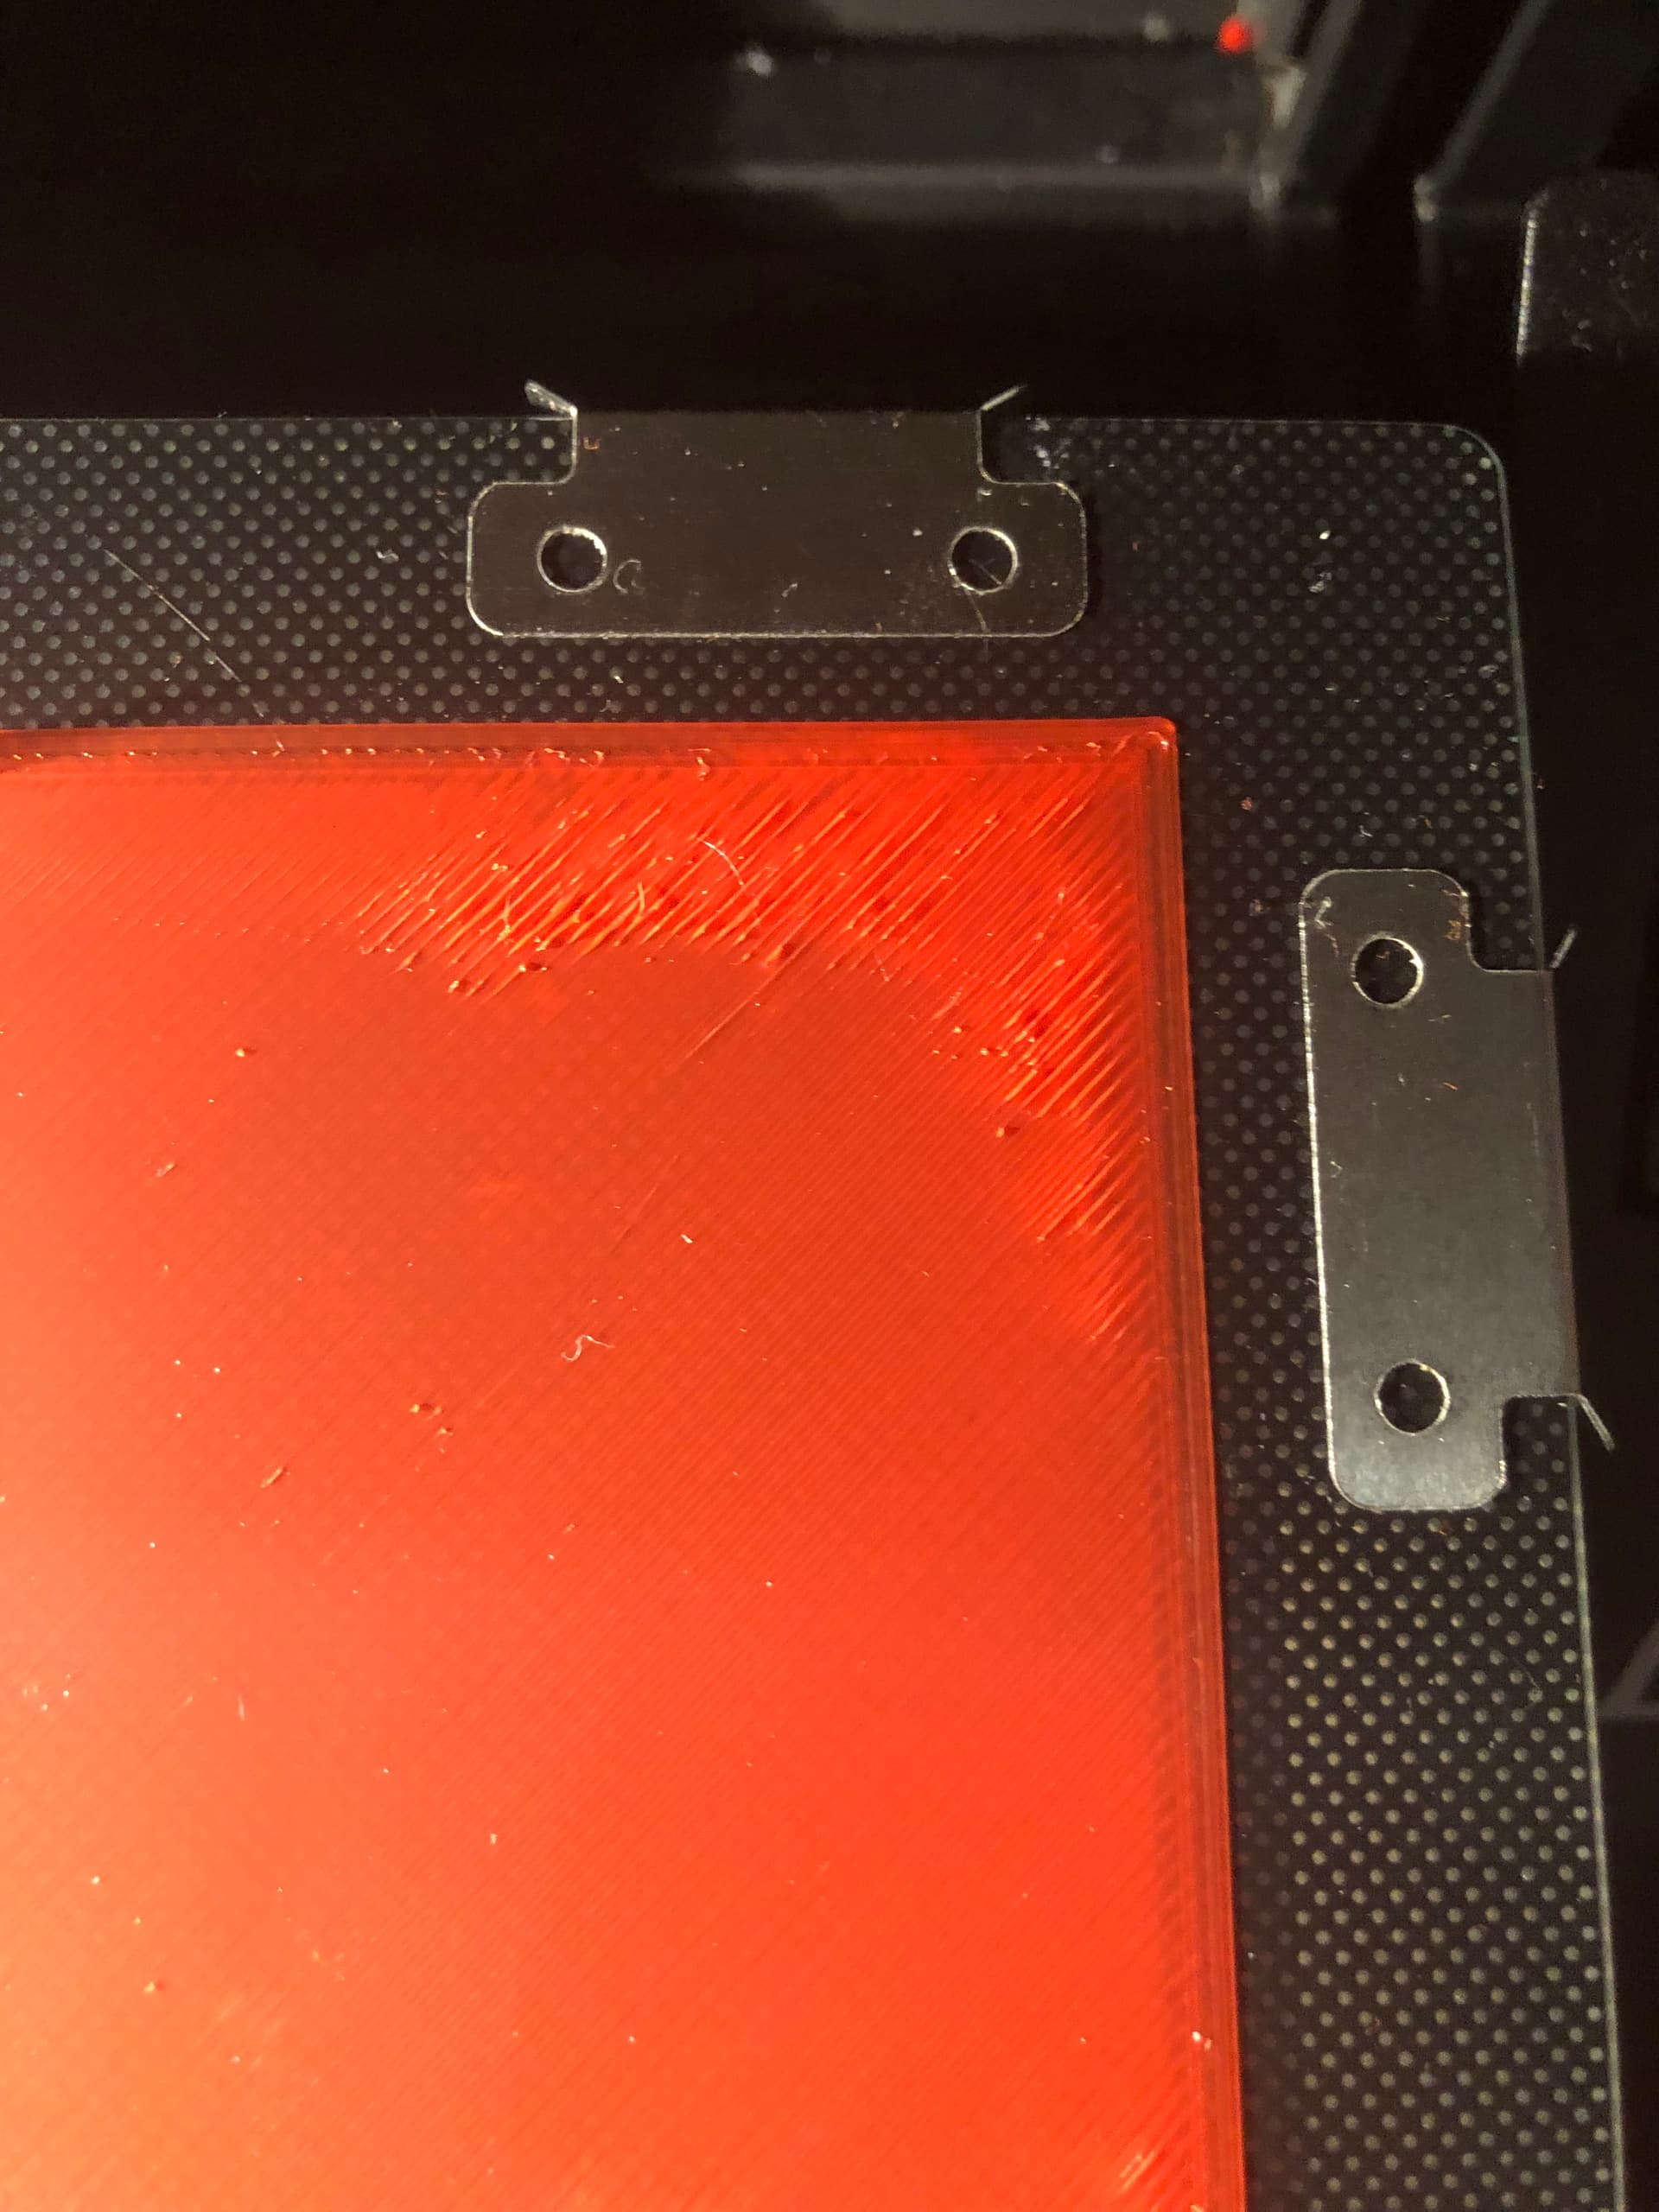
I would check the X and Y drives of the Ender 3 for any play in the belts. This really looks like the kind of crap that my first printer used to do when the drives got sloppy (which they did constantly because it was a particularly crappy I3 clone.) In particular, check the drive perpendicular to the worst face of the part as it prints.

2 Likes

Nail head, meet hammer!

The fact that it goes back to correct when the layers with the holes are finished made me question whether it might be something in the slicer settings.

Just before this appeared, I printed Ryan’s XZ/YZ Skew test, and the nozzle was contacting the infill quite a bit on the upper layers, to the point that I was thinking that it might knock the print right off the bed.

I was fiddling around with some Cura settings for combing and bridging and Z-hop to correct that, so my first thoughts were in that direction, but I figured that I should start with the basics and re-dial in the first layer before anything else.

When I tried a first layer test print I found a lot of problems (gaps in the lines, sections with excessive squish, sections perfect, sections with the filament not even contacting the bed), so that’s when I started down the UBL rabbit hole, which I am just finding my way out of now.

Grub screws were/are quite tight. I checked them previously, and again just now, because, well, they are grub screws. I’ll lube the threads, but given the way that the issue is just a few layers corresponding with the screw holes, there is probably something else afoot here.

If it’s not in the slicer settings, then this seems to be the most likely. I did find two possible sources of inaccurate movement, with the rubbing of the bed on the power supply, and the very loose hot-end screws. The belts seem tight, but I’ll recheck the rollers and adjust the cams if needed.

1 Like

Just to be certain you are not using more than 70% infill correct? This could easily be over extrusion pushing on your nozzle.

A good quick test is the 100/110mm extrusion length test. If you have not done this I can provide a link.

(This used to happen when people tried to use 100% infill)

1 Like

Nope, 35% infill on the parts shown above.

If you’re talking about e-steps, I’ve done that test. It was initially under by about 4mm, I adjusted and now it is 99.5mm actual on 100 mm expected.

1 Like

OK, I’m happy to report some (minor) progress!

I went back and checked a bunch of different things on the Ender 3. I found that the X rail was “catching” at a couple of locations. When I moved it by hand, it would “click” into a position, and it would take a bit of extra pressure to move it again. It turns out that I had over-tightened the roller wheel cams. Once I loosened it a bit, things moved smoothly along the whole axis. I also loosened the Z and Y axis a bit, and things are moving more smoothly than before.

I also checked the belts, and found that I had probably over-tightened them as well, so I backed them off so that they are tight, but not tuned quite as high a pitch when strummed.

I found that some of my G26 print failures were due to the underside of the print head assembly fan catching on the side clips. Even though I had decreased the print bed size in Marlin, the side fan housing was still hitting whenever the nozzle got near the right edge of the bed, causing the X axis to lose steps. I flipped the clips upside down, and everything is good!
.
After several edits to the mesh values, I was finally able to print a G26 Mesh Validation Test Pattern that looks pretty good (IMO)

(Ignore the missing line in the bottom left of the picture, the nozzle had a blob on it that I couldn’t clean before it started printing)

So I’m going to re-start the LR3 printing again soon (celebrating birthday #65 this weekend, so it may have to wait for a day or two). I’ll post pics and keep my fingers crossed that the layer shift issues have all gone away.

5 Likes

Nice work!

Making headway (slowly slowly).

Now that the printer is behaving a bit better, I’ve printed a bunch more small parts, including the temporary struts, bearing wheel brackets (F&R), supports, Z Stop (& M), X tensioner, Y tension block/base (L&R), and Y belt holder/base (L & R):

I’m not sure if it was good luck, or good planning, but the latest part finished printing with less than 2’ of filament left on the spool:

Some of the prints coming up on the next spool are pretty long (12-35 hours), and I’m still noticing the occasional gap in the first layer lines, in one or two specific areas, so I’m going to use up the last of this spool to print a single layer on the full bed, and then use that to fine tune the UBL bed mesh.

3 Likes

There wasn’t quite enough left on the roll to complete the full bed single layer, but rhe portion that did print shows pretty clearly some areas where the lines aren’t adhering to the bed.

I’m going to edit the mesh and reprint with a new spool tomorrow, so hopefully that will bring me closer to being fully dialed in.

1 Like

One thing I do before starting to print: Clean the bed with iso-alcohol. It’s amazing how much body oil is left on the bed after pulling a part off. Even when I think there can’t be any there I do wipe it down with Iso.

Mike

2 Likes

That still looks too close. The layer looks super squished. You should be able to see the individual nozzle lines but they should be fairly flat and touching each other.

2 Likes

I’m kind of surprised by that, as most of the print is quite smooth, and I can make out the individual lines, so I thought that I was pretty close for overall Z Offset (barring the several “blisters” in certain locations).

(kind of a crappy picture, but if you zoom in, you should be able to make out the individual lines)

When I was experiencing the lines not laying against the bed, it got better when I moved the nozzle closer to the bed, and got worse when I moved the nozzle away from the bed.

But I’m mostly going off of pictures from the Internet for examples of what it should look like, and I have great respect for your opinion, so when the voice of experience talks, I’m going to pause, listen carefully, and hopefully learn a thing or two.

Based on the photos below, are the blisters a result of too close, or too far away?


I was thinking to deal first with getting things consistent across the entire bed, with no blisters, and then to set the Z Offset as needed to get the whole bed the correct distance from the nozzle. Not sure if that is backwards or not.

Yes, I usually clean w/99% IPA at least every other print. So far my biggest problem (other than the blisters above) isn’t getting the print to stick, but getting it off afterwards. The blisters and gaps seem to happen whether the bed has just been cleaned or not, so I think it is more of a mesh adjustment issue.

Most of those blisters look like fingerprints to me.

My secret sauce is a liberal dose of dishwashing detergent almost neat and scrubbed with a microfibre towel under HOT water. Then dry with a clean tea towel being careful not to touch the print surface with bare hands no matter how clean you think they are.

Then IPA before every print. I print constantly and go through a 500mm spray bottle every year or so, so it’s not a huge amount required.

I also use paper towel with the IPA as it’s microscopically abrasive . Like so many other things, once you have the cleaning dialled in it will just happen without thinking about it.

I would guess 0.03 further from the bed at least. I am actually basing that off the perimeters. They look way too thin.

With that said it could be other settings, how wide is your first layer lines set (no more than 120%), and first layer thickness (should be set thick 70% of your nozzle diameter in height)? What about your first layer print speed, 50-60% normal? Bed temp and filament come into play as well.

N = 1… take with all the grains of salt you want! :rofl:

I’m probably in the (vast?) minority here, but I don’t clean my print bed all that often, unless I’m really concerned about the first layer being a 100% flat face. I only print for myself, and mostly functional parts, so I am happy to just print on the slow buildup of glue stick on the surface of the bed. I have not had any problems with adhesion or bubbles; as long as my Z micro offset is dialed, I’ve not had first layer issues.

You are not in a minority. In fact I was beginning to wonder if I was doing it wrong.

My smooth plate, I clean with acetone when I haven’t printed in a while, like when I started printing the LR3 parts, that was the last time I cleaned it for all the LR3 parts. Then when that was done, I printed some PETG, and added some glue stick to the sheet, not to help adhesion, but to get the PETG off the sheet, without pulling up pieces of the sheet.

My textured sheet, acetone will take the finish off, so it’s only IPA that it can be cleaned with (other than soap and water). It’s a bit more temperamental, probably because I use it less, and therefore probably didn’t dial it in as much. Glue sticks for me (or hairspray) ensure no issues, and it’s only cleaned again if it’s been sitting not being used for long periods of time, OR I feel there is a bit of glue or hairspray build up on it.

I feel this is one of those various topics, where each machine/manufacturer is slightly different, and different things work for different people, ESPECIALLY with there are so many options for filament brands, colors, etc. then there is the difference in settings we all print using, then slicers, not to even factor in that there can always be a subtle difference between spools, from the same manufacturer, same color, just from a different batch.

At least that’s behind my theory on why once people find a brand they like, they stick with it, so as not to always be dialing in a new variable.
Or I’m guilty of falling into this category. I made a switch to try and color match plastic to a manufacturer, and the brand I selected didn’t need any adjustments, but I printed a test piece first before, I started the parts that mattered to me. :blush:

2 Likes

That may be so. I used a caliper on just the perimeter, and it is 0.15 mm thick (set for 0.2 line thickness).

0.4 mm (100% of nozzle width) The perimeter is 3 lines wide (wall thickness set for 1.2 mm), but measures out at 2.48 mm, and the single width purge line is measuring out at 1.02 mm, so yes, there is definitely a issue here (earlier calibration cube measured wall thickness was 0.41 mm, so it seems to be first layer specific)

0.2 mm (50% of nozzle width). I found earlier that when I increased the line thickness, the gaps increased quite a bit. That was many changes ago, so it may not still apply. Perhaps I’ll start by increasing the nozzle to bed distance (decreasing Z Offset), and once I get better results with the 0.2 first layer thickness, then try increasing the first layer to 0.28.

20 mm/s (print speed 50 mm/s, bottom/top/wall speed 25 mm/s)

50 C bed temp, 200 C nozzle temp (Hatchbox PLA recommended nozzle range 180-210 C, but temperature tower shows best results at 195-205)

Thanks for the comments, and for your experienced eye.

Any comments on the blistering issue (too close, too far, or fingerprints?)

I could be mistaken, but my memory is that whenever I got blisters like that, it was because my Z height was too low (nozzle too close to the bed).

Hmm, never thought of that.

I’ll try giving it a hot bath, followed by an IPA shower, then use latex gloves to install and remove it. Thanks for the tip.

1 Like

Thanks. I’ll start by increasing the Z Offset a bit (making it less negative), and if it still has the blisters, I’ll adjust the mesh in those locations.