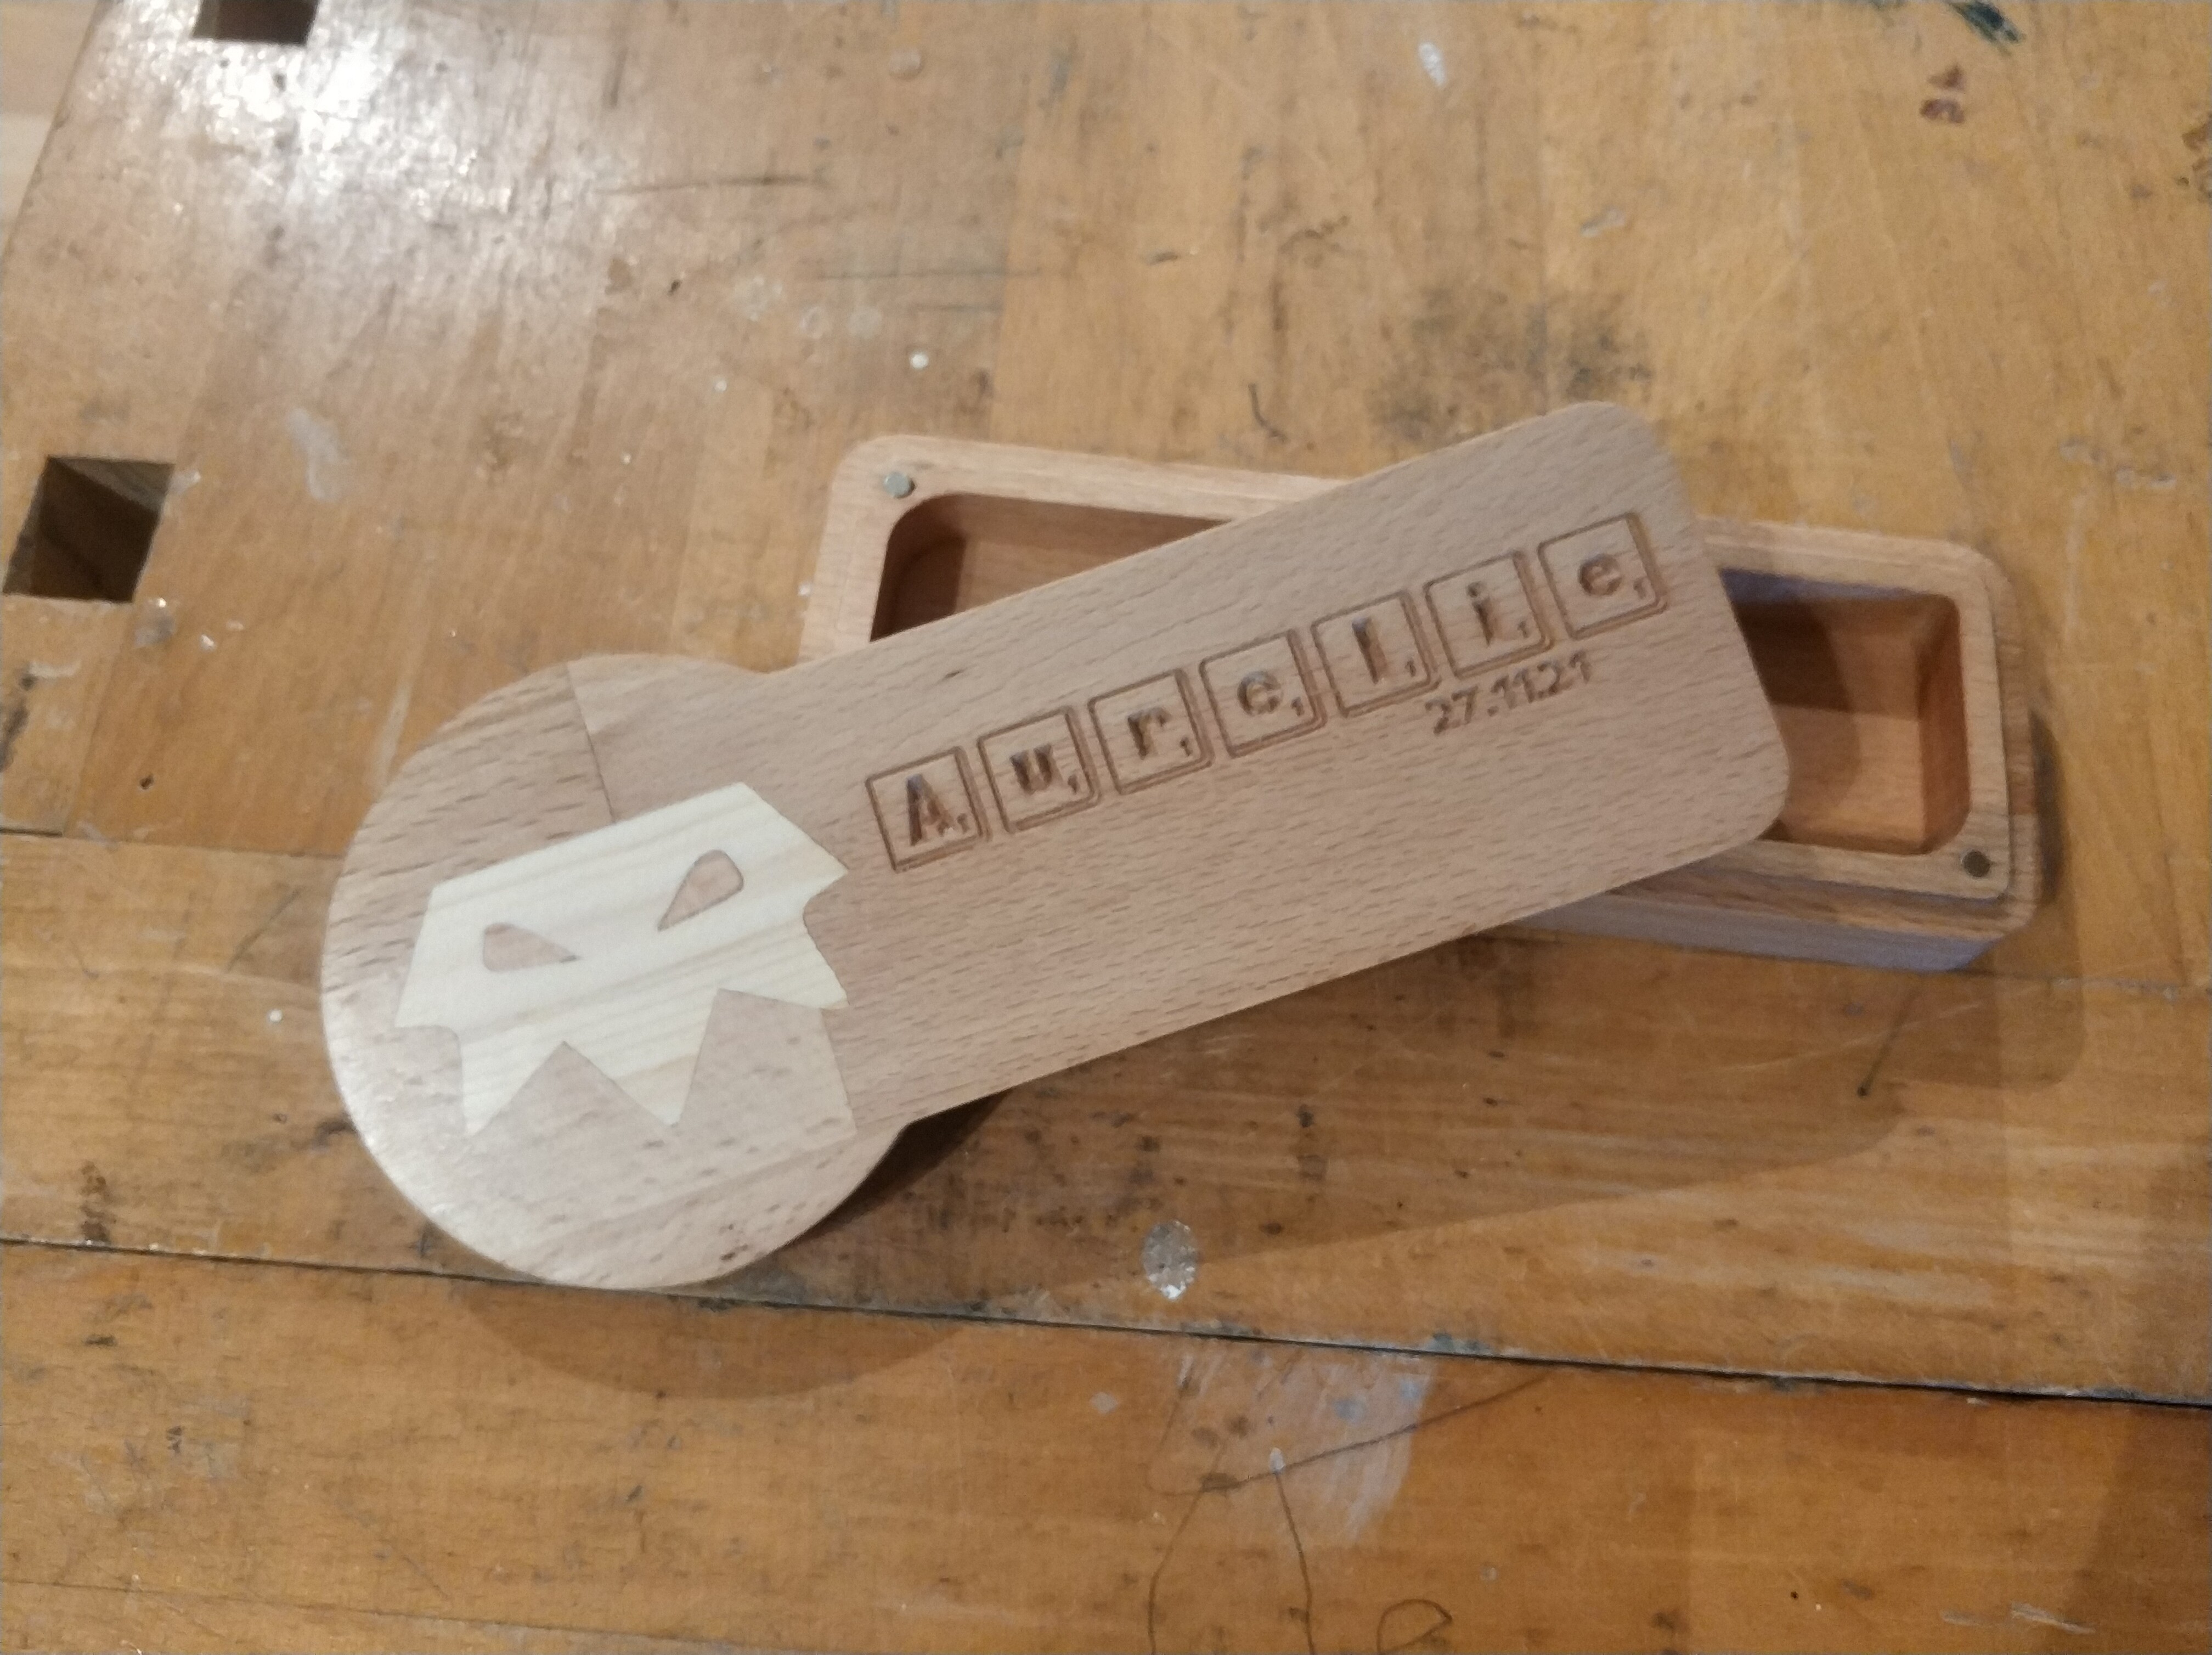
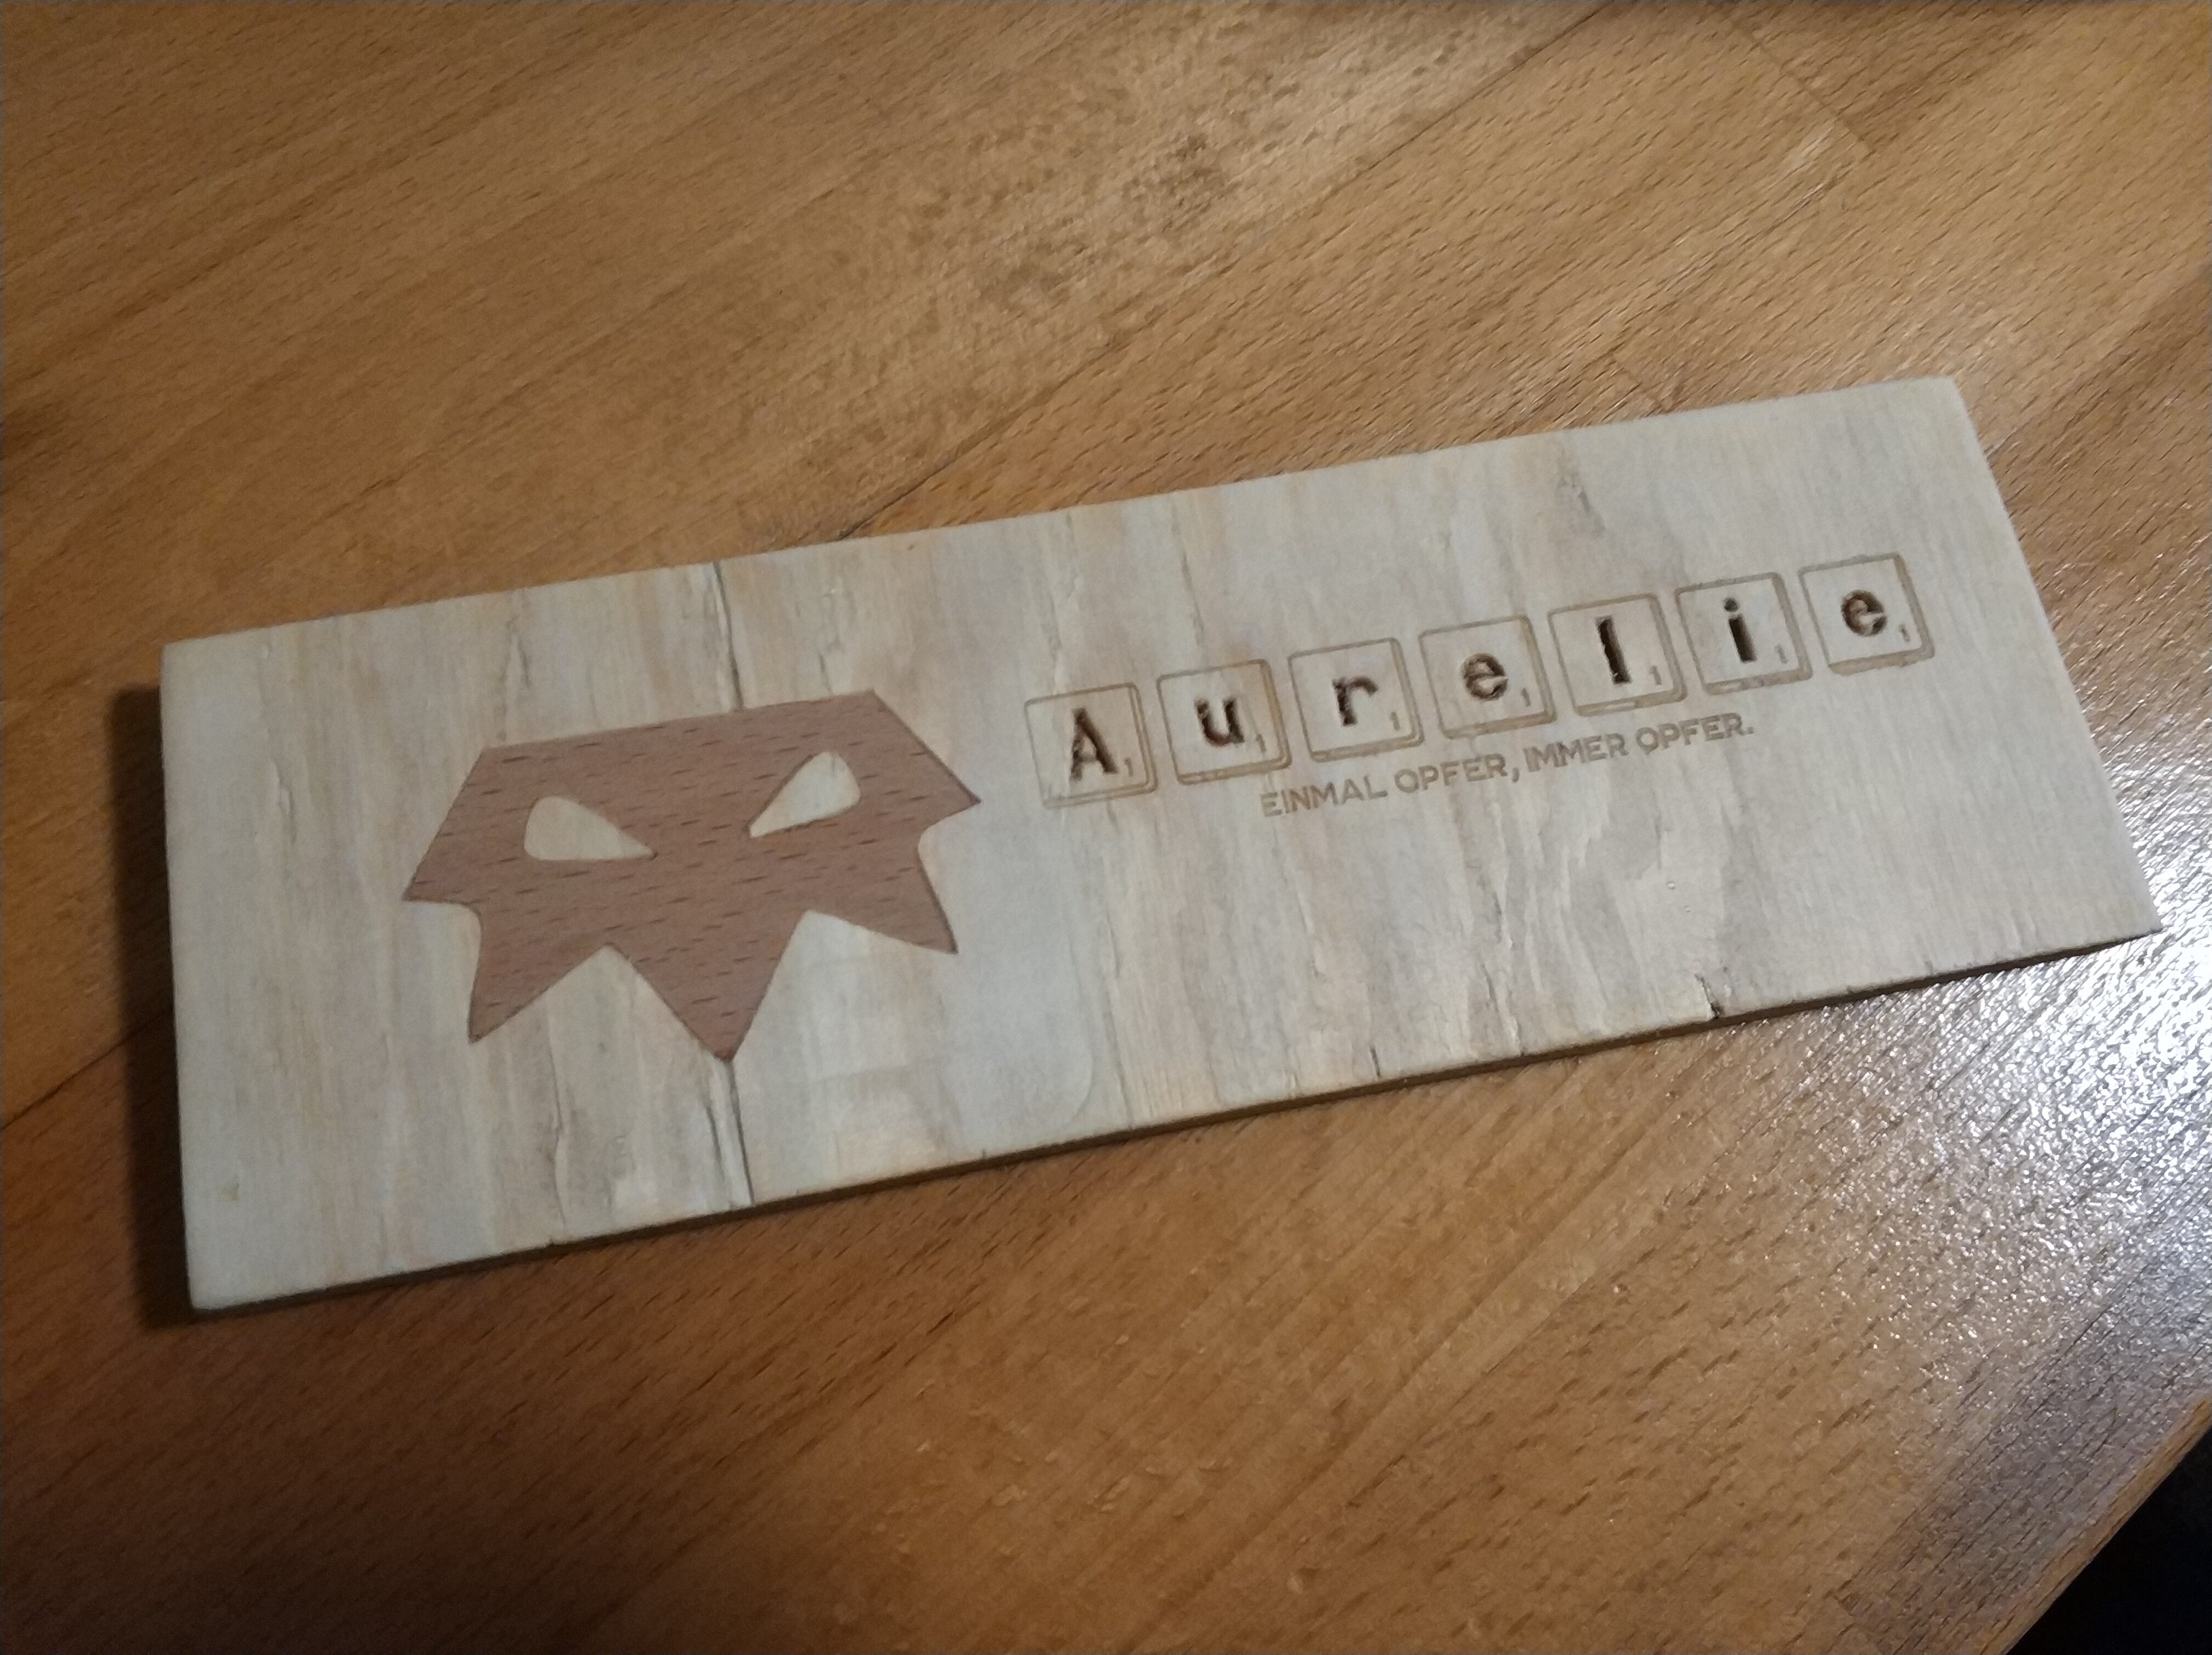
I made this one as a gift for a friend for the birth of his daughter.
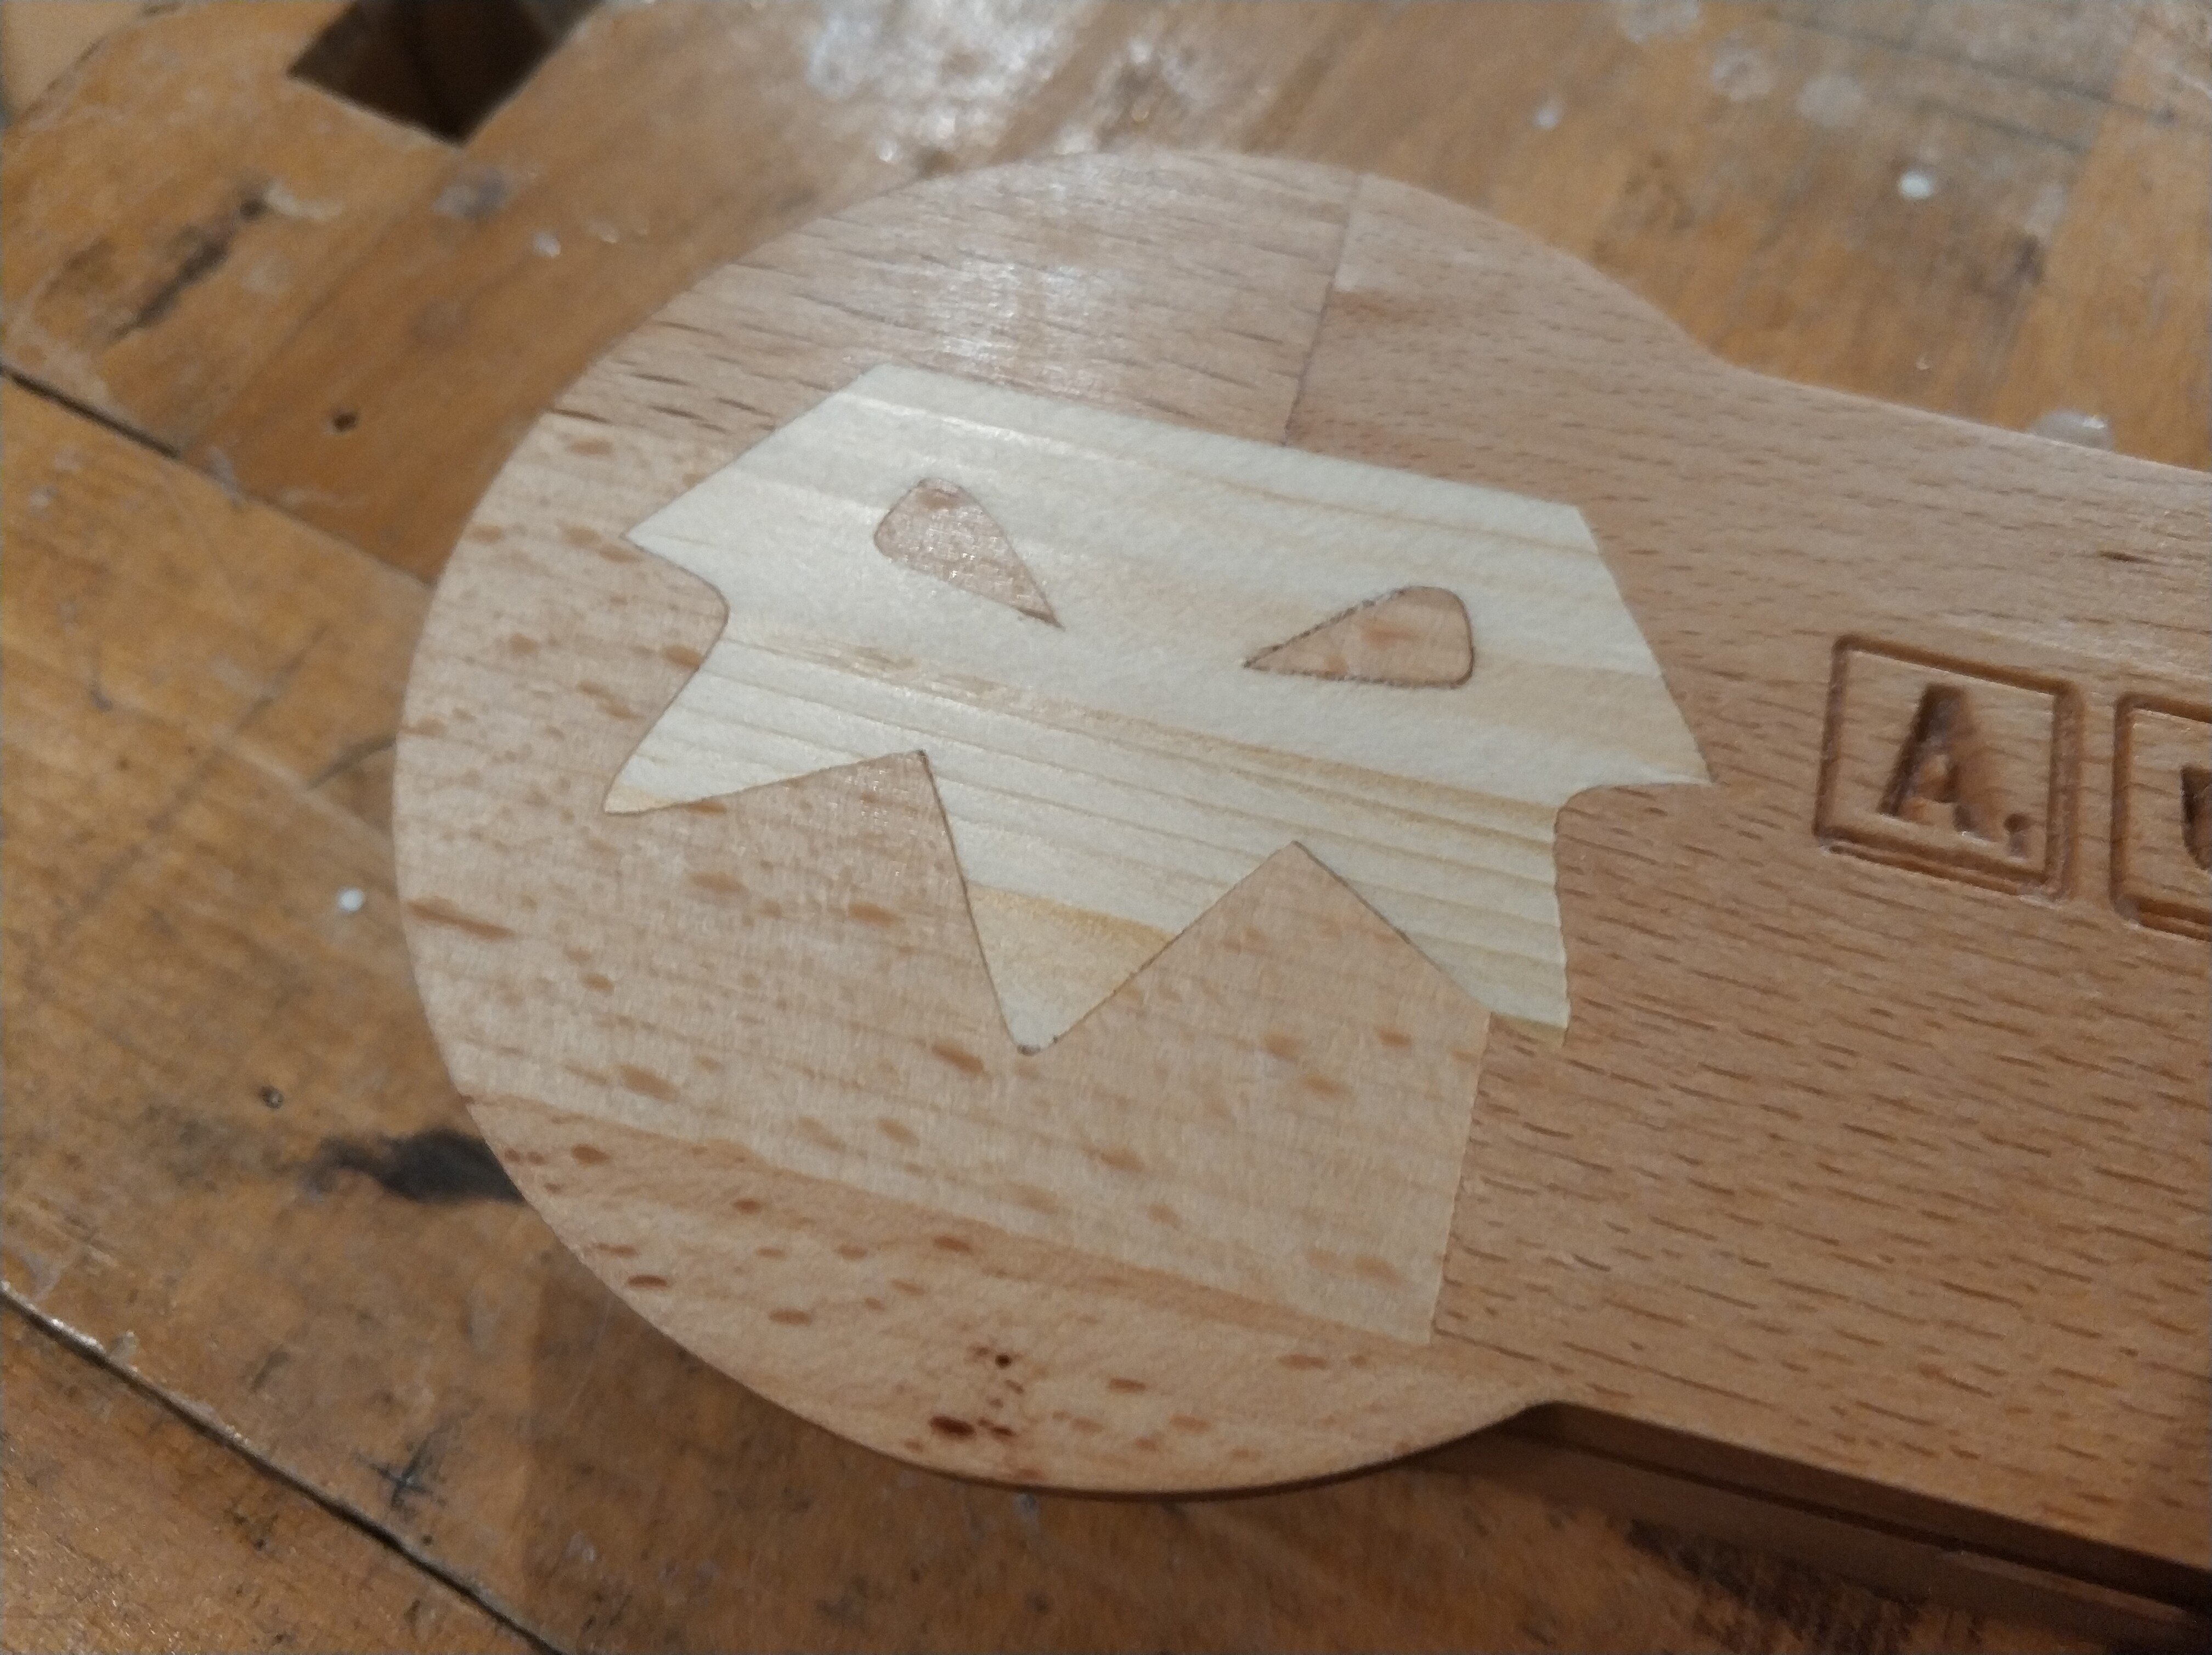
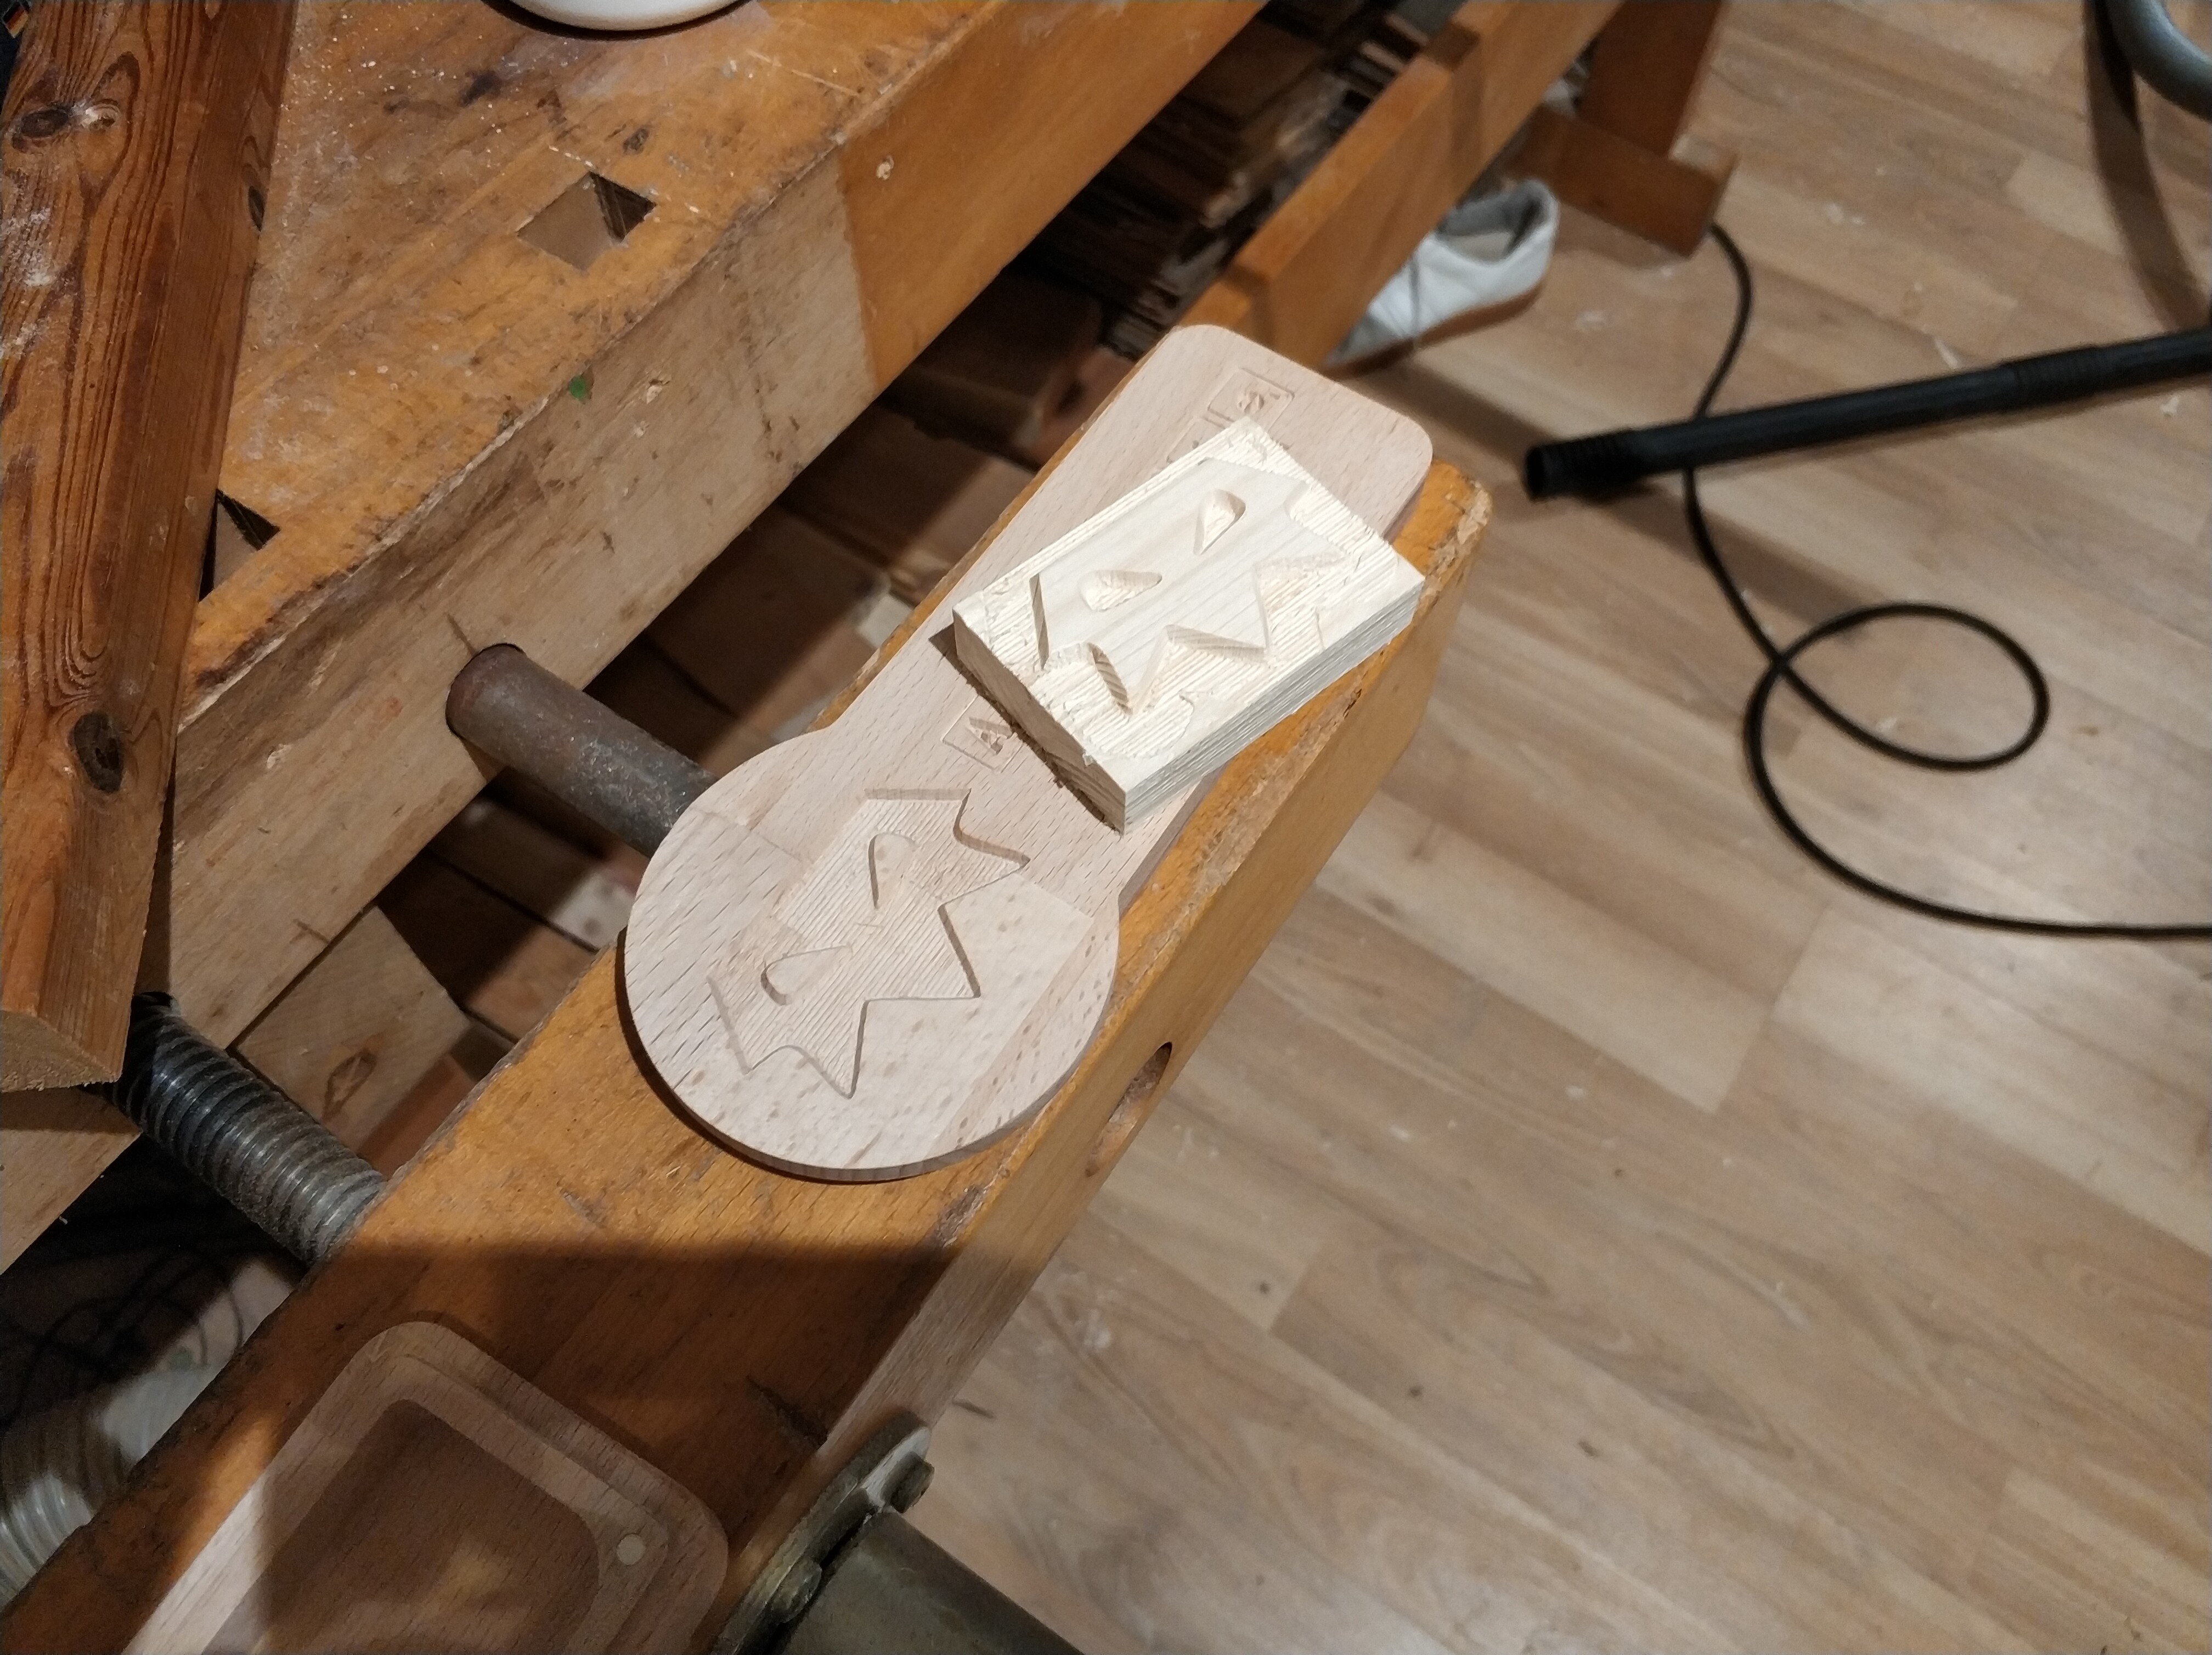
This time I tried to do an inlay, made one test and then went for it. It could have been better in some places, but I only had fir for the inlay, which is too soft for good edges.
I did not follow Jamie’s advice, there is too much math involved for me. It’s easier to just mill the negative twice, putting zero on the level of the depth of the first run.
Philipp, that’s awesome, great job! I’m trying to get up the gumption to try doing an inlay. Do you have any suggestions? I’m not sure what Jamie’s advice was but if you could post a link I’d appreciate any help with this.
Regarding the inlay. Just do it. It is pretty easy, as long as you have a 60° V-Mill that can go 10mm deep. 3 are enough if you want to do a shallow one, since you need double the depth on the negative.
I think it’s probably possible to develop a much simpler recipe using some lookup tables and a little bit of trial and error with one or two test pieces. For some reason I am drawn to closed-form mathematical solutions but those are not always the most practical and even for me they are very error prone. I definitely felt a certain pucker factor when cutting the pocket on an end-grain cutting board that has several hours of labor already invested. Is the calculation 100% correct?
Some simpler rules and success on test pieces would give a lot more confidence.
I just noticed that I can’t really run the programme twice and just set 0 to the lowest point of the first pass, because my Z travel is only 3mm. If I want to go deeper than 3mm, I have to create another, identical programme except that I choose the starting layer to be 5mm in Estlcam. So my 0 stays exactly the same, but it starts 5mm deeper. That way it lifts the Z 8mm instead of 3, then it works again. Luckily this thought occured to me while taking a break after milling the first pass. Phew. My 6mm endmill would have ripped it to shreds…
Here is the current WIP: MPCNC Primo Schneewittchen - Oldenburg, Germany - #116 by Tokoloshe
So I’m trying to follow along here. What did you end up doing? Did you just do this with different zero offsets in estlcam? Or did you over cut one part with a + finish pass and no tool selected?
 3 are enough if you want to do a shallow one, since you need double the depth on the negative.