Hi Chris,
I am also building full size lowrider3, i am in Perth WA.
Did you order any parts from V1? Like cables to suit, etc? Just wanting to check, as i am aiming to print most parts, i will laser cut my boards as i think they are too big for my bender3 plate, or can they be printed flat on most 3d printers?
I am going to make my base in two sections, to slide on a trolley like base, one section will be pretty much square , slightly on gear than the x axis, and then this can slide back and locked in place and the extension for full sheets comes in when needed and joined and locked in place to connect rail. The belts will just have to be changed or use the same belts for each purpose? I will have to work this out yet.
I hope it works, i will do a new post when done.
Anthony
TO DO NEXT>>>
Cut the 300mm linear rails in half tonight
Bring in the 6 core wire to extend the steppers
Bring in the 4 core for the End Stops (i work in the Home automation industry so 4 and 6 core is easy to get )
Then I will be able to continue with the assembly.
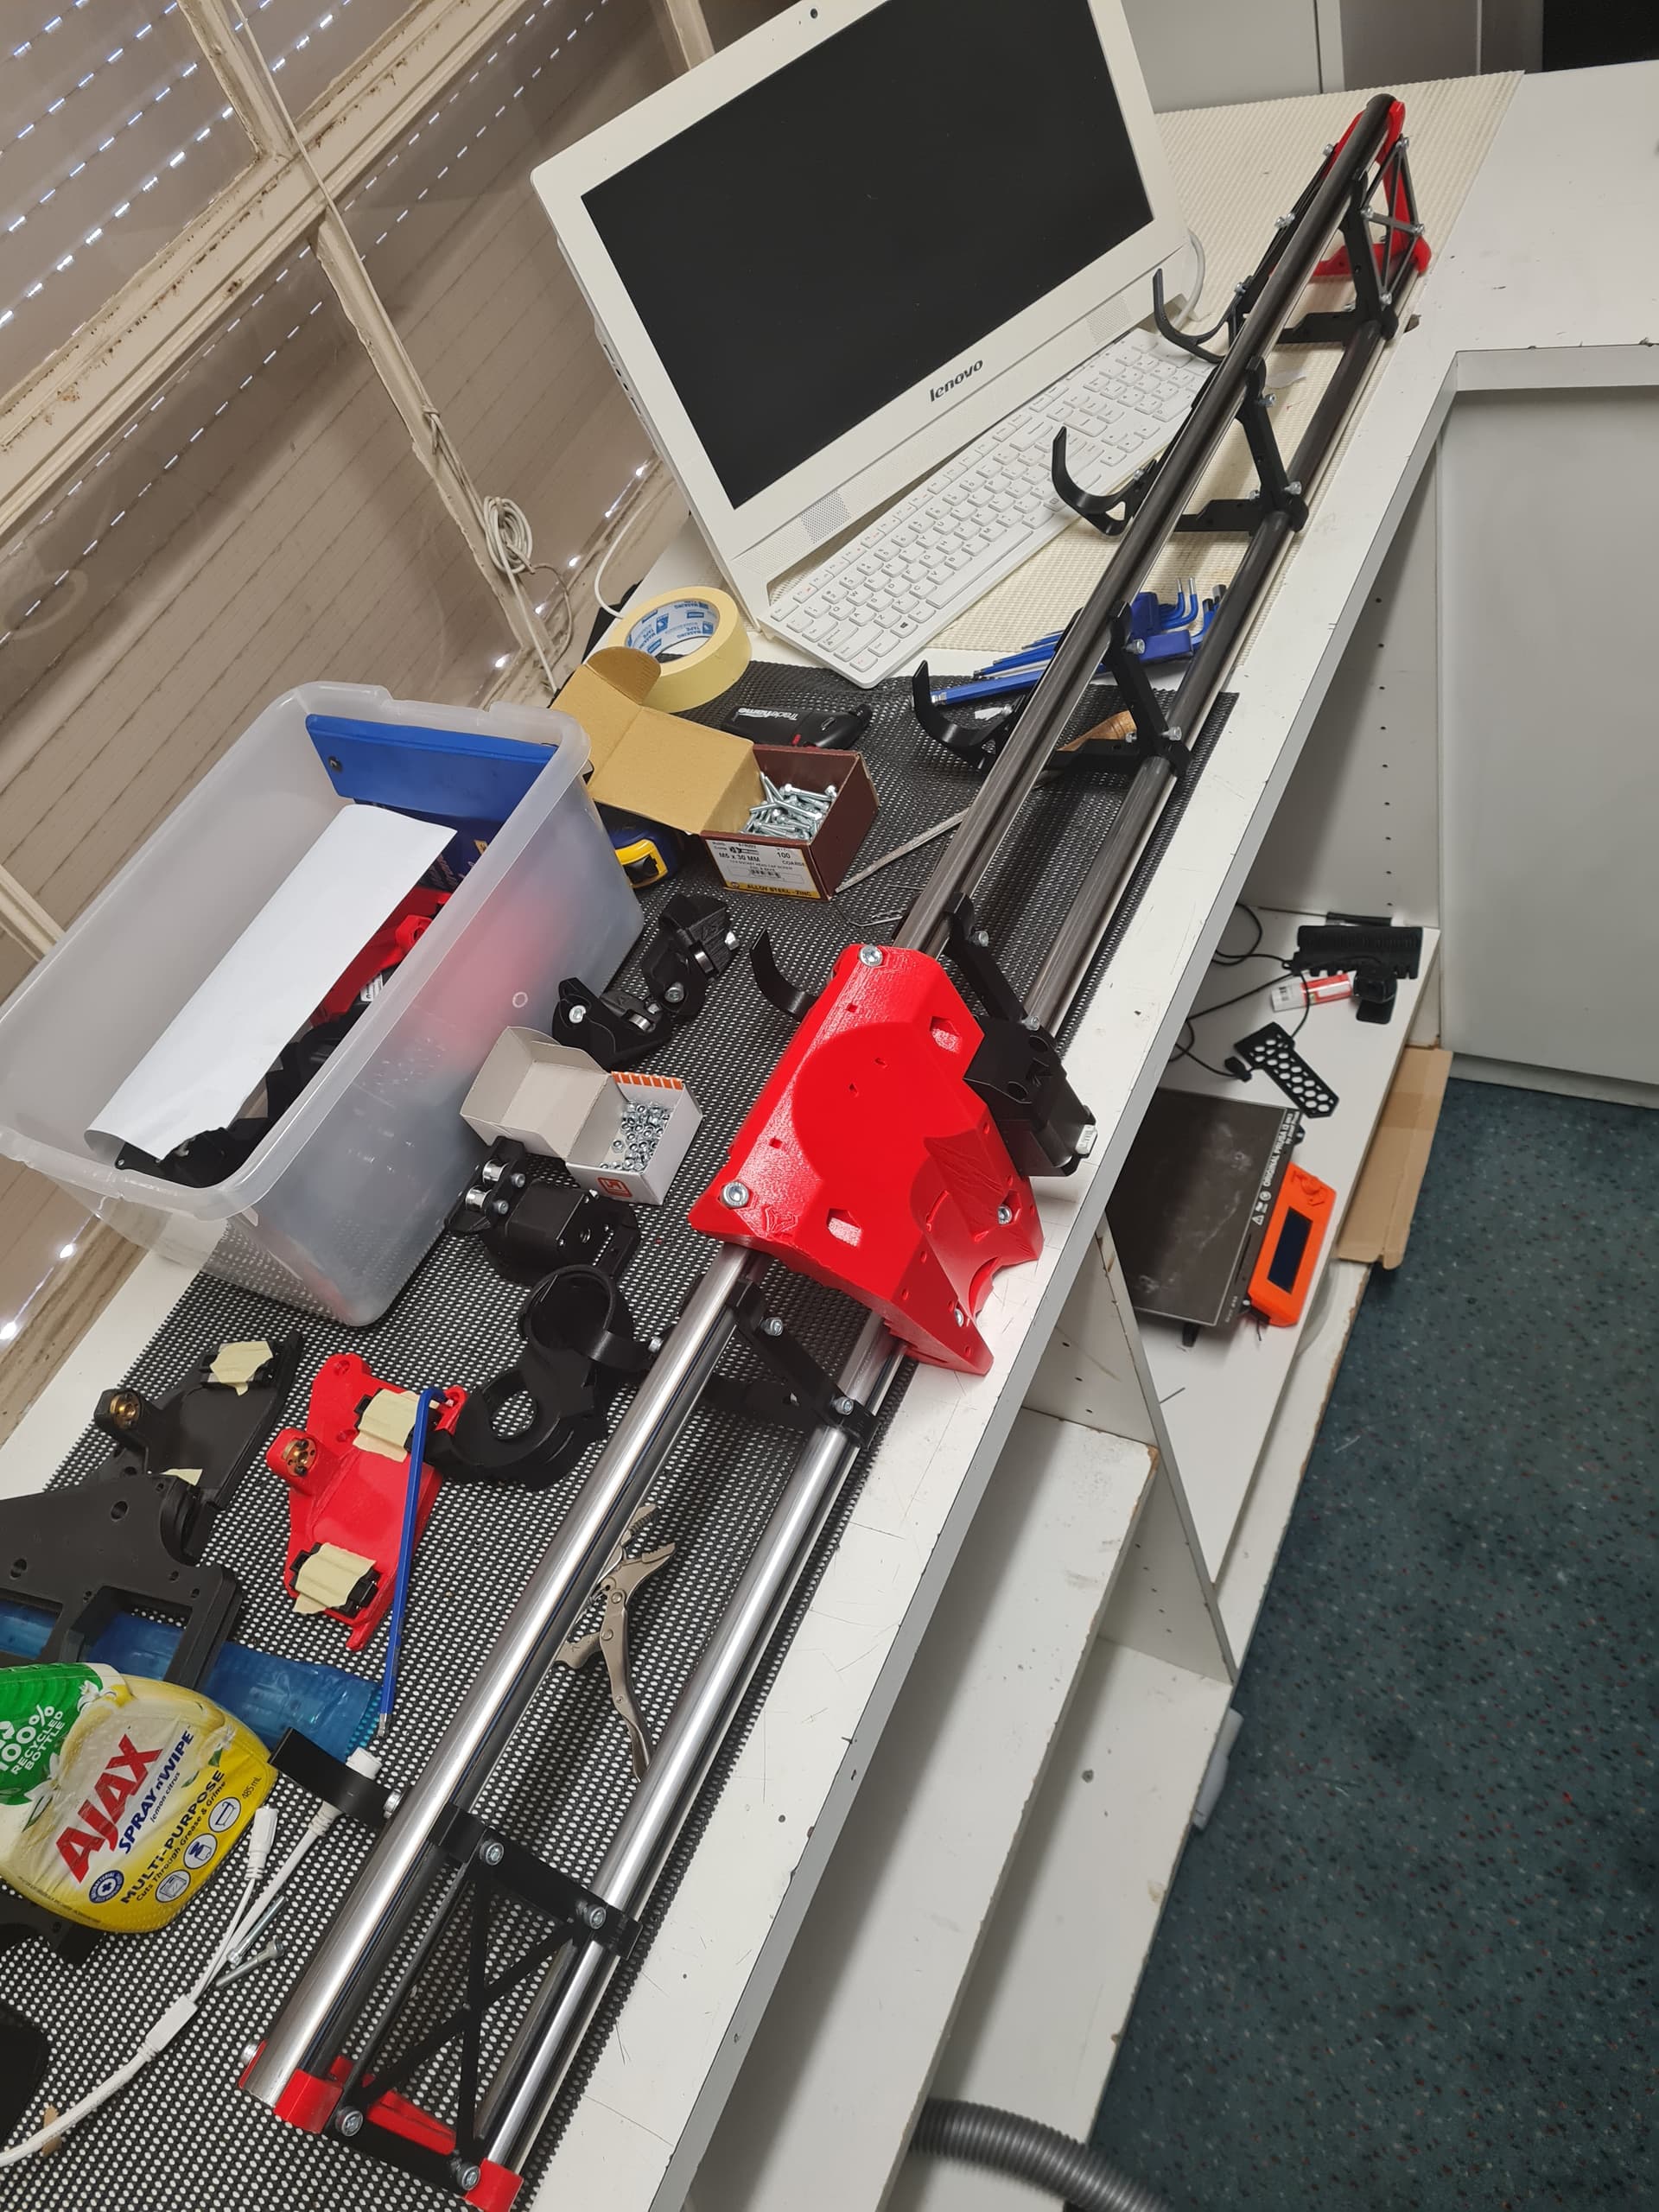
STAND >>>>>
Life is getting in the way and I have not been able to build the wings, but if I keep pushing with the build of the LR3 I will get to the point where those wings are going to be holing me up, so the priority will steadily increase… lol
Love the red and black. Im wanting to print all new parts. When printed mine I only used the colors a had avaliable/leftover (hense its a bitsa, but fuctional)
I printed everything with an ender 3. I know the docs say that the yz plates need a bigger bed but i just printed them vertically without issue. (i did print with supports though)
Hi Anthony,
Post up some picks of your design and the people here can help.
In relation to your question, I did not order any parts from V1, but the parts i printed have been engineered so well I am utterly astonished that this project is free.
The problem is that V1 is in the states and the shipping to AUS is silly, so I was not able to do it in a manageable, for me, time frame and cost. I really did consider the electronics pack, but put in the exchange rate and shipping it nearly doubled the cost of the pack. so I had to pass.
(sorry Ryan)
As for the XY plates (I think they are are the ones, he suggests they can be printed or milled out of MDF or Aluminium.) they are the only ones I had to modify a slight amount to make them fit on the prusa. I just used the split feature on the prusa and took off about 5 mm in a place that didn’t matter to make them fit on the bed.
Like i said the rest of the parts printed with no issues at all, all the parts were orientated correctly and didn’t require supports or anything silly. It was a lot of printing, but the prusa performed with on one dunny spit due to filament moisture.
I agree. This is the same scenario I was in. Maybe someone in Australia could help with the printing and distribution for Ryan? (Id put my hand up but im still very green with everything)
Honestly if he wants someone to do it for him i would, but really i would think it would not be worth while for him. But a local point for some kits or parts would be good, even if we could get together some local places to buy gear here.
It is ridiculously expensive. I was looking into setting up a printer farm but I didn’t really have any idea what i was going to do with it lol. I just have the space free.
The LW3 seems to be getting ALOT of interest here in Australia
Well, PM me and we can chat. I am so impressed with your quality the print time is not that bad. for most parts. I guess it would depend on your uptake from the land downunder and our cousins in NZ
Totally agree. Only issue I see prices in Australia are through the roof as well. A lot of the stuff I purchased off aliexpress where 1/4 of the price I could source things locally
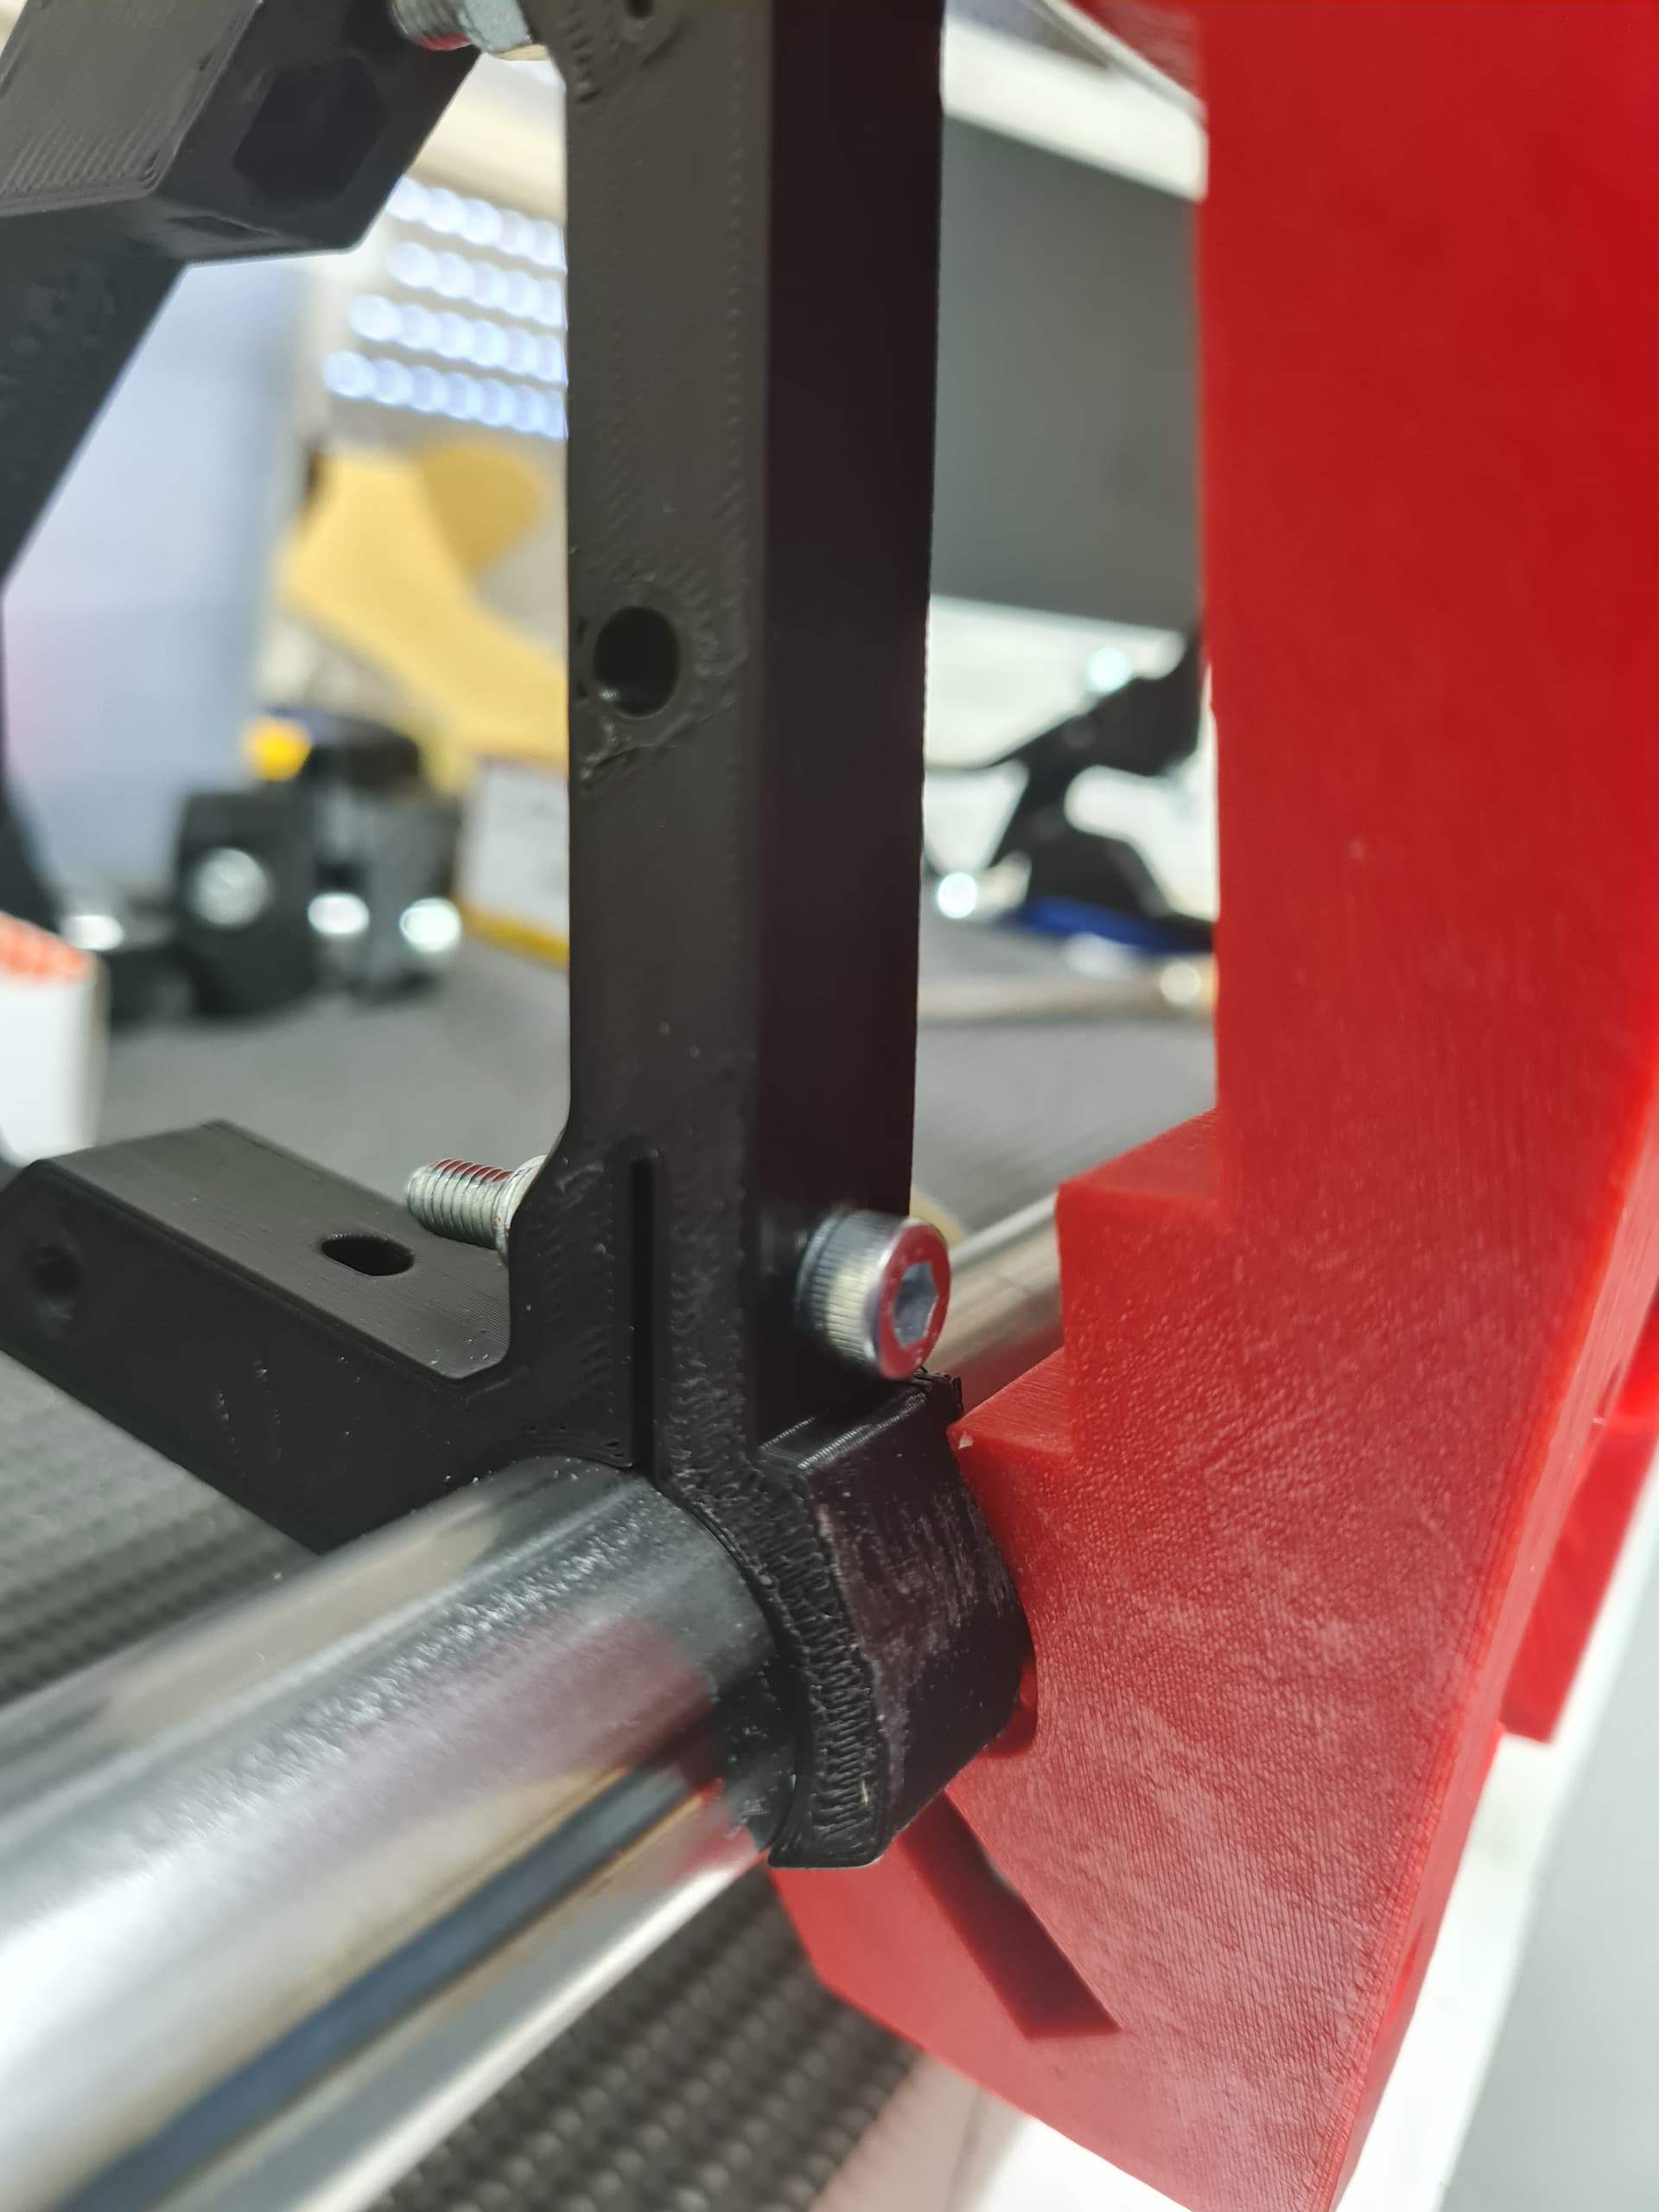
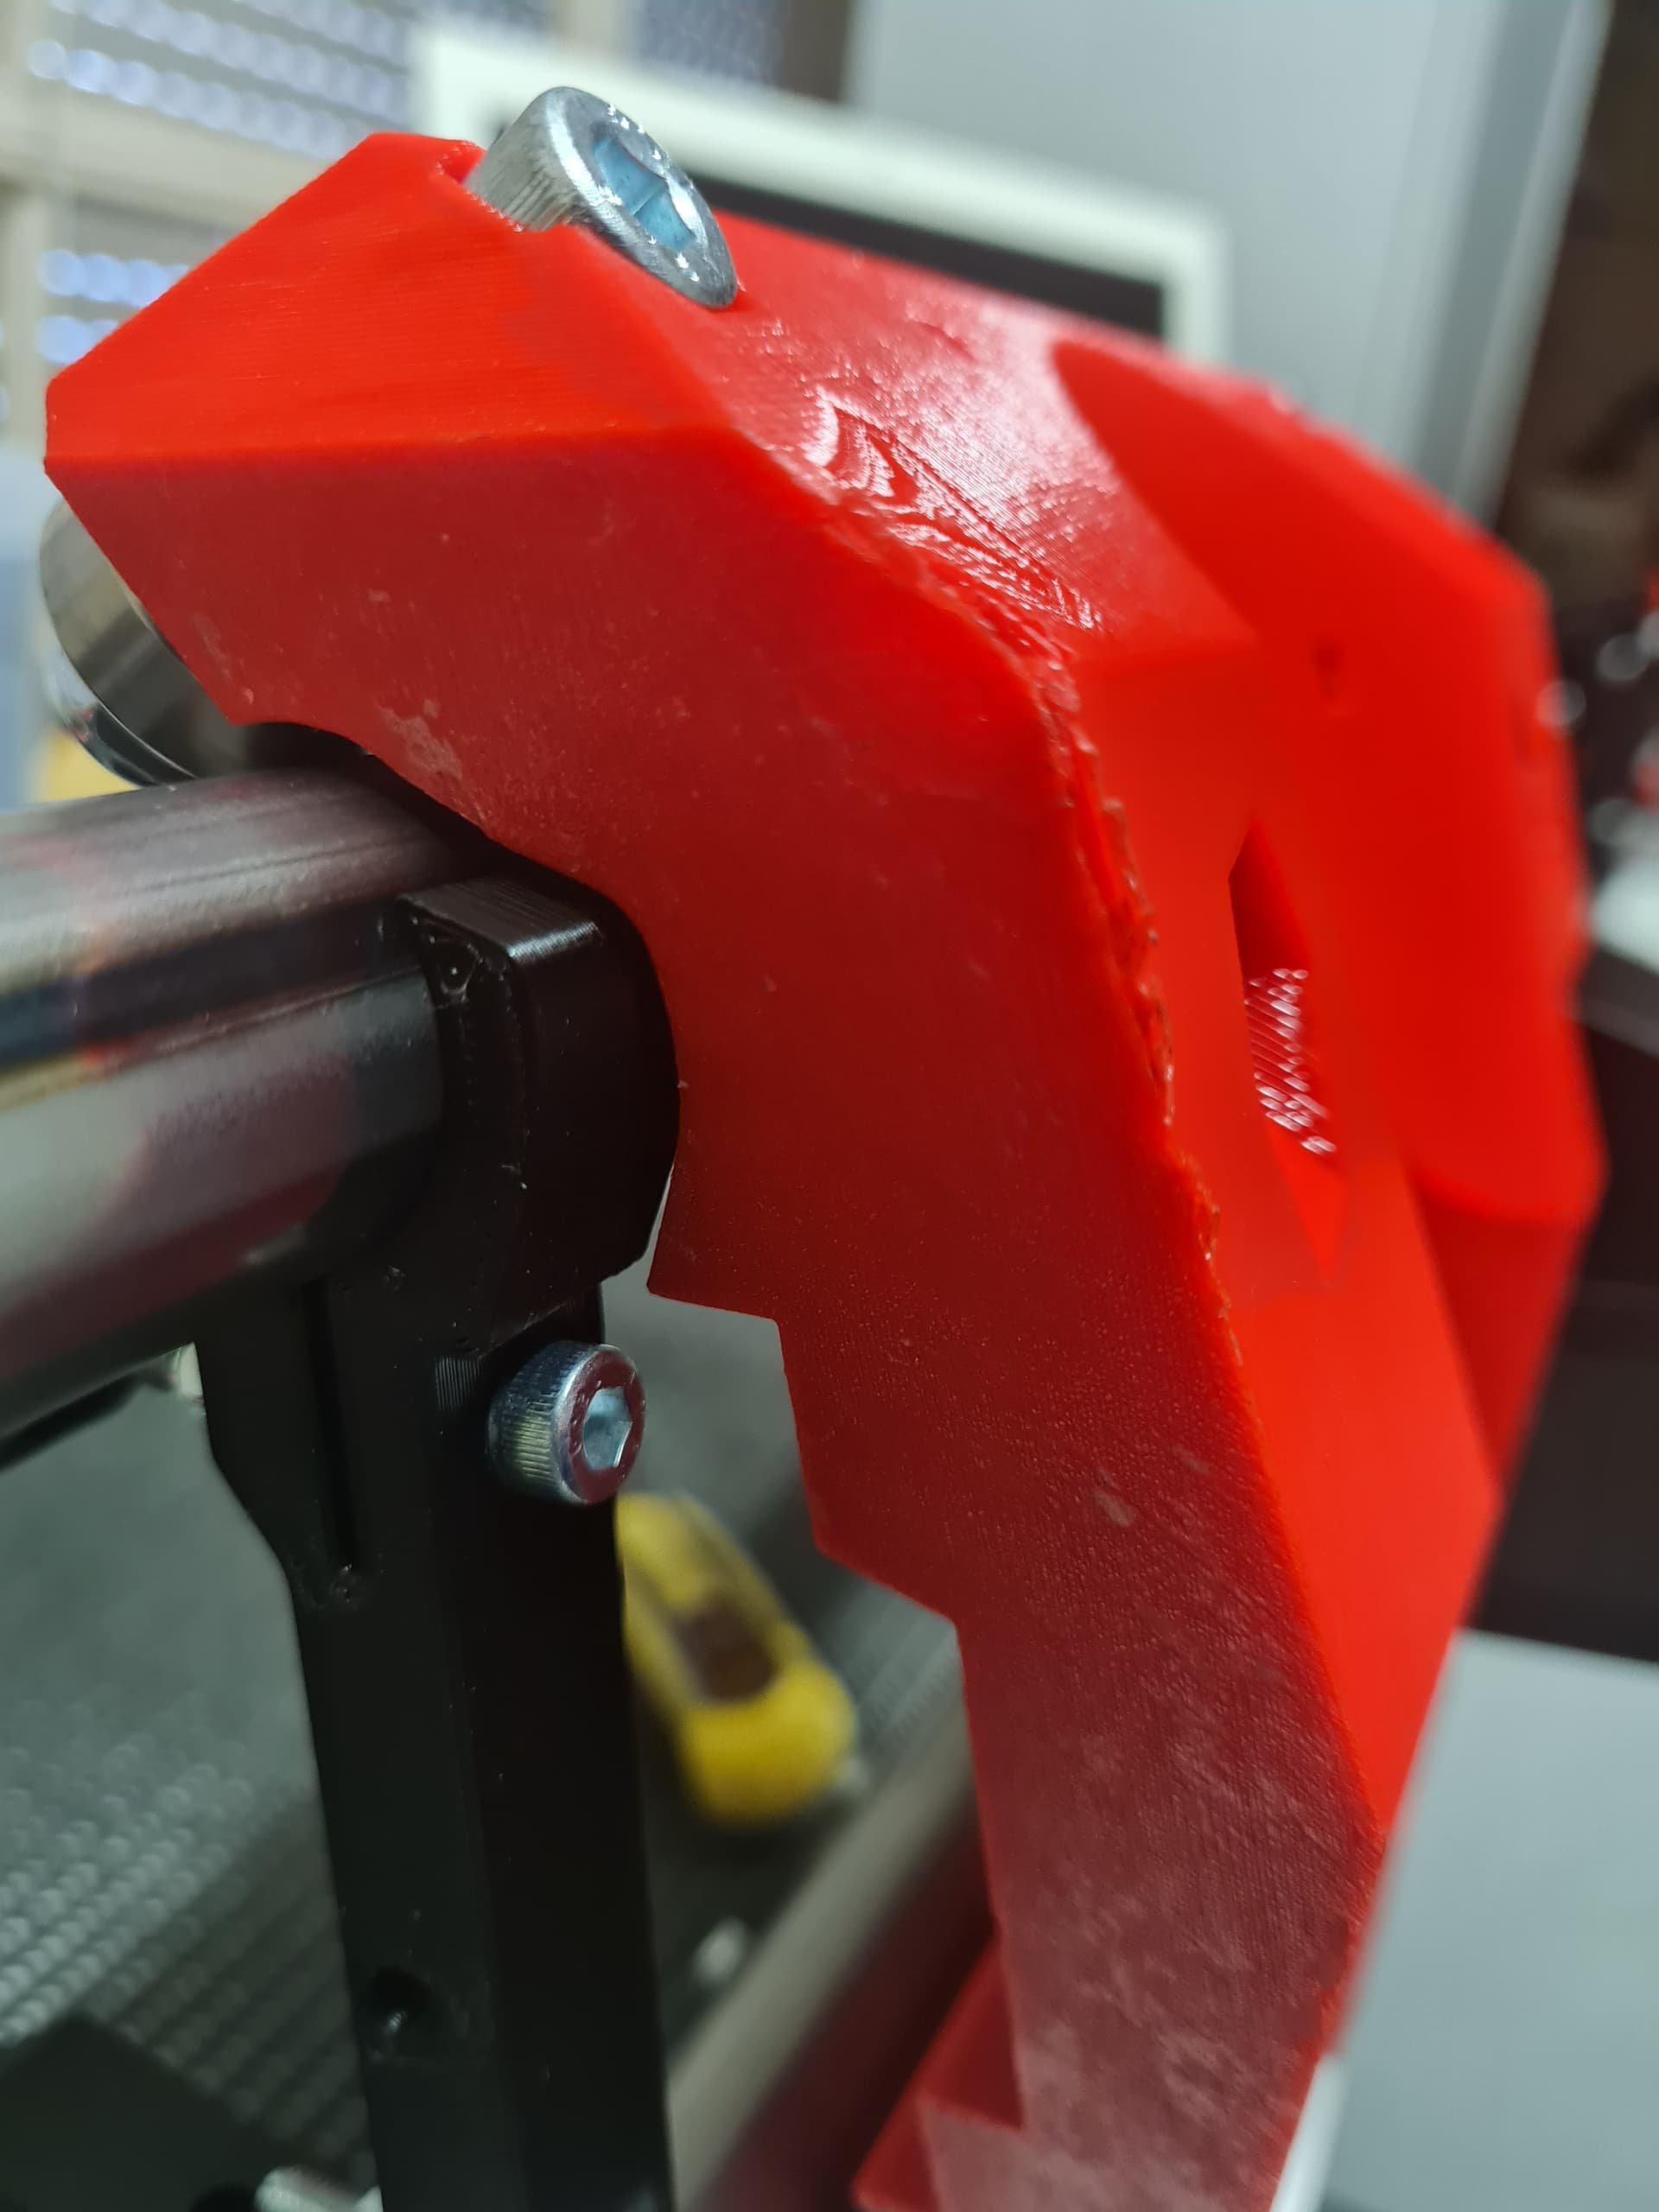
So it seems the bottoms are hitting thebcore, there does not seem to be another way to install them. I wonder if i installed something on the core wrong…
I agree with AZA. The braces are labeled, check the dims vs your actual rail outer diameter.
Also those hex head bolts might end up interfering depending on how thick your Strut plates will be. I did design with them in mind, but some are much taller than others.
**edit
I just read that forum post and it was intersting, my conduit seems to be 25.4 and the braces are listed as 25.4, so not sure what that is about. let me measure the 608 bearings and i will add it here