omg I finally got to the point I am going to try the crown!
… When i get home… sigh.
the work stuff is getting in the way of my play time.
4 Likes
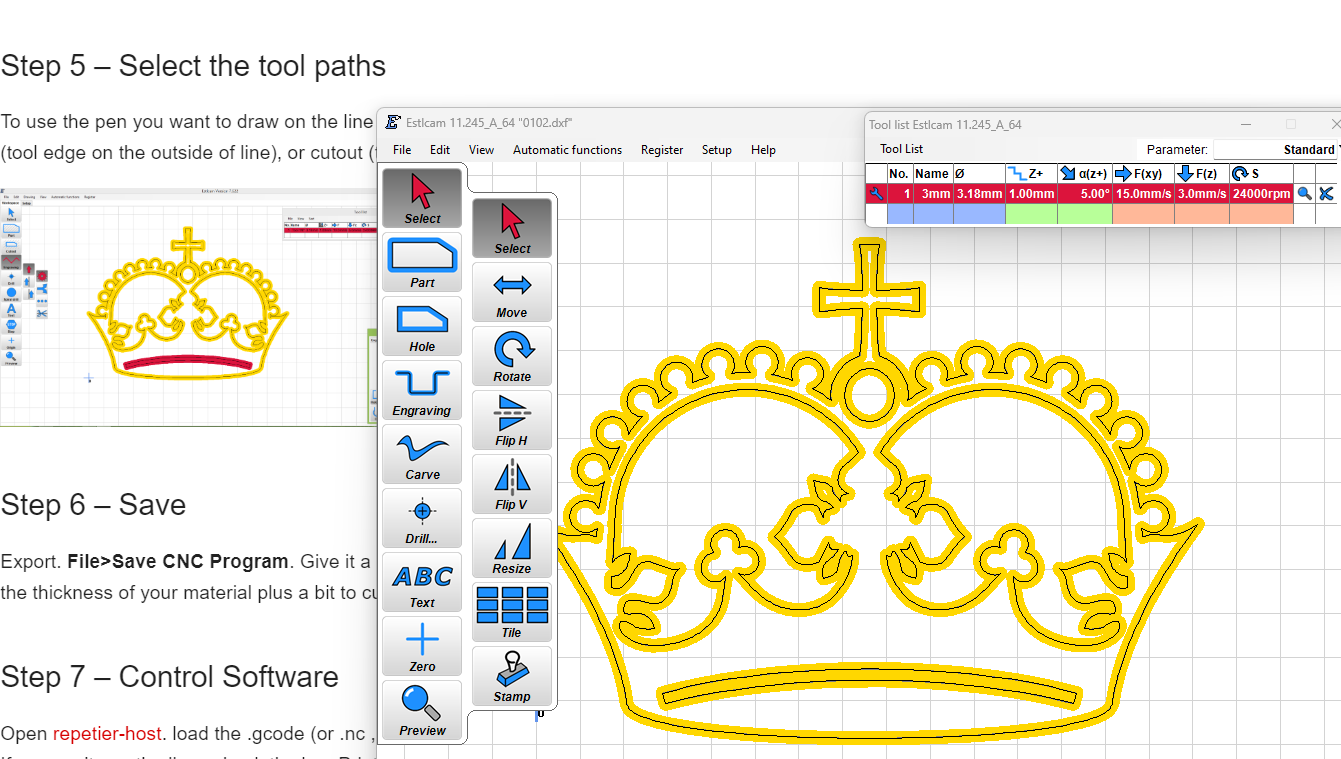
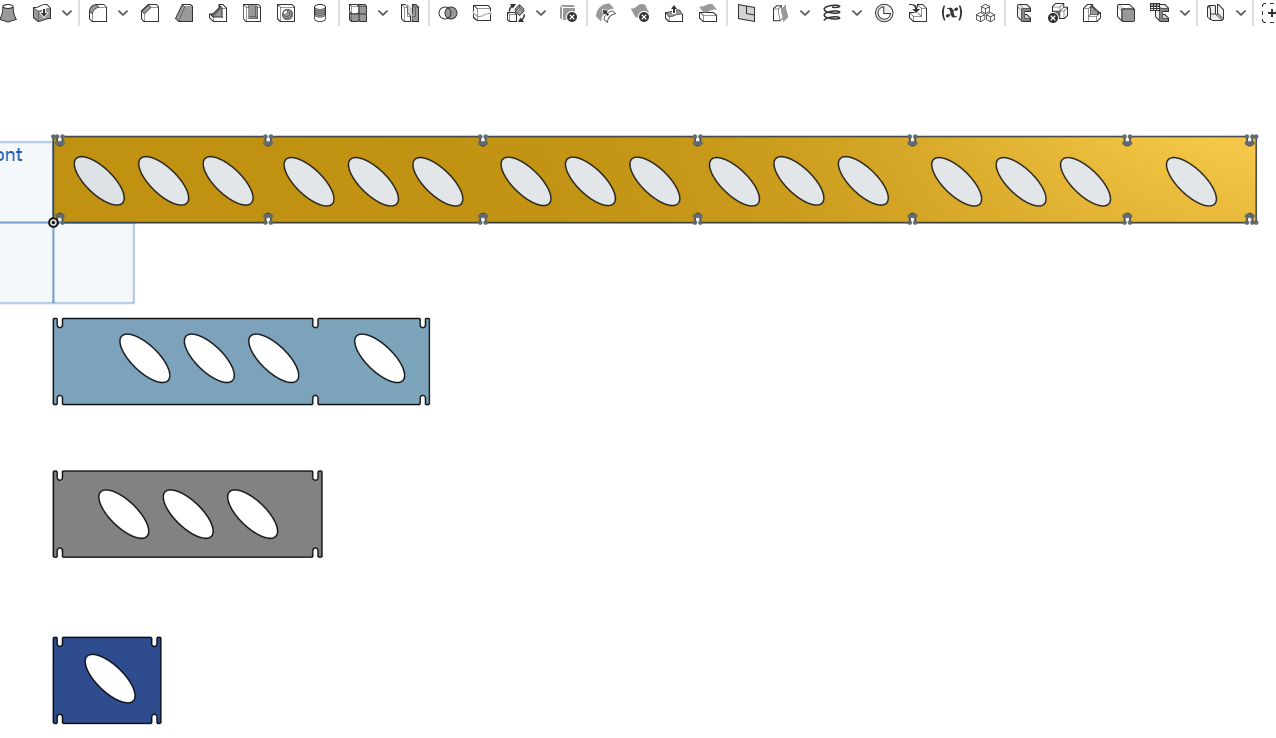
so i drew up the strut plates in ONSHAPE and not i am going to play with getting them into CAM
EDIT
Well that was easy enough, using ESTLcam… now lets run it… when i get home…
3 Likes
Ok, the crown gcode failed.
I will have to check what os going wrong as i have homed the machine then mived it to a part of the board.
Then I select the code and it asks if i what to run the code, i say yes and it starts.
It start driving down the z axis and does not stop
1 Like
Ok, rechecked all the ELSTCAM setting and they seem to be right, well the same as the document
All the cordinates seem to be homed, i move the head to a place on the board and run the program and it dives the z axis
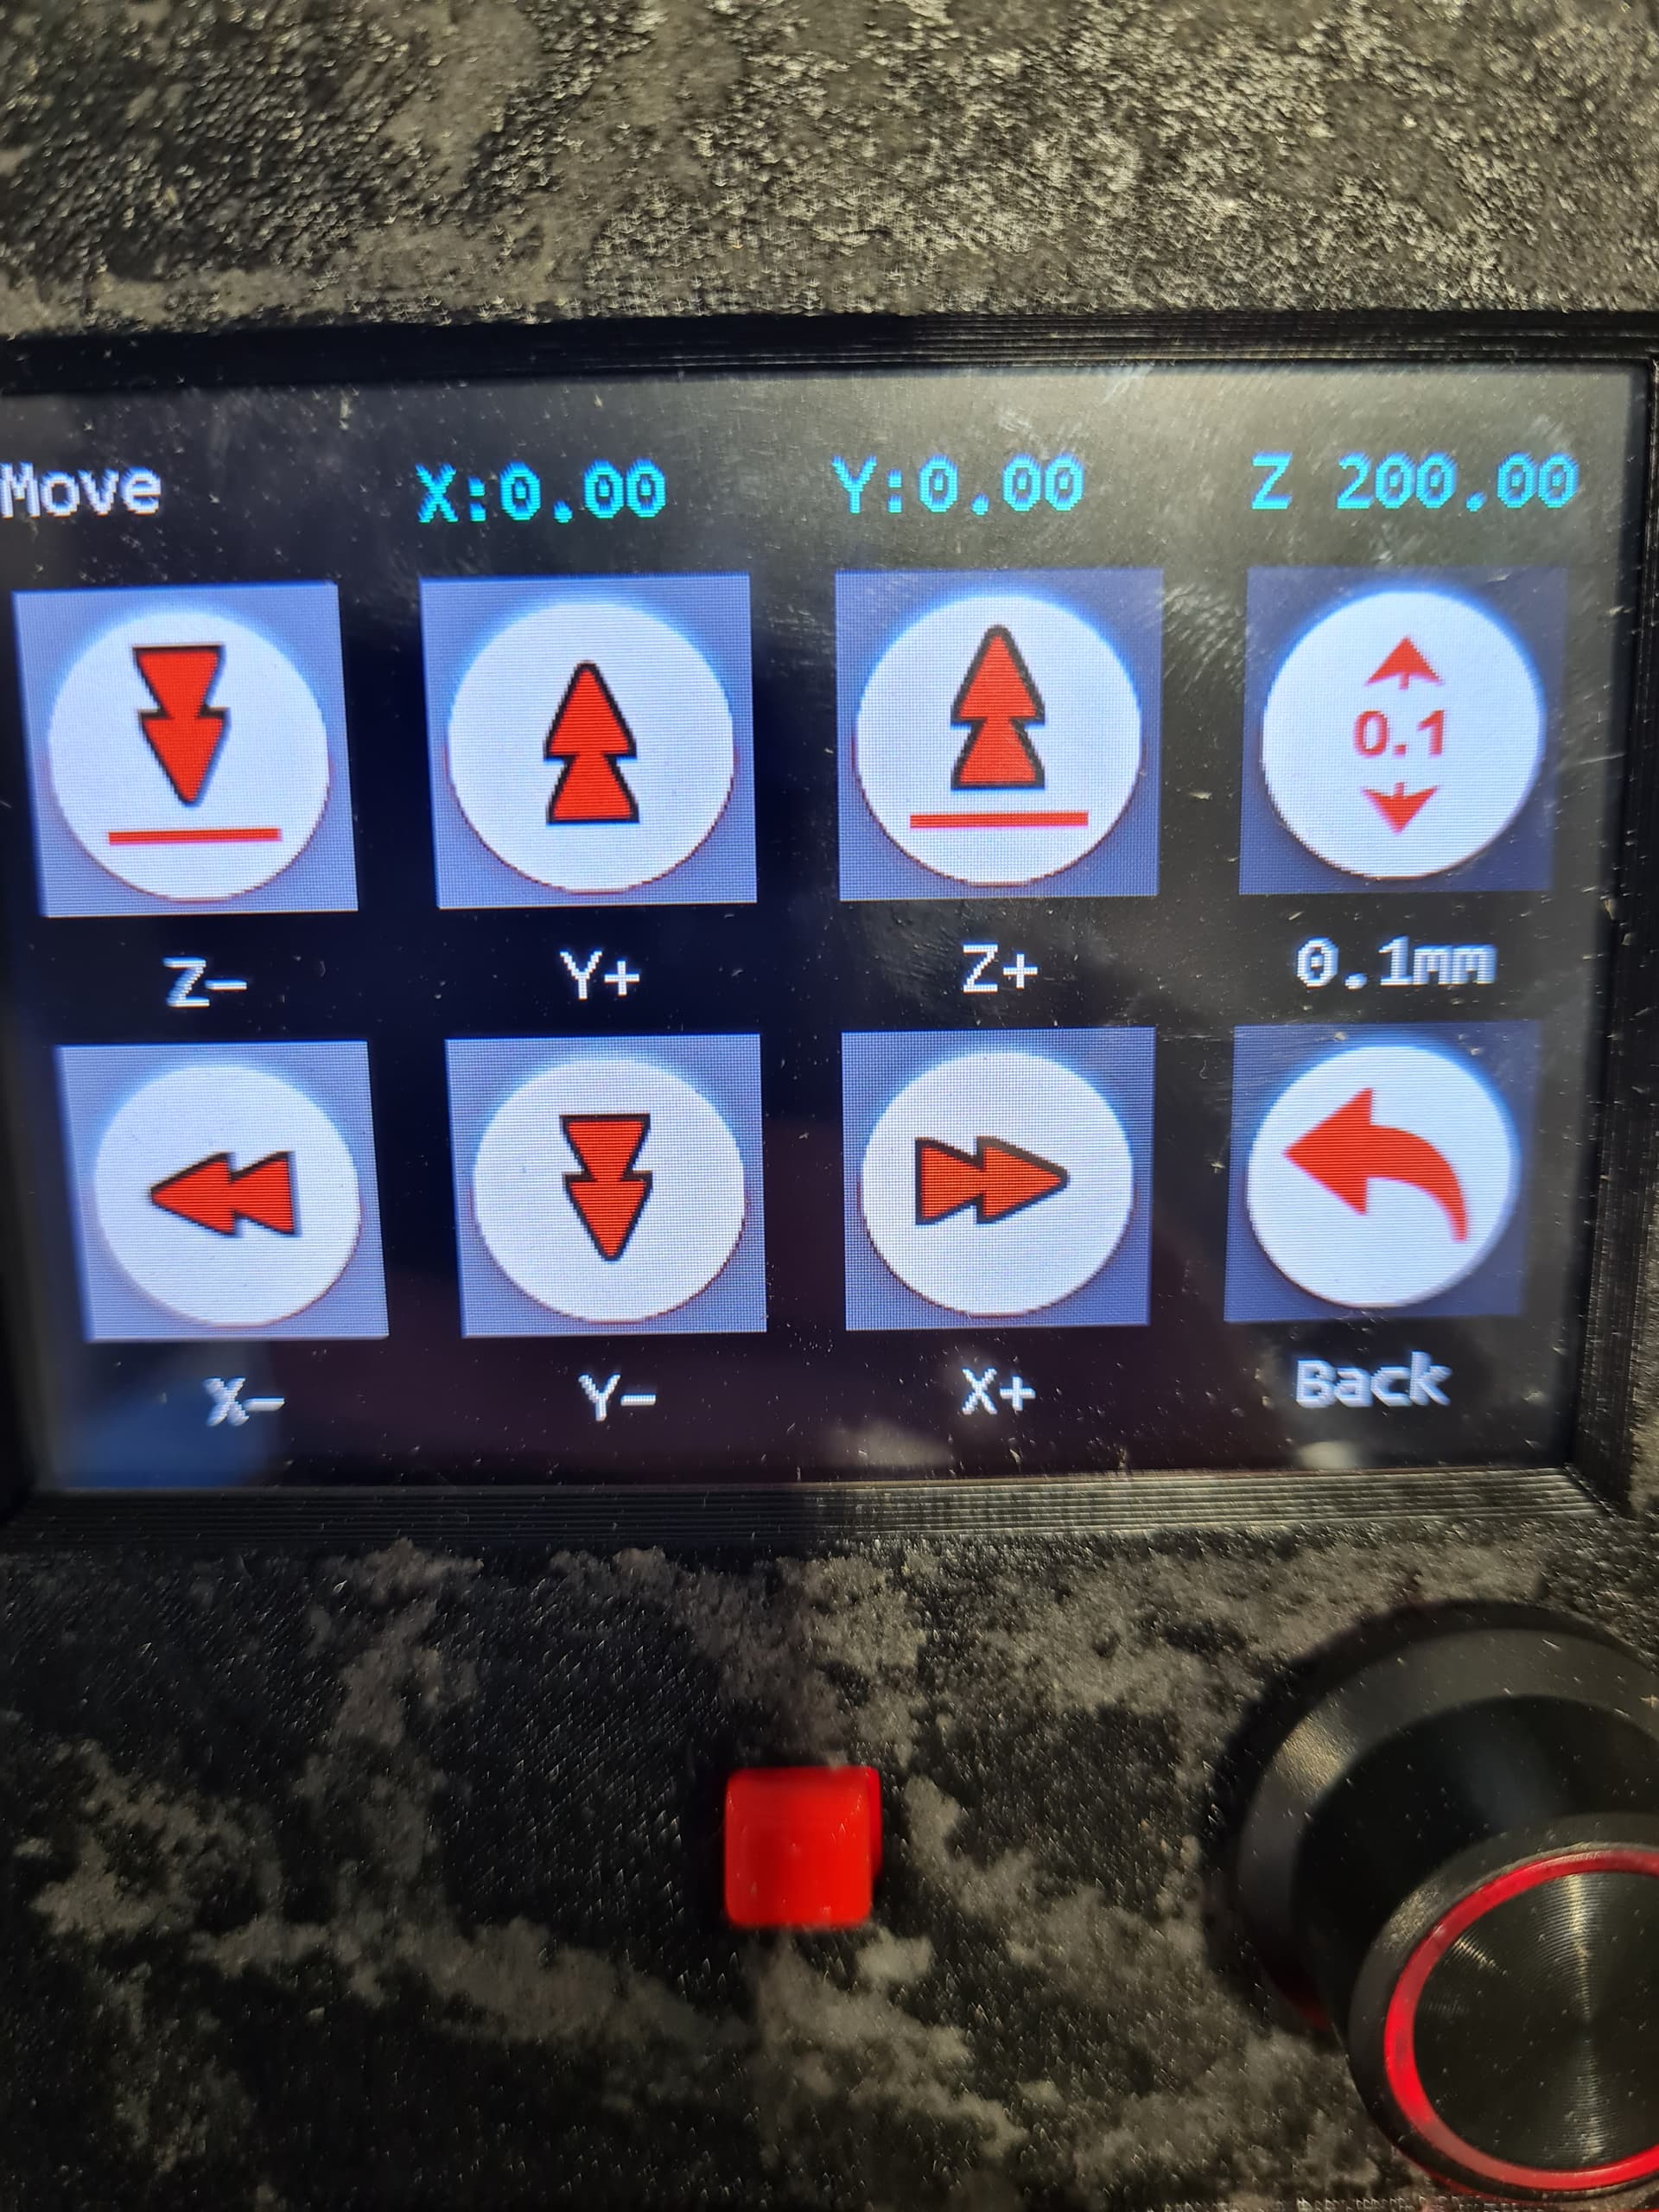
Hmmm, you knowni think i have figured it out.
The z hight is 200. I thought when homming the z it would have set that to 0.
So it seems that i need to get a z probe and figure out how to trigger that via the screen as nothing seems to be in the homing menu.
Start with the premade gcode test crown.
It has G92 X0 Y0 Z0 at the top. That sets the zero location to wherever the tool is when you start the gcode.
More info on coordinates and the origin here:
2 Likes
When you get home ![]()
3 Likes
There is also some starting gcode listed on the milling basics page. That should take care of that part.
3 Likes
Yes, it took me a while to figure it out, but haveing that gcode at the start of each job, makes sense.
I remember a discussion about parking gcode, i will find that and add that too.
Sooooòoo close now, but the worst part is that i wont be home tonight to test it ![]()
2 Likes
Ok,
i have updated the code snippet for Start / Stop / Tool change in ESTLCAM and hopefully I should be right with the the next test run.
While I was there, I noticed the M106 and M107 commands to turn on a IOT relay. So going to google the forum for that now. I am hoping to use that to trigger the VAC. But, again cos i have to be different, i am not sure i can use it. The FrankenVac i posted a picture above is a central vac from a house, so it has a circuit that turns on the vac when you plug the hose int eh wall and basically all that is, is the hose connecting a circuit with no voltage. I think that is call pull to ground, but not sure. Either way all you need to do is touch two wires together, so now i just need to figure out how i can make that work with the board.
I was hoping for the ability to just use a a fan slot, but thinking about it a FAN slot will output voltage.
@jeffeb3
Do you know of an output on the boar that just is Normally Open (NO) or Normally Closed (NC) that i can use? I will have to go into the PINS file and stuff around but will be worth it.
EDIT
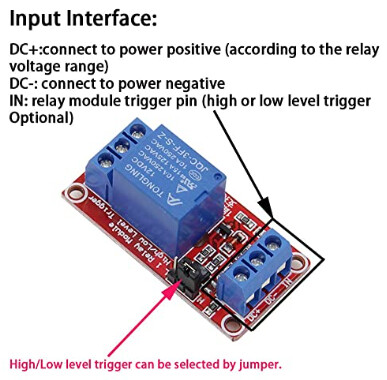
after doing a bit of reading i can get a IOT relay to work, i was hoping i could use this to accept the 12v from the CNC ??FAN?? port and then trigger the relay which will open the opto isolated relay and in my case start the VAC… at least that is how it works in my brain…
“https://www.amazon.com/ANMBEST-Optocoupler-Trigger-Expansion-Raspberry/dp/B08PNHHC65”
Maybe one of the more knowledgeable people around this sorta stuff can chime in?
That will work. You connect DC+ to 12V, DC- to ground and then connect the fan pin to IN.
Don’t ever send anything other than 100% on or 0%. I doubt it would catch fire, but it could definitely destroy the relay in a minute.
Connect the NO and Common to you vac sensor. As long as the voltage and current going through that wire is less than what is printed on the relay, it will be fine.
1 Like
So as I am not getting to play with the CNC tonight, (dam the GF better be appreciative of me not going to play with the CNC when its this close to working… ![]()
![]()
![]() )
)
As the previous posts show I have been figuring out the other things around the FrankenVAC and in the background madly printing some parts getting ready for the cutting on the weekend. Things like extra fames and the pen holders etc.
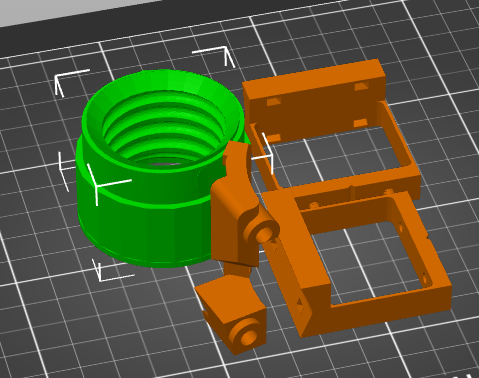
I also saw the adaptations to the standard dust extractor thing and that got me thinking about the FrankenVAC and the fact I have a BUTTLOAD of the standard 38mm hose used in your whole home vac systems, I quickly used TINKERCAD to mashup some parts to make a 38mm vac hose to LR3 adaptor .
So I should be able to use the “standard” dust extractor thing now. Should be able to remove for clean-up , if its works i might go the magnet route.
I will let you know how it goes.
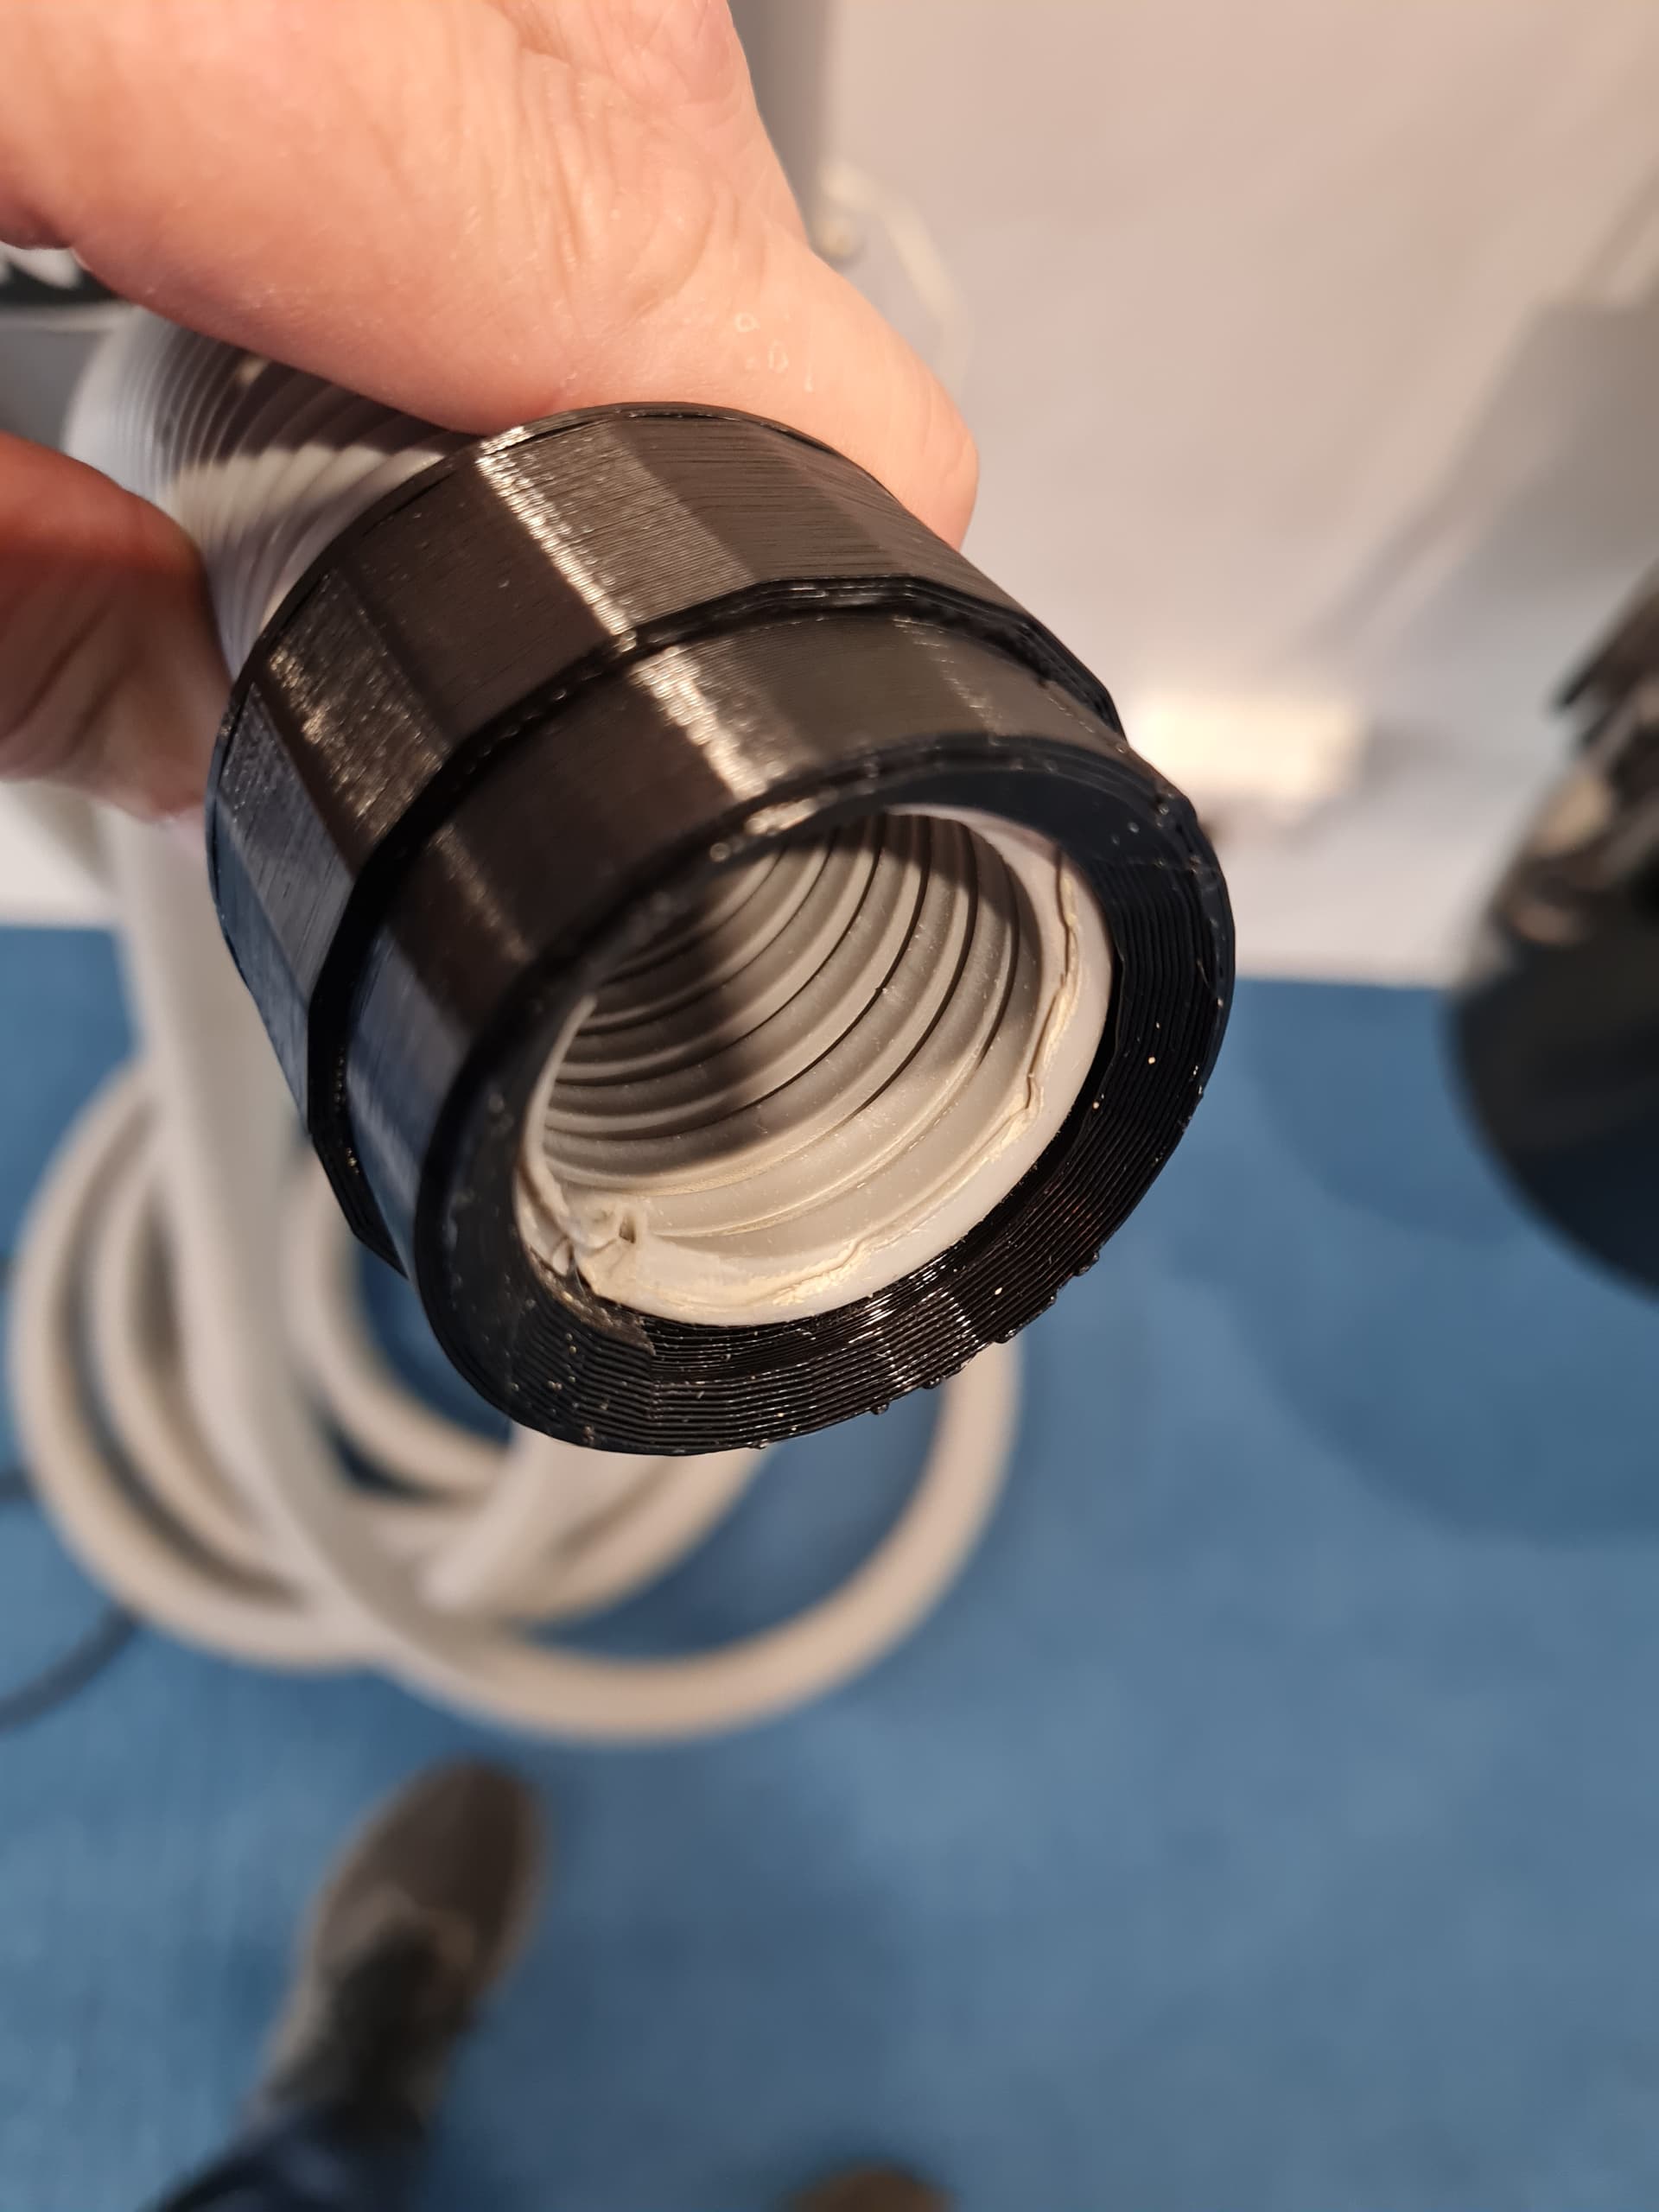
The whole home vac’s hoses actually come in two types, both are 38mm and one is just a hose, but the other is whats called a switch hose. the switch hose has wire moulded into the spiral of the hose and might make a good way to turn on the FrankenVAC. lets see if it moves enough air first.
I just remembered that i had some hose that customer brought in cos they backed over the end that plugs in to the vac outlet.
Here is a picture of the hose

I just tested the wire and the 9m of vac hose is good.
Dont get me wrong, I know this is not for everyone and is pretty specific to me, but i wonder if i could make a fitting…
4 Likes
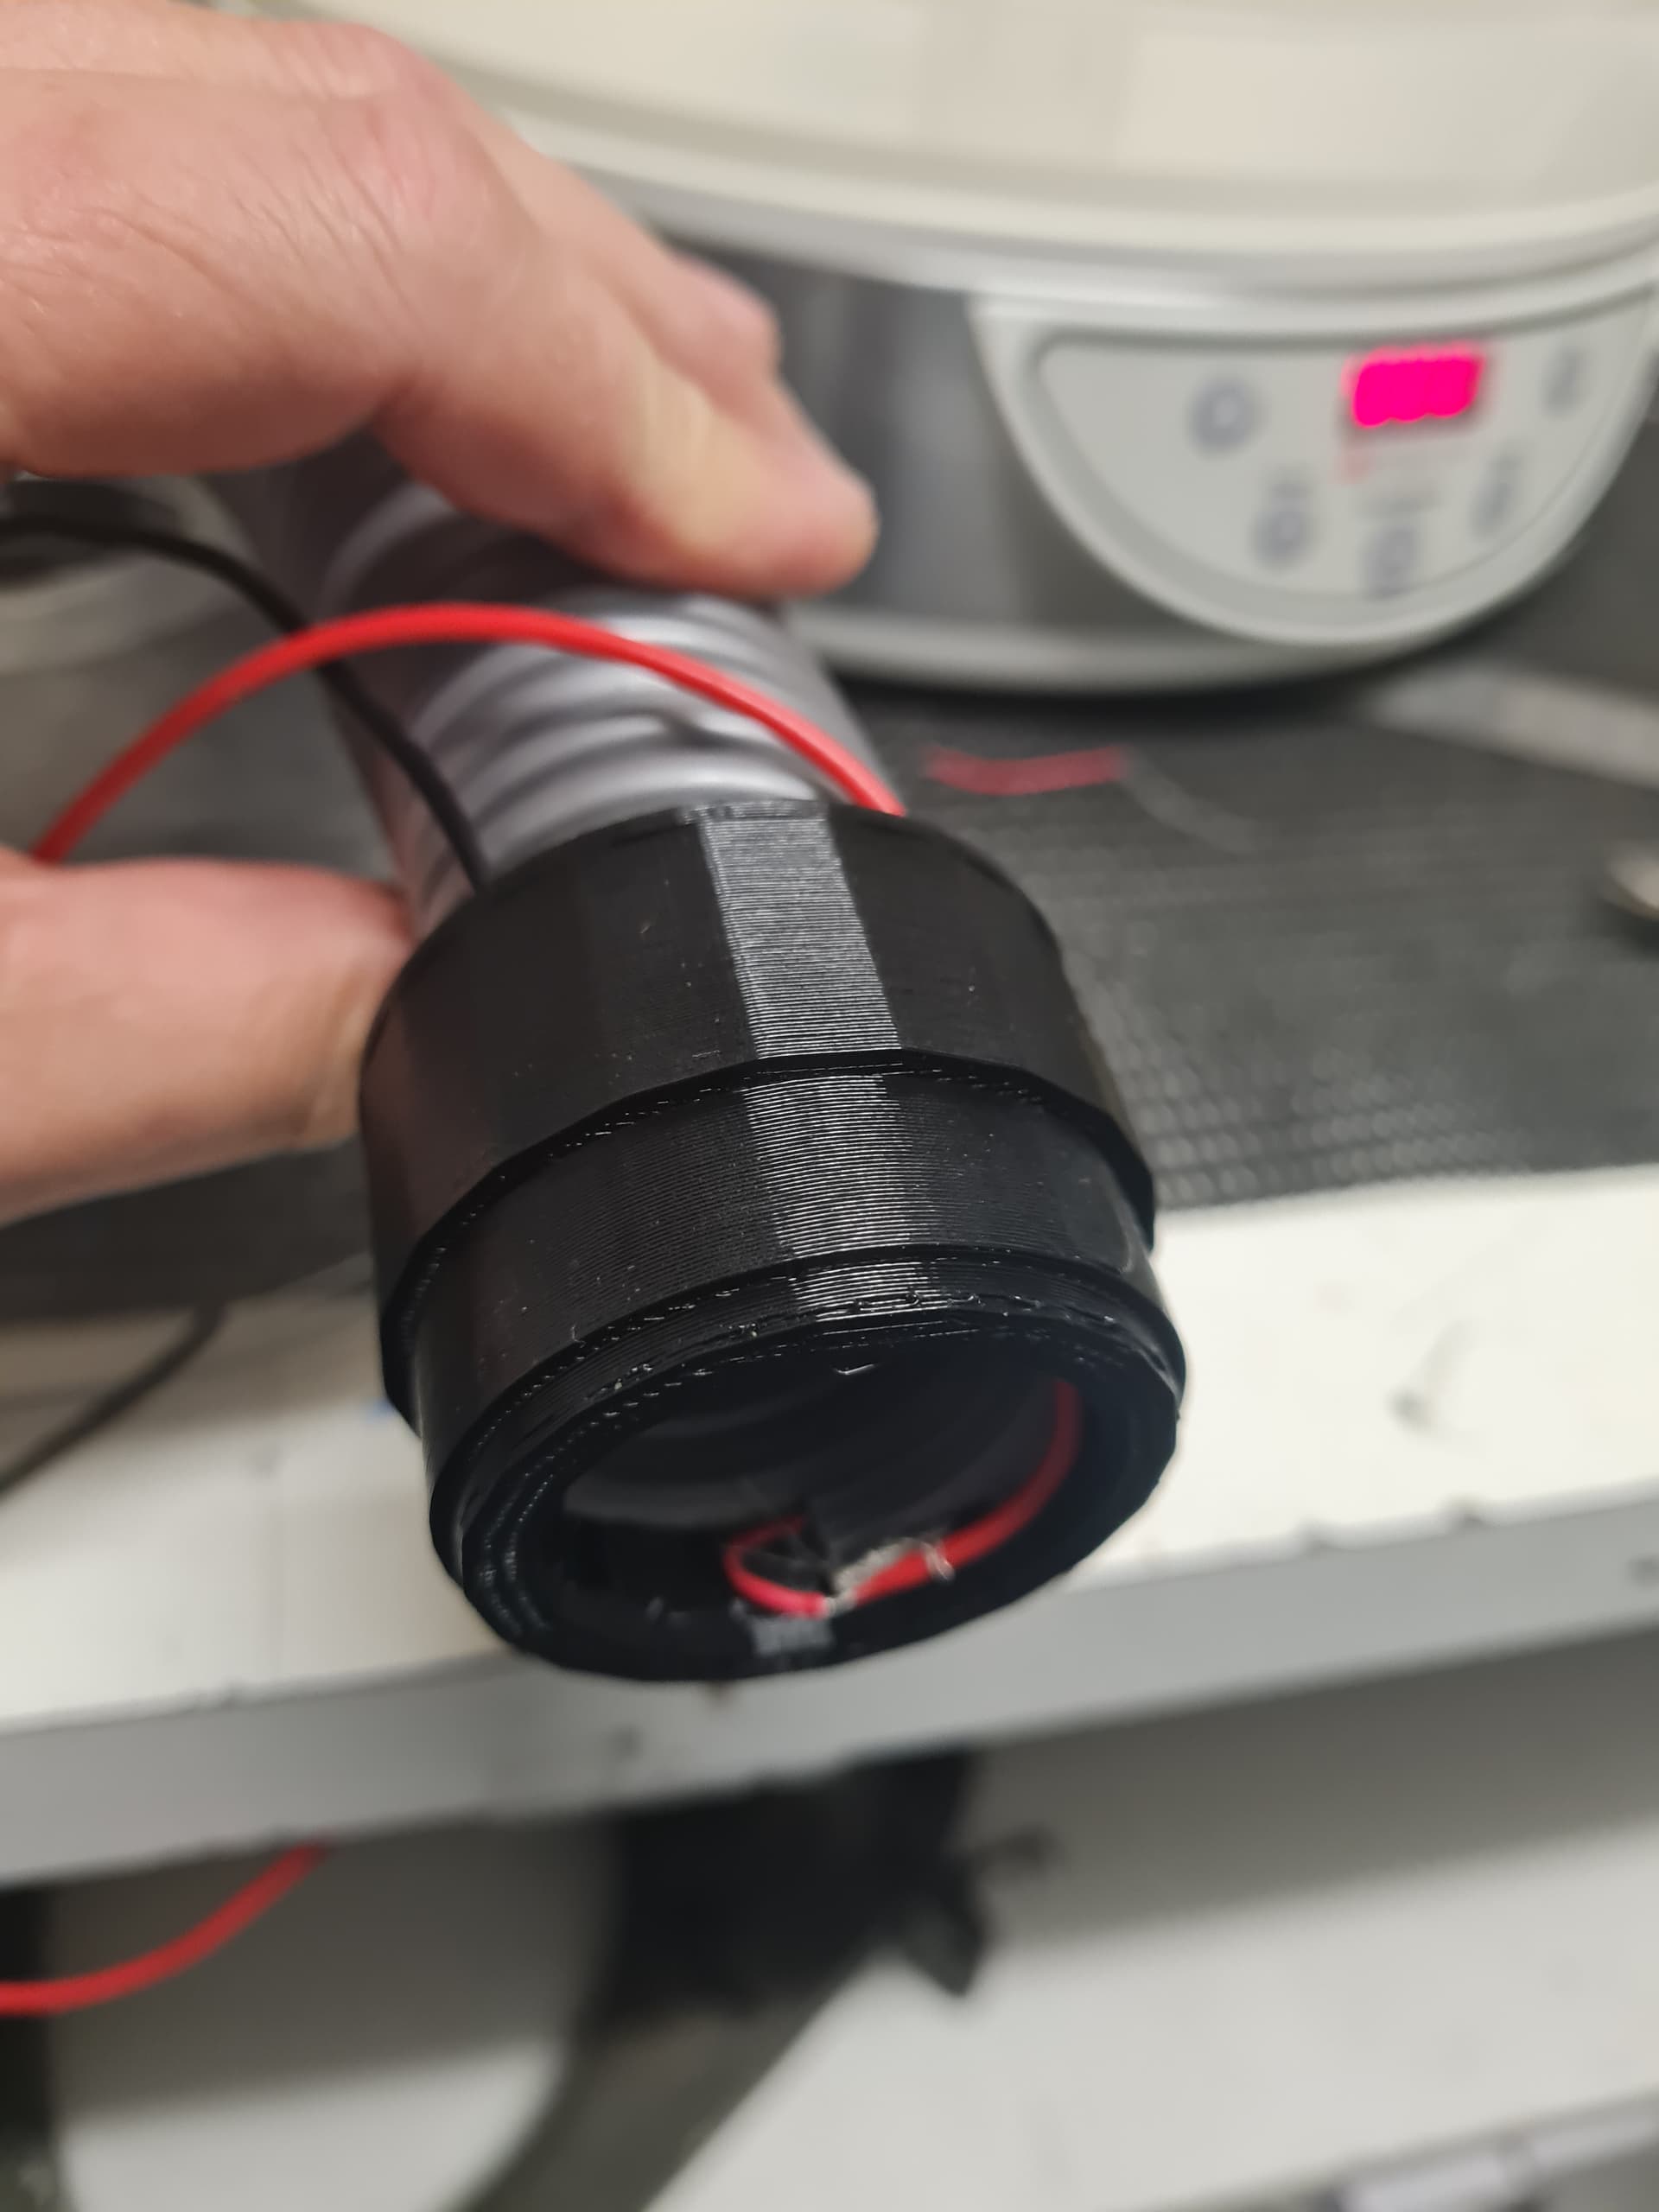
Well here is the 38mm fitting, modded to hopfully fit the standard dust shoe
DEF ver1. But lets see how goes.
4 Likes
Well if i didnt need it to come apart, it would be perfect…
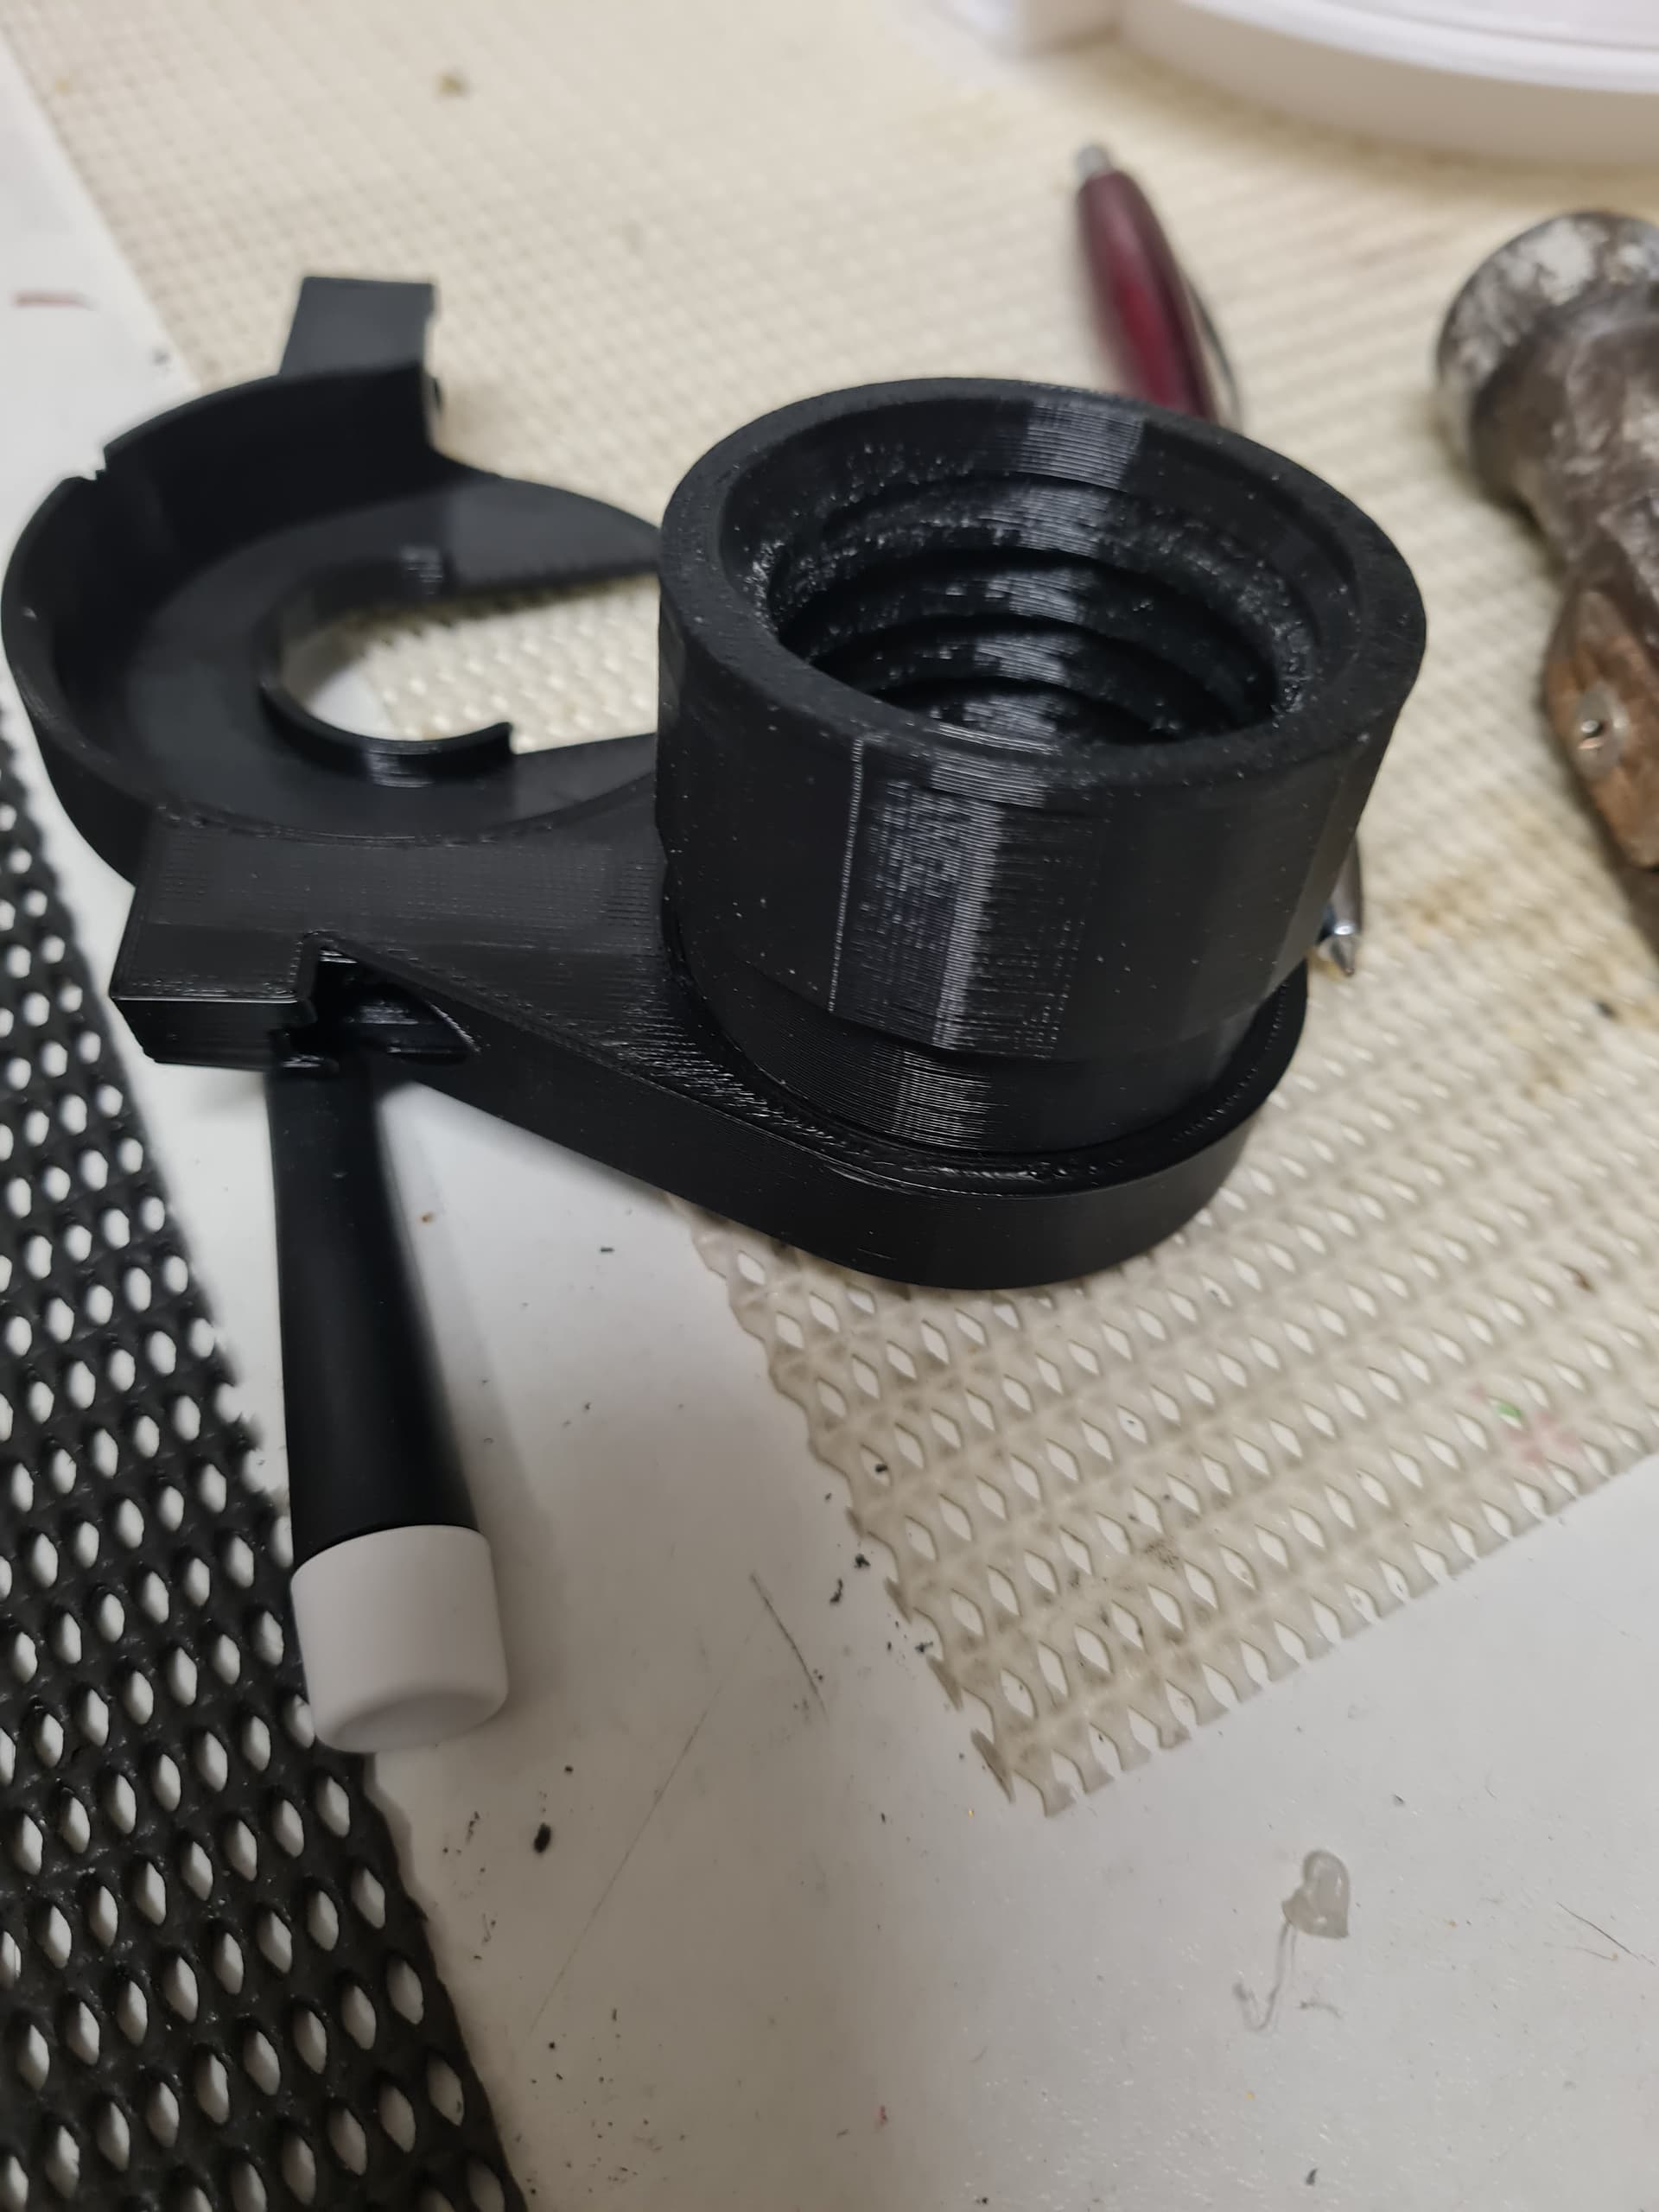
Back to the rapid prototype drawing board and shrink that collar by 0.5mm
2 Likes
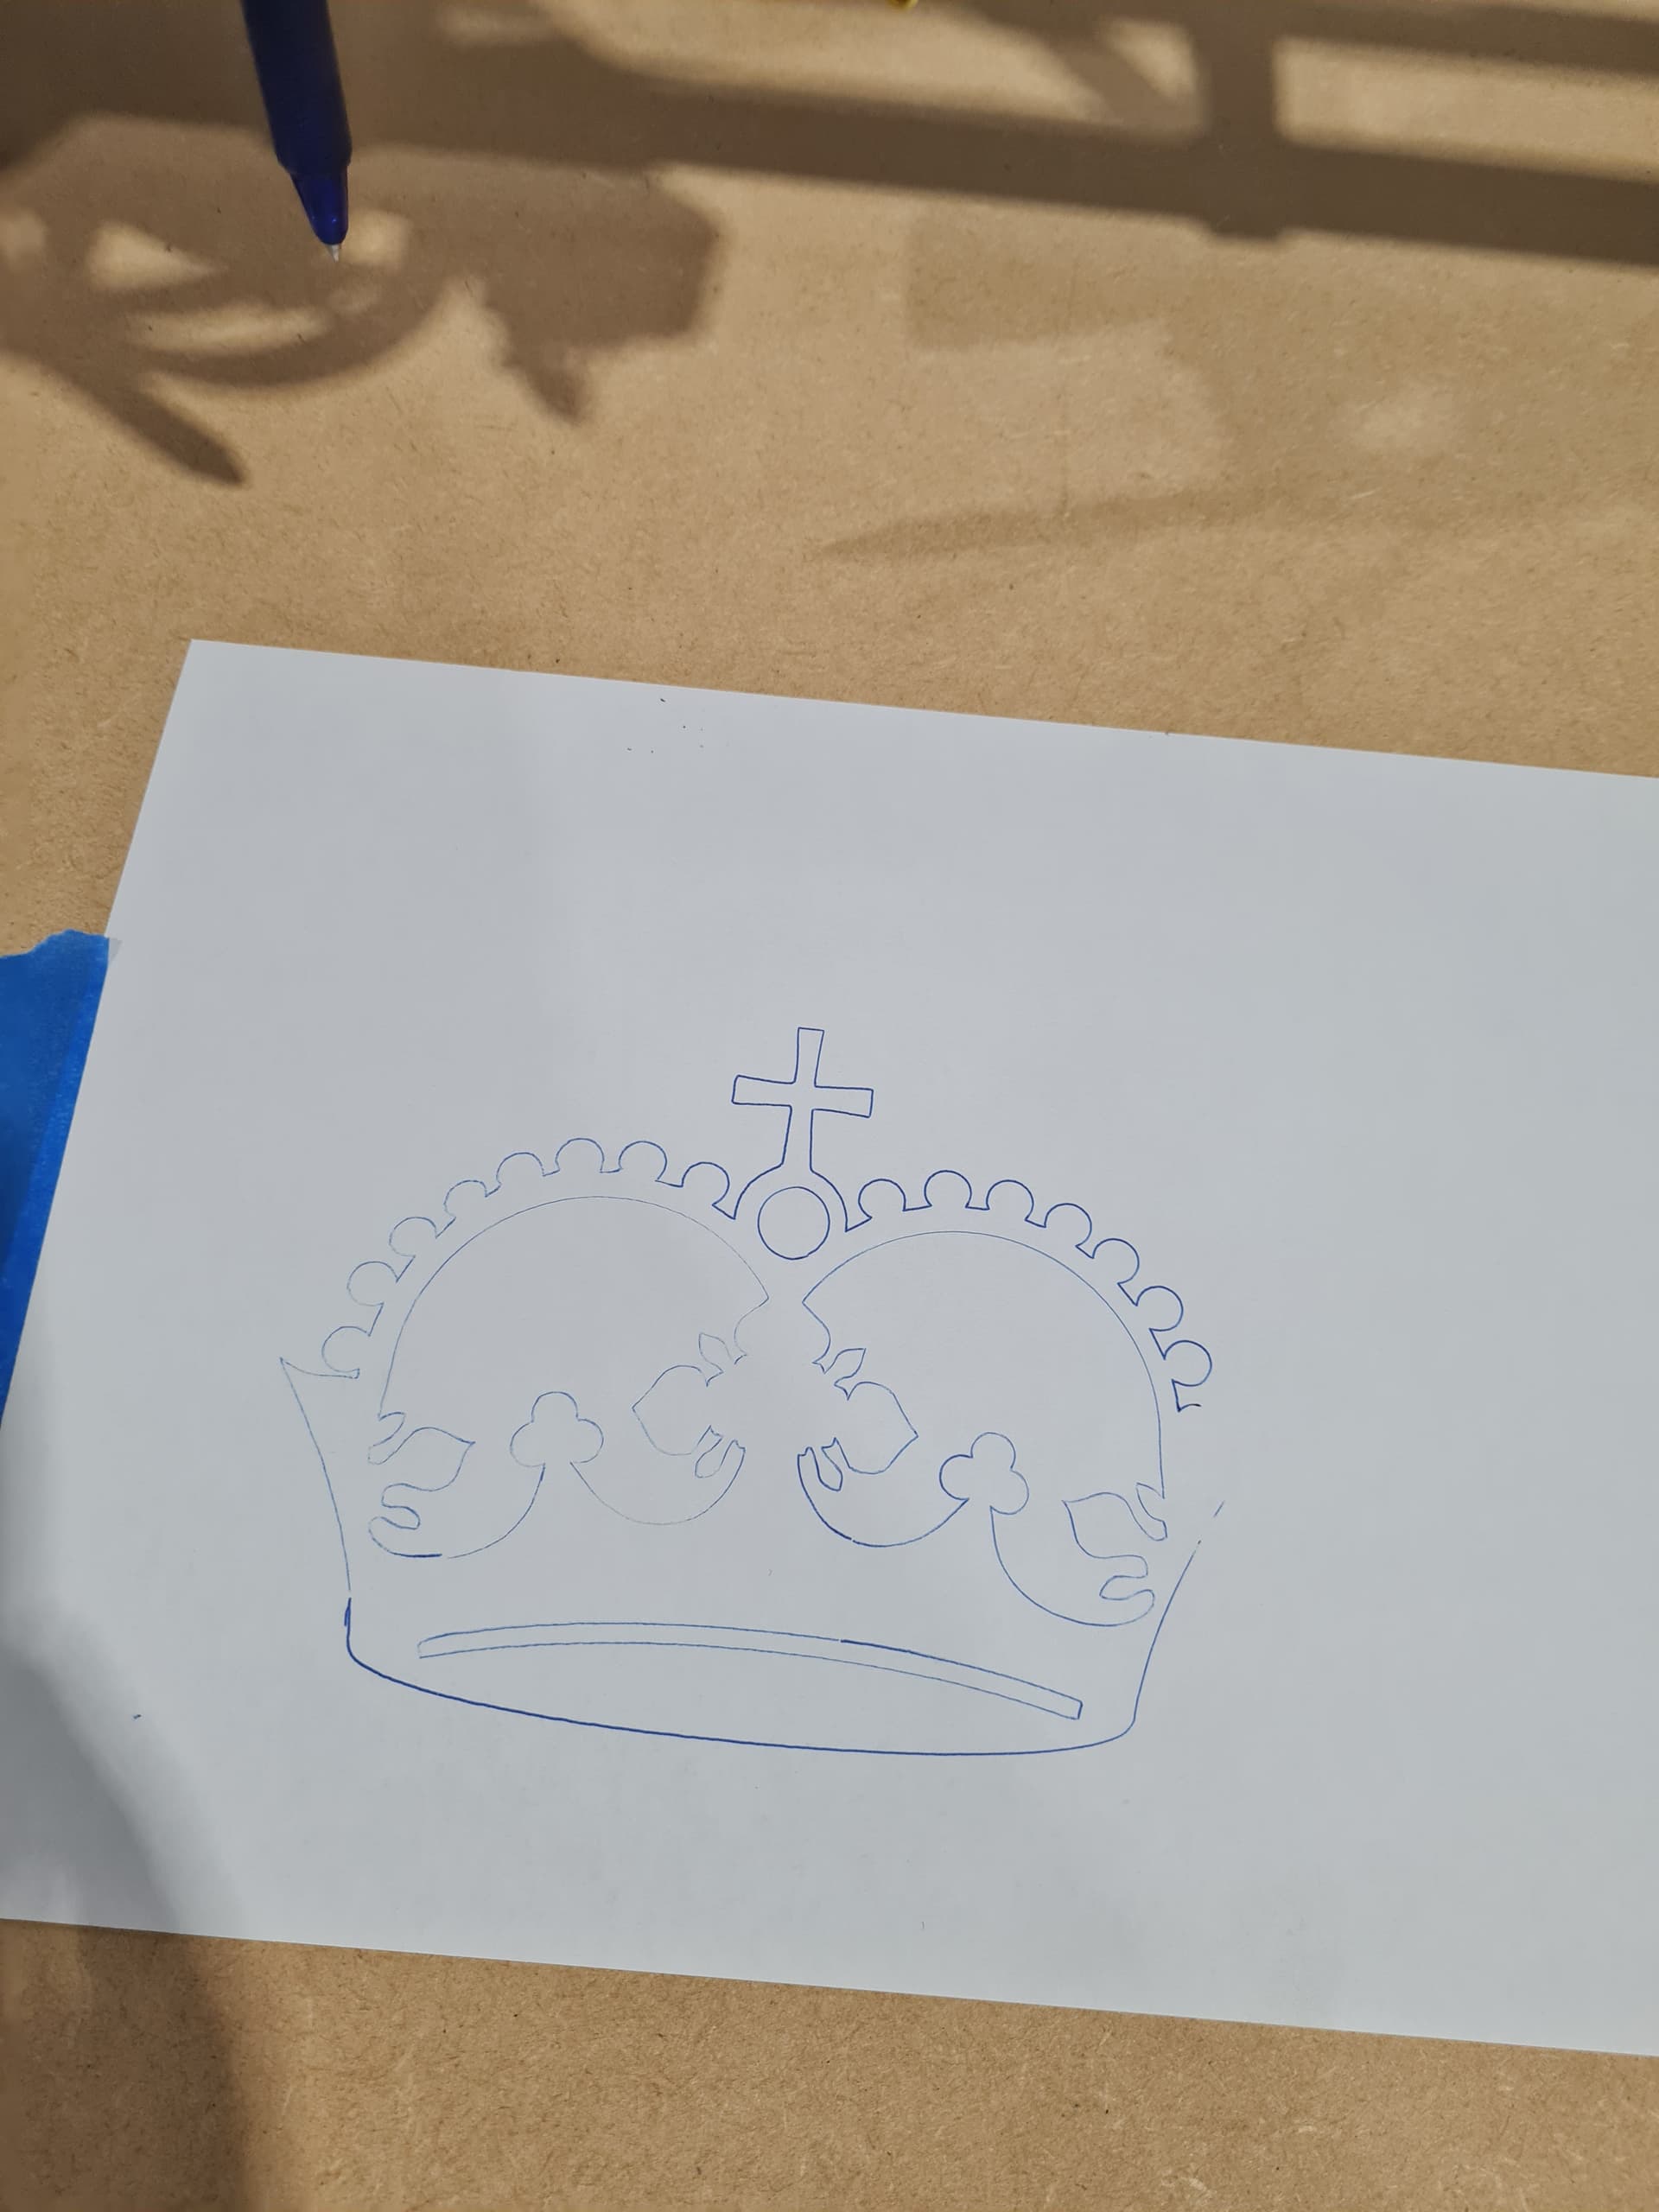
Other than the pen lifting off the paper on the RHS that is the first try!
So happy with that, everything looks uniform and exactly how it should!
7 Likes
Nice!
THANKS!
I was quite happy with that, I was surprised at how much actually!
Unfortunately, its looking like i wont get my new router and router bits before the weekend, so no cutting this weekend. ![]()
1 Like
So rapid prototyping at its best.
This is why i love my 3d printer, one day “oh i wonder” sameday a prototype, next day another one
Sure needs a nothnother cpuple generations till i am happy with it, AND its pretty delicate atm due to not being glued in

As the pipe is not screwed onto the pipe due to the wires. I inserted a slot fo them, next one i might do abettet job or i might not bother.
Solves my needs, ish
4 Likes