Another Florida Build... LR3 #2

Erasing my screwup…

4 Likes

3 Likes

Wow, no lines at all. I think I need to tram my LowRider better as well. :smile:

2 Likes

That IS very impressive!

5 Likes

Thanks! Now I just have to wait till tomorrow to put the new ruler lines. Somewhere yesterday I ended up reading @vicious1 say something about .3mm pen. Well these will be here tomorrow. The felt tip I had was good but the lines tend to “run” and get fatter than intended. Hoping these pens will do better. Time will tell.

1 Like

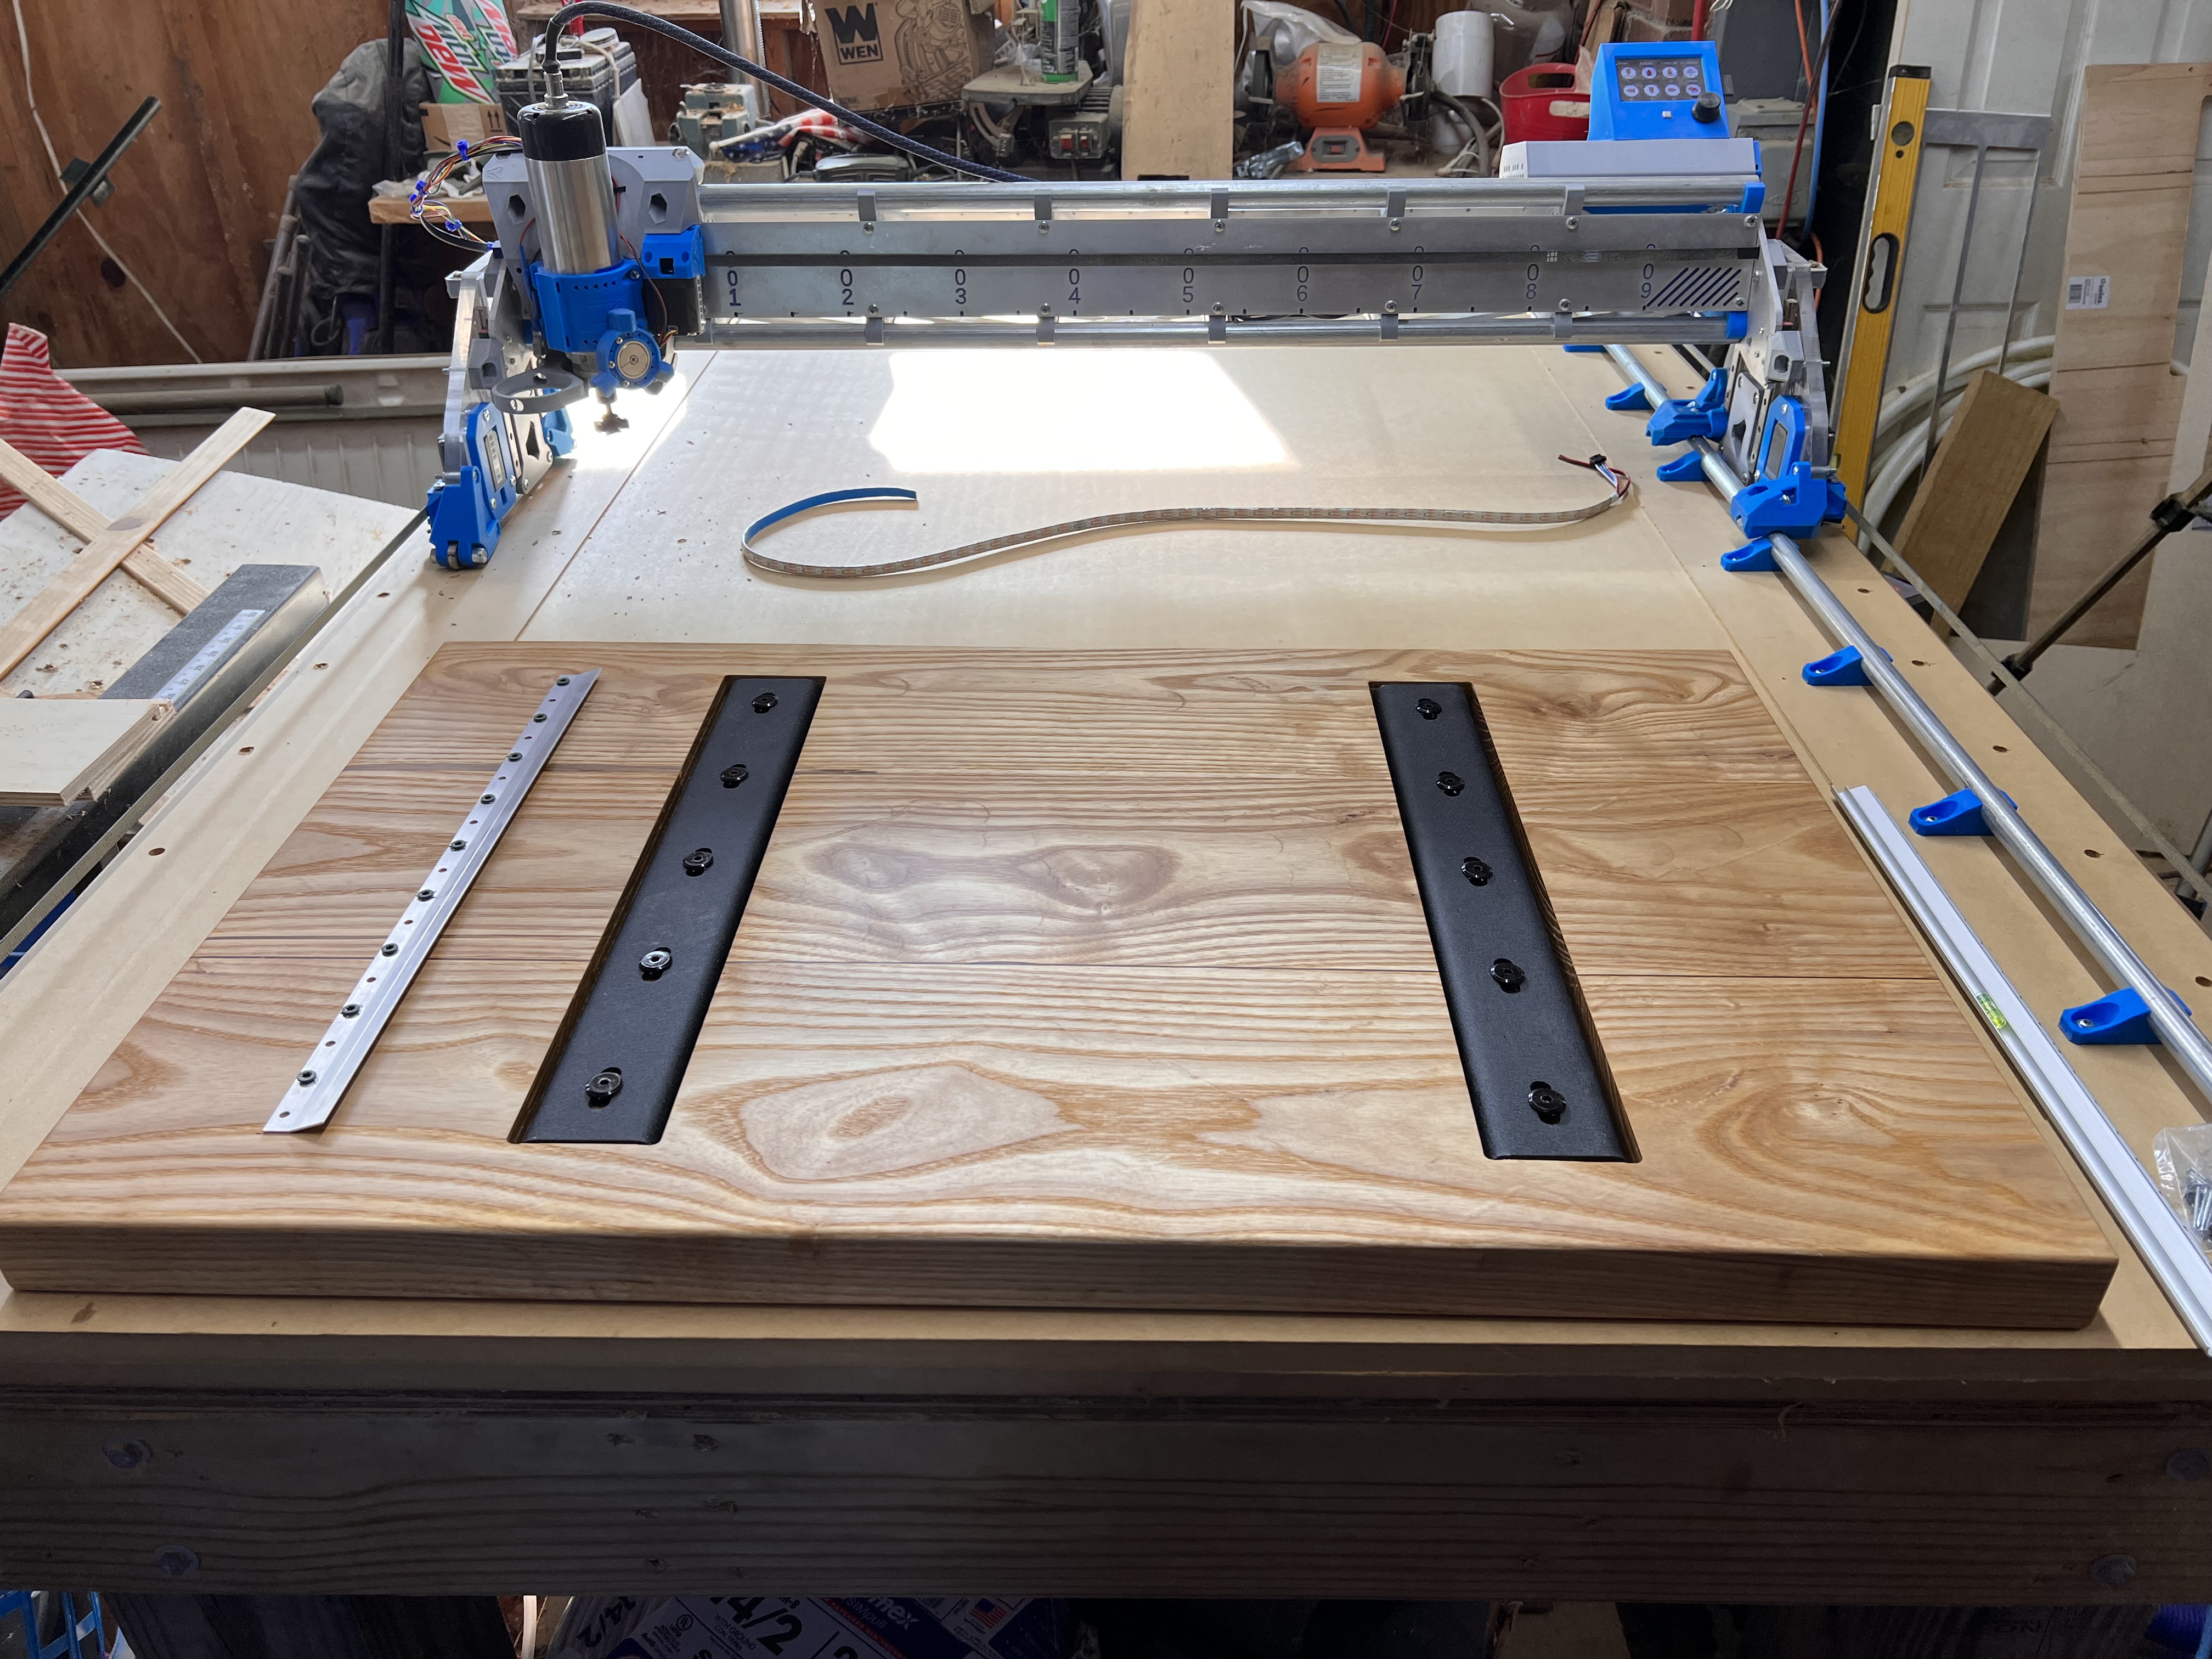
Delivery day for the Beach Sign then will get back to work on the LR3. Little teaser there for what I plan to work on while I’m waiting for the new pens to come in


6 Likes

Those are the ones I use!

Nice work on the tramming!

2 Likes

Thanks for that!! Everyone has been so quiet about it with all my crazy math I was starting to think I really did have it all screwed up. Thankfully you and @Tokoloshe seem to think I did alright lol. Never noticed anyone else post about doing it that way. Just seemed like an easier way than eye balling it. Plus even if you only have a regular trim router you can pick up a 1/8” tig rod that will chuck in and do the same thing that my #12 ground wire did

In other news… beach sign has been delivered and installed. And they LOVED it!!

6 Likes

I’m always in awe of maths whether it is crazy or not and super impressed with the workmanship on the tramming arm too. :medal_sports:

I built, for the LR2 and never got around to needing it, a “math free” tramming gauge, which I will do once again for the LR3 if ever it gets finished! :wink:

Basically if the dimension from the centre of the collet to the “tramming mark” is the same as the distance from the bottom of the collet to the “shimming spot” - you can just measure the discrepancy with a feeler gauge and that’s the thickness of the shim. The neat thing is you only have to measure at three points too.

I use this method to level the drill press table so I expect it will be fine with the cnc.

2 Likes

If you didn’t already see it in the other Post I’ve been having some led fun this evening…


Still have to do some final cleanup of the wiring but I think it came out great! Only other thing left to figure out is how to make the side panels start at Blue. Currently they go though a start up flash of all 3 colors and then go white like the ones under the beam. Would like to set them to auto go to blue. Have to do some more research tomorrow lol

6 Likes

I can’t be sure, but I think I must have met you in the loony bin in another life! That’s truly wonderful!

1 Like

Nice! Some of these pics look like something ready to levitate in the air and head into outer space!

Really nice. I’ve also pondered LEDs, my board has a few more 5V pins. :smile:

1 Like

Go for it! these LEDs are 12v so I pick up this to run them. Only thing connected to the board is the data line. Had fun finding the correct pins to use but got it!!!

1 Like

Those lights look great! A true Low Rider.

Makes me think you should attach a ball to the end of the spindle and lay some sand on your table.

(Maybe just 3D print a lollipop shape since it doesn’t need to be metal and doesn’t need to roll.)

1 Like

Man that .3mm sure is a thin line

And they don’t like MDF LOL


1 Like

Well sucks the .3mm pens didn’t work. But I’ve been wanting to try some drawings with the machine anyways so they will definitely come in handy for that!!

Made a 100mm x 100mm grid and now going back with @jamiek ruler perimeter. Didn’t get the lines exactly like I hoped for but I was seriously giving myself a headache trying to figure out all the offsets to get it right. For no more than it’s off I’m ok with it. Not like I will ever use it for serious measurements. Mostly it’s just for the look lol.


5 Likes

Check these out… .25mm

https://www.amazon.com/Pentel-Slicci-Extra-Assorted-BG202BP8M/dp/B003D7HFFU/ref=sr_1_31?crid=2JT9DP1809FBT&keywords=pentel+.3+pen&qid=1690771697&sprefix=pentel+.3%2Caps%2C117&sr=8-31#

2 Likes

It’s all done. Time to stop messing around and get it dirty! Diving in head first tomorrow on some 1/4” aluminum!!

5 Likes

If you engraved the scales in acrylic and let them flush with the spoil board with embedded runway lights underneath - you’d be next level Science Fair!!

Seriously that looks terrific.

2 Likes