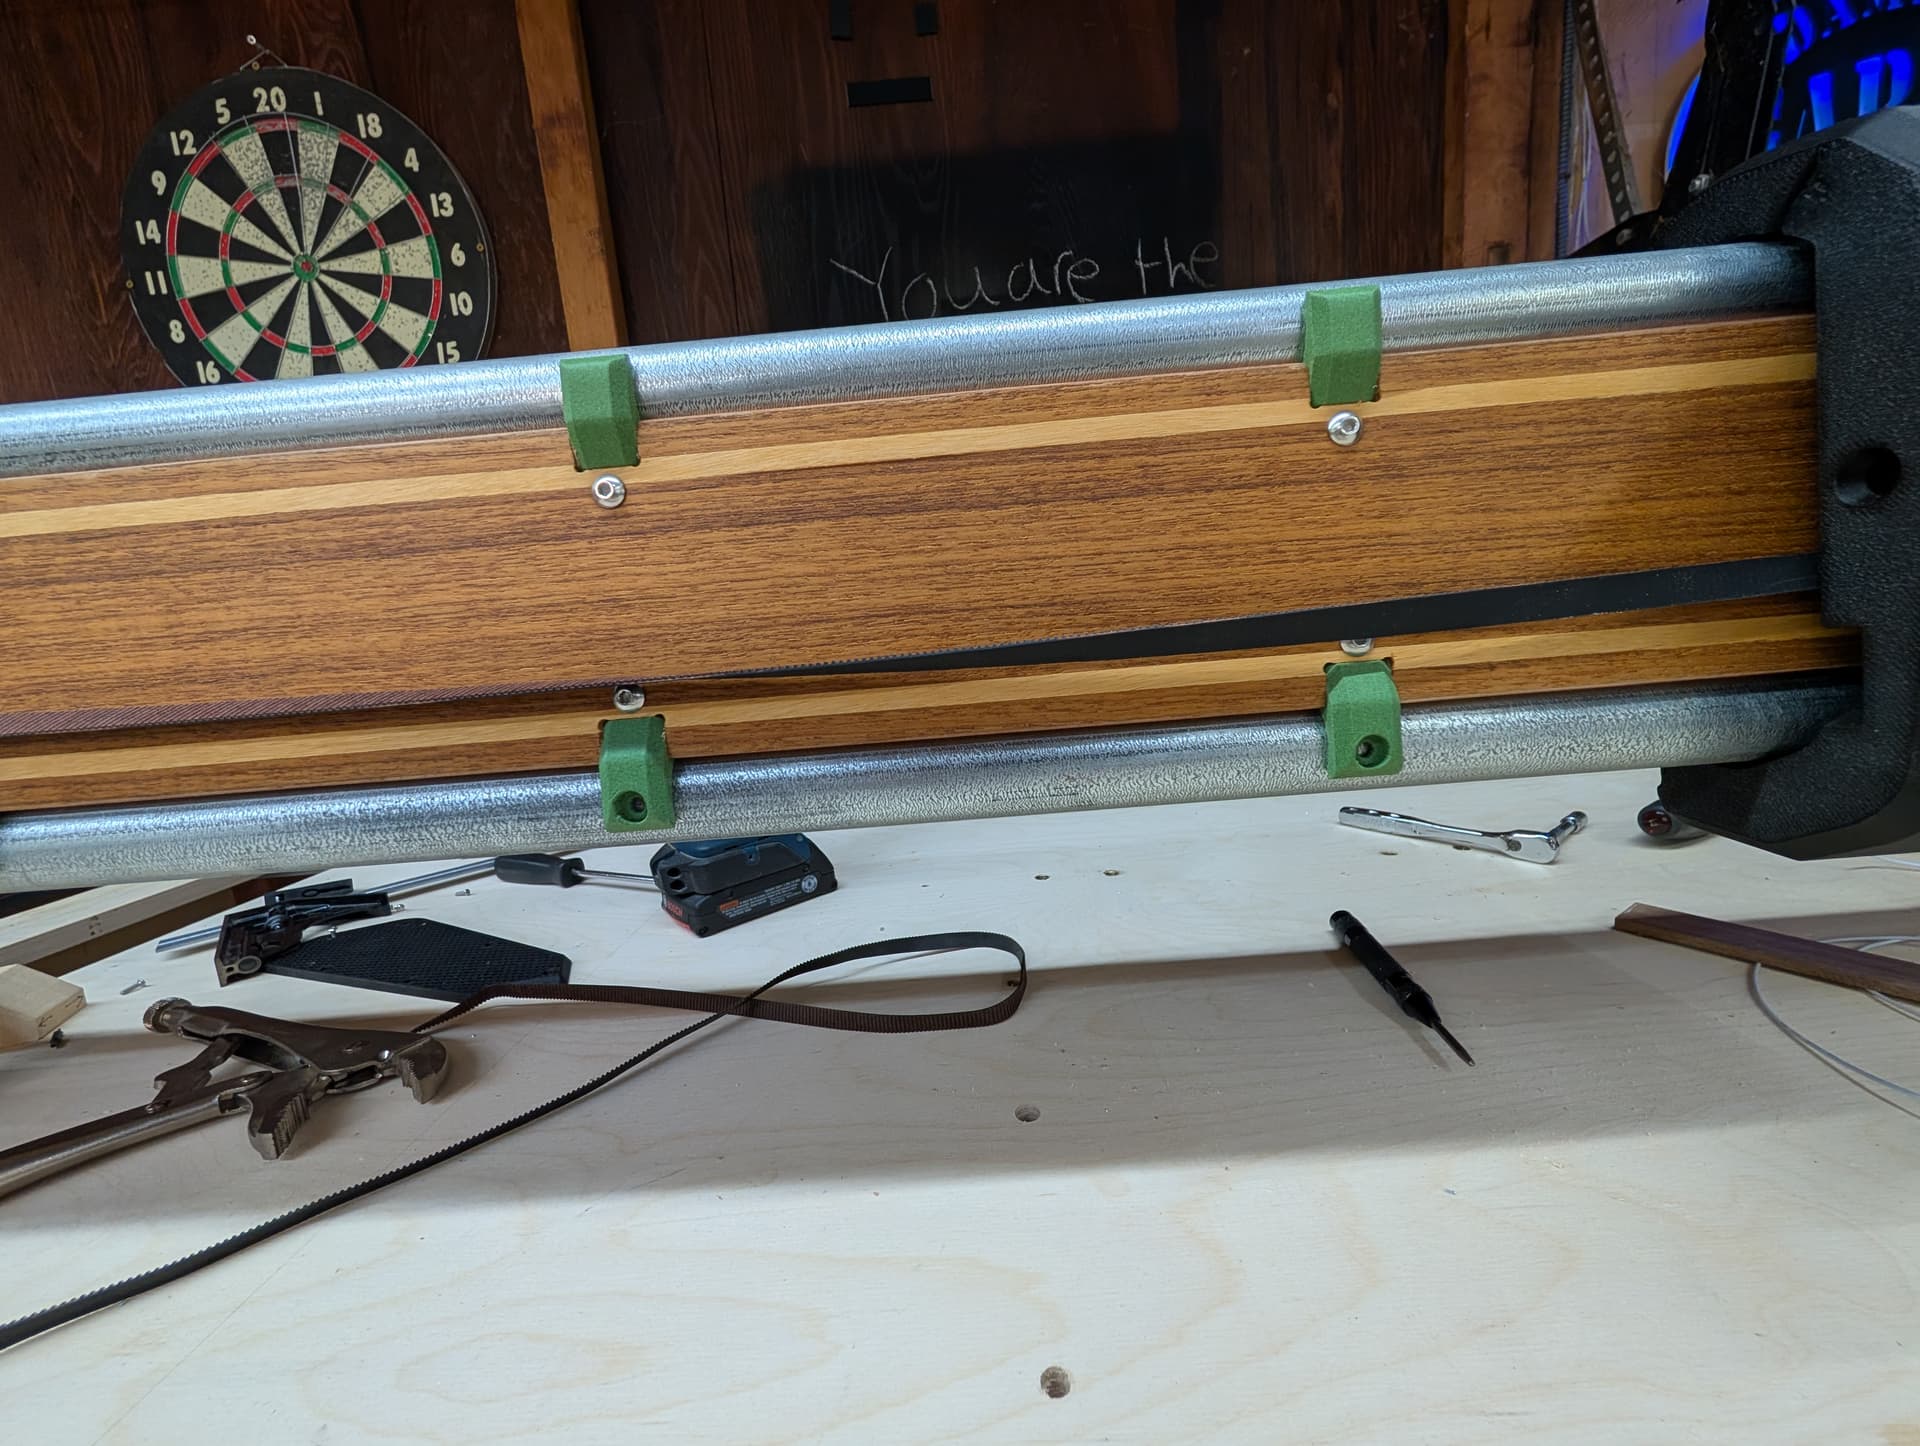
The boxes are identical in size. could be the parallax of the photo ![]()
1 Like
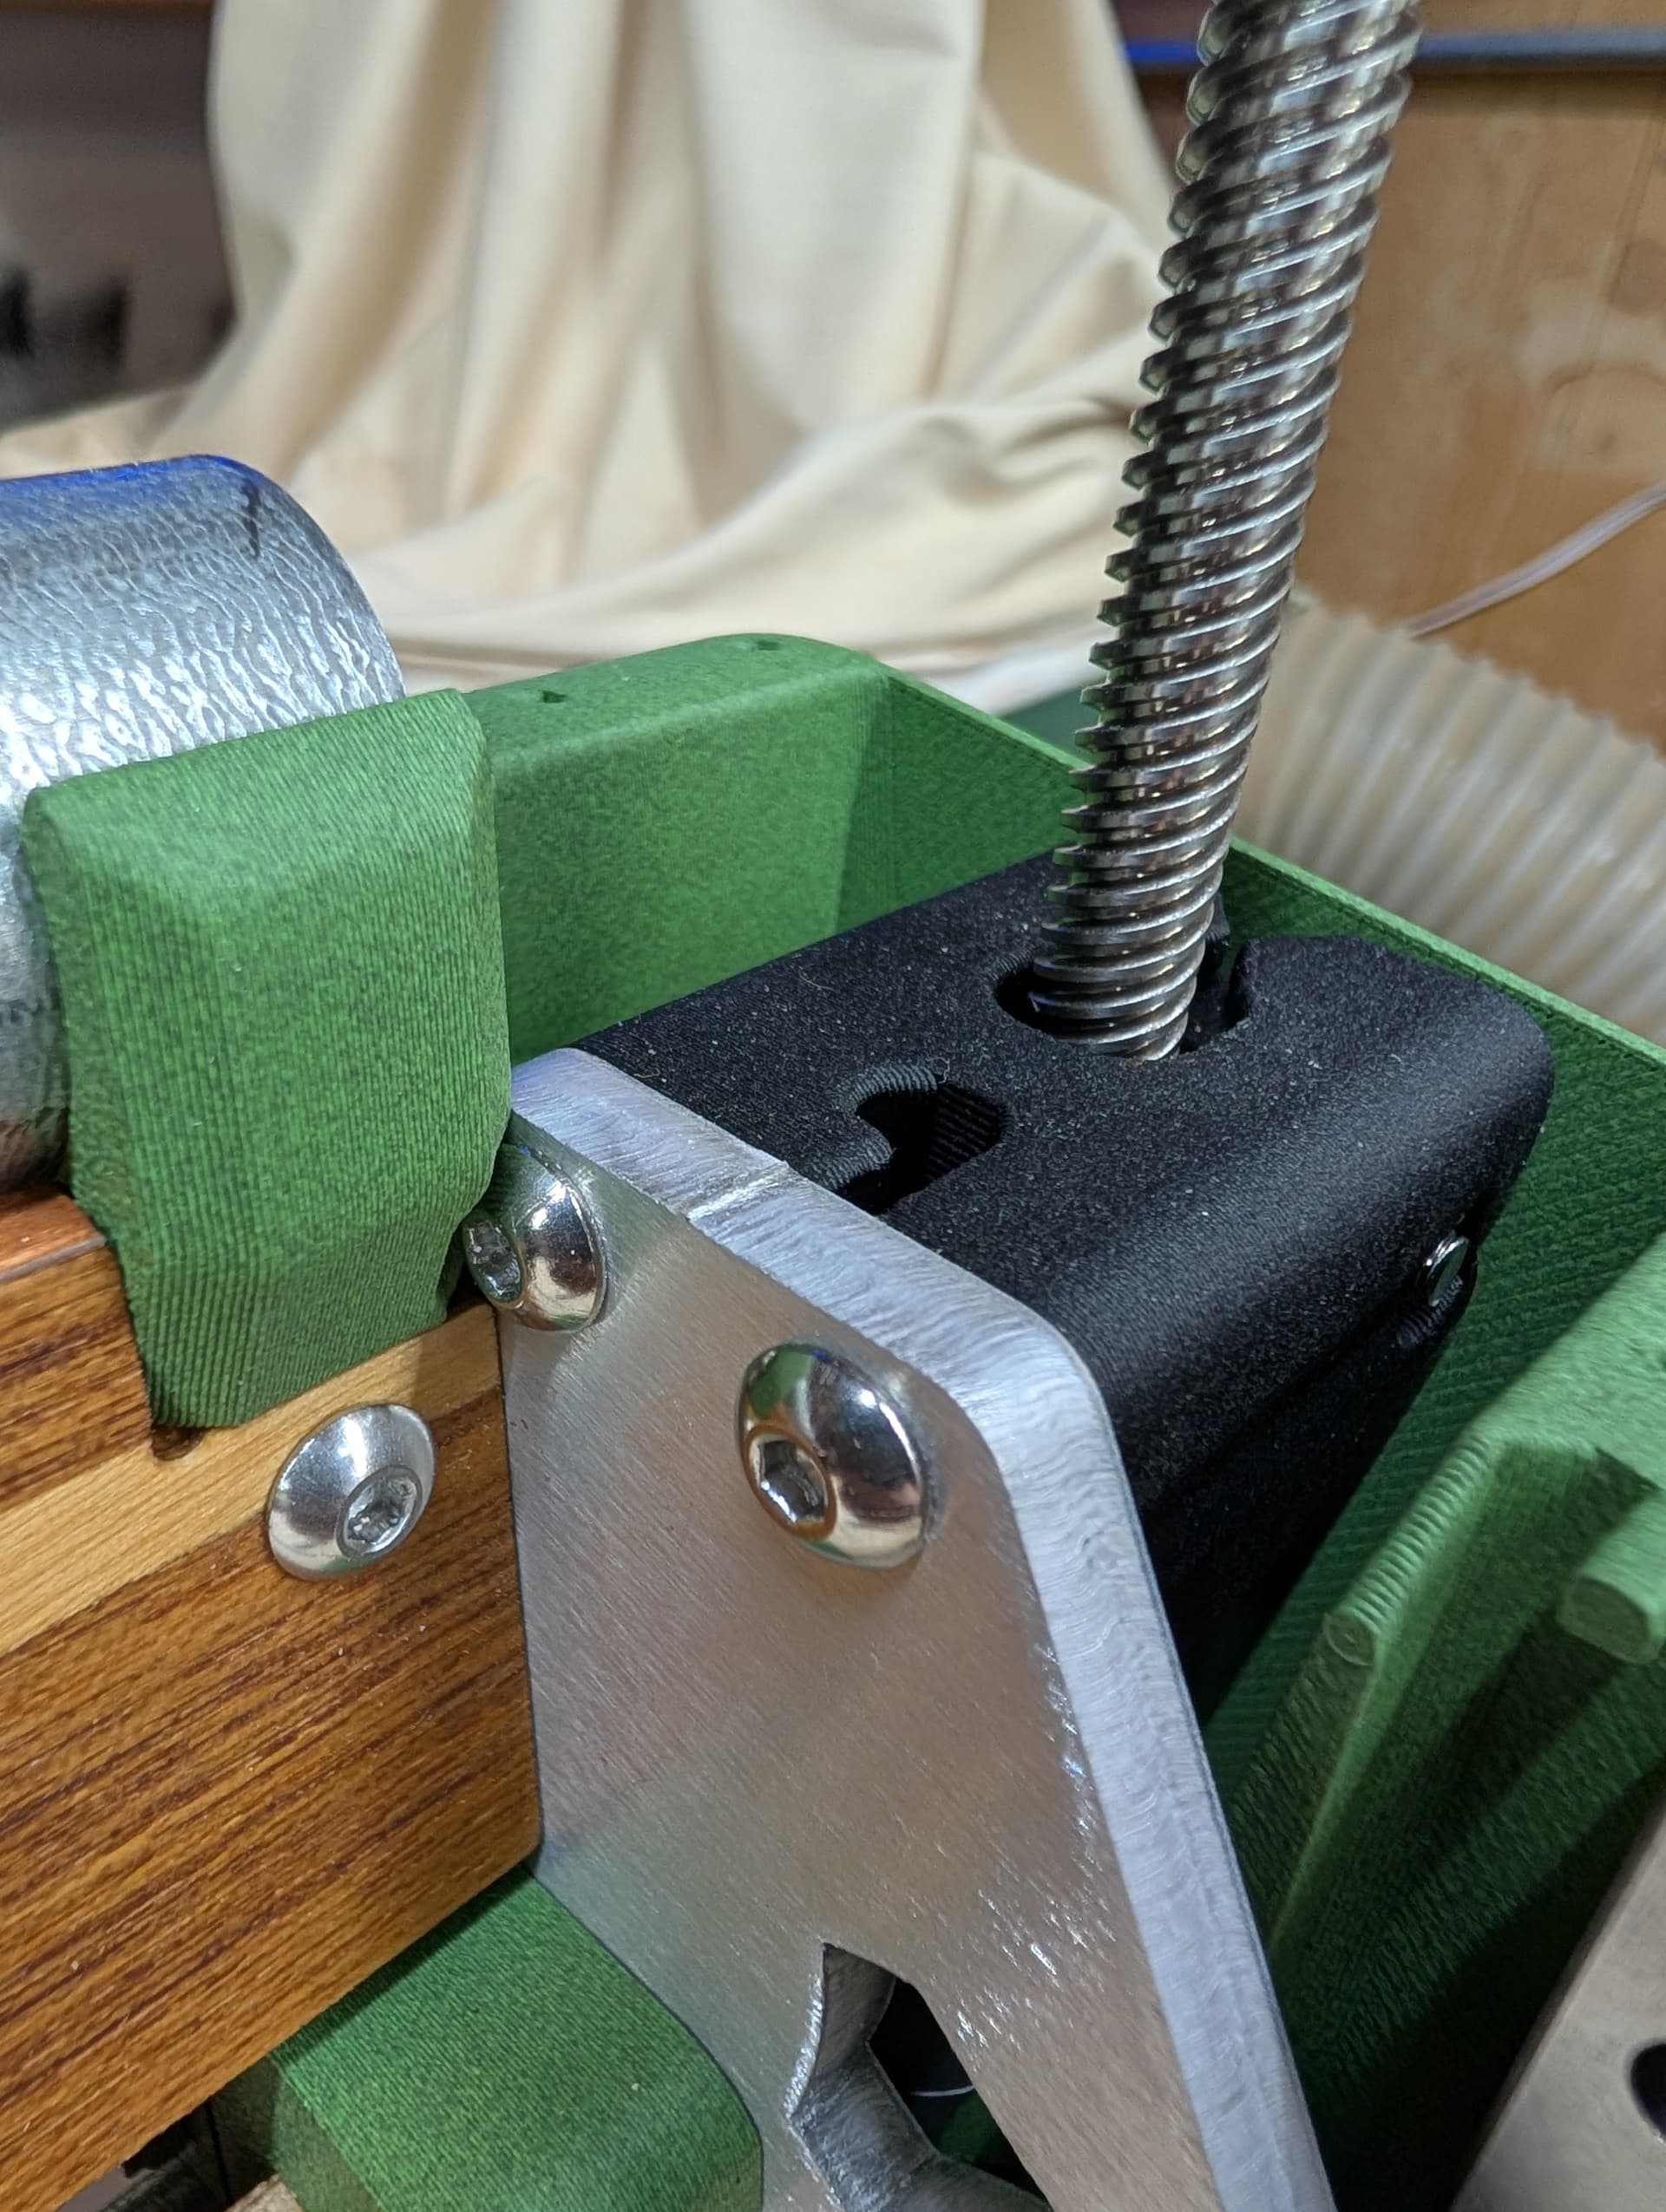
I also saw mine off this morning. I pre-threated it for the other side, but it still slipped in the pocked.
Just a dab of superglue was a good fix.
Maybe a 6-7mm hole(tube) in the backwheel part, so you can always reach it with a flat screwdriver.
This would not be funny if someone ordered a 3d printed set
1 Like
I think the fit is much tighter on my prints. The hard part about all this is some printers are very different. I had a warning about print calibration but is scared off too many people so I took it down.
2 Likes
Maybe make the nut “sink” into a whole? Like the idler nuts?
Ah oke! That could be the difference, although i did a full calibration before printing this parts. I also printed it with a Bambulab like Damian.
Good to hear your prints fit better for the ones who order a set. I also had the same problem with the endstops with the tapered hex-hole.
Maybe a combination of different filament and the nuts. Mine are from Aliexpress, they have rather rounded edges and maybe a stiffer nylon ring.
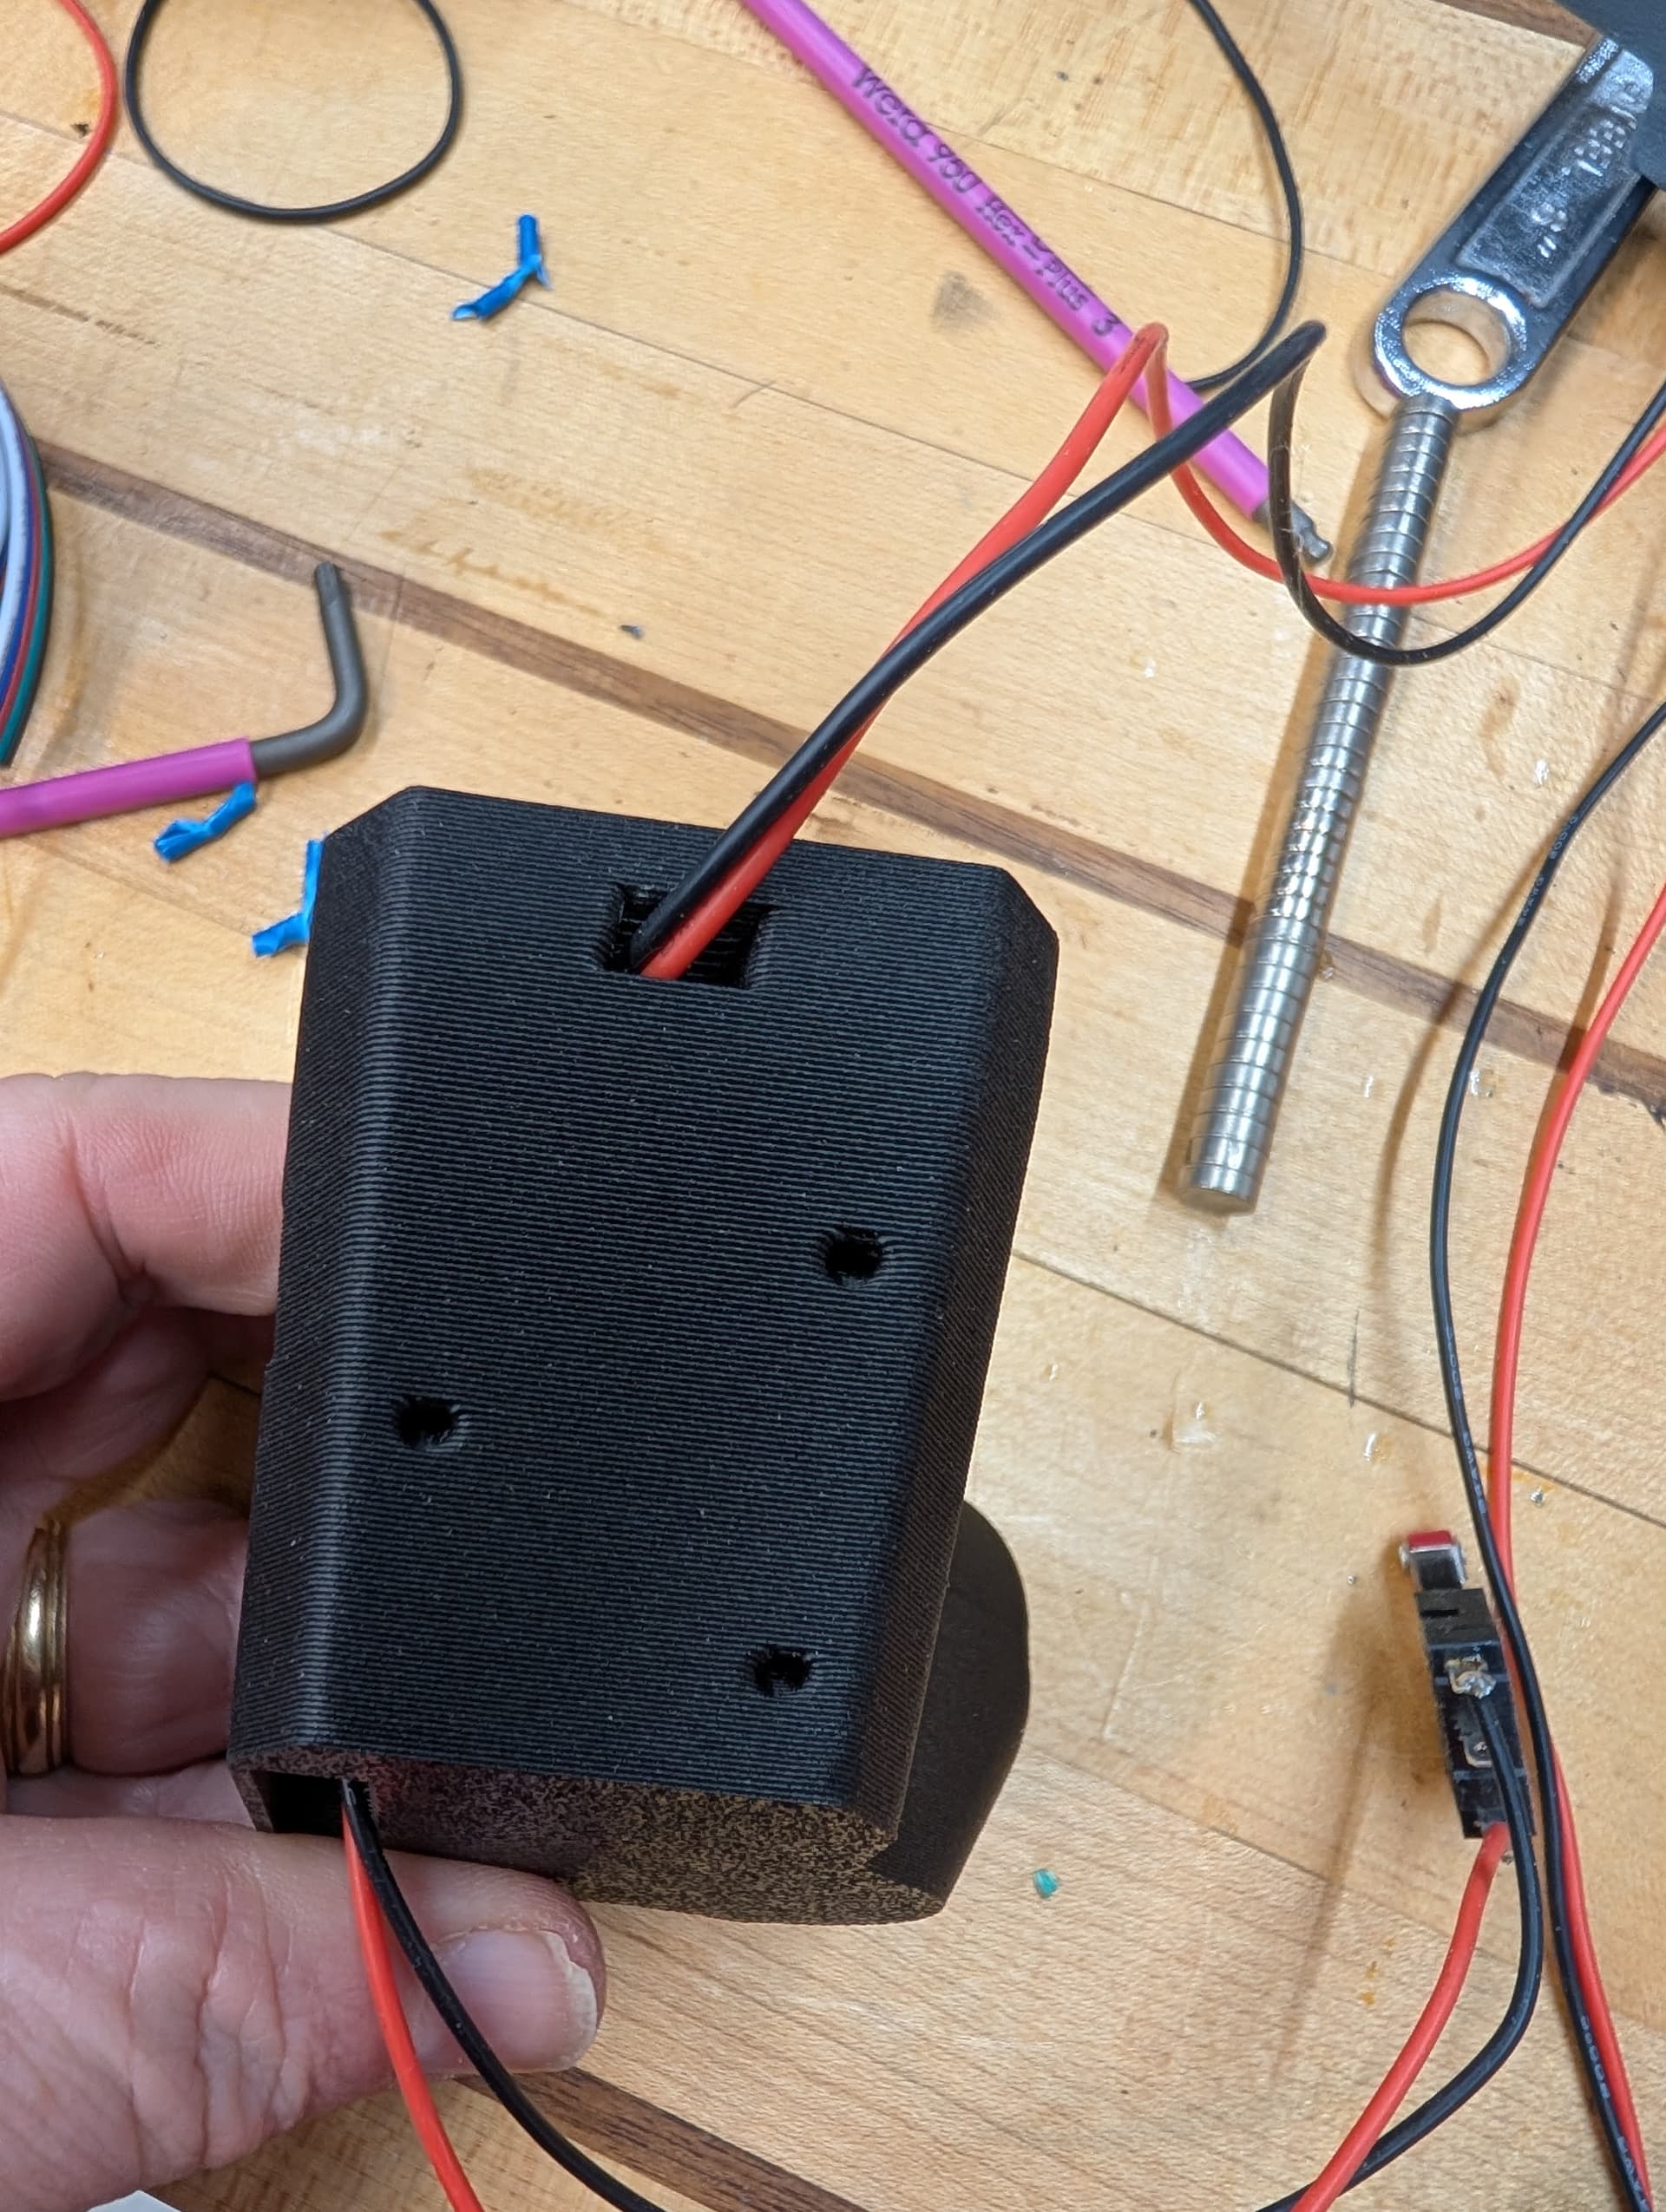
I can, the wall will be very thin but I can.
Looks like the measurement on the stl is 8.1mm and I measured 7.95 on my print, so a bit tighter than it should be but my nut was only 7.79mm (think M5 are supposed to be 8mm)
I’d just add a line saying shim the hole if you notice any play, I used a bit of heat shrink to tighten things up second time around.
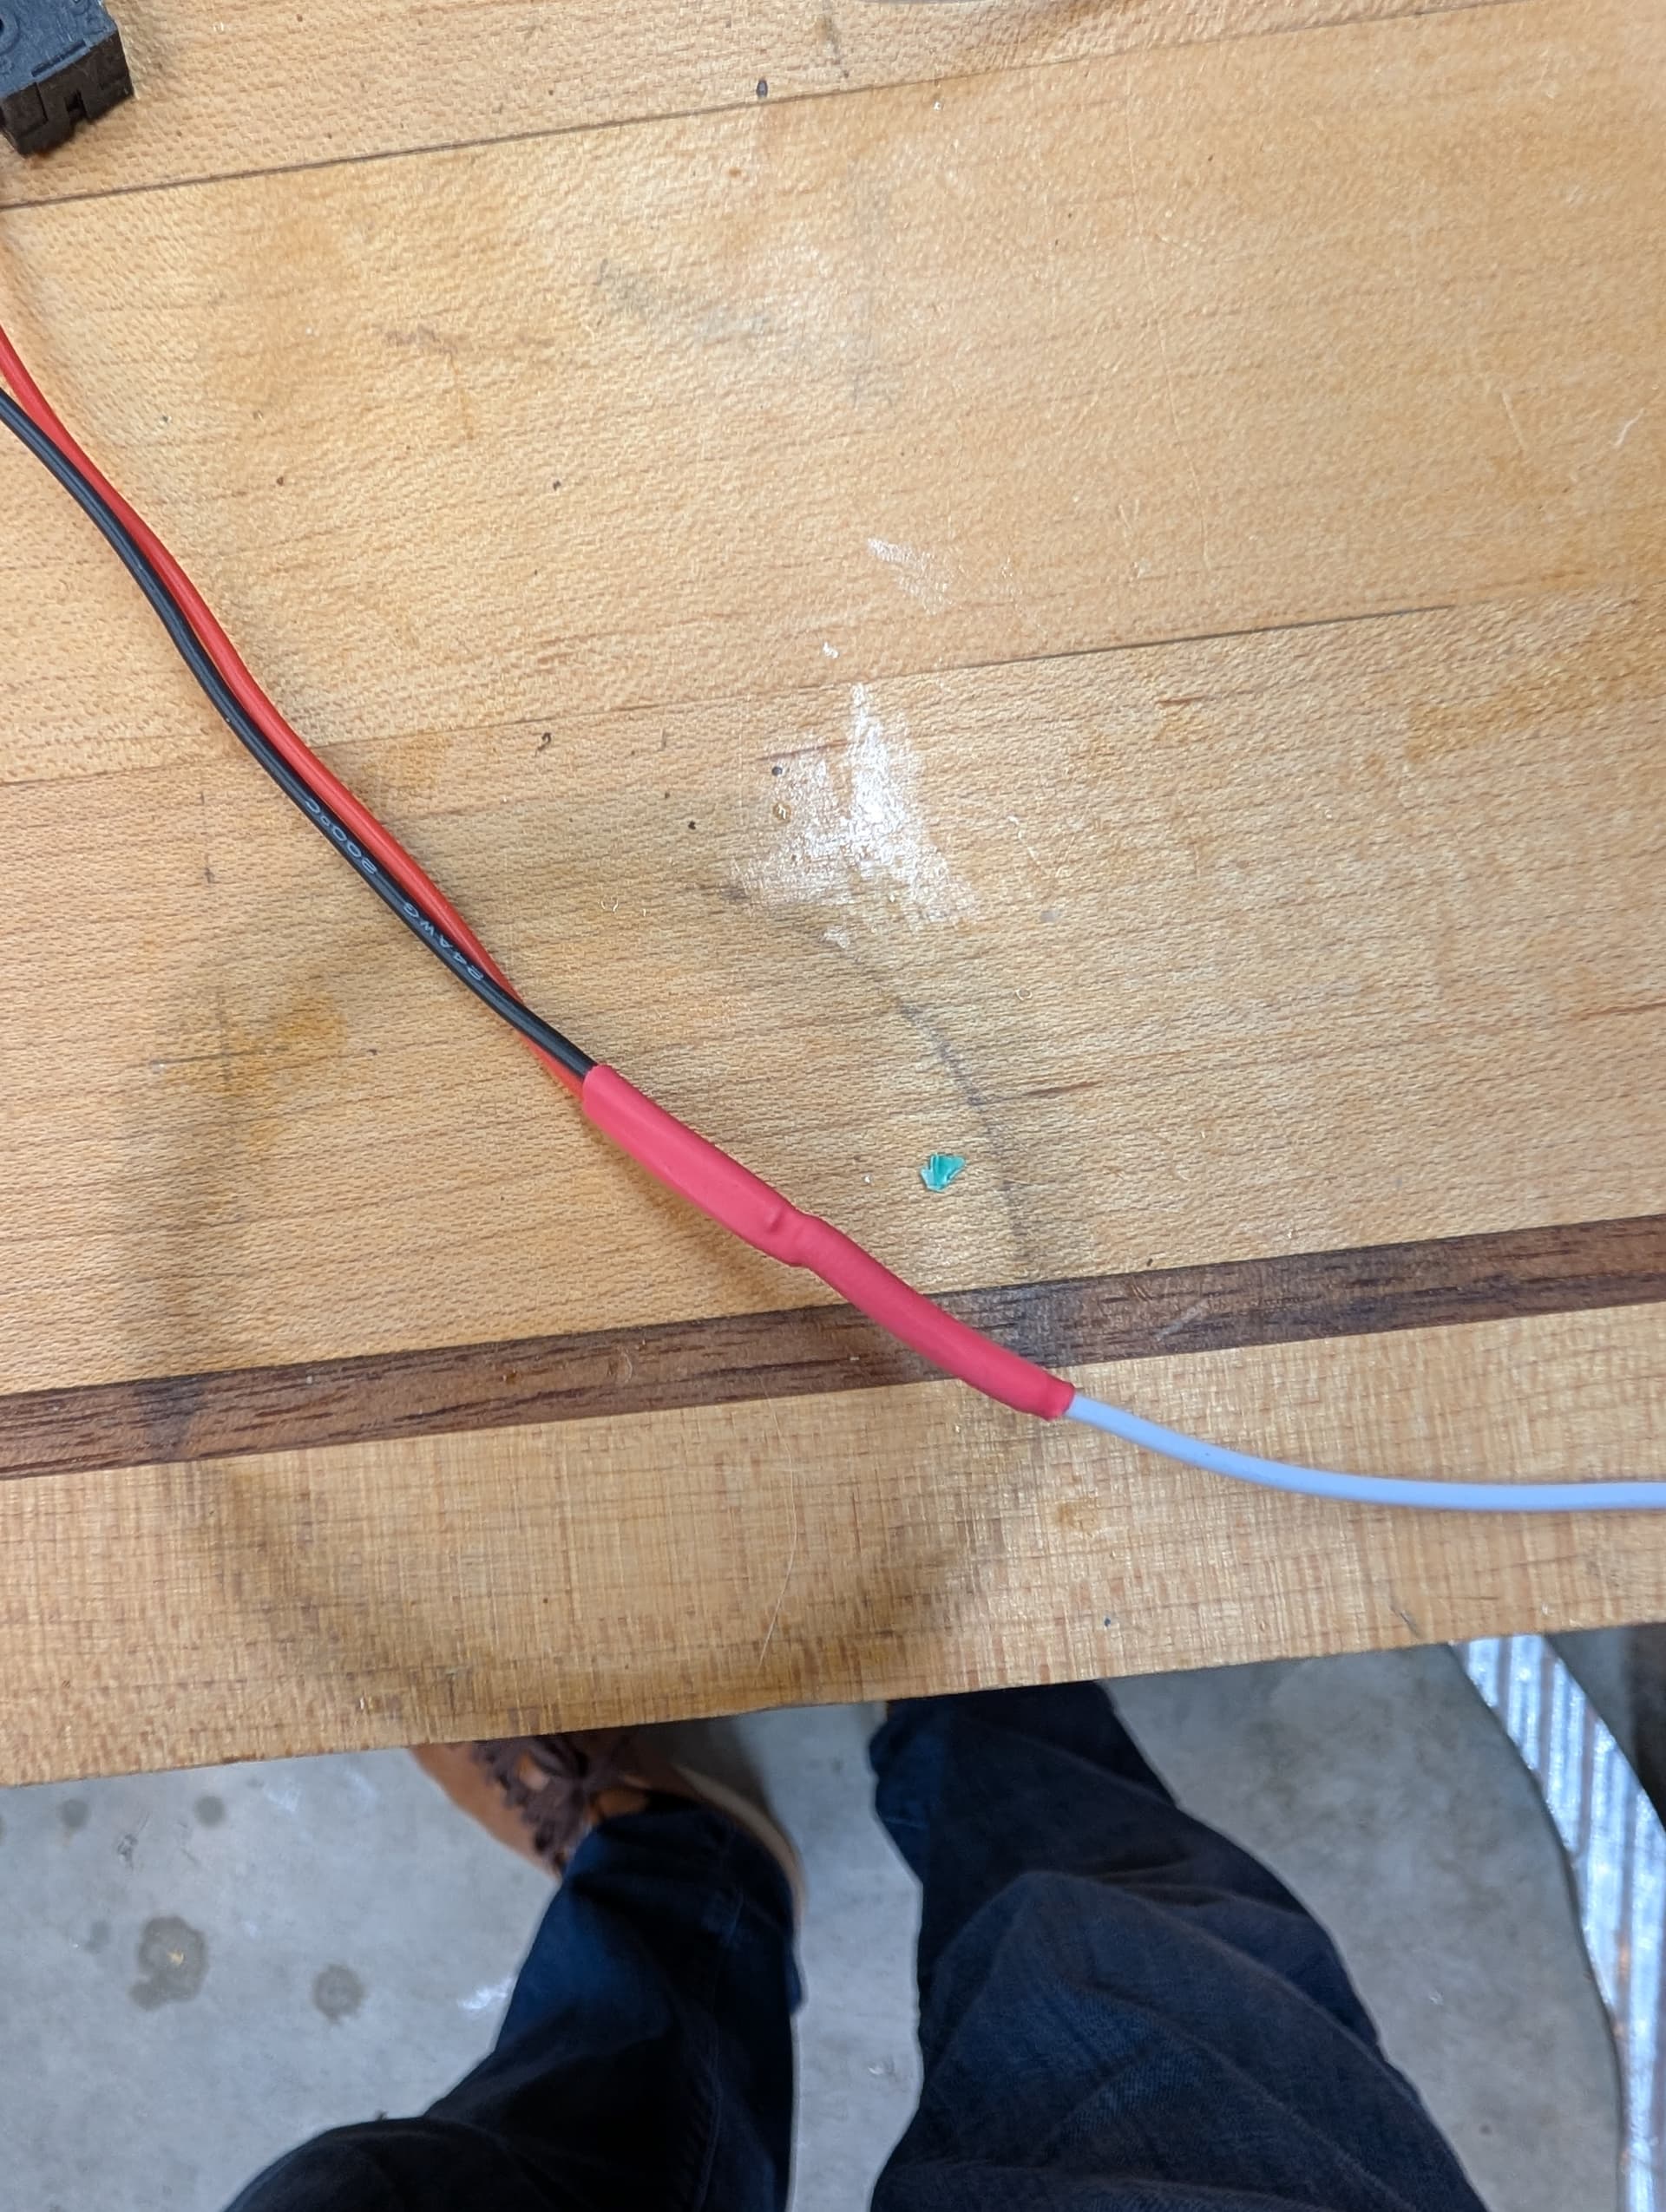
Routing this floppy silicon wire was proving a royal pain, so fed some stiffer wire down from the top, heat shrunk it to the silicon stuff and pulled it back out. Mission accomplished ![]()
1 Like
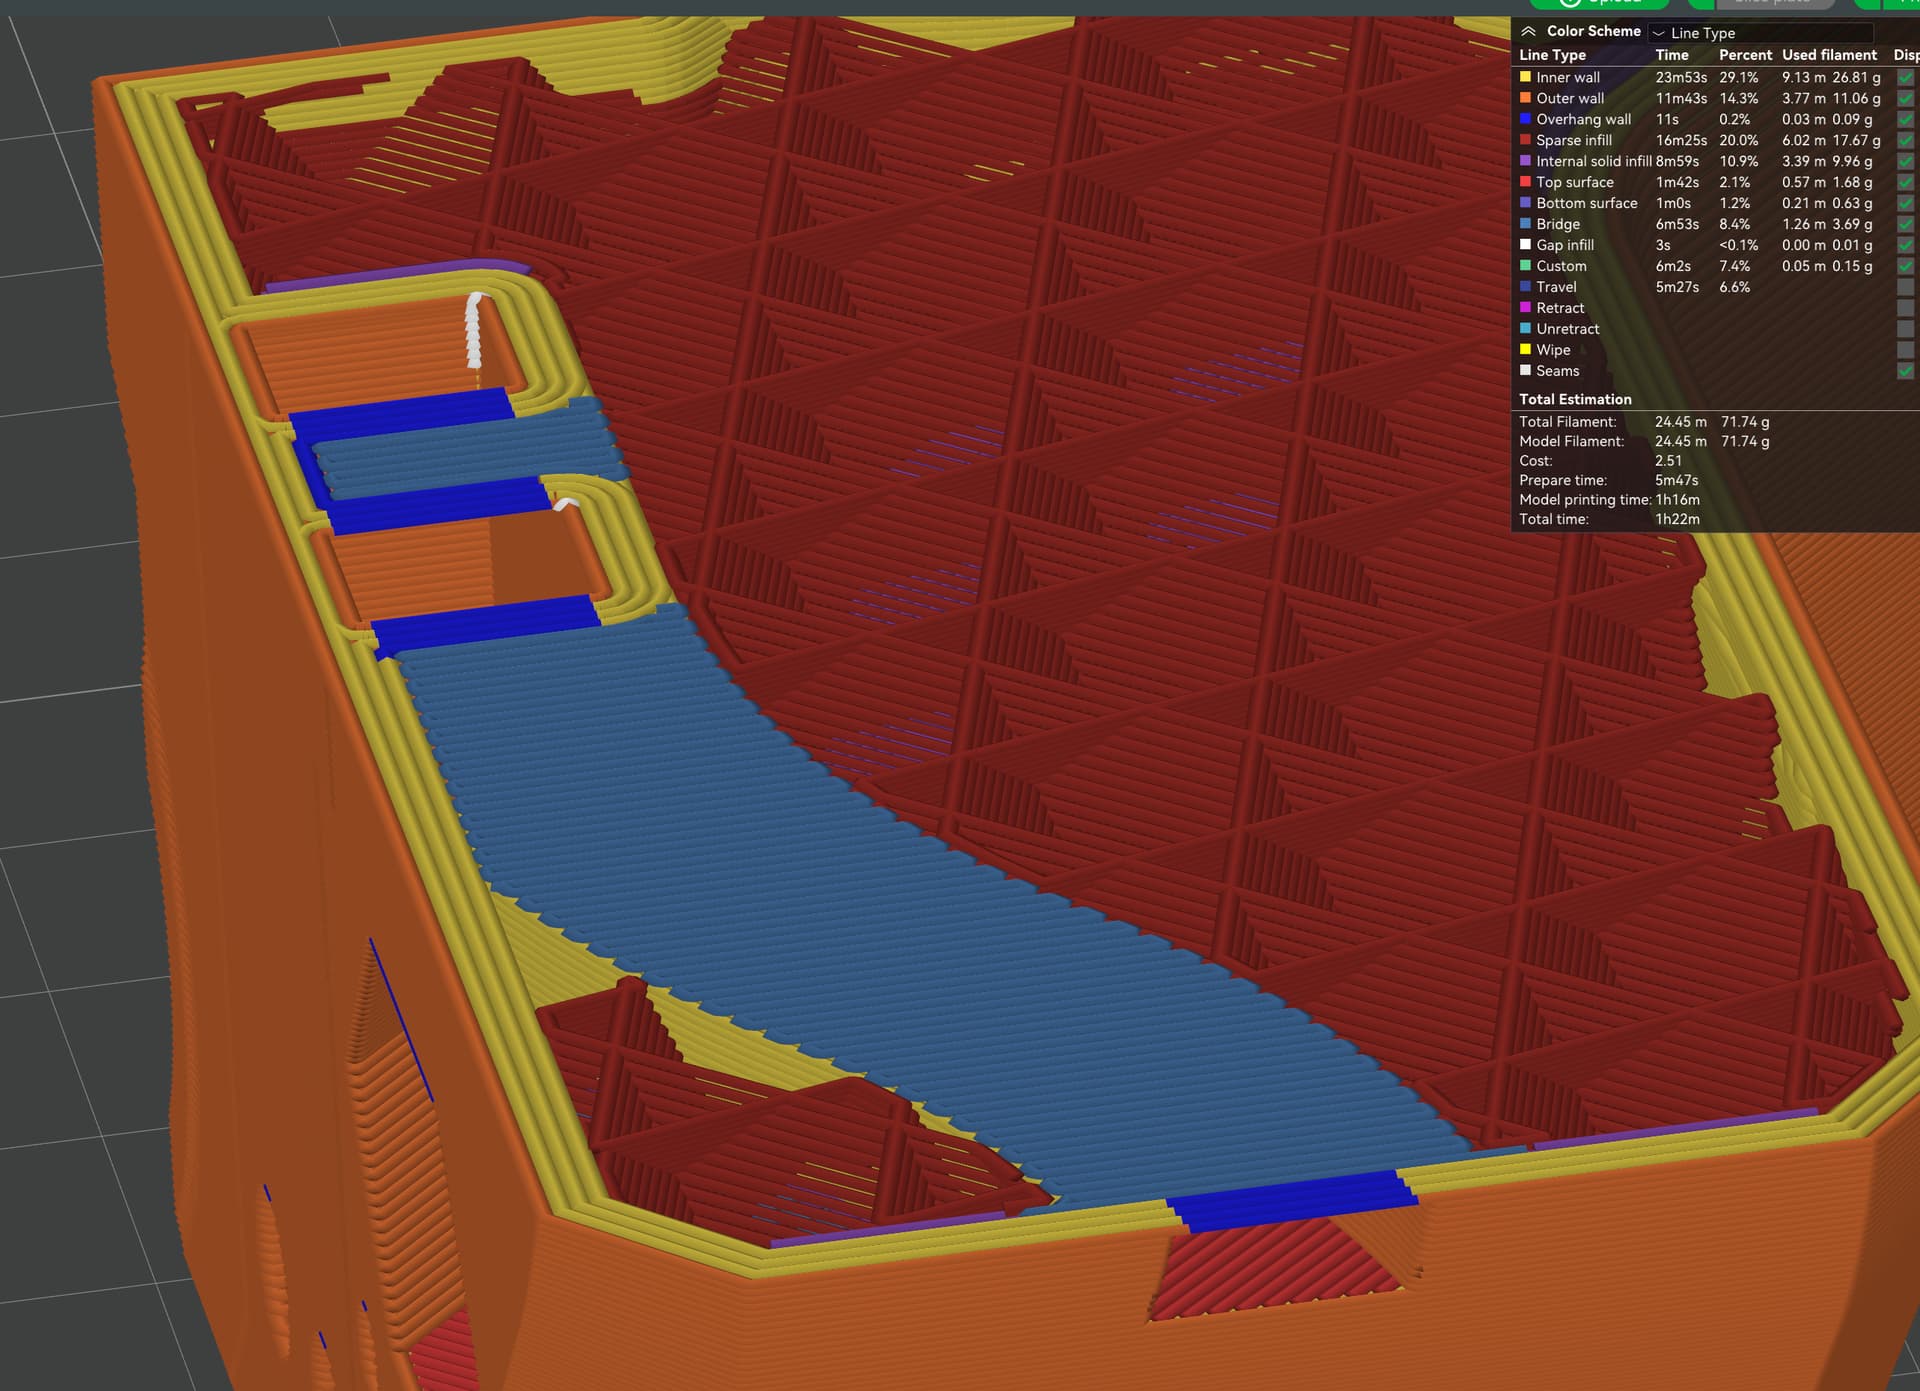
Just curious. If you go back to your slicer and pull up how it sliced that YZ plate, go to the slicing of the layer above the channel. Post a screenshot here. Just curious about something.
1 Like
You know those are normally not used, right? Those are for homing to Y max very rarely used.
Would you share your file for your vanity/end plates?
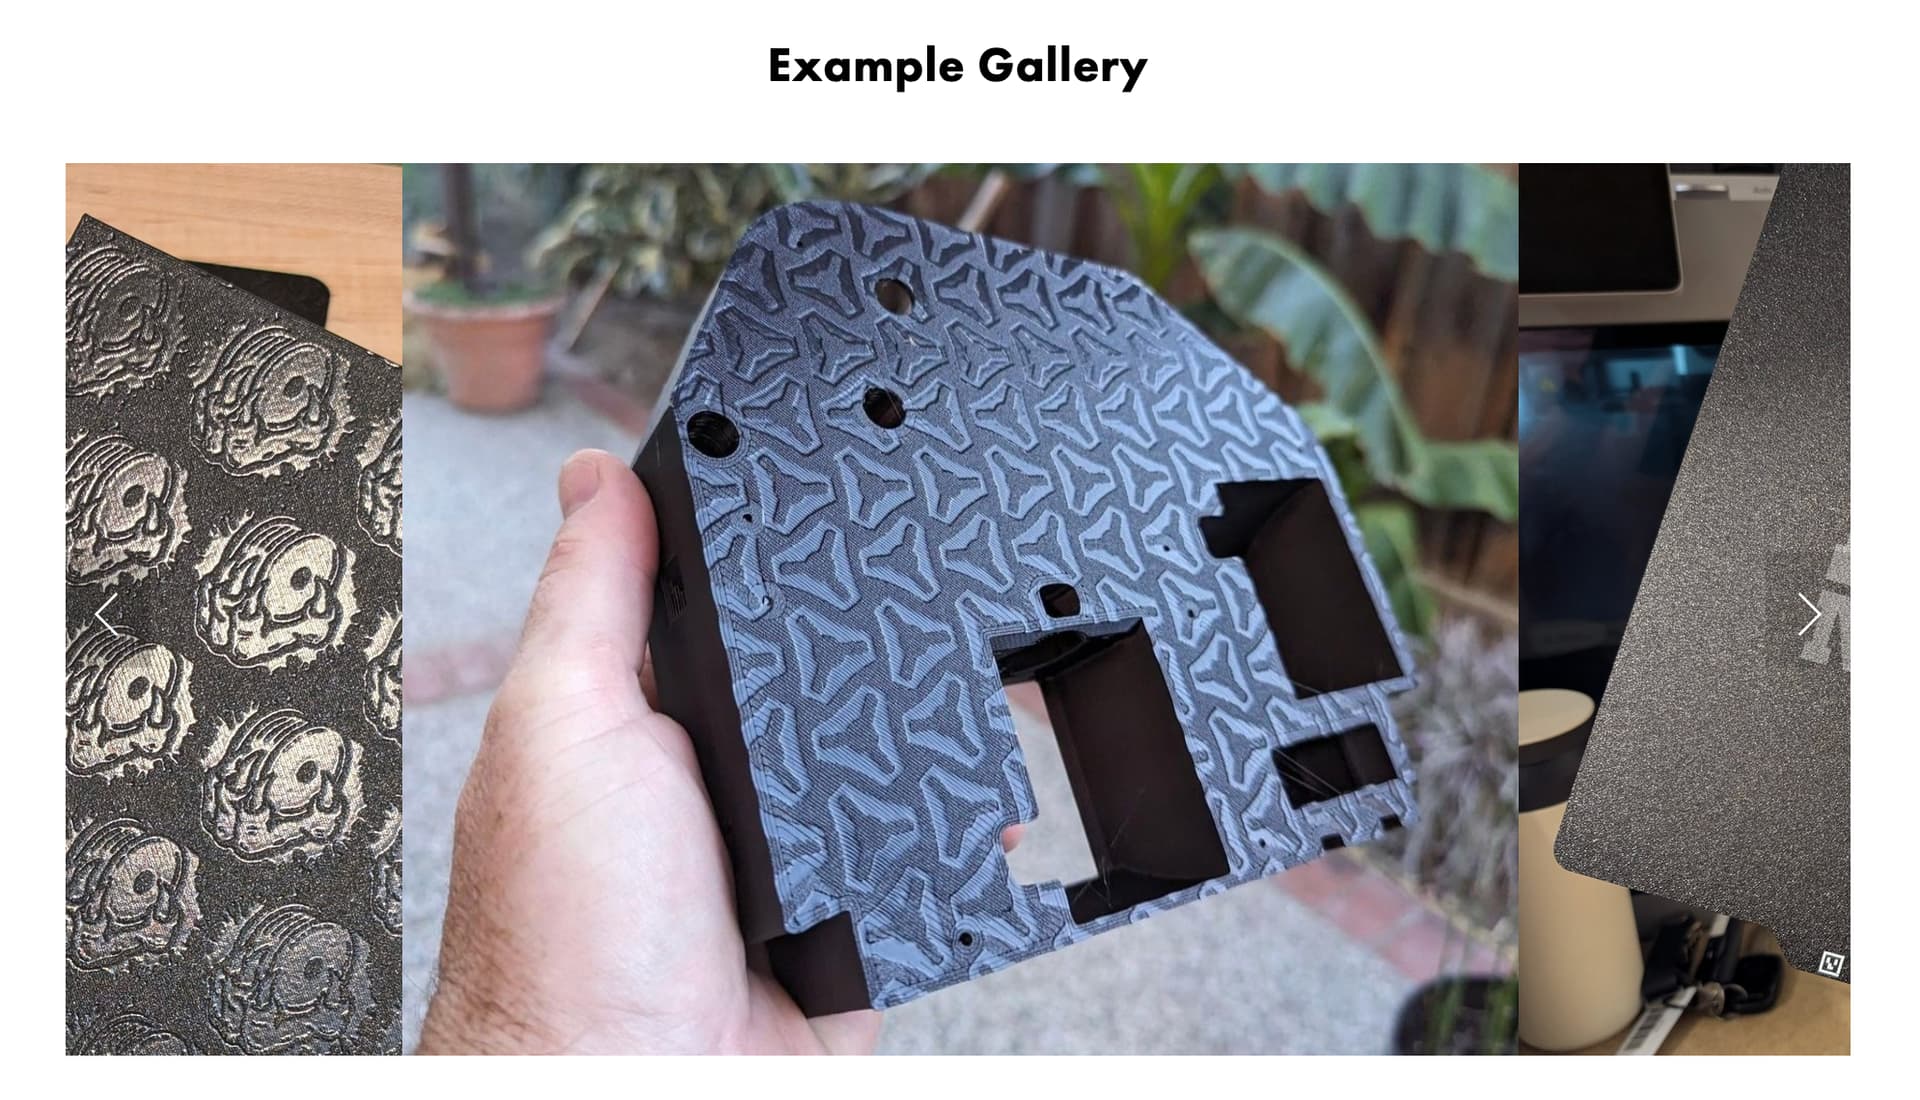
Ryan’s fancy embossed V1 logo on the parts comes from his custom made PEI sheet that has his logo embossed into it. He prints the released files onto those sheets in is print farm printers.
All of the part files themselves are published, but they are not embossed by themselves.
I think he was talking about these
But those look to me like just the normal files, printed without top and bottom solid layers. You are just seeing the infill. Let’s the air pass through
7 Likes
Oh, right- those are printed as you describe.
I was meaning these:
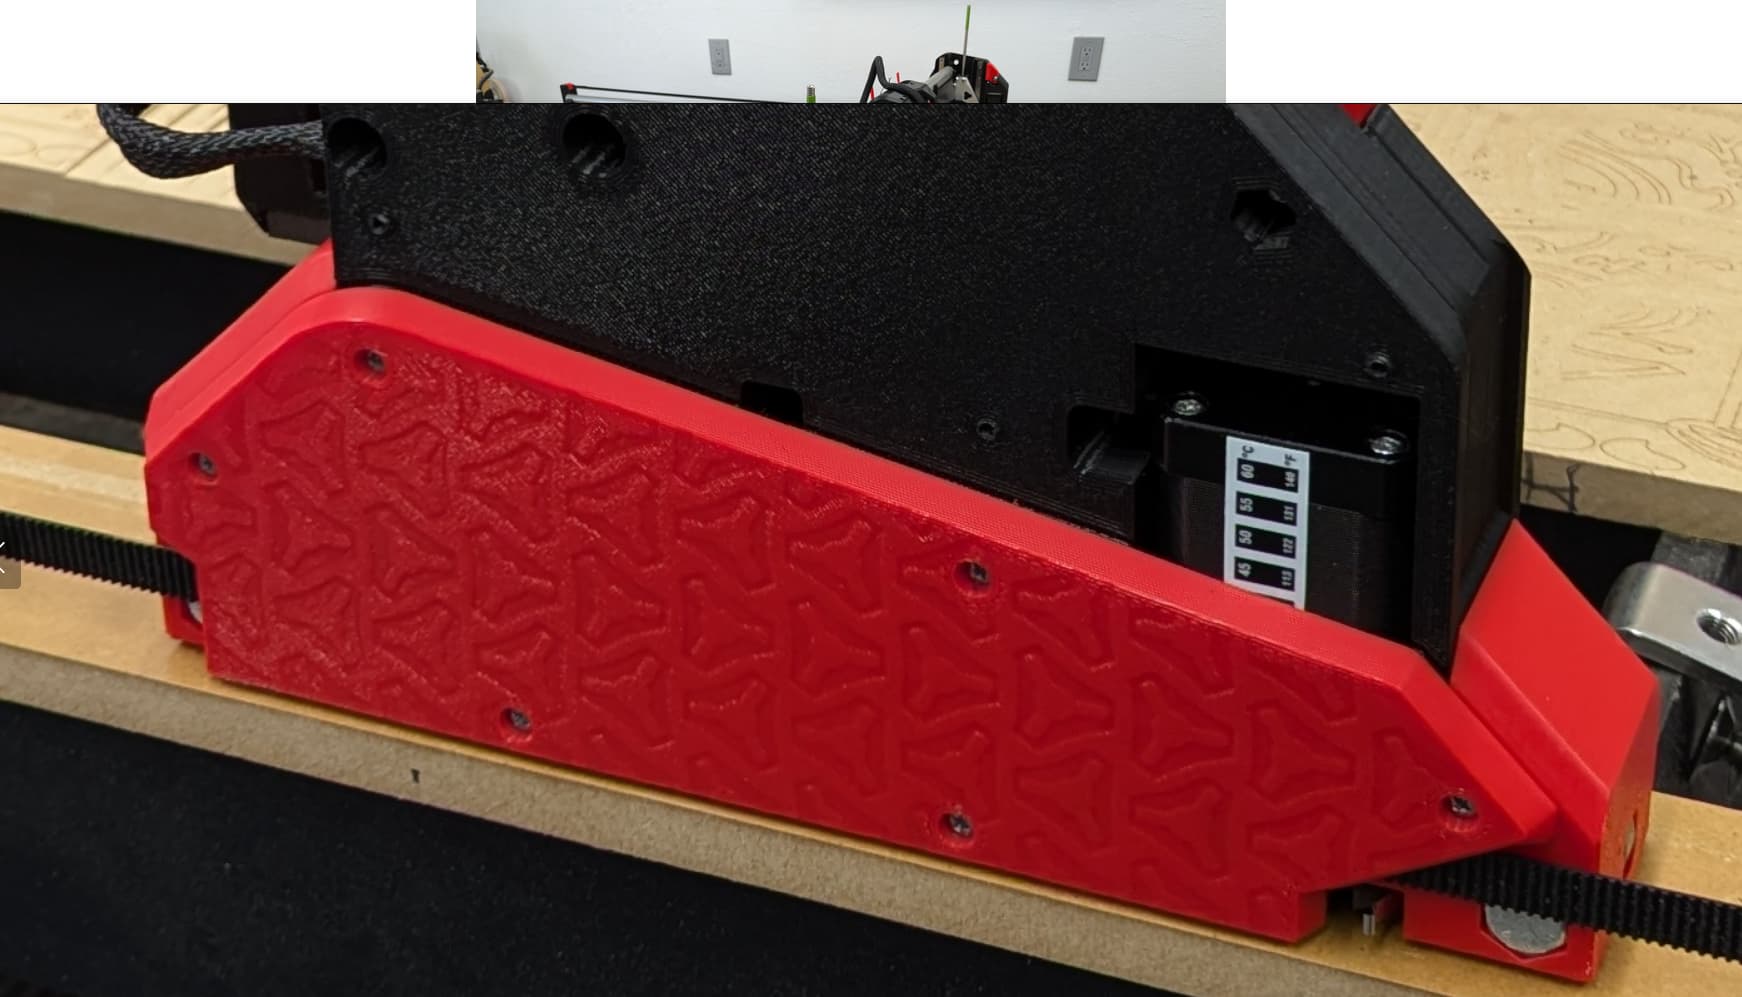
Ryan’s plates are in the supplier’s gallery:
4 Likes
Yep, I like that they tidy up the end but allow air in.
Ryan’s style are nice but as he mentioned have limited airflow.
1 Like
Yep Id say you are spot on.
From Ryans printables link “…or just use the no top and bottom layer trick.”
Um, yeah, I totally knew that ![]()
3 Likes
That looks fine. ![]()
2 Likes