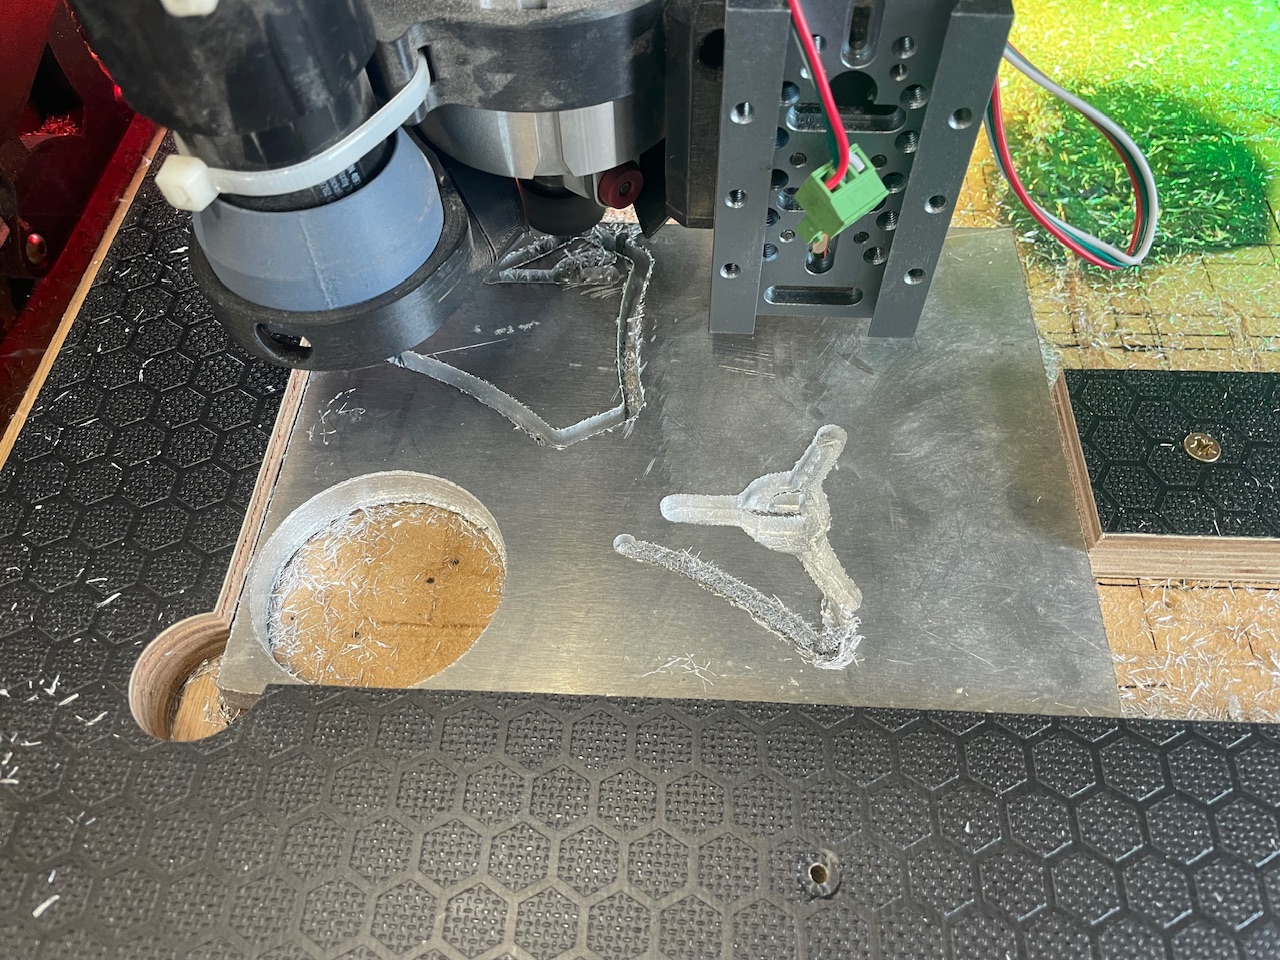
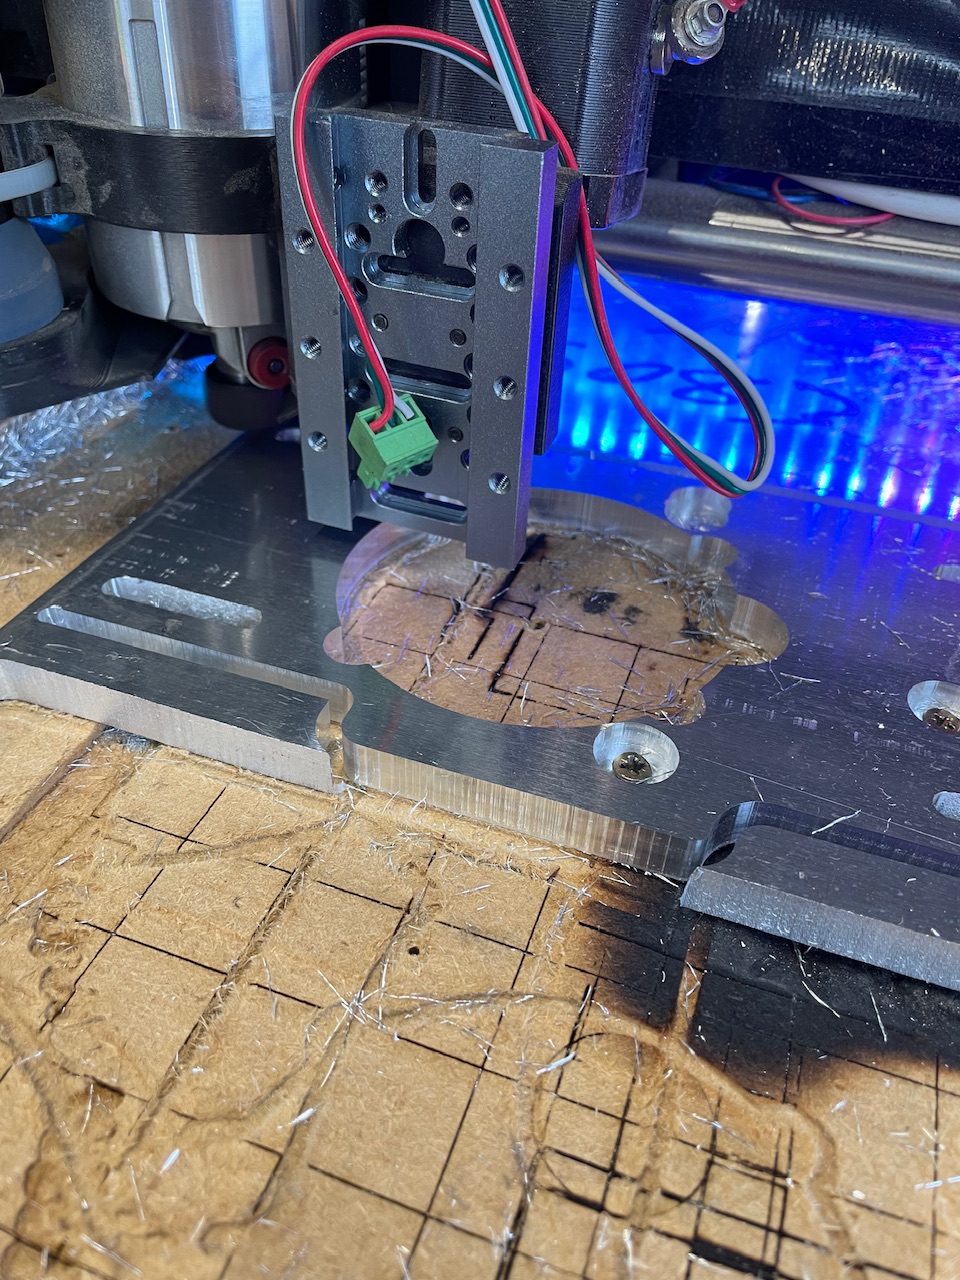
I reduced the step over from 10% to 5% that seemed to help clear the chips - in the initial attempts the slots were filling. Regardless the mess was eugh
Nice!! Trochoidal milling makes the process more forgiving and easier to accomplish. Its downsides include, it makes more mess, and it takes somewhat more source material for the job. I like it.
Slow spindle. I run mine at 12k RPMs. Usually the slowest or close to on a trim router, depends on which one you have.
That’s moving. I think I run mine at 25mm/s on my LR3. Can it go faster? Absolutely. Do I get a nice clean cut running like this? Absolutely
Full depth in a single pass (also why I run a little slower). That will clean your edges up a LOT.
5% is good at that thickness. for 1/4" (6.35mm) I run 7.5%. Your plate looks like its closer to 10mm so I would stay at the 5%
That’s awesome! The way you are doing it is the best way to learn. Just jump in and try it!
When you get to the LR4 Plates, my suggestion would be to drill all of your holes first, then screw down the plate through 2-3 of the holes where the M5 screws go to attach to the brace. Then run your outside cuts with no holding tabs. The screws will keep the plate from moving and give you a better finish. some 3D printed washers under some washer head screws (pocket screws) works well for me.
If you haven’t already check out this thread as well…
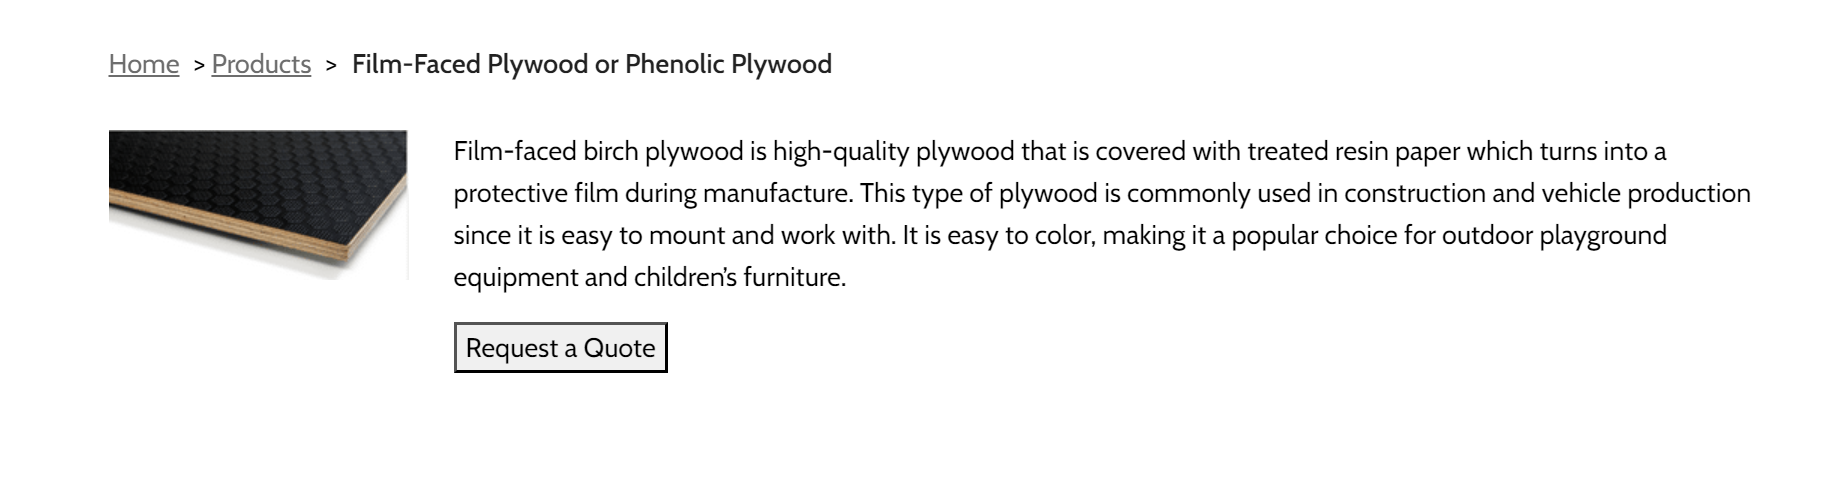
Not the point of your post, but I wish I could find plywood material like that here in the states. Maybe I just haven’t looked hard enough. That stuff looks so nice.
It’s cool isn’t it? I really like it too - I’m sure it’ll be available somewhere for you - ‘Buffalo board’ or ‘trailer board’ ‘phenolic plywood’ ‘flight case plywood’ are the terms to search or ask for if you’re calling round places.
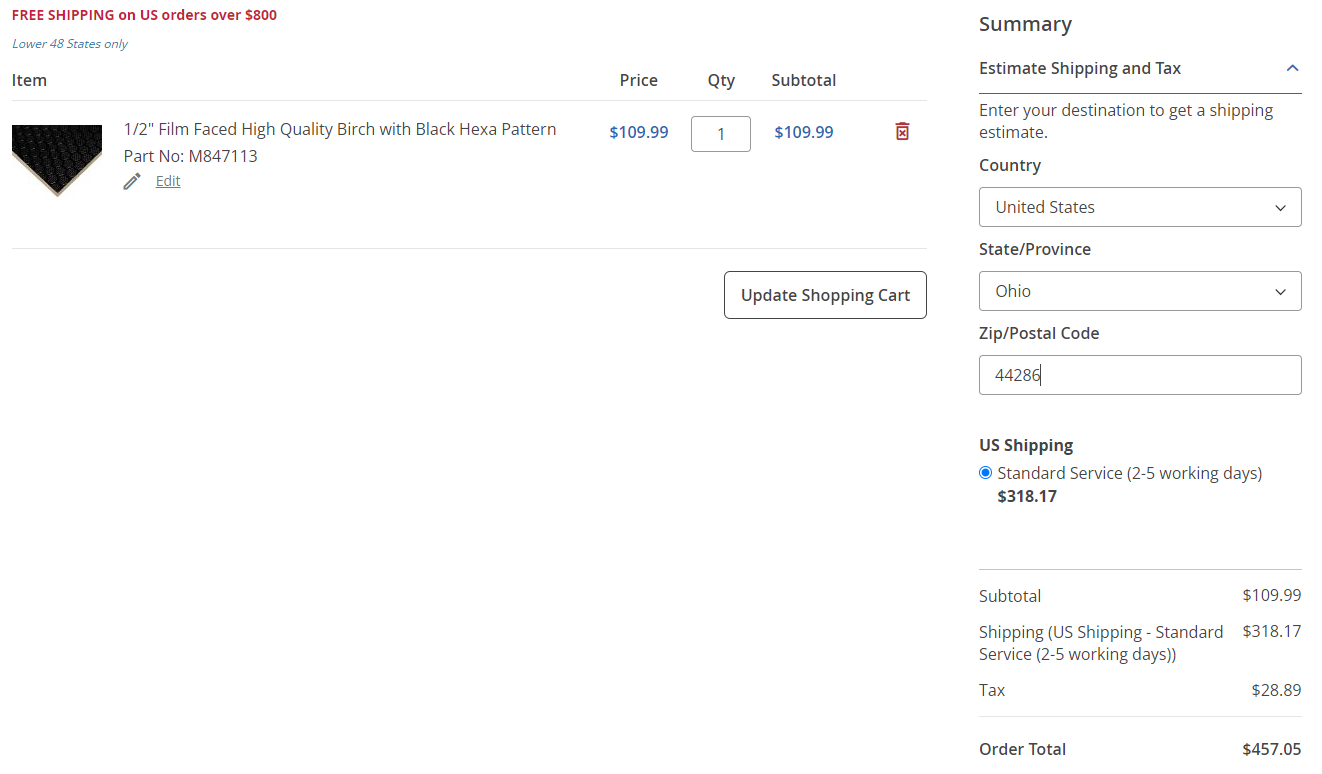
For a comparator the place I found sells it for 60bux a 8x4 sheet so I’m not paying crazy prices for it!
So slower on the spindle speed eh? I’ve a makita I’ll knock it back down to the normal 2/3, next attempt I’ll try that, half the feed rate and full depth of cut - 10mm.
I literally had less than an hour to tinker today so I’m pretty pleased I was able to get something that looks pretty close. I’ll definitely take your advice about drilling and screwing down the parts when it comes to making plates.
The feed rate (LR3) and speed rate (router RPM) need to be coordinated. So if you are moving fast, then the router can spin faster. It’s also affected by the radius of your bit (small bits need to spin faster than big bits).
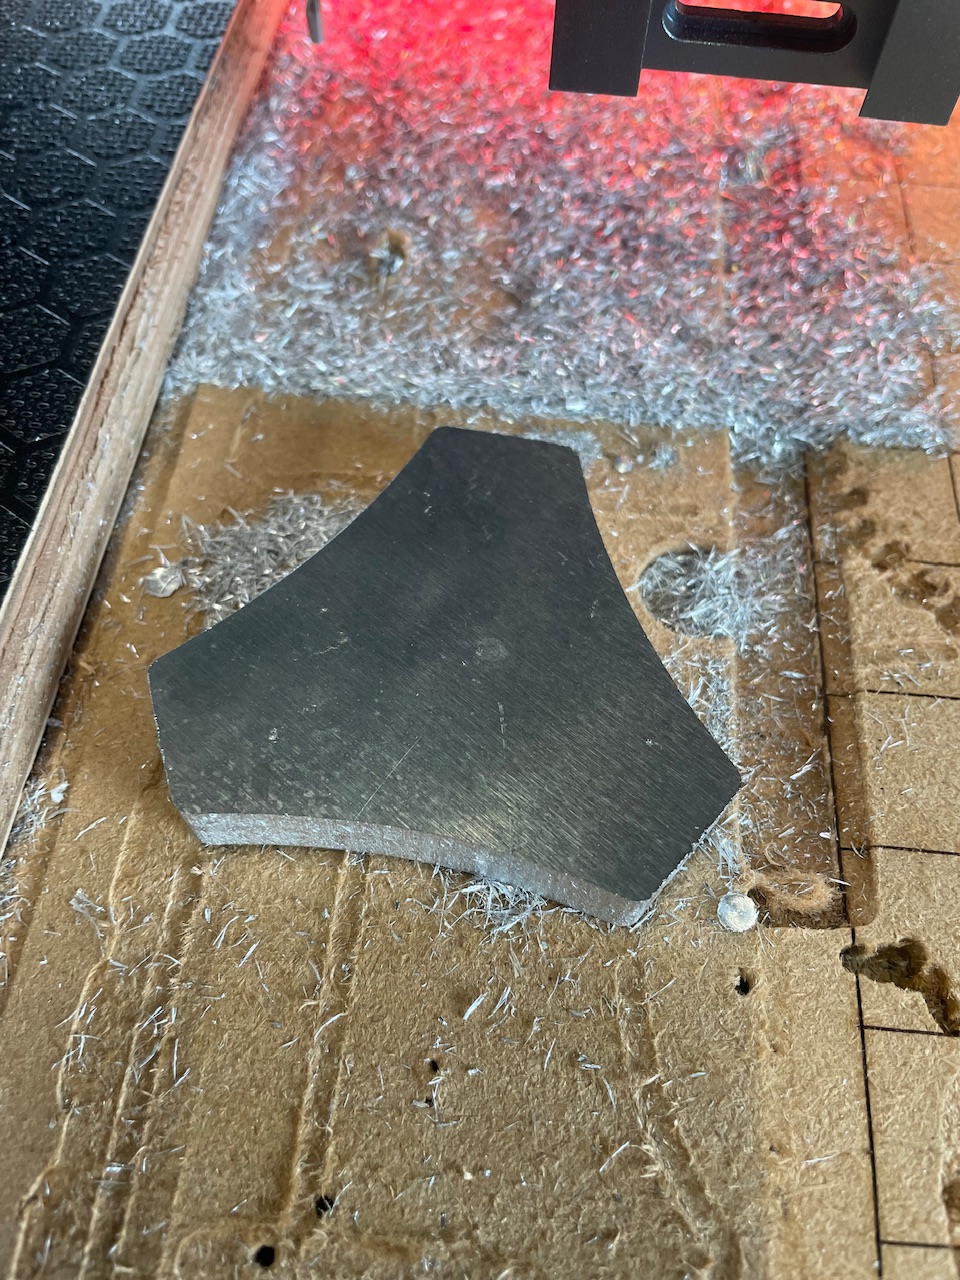
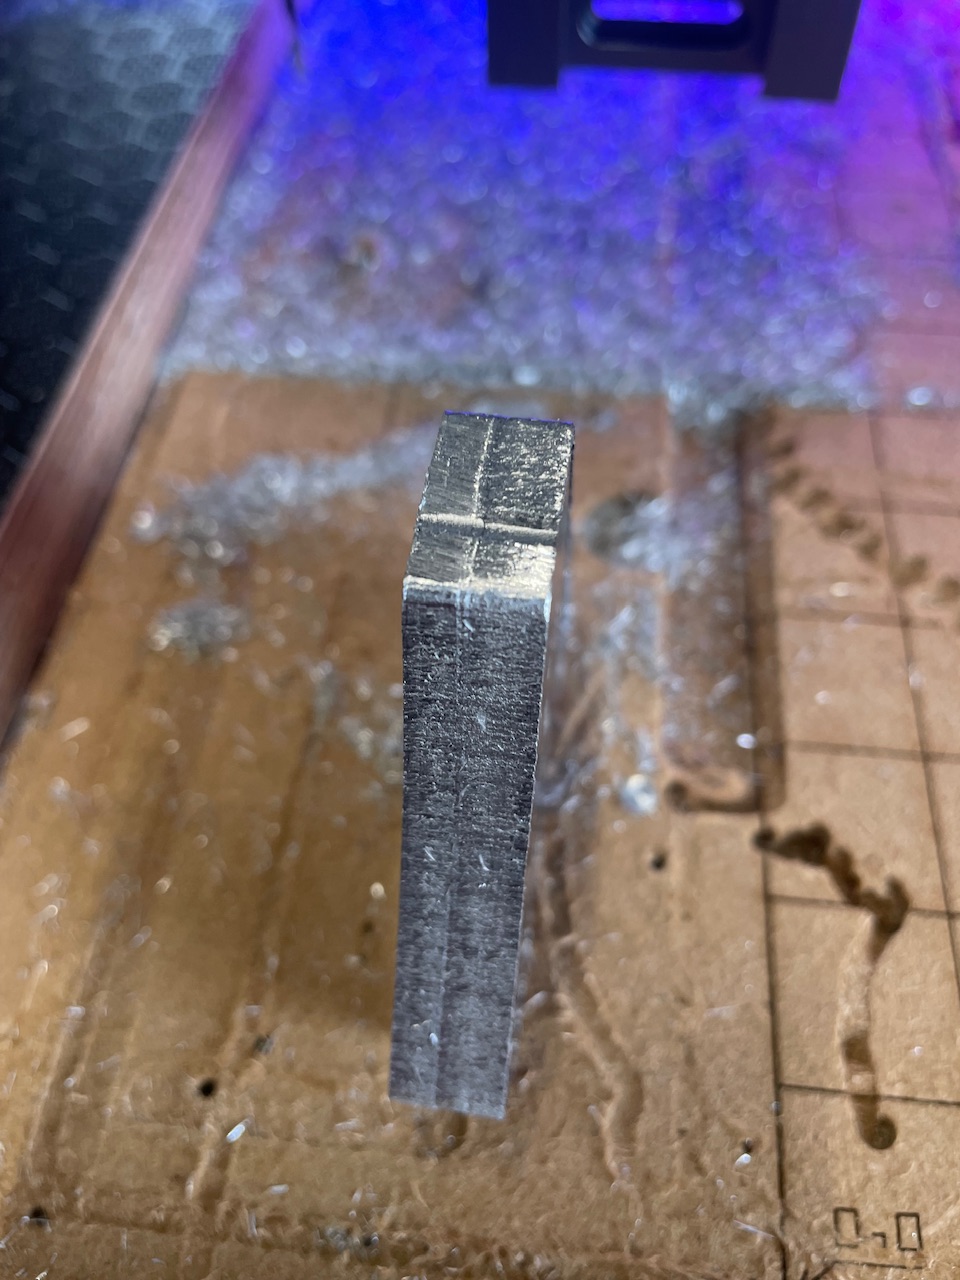
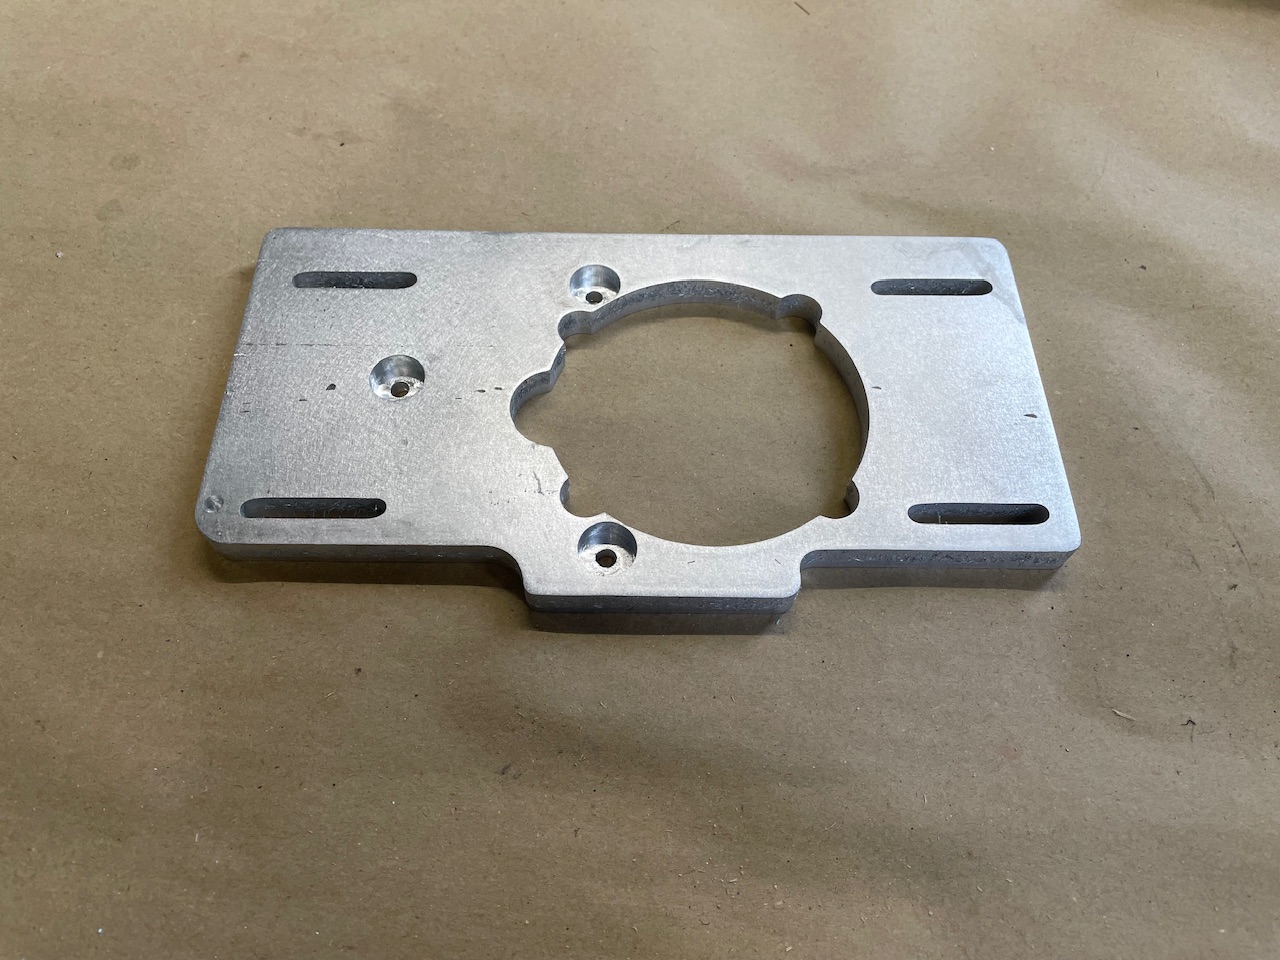
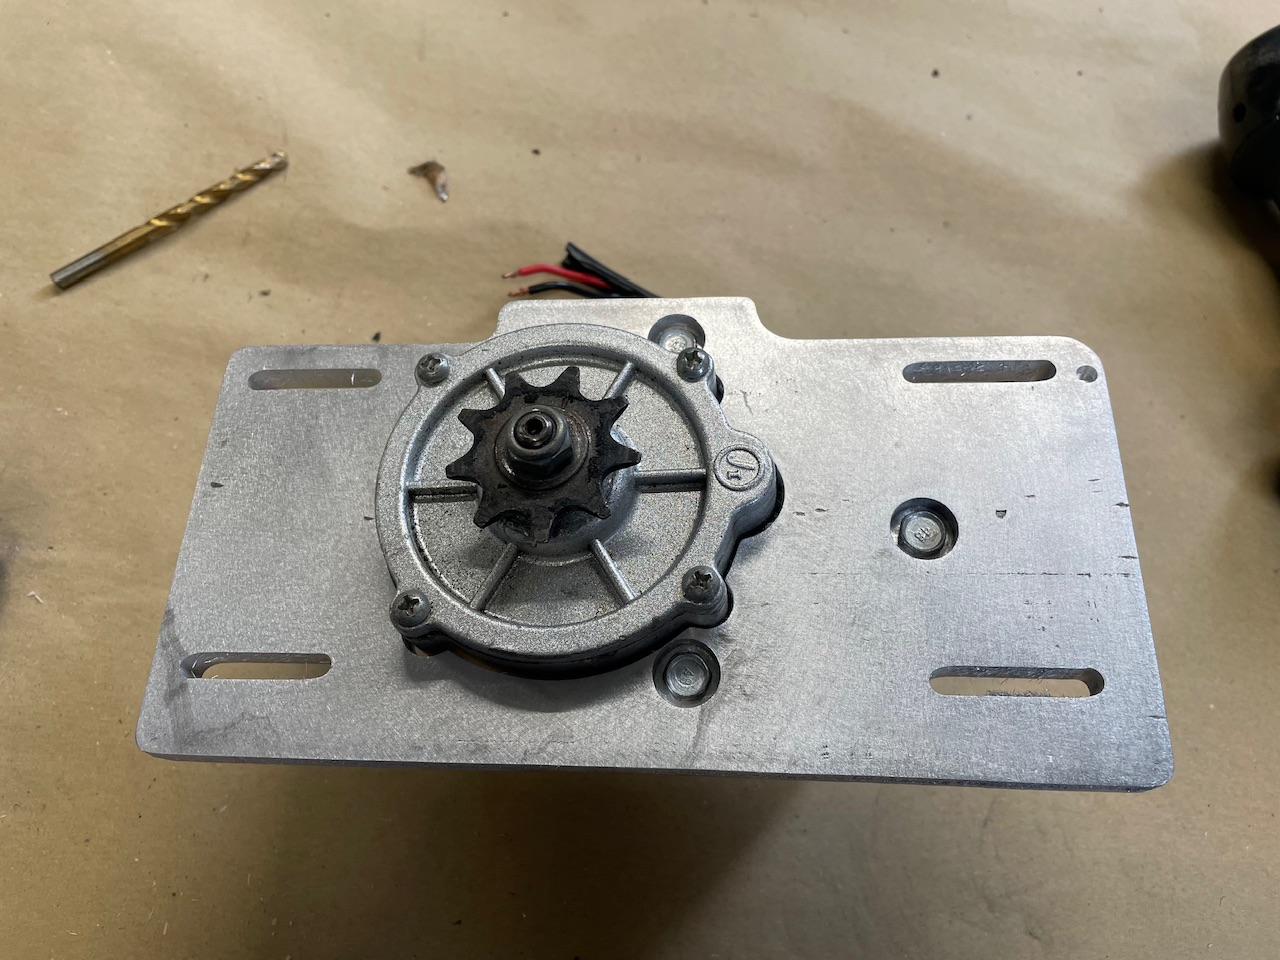
So yes it cuts aluminium, but does it cut it accurately? This was a design I made for a motor mount so I could adjust the chain tension. Previously made in plastic. I gave it a quick tickle with 180 grit on the RO sander
Not pictured is the shaft/sproket key. It was lost some time ago and I tried to replace it with a bit of ground mild steel, this has now worn away so I’m off to Amazon to look for woodruff key sets.
I also figured out why my previous tests seemed so badly aligned when I was setting x0,y0 before starting- in my starting gcode was G90
so I think it was ignoring the workpiece zero and using the absolute endstop set zeros.
But then if that was the case how I don’t know why it accepted the workpiece z0?
Another learning point - when I was exporting from estlcam it prompted me to set the default depth even though I thought I had specified it for everything - turned out there was an additional drill point that was outside the work area I had added accidentally. This meant when it tried to drill it the position wa dthrown off and I had to stop the job and restart it to do the last parting operation - that’s the divot on the part. I’m lucky I caught that one or it would have been ruined.
Thickest I have done is 1/4" (6.35mm) but I do have 2 pieces of 1/2" (12.7mm) here that I was going to do some LR3 YZ Plates out of but never got around to it, and not much need for it now LOL