You may find most of what you need in the links provided by orob. But, the short answer is its very possible to do the same sort of thing as was done in the video that you linked to with the exact hardware and software that you mentioned.
There are 3 key issues that you will face as you get started. The first is the image with which you start. EstlCAM will use an stl file for engraving. These are often available online or for a small cost. You can also prepare them yourself, of course, but as a beginner, you may wish to use an existing image.
The second issue is the CAM software. EstlCAM is capable of doing everything you need to do this type of project. With proper settings, you can generate a gcode file that will provide resolution in the carving as good as your machine/bit can do.
The third component is the machine itself together with the bit. A properly built LR4 has truly remarkable capabilities. I don’t have exact specs, but it’s certainly capable of positioning the bit with fractional mm accuracy. With that capability, you can use bits with as small as 0.25mm tip to do your finish pass. With about 7-10% overlay, those passes are extremely close together.
Although I happen to have been using an SKR 1.3 board for my work until now, I don’t see any reason that the Jackpot can’t do the same. (In fact, I’m in the middle of converting my Primo to the Jackpot and making it a dedicated carving machine.)
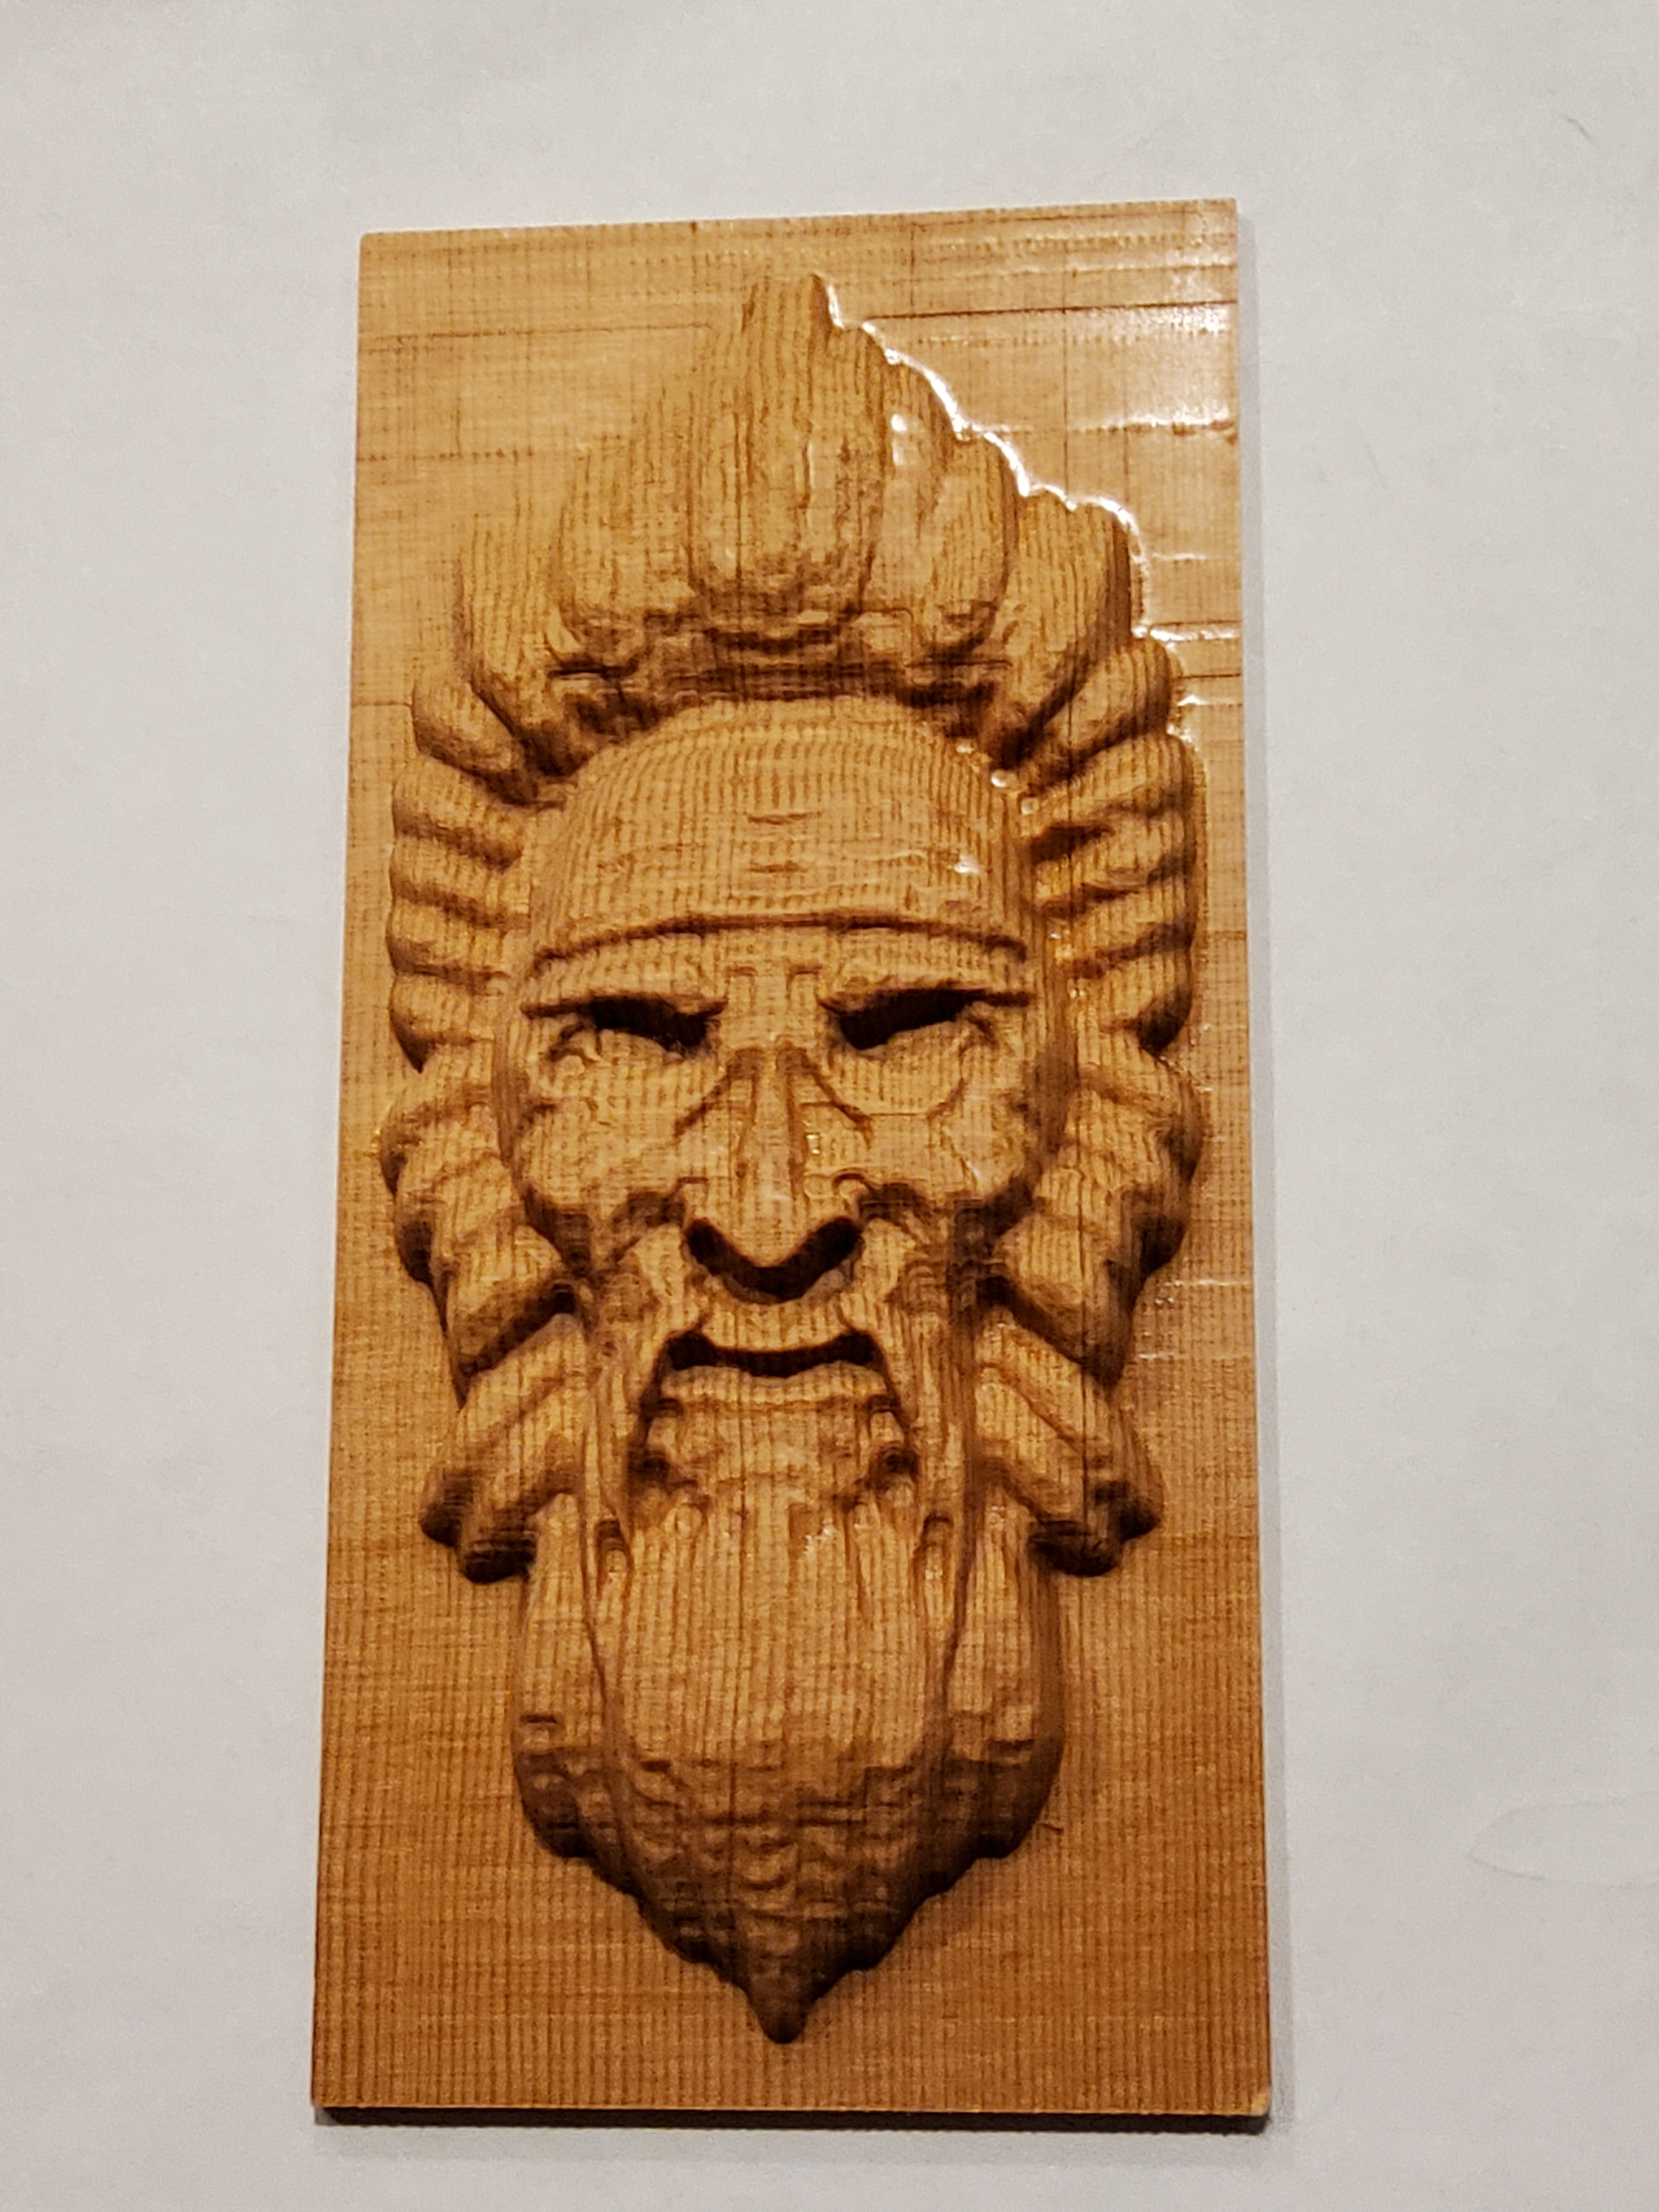
Below are a couple of videos showing the capability of the V1e machines. The first is the LR4 creating a carving of a “woodsman”. The action is a bit difficult to discern, so the final piece appears in the photo below. The piece is about 3” x 6" for scale. The wood was vertical grain fir, which is the reason for the vertical lines. (The few horizontal lines occurred because I had to pause the project several times. )
The second video is a more extended clip showing the other V1e machine doing a 2.5D carving. It includes both the roughing pass and a couple of finishing passes. You might be most interested starting at about 6:45 when the finest details emerge as the final finishing pass is completed using a 0.5mm ball nose bit.
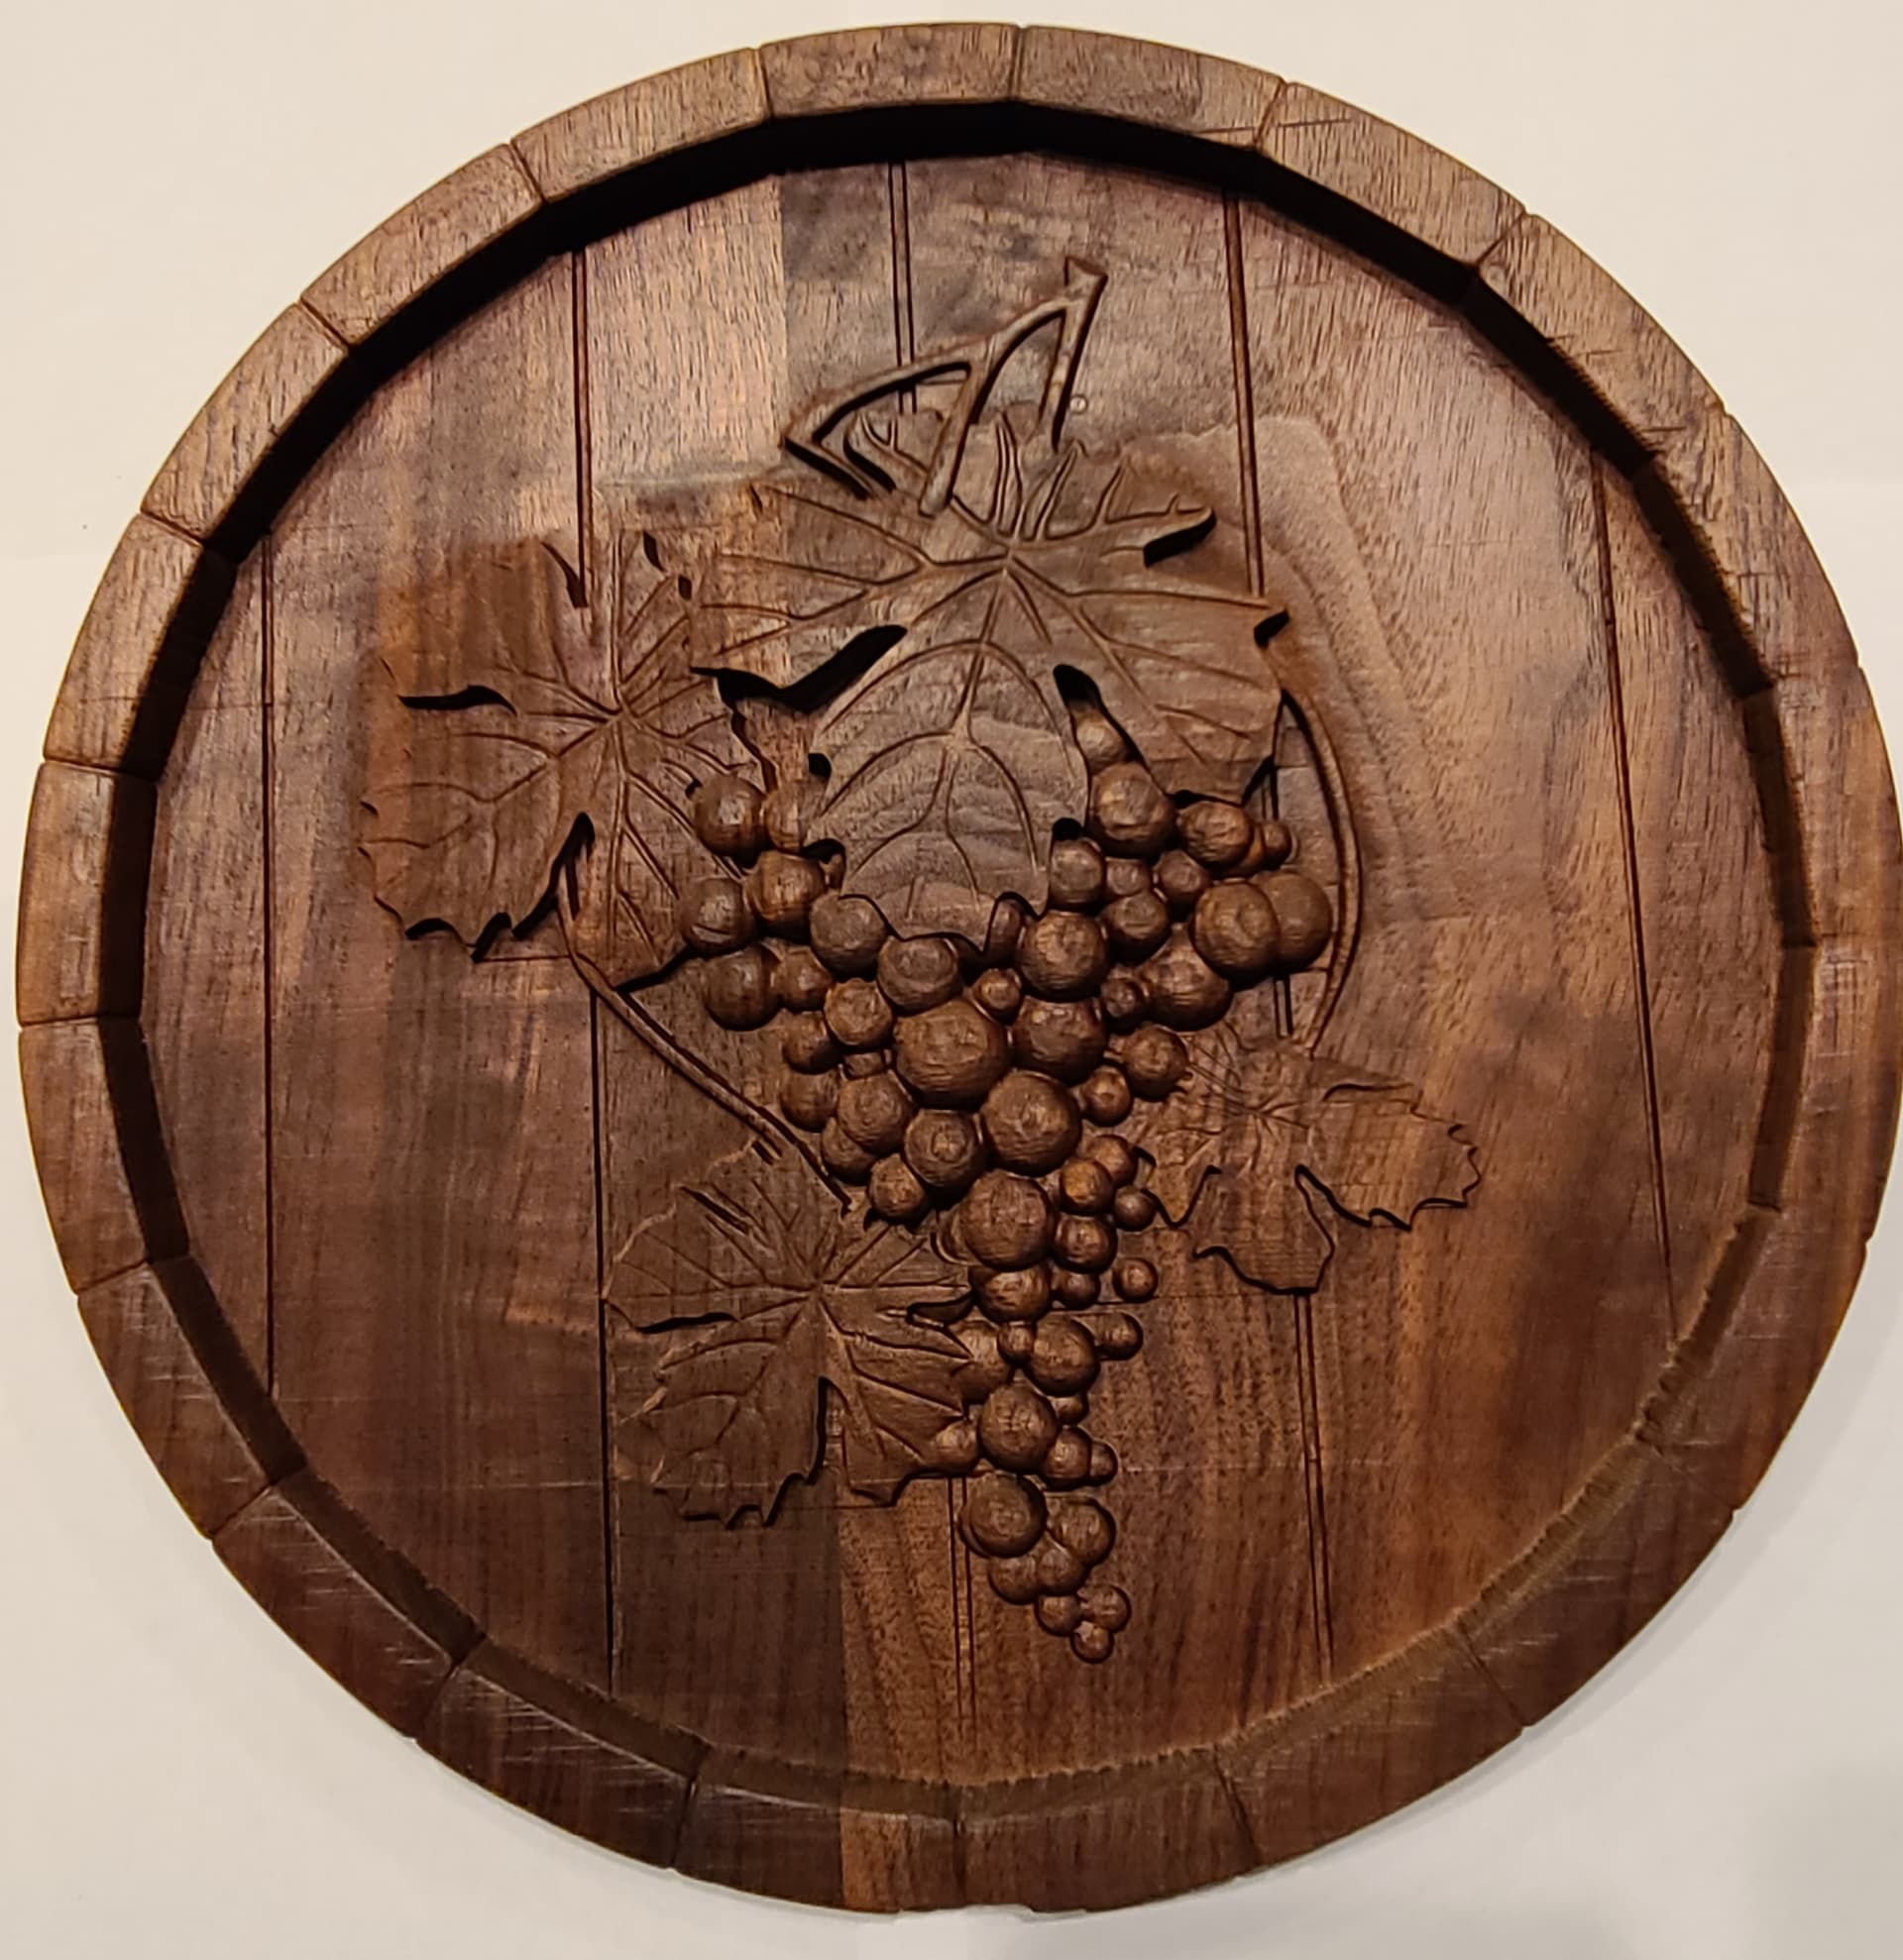
And, finally the Primo cutting the wine and grapes piece that’s in the gallery, here:
Primo at work carving
Hopefully this is enough to get you going.